Bondo How To
#1
 08-18-2008, 12:29 AM


Bondo How To
heres the pics
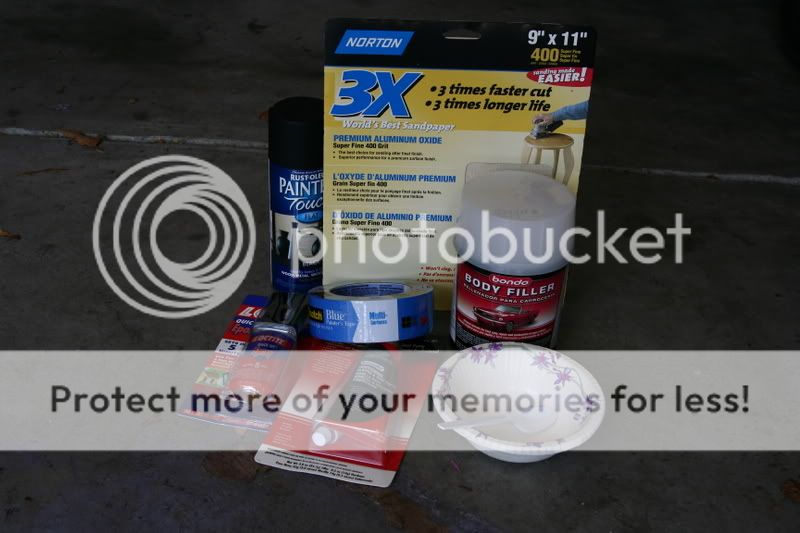
First off, the supplies, about 50 bucks in total.
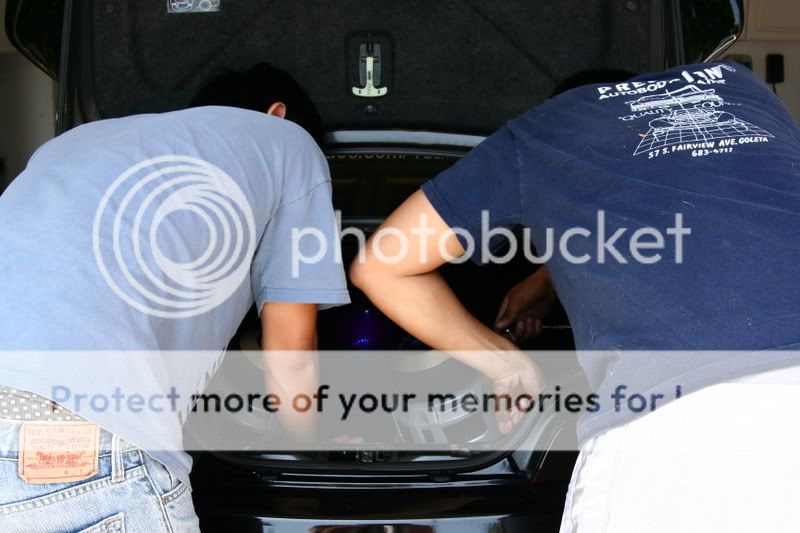
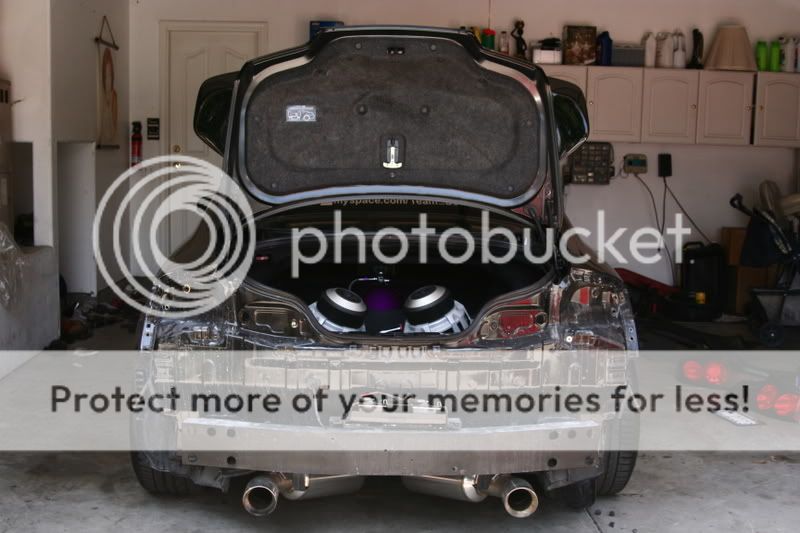
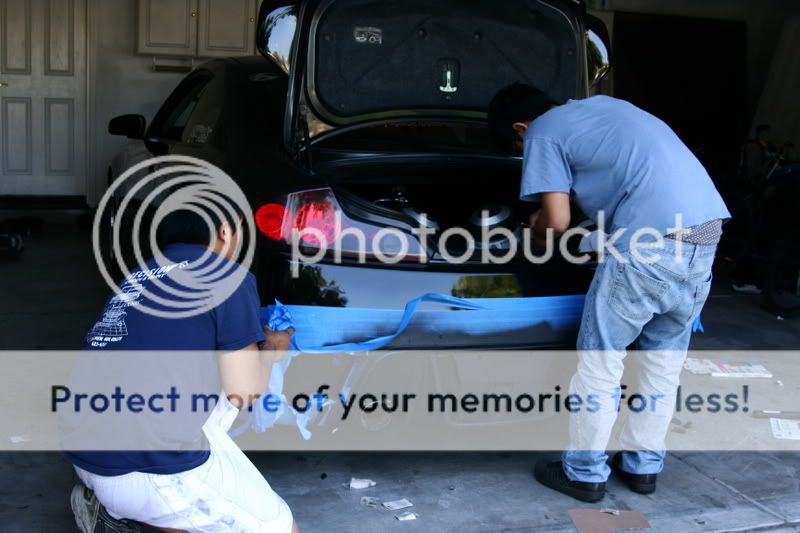
Then we gotta take off the trunk liner to take off the bumper. But we also have to take off the rear tail lights.
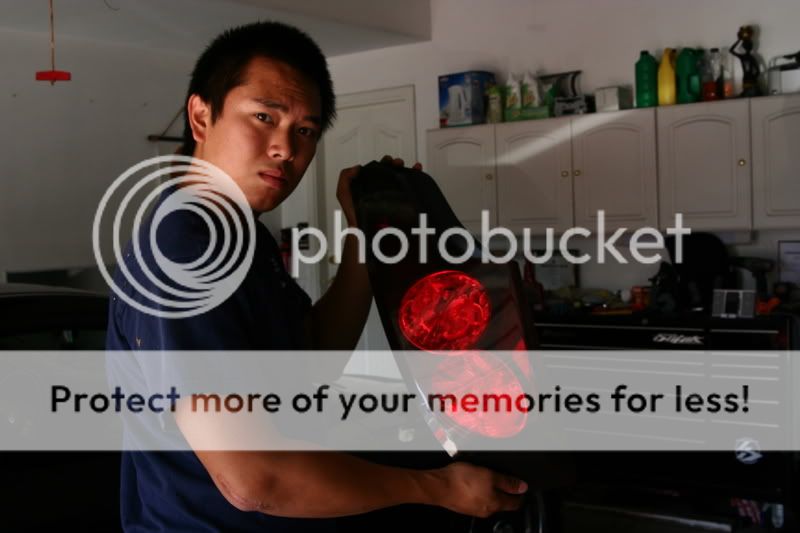
AND the tail light i was talking about
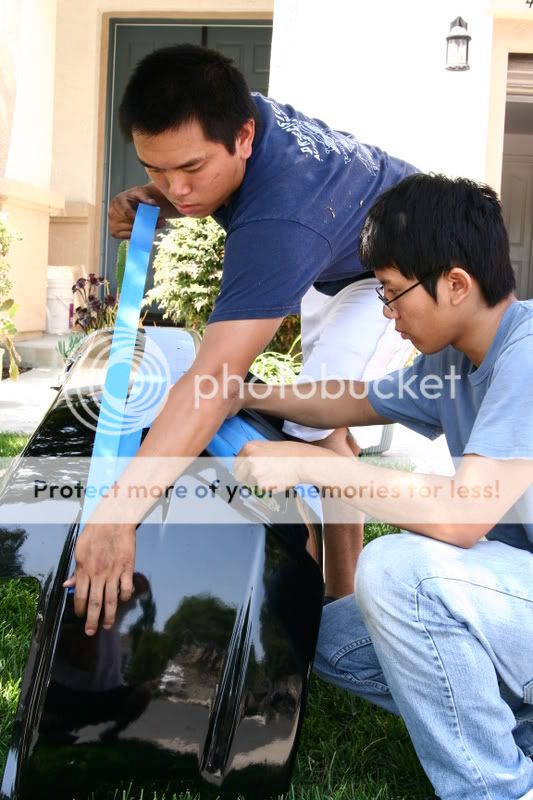
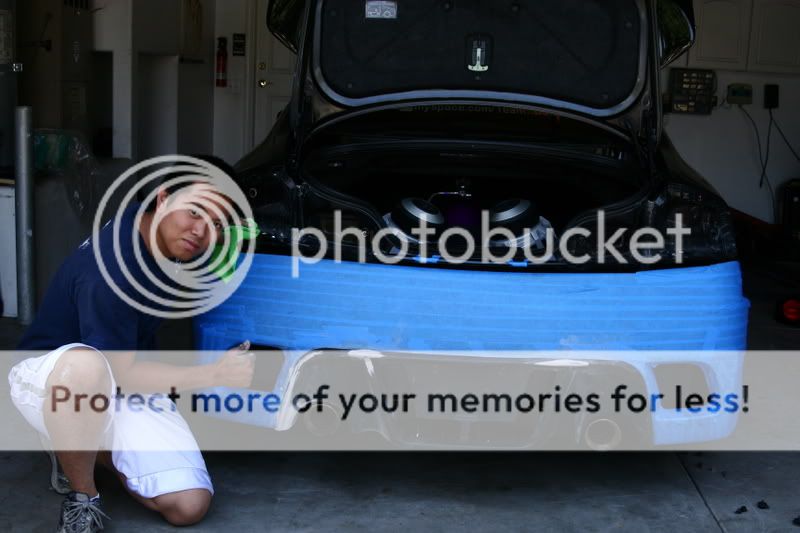
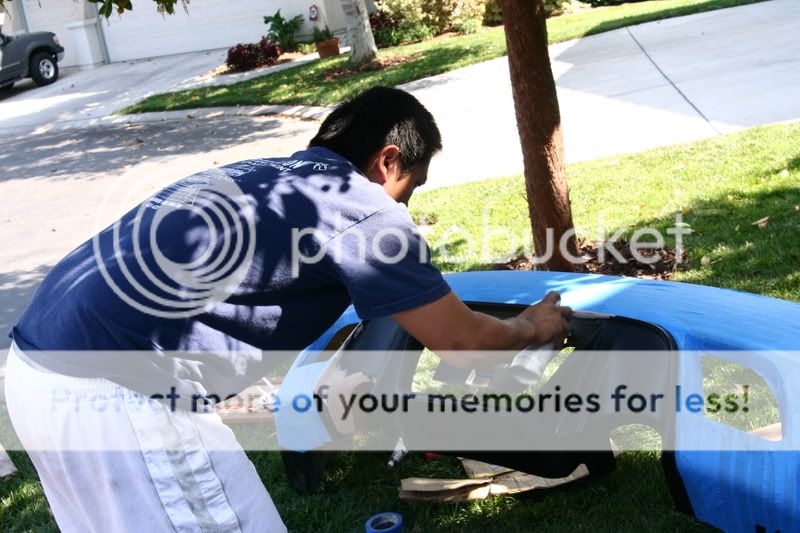
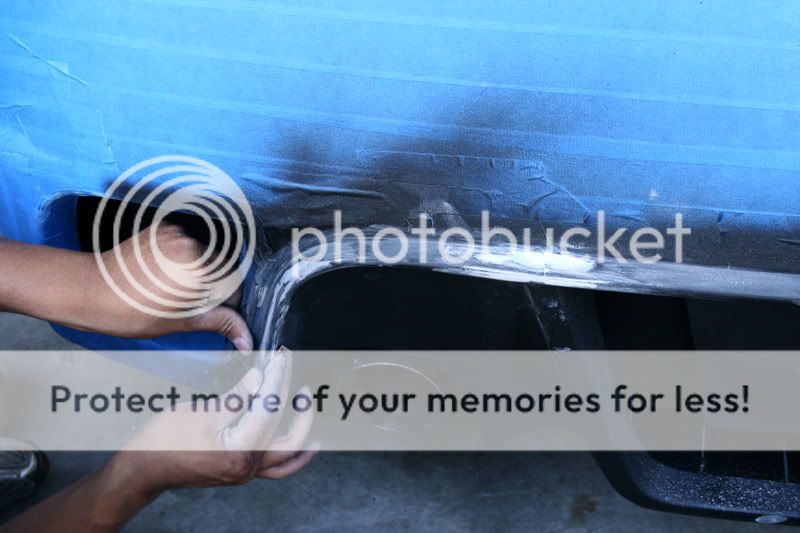
Skipped a lot of pictures, took out the trunk liner, both the tail lights, and my false floorboard for my system. Here is a pic of us prepping the bumper. Using 3M tape to cover up the parts we dont want to overspray.
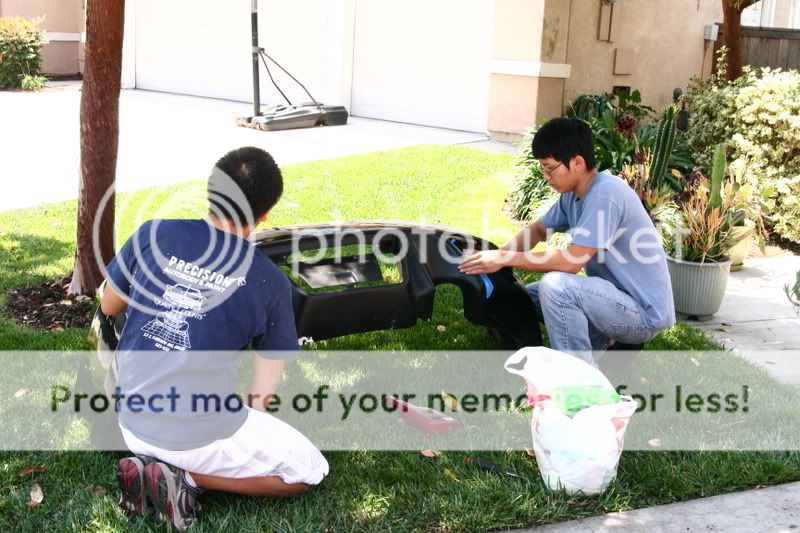
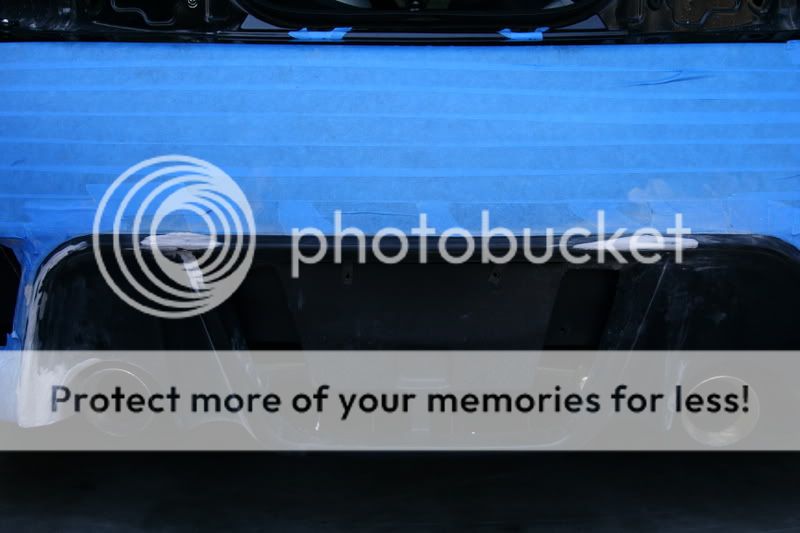
More pictures of us using 3M tape to cover and protect.
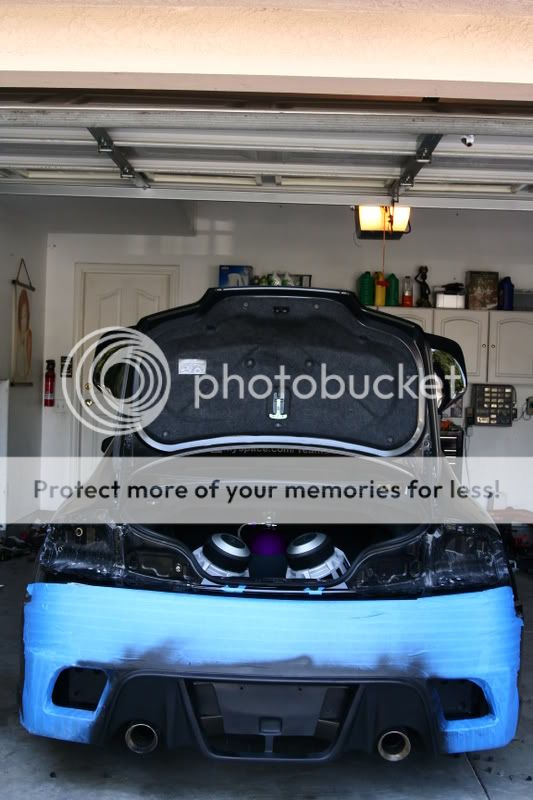
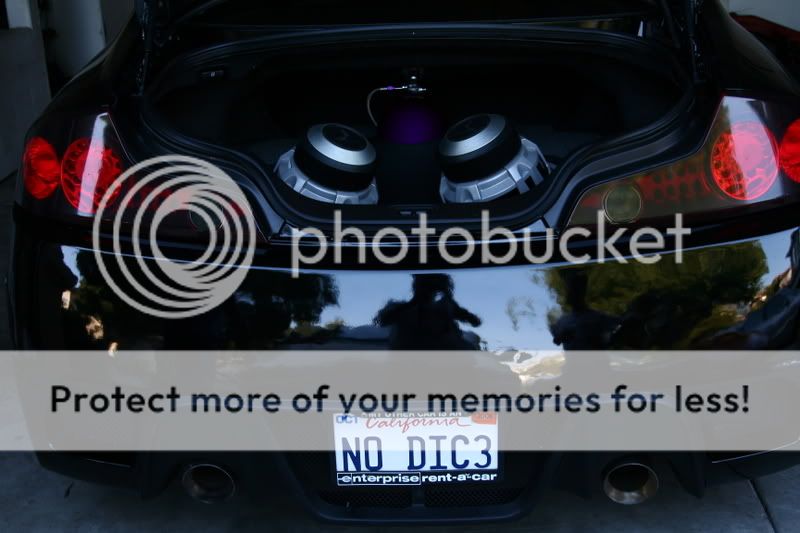
My car with everything off
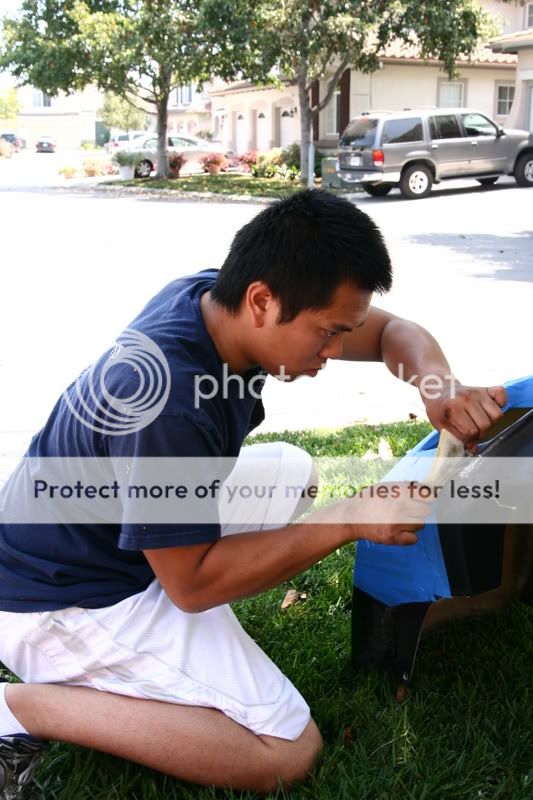
Using some 220 Grit sand paper to prep for Bondo. Do this to help the bondo stick better.
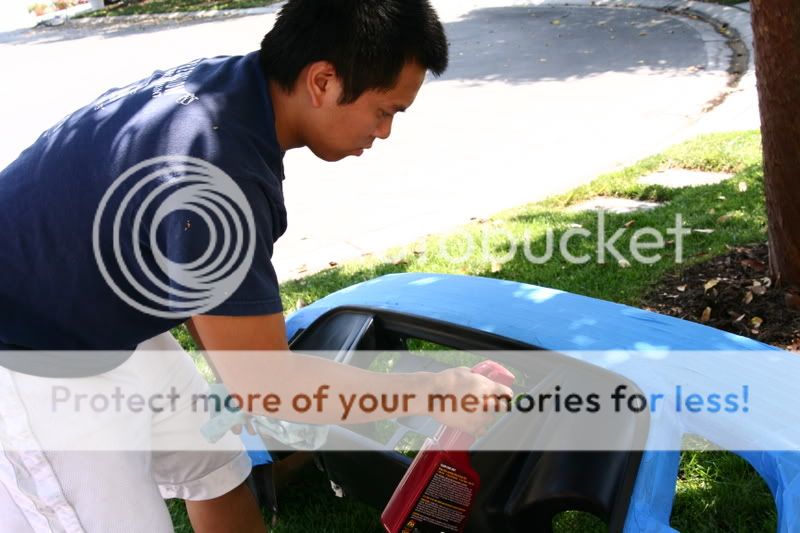
Quick Detail spray. A good work is a clean work.
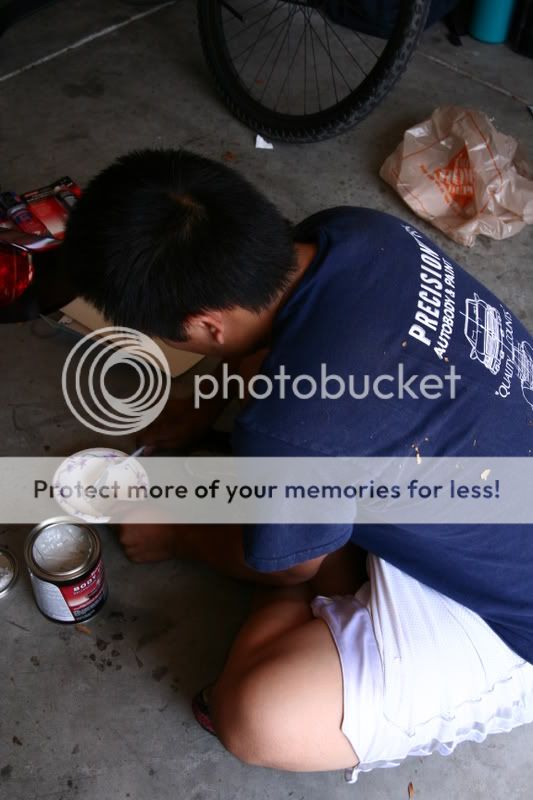
Making the Bondo Mixture. You take the Bondo Body filler, which also comes with a red hardener. Use disposable spoons and bowls. you wont be able to save them.
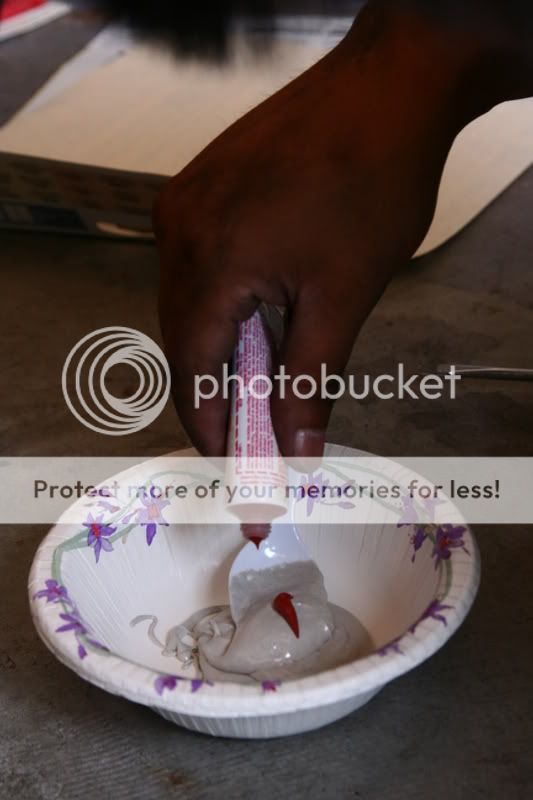
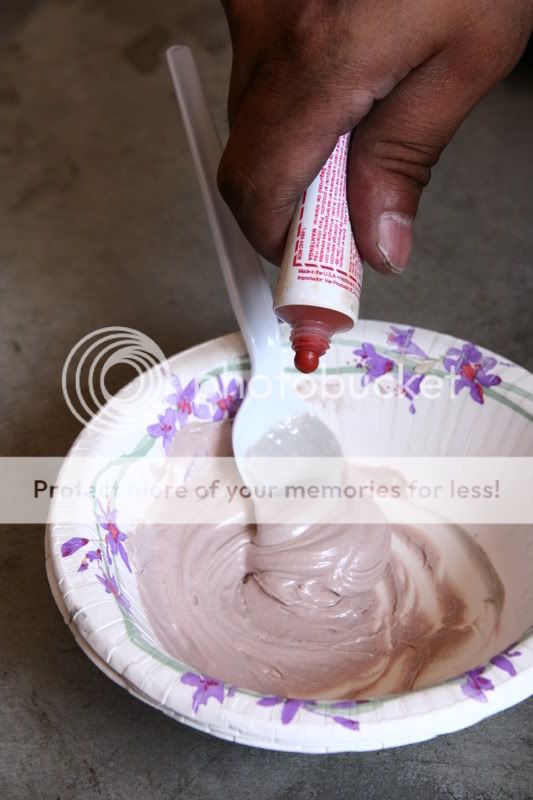
For that much Bondo Body filler, that is how much of the red hardener you use. If you dont put enough hardener, it will take it forever to dry. You must use enough amount. Usually for 3 spoons of Body Filler, use about 1/2 inch strip of hardener.
Then you have to mix
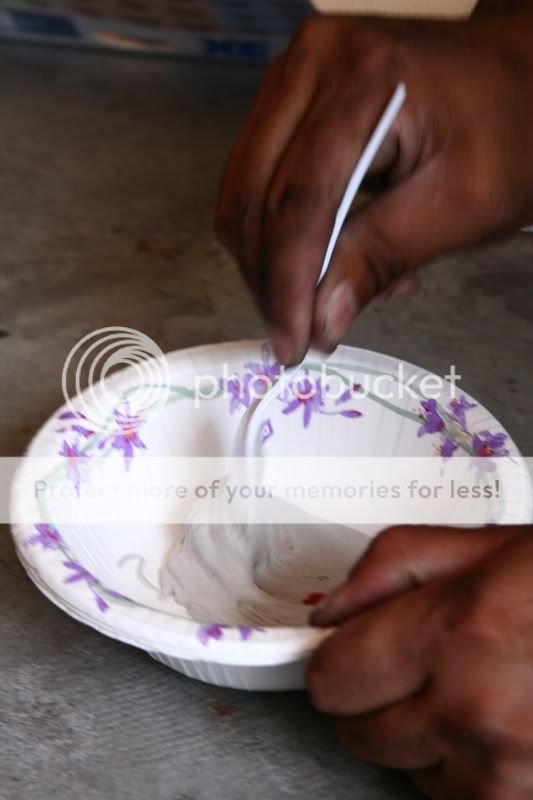
Stop mixing when the bondo is just one color. You must do it fast, because it hardens within 5-6 minutes!
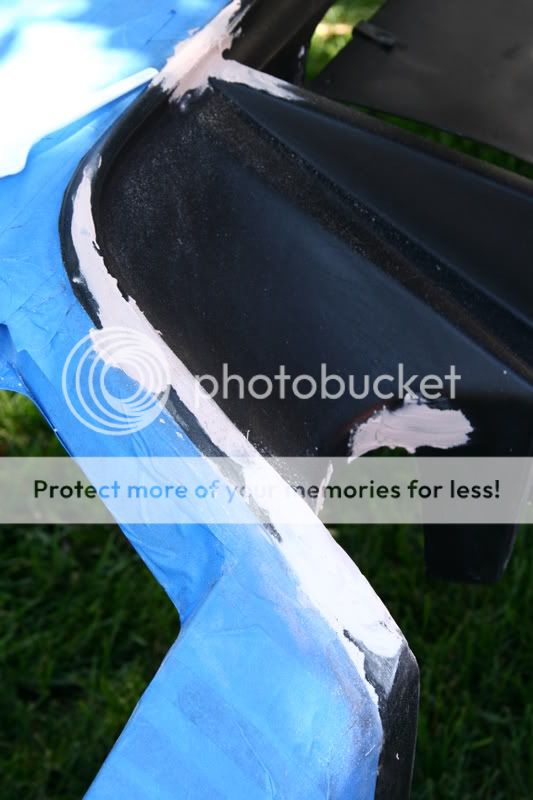
So then we applied the bondo to the damaged area, wait for it to completely hardened. Once dried, we used a 100 grit sand paper to sand down the excess bondo, and started shaping the contour of the diffuser.

Still have a lot of more work that needs to be done, but eventually, you want to use the fine grit sand paper to smooth it out and make the bondo blend in with the bumper.
This is what happens when you dont use enough hardener. You have to sit there for 20 minutes for it to dry
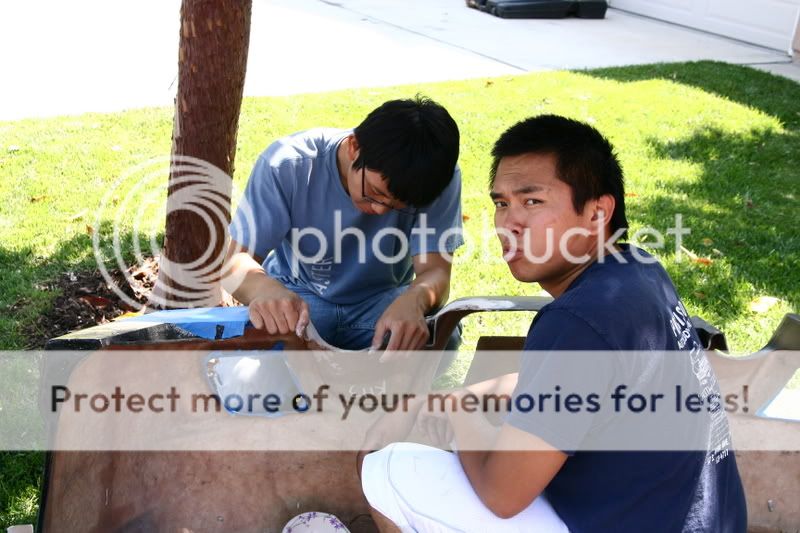
after countless hours of sanding and using 7 disposable bowls, this is where we were at. A quick test fit, looks pretty good. Thumbs up for me and Dan.
another close up of our work. (note: I havnt put rear grills on the bumper yet!)
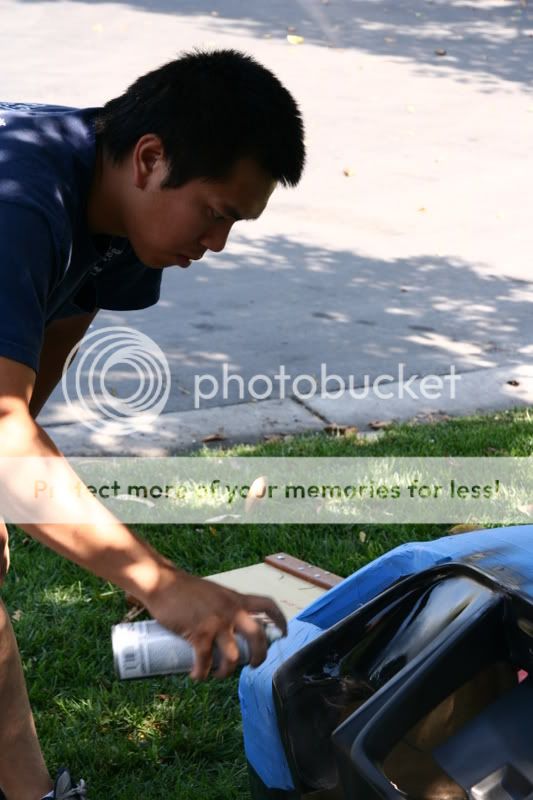
We then sanded the whole rear diffuser with fine sandpaper, then we wiped it down with quick detail spray, added some paint adhesion/primer and we started painting it flat black! almost done!
More painting. Remember, light even coats. Do as many coats as desired, but key to painting, is even coats!
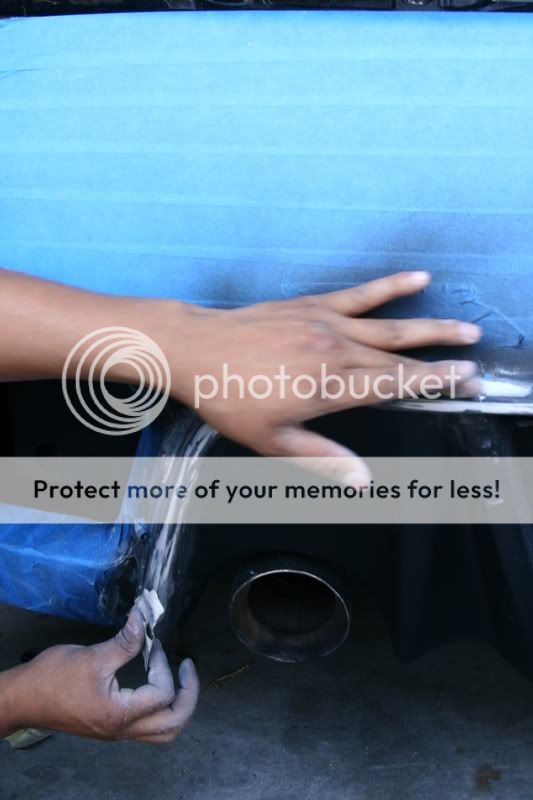
test fit of the painted diffuser. looks great!
wait... not so great, there were some uneven spots. A quick touch up. more sanding with fine grit sand paper.
and again....
Done! now putting everything together. False floor board, trunk liner, lights, and bumper.
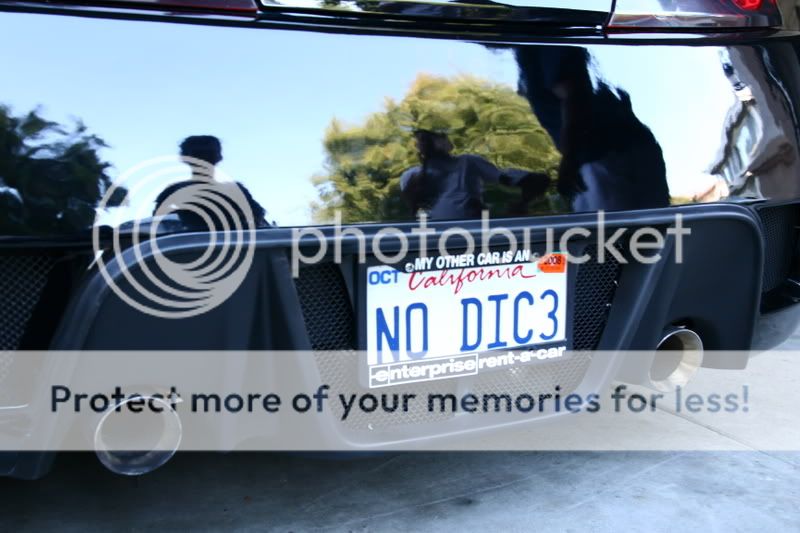
finished product.
notice my grill! looks so much better. FINALLY FINISHED. 6 hours of hard labor. Not bad for our first bondo experience!
First off, the supplies, about 50 bucks in total.
Then we gotta take off the trunk liner to take off the bumper. But we also have to take off the rear tail lights.
AND the tail light i was talking about
Skipped a lot of pictures, took out the trunk liner, both the tail lights, and my false floorboard for my system. Here is a pic of us prepping the bumper. Using 3M tape to cover up the parts we dont want to overspray.
More pictures of us using 3M tape to cover and protect.
My car with everything off
Using some 220 Grit sand paper to prep for Bondo. Do this to help the bondo stick better.
Quick Detail spray. A good work is a clean work.
Making the Bondo Mixture. You take the Bondo Body filler, which also comes with a red hardener. Use disposable spoons and bowls. you wont be able to save them.
For that much Bondo Body filler, that is how much of the red hardener you use. If you dont put enough hardener, it will take it forever to dry. You must use enough amount. Usually for 3 spoons of Body Filler, use about 1/2 inch strip of hardener.
Then you have to mix
Stop mixing when the bondo is just one color. You must do it fast, because it hardens within 5-6 minutes!
So then we applied the bondo to the damaged area, wait for it to completely hardened. Once dried, we used a 100 grit sand paper to sand down the excess bondo, and started shaping the contour of the diffuser.
Still have a lot of more work that needs to be done, but eventually, you want to use the fine grit sand paper to smooth it out and make the bondo blend in with the bumper.
This is what happens when you dont use enough hardener. You have to sit there for 20 minutes for it to dry
after countless hours of sanding and using 7 disposable bowls, this is where we were at. A quick test fit, looks pretty good. Thumbs up for me and Dan.
another close up of our work. (note: I havnt put rear grills on the bumper yet!)
We then sanded the whole rear diffuser with fine sandpaper, then we wiped it down with quick detail spray, added some paint adhesion/primer and we started painting it flat black! almost done!
More painting. Remember, light even coats. Do as many coats as desired, but key to painting, is even coats!
test fit of the painted diffuser. looks great!
wait... not so great, there were some uneven spots. A quick touch up. more sanding with fine grit sand paper.
and again....
Done! now putting everything together. False floor board, trunk liner, lights, and bumper.
finished product.
notice my grill! looks so much better. FINALLY FINISHED. 6 hours of hard labor. Not bad for our first bondo experience!

Thread
Thread Starter
Forum
Replies
Last Post
Extreme Dimensions
Southern California
3
10-19-2015 06:28 PM
Da-G-SpoT
Body, Interior, Exterior & Lighting (DIY)
31
11-30-2013 12:43 PM
imclumzy
Body, Interior, Exterior & Lighting (DIY)
7
02-11-2013 01:39 PM