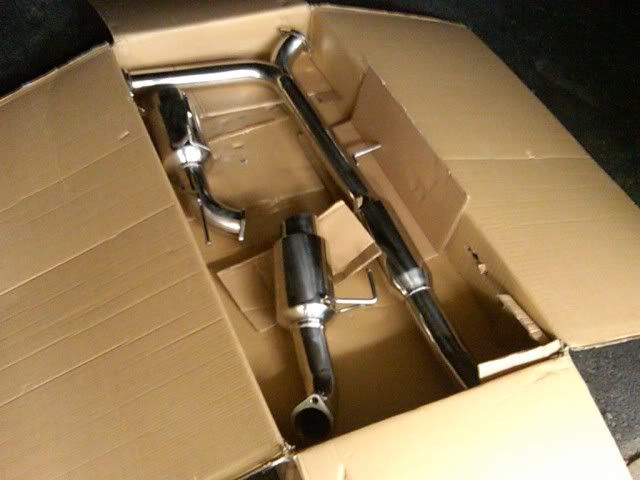
TopSpeed Pro-1 Exhaust: Installation & Review ( with pictures )
#1
 09-30-2009, 09:43 PM


TopSpeed Pro-1 Exhaust
Installation & Review

Installation Overview:
Installation & Review
Installation Overview:
This installation was performed by myself and a good friend of mine who knows a thing or two about exhausts. Neither him nor myself are mechanics or muffler/exhaust fabricators/experts and this installation guide and review was by no means developed based on expert advice or procedure; however it IS based on the little knowledge we had and acquired through trial and error of this installation. This guide is written to be simplistic and straight forward but that does not mean by any measure that this installation was not tedious and frustrating. That being said - even though this was a DIY project and this installation guide outlines the steps taken, it is highly recommended to seek professional installation.
Installation:
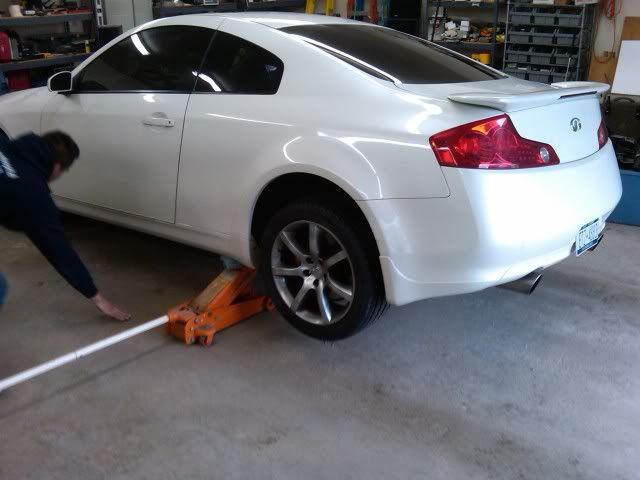
1) First Things First: Jacking Your Car Up- The very first thing, which should be obvious, is to jack the car up and support it with jack stands to insure the safety of yourself and your workplace. It will never be comfortable on your back under your car but it is necessary to make sure you jack the car up enough so you have enough space to efficiently do your installation.
2) Let The Fun, Or Lack There Of, Begin: Removing The Stock Exhaust- For this application the stock Y-pipe will be used and does not need to be removed. The Y-pipe is secured to the mid-pipe with two (2) bolts and two (2) nuts. The nut on each of the two (2) bolts need to be removed. This proved impossible for us because the bolts, nuts, and pipe endings were all fused together with rust. Basically, it looked like a "rust-turkey sandwich" (for lack of a better term
 ) We had to resort to grinding the nuts off.
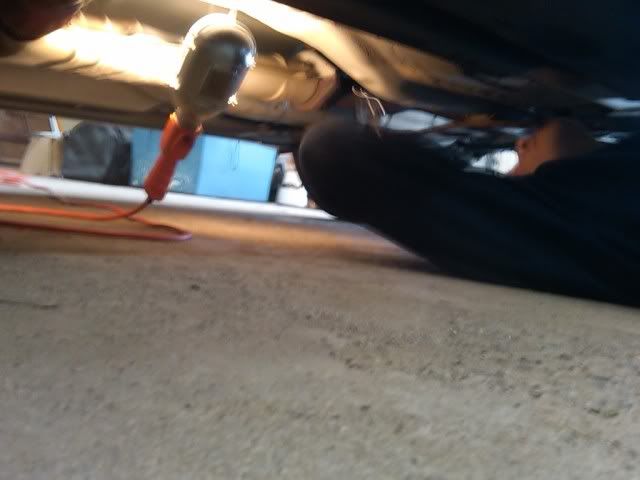
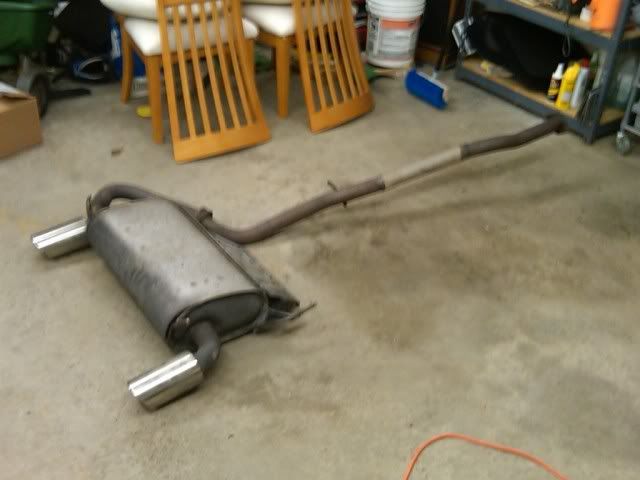
Once the nuts were off we were able to unhang the stock exhaust and simply slide it out and over the M-brace.
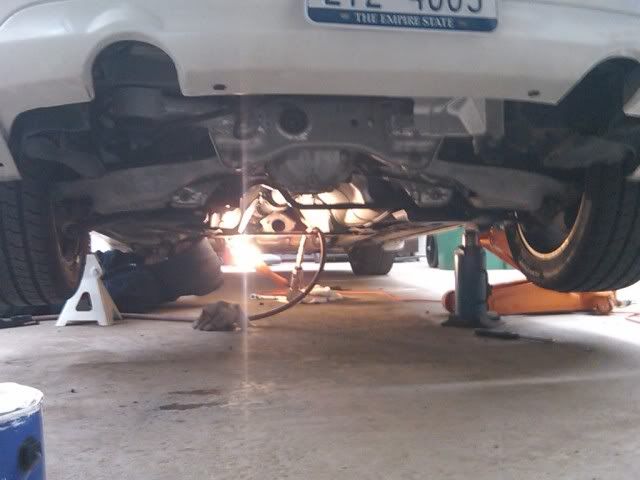
3) Halfway To Hell: Installing The New Exhaust- Once we had gotten the stock exhaust removed we were left with the remainder of the bolts still inside the holes on the Y-pipe. Like I said, these bolts were fused to the pipe with rust and were impossible to even budge with our own hands. Needless to say, it took up most of our time trying to get the rusty bolts out. We almost quit and brought it to a shop because we spent so much time on trying to remove them.
Note: For the rest of this guide, photos are limited due to the frustration we had during this installation.
Once the rusty bolts were removed we were able to begin installing the new exhaust. We began by hanging the mufflers independently from each other. Hanging the mufflers is as easy as cake - or is it? Definitely not, the way the hangers are set up it is very hard to get them in, especially without slipping and busting a knuckle. WD-40 helped a great deal and we were able to get them in securely.
Next, after both mufflers were hung, we attached the new mid-pipe to the extension that we attached to the Y-pipe (an extension is necessary because this particular exhaust was made for the 350Z application). Once the mid-pipe was connected to the extension/Y-pipe we connected it to the mufflers.
From here it's pretty straight forward - just tightening all the bolts with a decent amount of force and some fine-tuning adjustments.
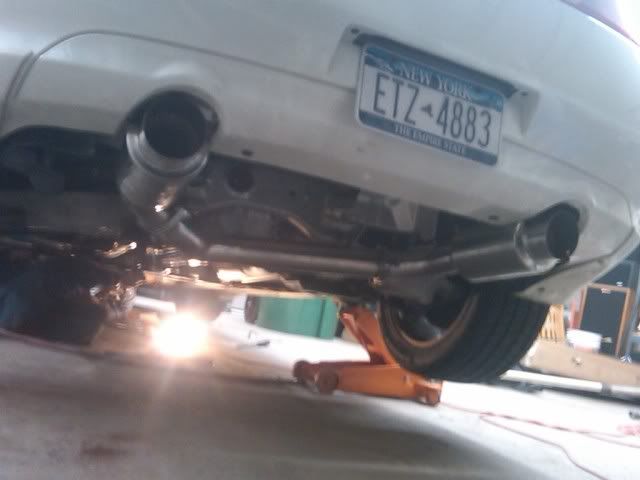
As you can see in the picture below the driver's side muffler sits higher than the passenger's side. I have to adjust the hanger; however, I need a torch to heat it up and bend it accordingly.

4) Feel It Up: Check For Leaks- Once the exhaust is installed and you are satisfied with its position you must check for leaks. Simply turn the car on and feel around the gaskets for air escaping. If there is a leak this means you either - a) did not tighten one or more of the bolts enough b) you incorrectly installed a gasket or failed to install it at all c) the exhaust is faulty. Once you are sure there are no leaks and everything is set up the way you want (make sure the tips are not hitting your bumper) you can safely lower the car and enjoy your new exhaust!
Product Review:
Note: The following statements are strictly my own opinions. Also, I will attempt to not use any over-exaggerated words or phrases to describe my opinions.
PROS: This exhaust is loud, there is no doubt about it. It is by far THE loudest exhausts I have ever heard in person. When I first started it up it was like music to my ears. The tone is very deep and it sounds mean. The quality of this system is very good and although some say it looks "ricey" I find it quite easy on the eyes. I have not experienced one bit of rasp, not even started up cold. At WOT this exhaust screams and I don't know if it's just a placebo effect but I definitely feel an increase in top end torque. I feel 5th and 6th gear have significantly more amount of pull now. Price is definitely good for the quality that it is and for the deepness of sound you achieve.
CONS: The fitment of this exhaust is fair, at best. But what are you to expect when this exhaust is made for a 350Z ? It was very difficult to get everything to line up the way I wanted it and, even still, I have some adjustments to make. The exhaust tips are not long enough and I will need to purchase some 4'' TopSpeed Titanium Tips so I do not melt my bumper. The drone is very noticeable, but definitely bearable. People on here and My350Z have said it's deafening, and, although it is quite loud, I was able to maintain normal conversation with my girlfriend throughout the entire rev-range. Between 2000 and 3000 RPMs it is the loudest, but even then I was able to hear my music and my girlfriend, and yes, I could still hear myself think.
Conclusion: All-in-all I am very pleased with this exhaust and I am glad I pulled the trigger and bought it. When modifying our cars nothing will ever be %100 perfect and sometimes we have to deal with the little things in order to enjoy the main reasons we modified it in the first place. I'll take some drone for the deep, mean roar my car has now. I wouldn't trade this exhaust for anything.
Loudness: 10/10
Sound: 10/10
Fitment: 6/10
Quality: 8/10
Looks: 8/10
Severity of Drone: 7/10
Severity of Rasp: 1/10
Overall: 8/10
This exhaust has been marked "GIRLFRIEND APPROVED" !

#2
09-30-2009, 10:00 PM
#3
09-30-2009, 10:03 PM
#7
04-16-2011, 07:03 PM


Trending Topics

#9
04-19-2011, 08:41 AM
#10
04-20-2011, 09:32 AM

Thread
Thread Starter
Forum
Replies
Last Post
Tolboothwilley�
Exterior-Vendor
6
07-28-2016 12:42 AM
bTanz
G35 Coupe V35 2003 - 07
16
10-15-2015 02:31 PM