psycobusa's G-coupe progress thread, LS2 swap included
#1
 02-27-2015, 05:52 PM


psycobusa's G-coupe progress thread, LS2 swap included
Hey guys, just figured I'd share the progress I've made with my G. I couldn't have done it without the help of a lot of people on this site so this is my way of saying, "Thanks". I'll keep it short and sweet so lets begin.
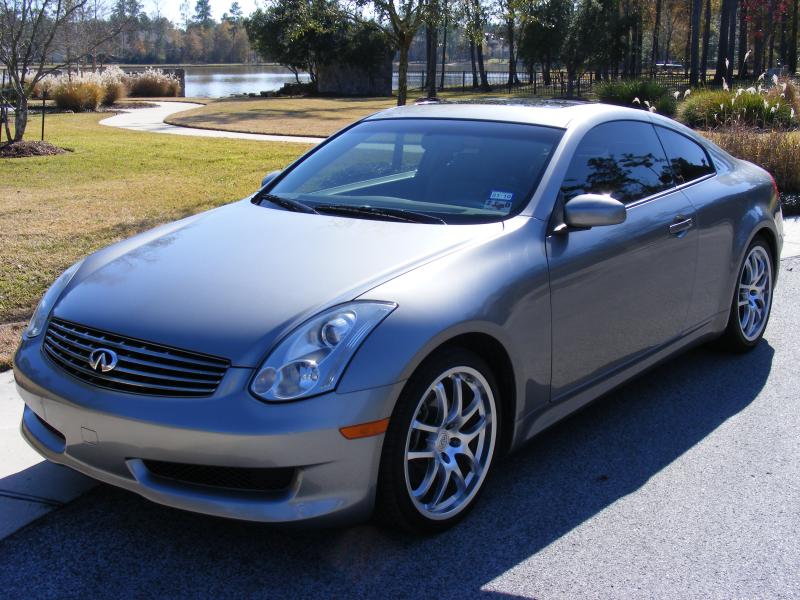
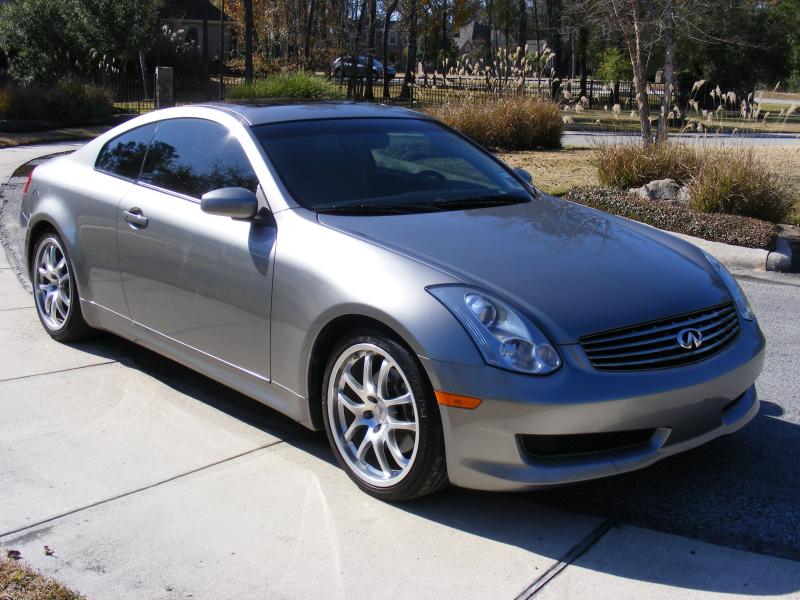
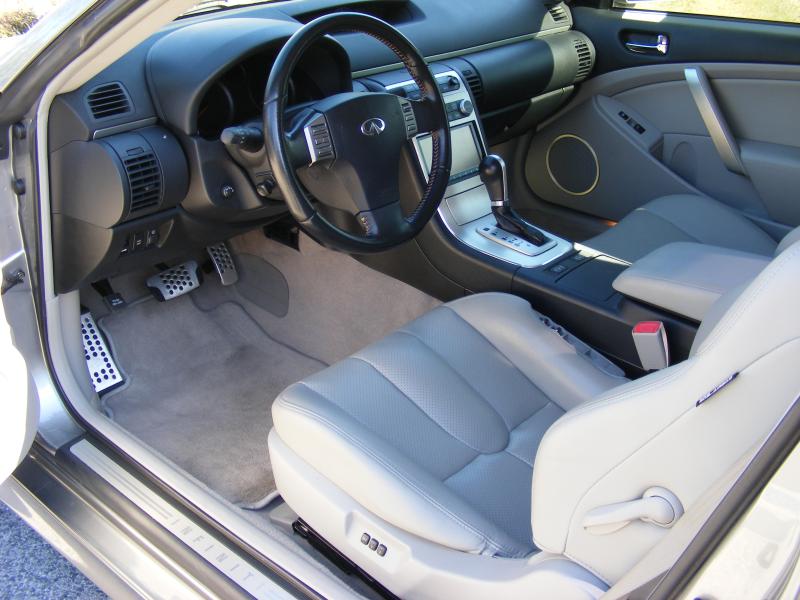
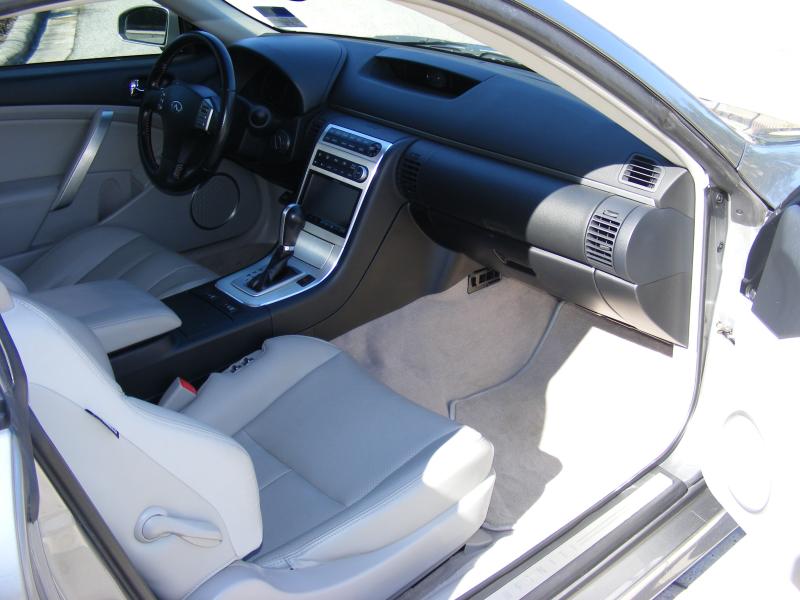
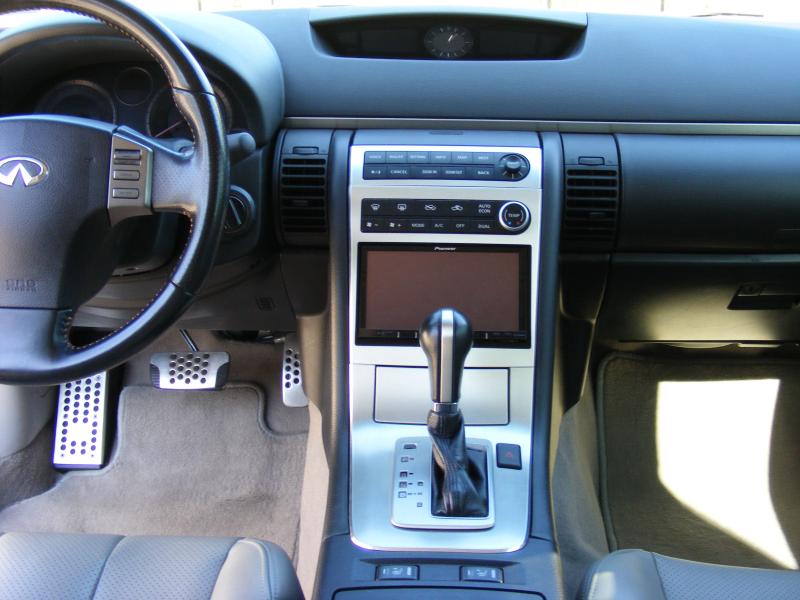
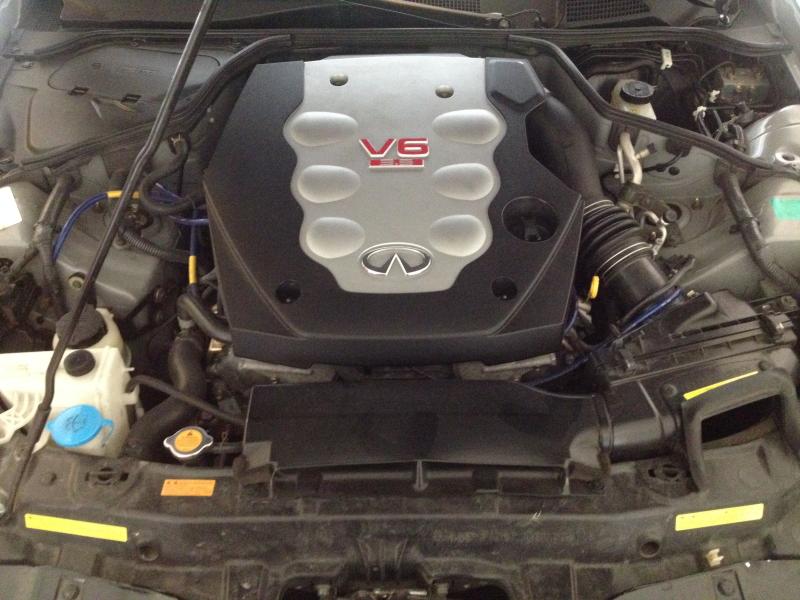
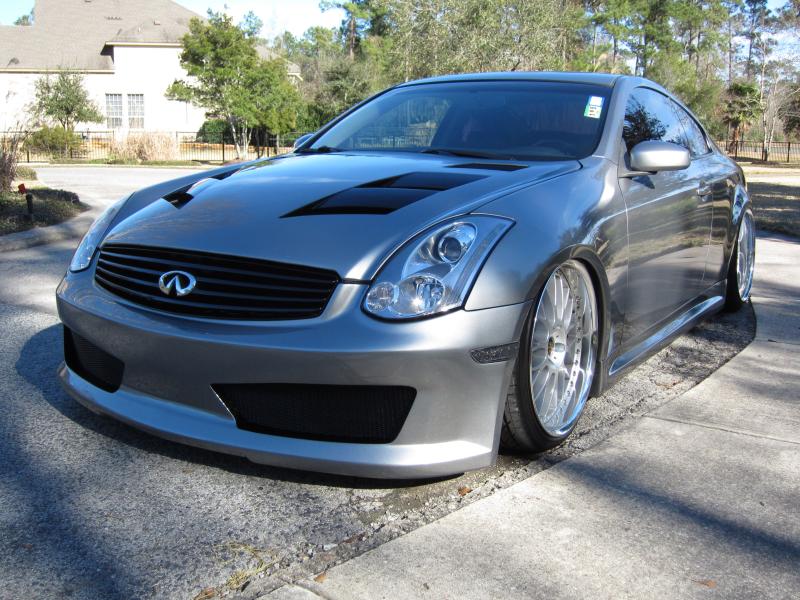
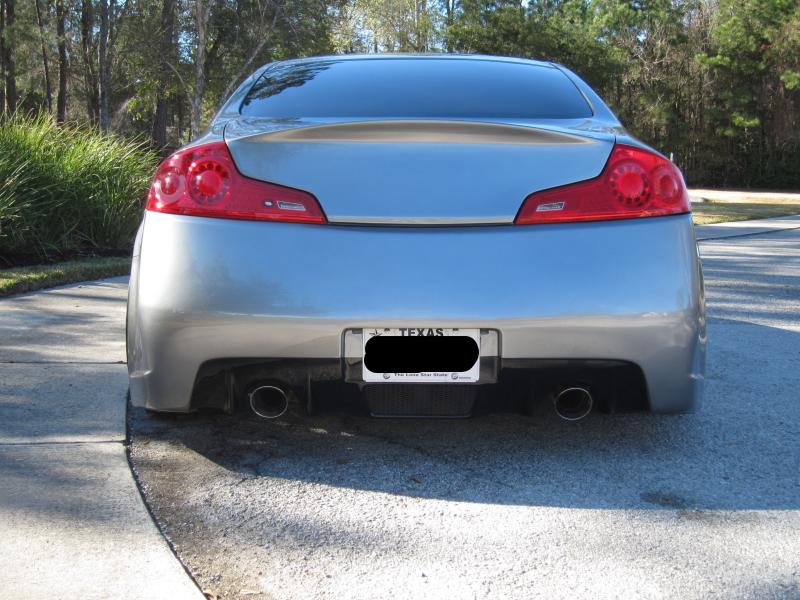
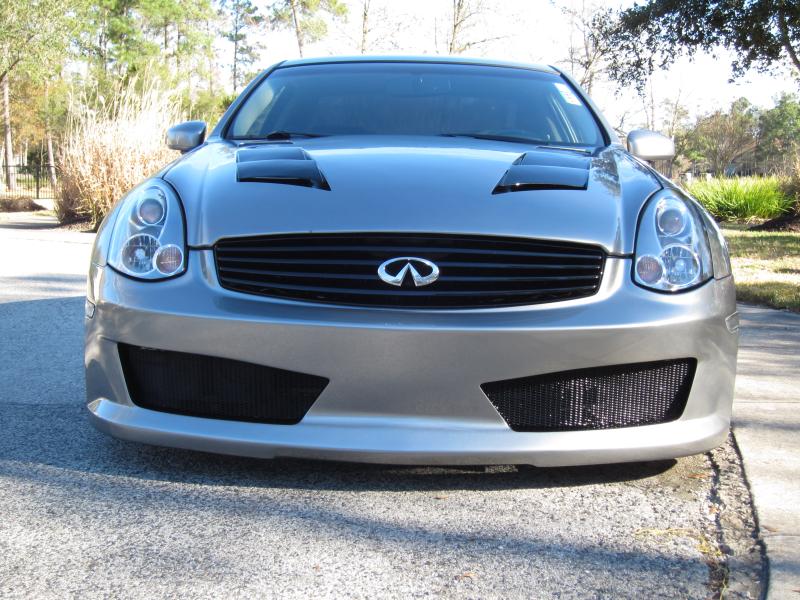
First off, I started off with a very clean '06 G coupe 5at sport. By the time I took these pics, I had already added a Pioneer double din receiver.
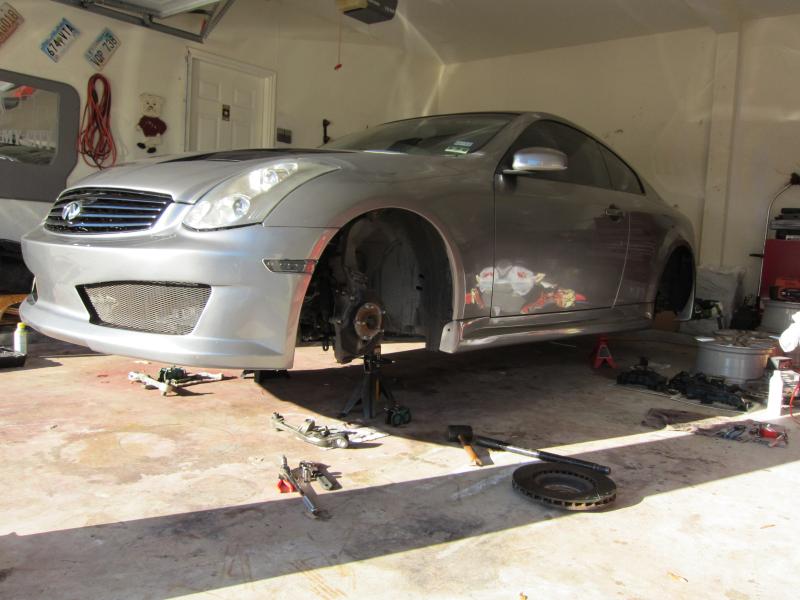
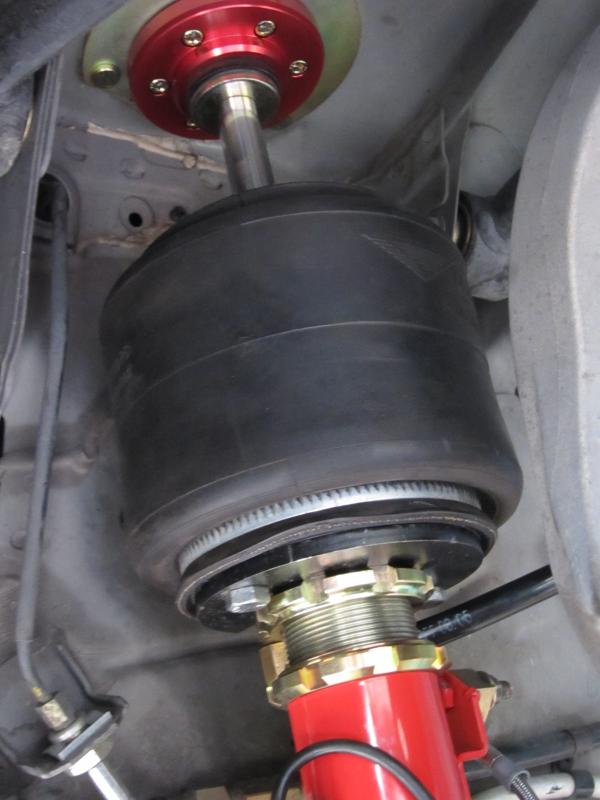
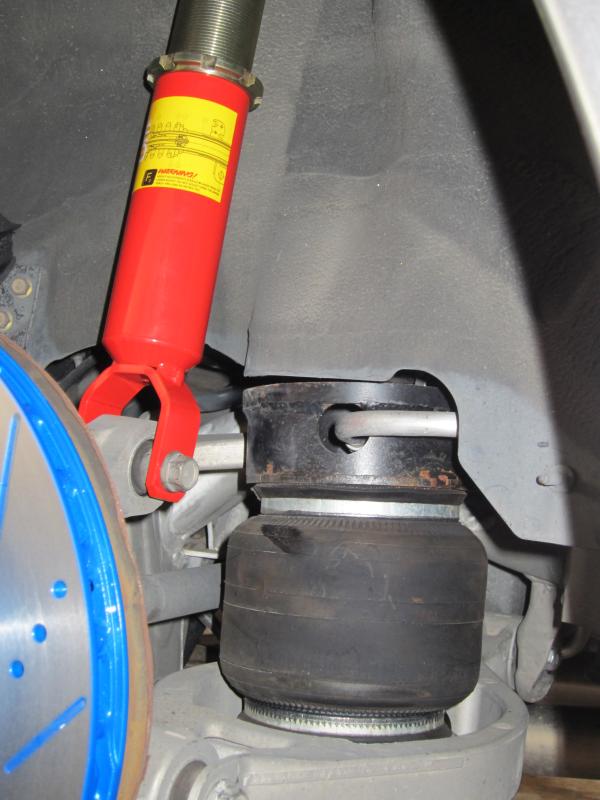
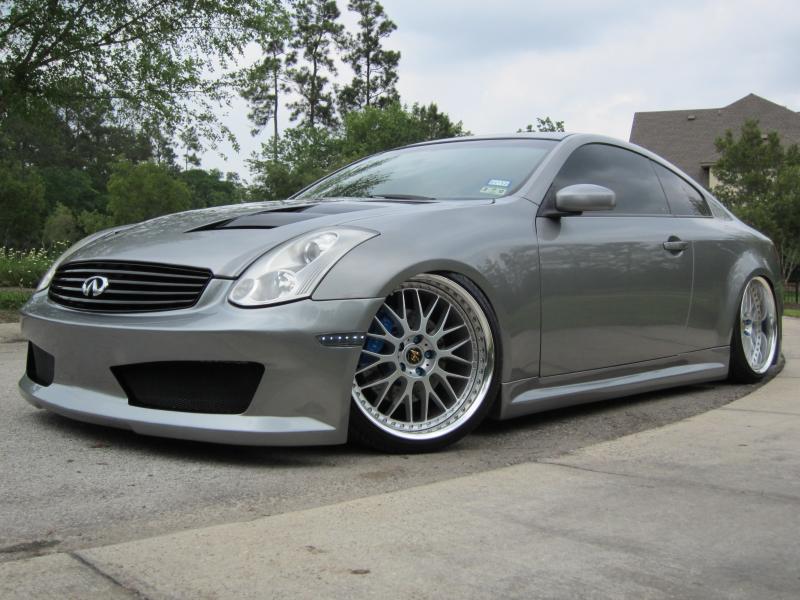
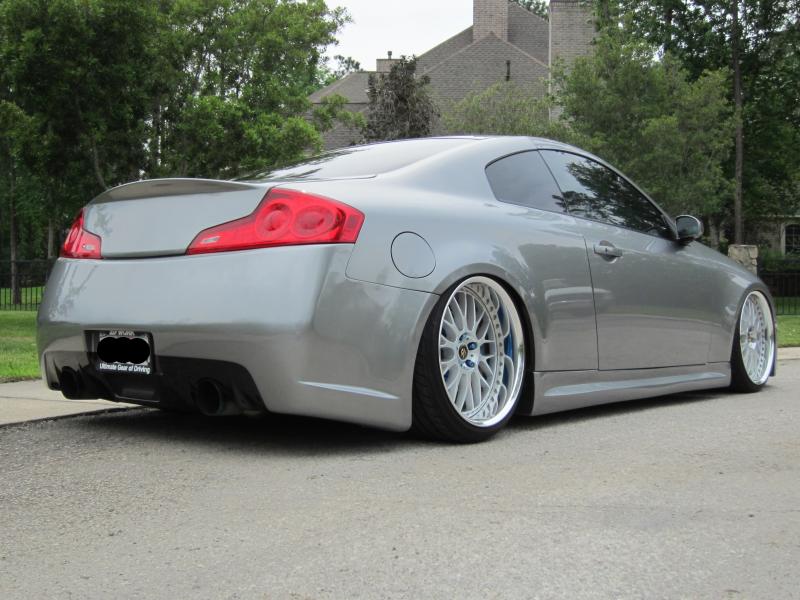
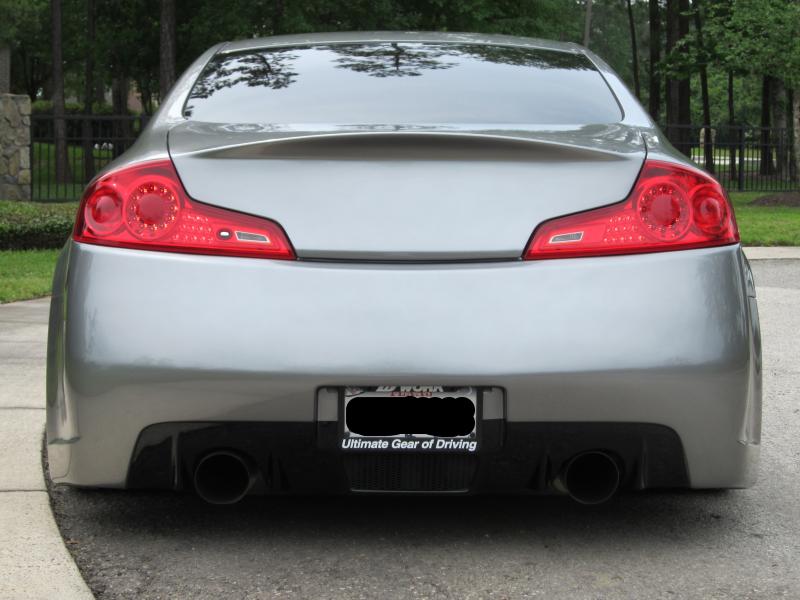
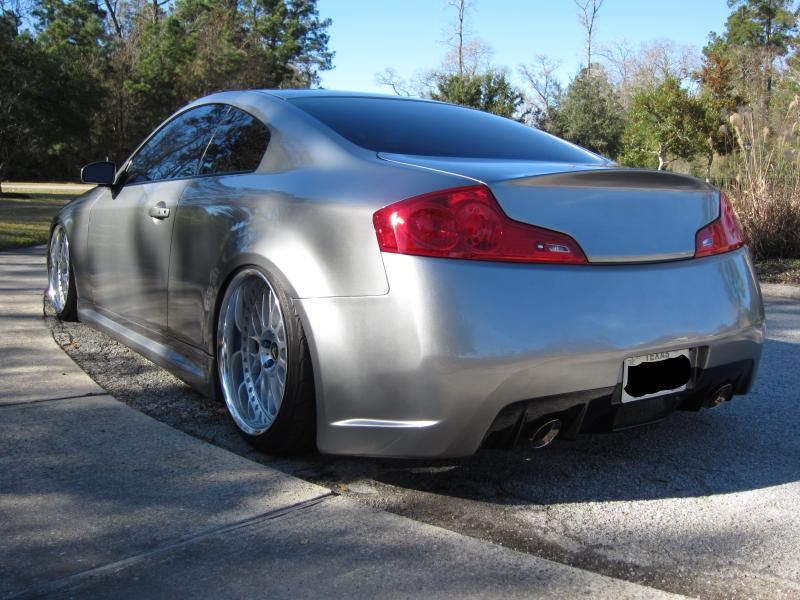
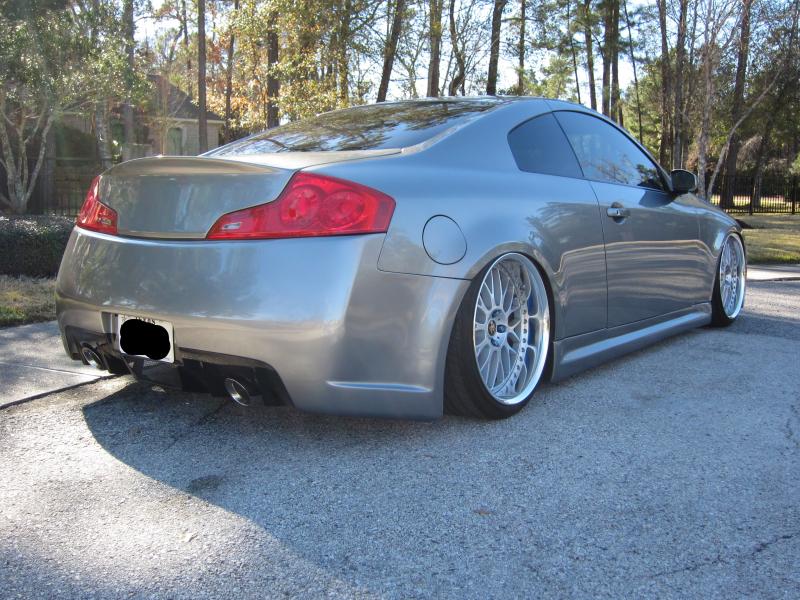
Next, I added a UAS air ride kit along with a body kit consisting of a hikkati dora hood, strafe trunk, strafe inven front bumper, c-speed rear bumper, and impul sides. All of this was done at the same time. I could only find a couple of pics from this time period but you'll see more down the line.

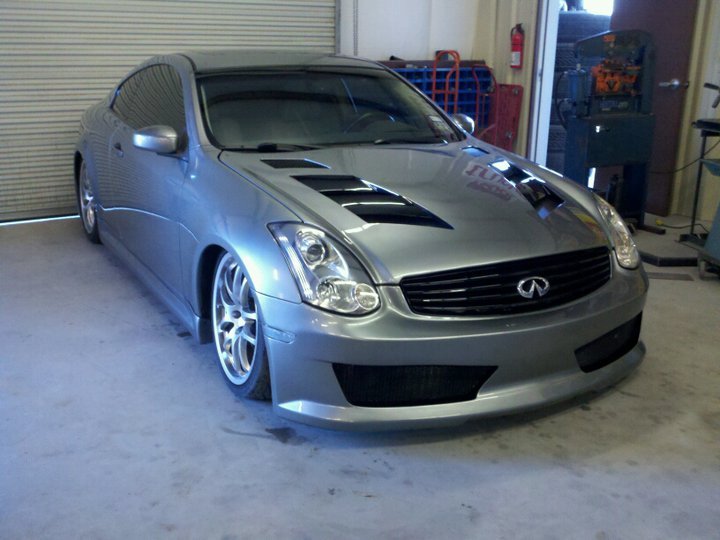
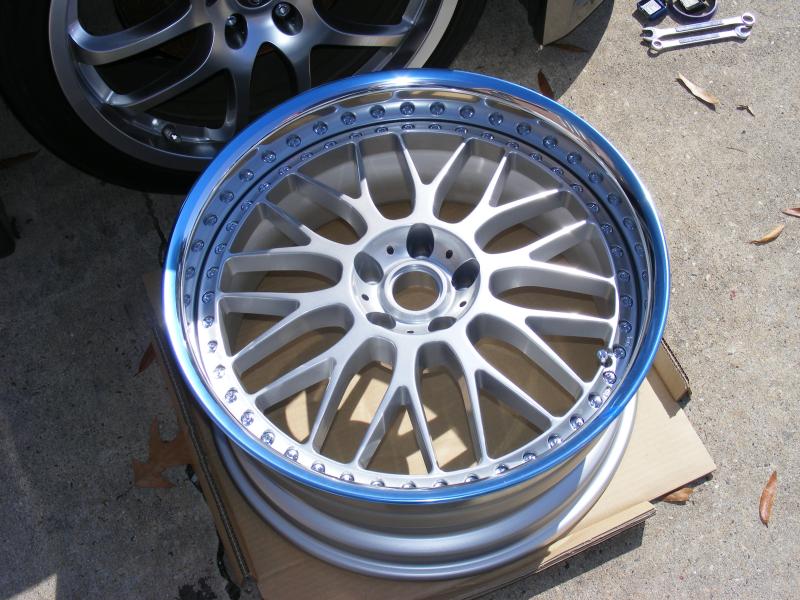
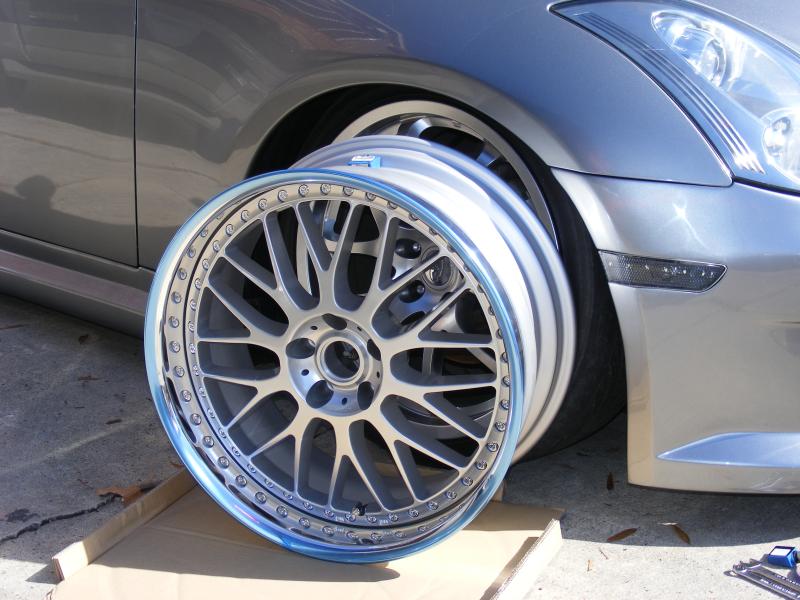
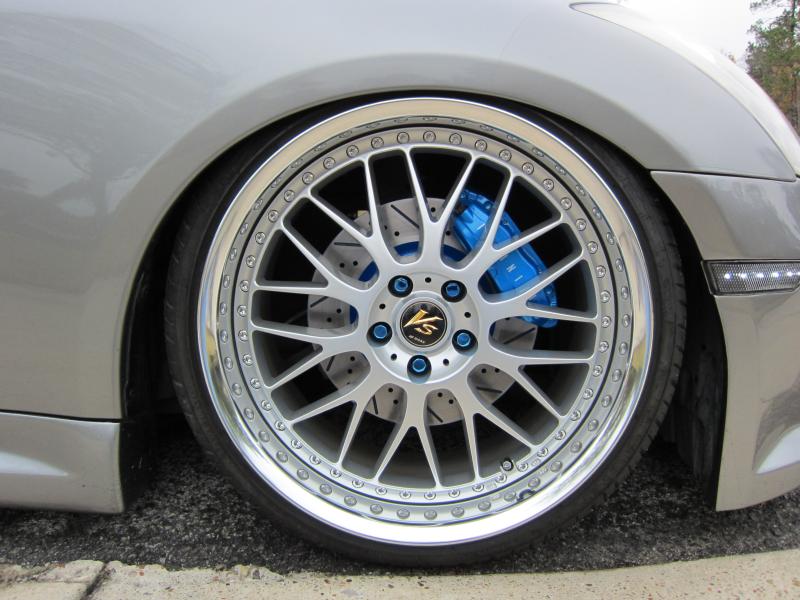
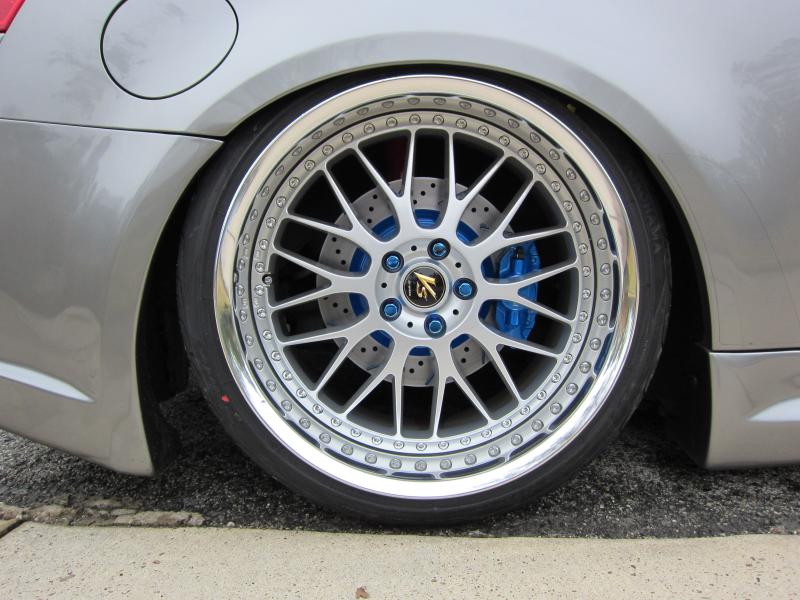
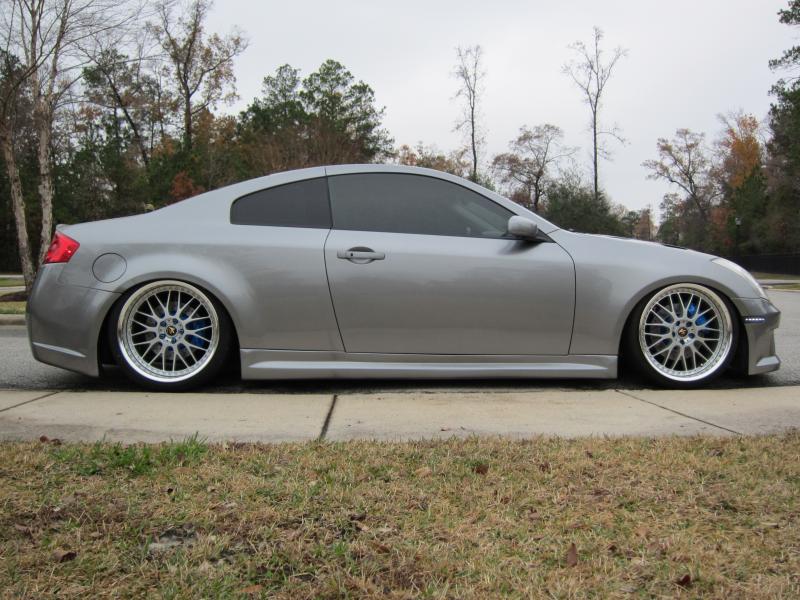
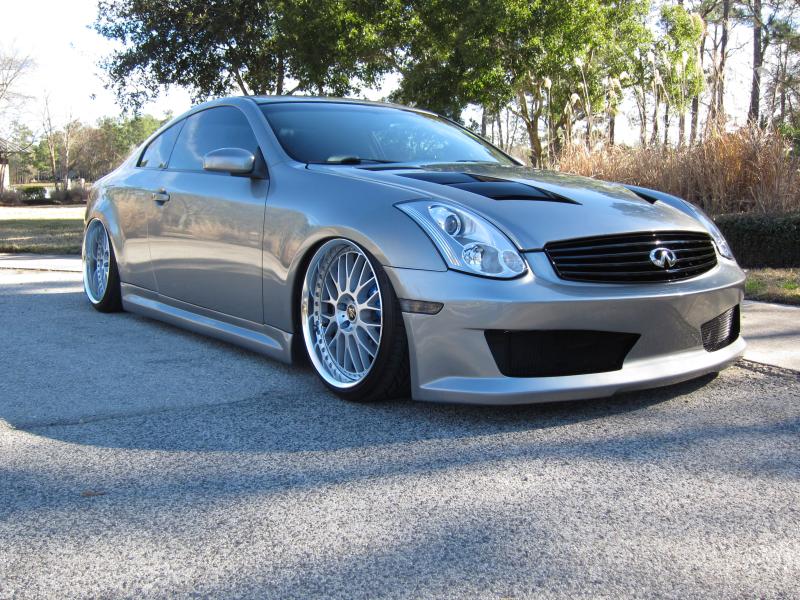
I knew that once I added the parts above, I would need to compliment everything with a new set of wheels which I had ordered ahead of time and came in just a couple of weeks later. As you can see they are 20" Work VS-XX's.
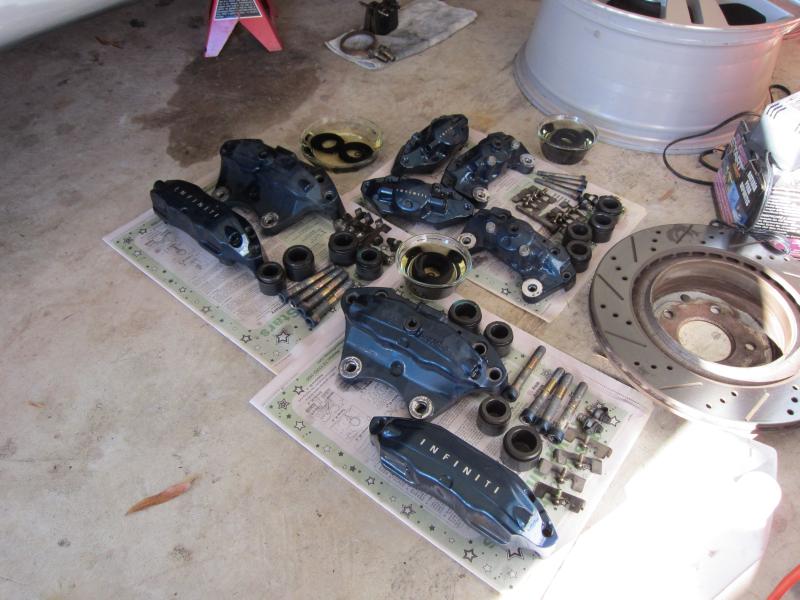
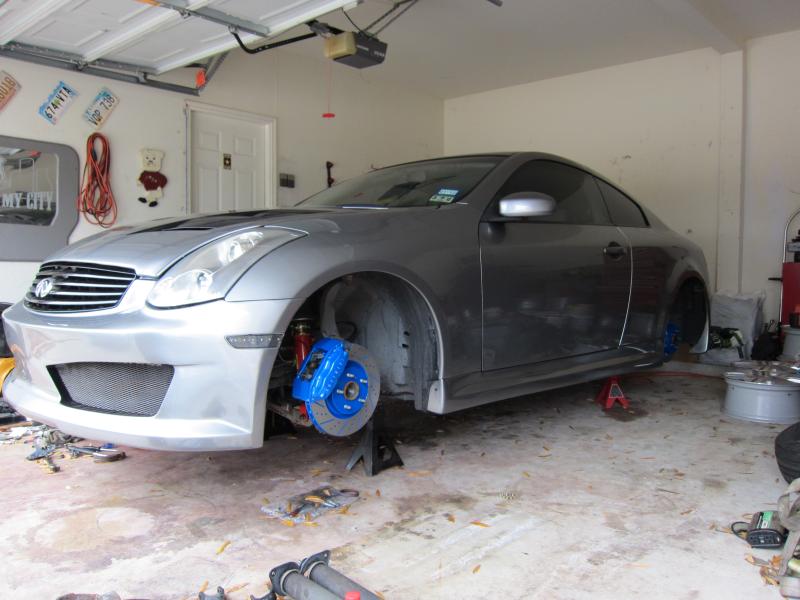
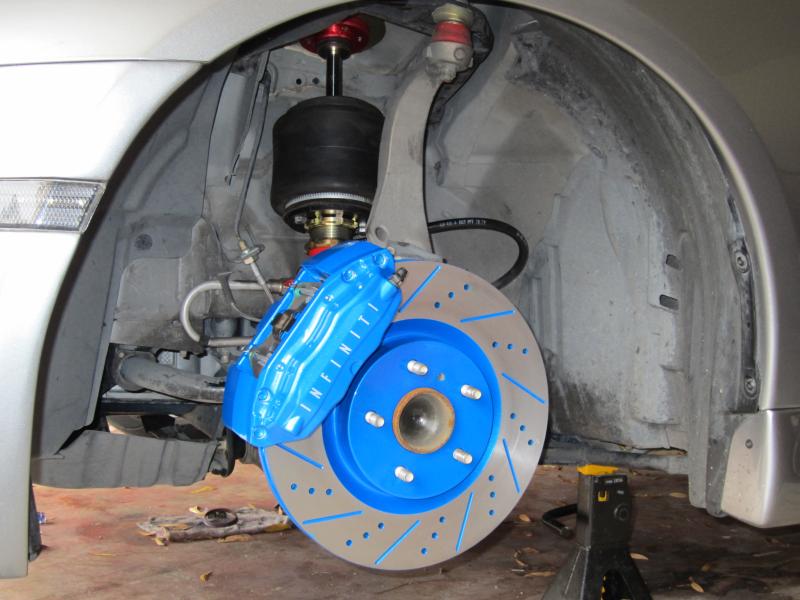
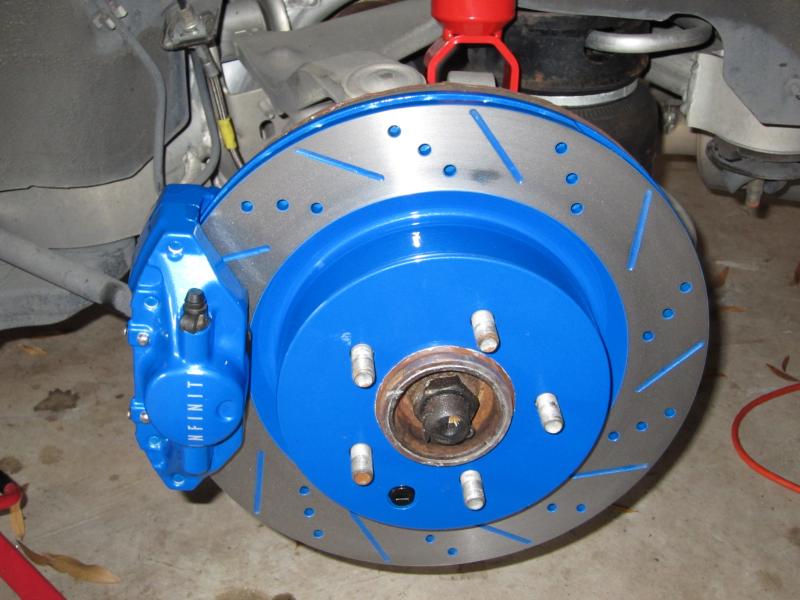
Not too long after this point I decided to add a set of OEM Brembos which I had powder coated along with a set of Function & Form coilovers because the stocks had blown. I have since added Stoptech 2 piece rotors. Also, during this time, I installed a HKS full catback with ART test pipes.

First off, I started off with a very clean '06 G coupe 5at sport. By the time I took these pics, I had already added a Pioneer double din receiver.


Next, I added a UAS air ride kit along with a body kit consisting of a hikkati dora hood, strafe trunk, strafe inven front bumper, c-speed rear bumper, and impul sides. All of this was done at the same time. I could only find a couple of pics from this time period but you'll see more down the line.


I knew that once I added the parts above, I would need to compliment everything with a new set of wheels which I had ordered ahead of time and came in just a couple of weeks later. As you can see they are 20" Work VS-XX's.


Not too long after this point I decided to add a set of OEM Brembos which I had powder coated along with a set of Function & Form coilovers because the stocks had blown. I have since added Stoptech 2 piece rotors. Also, during this time, I installed a HKS full catback with ART test pipes.


Last edited by psycobusa; 02-28-2015 at 12:28 AM.
#2
02-27-2015, 05:53 PM
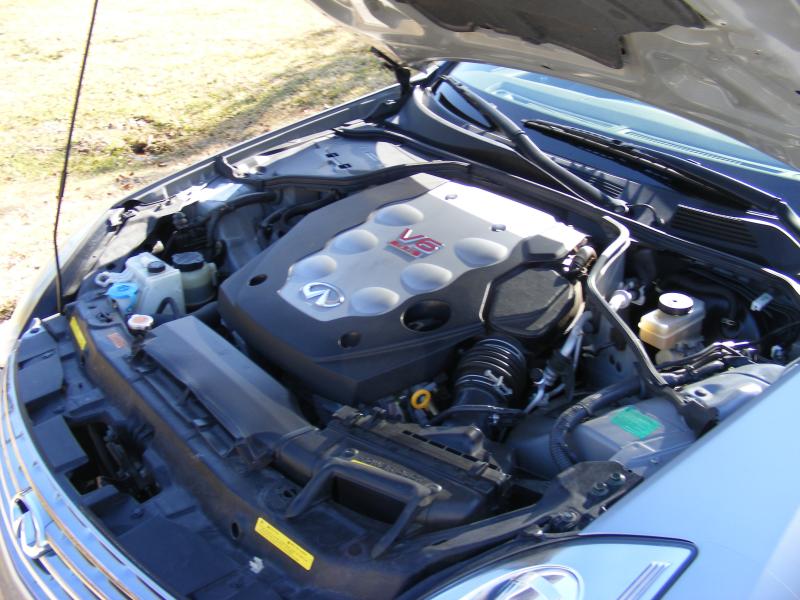
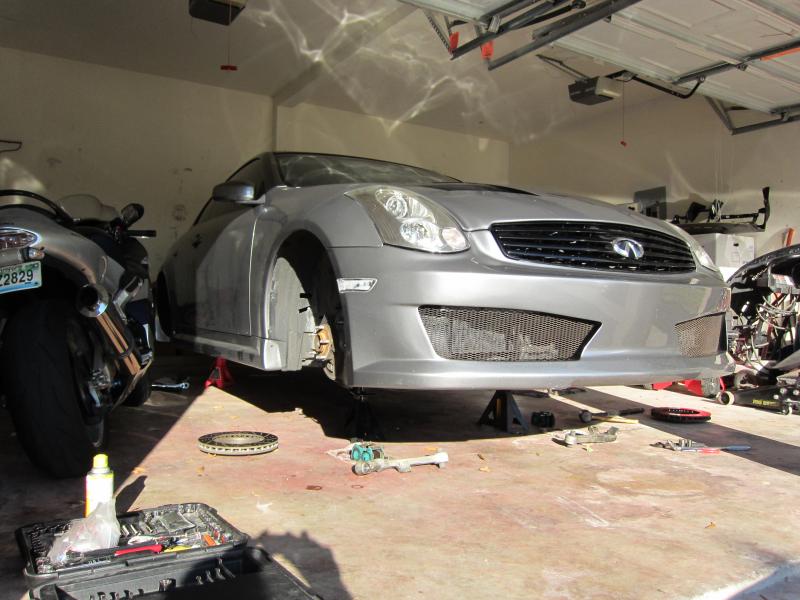
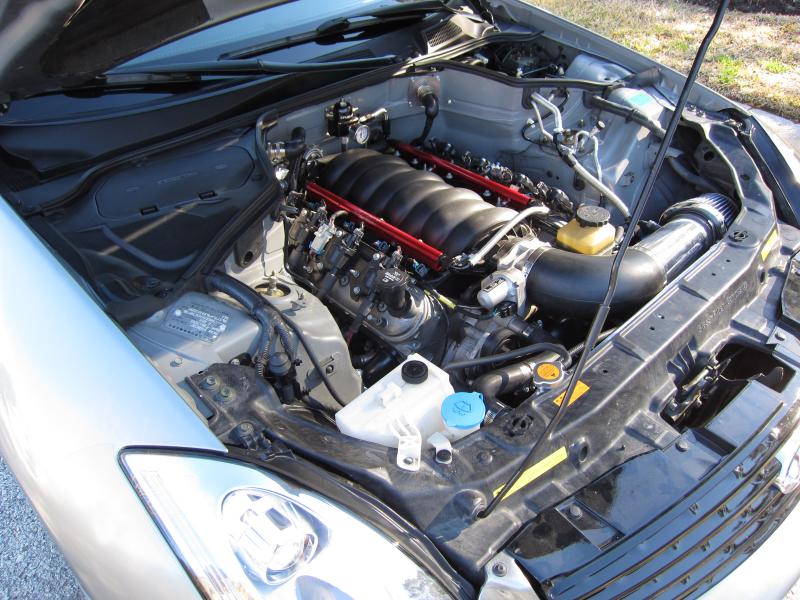
Now for the fun part. Removal of the stock VQ for a LS2 begins
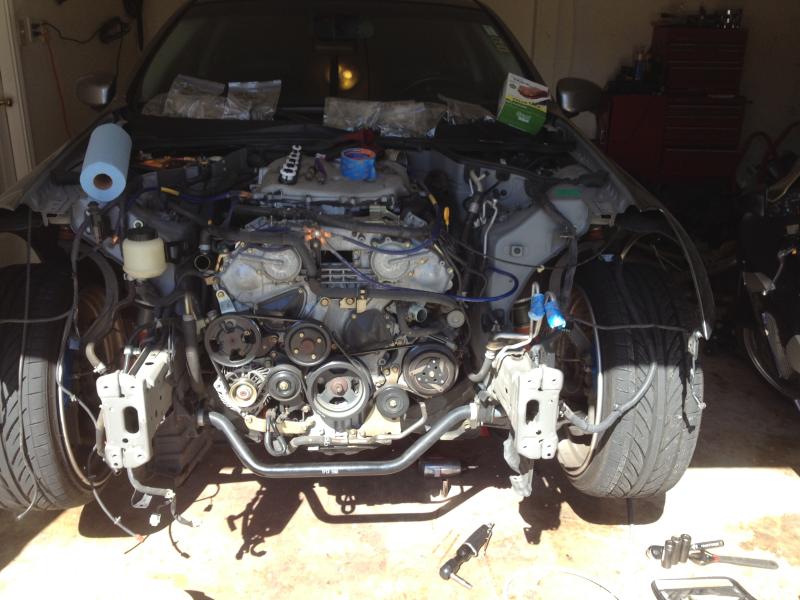
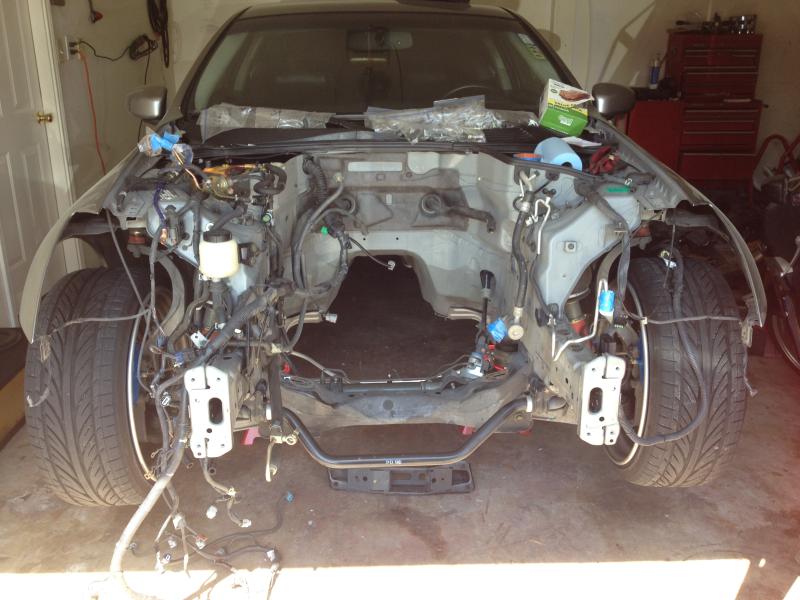
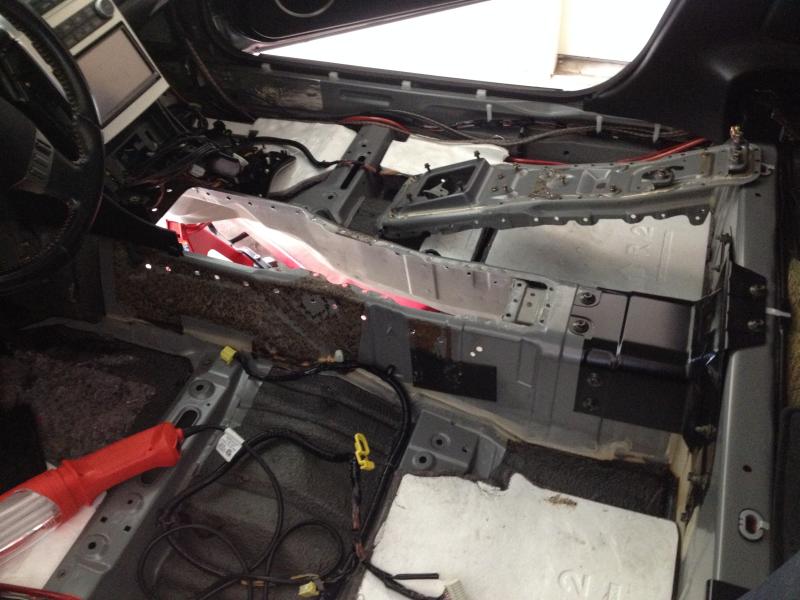
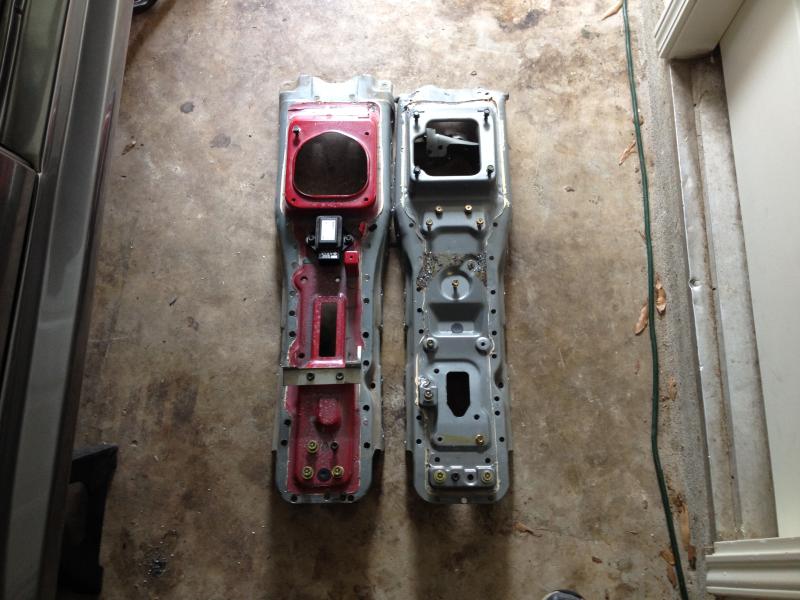
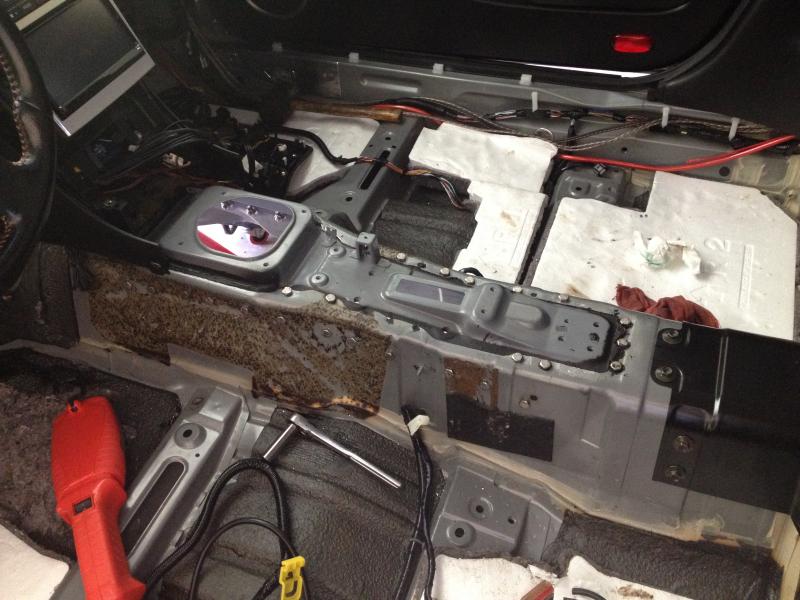
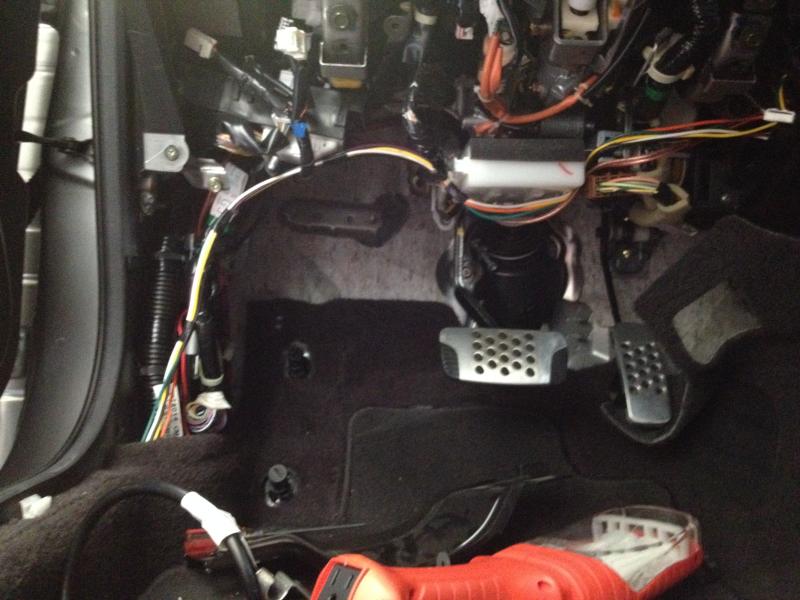
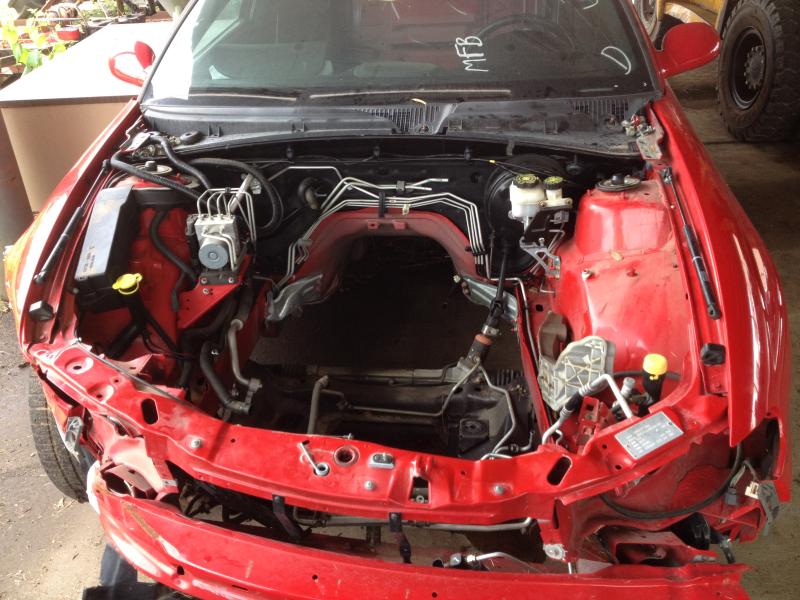
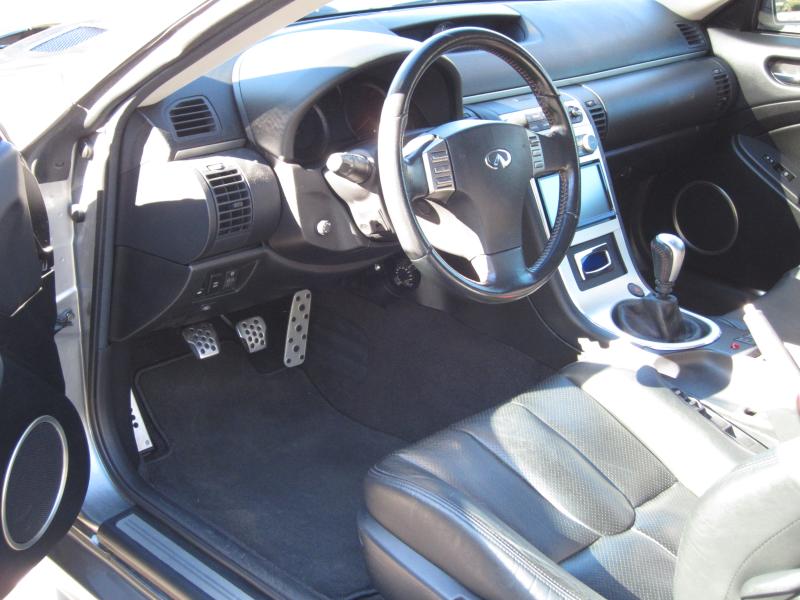
Being that my car was and auto and I would be installing a 6 speed, I decided to cut out the stock 5at tunnel and replace it with one from a 6mt. I also had to remove the stock E-brake to make room for the clutch.
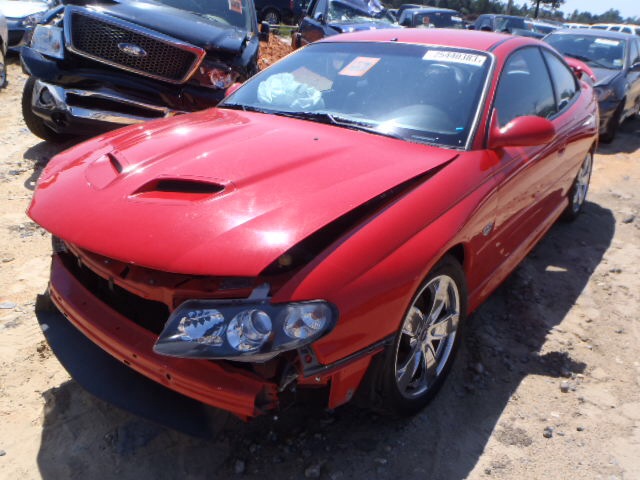
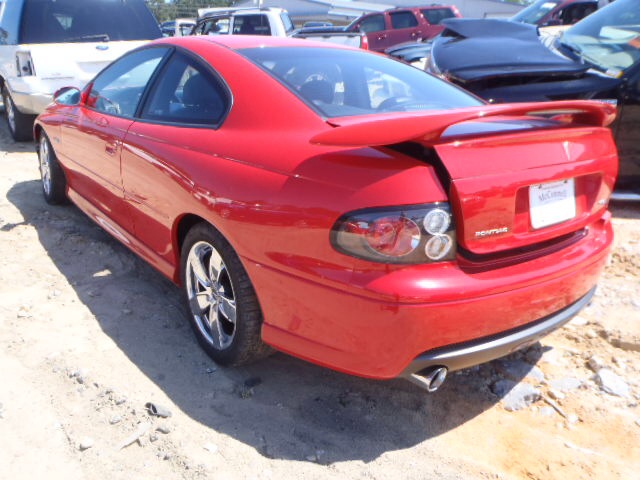
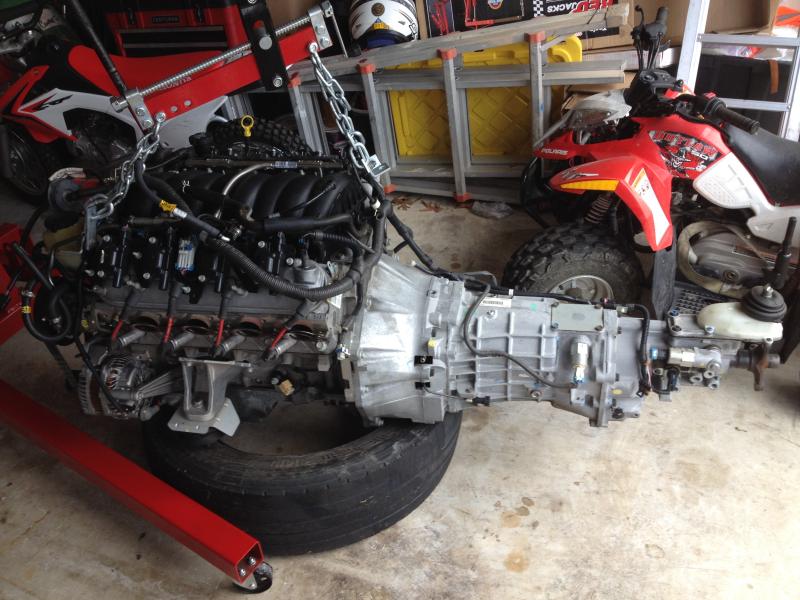
I got a little lucky and found a parts only GTO with only 26k miles to use as the donor.


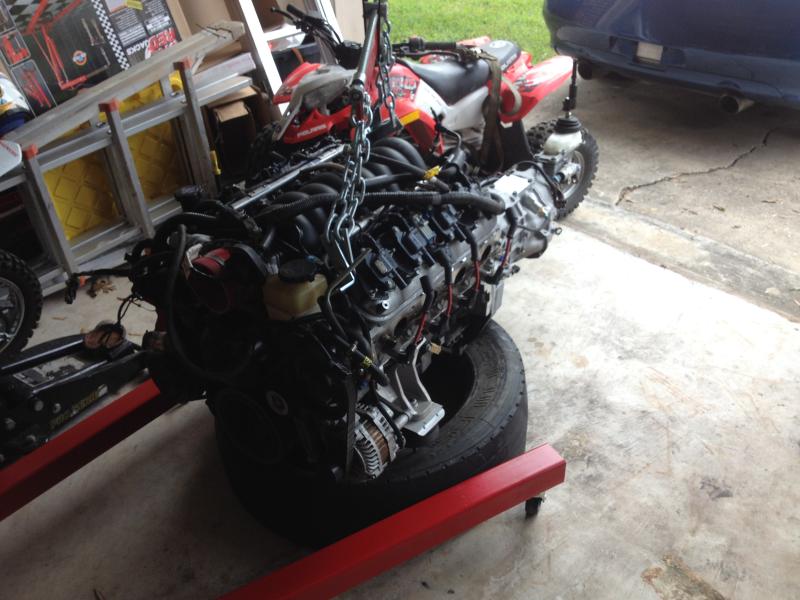
Here, I had removed the LS2 and got it ready for installation into the G.

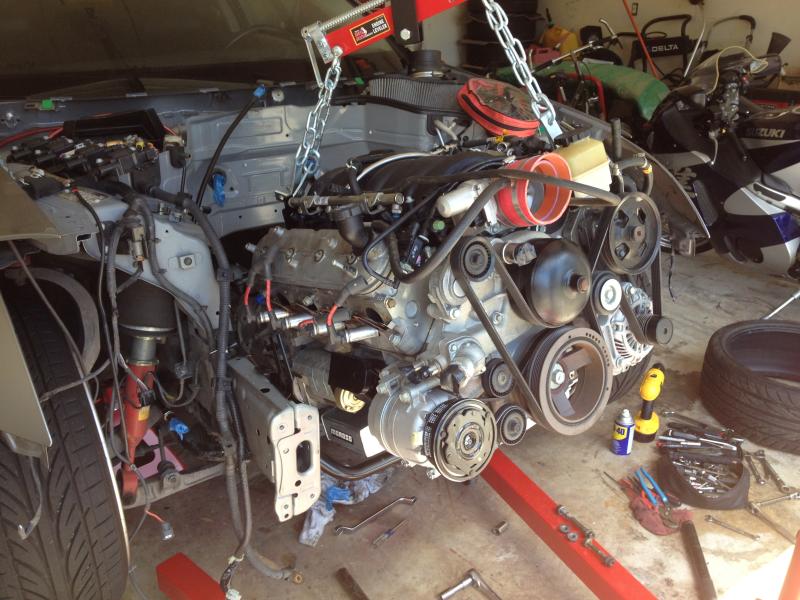

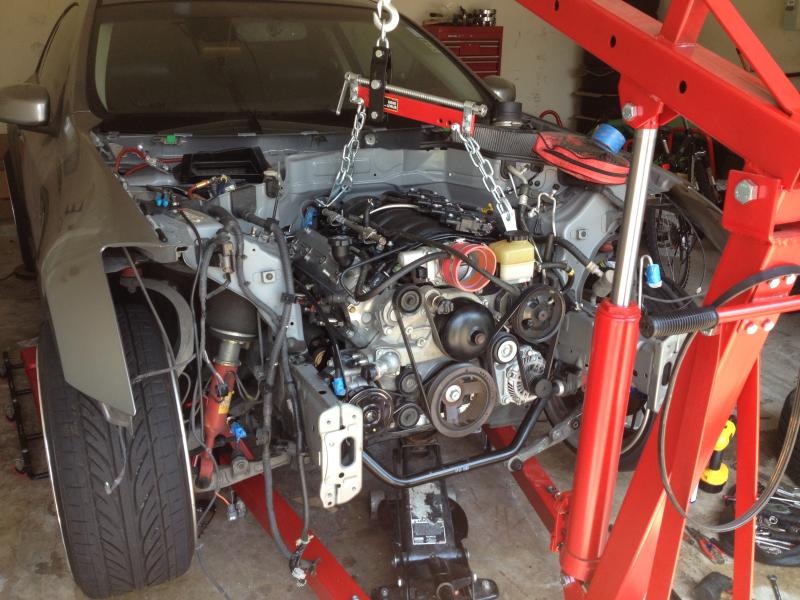
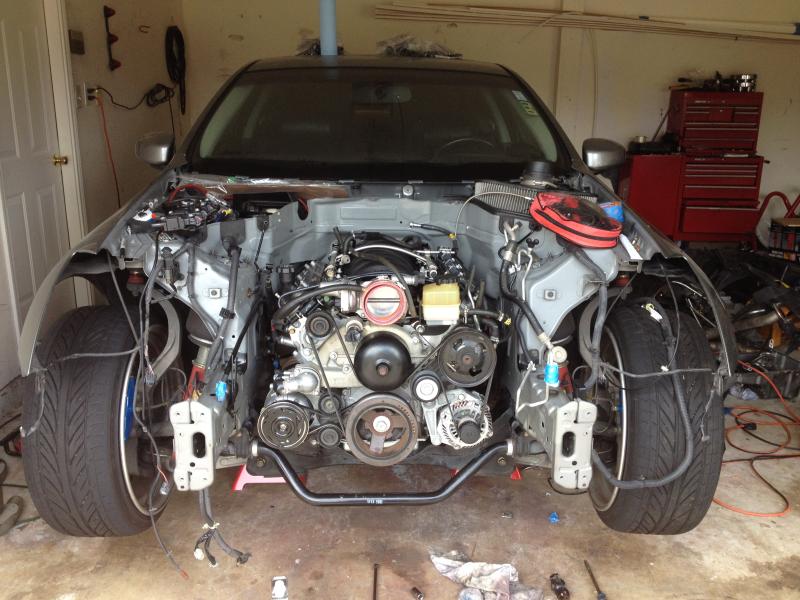
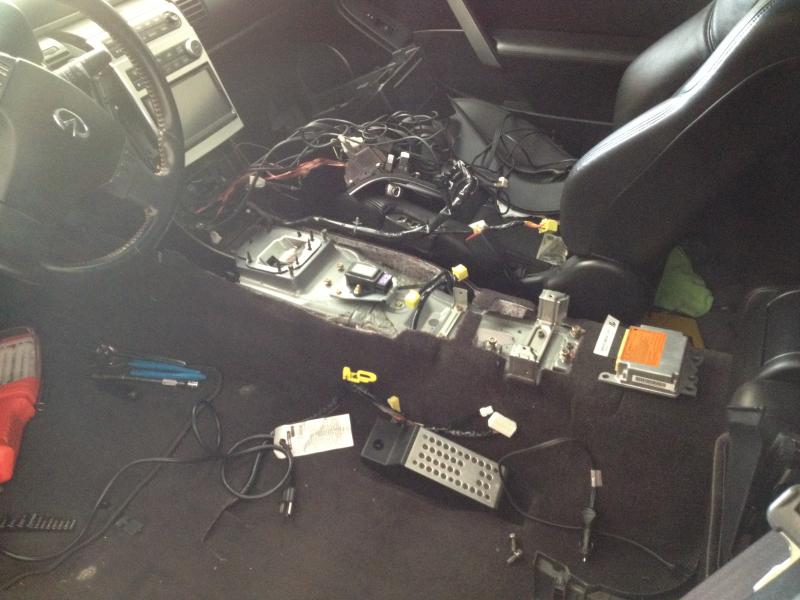
I sent it off to a performance shop to be wired and this is how it sits as of now. I didn't take any pics at the time but before the swap, I had the interior changed from willow to black and also updated the pioneer deck to a kenwood with nav. Thanks for looking fellas.


Being that my car was and auto and I would be installing a 6 speed, I decided to cut out the stock 5at tunnel and replace it with one from a 6mt. I also had to remove the stock E-brake to make room for the clutch.


I got a little lucky and found a parts only GTO with only 26k miles to use as the donor.


Here, I had removed the LS2 and got it ready for installation into the G.


I sent it off to a performance shop to be wired and this is how it sits as of now. I didn't take any pics at the time but before the swap, I had the interior changed from willow to black and also updated the pioneer deck to a kenwood with nav. Thanks for looking fellas.


The following 6 users liked this post by psycobusa:
bigc (02-27-2015),
Drifter2090 (03-04-2015),
Hatchman (03-01-2015),
S 854 (02-27-2015),
Sponger (02-27-2015),
and 1 others liked this post.


#6
02-28-2015, 02:03 AM

#7
02-28-2015, 08:47 PM

Trending Topics

#10
03-01-2015, 10:09 AM

Awesome build, thanks for the pics. Somebody has put in a lot of wrench time.
Where did you get the black interior? Your willow was in excellent shape, not even a tear in the driver's seat.
What is the small display under the Kenwood where the ash tray door would normally go? Looks like a Sirius/XM display but not sure.
Nicely done. Thanks for posting.
Where did you get the black interior? Your willow was in excellent shape, not even a tear in the driver's seat.
What is the small display under the Kenwood where the ash tray door would normally go? Looks like a Sirius/XM display but not sure.
Nicely done. Thanks for posting.
#11
03-01-2015, 06:11 PM
The following users liked this post:
Urbanengineer (09-01-2015)
#12
03-01-2015, 06:12 PM
#13
03-01-2015, 06:13 PM
#14
03-01-2015, 06:15 PM
Awesome build, thanks for the pics. Somebody has put in a lot of wrench time.
Where did you get the black interior? Your willow was in excellent shape, not even a tear in the driver's seat.
What is the small display under the Kenwood where the ash tray door would normally go? Looks like a Sirius/XM display but not sure.
Nicely done. Thanks for posting.
Where did you get the black interior? Your willow was in excellent shape, not even a tear in the driver's seat.
What is the small display under the Kenwood where the ash tray door would normally go? Looks like a Sirius/XM display but not sure.
Nicely done. Thanks for posting.
#15
03-03-2015, 06:40 PM


