When you click on links to various merchants on this site and make a purchase, this can result in this site earning a commission. Affiliate programs and affiliations include, but are not limited to, the eBay Partner Network.
Well, as we all know, headlights get gross after time. Oxidization and hazing sucks. The factory protective coating only works for so long until it starts to deteriorate because of how thin it is. Those products from 3M, Meguiars, etc only work for like a month and need re-application and usually inclement weather ruins it. Not bagging on any of those companies, but we all know it's true. So here's my (and many others, not taking any credit) solution that I just did. It involves wet sanding and clear coating.
What you're going to need is only going to cost around $35, I'm going to assume you already have some of it from a previous detail job and from household items so I reduced the price (if not, get them, you'll thank me later). Probably around $50-$60 total if you don't have them.
*pre-apologizing about vertical pictures, skipped my mind. Also apologize if images are large, but hey, details are visible*
A couple microfiber towels
600 grit sandpaper (3M wet/dry recommended, you don't need 600 grit if your headlights aren't that bad)
1500 grit sandpaper (3M wet/dry recommended)
2000 grit sandpaper (3M wet/dry recommended)
Gloss Clear Coat (I used Rustoleum Gloss Clear Cloat, anything UV resistant and non-yellowing is fine as long as it isn't a bad product)
Application sponge
Carnauba wax (I used California Gold, any microfiber applicable carnauba wax works)
Compound polish (I used Maguiars Compound, recommend it)
Some sort of sealant (I used Meguiars PlastX, recommend it)
Bucket or spray bottle with warm or cold water, I used cold like a dumbass and felt it halfway through in 35 degrees F. I used a bucket and don't regret it.
Trash bags
Painters tape (I used original 3M blue)
Rubbing alcohol
Paper towels
STEP 1
Clean your headlights thoroughly with water or a general purpose cleaner, you don't want any contaminates and dirt getting rubbed into your headlights. You can apply rubbing alcohol to a paper towel and wipe down the headlights after you wash them, just as added security.
STEP 2
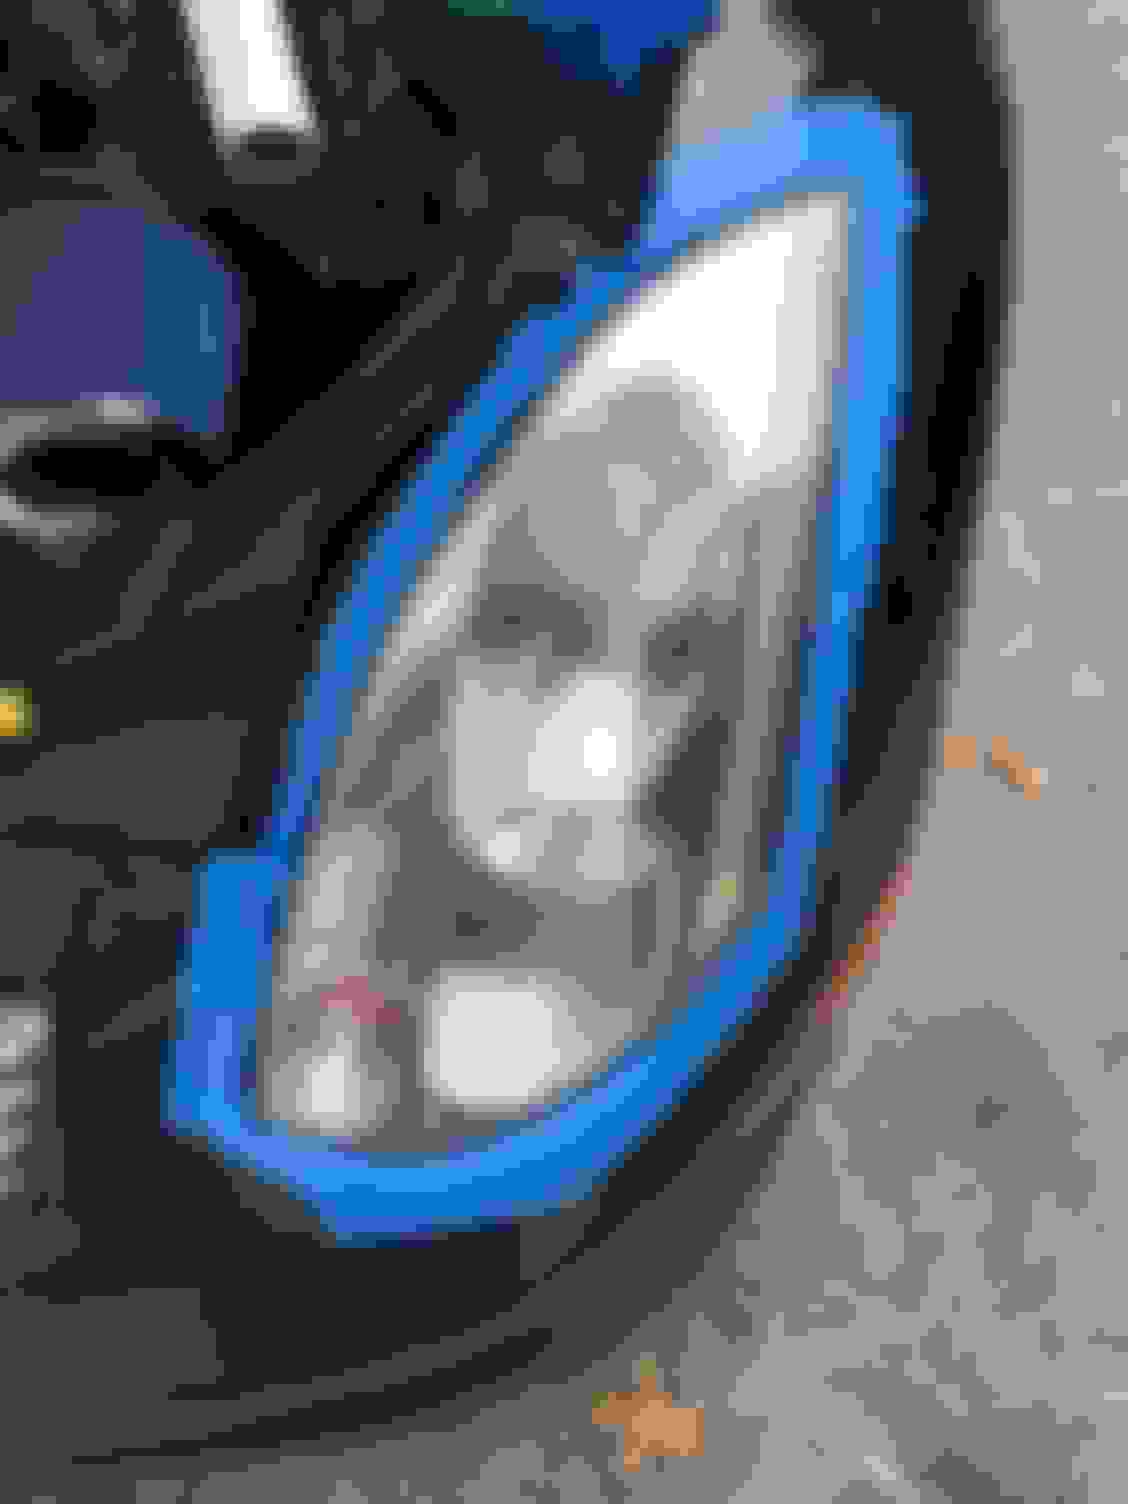
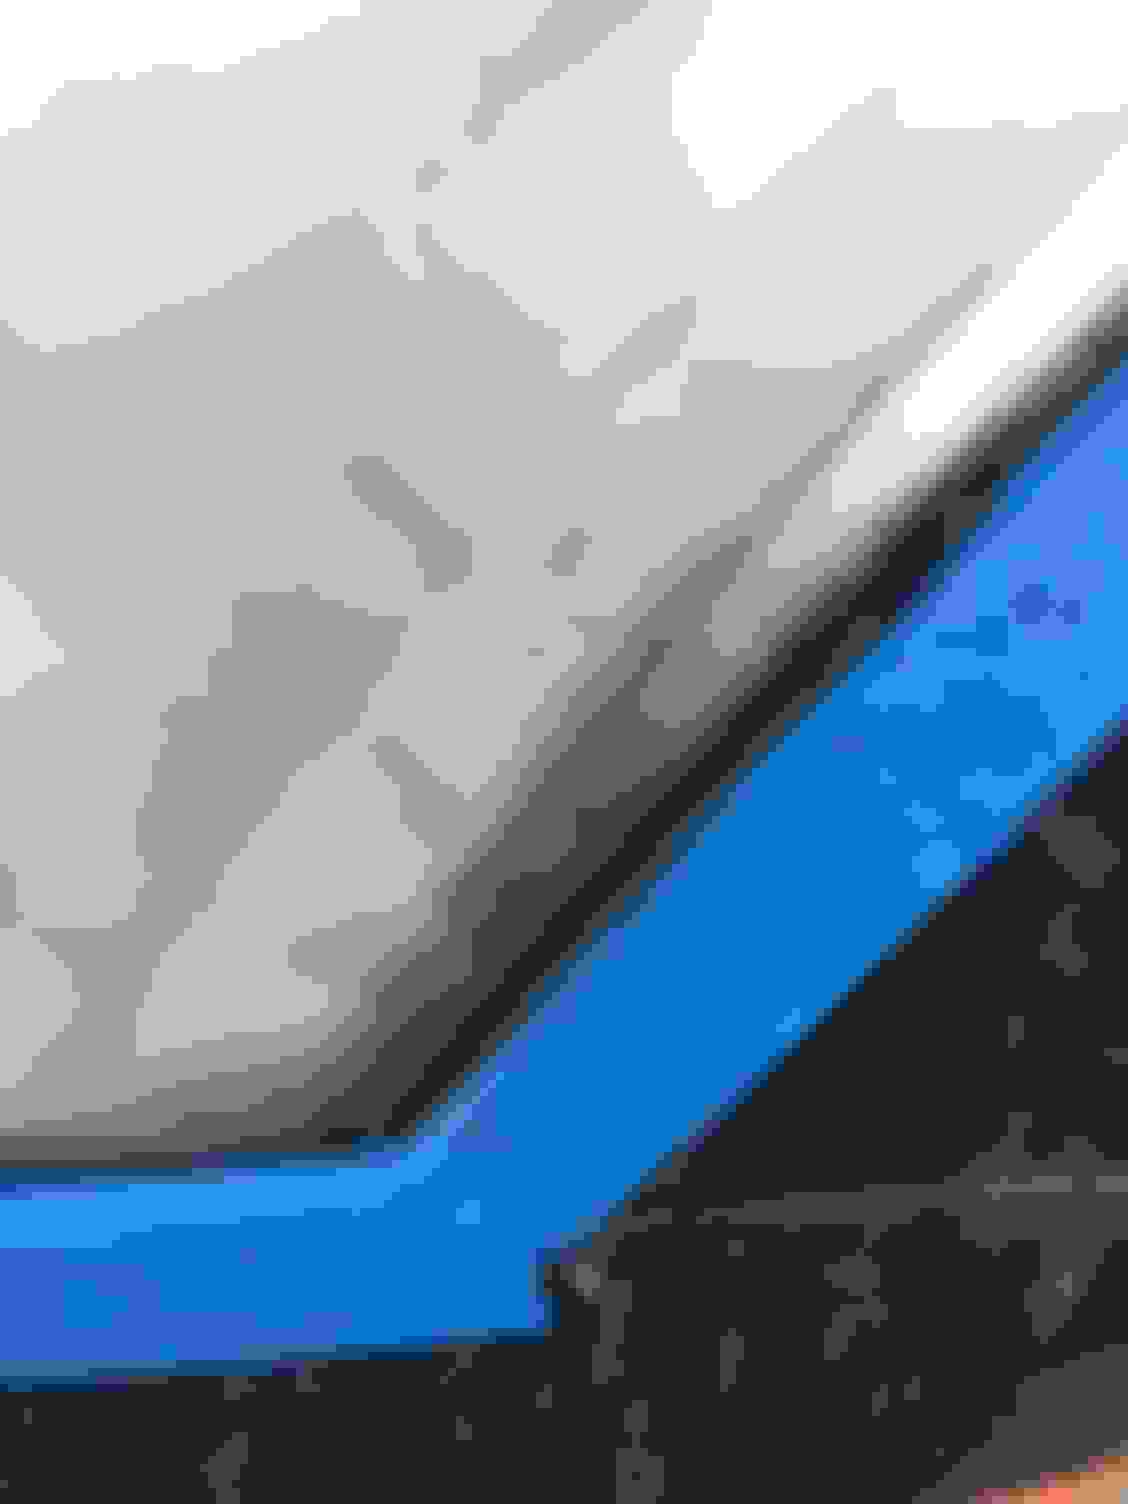
Grab your blue painters tape and tape the living hell out of your car, surrounding the headlight thoroughly. You can lift your hood, I did. I stuck with the golden rule of never enough tape. It'll save you from resuscitating the paint on your car from sandpaper hell.
Should look something like this:
STEP 3
This is where you start to wet sand the headlights. What I did to keep the headlights wet was used a microfiber towel and strained water onto the headlight occasionally while dipping the sandpaper into the bucket. Start with your most course grit, and sand horizontally for 3-5 minutes. Be as even as possible, and don't press to hard on a course sandpaper. You'll end up scratching something TOO much.
Any milky stuff running down the lights and your bumper is normal. I know it's depressing seeing your baby get dirty with some headlight residue but it's worth it.
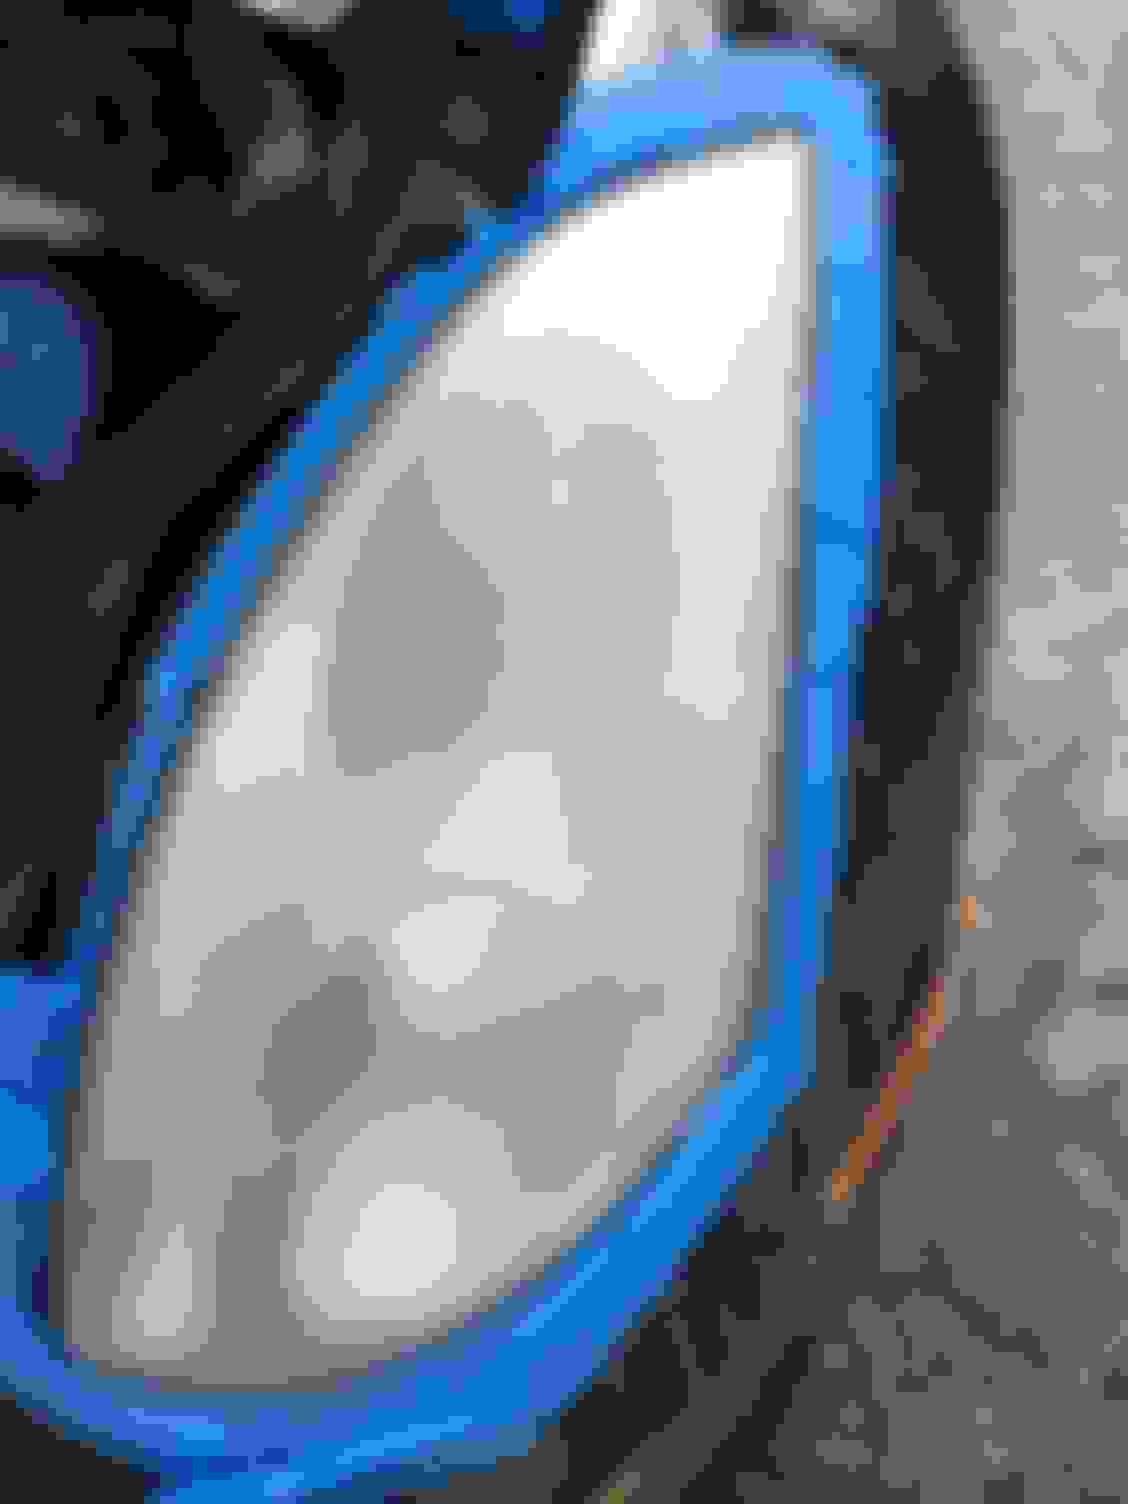
The best way to tell how even of a sand you did is to wait until the headlights fog up. Any spots that don't fog up aren't sanded evenly. It'll look like this:
You want it to look like this:
Now move up to your next grit, for me it was 1500. Continue to follow the same wet sanding procedure, except you can press in harder on the 1500. You want to, because it finely sands the headlights and you want to get it down to the marks you made from the 600 so the clear coat doesn't look like ***. Between each grit I applied the rubbing alcohol with paper towels and cleaned the headlights up, it's extra security. You don't need to, but I suggest it.
STEP 4
This step you're going to cut up 2 large trash bags down the middle and across the sides to make it as wide as possible. Close your hood and tape the bags across your headlights as tight as you can and make sure your cars paint wont get touched by the clear coat. It'll look like this:
After that, take some scissors and cut extra space around the opening so it looks like this:
Tape the living hell out of the bags edges, car, and headlights. Try to get it between the headlight and car's body. Make sure clear coat can't come in ANY contact. It should look like this:
STEP 5
Clear coat time, fun. I'm going to warn you now, from experience (it happened to me ) USE EVEN, LIGHT COATS. I can't stress that enough. Even the slightest drip is going to look bad and it's a pain in the *** to sand it down and make it look good.
Apply the first coat, wait for it to dry. Follow the directions on the can for how long it takes to dry, mine was 20 minutes. Reapply 2 more times, 3 if you want more protection but at that point you may be taking the lights clarity away.
STEP 6
The next 3 steps pare going to be easy and relatively quick.
Take your application sponge and dab a little compound polish on and use circular, overlapping motions. Wipe off the headlights with a microfiber towel and let them dry for like 5 minutes. You're going to want to wash your application sponge and put it over a heater or something, you'll need it again,
STEP 7
Now you don't NEED to do this step, but I suggest it for longevity reasons.
Take your cleaned and dried application sponge, and dab a little sealer on. In my case it's the PlastX. Wipe it off with a microfiber towel. Now you don't need to, but I took a little beer break because I was pissed from fixing clear coat drip
STEP 8
Again, you don't need to do this step, but I suggest it for depth. It looks nice, just do it dammit.
Take your carnauba wax, a microfiber towel, and apply the wax to the headlights. Let it fog up, and wipe it off.
Viola, my long instructional on how to 95% permanently restore your headlights. It'll most likely last years. And honestly when you're detailing your car just wax your headlights and it'll last even longer. It looks great too, and added so much visual clarity compared to what I was seeing previously.
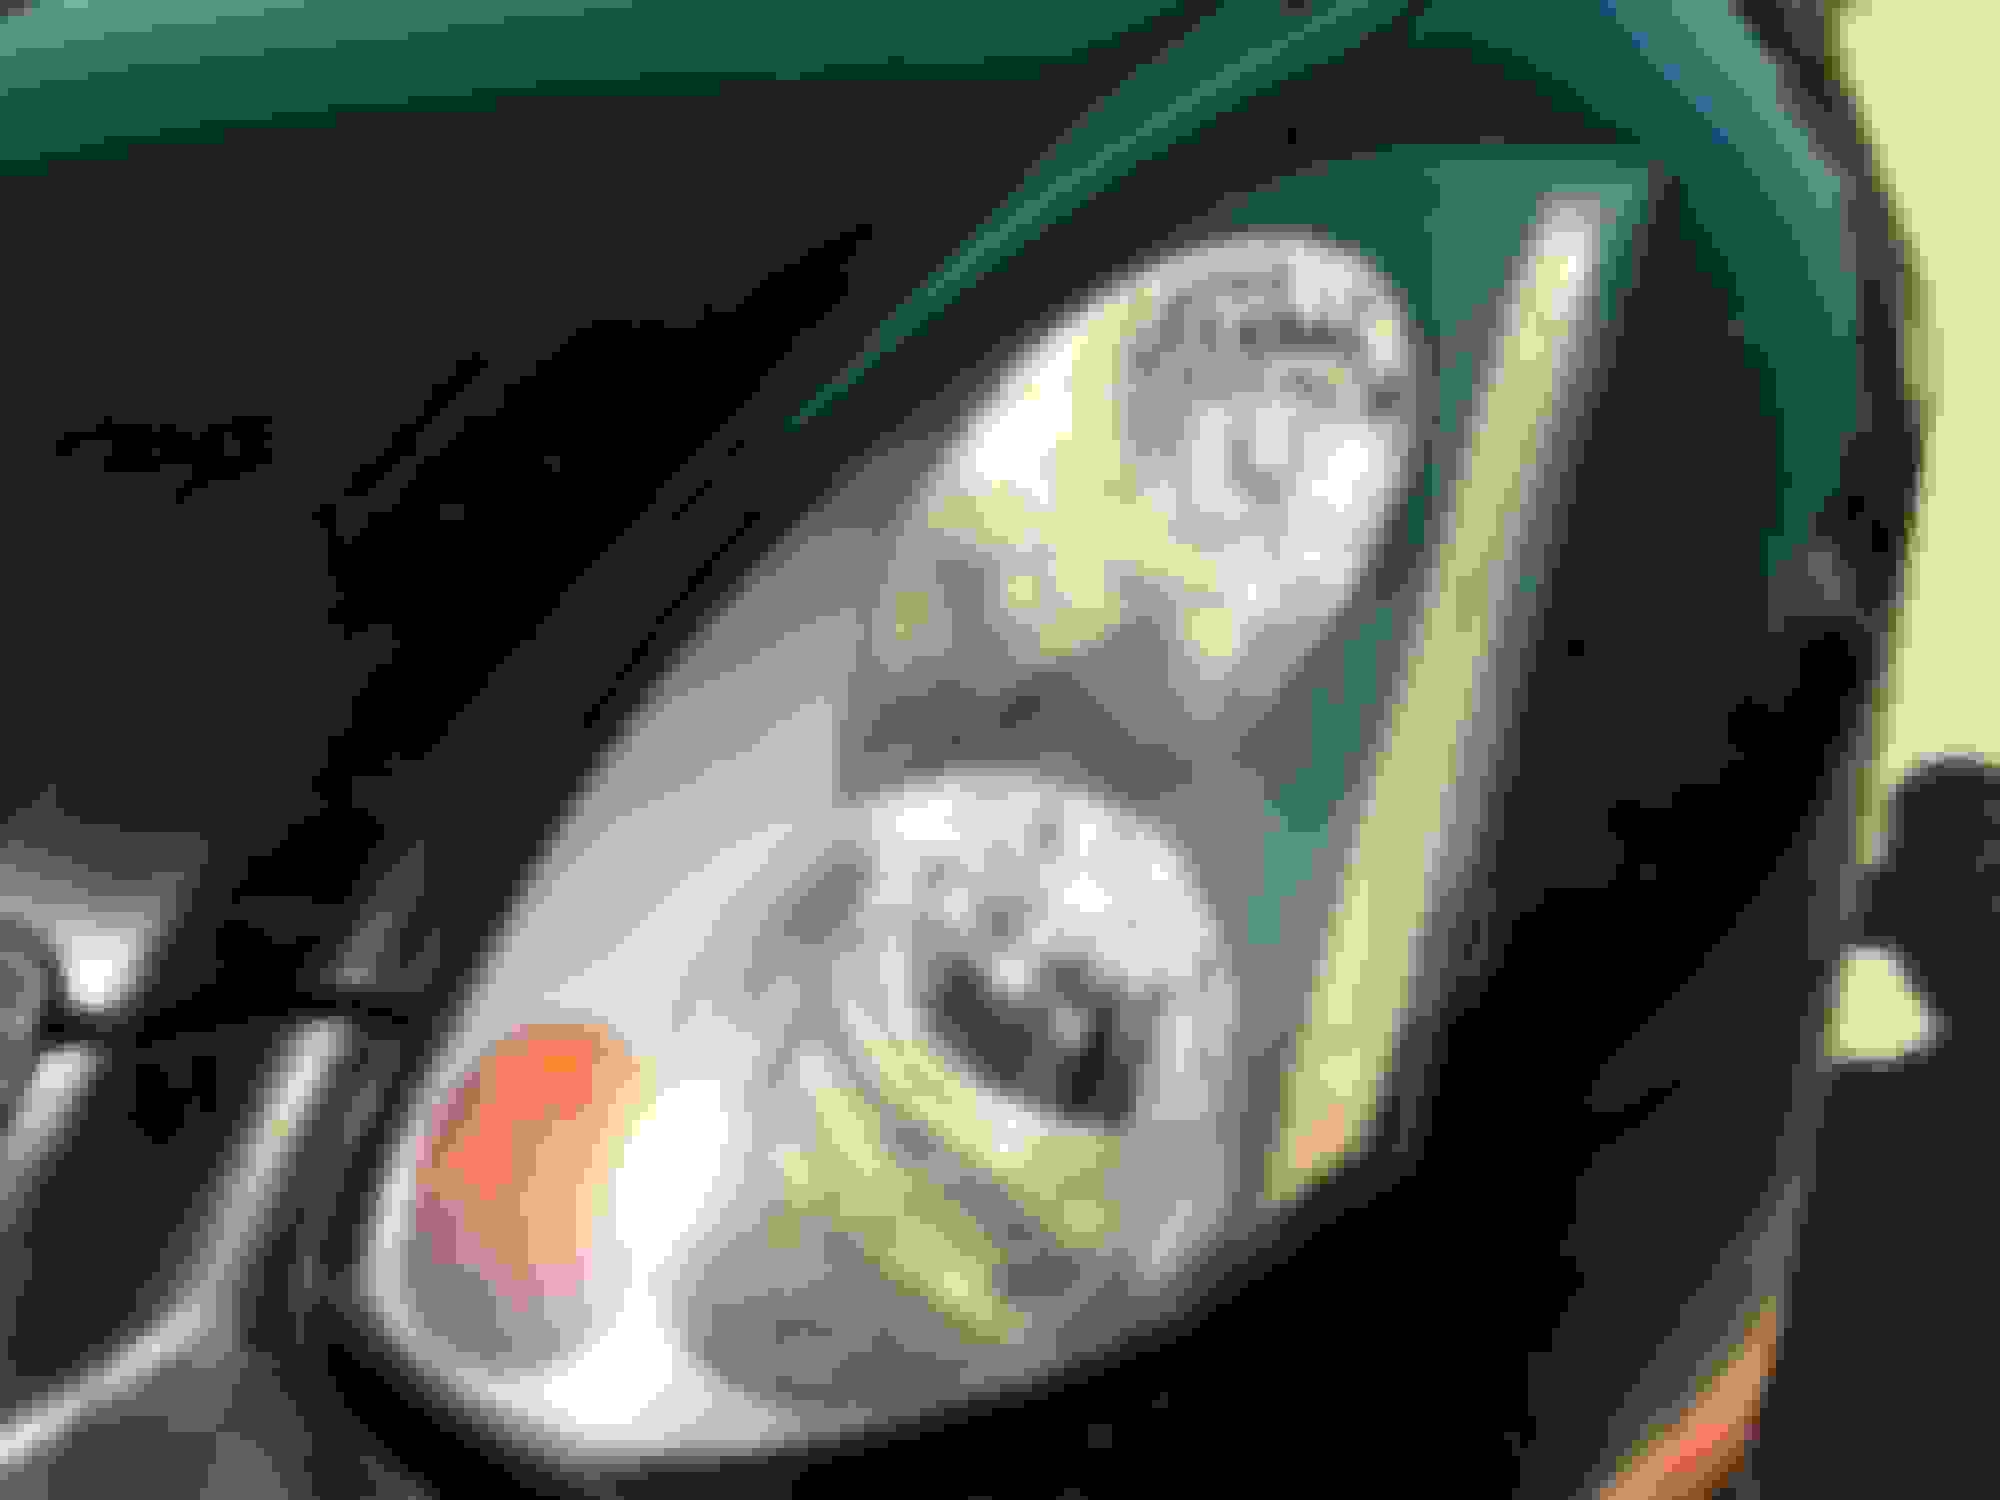
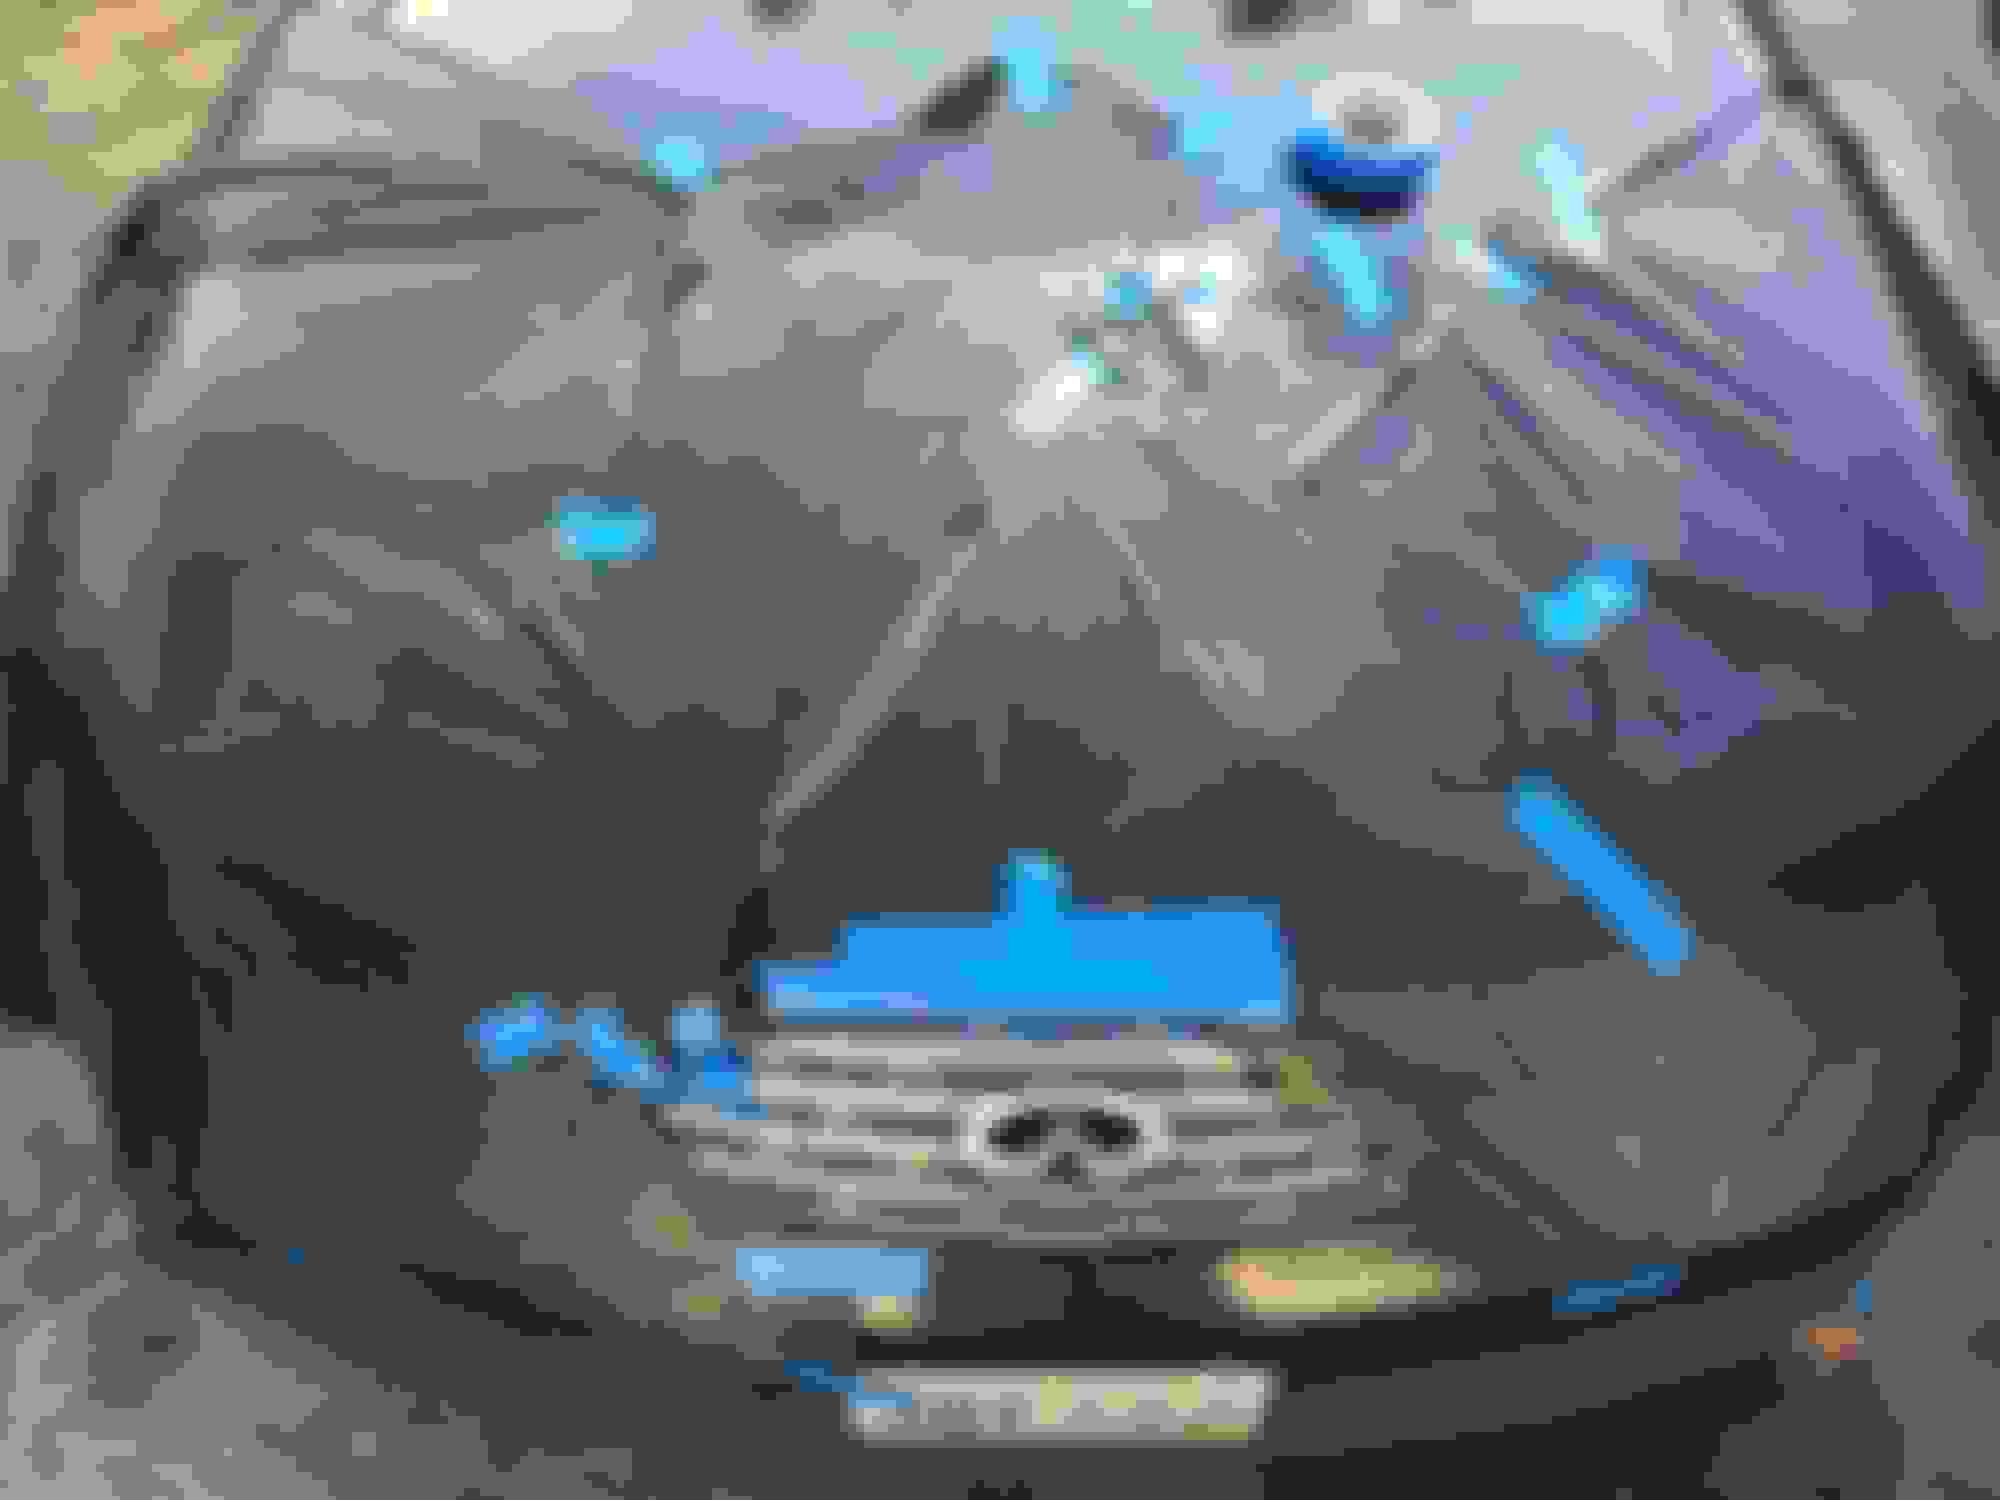
Here's the results (I'll post some during the day, but I lost track of time and started at 4pm lol):
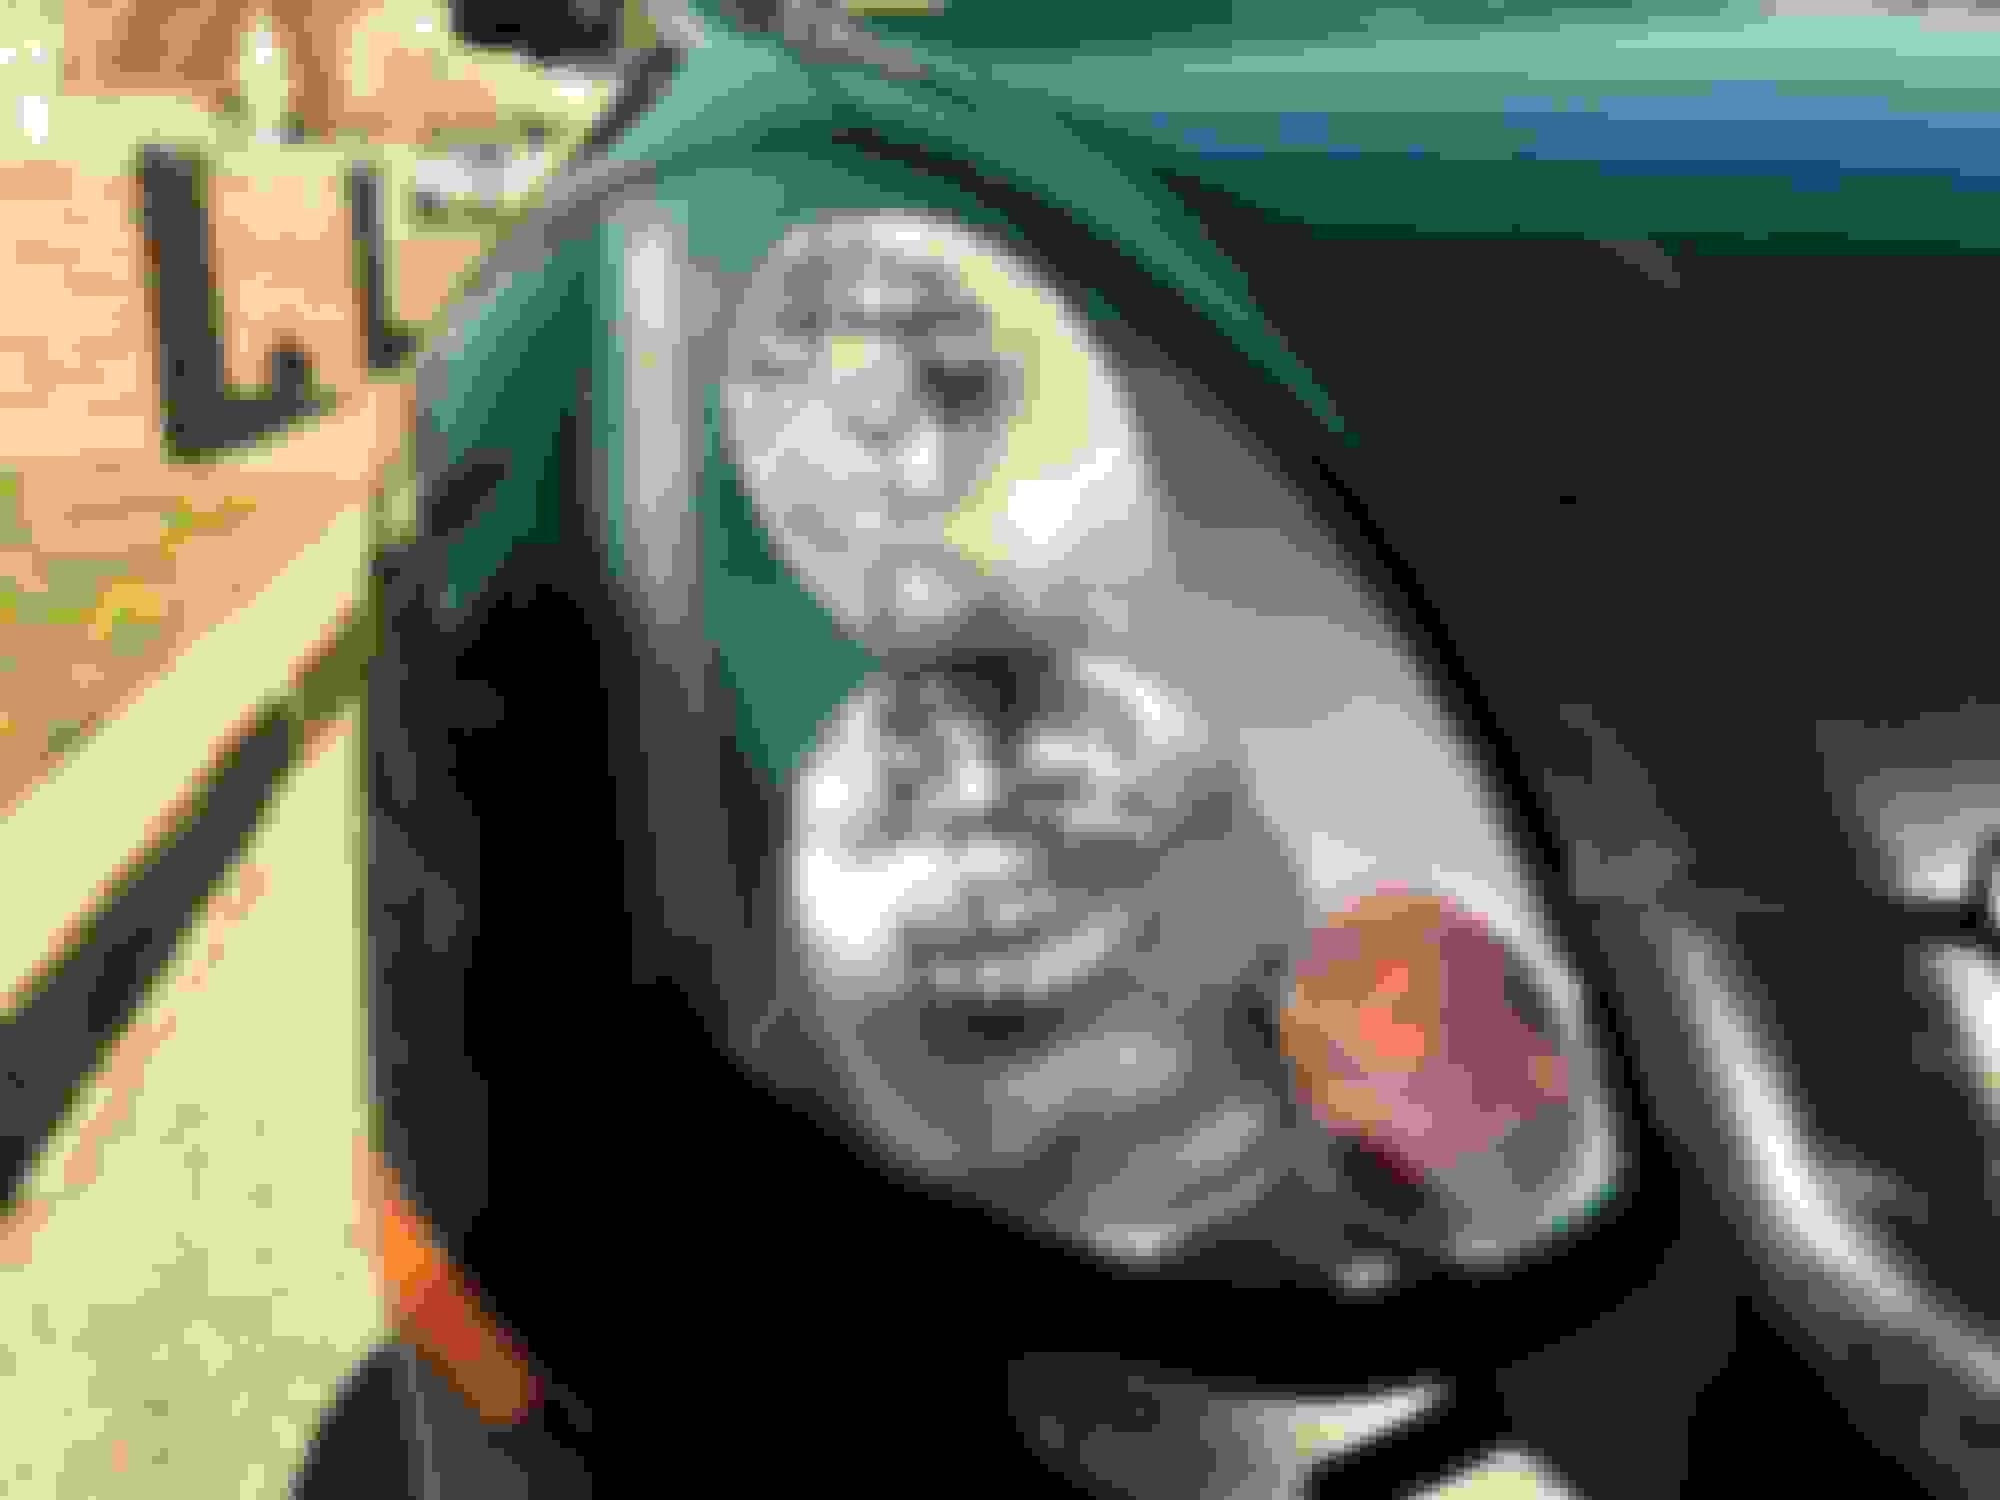
Here are some daytime pictures:
EXTRAS/FINAL STEPS
You will most likely have orange peel, as you can see on my daytime pictures. Per Dillon_B12's advice, you should take a 2000 or 3000 grit sandpaper (Trizact recommended) and give them a nice thorough wet sanding, buff the headlights out, clean it with Meguiars Fine-Cut cleaner and follow it up by Meguiars Swirl remover. I will be doing that within the next couple days and posting the results. I'm sure it'll turn out even clearer!
Yes, the hazing will come back at some point, but it will be so faint that a quick buff with the included orange pad and the compound (or a light polish like Meguiar's Swirl Remover or M205) will bring them right back to perfection.
The key to using the 3M kit is wet-sanding every step. The kit doesn't suggest this, but that's probably because they want you to use up all of your sanding discs. Using water, I can normally do both headlights with 1 or 2 max of each grit and they usually have some life left. Wet sanding does reduce the "cut" of the discs, but they load up so fast when dry that any lost cutting power is made up for by not having to change discs so often (or at all).
Don't throw away the Trizact disk. They are magic and hard to buy singles of. If you do wear it out or throw it away, you can buy 4"x 9" Trizact pads and cut out your own circular discs out of them. They have a fuzzy backing that sticks right to the velcro backing pad in the kit.
You did a pretty good job, but there's still some room for improvement. I can see the orange peel in the clearcoat, which means it's affecting your output, if only a small amount.
I would go back with 2,000 or 3,000 grit(Trizact!) and wet sand the clear itself to level the clear coat. Then, buff them back out so they are crystal clear. If you sand with 3,000 grit, Meguiar's Fine-Cut Cleaner followed by Meguiar's Swirl remover will get back to fully clear after the wet sanding. Both of those are great to have around for polishing out minor scratches anyway.
I planned on going back to it, the orange peel isn't visible unless your face is right up to it. I'll add that to the guide. I can't imagine light clarity being much better than it is but hey, I could be wrong! Thanks for all the suggestions, I appreciate it. I'll hit Advanced Auto tomorrow, grab the cleaner and swirl remover and either get a 3M 3000 grit or order a Trizact 3000 grit.
After everything is done I'll add that to the write-up and show results.
It's probably only having a negligible effect, but imagine if a set of glasses had something like that on them. You'd definitely notice it and that's because the light would be passing through the glasses in a way you don't want it to. You probably won't notice a big difference, but at least you'll know you are getting as much light as possible and it will look better too.
I'm sure there are lots of products that will do the polishing, but I like using paint correction polishes since they seem to work well and they're obviously good to use on paint as well.
I haven't tried it, but I suspect you could go straight to the Swirl Remover if you followed the 3,000 grit with a 5,000 grit Trizact.
Also, if your headlights are REALLY BAD, you can jump down to as low a grit as needed to get the damage out. Of course it's a lot more work since you've now got to start working your way back up through the grits to get the sanding damage out. My mom's '02 Impala headlights were in such bad shape that I had to go down to 120 and work my way back up.
Last edited by dillon_b12; 03-23-2016 at 12:25 PM.
Can you post pics of the headlights with the lights on at night? I've restored my headlights before and at night the edges of the headlights are greenish yellow and look terrible when lit.

 03-20-2016, 10:48 PM


 ) USE EVEN, LIGHT COATS. I can't stress that enough. Even the slightest drip is going to look bad and it's a pain in the *** to sand it down and make it look good.