2004 g35 sedan saved from being junked 😁

Thread Tools
 
Search this Thread
 
Rate Thread
 
  #61  
Old 12-21-2014, 11:44 PM
thegreatkwijibo's Avatar
Registered User
Join Date: Aug 2012
Location: Highland, Texas
Posts: 1,486
Received 142 Likes on 123 Posts
I'm definitely still watchin lol. can't wait to see how this all turns out.
 
  #62  
Old 12-22-2014, 06:05 AM
The Fixer's Avatar
Registered User
iTrader: (7)
Join Date: Jan 2011
Location: North Jersey, near NYC
Posts: 365
Received 35 Likes on 22 Posts
It's coming along great!! What color are you going with - original black, or something custom?
 
  #63  
Old 12-22-2014, 09:14 AM
Droopy89's Avatar
Registered User
iTrader: (1)
Join Date: Sep 2012
Location: East TN
Posts: 104
Likes: 0
Received 3 Likes on 3 Posts
Making good progress from the looks of it. Keep at it!
 
  #64  
Old 12-22-2014, 11:44 PM
Ralphy323's Avatar
Registered User
Thread Starter
Join Date: Oct 2014
Posts: 102
Received 9 Likes on 8 Posts
Originally Posted by thegreatkwijibo
I'm definitely still watchin lol. can't wait to see how this all turns out.
Lol!! Thought everyone forgot about me and my junker 😁😁
 
  #65  
Old 12-22-2014, 11:46 PM
Ralphy323's Avatar
Registered User
Thread Starter
Join Date: Oct 2014
Posts: 102
Received 9 Likes on 8 Posts
Originally Posted by The Fixer
It's coming along great!! What color are you going with - original black, or something custom?
Thanks! I'm thinking a bit of custom black... I'm thinking like a pearlescent black, blueish/goldish kinda pearl imbedded In the black paint... I'll take a pict of the paint chip tomorrow and post it up.
 
  #66  
Old 12-22-2014, 11:47 PM
Ralphy323's Avatar
Registered User
Thread Starter
Join Date: Oct 2014
Posts: 102
Received 9 Likes on 8 Posts
Originally Posted by Droopy89
Making good progress from the looks of it. Keep at it!
Thanks!! Now that's almost done it's the real nightmare... I'm exhausted and really can't stand the sight of the car... I just wanna be done with it...
 
  #67  
Old 12-22-2014, 11:59 PM
Ralphy323's Avatar
Registered User
Thread Starter
Join Date: Oct 2014
Posts: 102
Received 9 Likes on 8 Posts
Now for the update...

I finally have both sides prepped for fine wet sand (that's what you do before painting) and tomorrow I'll do the hood and finish the rear of the car. I ordered a new 06 front bumper which hopefully comes in tomorrow so I can put the front of the car together.

Here are some Picts of today's progress.

I kinda like the way it sits...

Name:  D6F4E6B5-6D82-47A8-8958-CCB43DF0424F.jpg
Views: 141
Size:  102.8 KB

Name:  9C9B0FDF-E60C-428F-977E-7852C2615693.jpg
Views: 129
Size:  103.1 KB

Name:  BD832591-CE5E-48B6-B8F0-6B01D6236BDE.jpg
Views: 158
Size:  77.2 KB

Name:  F045F085-BEB9-4798-B38B-F06C2FDF5E14.jpg
Views: 137
Size:  73.8 KB

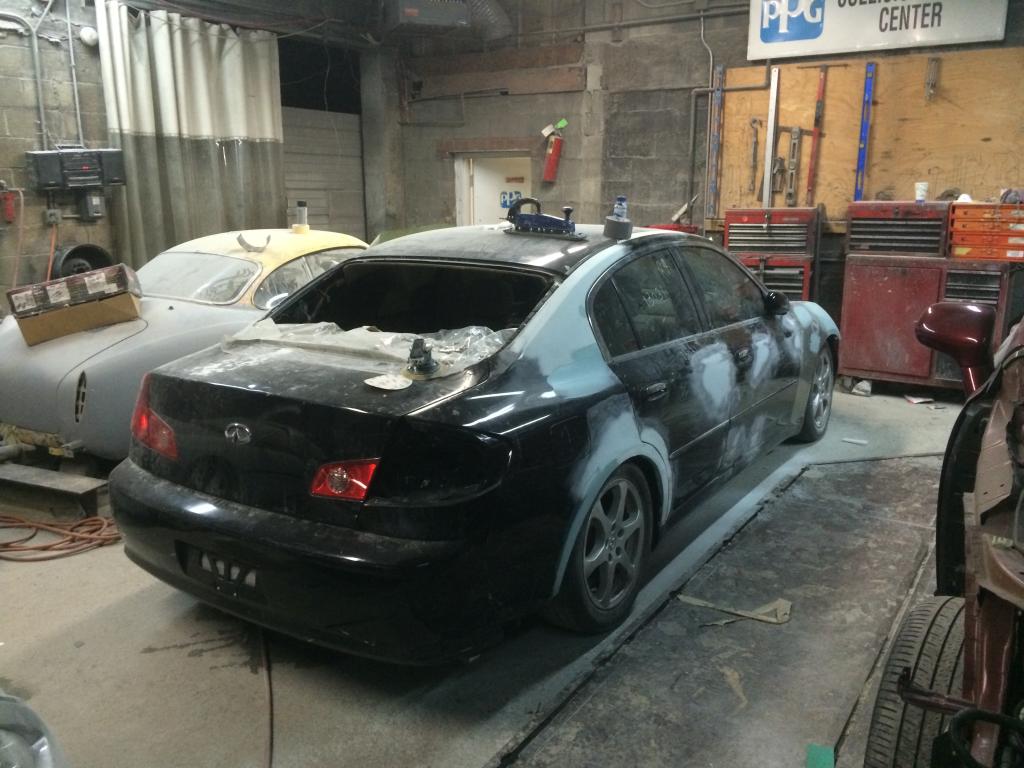
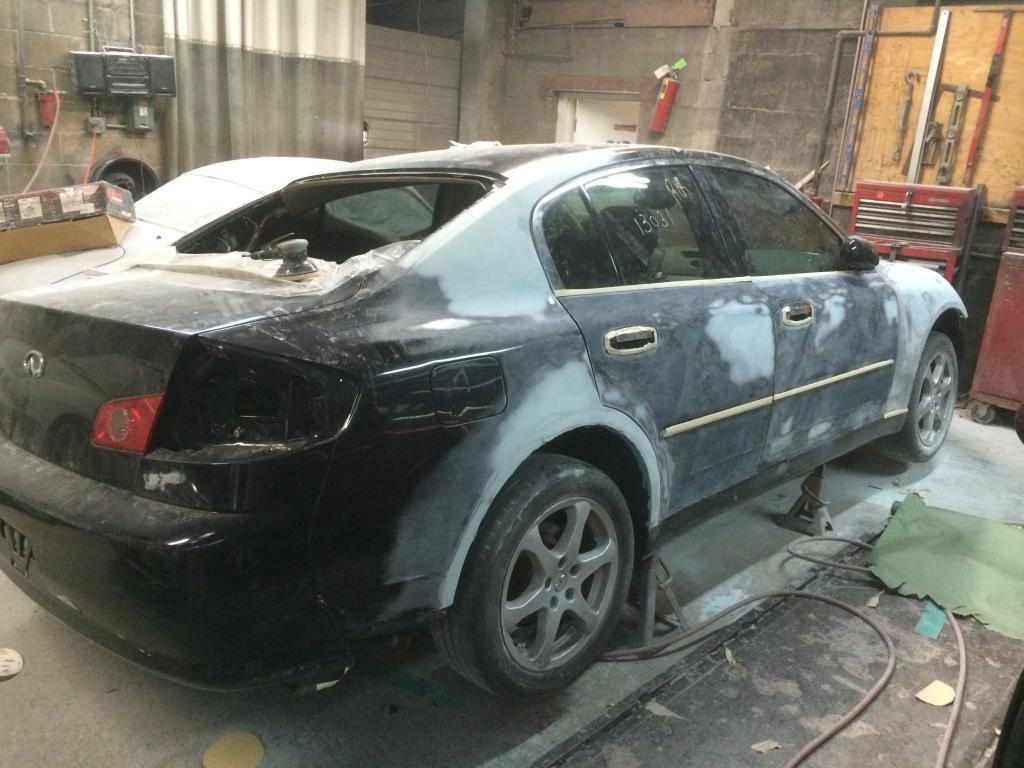
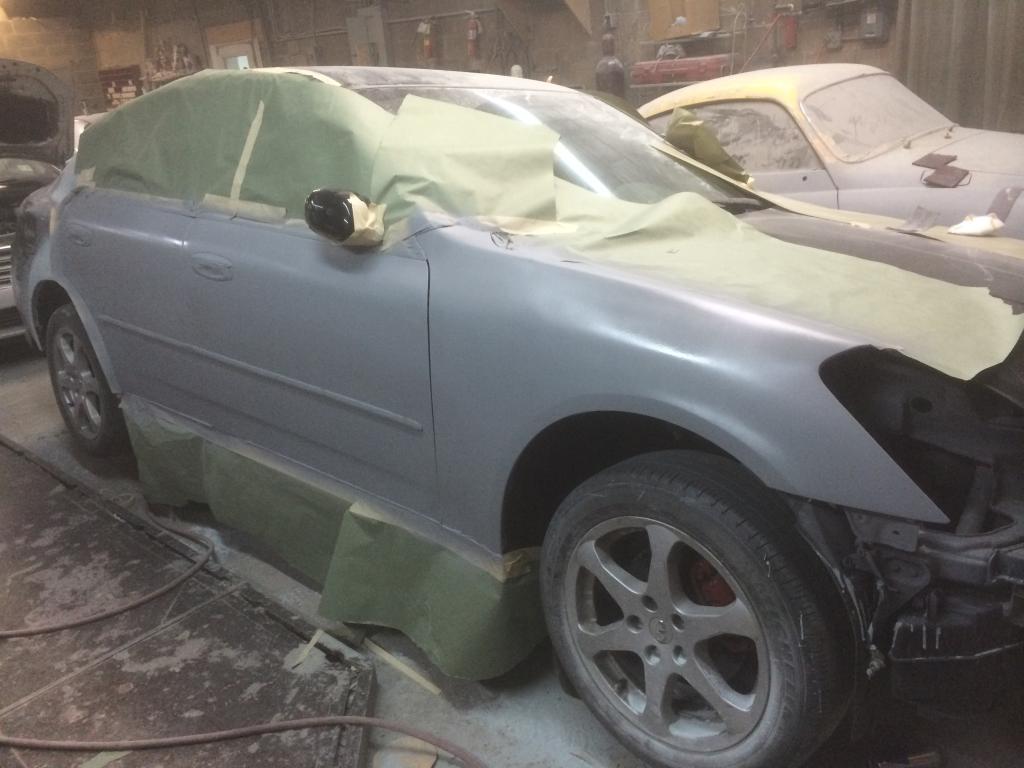
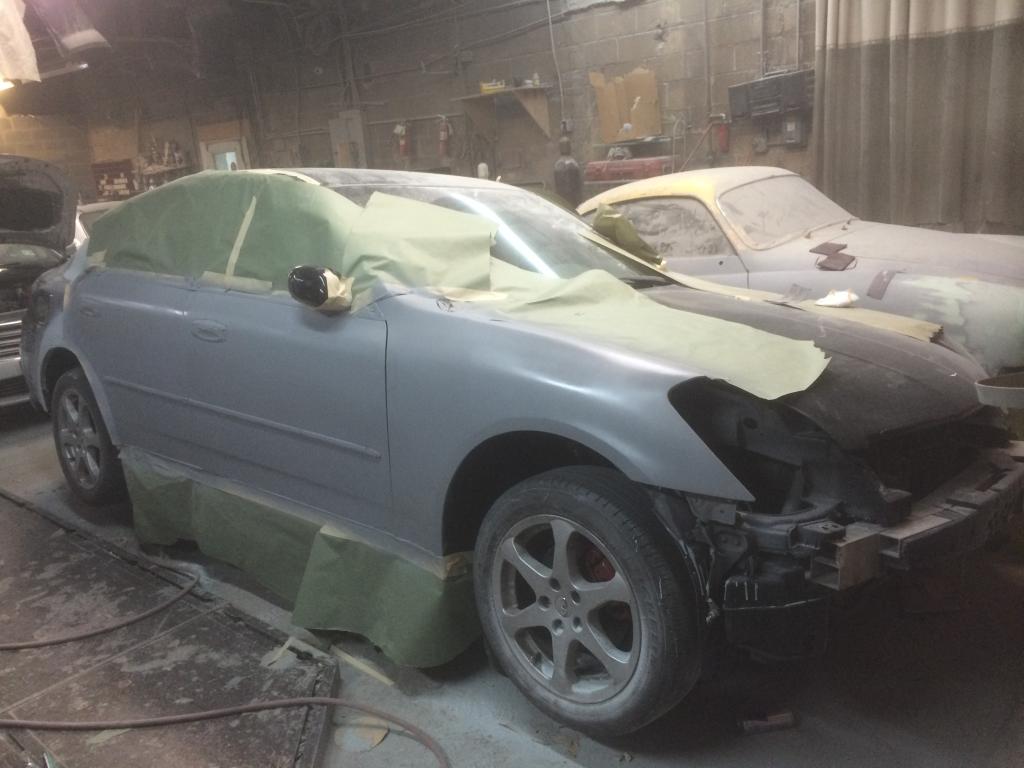
After the first coat of primer you spray flat black and then block the whole thing looking for imperfections... Easier to correct them now than after paint 😁

Mind you. I'm half was blocking that side...

Name:  375BD5D5-9F0E-437D-BA23-DCFCBEFE8140.jpg
Views: 138
Size:  87.6 KB

Name:  30C3D347-85A3-40EC-A13B-4FD36260AC80.jpg
Views: 166
Size:  92.4 KB

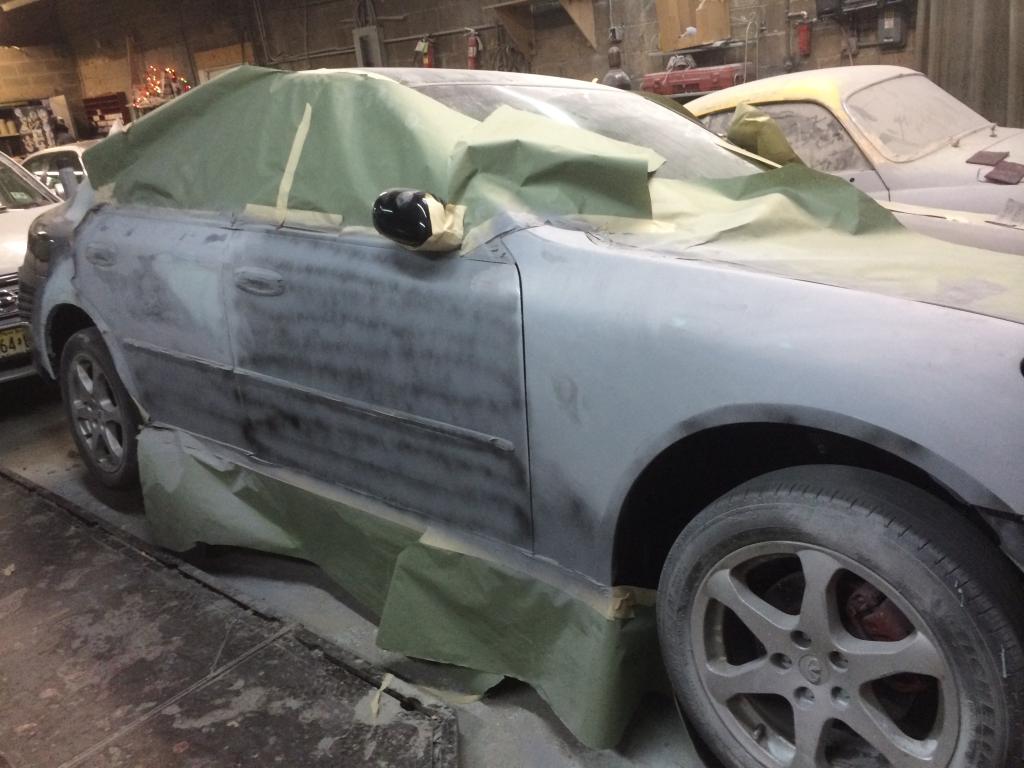
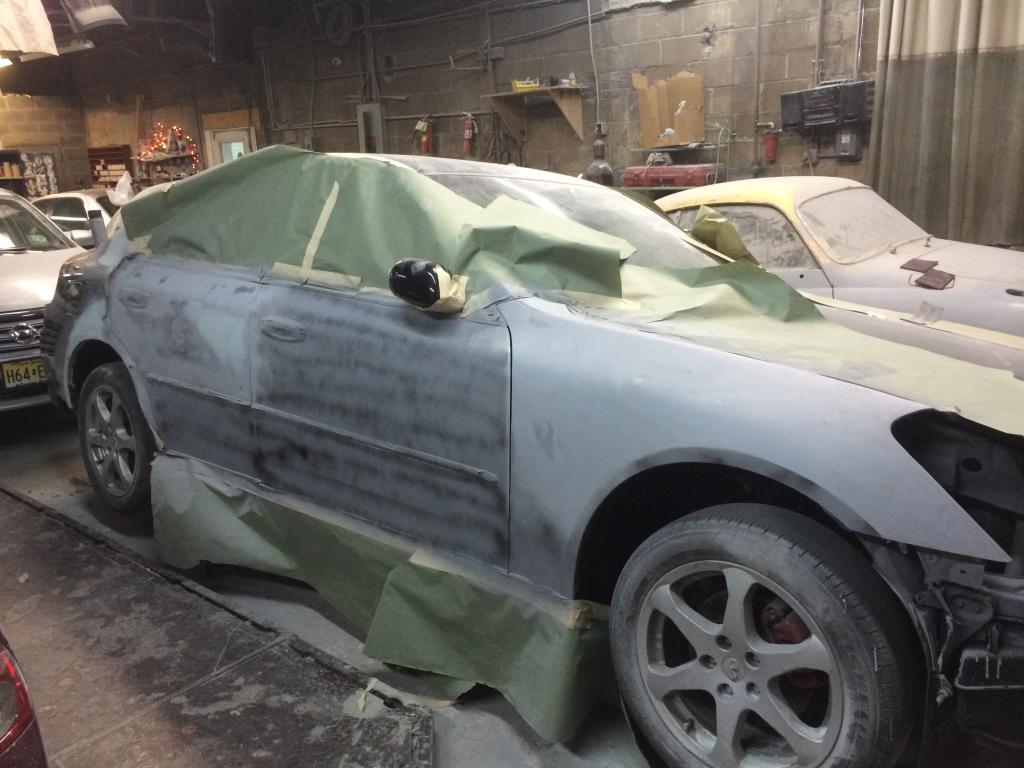
After you are done blocking then a second coat of primer is applied and also second layer of flat black and it's ready for wet sanding.

Name:  30C3D347-85A3-40EC-A13B-4FD36260AC80.jpg
Views: 166
Size:  92.4 KB

Name:  D04834A7-5D5B-439C-97E2-7D538FAC92E8.jpg
Views: 175
Size:  106.3 KB

Name:  92A9FDCF-18CA-480C-8391-A709E68CD0D8.jpg
Views: 147
Size:  78.1 KB

Name:  D4A149D4-9832-487D-871B-9D5E6253C786.jpg
Views: 133
Size:  87.1 KB

Name:  6F1C62FF-0B42-4A86-87F3-A8FB0F9DE16D.jpg
Views: 154
Size:  92.4 KB

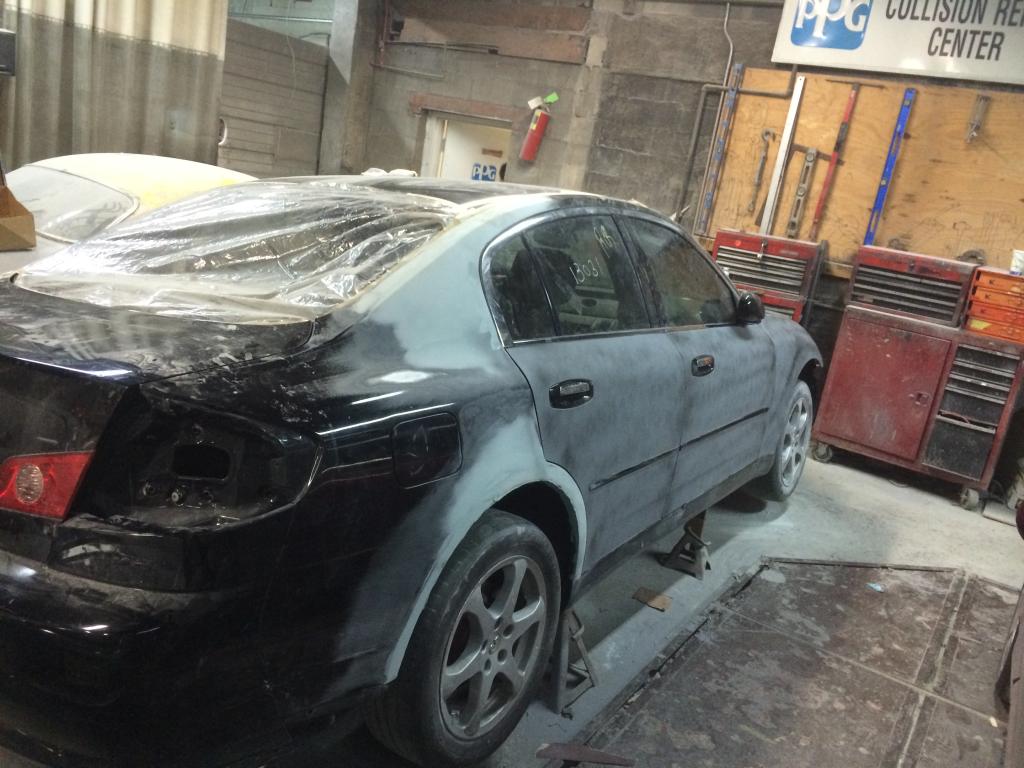
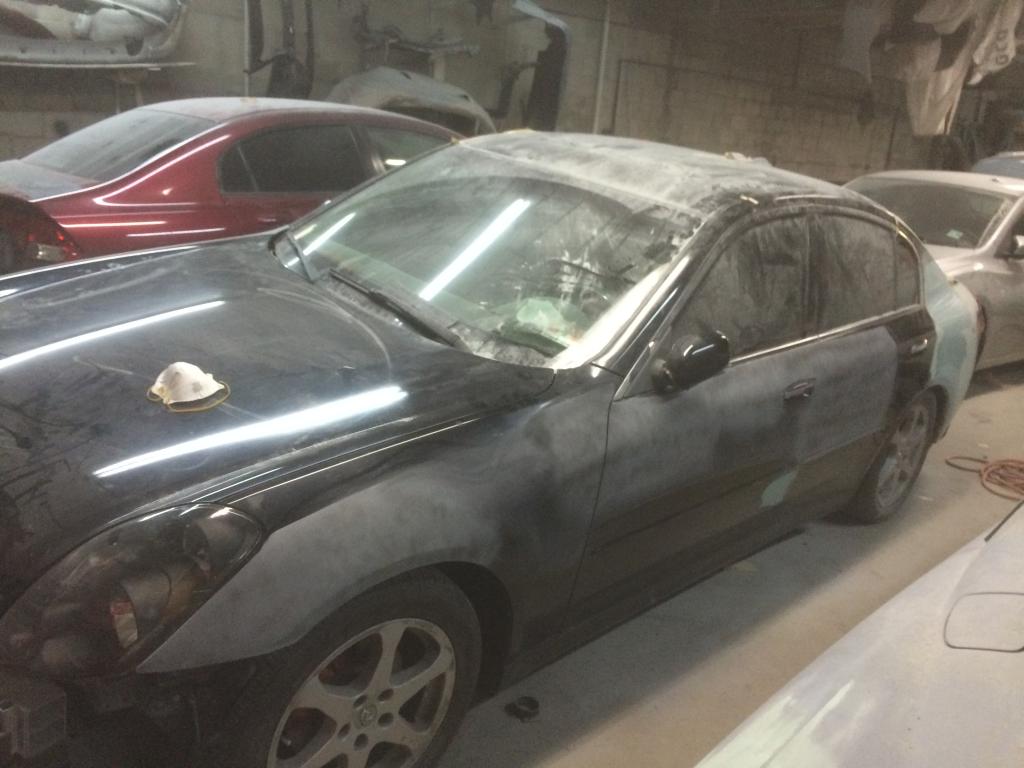
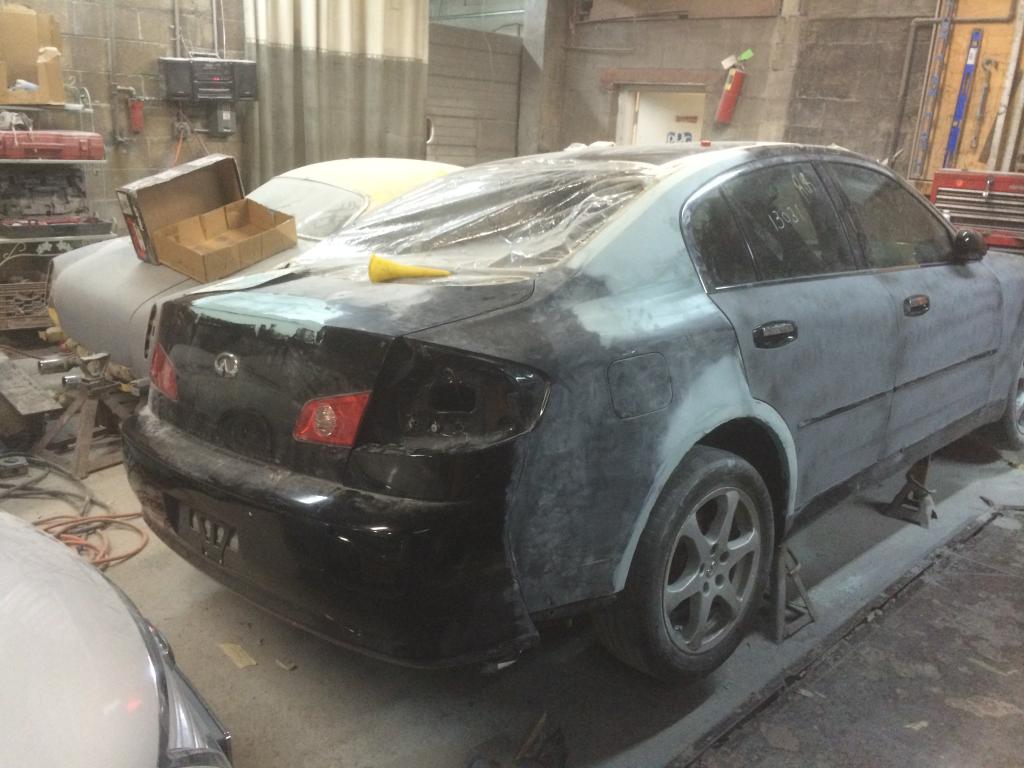
As you can see I started the back of the car... I'm missing everything from both quarter panels, trunk lid, bumpers, hood and the roof. Sounds like quite a lot but that's like 2 days work.

I'm thinking about 20" rims and maybe sustec coilovers, I'm in the market for a nice set of coilovers sub 800 dollars doesn't matter if they are used or brand new as long as they work fine.

As usual
I'll keep you guys posted and any ideas please let me know!!
 
Attached Images
  #68  
Old 12-23-2014, 01:04 AM
HenryLee's Avatar
Registered User
iTrader: (48)
Join Date: Oct 2006
Location: SoCal & Florida
Posts: 6,233
Received 168 Likes on 149 Posts
Wow amazing progression. Awesome work keep it up.
 
  #69  
Old 12-23-2014, 07:44 AM
Ralphy323's Avatar
Registered User
Thread Starter
Join Date: Oct 2014
Posts: 102
Received 9 Likes on 8 Posts
Originally Posted by HenryLee
Wow amazing progression. Awesome work keep it up.
Thanks!! As I say to myself "keep it together, you're almost done" lol!!

Hopefully my new bumper comes in today and I get more stuff done.
 
  #70  
Old 12-23-2014, 09:33 AM
hacknslice's Avatar
Registered User
Join Date: Sep 2014
Posts: 11
Likes: 0
Received 1 Like on 1 Post
Keep it coming!
 
  #71  
Old 12-23-2014, 10:56 AM
Ralphy323's Avatar
Registered User
Thread Starter
Join Date: Oct 2014
Posts: 102
Received 9 Likes on 8 Posts
Originally Posted by hacknslice
Keep it coming!
Working on it!!

Also my new bumper just came in.

So no more looking like this..:
Name:  5DDEF662-ADDB-43F4-9588-3F316F8A7322.jpg
Views: 168
Size:  105.3 KB

And new bumper...

Name:  A6CBDDB5-05AA-4827-9081-C0282AF95F4F.jpg
Views: 149
Size:  86.1 KB

Name:  AA22A1D7-B6AA-4E06-B918-58561C1CFA91.jpg
Views: 164
Size:  78.8 KB

I'll post later to show the progress.
 
  #72  
Old 12-23-2014, 11:25 AM
Dr.Bora's Avatar
Registered User
Join Date: Aug 2013
Location: Oklahoma City
Posts: 147
Received 7 Likes on 7 Posts
nice progress but youre going to regret going cheap on those arms... i did the same thing to save money and they squealed after a week and broke after a month.. you may not have the same experience as i did though, well i hope you dont
 
  #73  
Old 12-23-2014, 11:34 AM
WILLIE BEANS's Avatar
Registered User
iTrader: (3)
Join Date: May 2007
Location: pinellas county FLA, queens N.Y.
Posts: 4,383
Received 27 Likes on 21 Posts
WOWW... really nice write up ..
whene i had my sedan in the shop i had them remove the door molding that go on each door .
under them there will be holes left but those can be welded over . and it gives the sedan a much cleaner looking side .in my opinion ..

not a great pic . but you get the idea ..

Name:  random017.jpg
Views: 177
Size:  86.8 KB

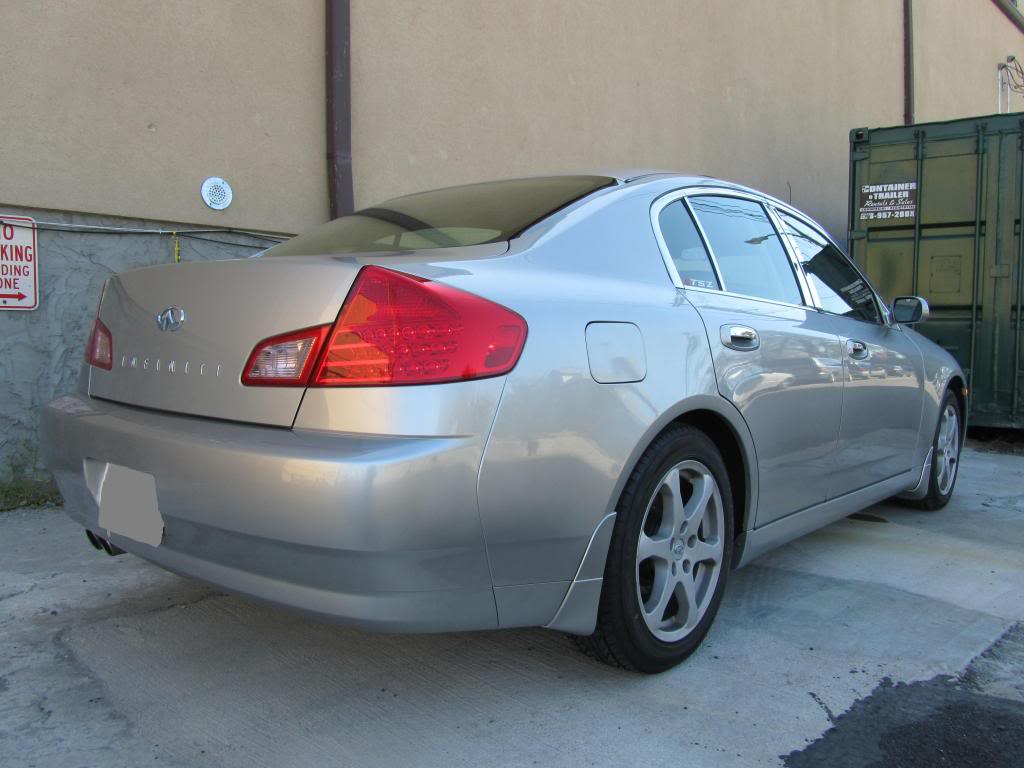
edit to add better side view :
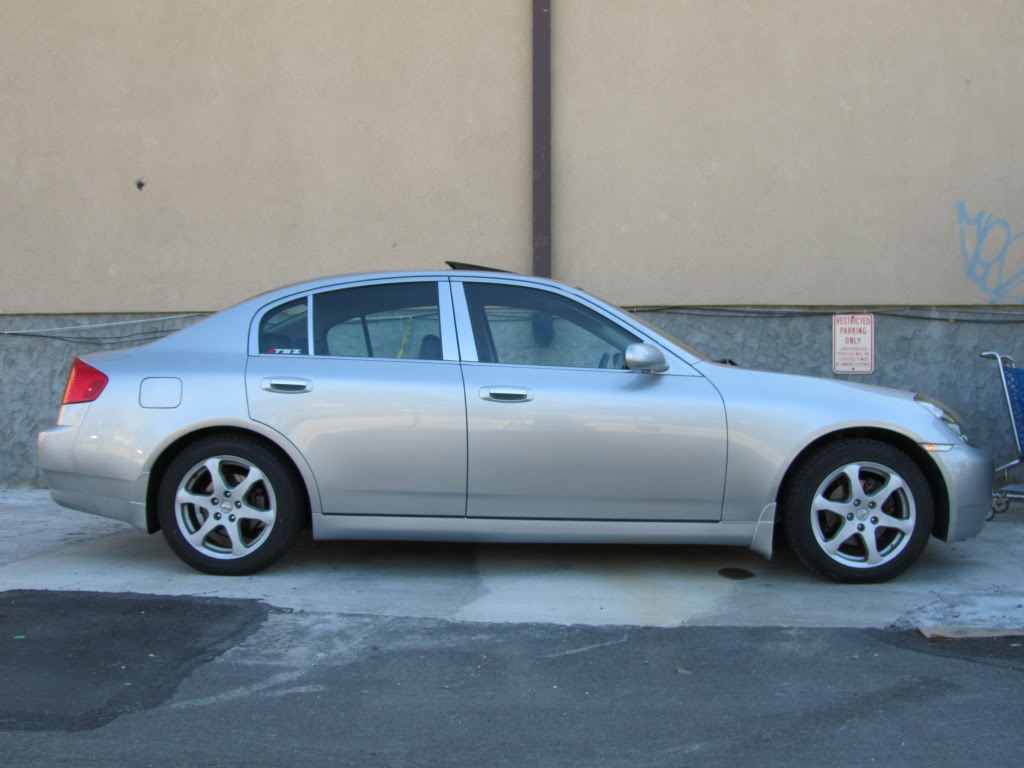
Name:  random015.jpg
Views: 140
Size:  84.3 KB
 
  #74  
Old 12-23-2014, 11:58 AM
dawoodmh's Avatar
Registered User
Join Date: Feb 2014
Location: Houston, TX
Posts: 10
Received 0 Likes on 0 Posts
Awesome keep it bro, lookin good
 
  #75  
Old 12-23-2014, 06:25 PM
Ralphy323's Avatar
Registered User
Thread Starter
Join Date: Oct 2014
Posts: 102
Received 9 Likes on 8 Posts
Originally Posted by Dr.Bora
nice progress but youre going to regret going cheap on those arms... i did the same thing to save money and they squealed after a week and broke after a month.. you may not have the same experience as i did though, well i hope you dont
Hopefully they won't break that fast but I'm actually saving up to upgrade to a real camber kit and coilovers system, around February I should be installing some good parts 😁


You have already rated this thread Rating: Thread Rating: 1 votes, 5.00 average.

Quick Reply: 2004 g35 sedan saved from being junked 😁


All times are GMT -4. The time now is 07:12 AM.