PWR High Capacity Radiator - Install Review
#1
 01-24-2007, 02:54 AM


PWR High Capacity Radiator - Install Review
Vendor: SGP Racing (8/10 for customer service)
Product: PWR High Capacity Radiator geared towards FI
Price: $540 shipped
Availability: After this review....you may not what it
The install was a BITCH!!!!
Where do I start...
The 1st radiator I got had some very nice welds and looked tremendous, the only problem was that the threads on the 2 bungs that bolt the fan to the radiator were not made for OEM bolt. After trying to make it work, I busted one of the bungs and had to re-ship it back to SGP Racing so they could send me a new one.
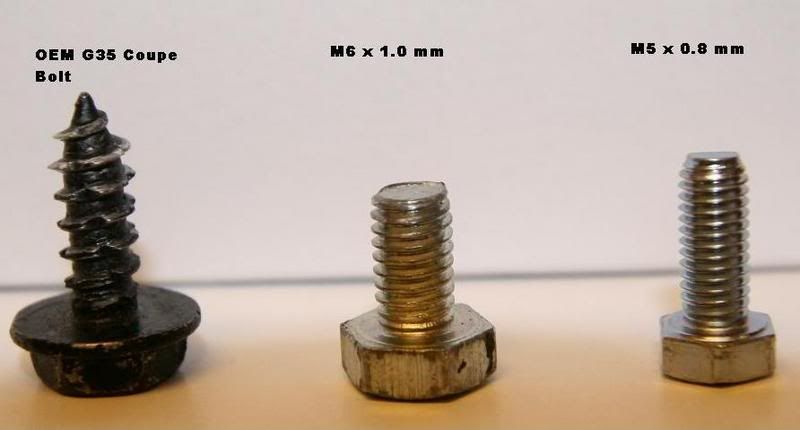
The second one was also nice, but again, the bungs had not been re-threaded and again, did not match the OEM bolts. I went and got M6 x 1.0 mm bolts since I was told this was the thread size, but the threads are actually designed for M5 x 0.8 mm threads. Not having known this, I tried re-tapping the thread with an M6x1.0mm tap and ended up snapping a bolt when I tried bolting it on (i suck at tapping holes).
Pic of the bolts...do note you should get the right length bolts. Some large washers might help as well.
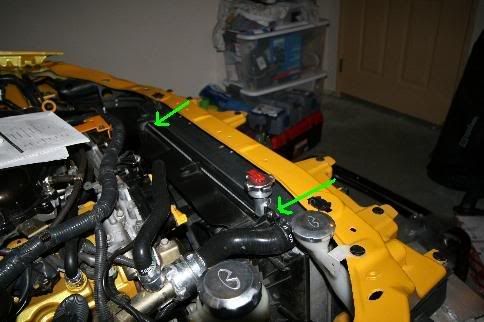
Where the two bolts get installed.
Another issue was that the holes were not lined up. One was higher than the other by 1/4" or so. I think PWR has some issues with these two particular bungs
After getting this issue resolved, I went to install the radiator.
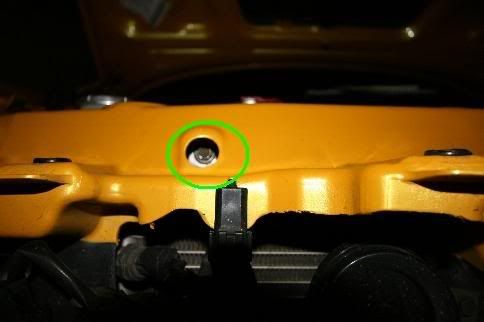
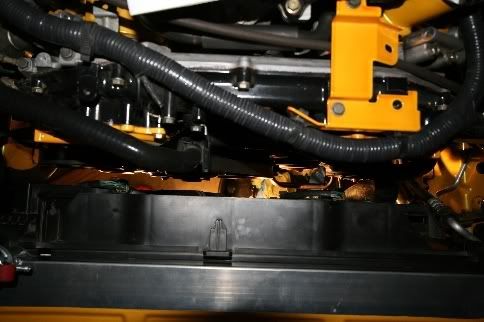
Again, there were some alignment issues with this radiator. The supports on the bottom were about 1/4" too close to each other (fixed that problem with a dremel and notching the radiator support so that they matched the supports on the radiator).
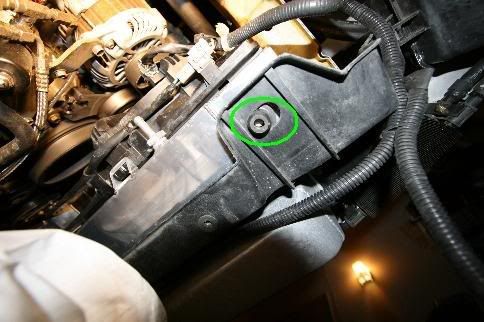
The other two bungs that attach the radiator to the A/C condenser did not line up. Again, I used a dremel to notch out the bracket on the A/C condenser so the holes would line up with the radiator. Only need to do one side of course.
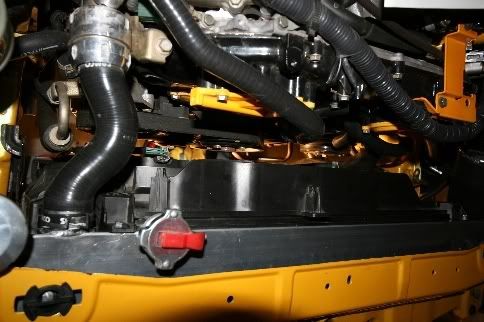
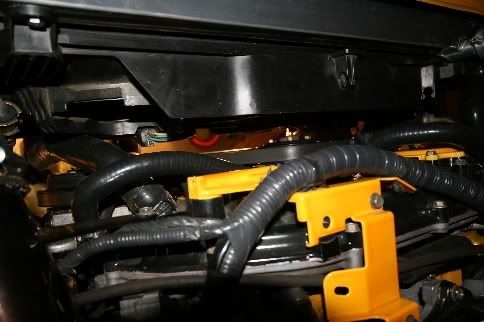
The good news is that this radiator will clear and fit without any modifications to the fan. There is about 1/2"-1" clearance between the fan shroud and the belts. About 1/2" clearance with the coolant hose from the engine to the bottom of the radiator.
So if you plan on having this installed by a shop, than it might be a good buy. If you are a DIY, than be prepared for extra work.
I expected this piece to be simple plug and play. All the bolts and what not would fit like a glove and install rather easily. I was surprised that this is not the case.
Product: PWR High Capacity Radiator geared towards FI
Price: $540 shipped
Availability: After this review....you may not what it
The install was a BITCH!!!!
Where do I start...
The 1st radiator I got had some very nice welds and looked tremendous, the only problem was that the threads on the 2 bungs that bolt the fan to the radiator were not made for OEM bolt. After trying to make it work, I busted one of the bungs and had to re-ship it back to SGP Racing so they could send me a new one.
The second one was also nice, but again, the bungs had not been re-threaded and again, did not match the OEM bolts. I went and got M6 x 1.0 mm bolts since I was told this was the thread size, but the threads are actually designed for M5 x 0.8 mm threads. Not having known this, I tried re-tapping the thread with an M6x1.0mm tap and ended up snapping a bolt when I tried bolting it on (i suck at tapping holes).
Pic of the bolts...do note you should get the right length bolts. Some large washers might help as well.
Where the two bolts get installed.
Another issue was that the holes were not lined up. One was higher than the other by 1/4" or so. I think PWR has some issues with these two particular bungs
After getting this issue resolved, I went to install the radiator.
Again, there were some alignment issues with this radiator. The supports on the bottom were about 1/4" too close to each other (fixed that problem with a dremel and notching the radiator support so that they matched the supports on the radiator).
The other two bungs that attach the radiator to the A/C condenser did not line up. Again, I used a dremel to notch out the bracket on the A/C condenser so the holes would line up with the radiator. Only need to do one side of course.
The good news is that this radiator will clear and fit without any modifications to the fan. There is about 1/2"-1" clearance between the fan shroud and the belts. About 1/2" clearance with the coolant hose from the engine to the bottom of the radiator.
So if you plan on having this installed by a shop, than it might be a good buy. If you are a DIY, than be prepared for extra work.
I expected this piece to be simple plug and play. All the bolts and what not would fit like a glove and install rather easily. I was surprised that this is not the case.
Last edited by drsifu1; 01-24-2007 at 03:49 AM.
#2
01-24-2007, 08:29 AM


Thread
Thread Starter
Forum
Replies
Last Post
Tolboothwilley�
Exterior-Vendor
6
07-28-2016 12:42 AM
saskicker32
Engine, Drivetrain & Forced-Induction
0
08-11-2015 02:12 PM
joedaddy1
Engine, Drivetrain & Forced-Induction
0
07-28-2015 02:58 PM

