
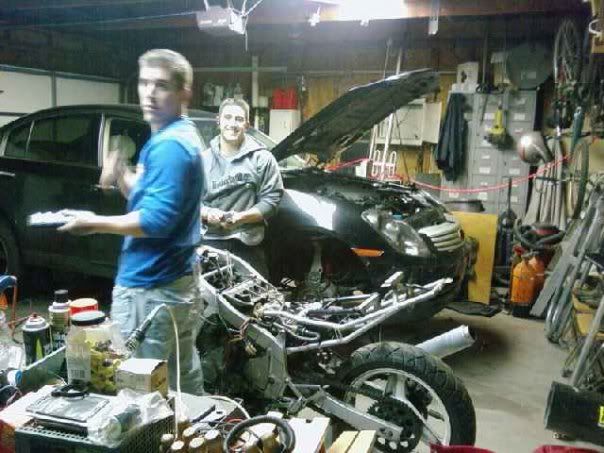
Got me my first G35 [pics]


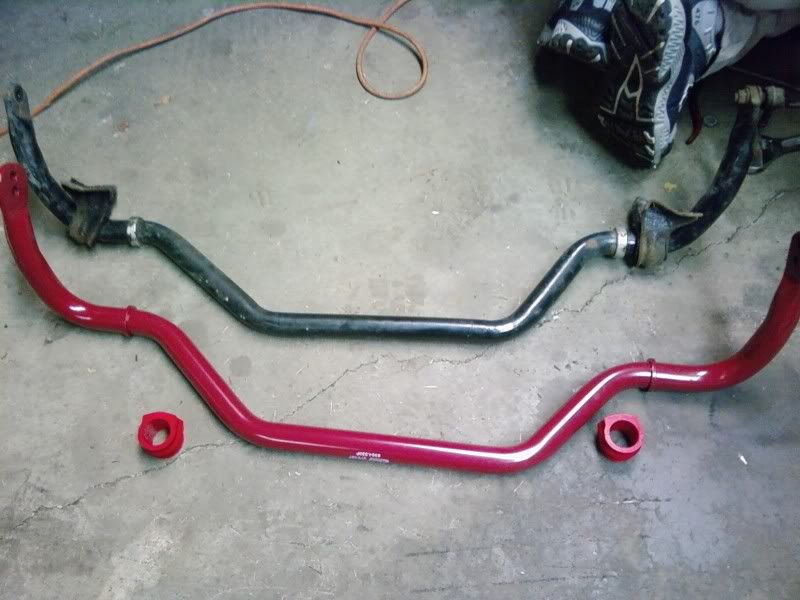
The diver side is all done. Ichiba control arm installed.
Thoughts on the install on the driver side:
Removal:
Sway bar was disconnected
Unscrewed Struts from the top, under the hood
Moved the suspension around until strut came free.
Did not touch bottom of strut.
I hate ball joints.
First sprayed with Liquid Wrench, hit it with a hammer a few times then used the Pickle fork to create some pressure between the top of the knuckle and the boot of the control arm so i could get the nut to loosen without the whole ball joint spinning.
Then proceeded to get the two long bolts of the control arm (Left and Right) out.
Install:
Reverse order.
Looks like the new control arms dont fit, but took a rubber mallet to it and banged it in place.
Used flashlight to see that the holes matched up.
Got one bolt in, pushed it all the way through and hand tightened, then started working on other side. A bit harder, i couldnt hand tighten at all, had to use ratchet to screw it in.
Got strut back in place, used a jack to lift the suspension up, and used rubber mallet to bang the strut in the holes. Then installed nuts under the hood with a deep socket.
Used lift to raise the knuckle, put the bolt from the control arm right through and added the nut and tightened.
All in all pretty easy besides getting the knuckle separated from the OEM control arm. (Damn NY and the rust)

Thread
Thread Starter
Forum
Replies
Last Post
vmcarbuyer
Buying, Selling & Leasing Discussion
9
Oct 12, 2019 12:42 PM
laksjd84
Exterior - Body Parts
1
Jul 24, 2015 05:12 PM
vstypicals
Buying, Selling & Leasing Discussion
6
Jul 20, 2015 10:55 PM