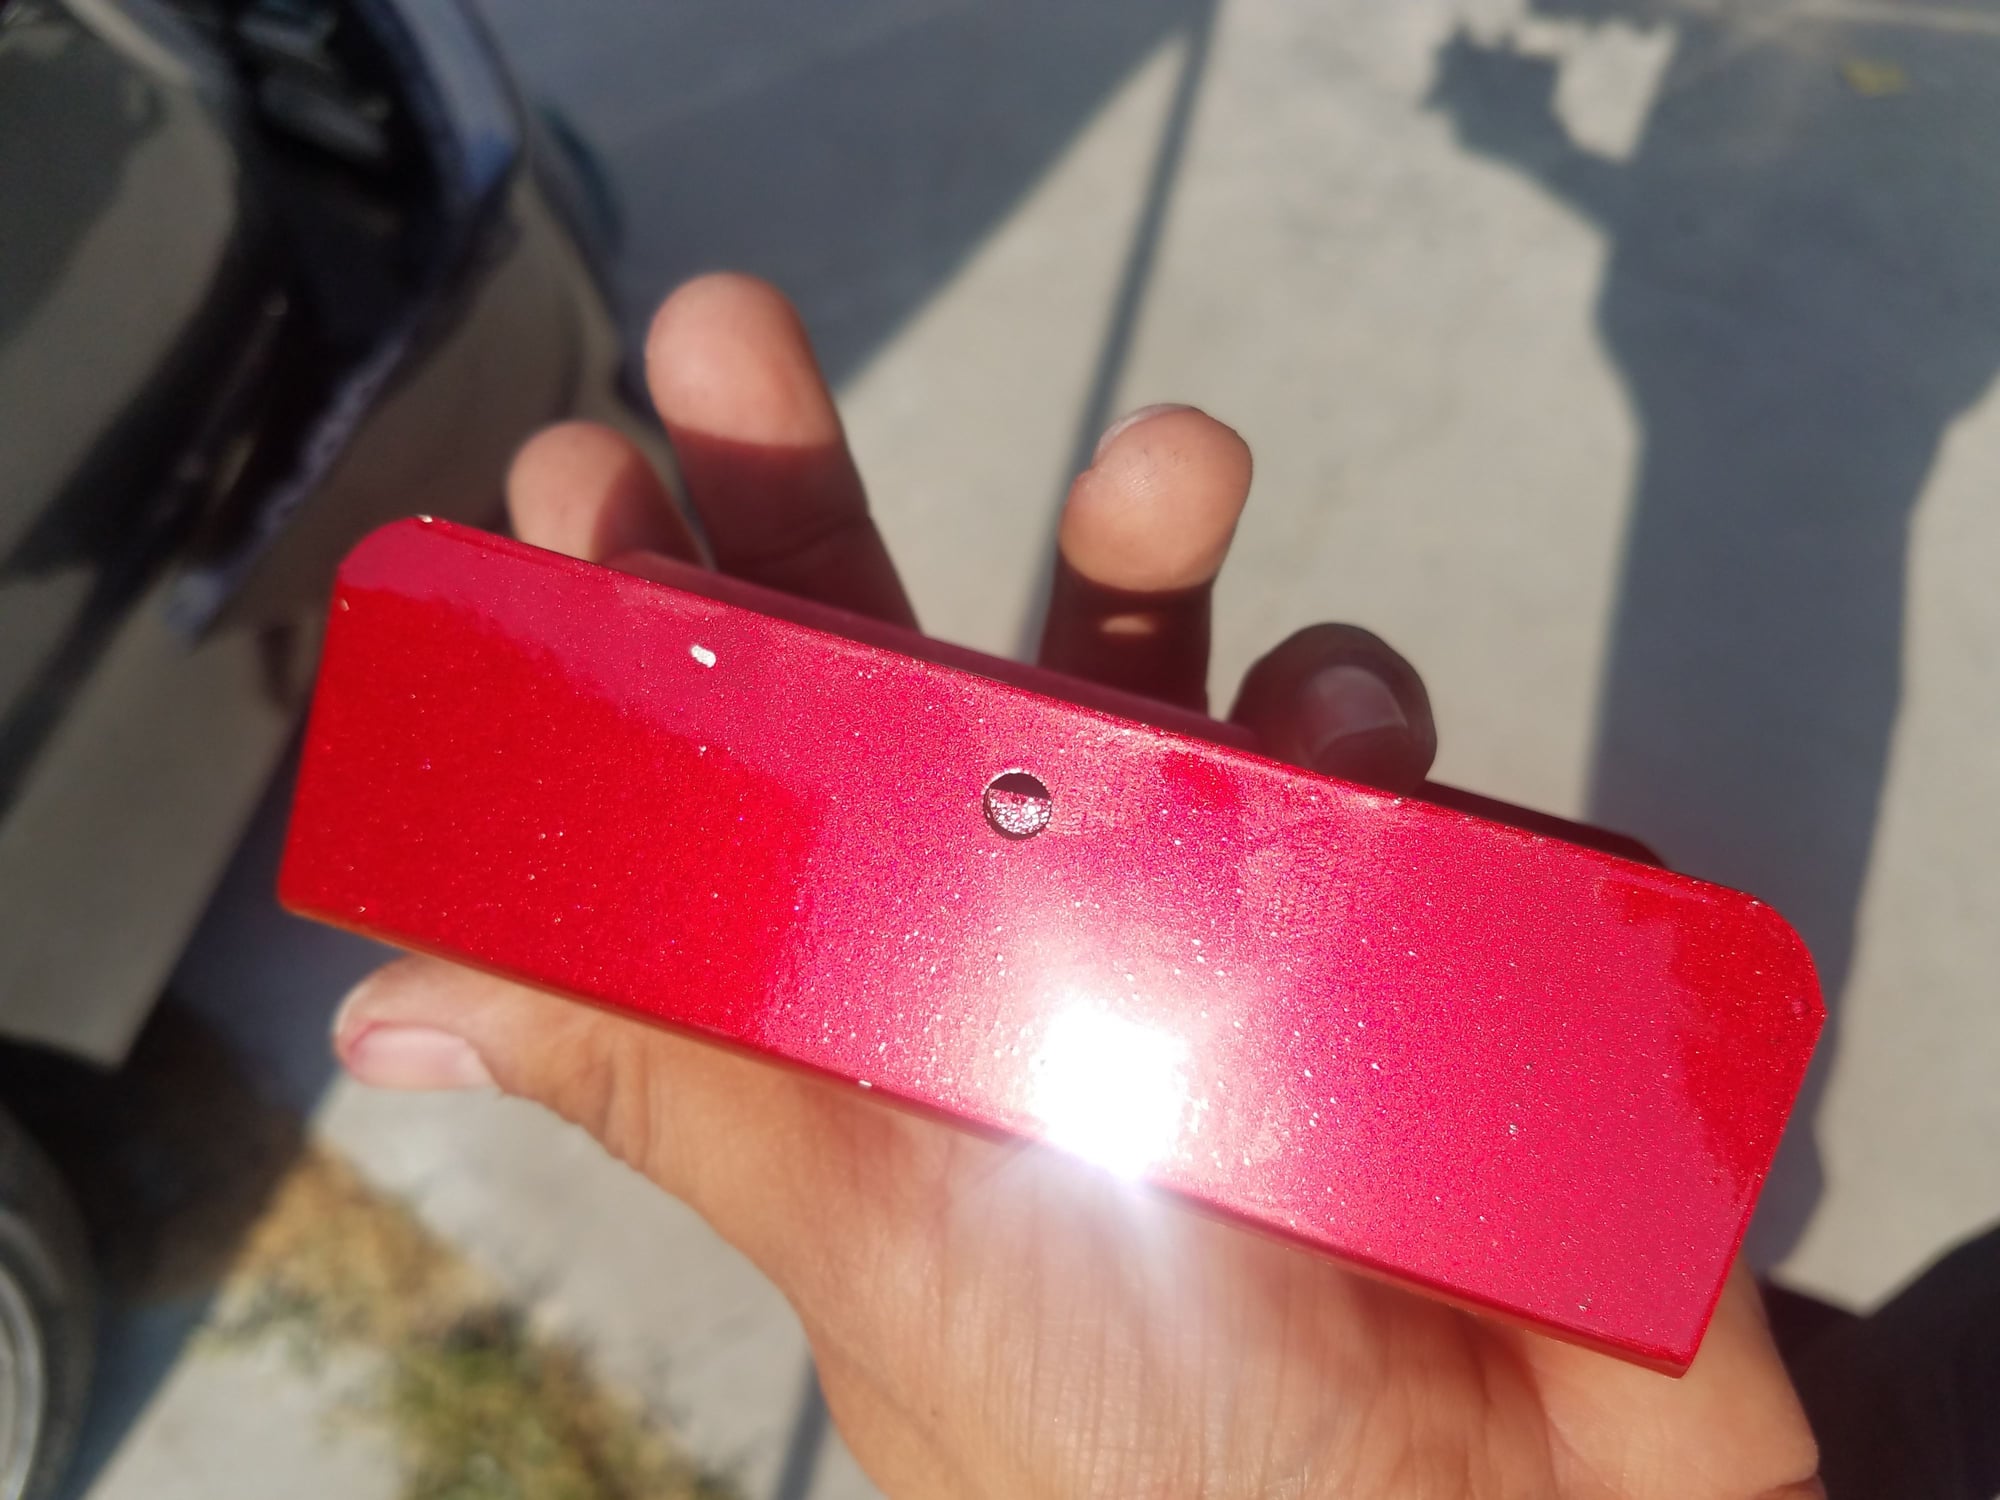
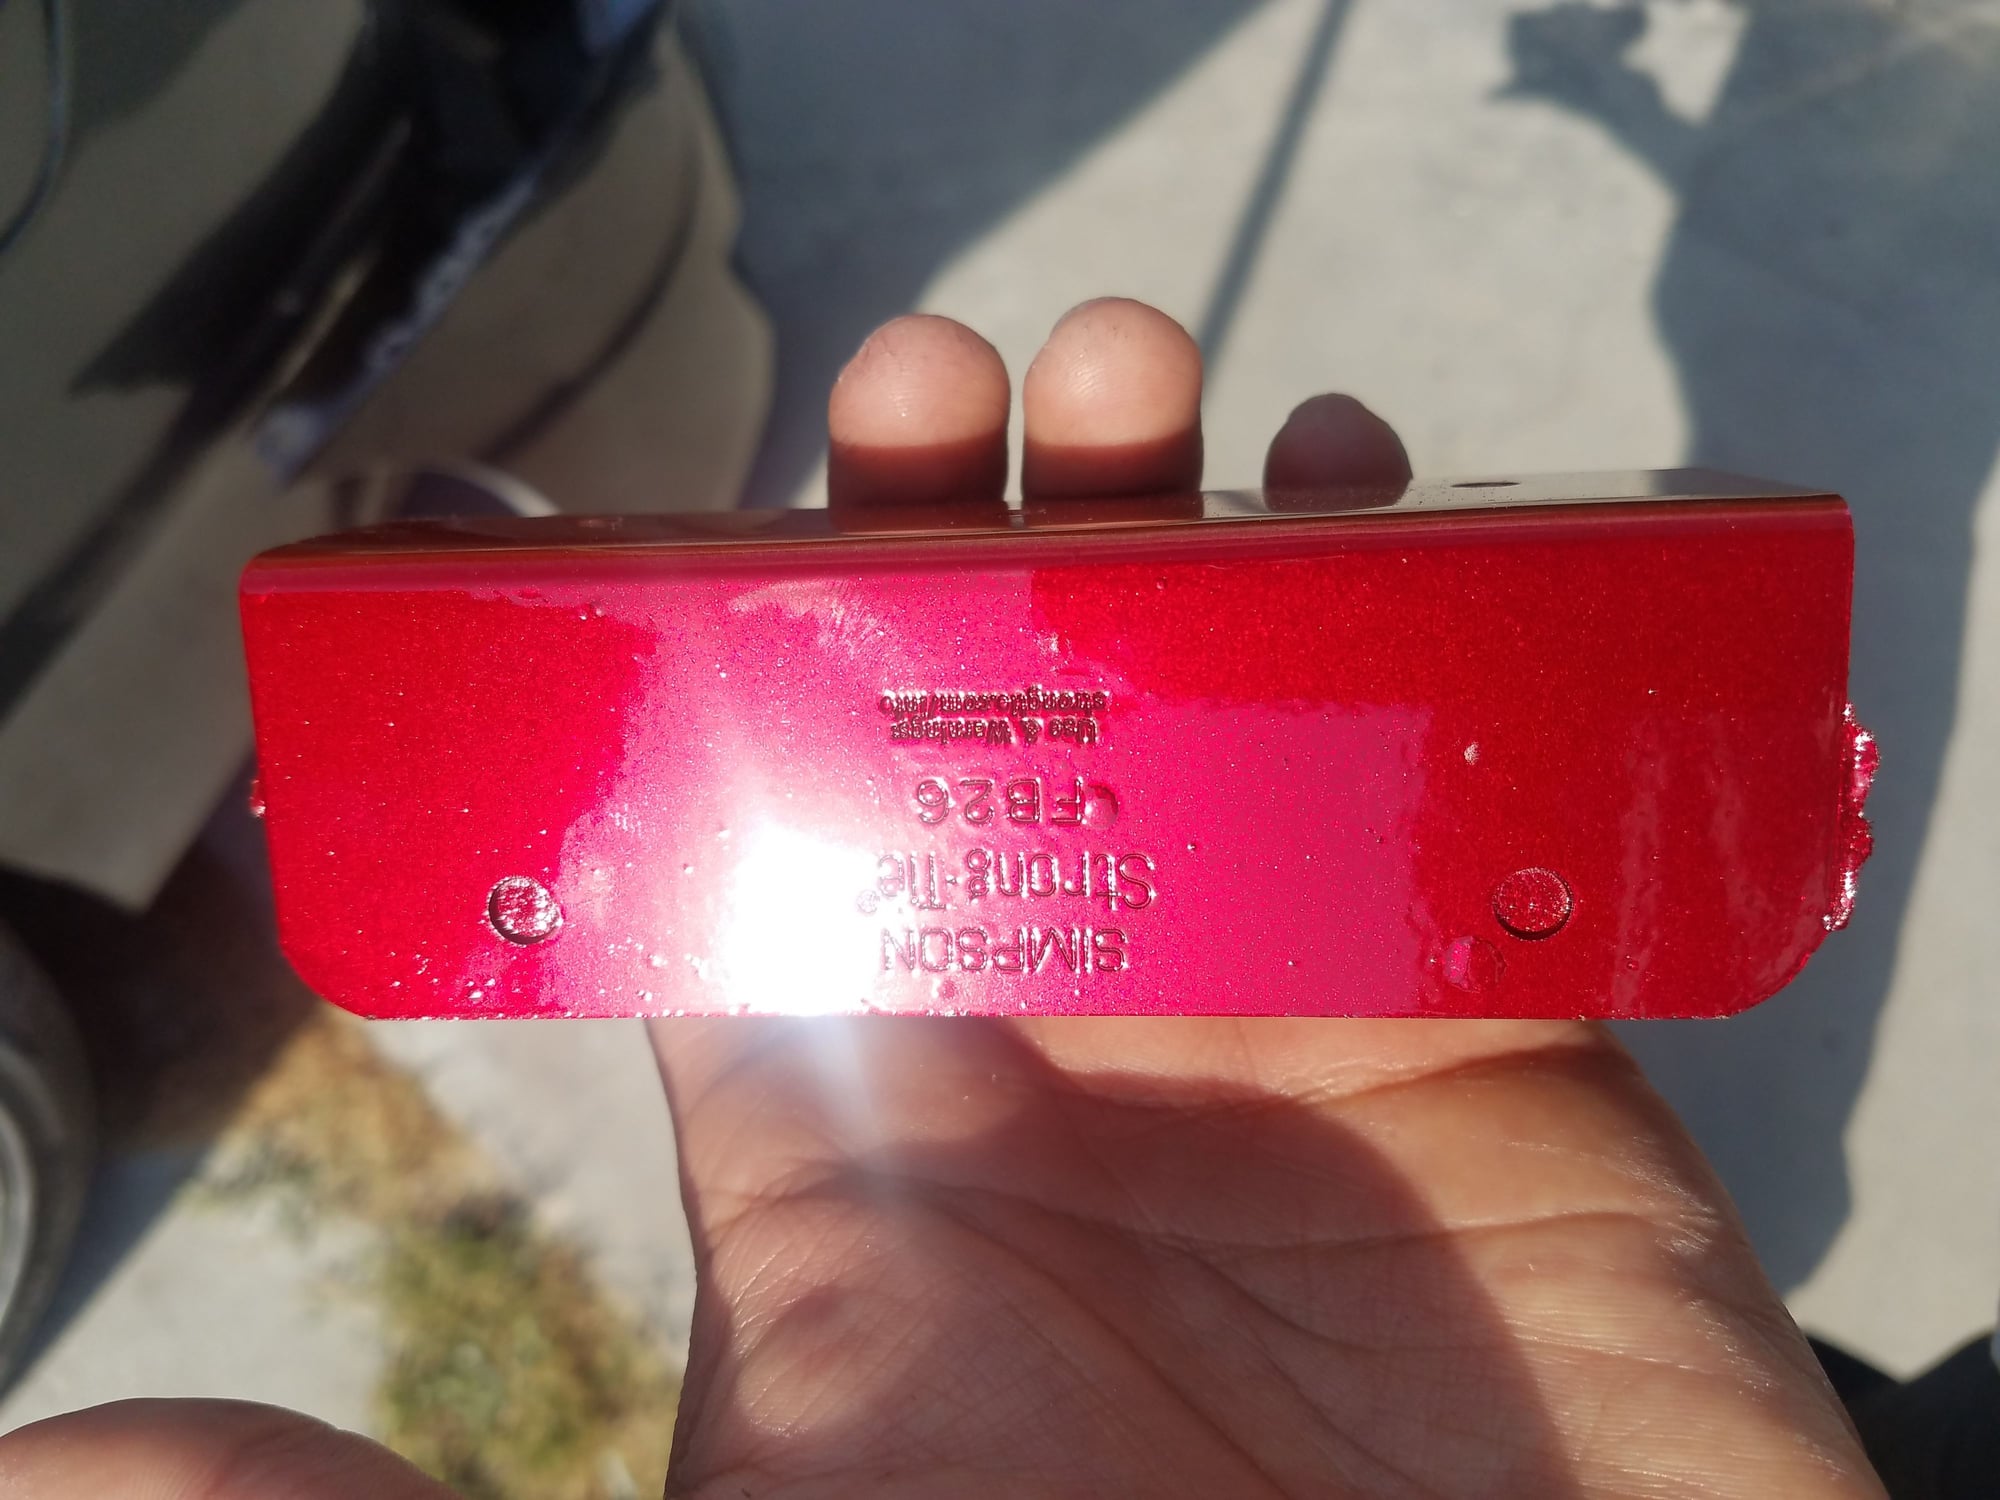
Full Respray: Input on Colour choice, examples, painting tips and progress -Pic Heavy
#31
Not sure. I had been on their site a few times before, seen their gallery pictures etc and bookmarked the page. When I click it now though, it no longer loads.
Like others have said, wrapping has a not so smooth texture. Also, you don't get the depth or gloss from a wrap. I've seen a few in person and never really like it. I can understand from a temporary point of view, but I want a permanent solution. Also the paint will be costing FAR less than even just the wrap materials.
If my paint was perfect and I had a limited edition car or something along those lines, then yes wrap and protect/preserve the paint underneath. But this isn't the case. I will, however, be wrapping the roof black afterwards. I'm not sure if I'll like the black roof so I'll spray all over with the red do the black wrap after. If I don't like it, like you say, I can just peel it off.
That's great. Is the second gold "Zenith Gold" by any chance? Just one that I see popping up a lot on paint forums.
Why not wrap? 3M Black Rose or ORACAL Purple Red seem to be what you're looking for. Comparing wrap to paint in terms of the monetary aspect, there is no comparison. A $3000 wrap will look better than a $3000 wrap. There are cons to everything, one of which is that wrap isn't as glossy as paint nor is it permanent, but that's the beauty of it.
If my paint was perfect and I had a limited edition car or something along those lines, then yes wrap and protect/preserve the paint underneath. But this isn't the case. I will, however, be wrapping the roof black afterwards. I'm not sure if I'll like the black roof so I'll spray all over with the red do the black wrap after. If I don't like it, like you say, I can just peel it off.
That's great. Is the second gold "Zenith Gold" by any chance? Just one that I see popping up a lot on paint forums.
#33
I'm having a good search on the forum and elsewhere for tips/guides on trim removals.
I have found the drip channel/roof molding comes out by popping up a clip near the front and rear ends of the trim - easy
The door seals will be removed, door card comes off easy, window will be dropped.
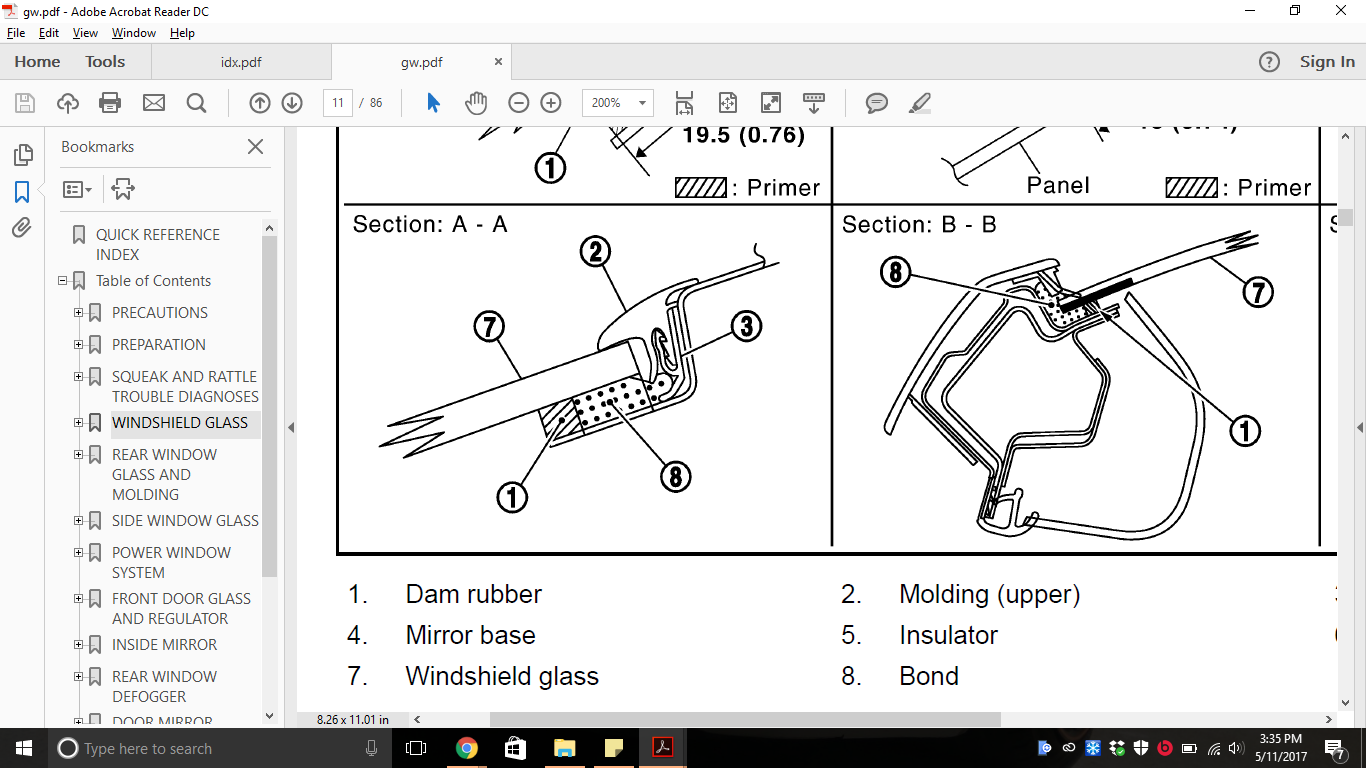
Need help with the windshield trim and side window trims.
I read somewhere the top windshield trim just pulls out but not sure if it'll break or break clips.
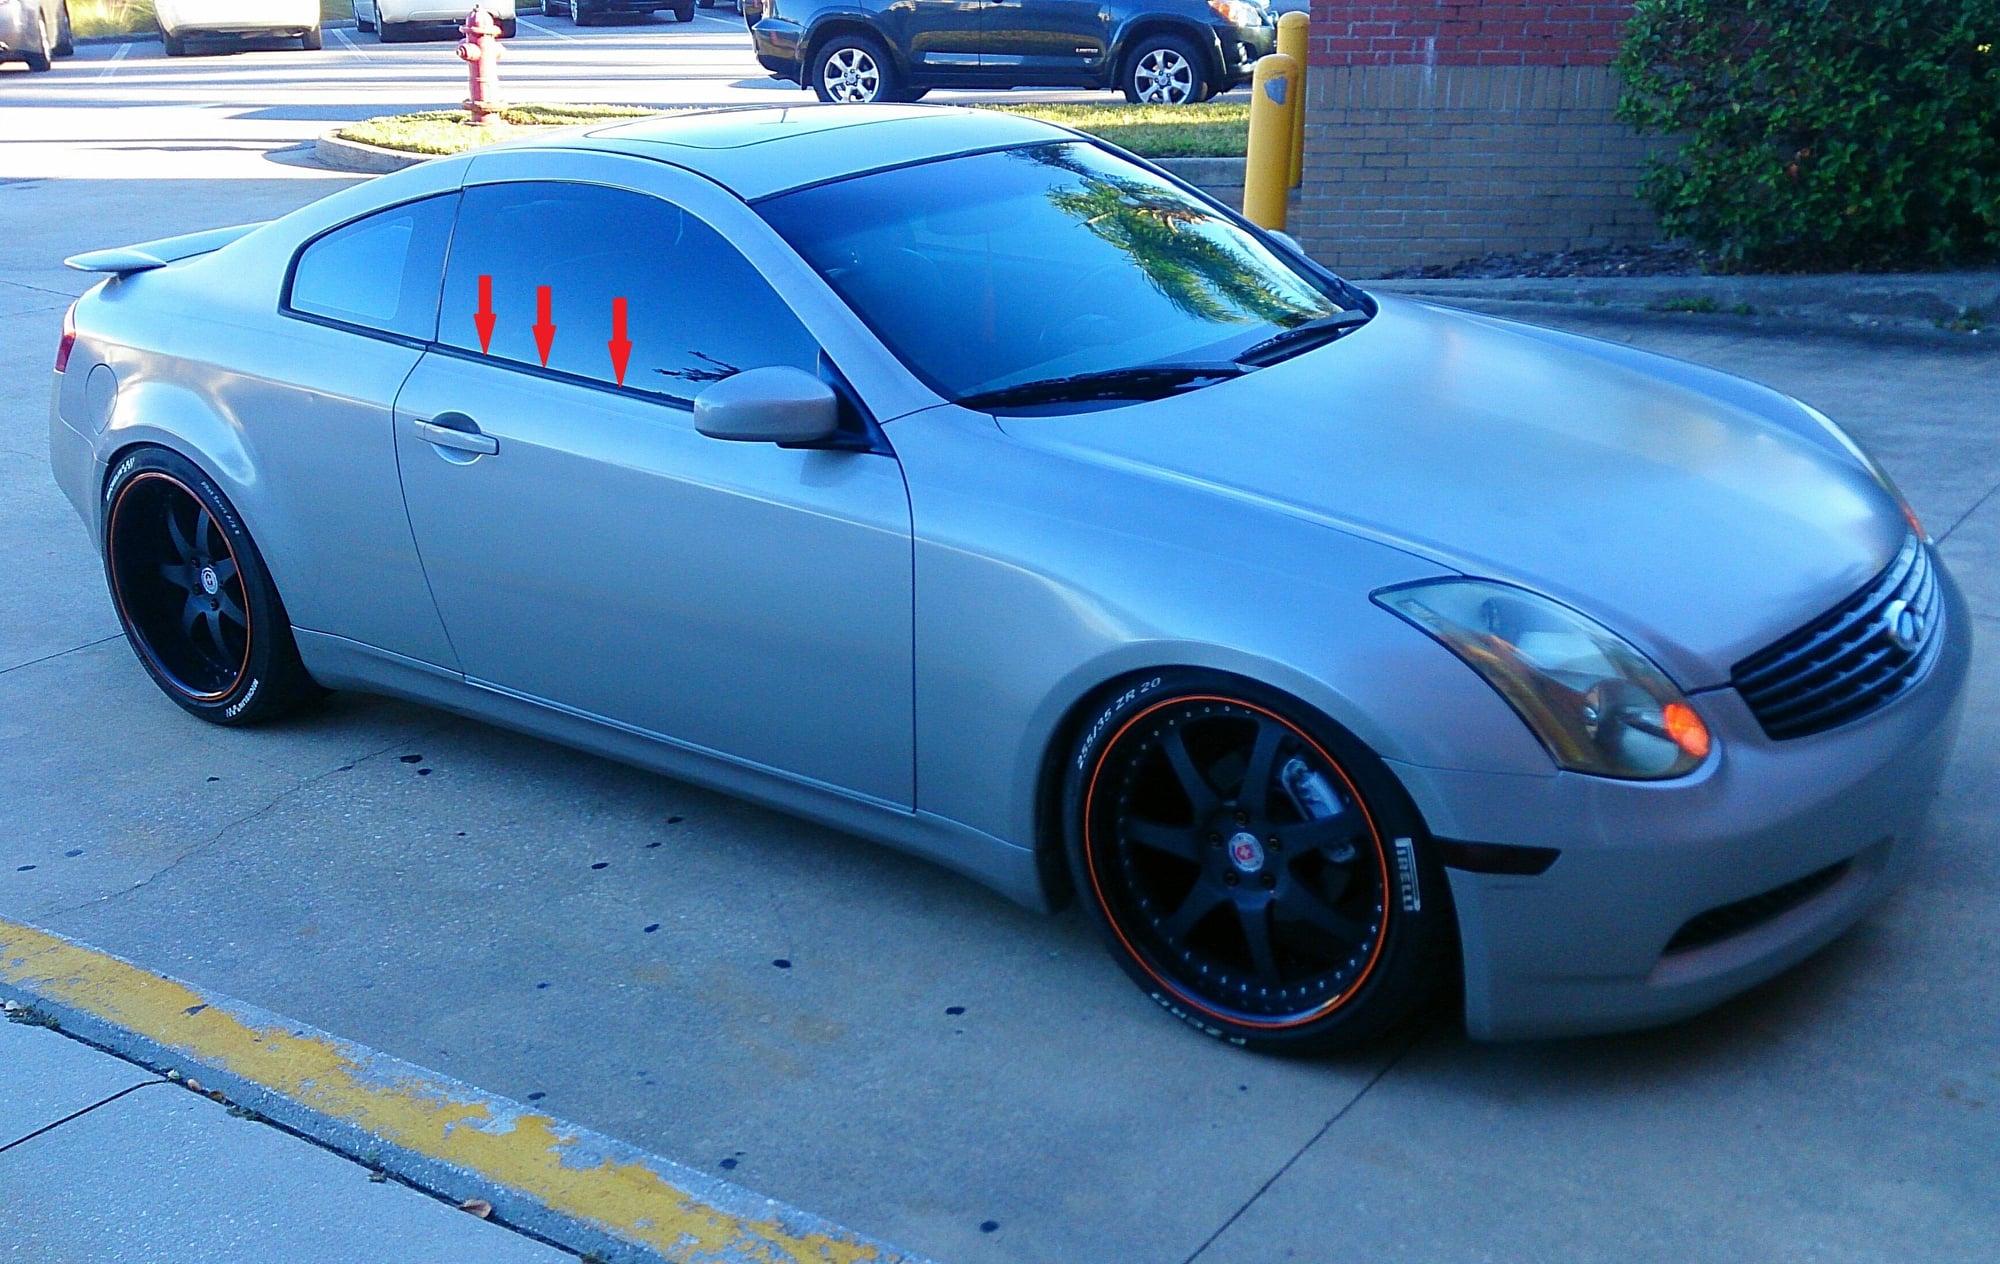
Anyone know for sure how to remove the trim on top of the door? Pull? Screws? Or do they bend/deform when removed.... And what about the rear quarter rubbers. They seem to flex a lot so worst case I will flex them open and hold them back whilst painting.
#35
#39
#40
Those are a must
Roll the windows all the way down
Stick your hand in there and evenly pull it inside until it starts unclipping
I can't really remember if u pull straight up u can break the clips or bend it
Roll the windows all the way down
Stick your hand in there and evenly pull it inside until it starts unclipping
I can't really remember if u pull straight up u can break the clips or bend it
#41
The driver side rear of my car was 1/2-3/4 inch lower than the passenger side rear. It was this way with the OEM springs and I thought maybe one was broken so it would level out once I put the S-Techs in. It didn't..... So I cut the passenger side spring mount by 1/2 inch and then securely attached that 1/2 inch slice onto the driver to sort of even out the ride height in the rear - and it worked.
So I'm not sure exactly which side is the abnormal side. But I would guess the pass side is okay which would mean 1/2 inch off the spring mount to get good height. Just measure what the gap you want to reduce. If it measures 3/4 inch then cut maybe 1/2 inch off the mount and see how it settles. You can always trim more in a second cut but you can't undo trimming too much!
I read up some threads and heard the driver side normally sags the G, common with other cars too. You never really notice with OEM springs but once you get tight fender gaps a 1/2 inch becomes really noticeable. I'm thinking maybe worn bushes or at worst a bent ARB. I might disconnect the ARB and see how it settles. No big deal right now and I may even just move on to some coilovers as I do want to be lower.
I guess there's a lip which needs to be pulled inwards before I can lift upward?
#42
I actually only started sanding today....
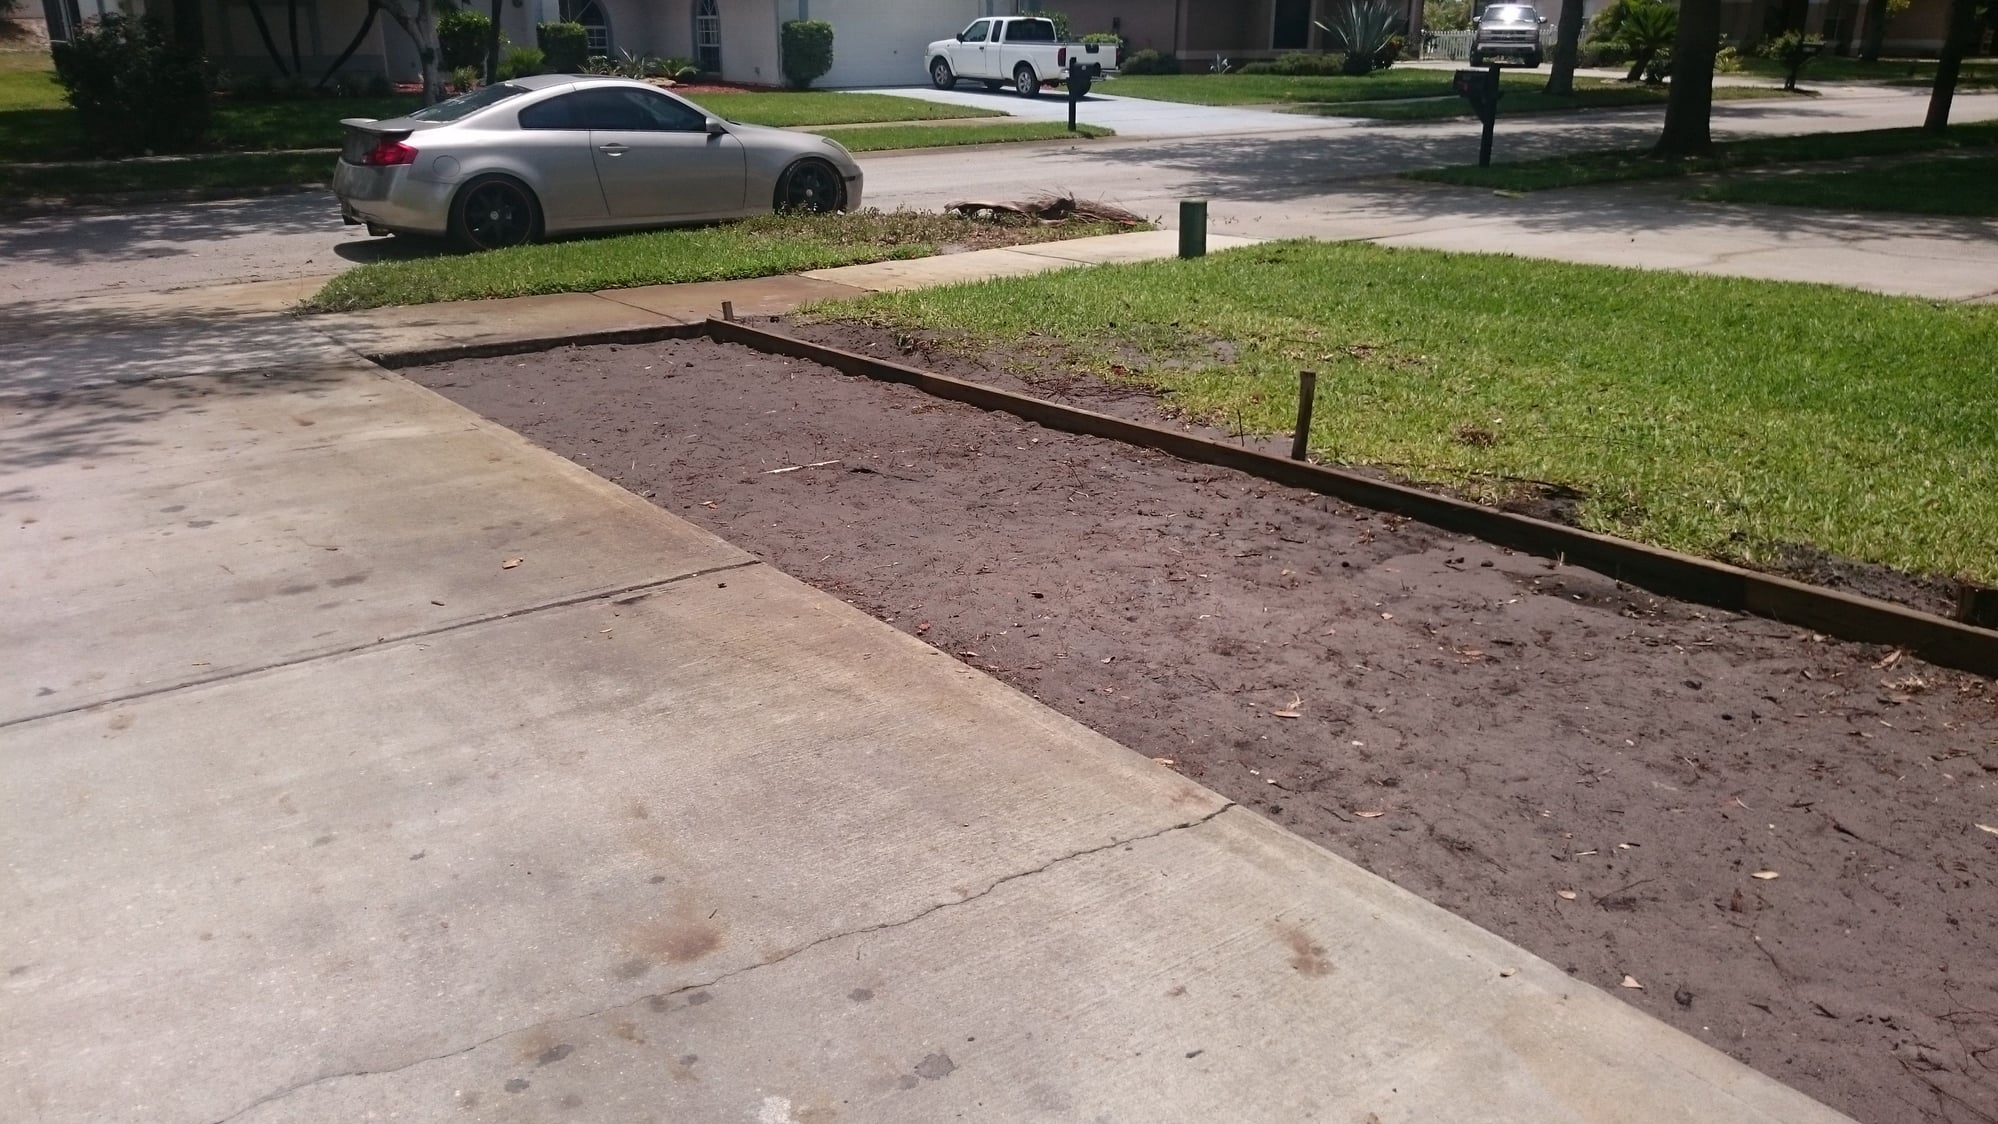
Spent most of last week widening our driveway to add some room and also make it easier to work on the cars/park cars not used often.
I also had many - well spent - hours gone into research. So I'm pretty confident and ready now.
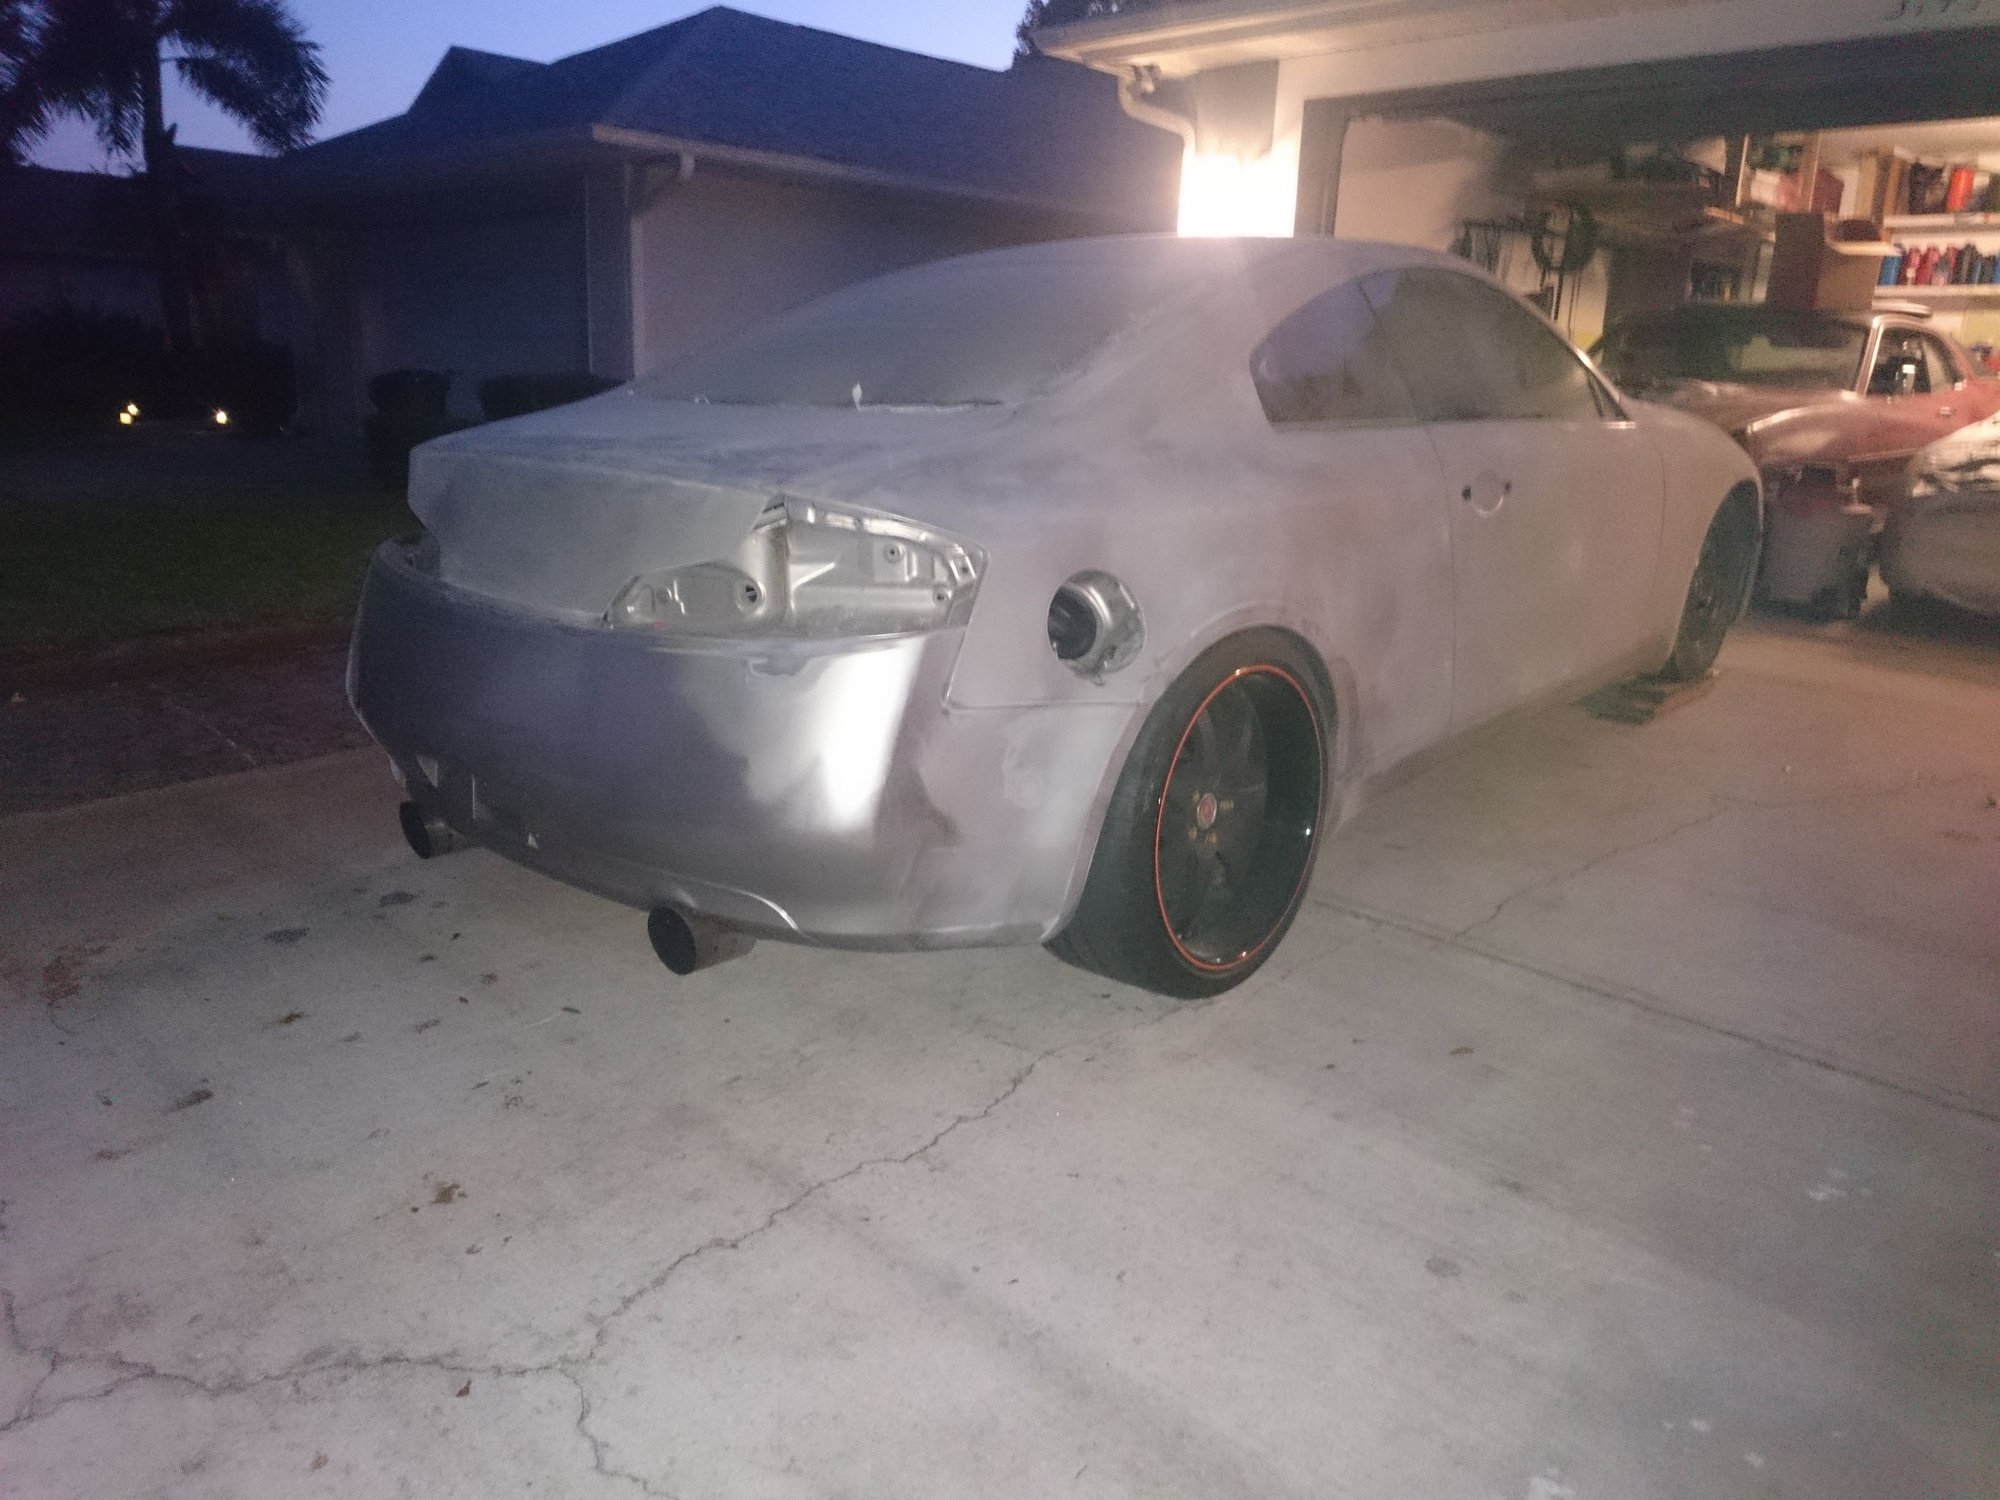
Started sanding the whole body. Went through the clear (the little that I had on one fender) and got most of the body smooth. Removed all but one of the trims - still figuring out how to remove the one above the windshield. The door trims came out pretty easily, slight pull towards the inside and lift up, almost like you're rolling them off the door. Tomorrow morning I'll pull the front and rear bumpers, sideskirts and A pillar trims.
The wing came off pretty easy, easier than I expected..... as this car originally did not have a wing fitted to it from factory, then someone put it on, and now someone is removing it back off
 There were just 5 machine screws into the wing so I got 5 small holes to patch plus 1 more from the brake light wire. No double sided tape to clean
What is best to block out the holes? 4 of the 6 I can get to on the inside of the trunk if I were to weld something in place or fibreglass it. I was thinking maybe to just put a slight dent from the top and then use brass to fill the holes? At least it's not as bad as 9/10 holes from the OEM wing.
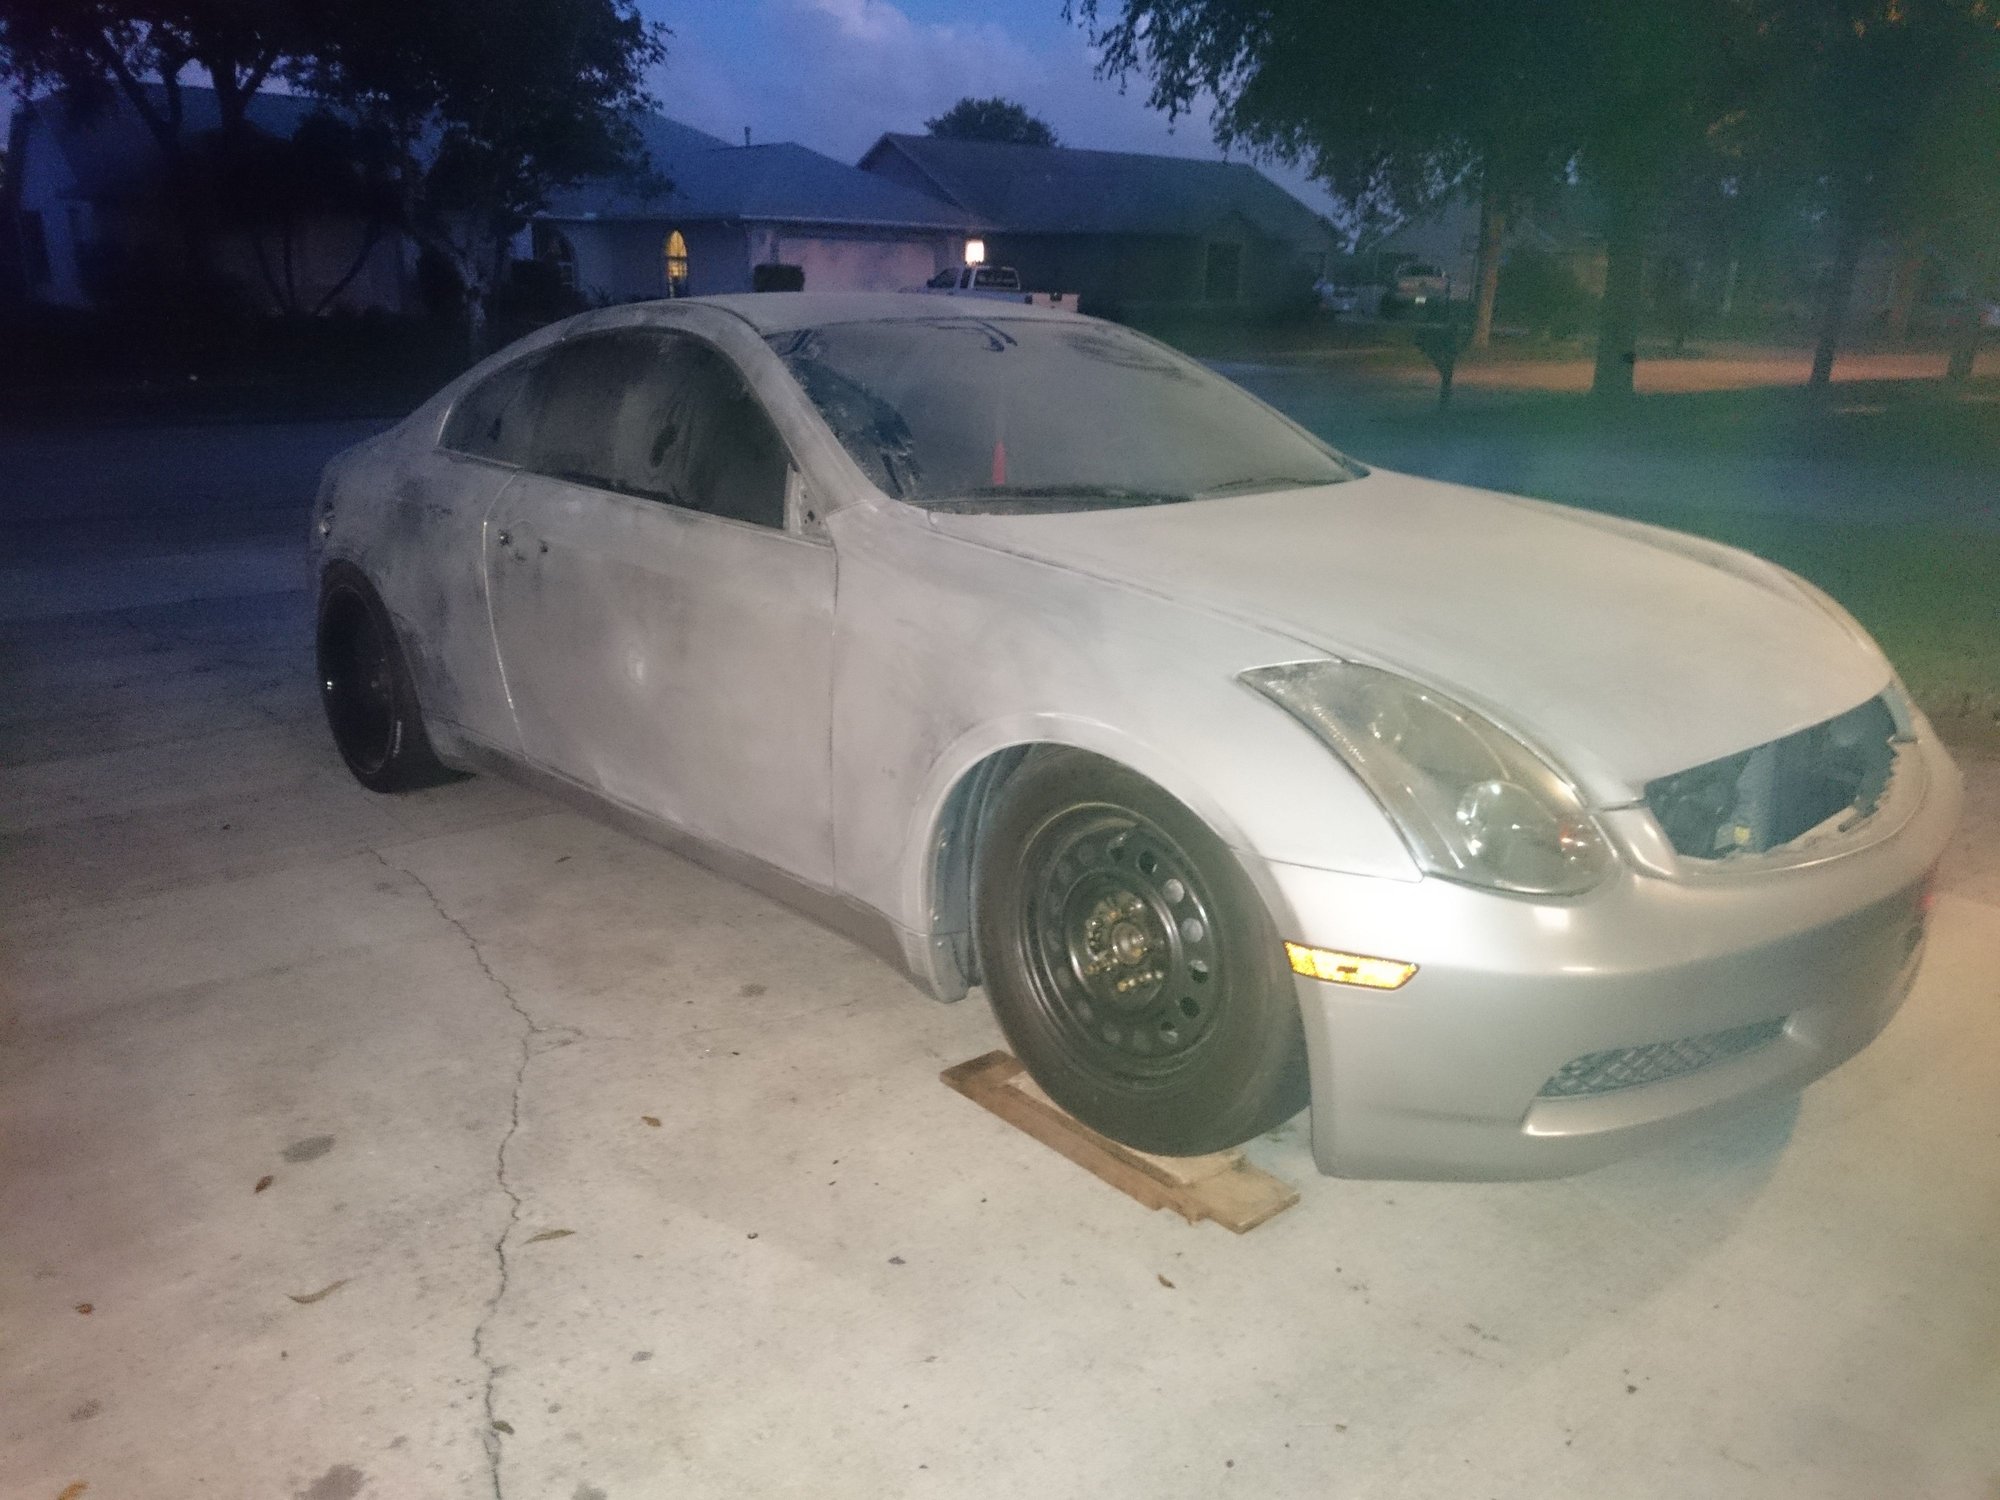
Concrete truck will be here Wednesday then I'll have some room in the garage.
Last edited by BradMD_96; 05-16-2017 at 12:03 AM.
#44


