
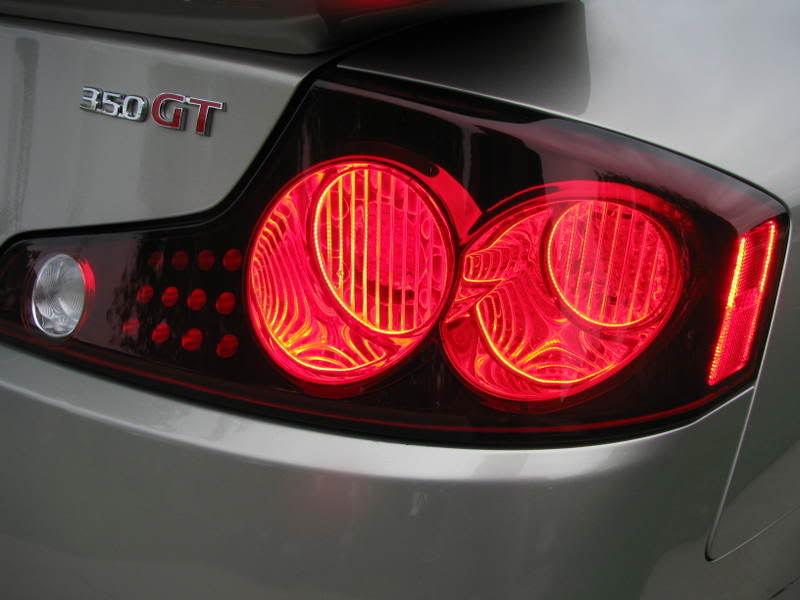
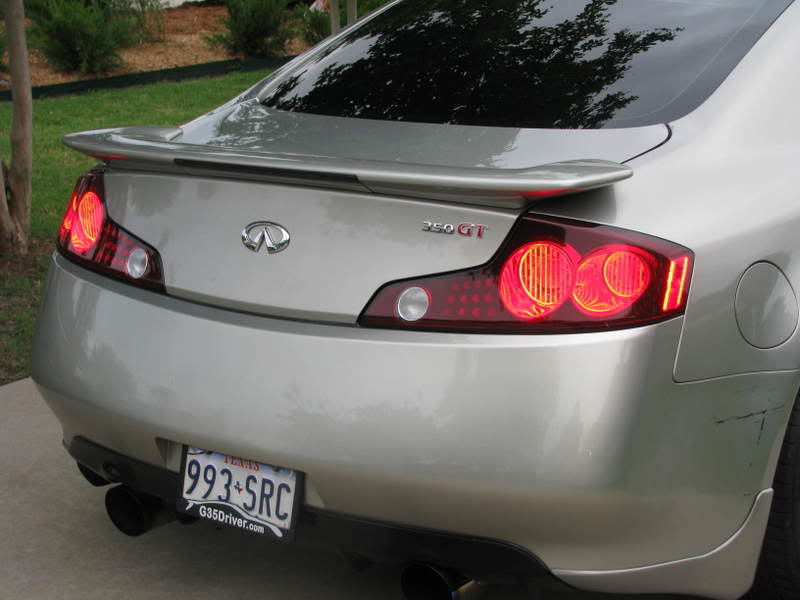
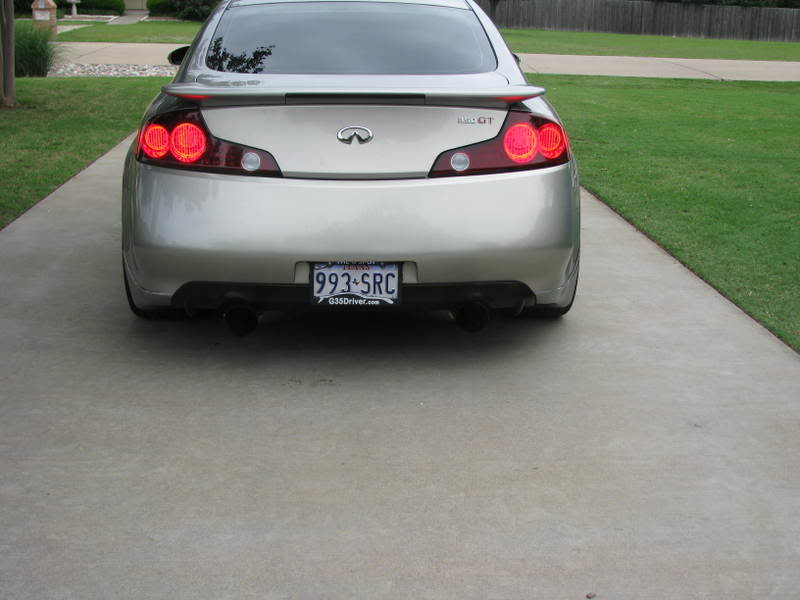
Dual Ring Skyline Taillights


#19
 04-02-2009, 01:26 AM

I guess you could get by with tying the wires together and then capping them, but I always prefer solder and then heatshrink. I've never had a connection fail on me with that.
The parts cost about $140. I paid for a pair of 05 sedan lights on ebay. You can get them cheaper if you're willing to look and wait around. Throw in about $5 for heatshrink, etc. So it's not an expensive project.
Difficulty is about a 7 out of 10. 9 out of 10 would be the quad projector retrofit that I did. 3 out of 10 would be making blacked out headlights.
#20
04-02-2009, 01:44 AM
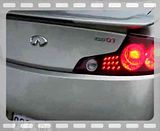
here is my old setup that was done...I have a new one on the way...SHH!!!! There will be pics posted up later on down the road once they are completed.
I do like all of your work thought E_K! keep it up! if you want me to remove these let me know
Vid of them in action with a walk-around of all my lighting effects.
I do like all of your work thought E_K! keep it up! if you want me to remove these let me know
Vid of them in action with a walk-around of all my lighting effects.


#24
04-02-2009, 03:05 AM
gman04, don't worry about the pics. We don't see modded tails very often here besides the usual tinted stuff.
sammy_g, I should be able to make it tomorrow. I'll be there around 8:15 or so.
Here's some pics of the modding process. This isn't meant as a step by step DIY. It would be 3 pages of steps if I did that. Plus, there are areas that I think can be improved, so I'll leave it open for others to try taillight mods.
You'll need to remove your taillights obviously. There's a brief thread on doing this in the lighting forum. This should only take about 15 minutes. But in order to open them up, you'll need to dremel them. I used reinforced cutoff wheels. Those things can cut through steel, so plastic is no problem. I cut about 5 millimeters behind the border of the lens and the plastic housing. Don't bother with the oven for these. It won't work. And one more thing, the 06-07 lights are a pain to open up as the trunk open button area is also cemented together.
After you open everything up, you'll get these.

I've also cut open the 05 sedan light at this point. The rings on the 05 sedan are side specific, so if you want perfect mirror images, you'll need to buy both the passenger and driver side.
Cut the rings out of the sedan light. You'll need to trim the sides down for it to fit in the coupe light. Obviously you'll need to cut away the original signal area on the coupe light. The sedan light ring looks like this:

Test fitting the rings:

I had this pic in my other thread. Here is some testing of the LEDs:

I used a 9V battery to test the LEDs. Just solder a wire onto the + terminal and one onto the - terminal, and off you go.
The edges of the rings were showing, so I cut a piece of thin tin sheet and fitted it into place. This is the same stuff I used to make shrouds for projectors:

You'll need to trim the LED holder bracket. It is the gray piece of plastic sitting in front of the bezels in the first pic of this post. The wiring for the LEDs was strange to me, but it's simple rewiring to make this work. The LEDs have two legs. The one with an extra piece of metal sticking up is the + terminal.

I also made use of the extra connectors from the sedan lights that I had sitting around.
Test fitting the rings. You can see that I shaved down some of the plastic to give the LEDs more room.

The back of the lights:


In order to make the LEDs match better with the stock ones, I trimmed the reflector pieces for the original LED ring and for the trapezoid LEDs:


You can trim these however you want, or just leave them alone.
I kept the back reflector on the stock signal light from the coupe lights, trimmed off this piece and secured it with the stock securing screw:

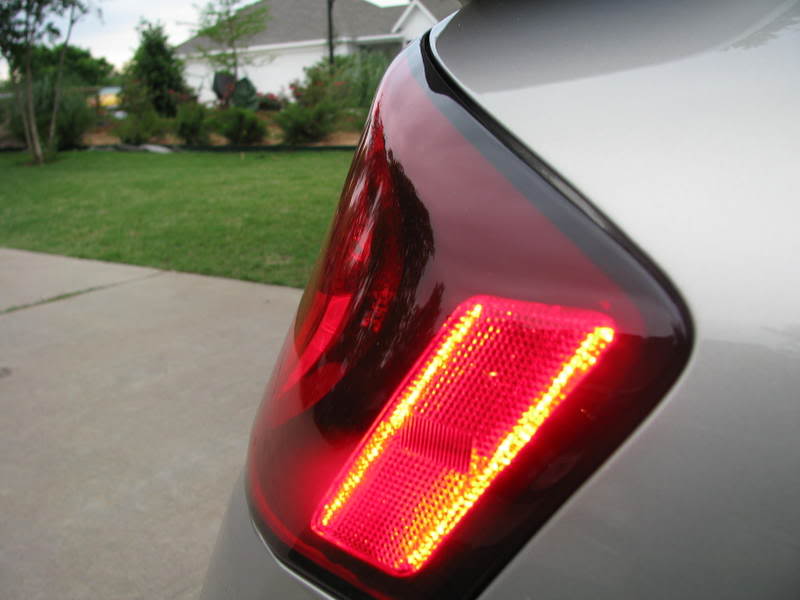
I also added LEDs in the side marker area, but you can add LEDs, CCFL, or just leave it as is.
Then seal the lights back together. Again, the oven won't help you at all here. I used Goop, this adhesive that you can get at Home Depot. It comes in a blue tube. Not very expensive. Solder everything up, and you're good to go:

sammy_g, I should be able to make it tomorrow. I'll be there around 8:15 or so.
Here's some pics of the modding process. This isn't meant as a step by step DIY. It would be 3 pages of steps if I did that. Plus, there are areas that I think can be improved, so I'll leave it open for others to try taillight mods.
You'll need to remove your taillights obviously. There's a brief thread on doing this in the lighting forum. This should only take about 15 minutes. But in order to open them up, you'll need to dremel them. I used reinforced cutoff wheels. Those things can cut through steel, so plastic is no problem. I cut about 5 millimeters behind the border of the lens and the plastic housing. Don't bother with the oven for these. It won't work. And one more thing, the 06-07 lights are a pain to open up as the trunk open button area is also cemented together.
After you open everything up, you'll get these.
I've also cut open the 05 sedan light at this point. The rings on the 05 sedan are side specific, so if you want perfect mirror images, you'll need to buy both the passenger and driver side.
Cut the rings out of the sedan light. You'll need to trim the sides down for it to fit in the coupe light. Obviously you'll need to cut away the original signal area on the coupe light. The sedan light ring looks like this:
Test fitting the rings:
I had this pic in my other thread. Here is some testing of the LEDs:
I used a 9V battery to test the LEDs. Just solder a wire onto the + terminal and one onto the - terminal, and off you go.
The edges of the rings were showing, so I cut a piece of thin tin sheet and fitted it into place. This is the same stuff I used to make shrouds for projectors:
You'll need to trim the LED holder bracket. It is the gray piece of plastic sitting in front of the bezels in the first pic of this post. The wiring for the LEDs was strange to me, but it's simple rewiring to make this work. The LEDs have two legs. The one with an extra piece of metal sticking up is the + terminal.
I also made use of the extra connectors from the sedan lights that I had sitting around.
Test fitting the rings. You can see that I shaved down some of the plastic to give the LEDs more room.
The back of the lights:
In order to make the LEDs match better with the stock ones, I trimmed the reflector pieces for the original LED ring and for the trapezoid LEDs:
You can trim these however you want, or just leave them alone.
I kept the back reflector on the stock signal light from the coupe lights, trimmed off this piece and secured it with the stock securing screw:
I also added LEDs in the side marker area, but you can add LEDs, CCFL, or just leave it as is.
Then seal the lights back together. Again, the oven won't help you at all here. I used Goop, this adhesive that you can get at Home Depot. It comes in a blue tube. Not very expensive. Solder everything up, and you're good to go:


#28
04-02-2009, 09:25 AM

great job, definitely a pioneer in the taillight modding for coupes.
I'm guessing thereason they look different is probably because they are wired in series (i think i didnt look too closely) and the sedan has a different number of LEDs so there is a current difference.
I think some trial and error with different resistors will give you a better match to the OEM ones. Good luck and keep us posted!
#29
04-02-2009, 10:27 AM
great job, definitely a pioneer in the taillight modding for coupes.
I'm guessing thereason they look different is probably because they are wired in series (i think i didnt look too closely) and the sedan has a different number of LEDs so there is a current difference.
I think some trial and error with different resistors will give you a better match to the OEM ones. Good luck and keep us posted!
I'm guessing thereason they look different is probably because they are wired in series (i think i didnt look too closely) and the sedan has a different number of LEDs so there is a current difference.
I think some trial and error with different resistors will give you a better match to the OEM ones. Good luck and keep us posted!
#30
04-02-2009, 11:33 AM