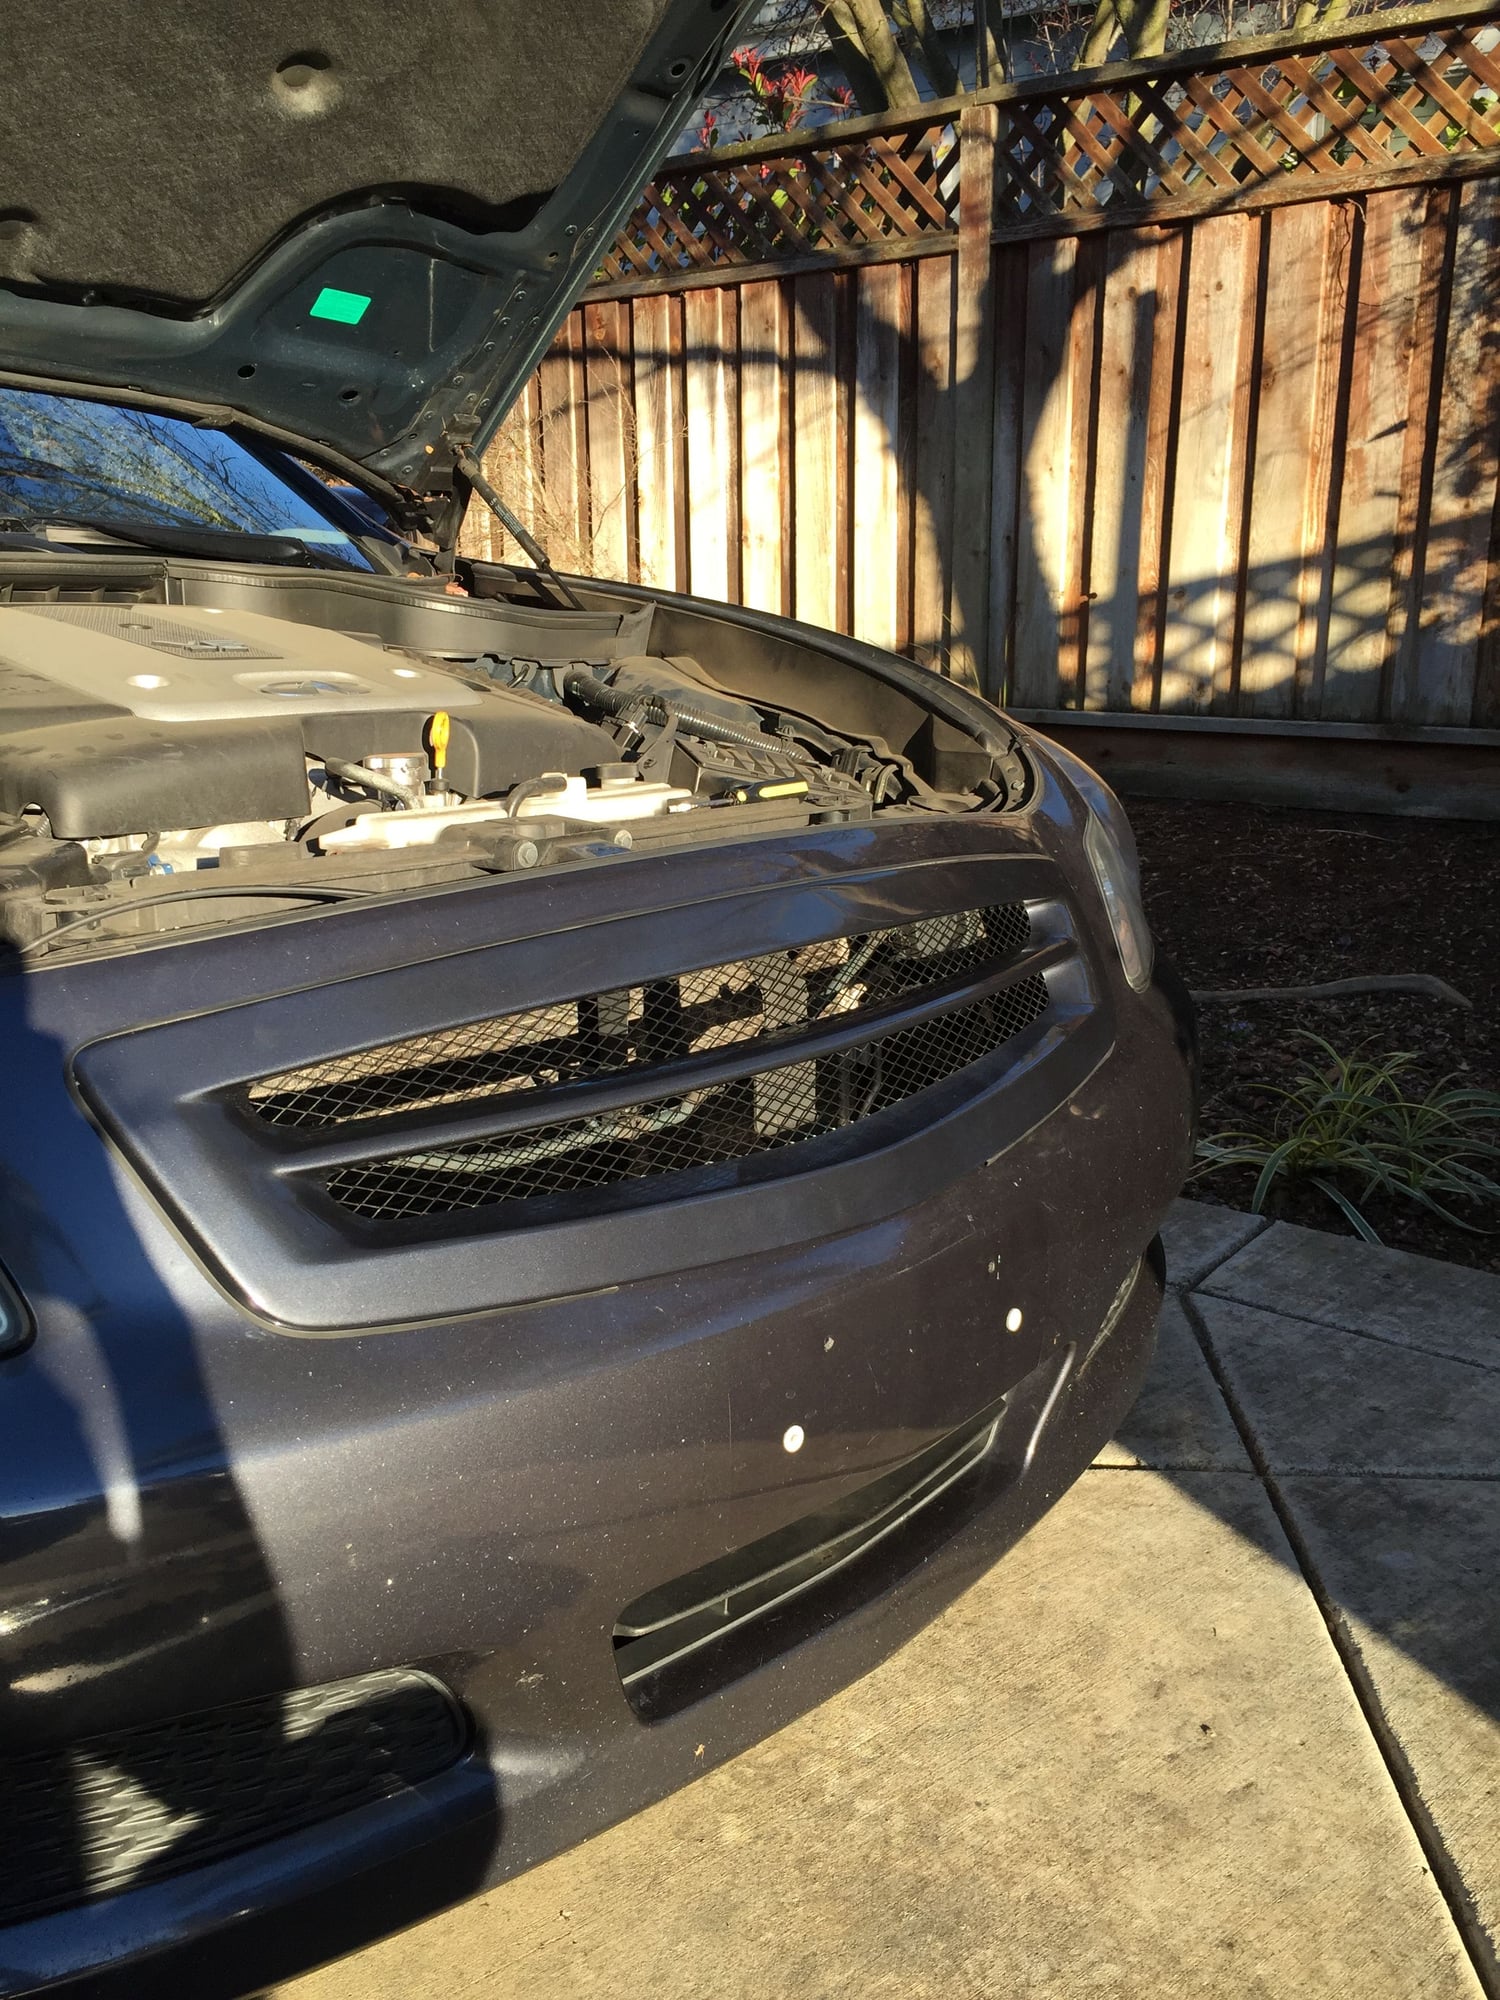
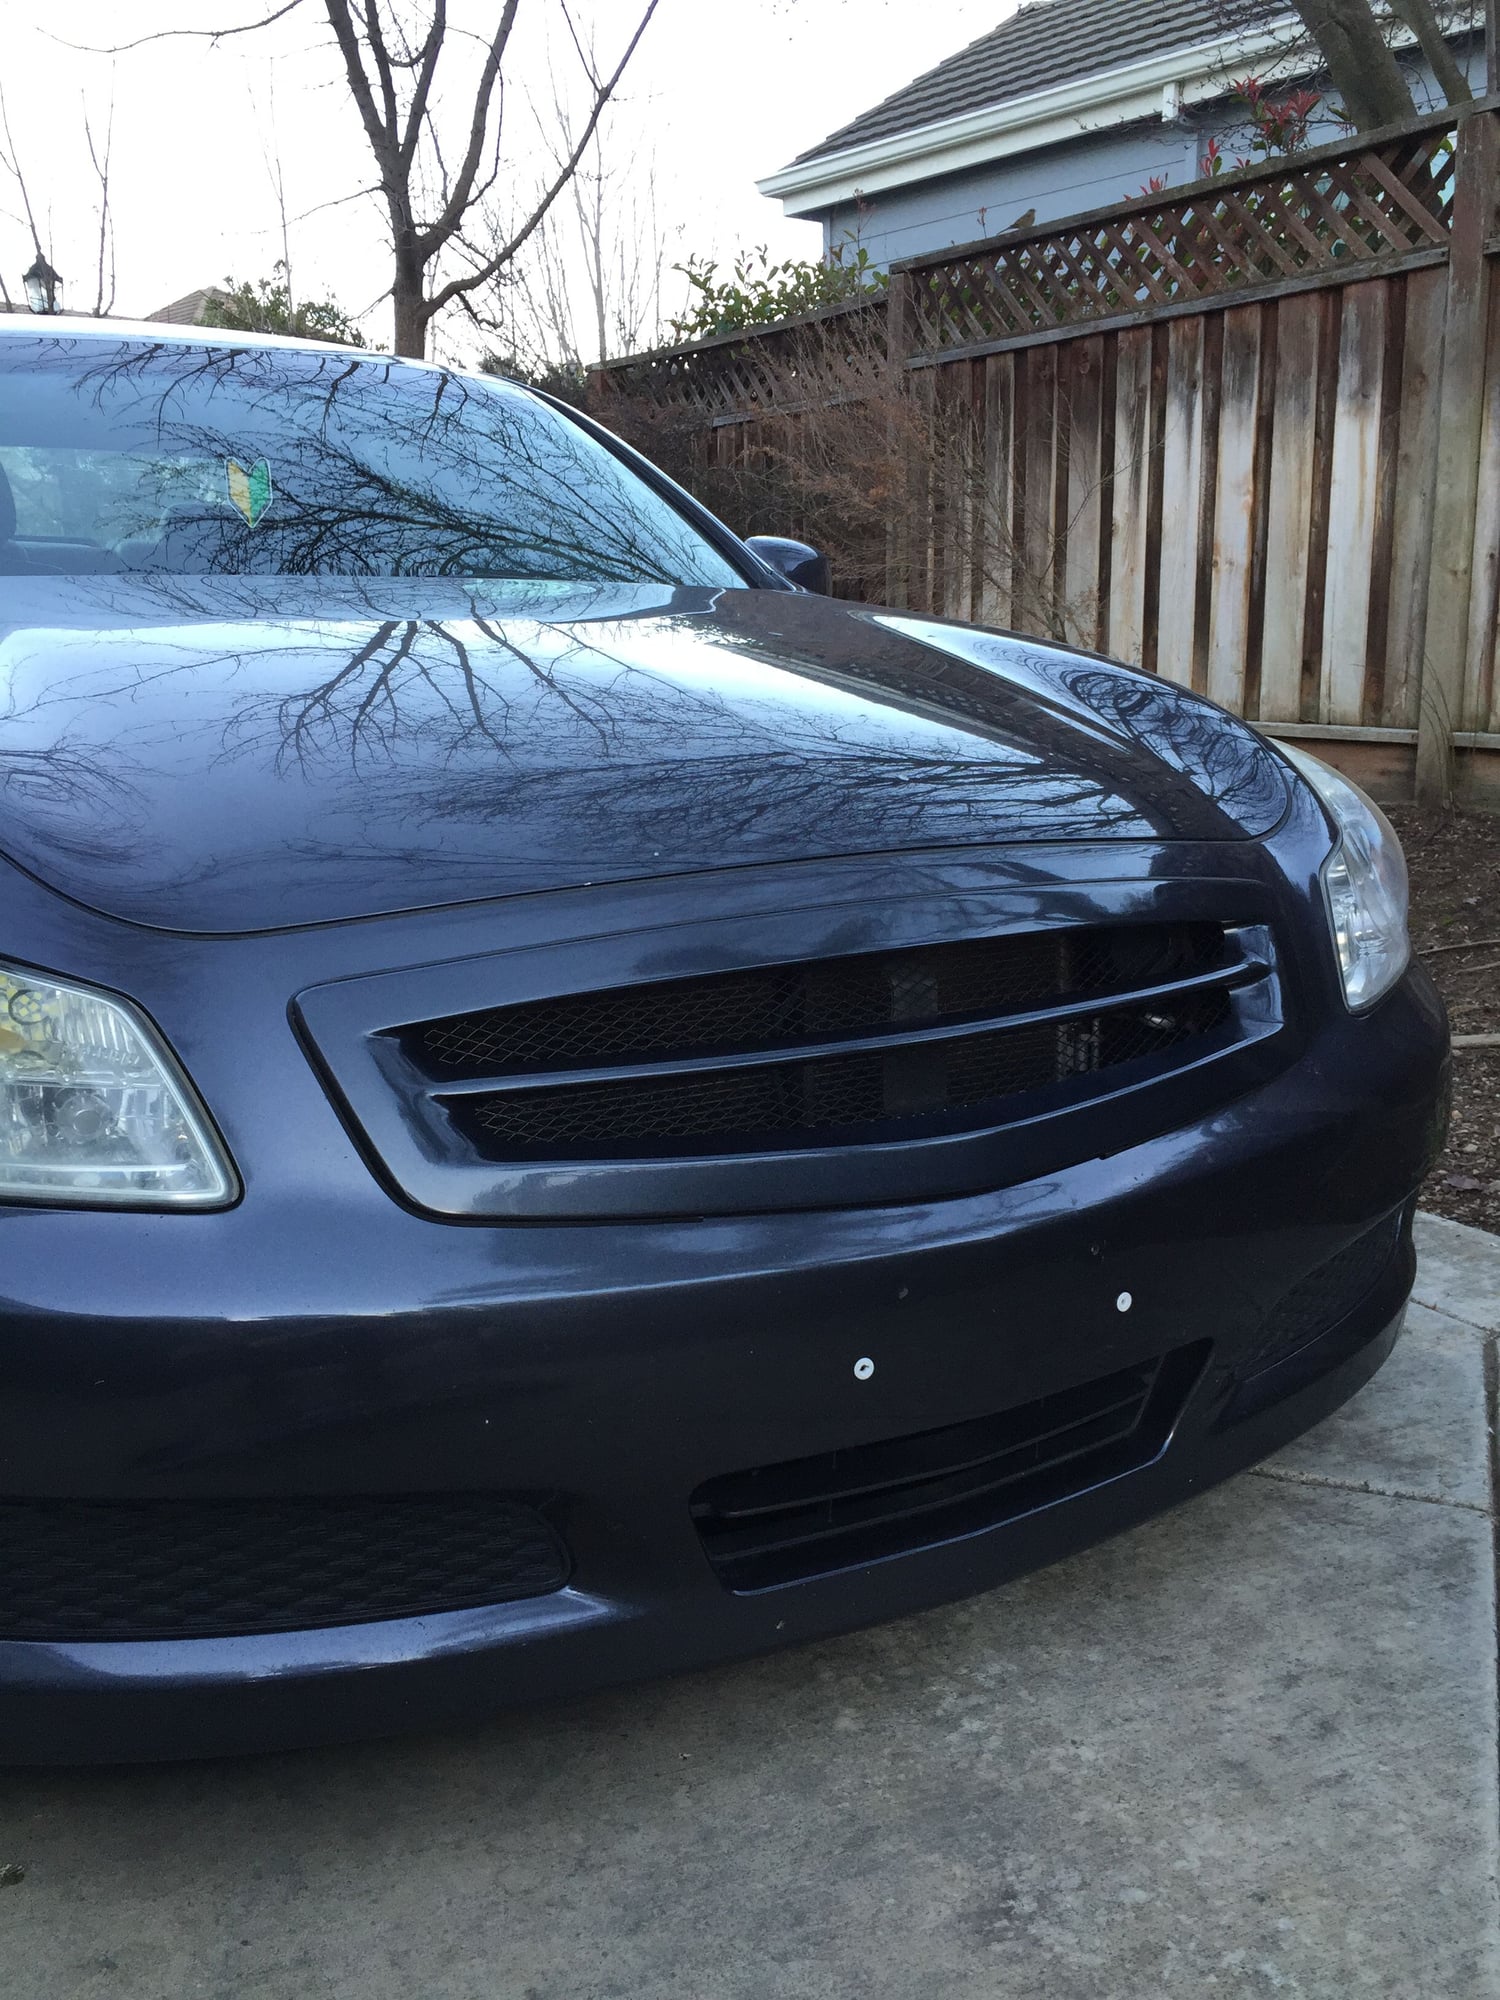
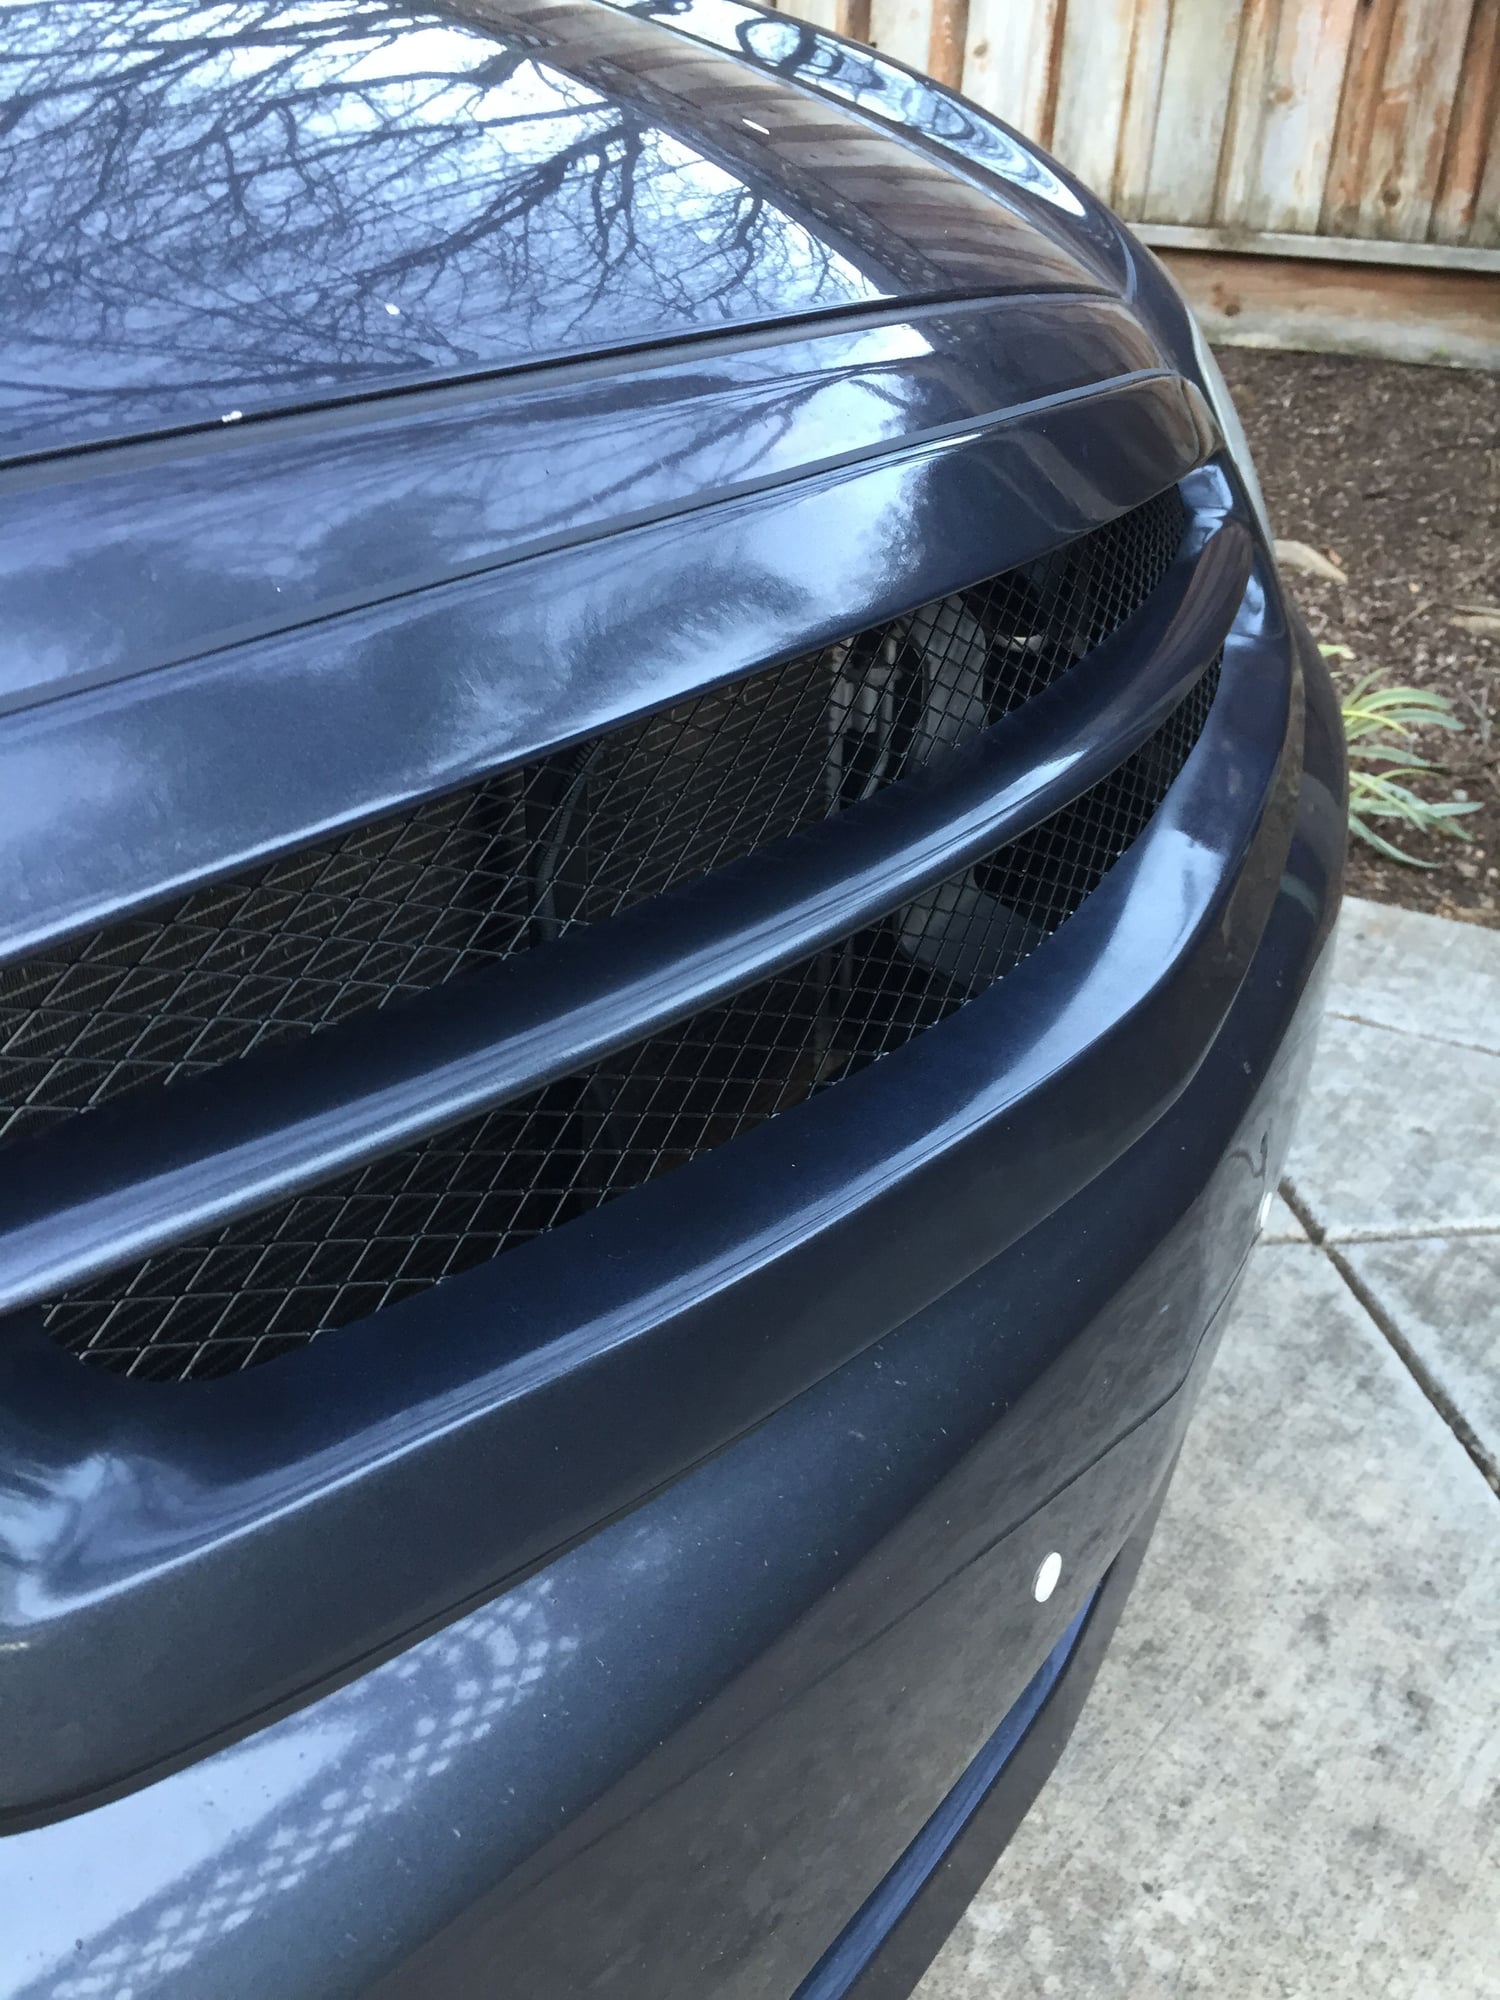
DIY: Grille Removal
#61
DIY needs updating?
Sorry to resurrect the dead here, but yeah my 07 X had fewer nuts and they were 10mm, and I had to remove both reservoir bolts as well (all steps left me looking around for a good 20 minutes for my mistakes). Maybe time to update the DIY?
I guess some of our cars just have bigger nuts
I guess some of our cars just have bigger nuts

#63
Awesome DIY, just had some trouble removing the top cover, putting everything back was a breeze.
Sanded the grill with 120 grit sand paper, then 600 grit automotive sand paper.
3 x coats of duplicolor adhesive promoter/primer
3 x coats of duplicolor perfect match universal black
5 x coats of duplicolor acrylic enamel clear coat
Black color matches very nicely.
Sanded the grill with 120 grit sand paper, then 600 grit automotive sand paper.
3 x coats of duplicolor adhesive promoter/primer
3 x coats of duplicolor perfect match universal black
5 x coats of duplicolor acrylic enamel clear coat
Black color matches very nicely.
#64
Noob here also. Just picked my 07 g35x up friday morning in Dallas and drove it back to Central Ohio. What an amazing 1000ish mile drive. I sold off my Boxster S and do not regret it.
Question: The car being from texas looked like it was sandblasted(front bumper looks bad also, but I'll get into that later). around 30% of chrome was gone in tiny little bits. What happens if I sand it down smooth? The op said just sand it down past the chrome.
Thanks, MP
PS. My inside door handle, window switch are is also chipped up from the previous owners wedding ring. Would this work on that also?
Last edited by MPohio; 07-17-2011 at 10:35 AM.
#65
I just did a very light sanding on the grill, then use 5 coats of plastidip spray. The sanding wasn't to remove the paint (the plastic would look ugly underneath) but to help the plastidip adhere better.
I'm planning on doing the same to my interior door pulls soon. It's a common issue on the 07 G's. The dealership near me told me that they have to send out ALL of their 07 G sedans out to have their door pulls repainted before they put them out on the lot. The issue was fixed in 08. There are a few threads around on that- some few people are lucky and able to get them replaced under warranty.
I'm planning on doing the same to my interior door pulls soon. It's a common issue on the 07 G's. The dealership near me told me that they have to send out ALL of their 07 G sedans out to have their door pulls repainted before they put them out on the lot. The issue was fixed in 08. There are a few threads around on that- some few people are lucky and able to get them replaced under warranty.
#66
I just started the job a couple hours ago. The grill came out without issue and the sanding sucked. I noticed after I wiped down the grill after sanding with a wet paper towel, it was still shiny. No oversanding, but maybe not enough? I can't paint it until tomorrow as it is raining and our humidity is around 100%. Will let you all know how it turns out and I will supply pics.
I am going with these on it, like another member suggested.
3 x coats of duplicolor adhesive promoter/primer
3 x coats of duplicolor perfect match universal black
5 x coats of duplicolor acrylic enamel clear coat
I am going with these on it, like another member suggested.
3 x coats of duplicolor adhesive promoter/primer
3 x coats of duplicolor perfect match universal black
5 x coats of duplicolor acrylic enamel clear coat
#67
UPDATE: I got done with 3 coats of primer adhesive, and 3 coats of black, but decided I didn't like the stone chips showing through. So I used a paint remover and have been sanding it down to the "bone" or just below the the chips. Yes it is a bitch, but in the light the chips still show through and looked horrible. Yes they were now black, but I would rather just drop $200ish on a new black grill, so I figured I would see if sanding it down more would look better.
Now my grill was pretty chipped up before I started, it was like the guy followed a sand truck everyday for 3 years. The rest of the car except for the bumper looks fine, with only 2 small chips on the hood.
Will keep you posted
Now my grill was pretty chipped up before I started, it was like the guy followed a sand truck everyday for 3 years. The rest of the car except for the bumper looks fine, with only 2 small chips on the hood.
Will keep you posted

Last edited by MPohio; 07-25-2011 at 09:41 PM.
#69
My grill looks a heck of a lot better, but not good enough. It really shows all the dings with the shiny black paint and laquer clear coat. I am going to redo it this weekend with flat black and use some bondo first. I am also going to try it without the laquer clear coat. I will update the OP with pics. I am going to use adhesive stripper like the first time. Just be careful in two ways.. this stuff will eat through the plastic and it will also eat through skin 

#70
My grill looks a heck of a lot better, but not good enough. It really shows all the dings with the shiny black paint and laquer clear coat. I am going to redo it this weekend with flat black and use some bondo first. I am also going to try it without the laquer clear coat. I will update the OP with pics. I am going to use adhesive stripper like the first time. Just be careful in two ways.. this stuff will eat through the plastic and it will also eat through skin 

Thread
Thread Starter
Forum
Replies
Last Post
RemmyZero
V36 DIY
10
04-23-2018 11:13 AM


