
DIY Paint Headlights


Thread Starter
|
Registered User
Joined: Mar 2008
Posts: 327
Likes: 1
From: canada,calgary
okay so there are people on this site that have gotten theyre headlights painted and gotten the amberblinker removed for up to $300 and those lights are gone for a good couple of days.. i was bored had some friends over and decided to paint the metalic part blackk..
This is simpler then it seems you just need to have the gut's to do it
hardest part is to get the light out and back in the car
These are the tools you need
1.Screwdriver
2.ovenmits
3.silicone
4.Paint(your choice of style) i used matte black
5.masking tape
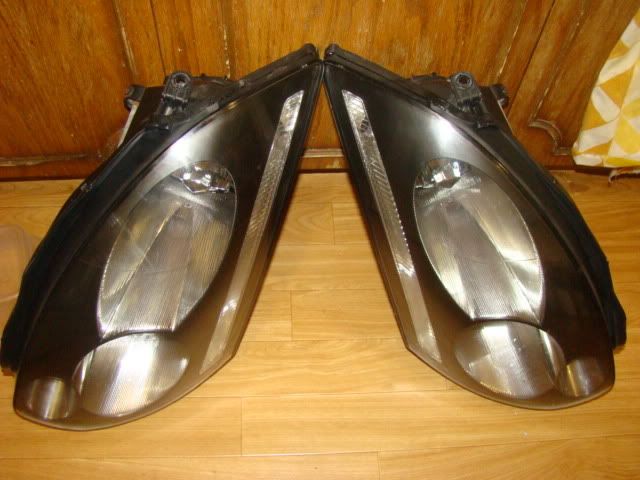
Here is how my lights look now (and yes i put dubs on my 300c)

i am assuming everyone knows how to take out the headlights so i wont go over that. soon as the lights are taken out of the car turn on your oven to 300 degree's
First thing you need to do is REMOVE ALL WIRES AND ALL BULBS AND ALL SCREWS
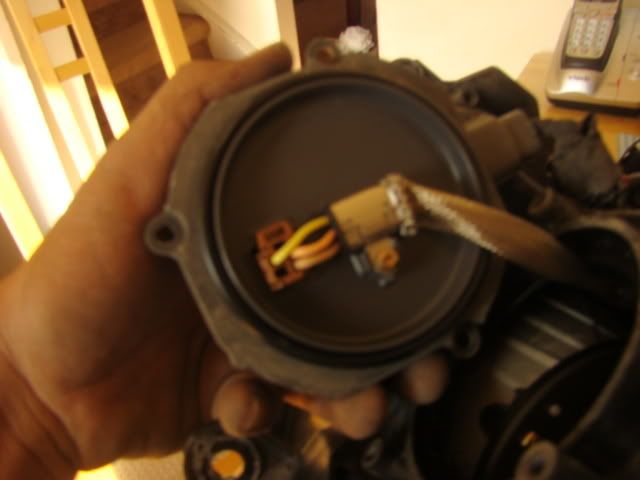
This is how the light tooks from behind
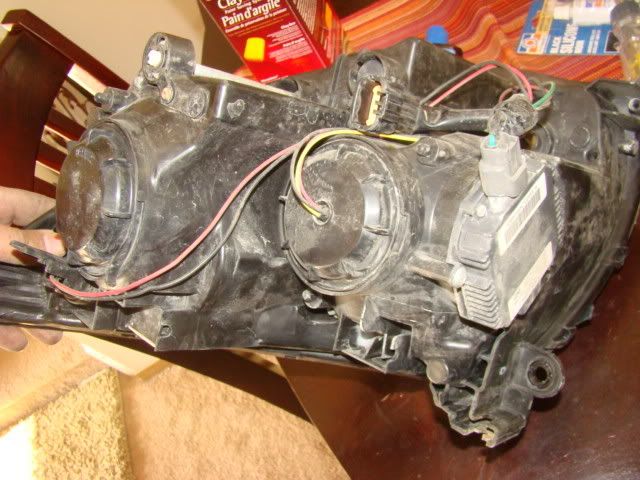
turn the caps on the back and remove all lights
this is the daylight/fog lights
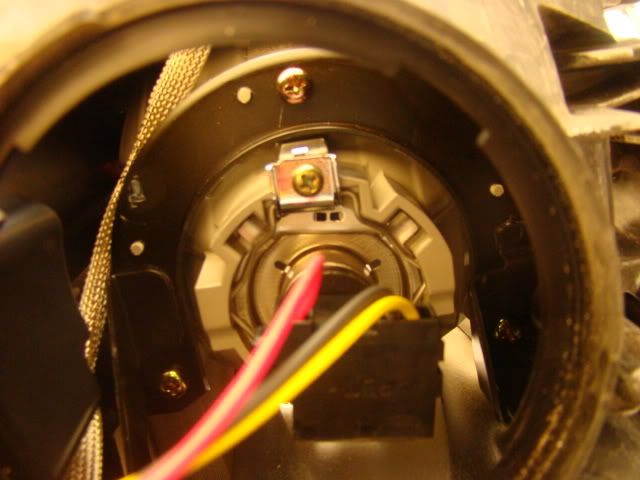
This is the HID light/lowbeem
you will have to unscrew the yellow ground wire to remove this
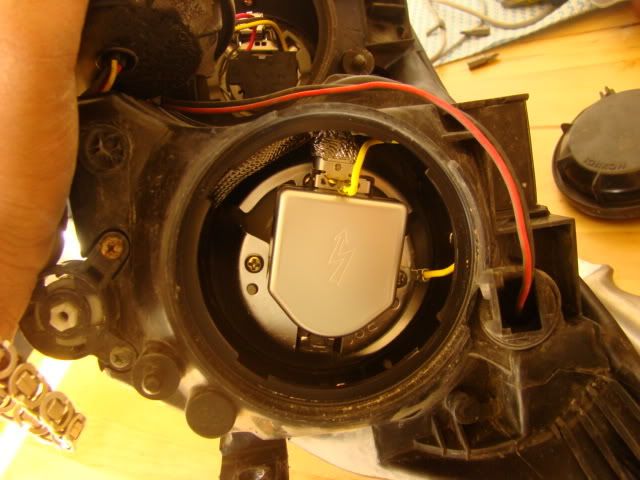
unscrew the balast from the light and screw of the thick metalic wirething that connects the balast to the hid bulb
once disconnected pull it out from the other side
remove the turnsignal light and the ccfl tube light
once all wires are taken outt this is how the table should look like
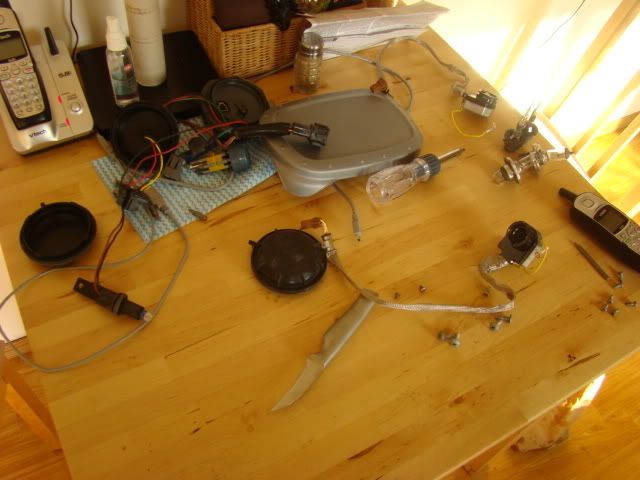
i broke this plug of the lights to remove all the wiring this is the best thing i ever did.. makes installing and removing the passenger light 100000x easier this is a pita to unplug on the passenger side

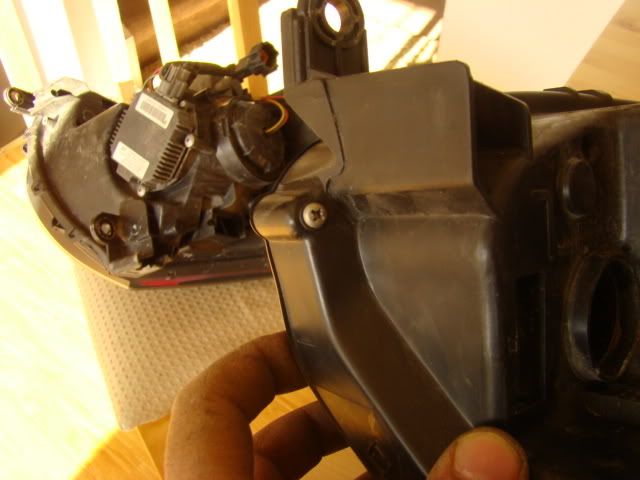
last MAKE SUREE you take out the THREE screws holding the light together
should look like this
do the same for both lights and put them in the oven that is ALREADY HOT(my buddy chad helping me out here)
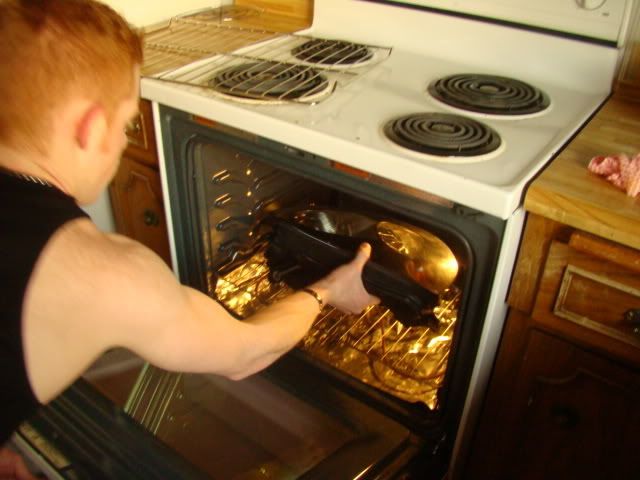
put the head lights in the oven for 5 mins but keep checking on them every minute to see if the
silicone holding the lights together is melting..
you do this buy pulling the headlight apart using alot of strength..
it should come apart pretty easy if it doesnt put it in the oven for another 30seconds to minute. if they dont come apart you probably left the screw in.
(PLEASE WEAR OVEN MITS THEY GET VERY HOTT)
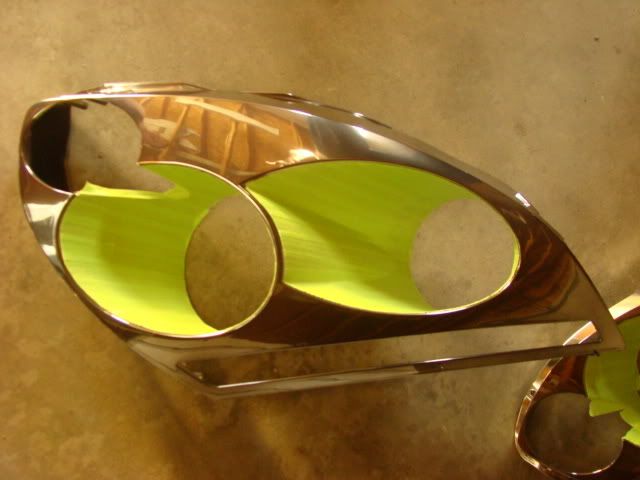
once apart this is how it looks
very sexy i know

take of the metalic reflector from the cover by undoing a couple of screws
(sorry i was stressed out at this time so didnt take anypicture)
use masking tape to cover the parts you dont want to paint
once paint is dry reassemble the light and put it back in the oven for another 2 mins for the silicone to seal backtogether...
you have to squeeze the light together pretty hard to help reseal.. put all the lights and wires back togehter and screw everything back on..
if you think that it didnt seal back together good enough use silicone to fill the gaps.. and your done..
this is the finished productt

This is simpler then it seems you just need to have the gut's to do it
hardest part is to get the light out and back in the car
These are the tools you need
1.Screwdriver
2.ovenmits
3.silicone
4.Paint(your choice of style) i used matte black
5.masking tape
Here is how my lights look now (and yes i put dubs on my 300c)
i am assuming everyone knows how to take out the headlights so i wont go over that. soon as the lights are taken out of the car turn on your oven to 300 degree's
First thing you need to do is REMOVE ALL WIRES AND ALL BULBS AND ALL SCREWS
This is how the light tooks from behind
turn the caps on the back and remove all lights
this is the daylight/fog lights
This is the HID light/lowbeem
you will have to unscrew the yellow ground wire to remove this
unscrew the balast from the light and screw of the thick metalic wirething that connects the balast to the hid bulb
once disconnected pull it out from the other side
remove the turnsignal light and the ccfl tube light
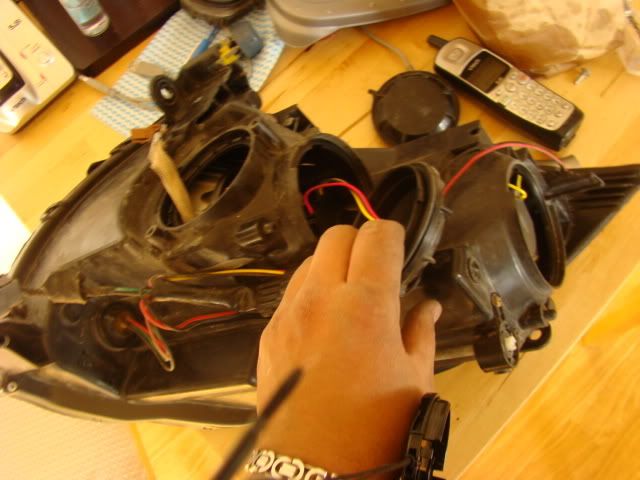
once all wires are taken outt this is how the table should look like
i broke this plug of the lights to remove all the wiring this is the best thing i ever did.. makes installing and removing the passenger light 100000x easier this is a pita to unplug on the passenger side
last MAKE SUREE you take out the THREE screws holding the light together
should look like this
do the same for both lights and put them in the oven that is ALREADY HOT(my buddy chad helping me out here)
put the head lights in the oven for 5 mins but keep checking on them every minute to see if the
silicone holding the lights together is melting..
you do this buy pulling the headlight apart using alot of strength..
it should come apart pretty easy if it doesnt put it in the oven for another 30seconds to minute. if they dont come apart you probably left the screw in.
(PLEASE WEAR OVEN MITS THEY GET VERY HOTT)
once apart this is how it looks
very sexy i know
take of the metalic reflector from the cover by undoing a couple of screws
(sorry i was stressed out at this time so didnt take anypicture)
use masking tape to cover the parts you dont want to paint
once paint is dry reassemble the light and put it back in the oven for another 2 mins for the silicone to seal backtogether...
you have to squeeze the light together pretty hard to help reseal.. put all the lights and wires back togehter and screw everything back on..
if you think that it didnt seal back together good enough use silicone to fill the gaps.. and your done..
this is the finished productt
Last edited by chopstixx; May 6, 2008 at 07:16 PM.


Trending Topics

Thread Starter
|
Registered User
Joined: Mar 2008
Posts: 327
Likes: 1
From: canada,calgary
either you have to get another lens or i think you might be able to use paint striper on the amber part. not sure on that tho. i was gonna cut the amber part out but then didnt think it was worth it. if you find a way let me know