

Hi Guys,
A gentleman contacted me to revive the interior of his fairly new vehicle. It has less than 30,000 km's (~18600 miles) since ownership in 2007, but the interior definitely didn't show any youth.
Being a family car, and having kids in the backseat, well...you know what to expect. :giggle:
Here are the pics. Enjoy. opcorn:
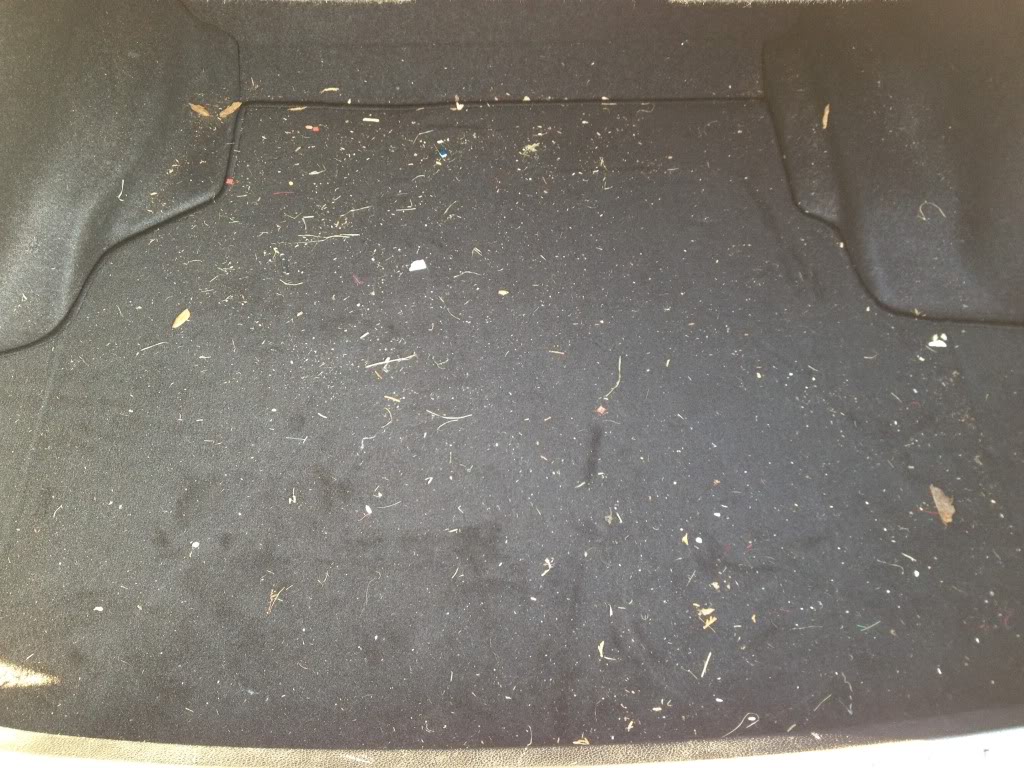
Before - Trunk
After - Trunk

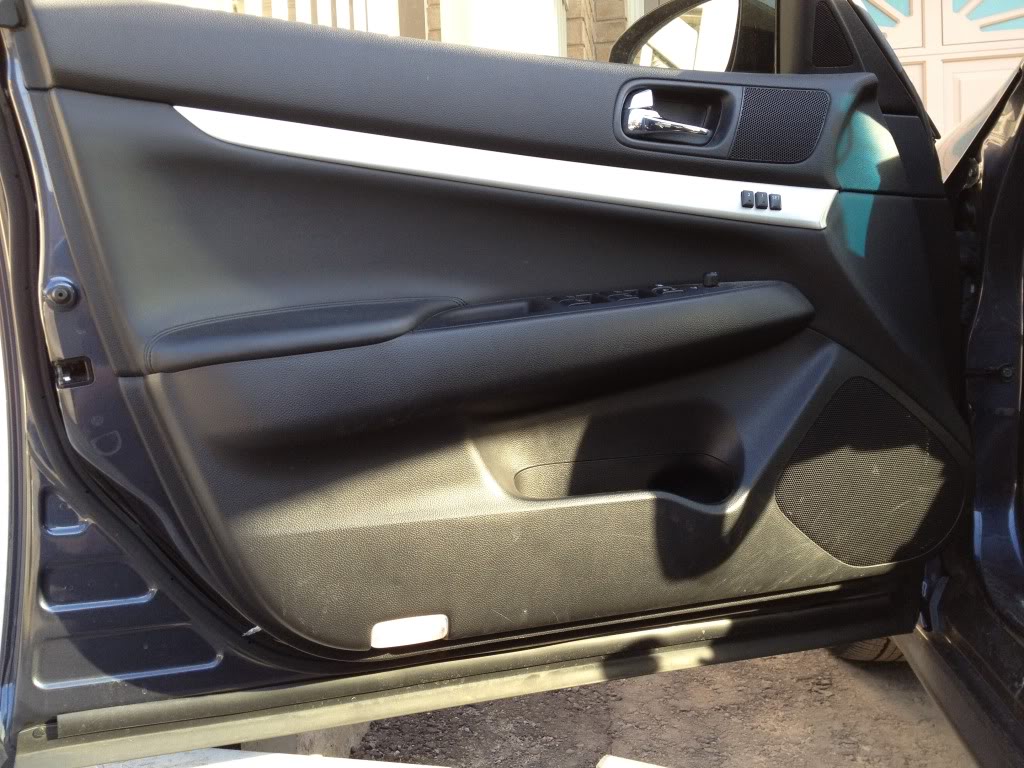
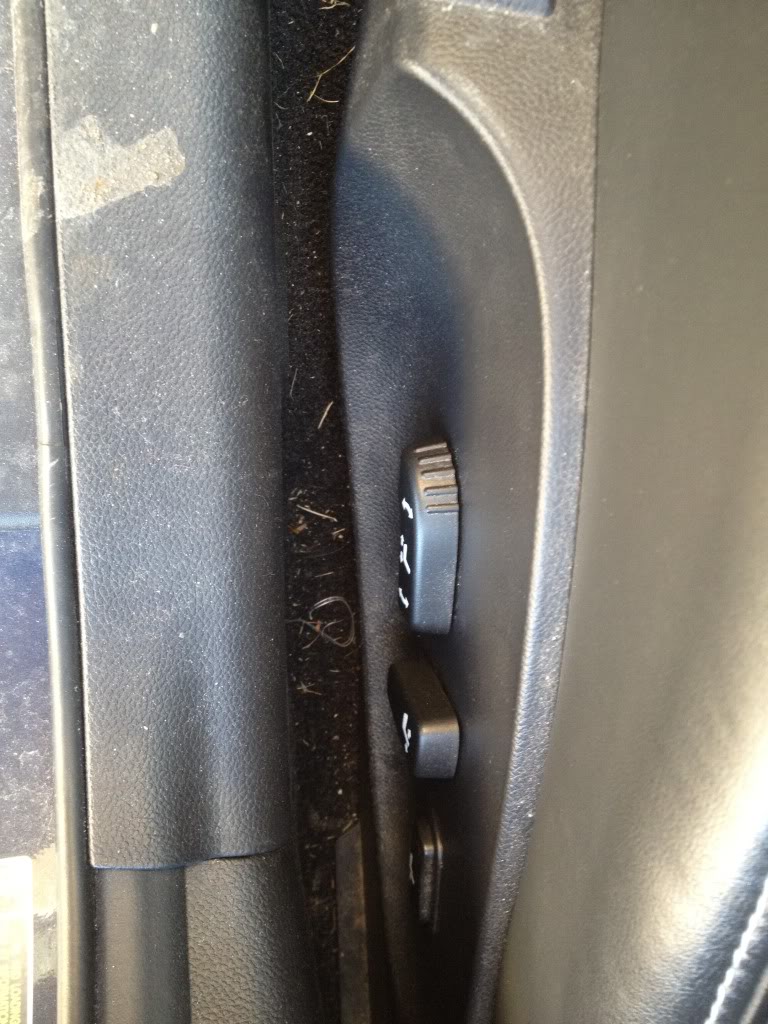
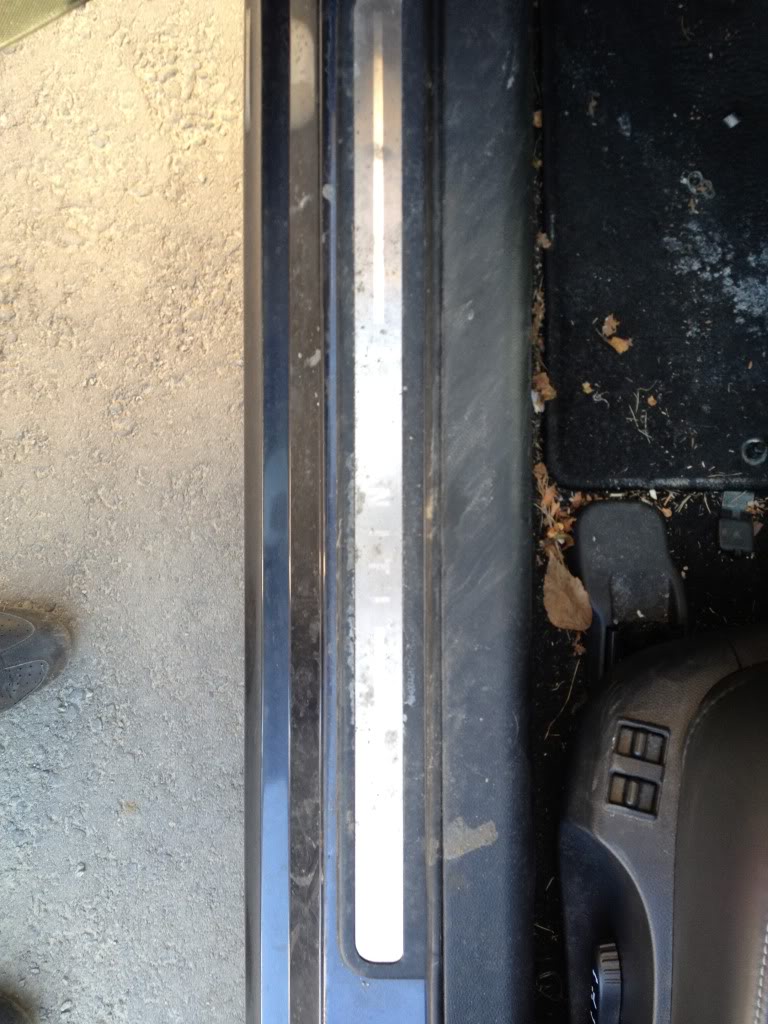
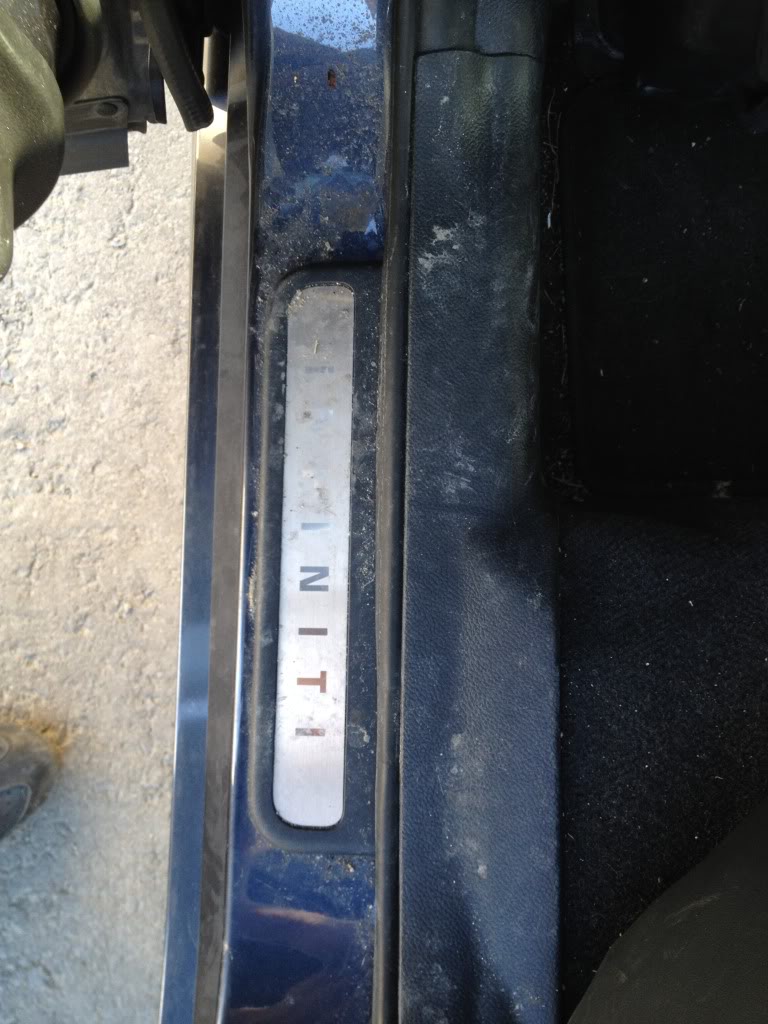
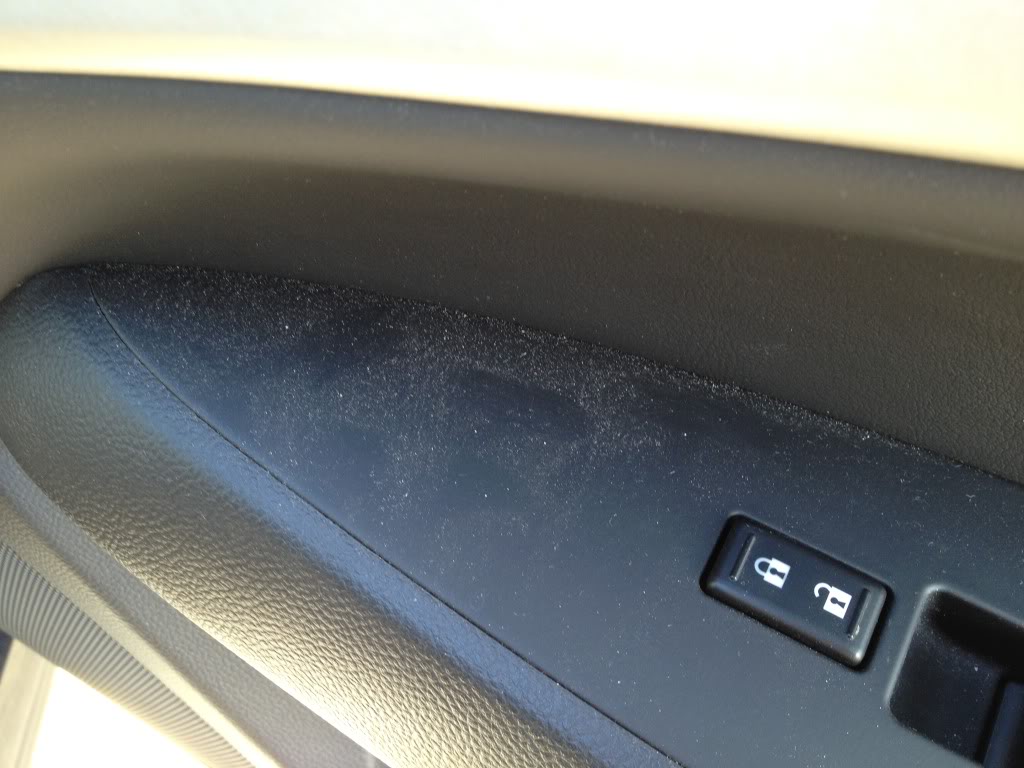
Before - Driver Door Panel

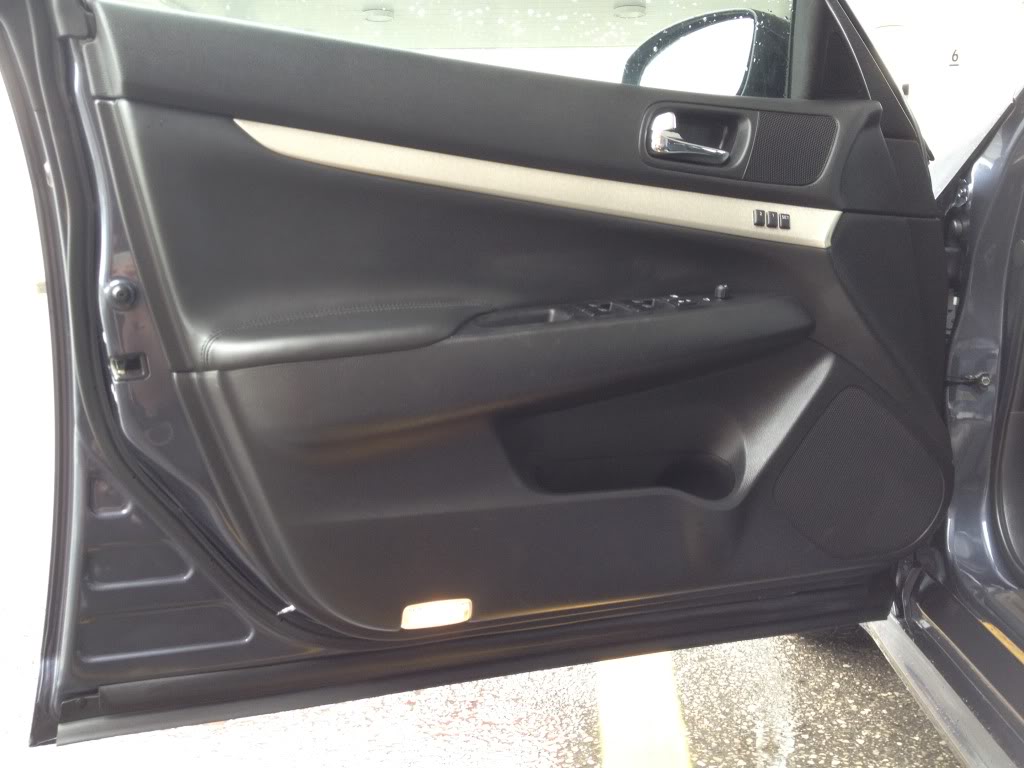
After - Driver Door Panel (Clean Door Jambs And Slick Weatherstripping)
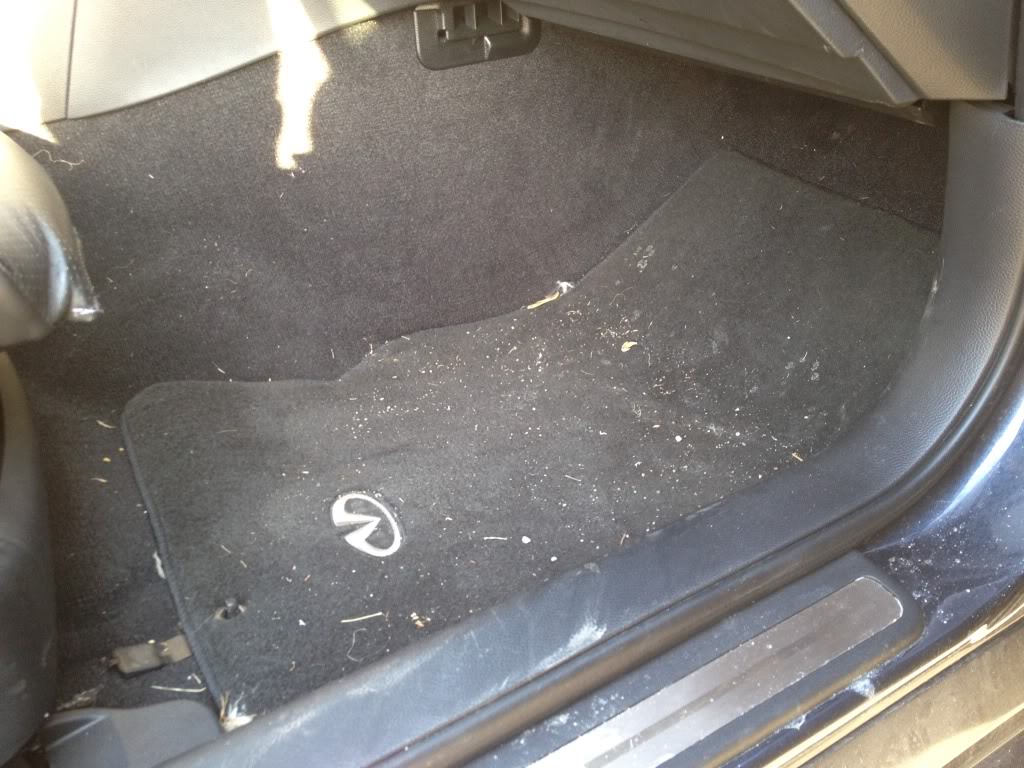
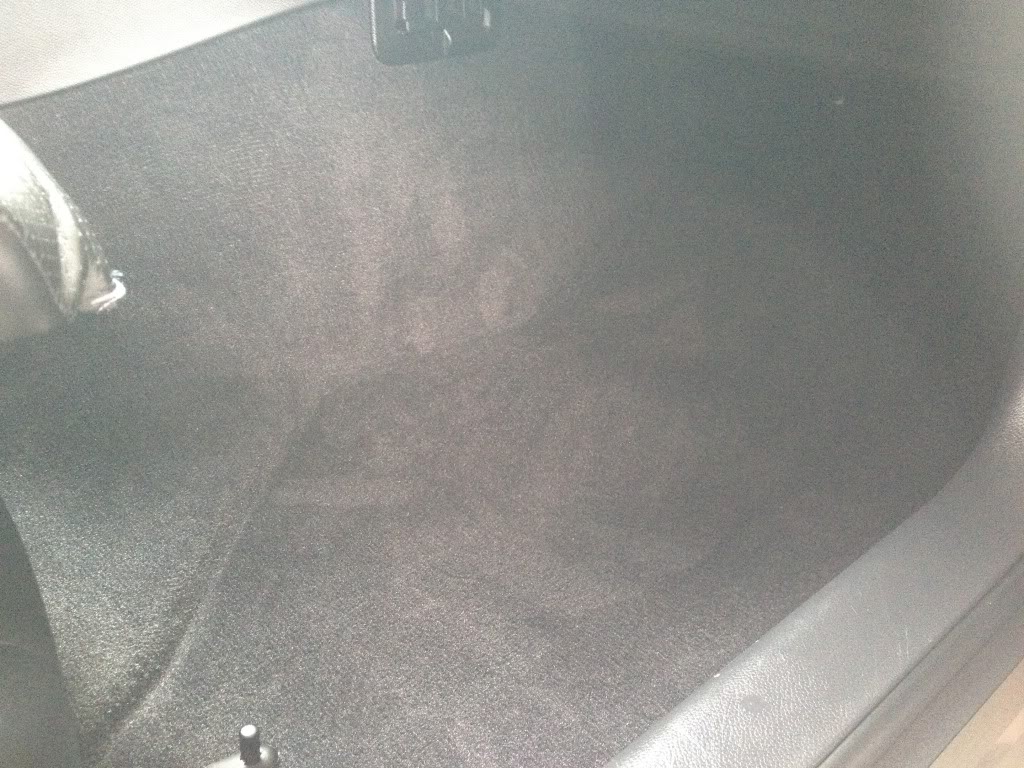
Before - Driver Foot Well
Unfortunately, The Dead Pedal Is Dead, The Coating Is Peeling From The Surface
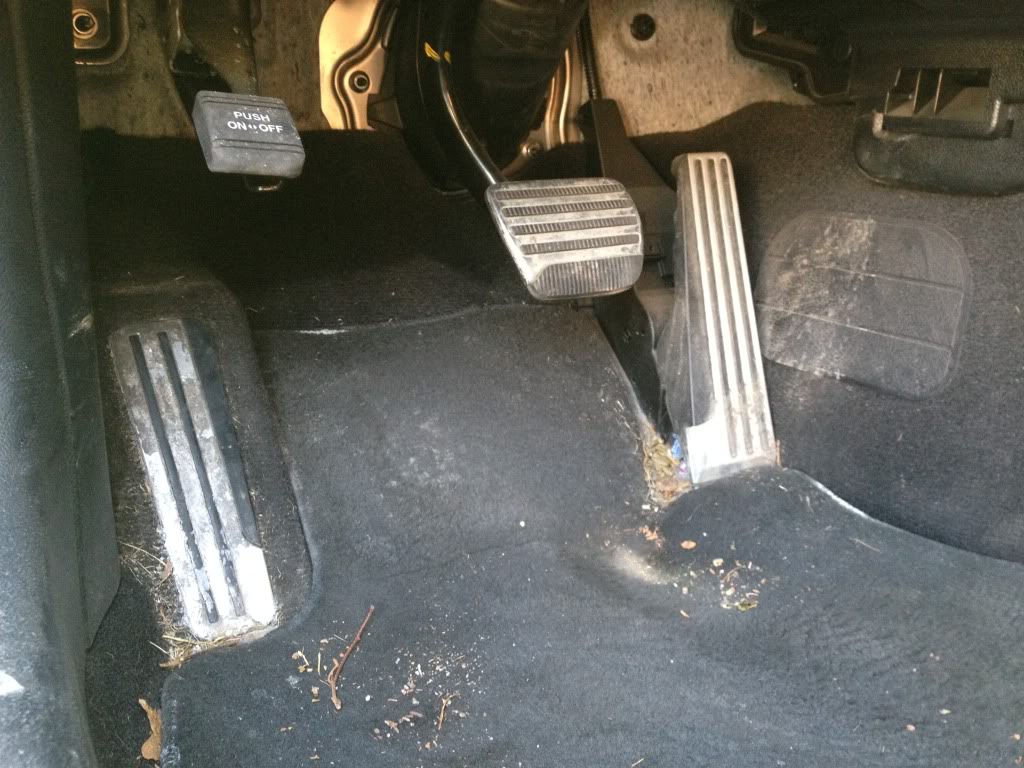
The Infiniti Logo Is Almost A Big White Circle...lol
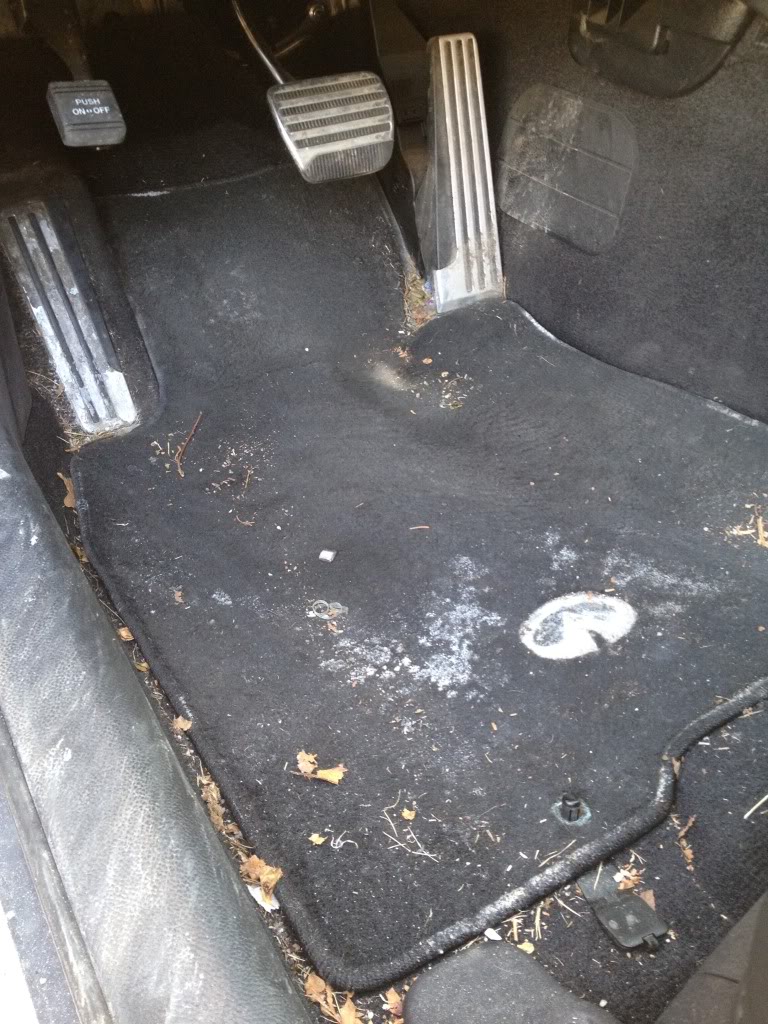
Look Closely, There Are 2 Rocks Near The Corner Of The Floor Mat...Rocks?!
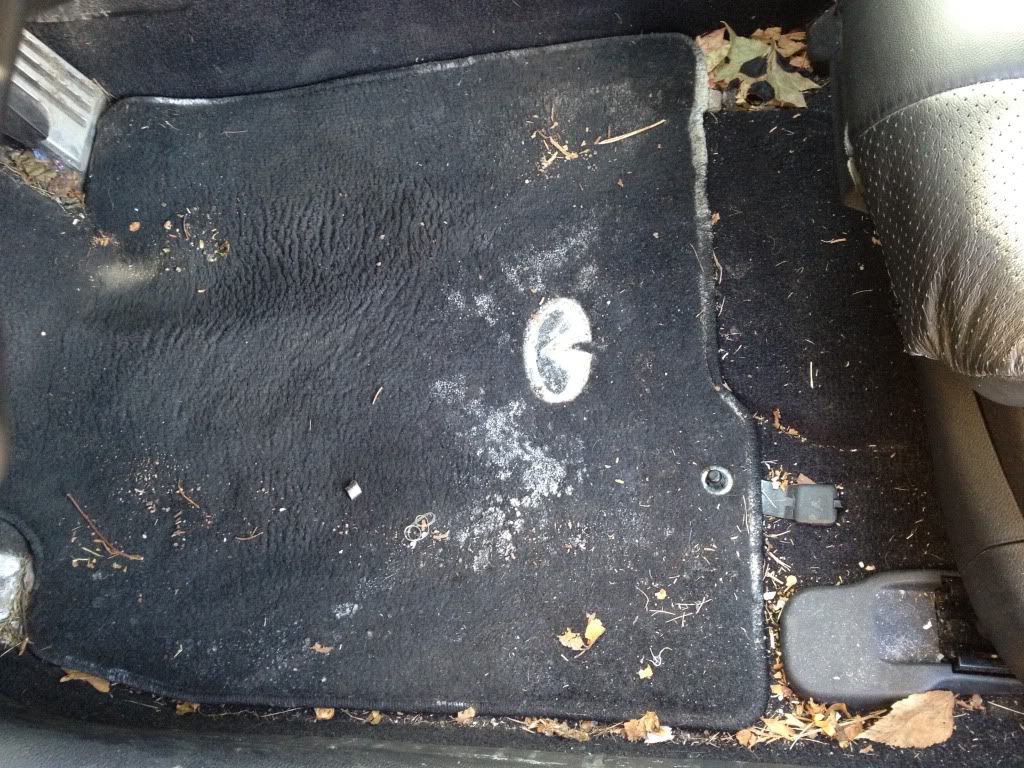
After - Driver Foot Well (There Is A Bald Spot On The Floor Mat)
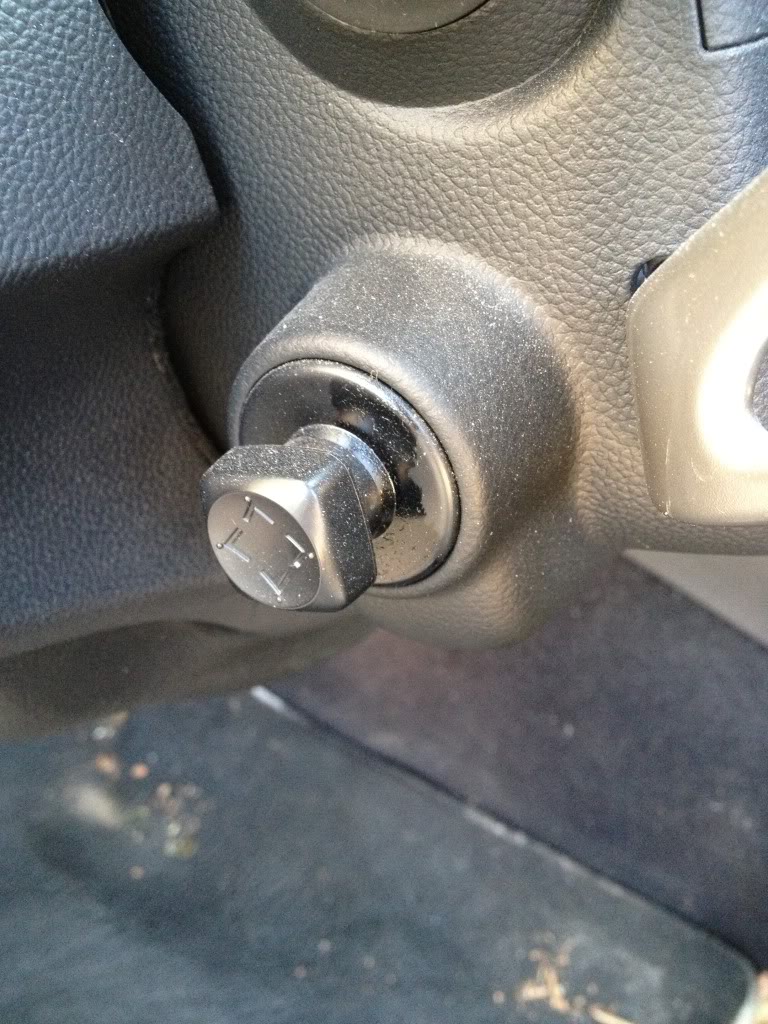
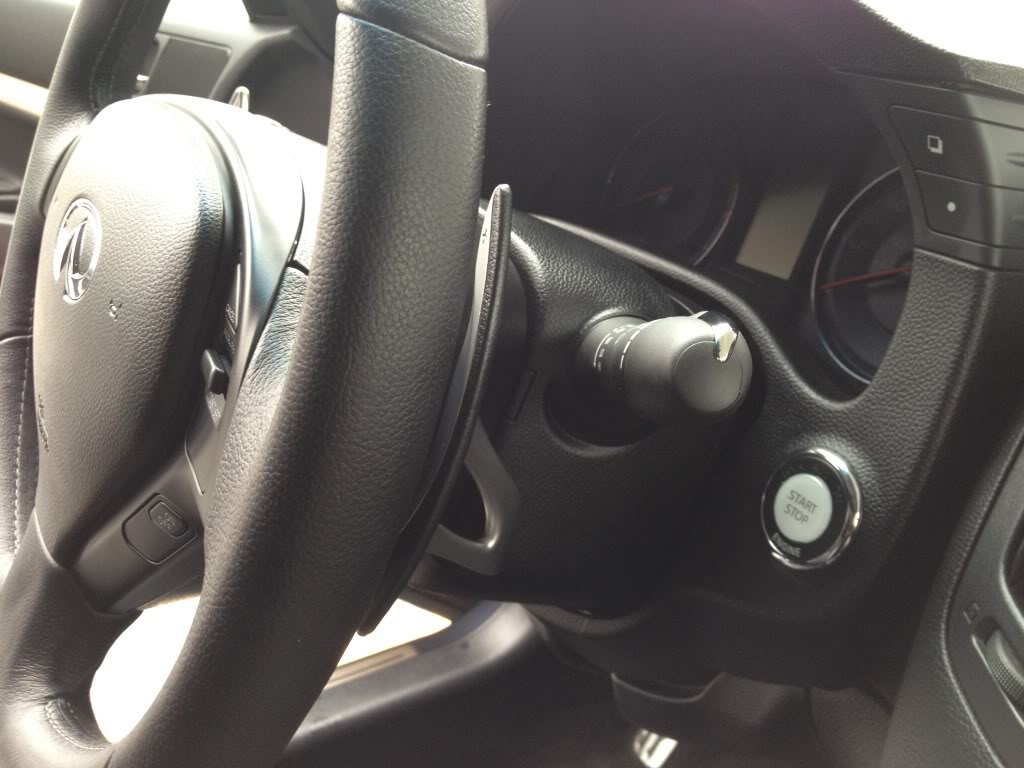
Before - Steering Wheel
Got Dust...?

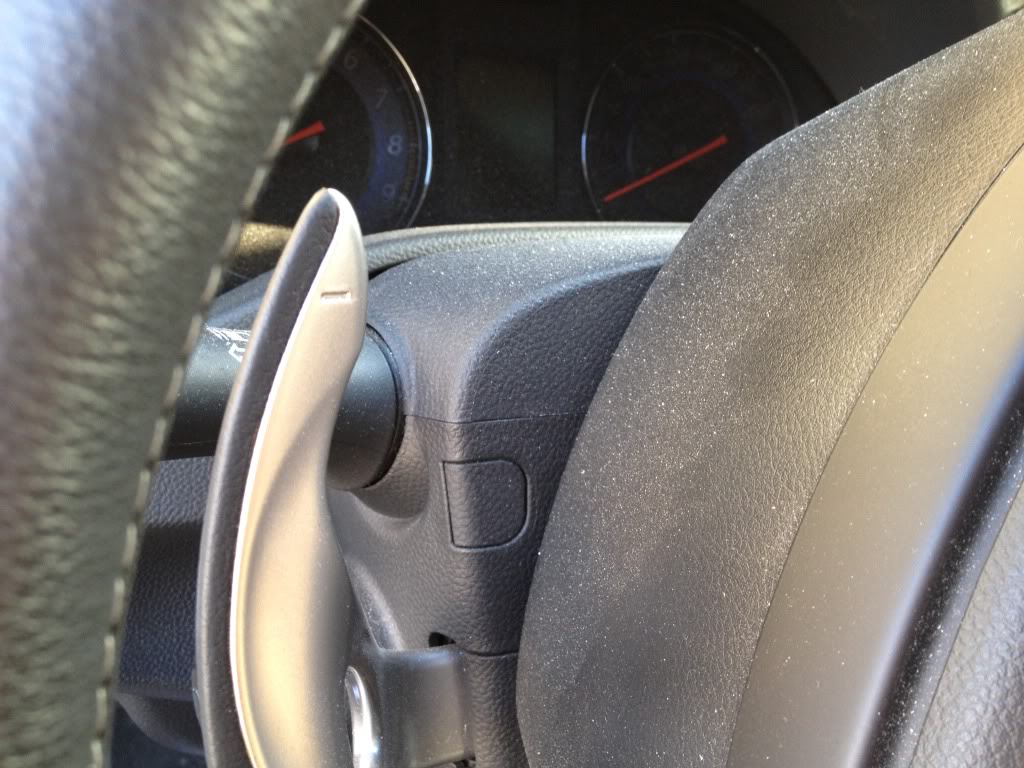
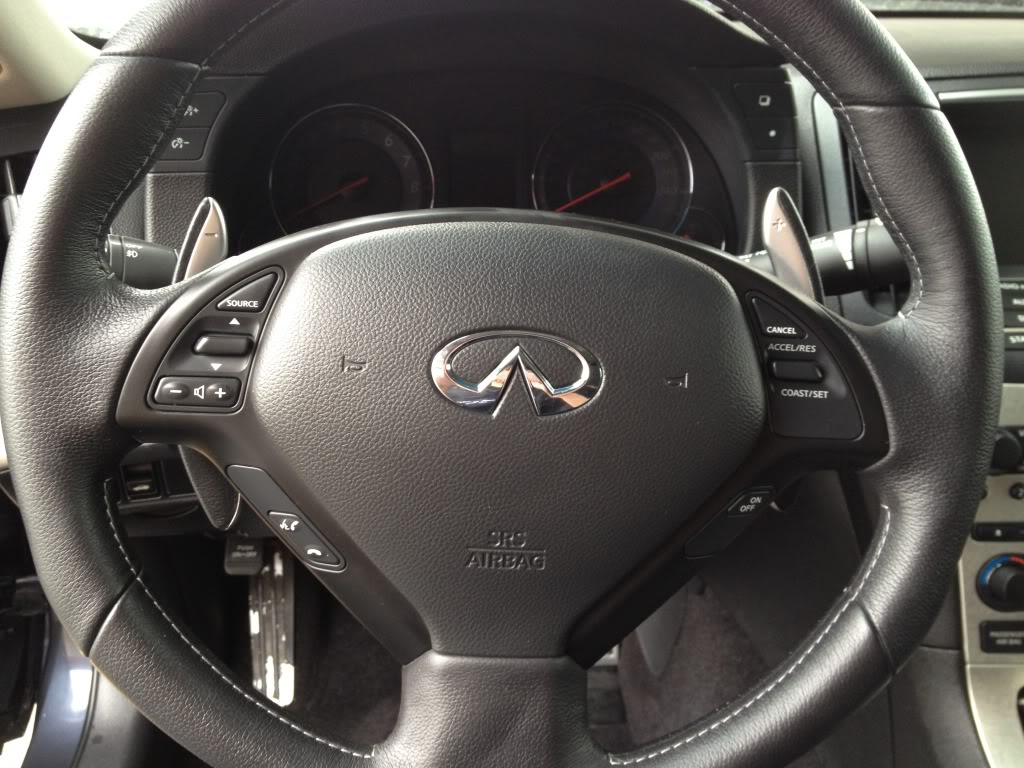
After - Steering Wheel
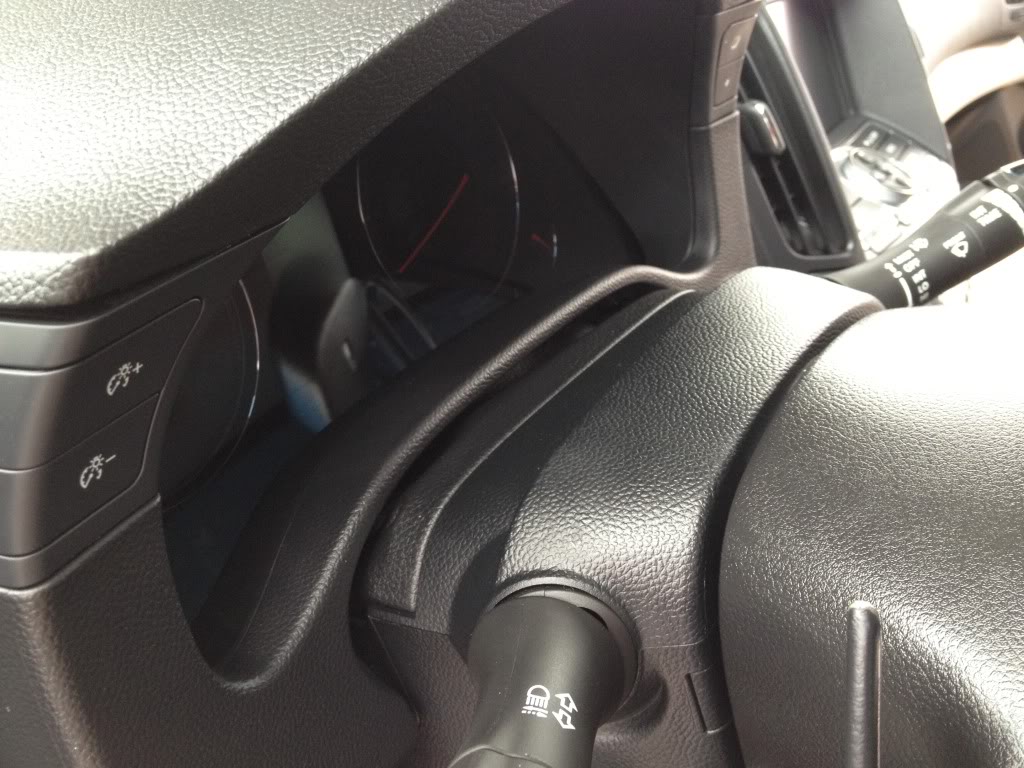
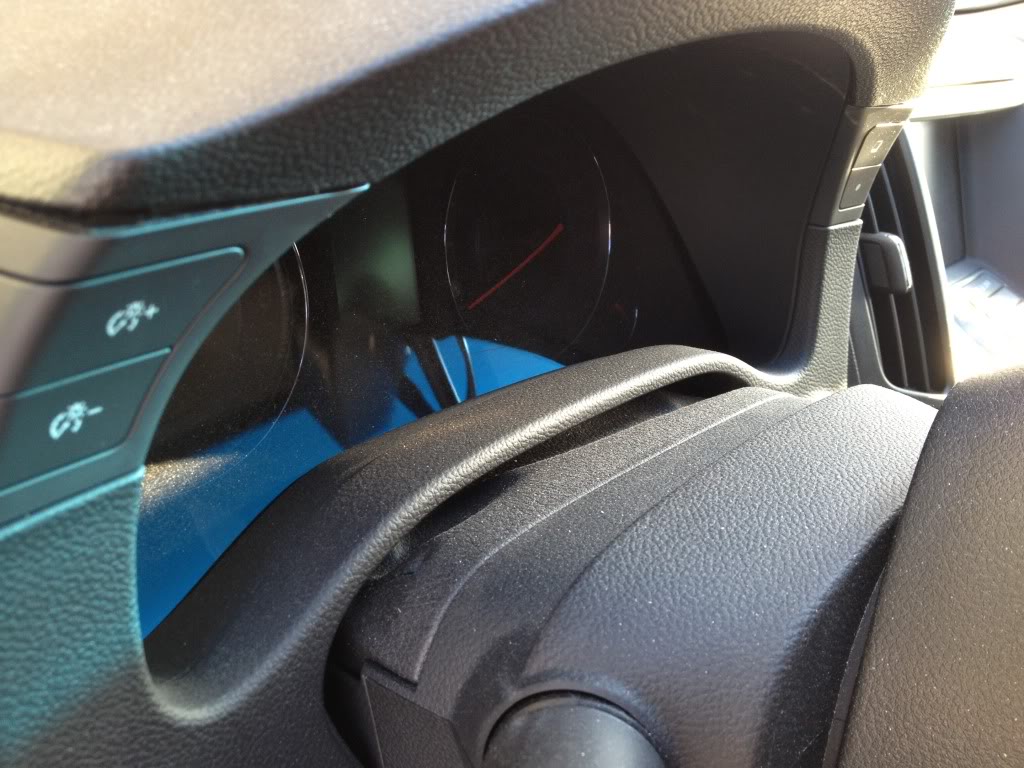
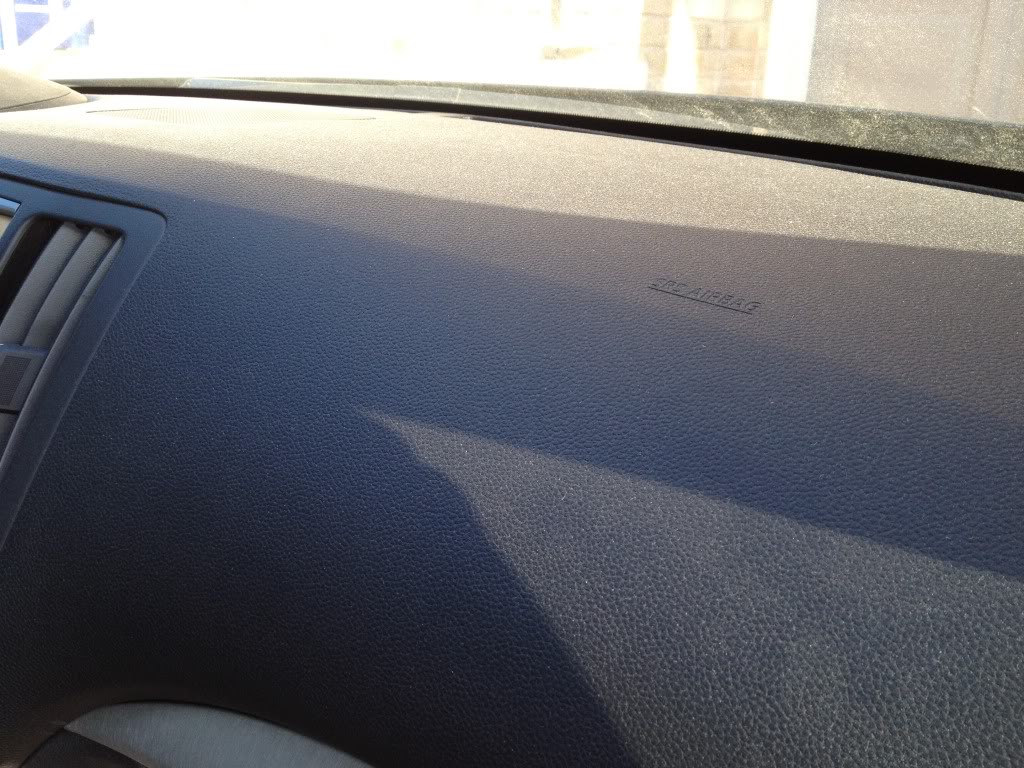
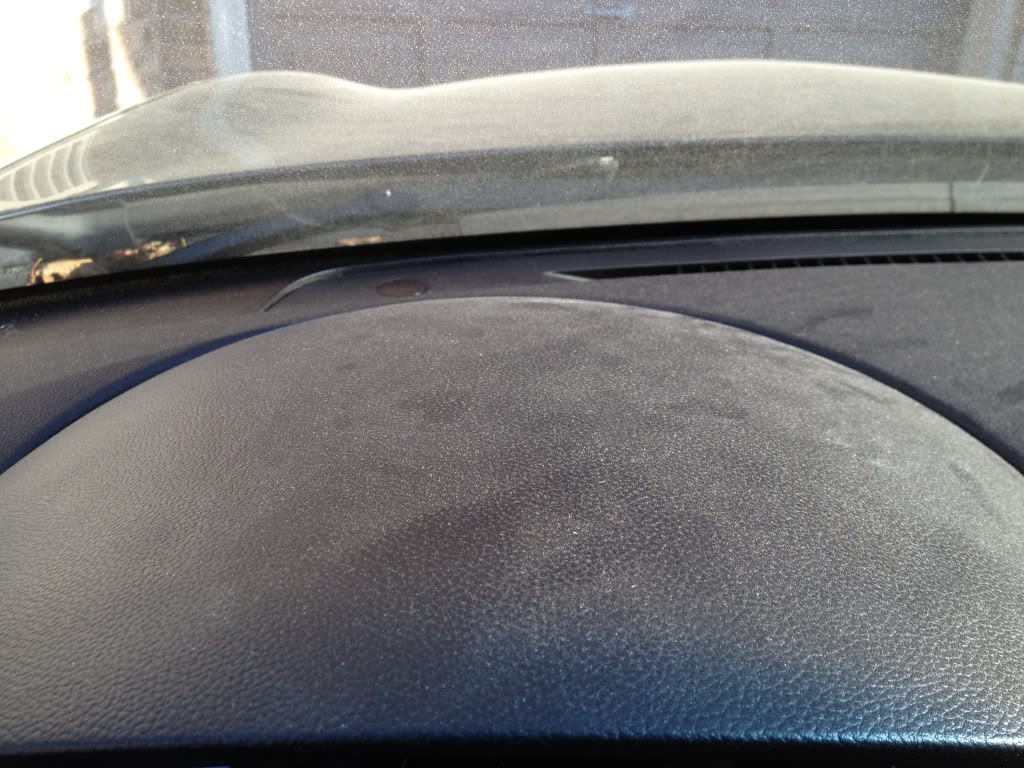
Before - Dashboard
Holy Moly...
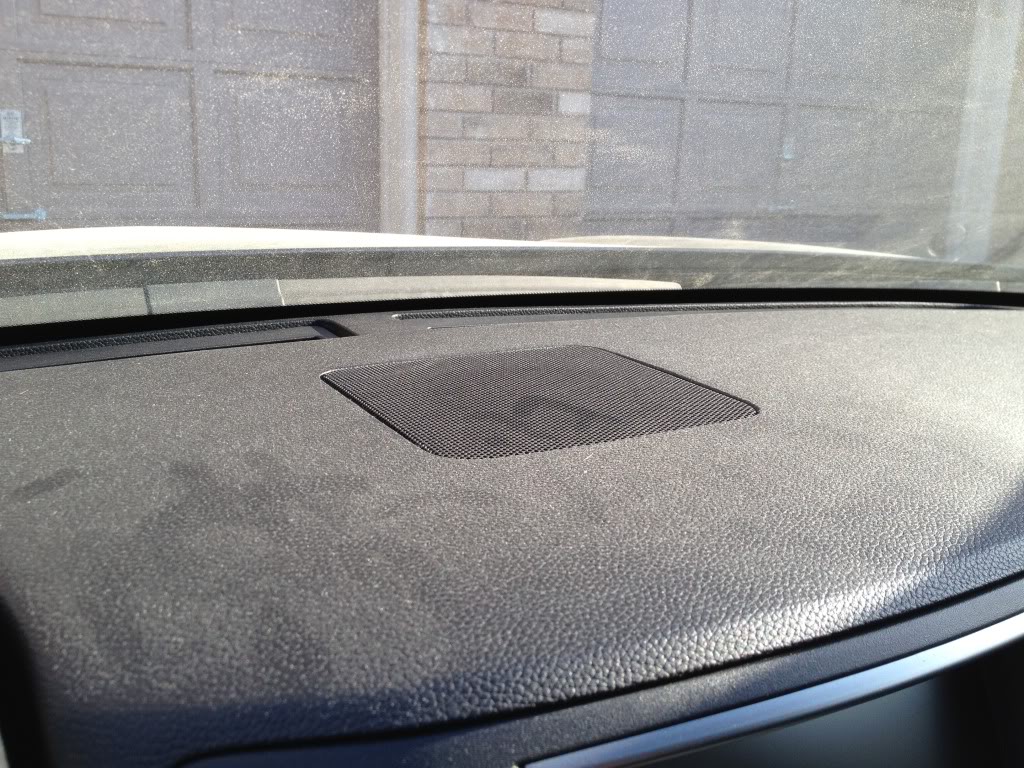
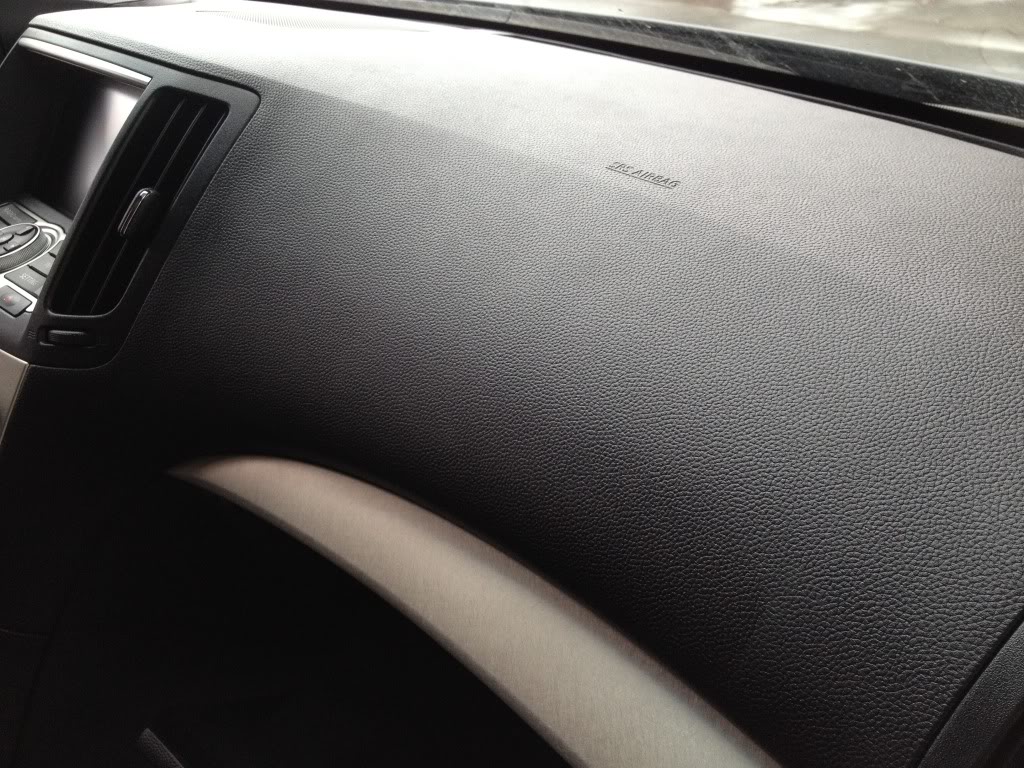
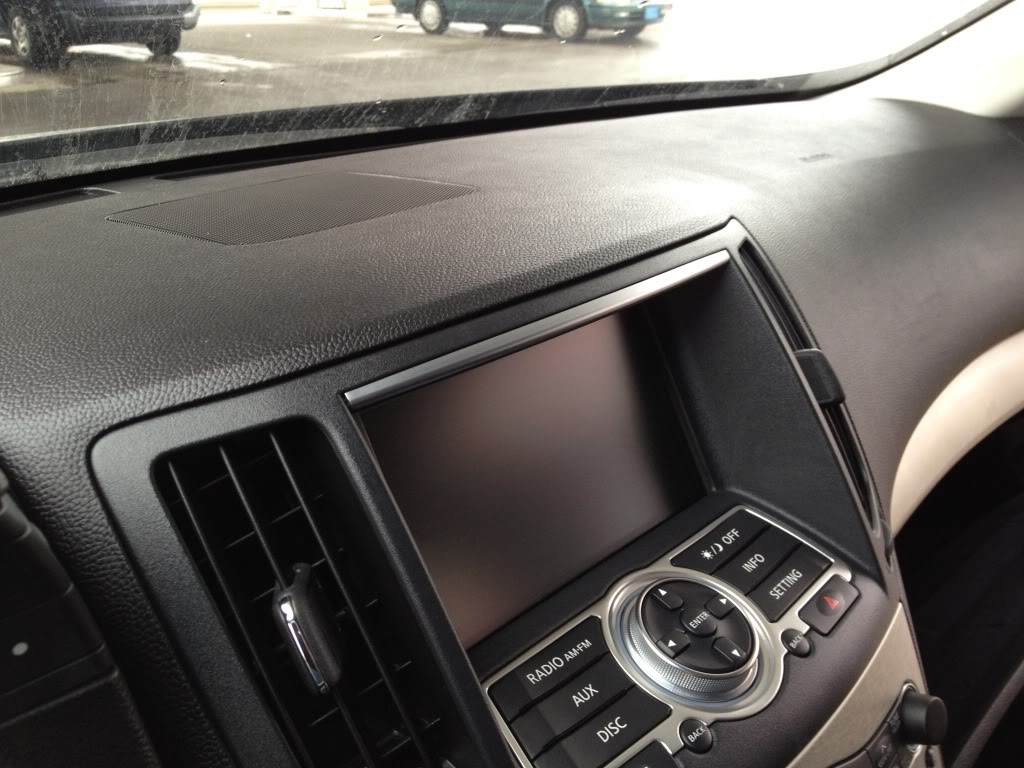
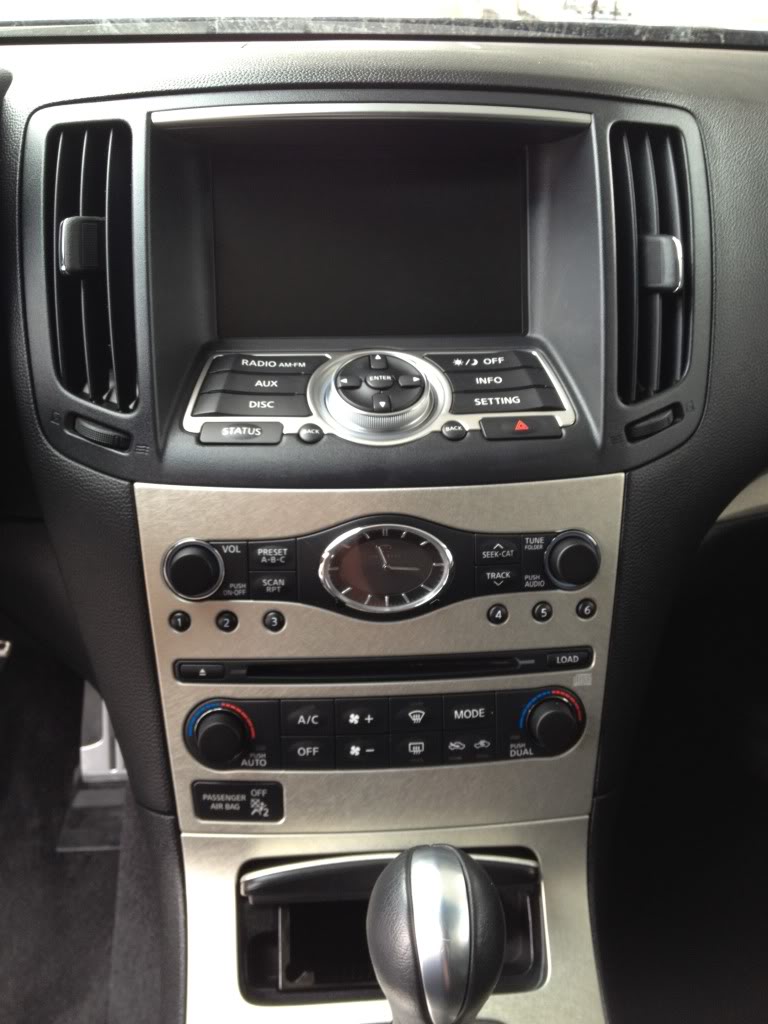
After - Dashboard
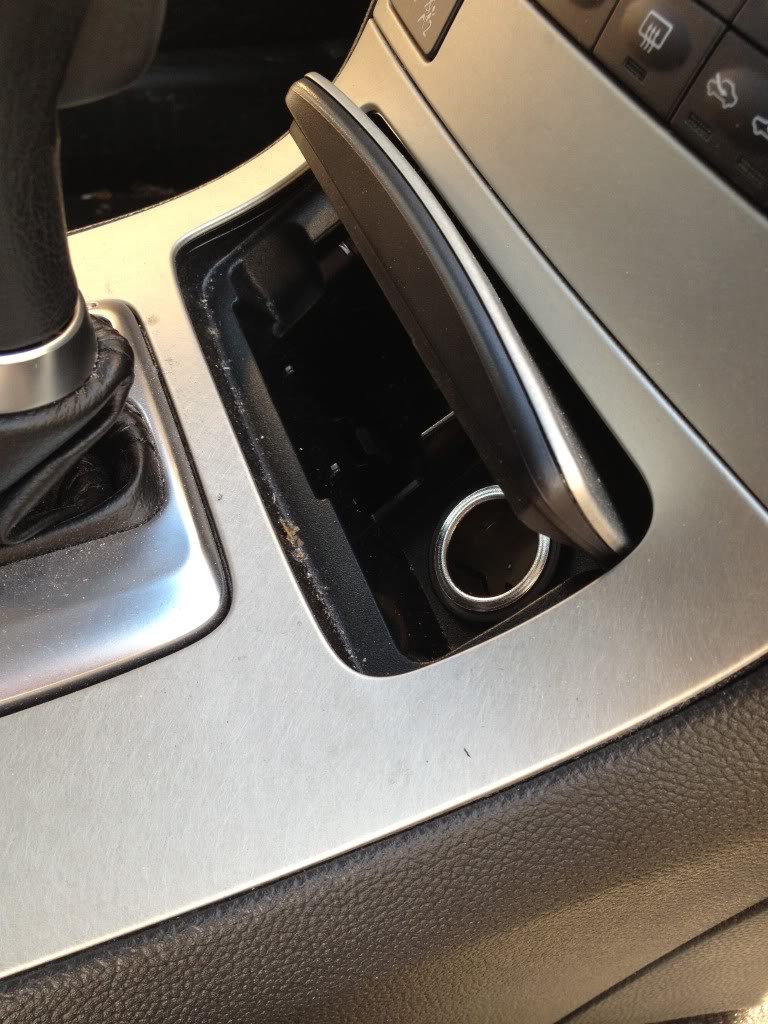
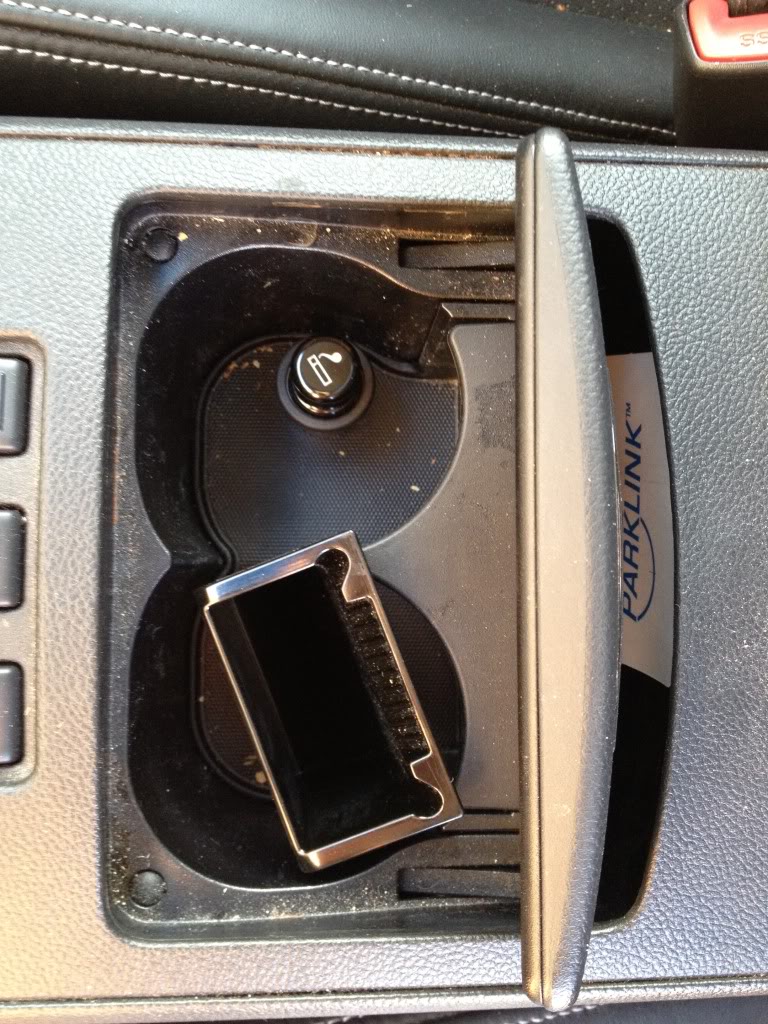
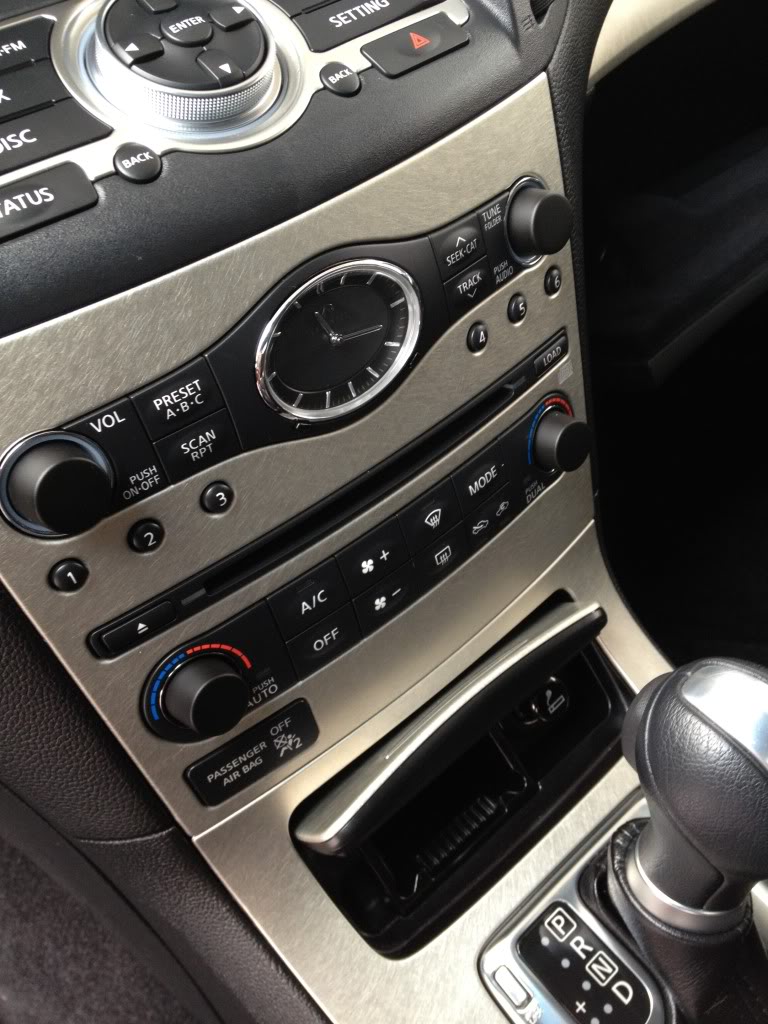
Before - Center Console, Shifter, Cup Holders
I Like This Pic, The Sun Is Barely Shining Through
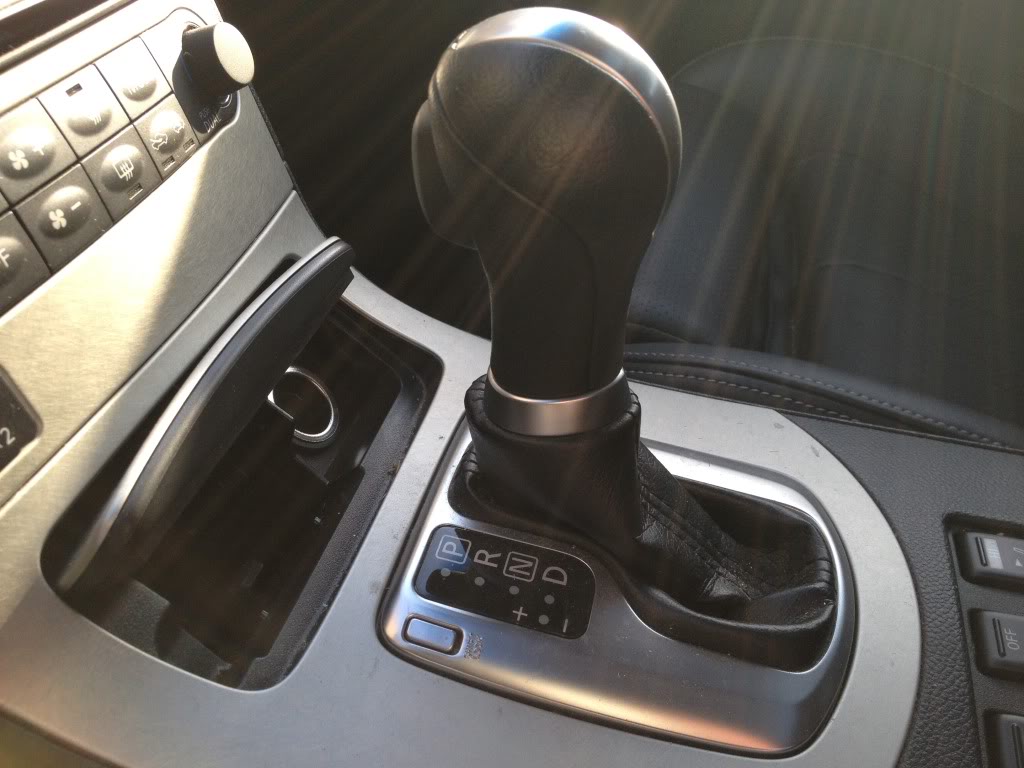
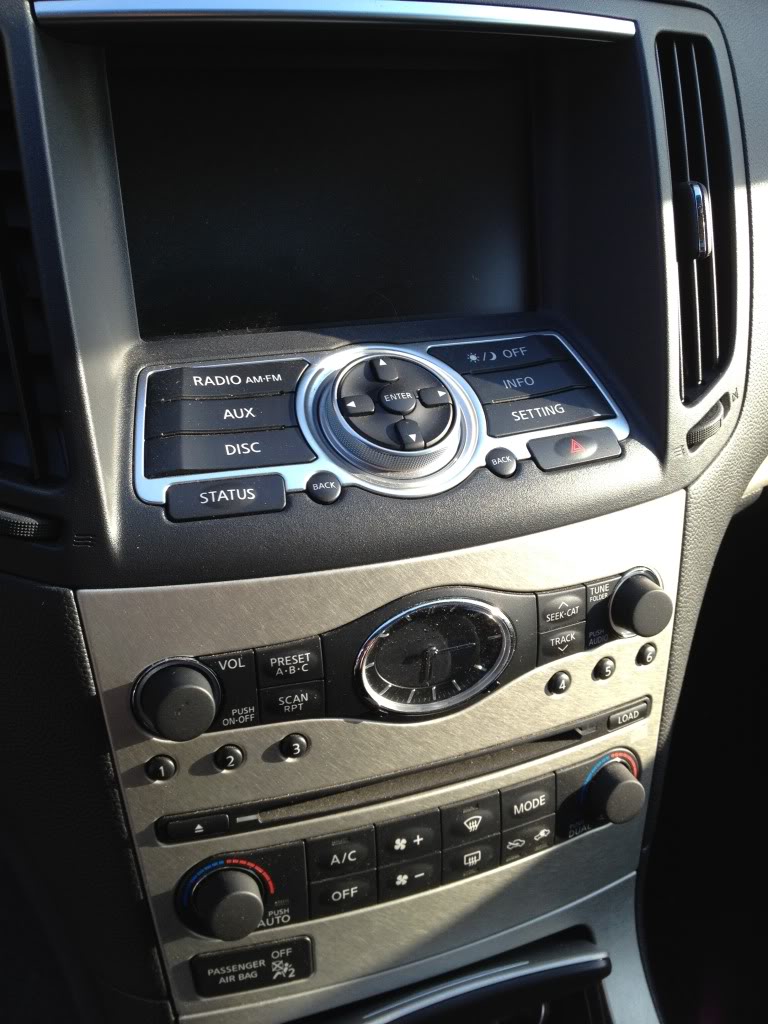
After - Center Console, Shifter, Cup Holders
Detailing Is About Making A Contrast, Light Trim Bezel And Rich Dark Buttons

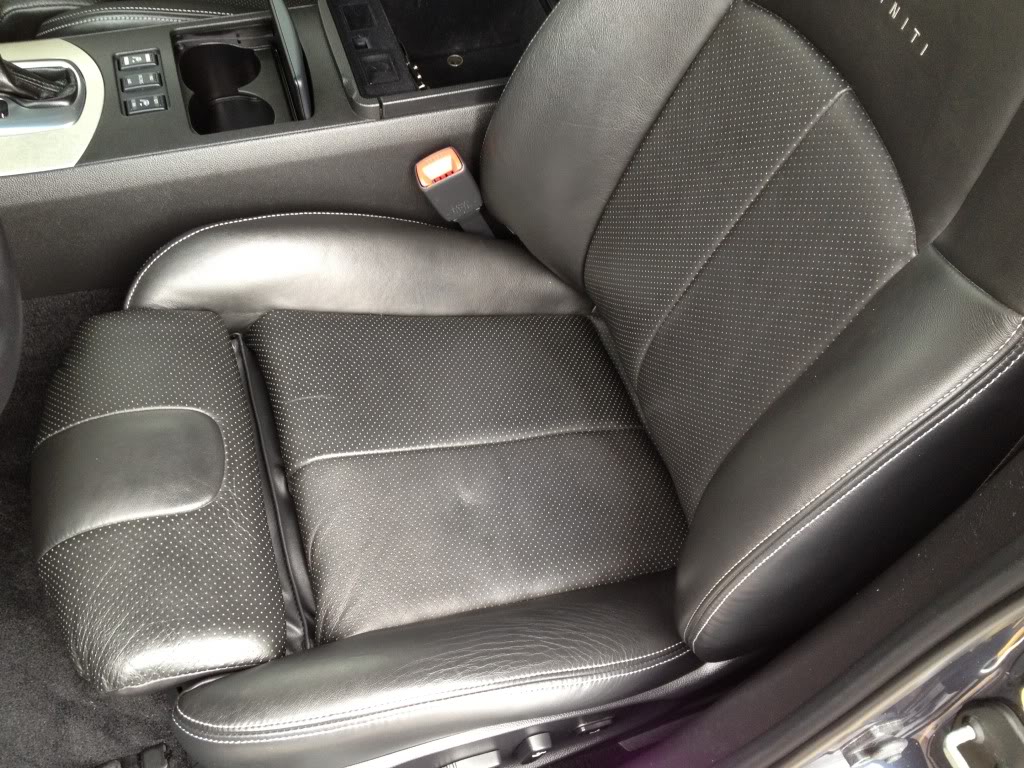
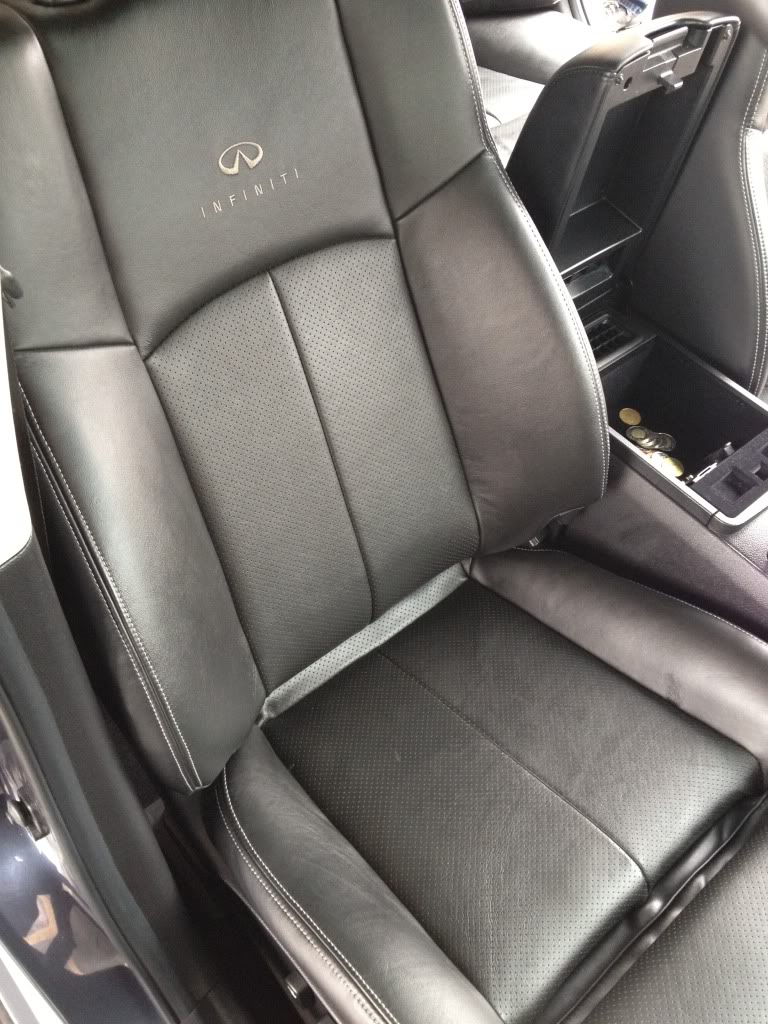
Before - Driver's Seat
After - Driver's Seat

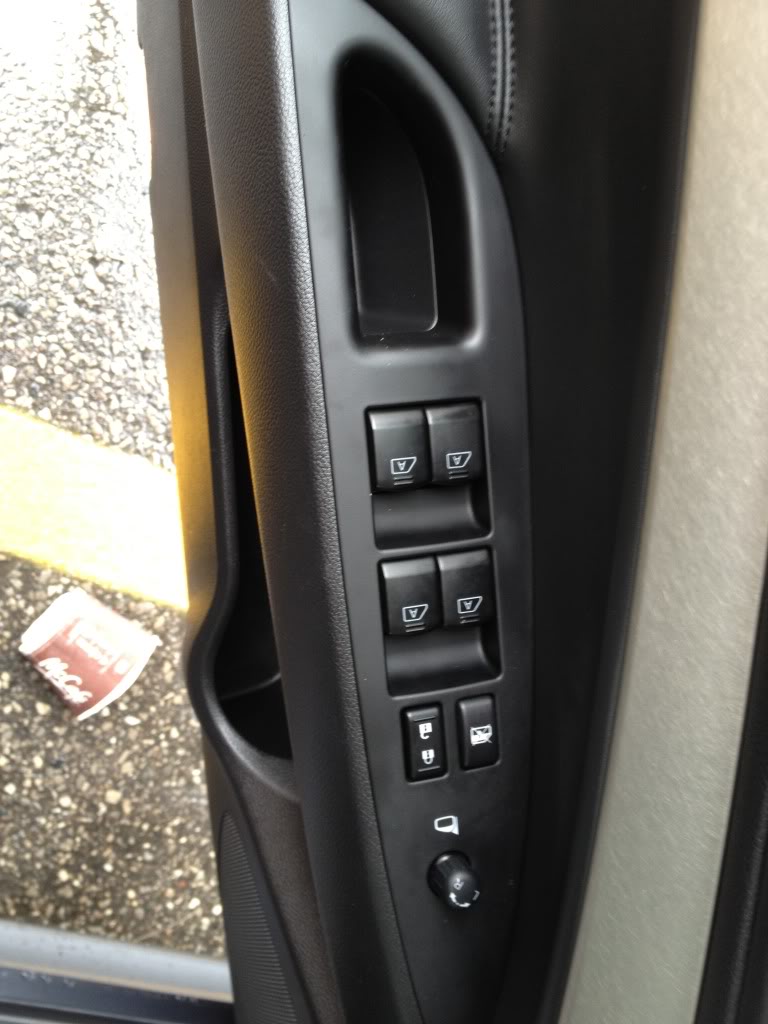
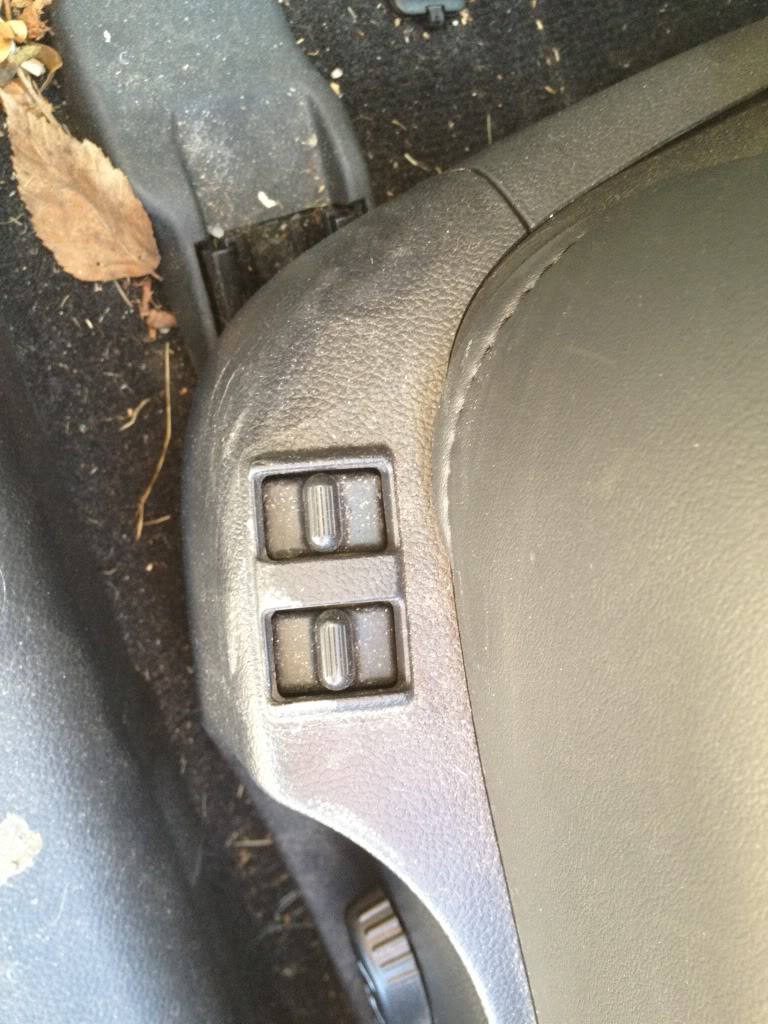
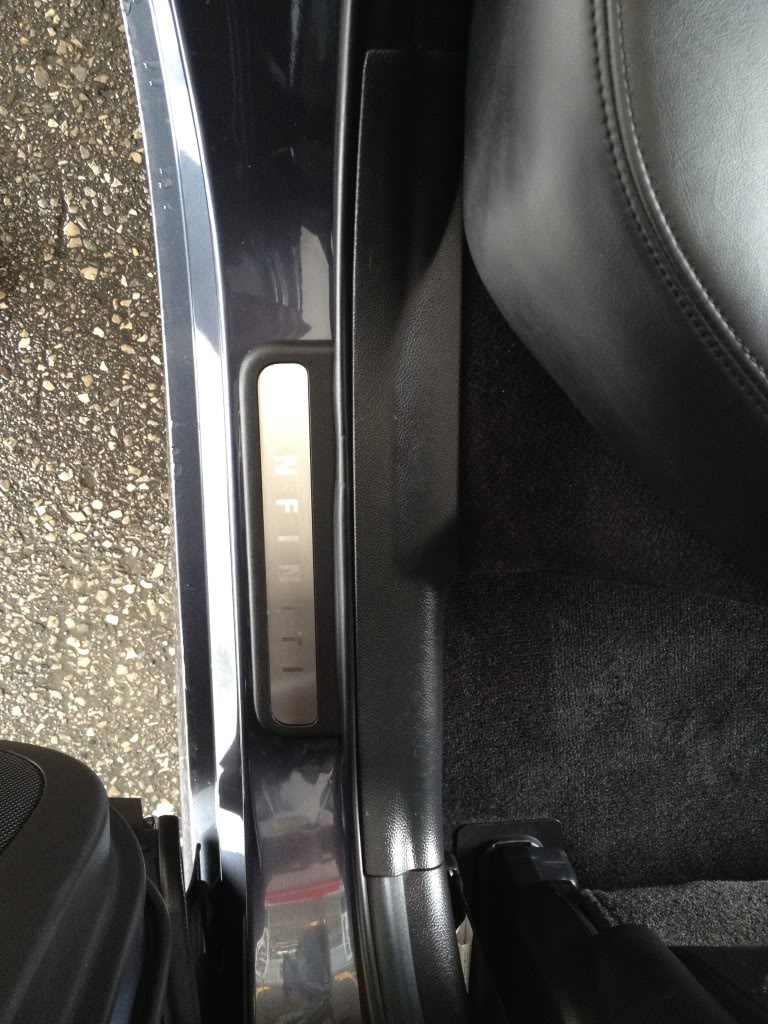
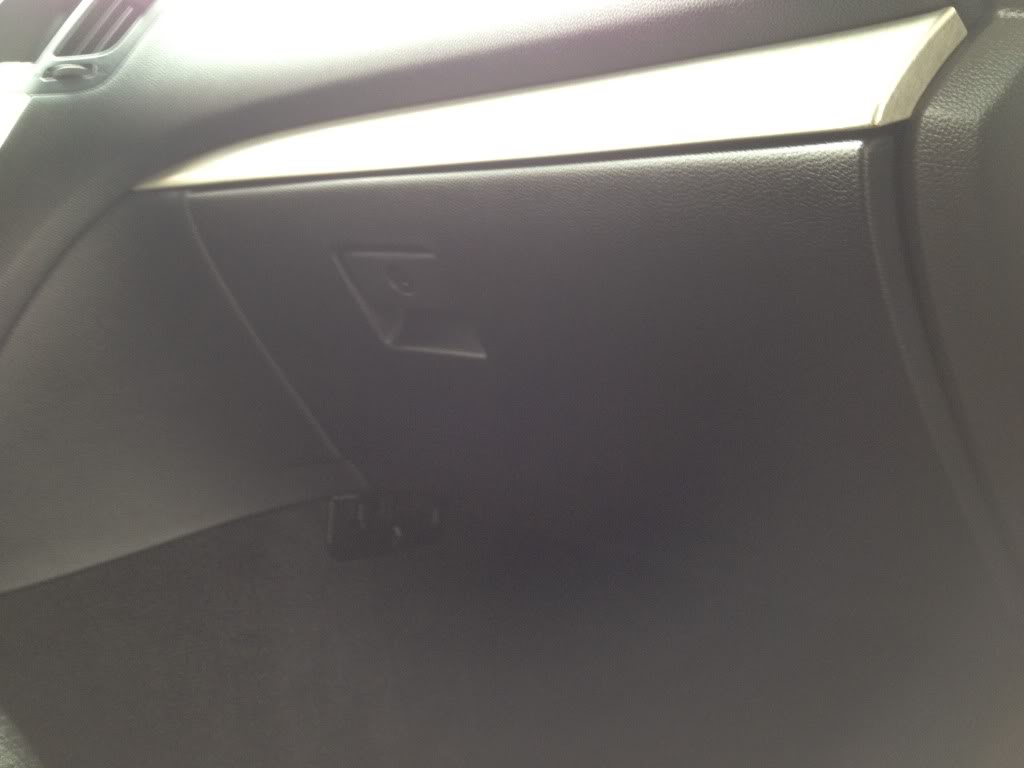
Before - Door Trim Plates
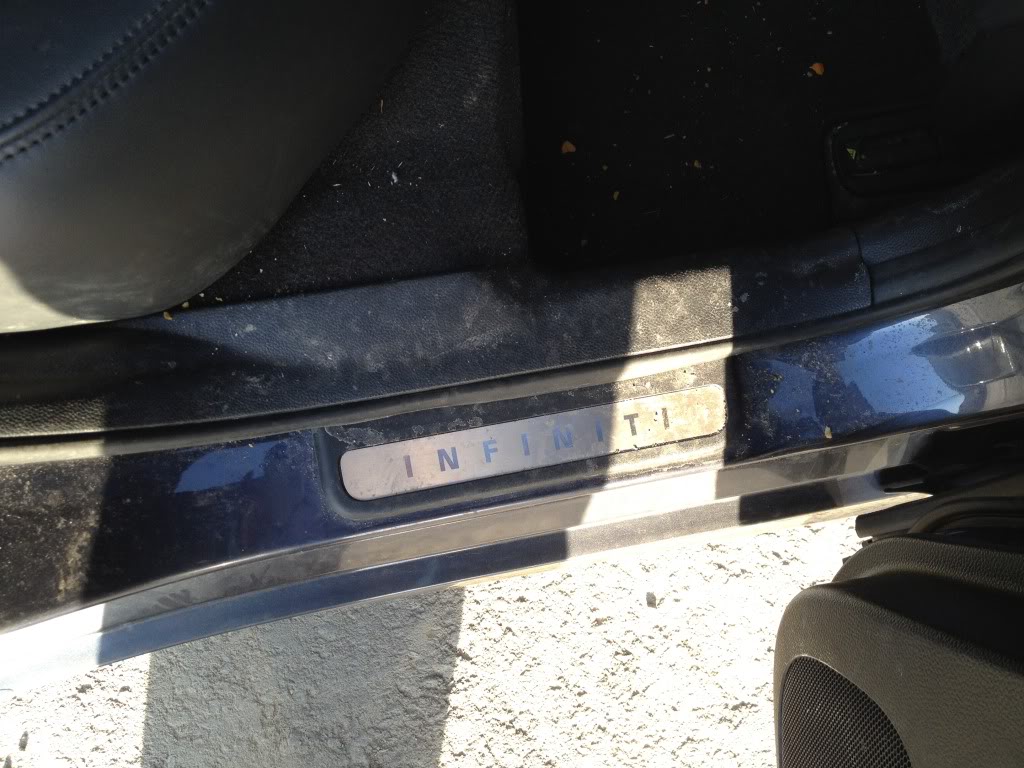
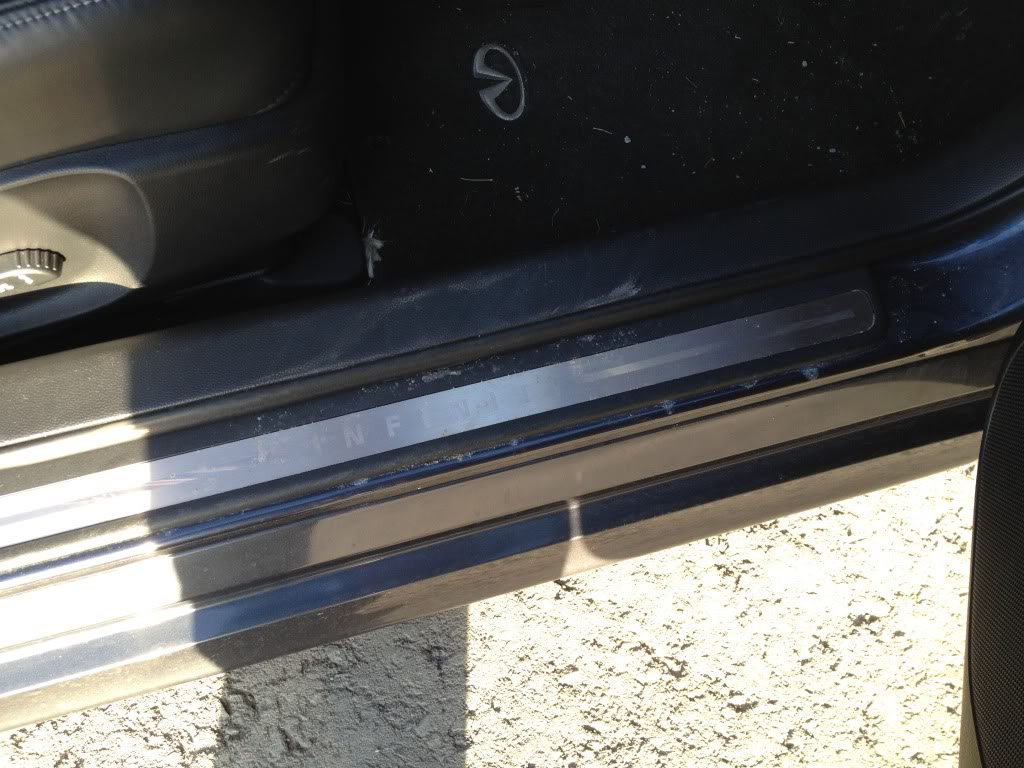
After - Door Trim Plates
Look At The Contrast Between The Silver Plate And The Black Trim...Detailing Is About Making A Contrast.
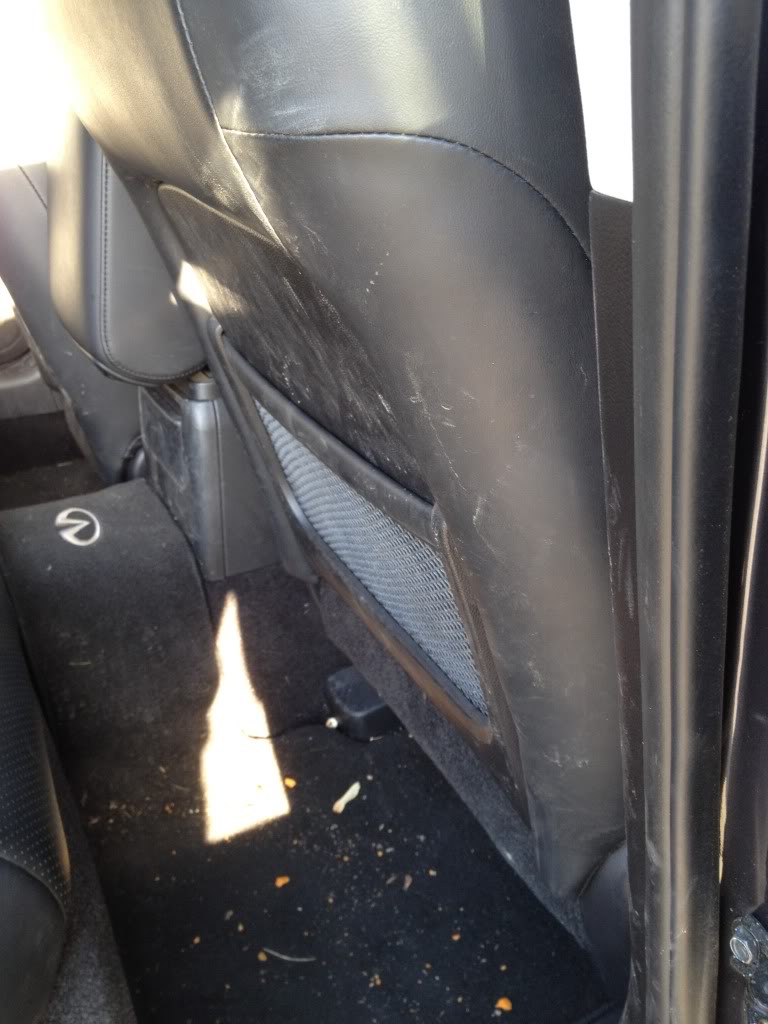
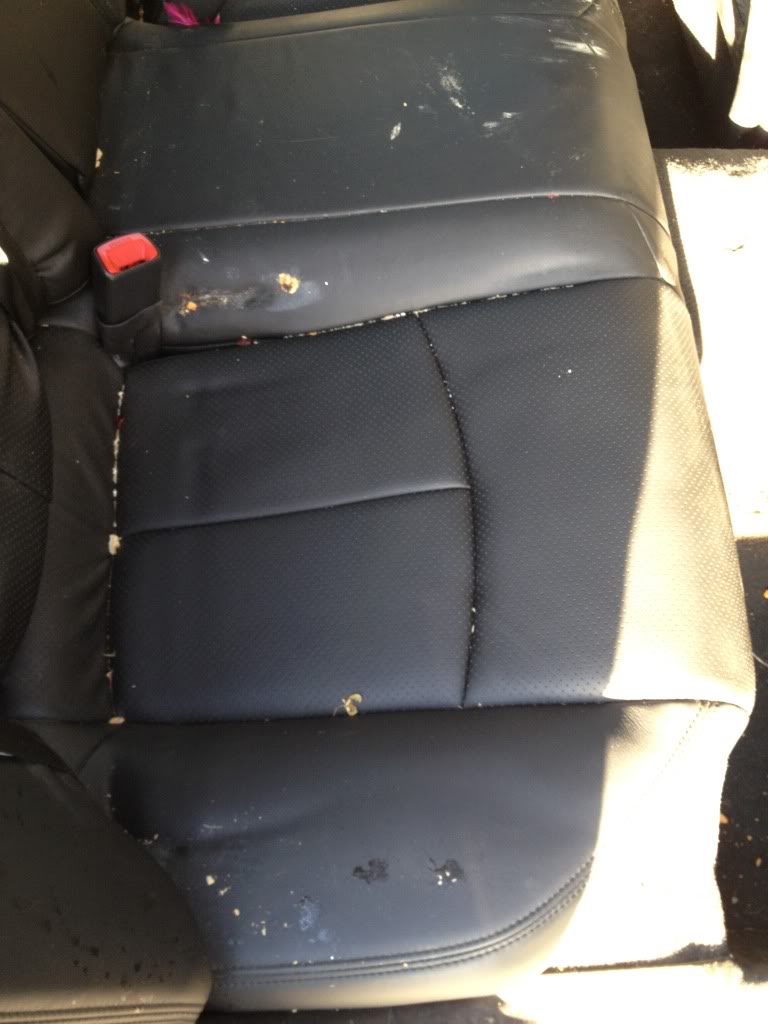
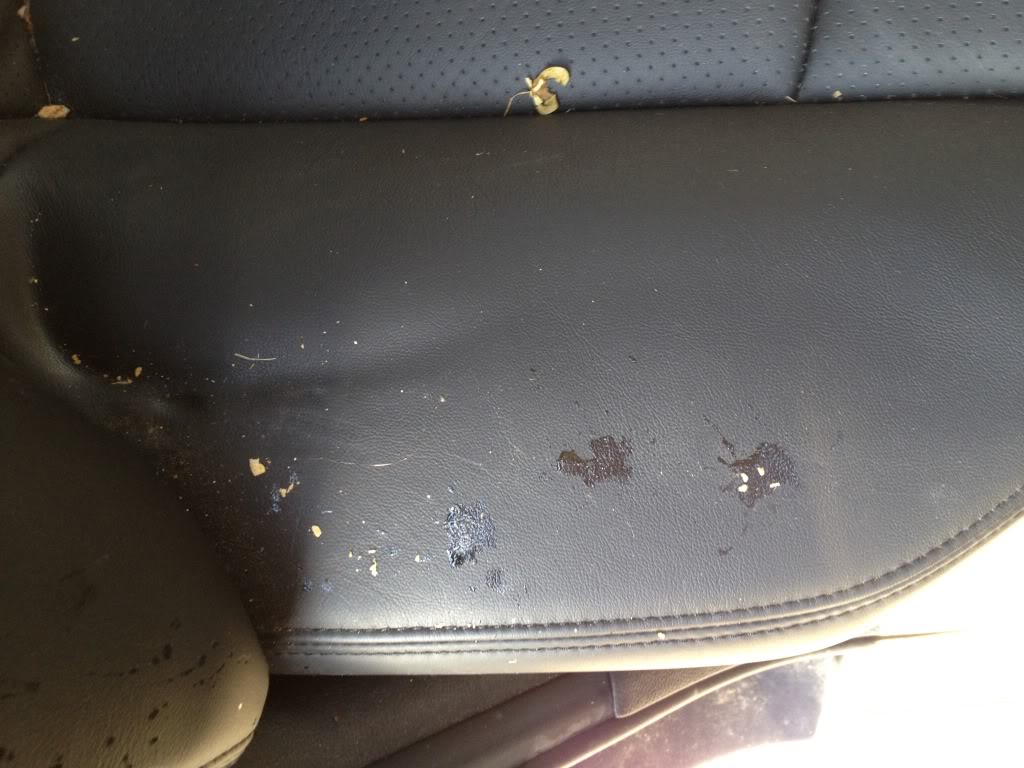
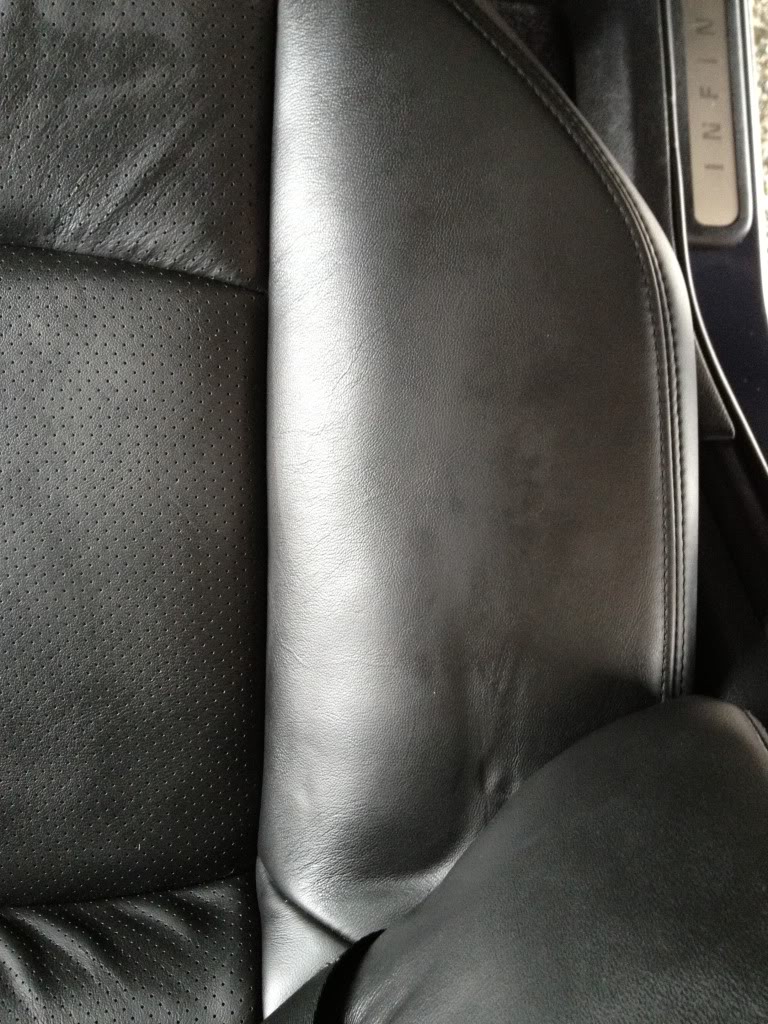
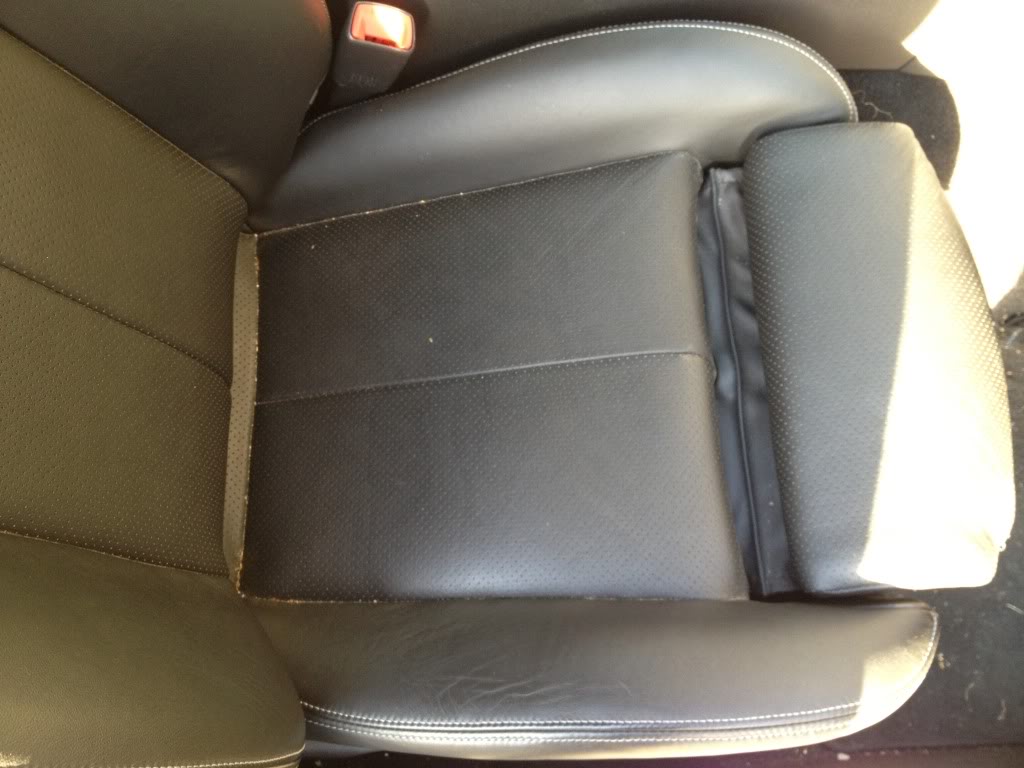
Before - Driver Seat Back Side (Tisk Tisk, Kids Must Be Really Upset...Naughty)
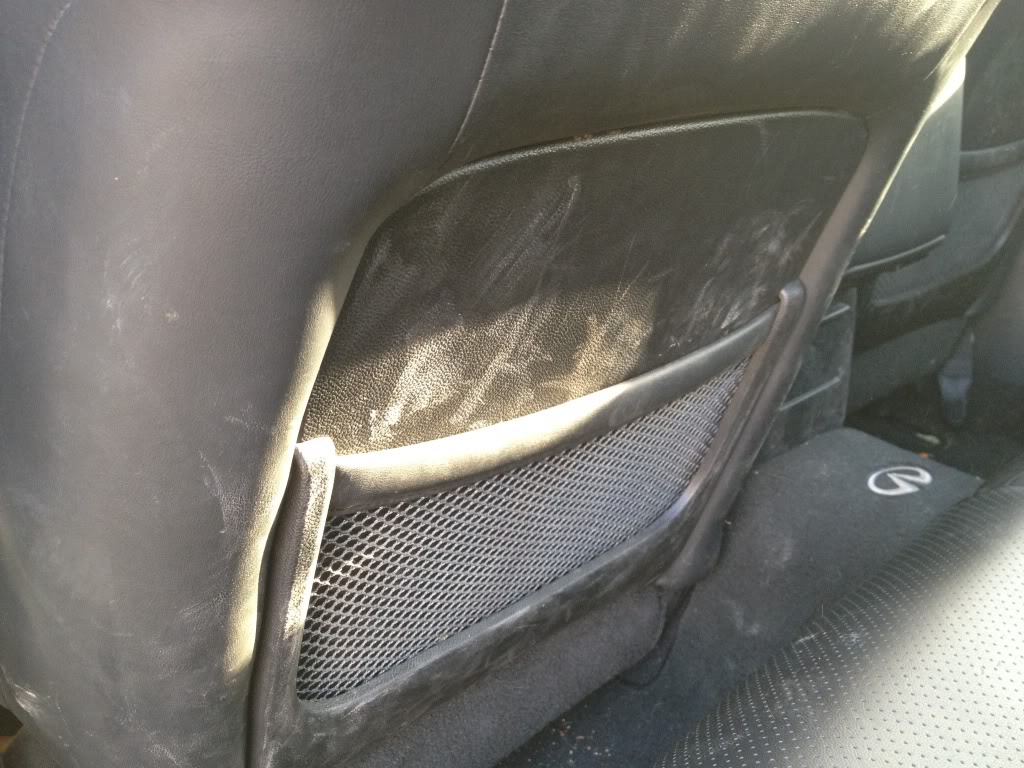
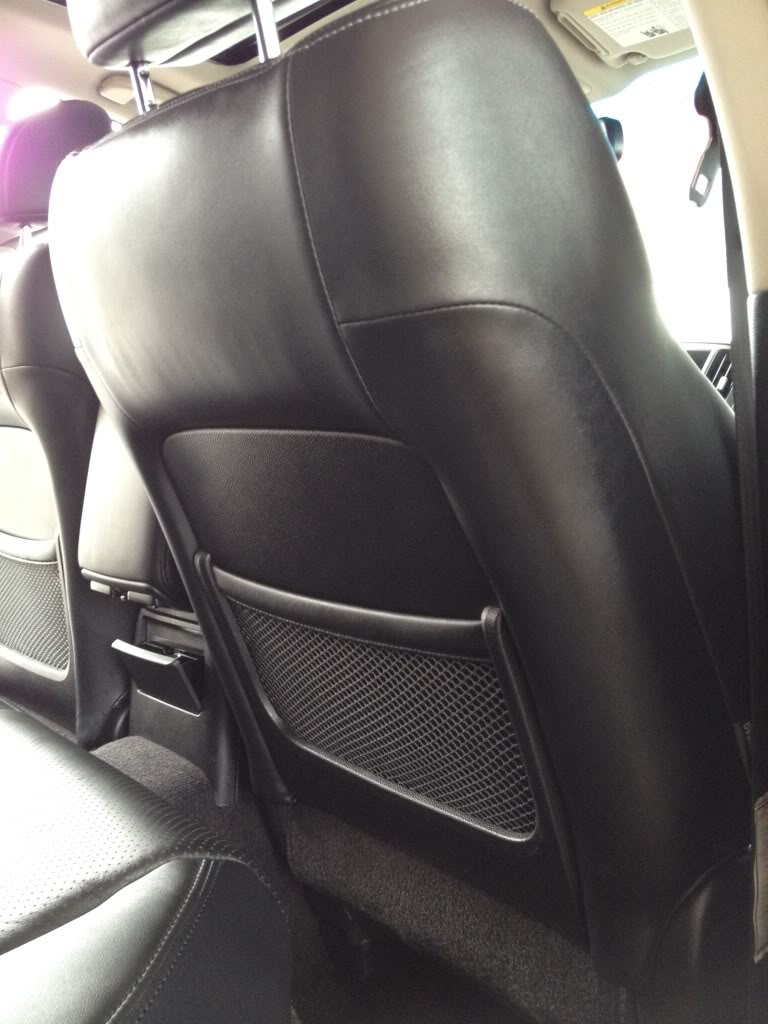
After - Driver Seat Back Side (Tisk Tisk, Kids Must Be Really Upset...Naughty)
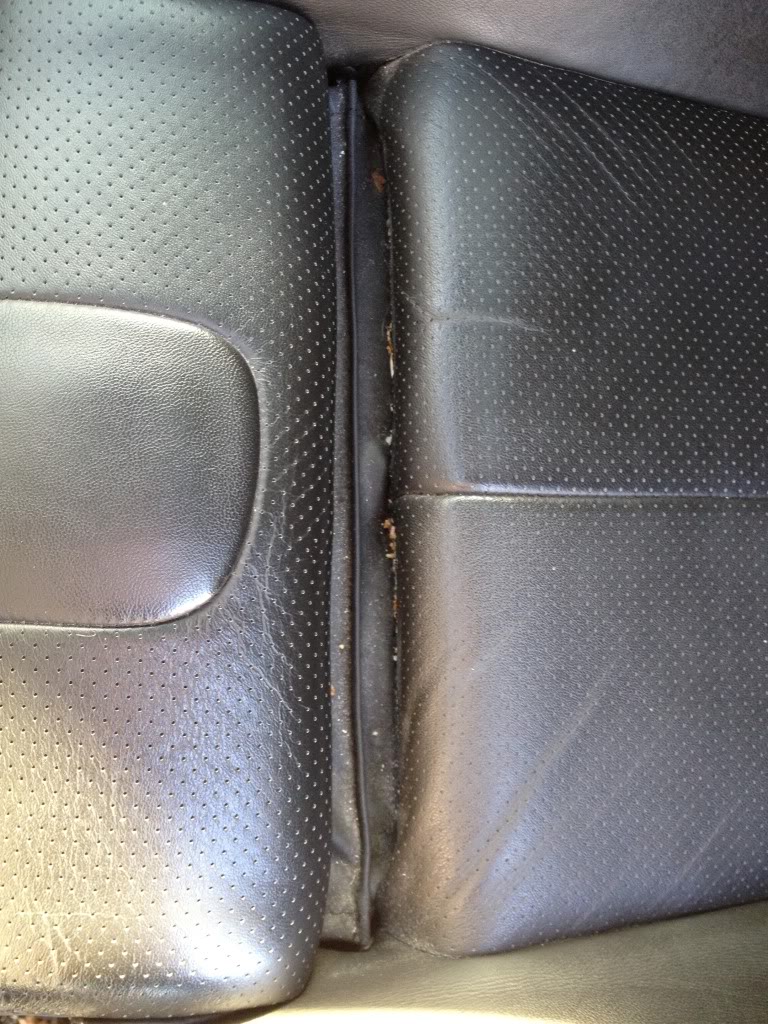
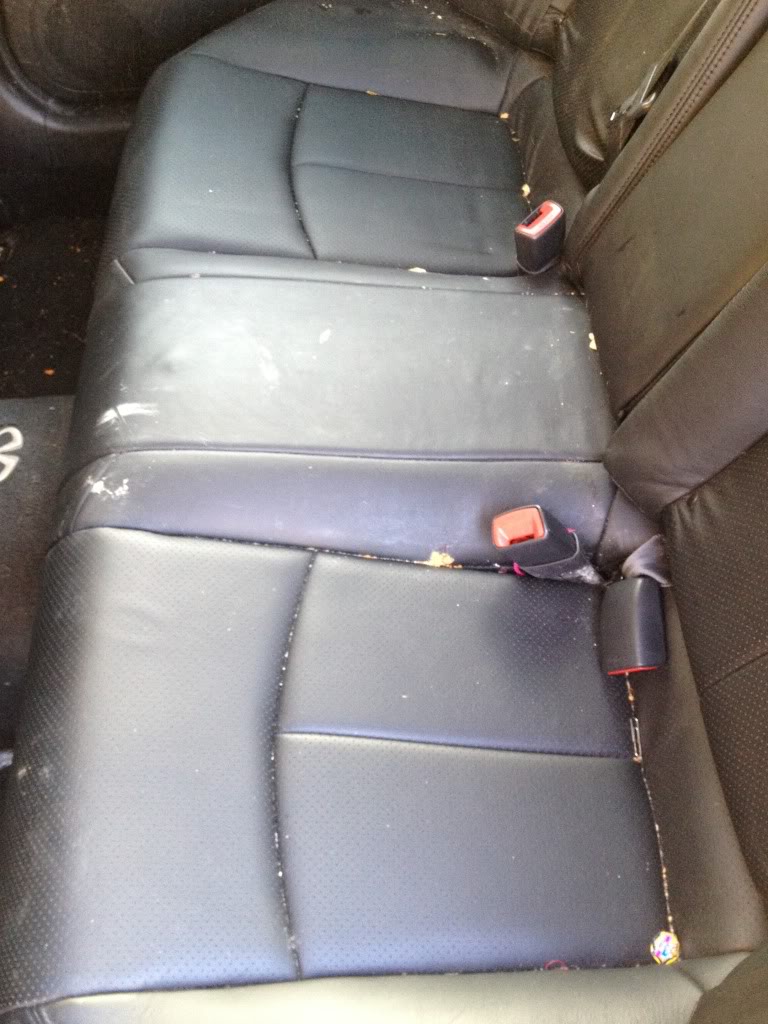
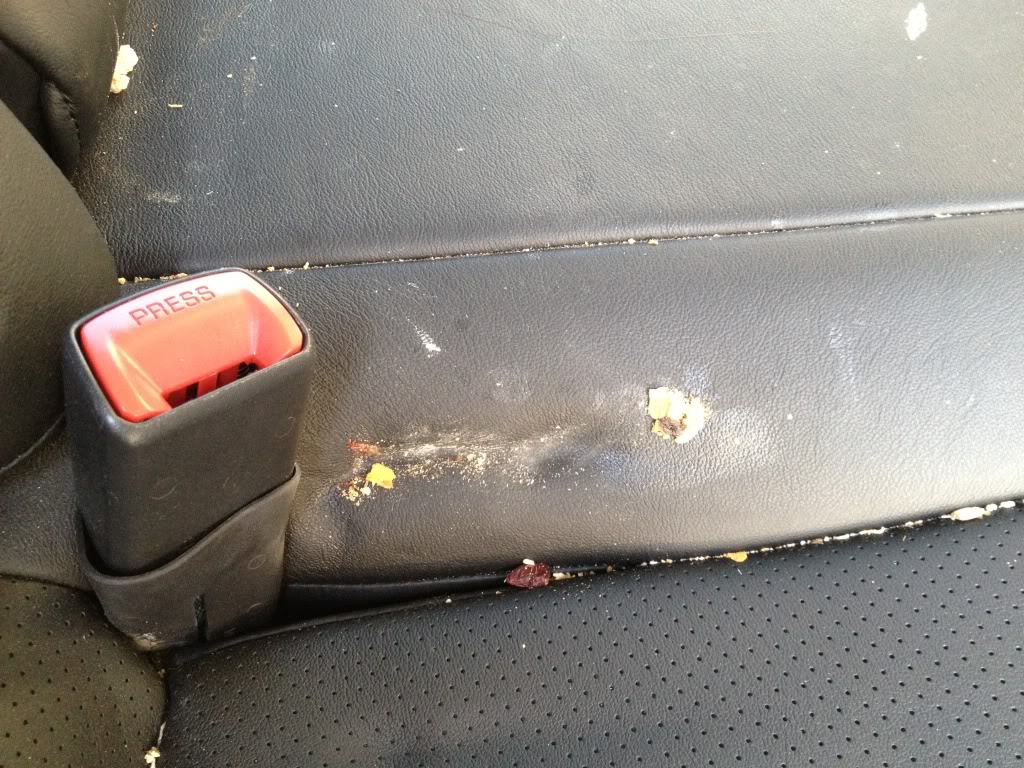
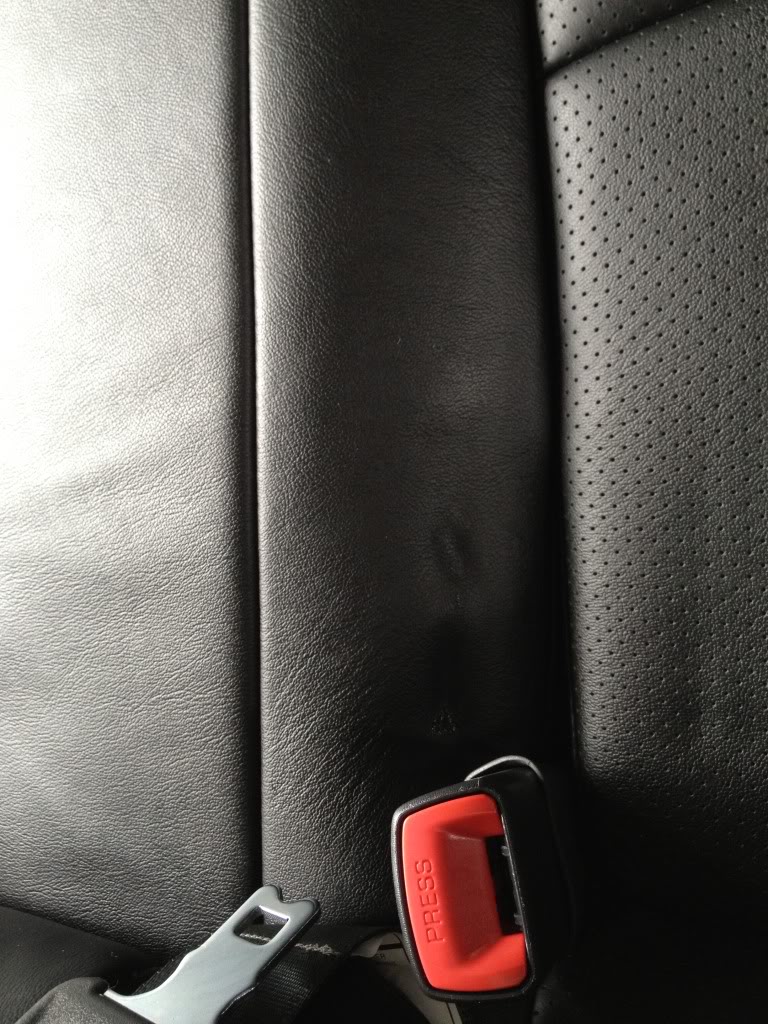
Before - Passenger Seat Back Side
After - Passenger Seat Back Side
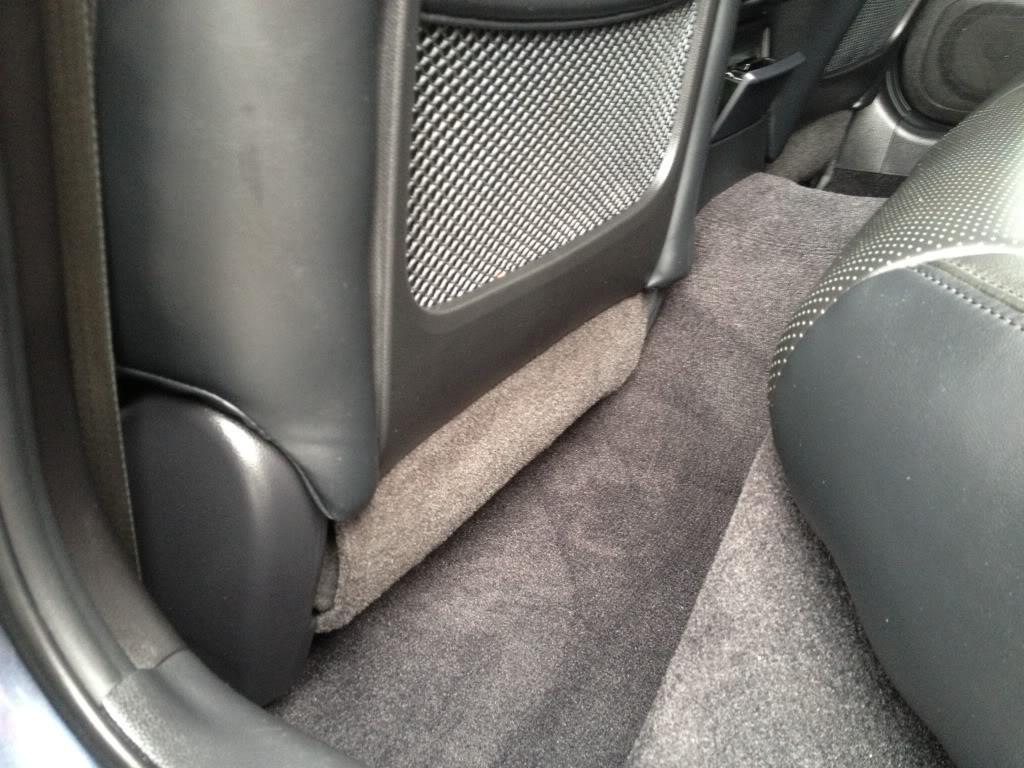
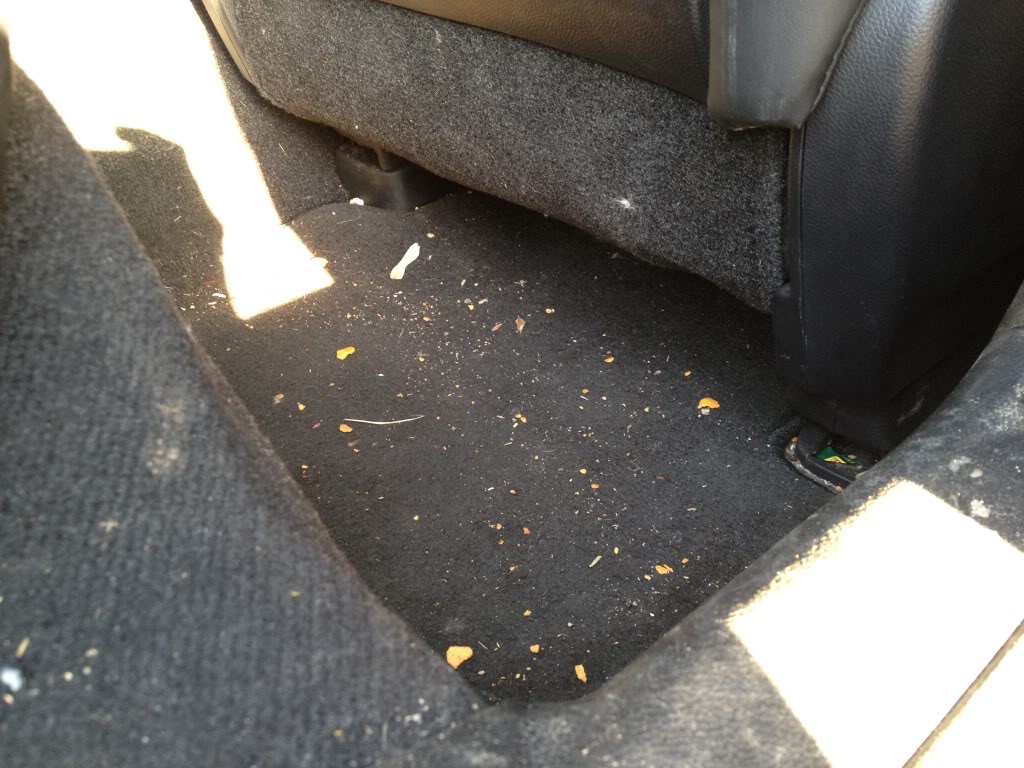
Before - Rear Floor
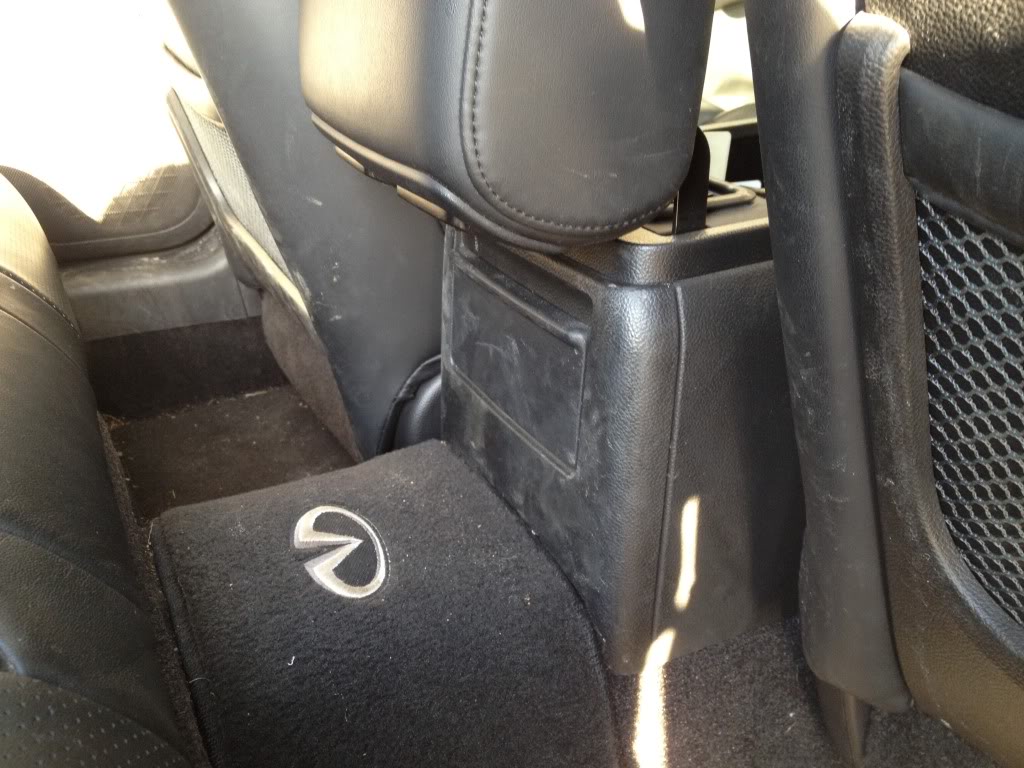
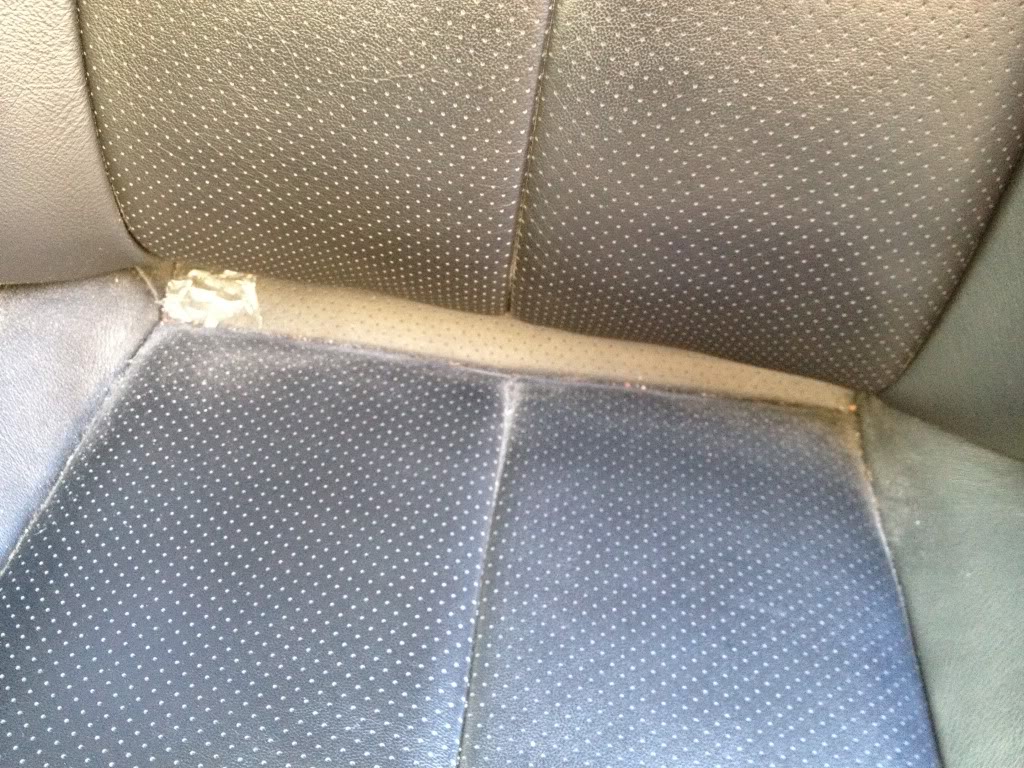
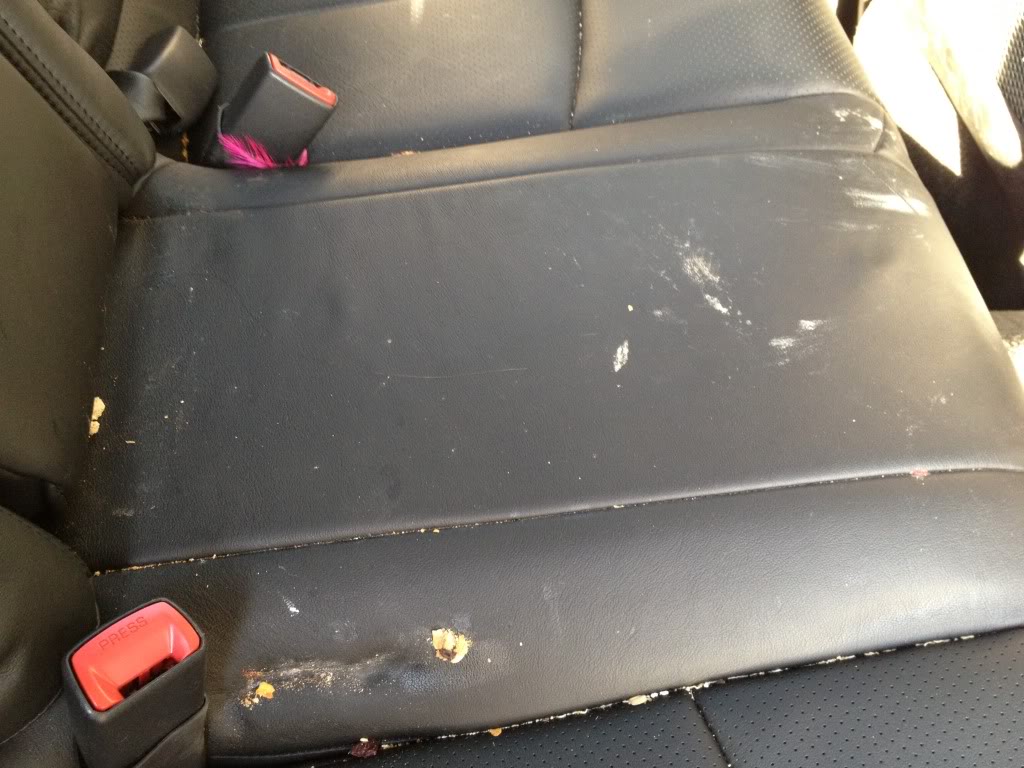
Before - Rear Seats (Sticky Icky)
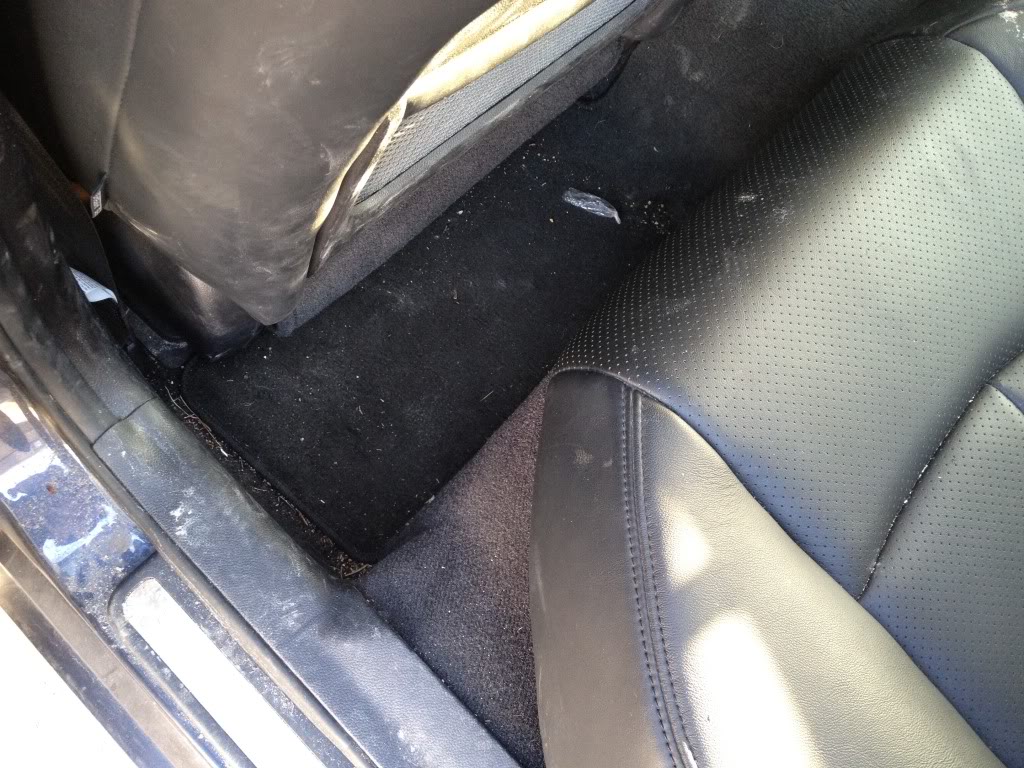
After - Rear Floor & Rear Seating
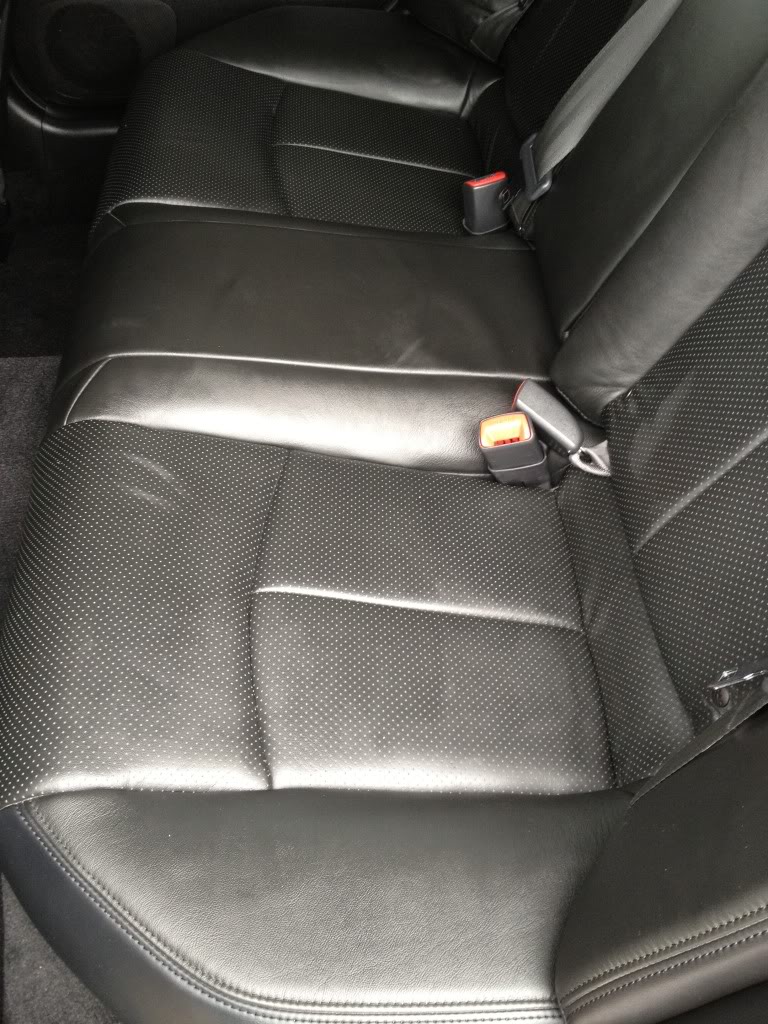
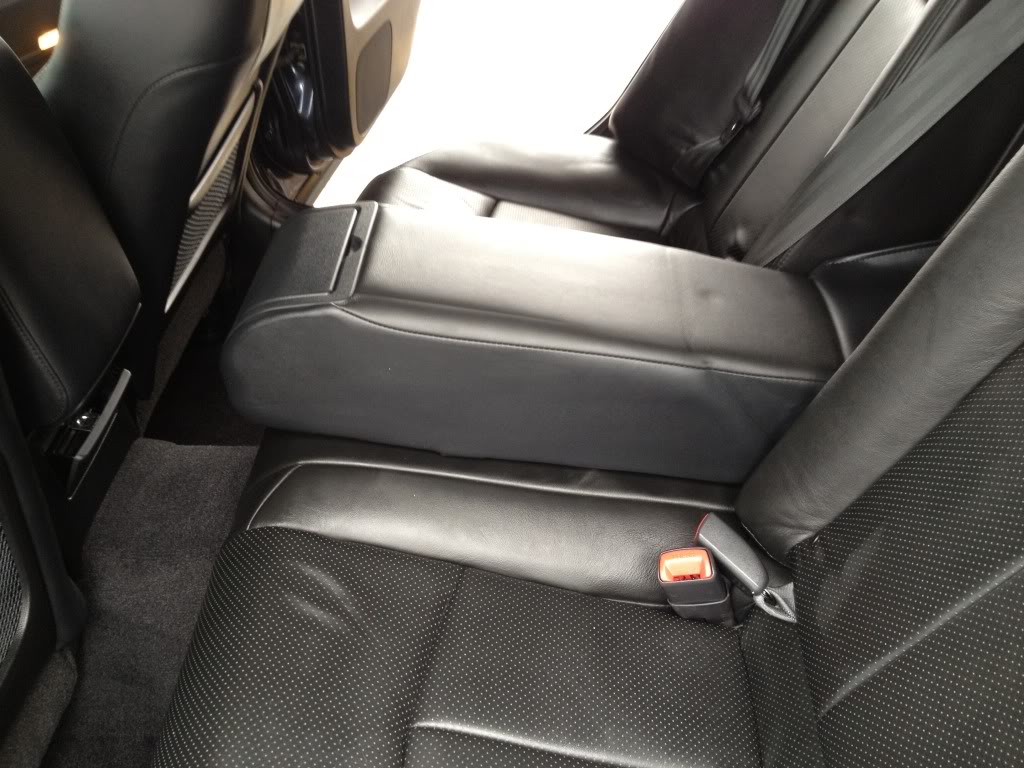
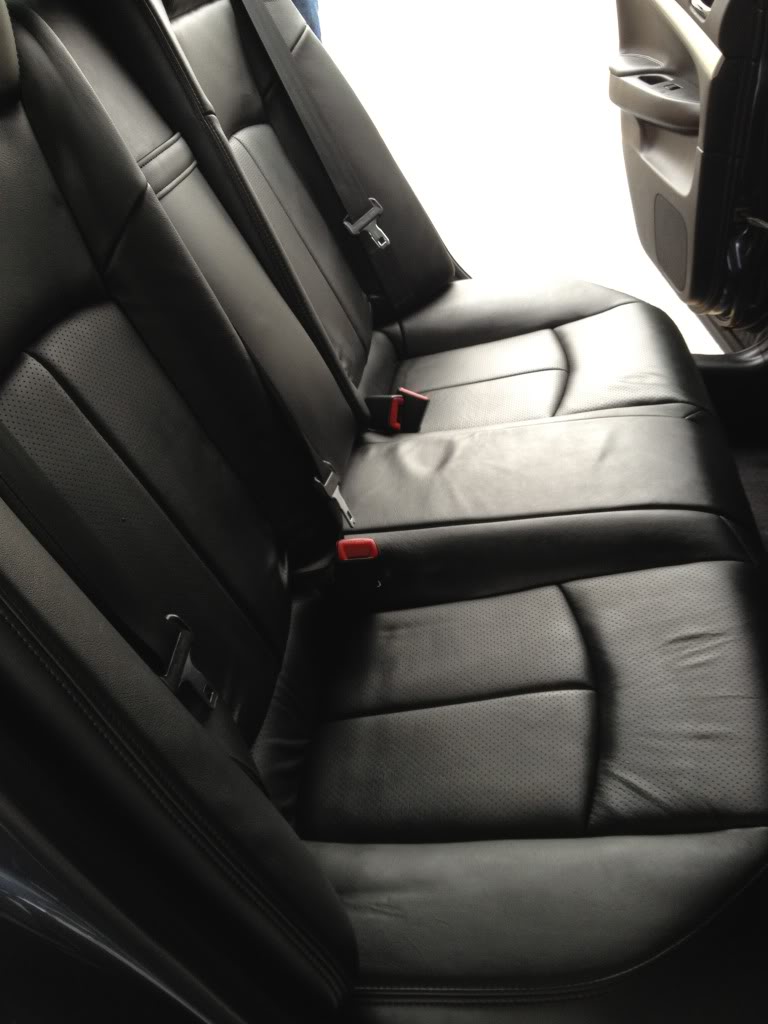
No More Sticky Icky (The Marks In The Leather Are From The Car Seats)
Before - Passenger Door Panel
After - Passenger Door Panel


Before - Passenger Seat
After - Passenger Seat
Before - Passenger Foot Well
After - Passenger Foot Well
Knowing That Black Hides Surface Dirt Real Easily, You Should've Seen My MF's After This Detail...Can You Sing "Black & Yellow, Black & Yellow"...lol...That's What My Yellow MF's Turned Into...
Thank you for viewing and commenting guys! :headbang:
A gentleman contacted me to revive the interior of his fairly new vehicle. It has less than 30,000 km's (~18600 miles) since ownership in 2007, but the interior definitely didn't show any youth.
Being a family car, and having kids in the backseat, well...you know what to expect. :giggle:
Here are the pics. Enjoy.
opcorn:Before - Trunk
After - Trunk
Before - Driver Door Panel
After - Driver Door Panel (Clean Door Jambs And Slick Weatherstripping)
Before - Driver Foot Well
Unfortunately, The Dead Pedal Is Dead, The Coating Is Peeling From The Surface
The Infiniti Logo Is Almost A Big White Circle...lol
Look Closely, There Are 2 Rocks Near The Corner Of The Floor Mat...Rocks?!
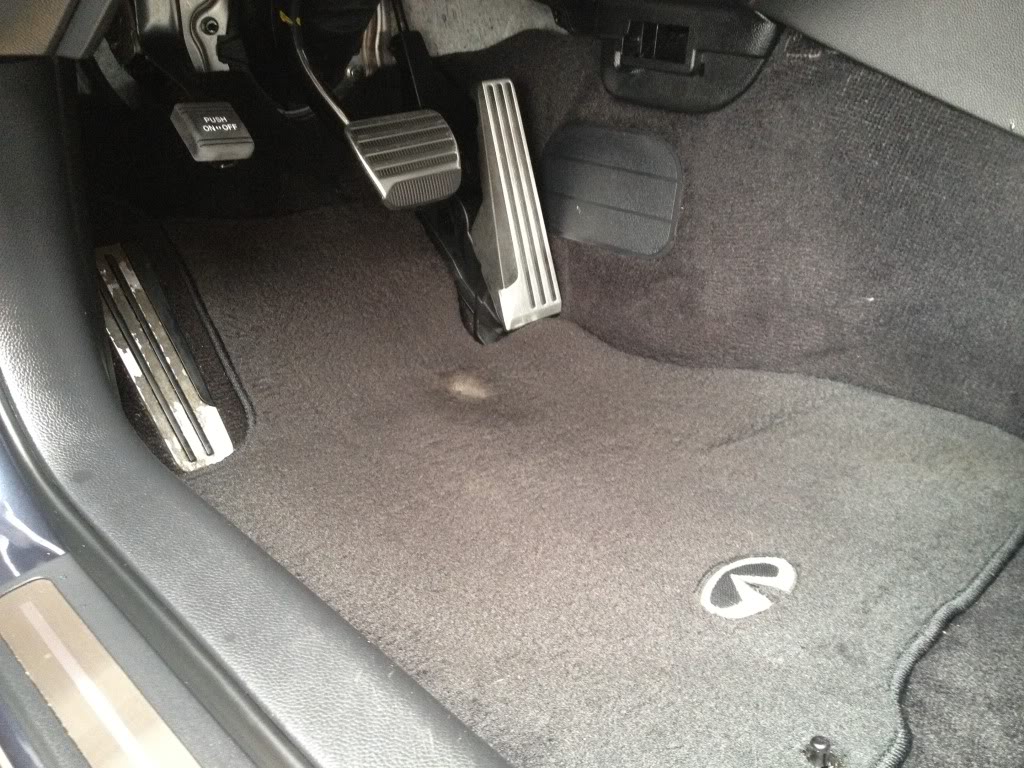
After - Driver Foot Well (There Is A Bald Spot On The Floor Mat)
Before - Steering Wheel
Got Dust...?
After - Steering Wheel
Before - Dashboard
Holy Moly...
After - Dashboard
Before - Center Console, Shifter, Cup Holders
I Like This Pic, The Sun Is Barely Shining Through
After - Center Console, Shifter, Cup Holders
Detailing Is About Making A Contrast, Light Trim Bezel And Rich Dark Buttons
Before - Driver's Seat
After - Driver's Seat
Before - Door Trim Plates
After - Door Trim Plates
Look At The Contrast Between The Silver Plate And The Black Trim...Detailing Is About Making A Contrast.
Before - Driver Seat Back Side (Tisk Tisk, Kids Must Be Really Upset...Naughty)
After - Driver Seat Back Side (Tisk Tisk, Kids Must Be Really Upset...Naughty)
Before - Passenger Seat Back Side
After - Passenger Seat Back Side
Before - Rear Floor
Before - Rear Seats (Sticky Icky)
After - Rear Floor & Rear Seating
No More Sticky Icky (The Marks In The Leather Are From The Car Seats)
Before - Passenger Door Panel
After - Passenger Door Panel
Before - Passenger Seat
After - Passenger Seat
Before - Passenger Foot Well
After - Passenger Foot Well
Knowing That Black Hides Surface Dirt Real Easily, You Should've Seen My MF's After This Detail...Can You Sing "Black & Yellow, Black & Yellow"...lol...That's What My Yellow MF's Turned Into...
Thank you for viewing and commenting guys! :headbang:
Frankieg35
Registered User
close


May 5, 2026
- Join DateOct 2006
- LocationSouth Jersey
- Posts:17,256
-
iTrader Positive Feedback98
-
iTrader Feedback Score(41)
-
Likes:2,905
-
Liked:857 Times in 745 Posts
Damn that interior was trashed!! What products did u use?? Looks great now..

Registered User
Great job. What do you use to clean the dots in the seat? Things tend to get trapped in those spots.
Quote:
thank you Frankie.Originally Posted by Frankieg35
Damn that interior was trashed!! What products did u use?? Looks great now..
Meg's APC+
Optimum PC
Lexol Twins
303 Aerospace
Zep High Traffic Carpet Cleaner
Folex
Prima Clarity
if there's something in particular then let me know and i'll try to remember.

Quote:
thank you man.Originally Posted by V's G
Great job. What do you use to clean the dots in the seat? Things tend to get trapped in those spots.
the dots as in the vented seats? hardly anything gets trapped there b/c the holes are so small.
you have to vacuum thoroughly and also helps to have an air compressor with a nozzle. that can help blow the debris out of the holes.
the leather seats were cleaned with Lexol twins

Registered User
My goodness, your children are disgusting. haha. BTW, Good job on the cleaning!


Registered User
This is proof that kids belong in minivans. Seriously, I'd kick myself for letting the interior of any car get like that. I am sure that this clean up took several hours. Encourage the owner to get rubber mats for under the kids seats.