
My exhaust install! Pics and info! 04sedan megan catback


My exhaust install! Pics and info! 04sedan megan catback
Last week I picked up the Megan racing cat back from a member on g35nyc.
Myself and two friends did the install.
Install was easy apart from 2 things......
Y pipe Bolts: They were so rusted that we ended up cutting them off and hammering out the remains with air hammer. Just replaced them with similar bolts/nuts/lock washers blah blah. Usually you just leave the studs in as they are sort of a part of the stock y pipe.
Rear Hanger: We had to buy a blank rubber hanger strip and drill the appropriate holes to hang the rear most section of the muffler. Also had to use a cuttoff to trim the long as bracket on the muffler. The muffler hangs a little lower than I like so I'm going to redo the rubber hanger. Simple job.
I reused the old y pipe gasket(metal)
I replaced the rear section gasket with a new one because it was basically non existent when we removed the old section.
If it weren't for the 2 little problems, I would rate the install a 3/10 but because of the problems (which are extremely common with an install like this) I would give it a 4.5/10. Small problems always come up with installs so I wasn't really surprised. Either way, its an easy install.
Pic showing how happy I was to be picking up exhaust lol, some ugly *** car we saw on the ride.... and then the install.
LOLOLOLOLOL
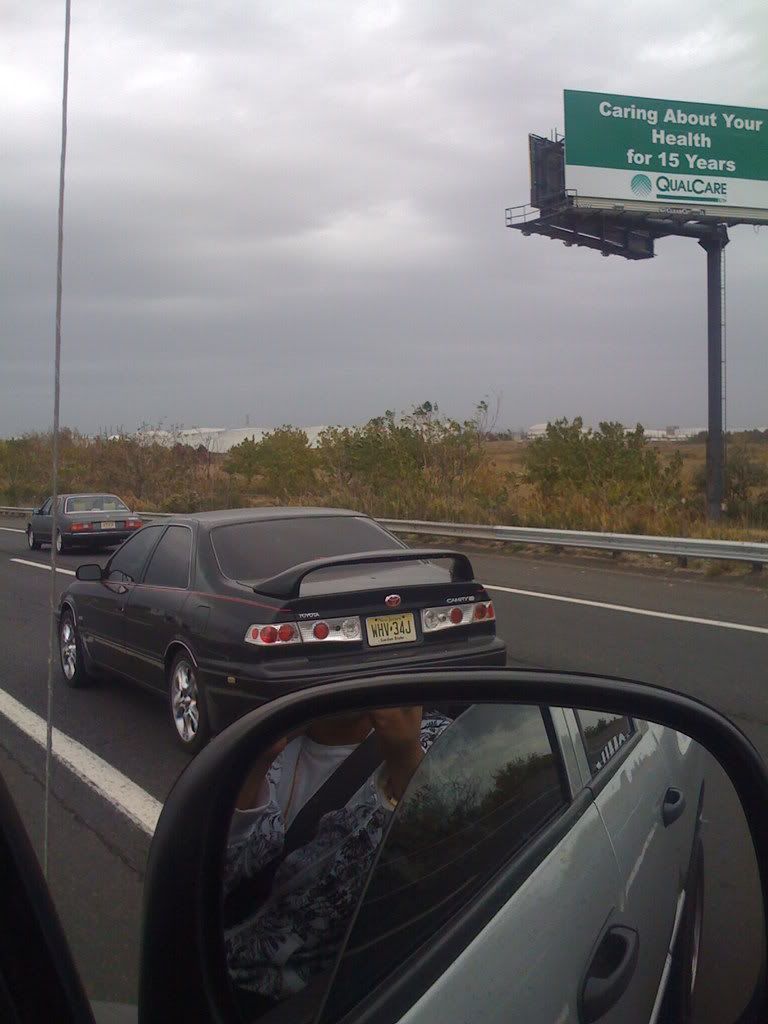
Soooo happy!(lol corny watever i love exhaust!!)

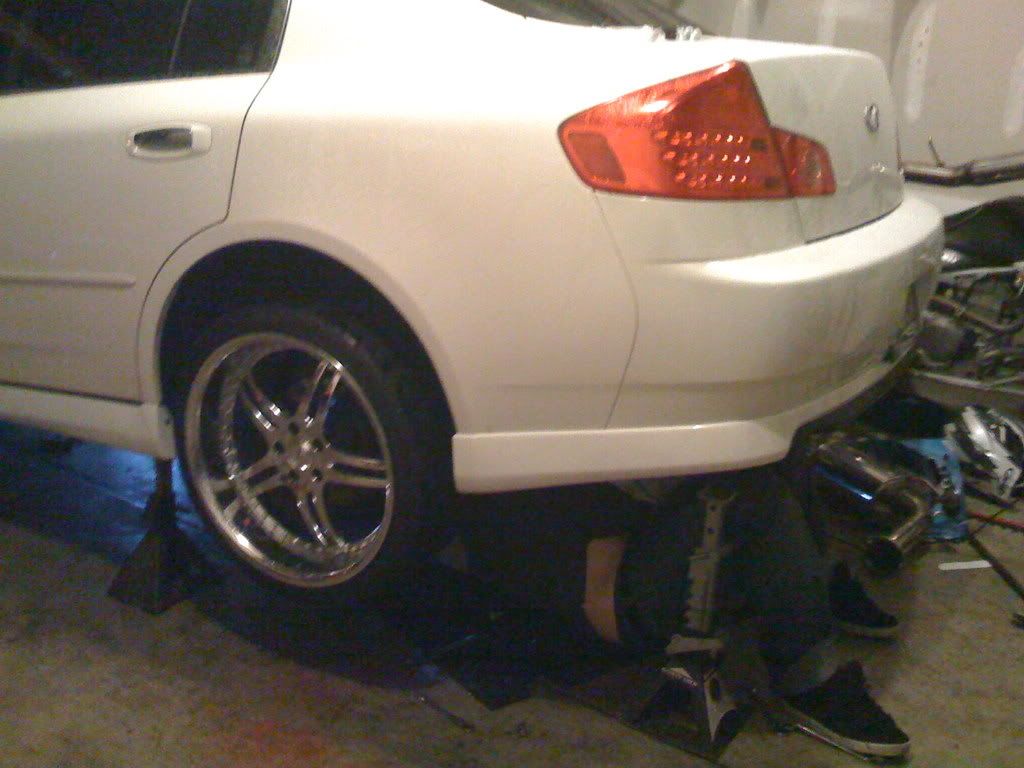
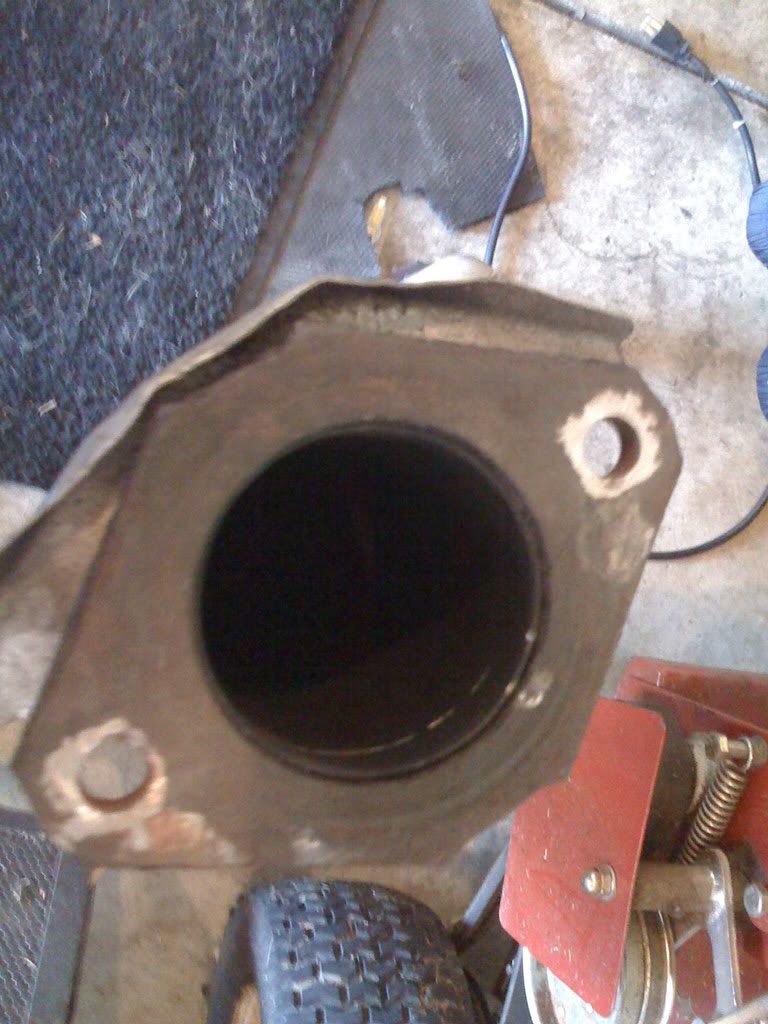
Uninstalling old crap
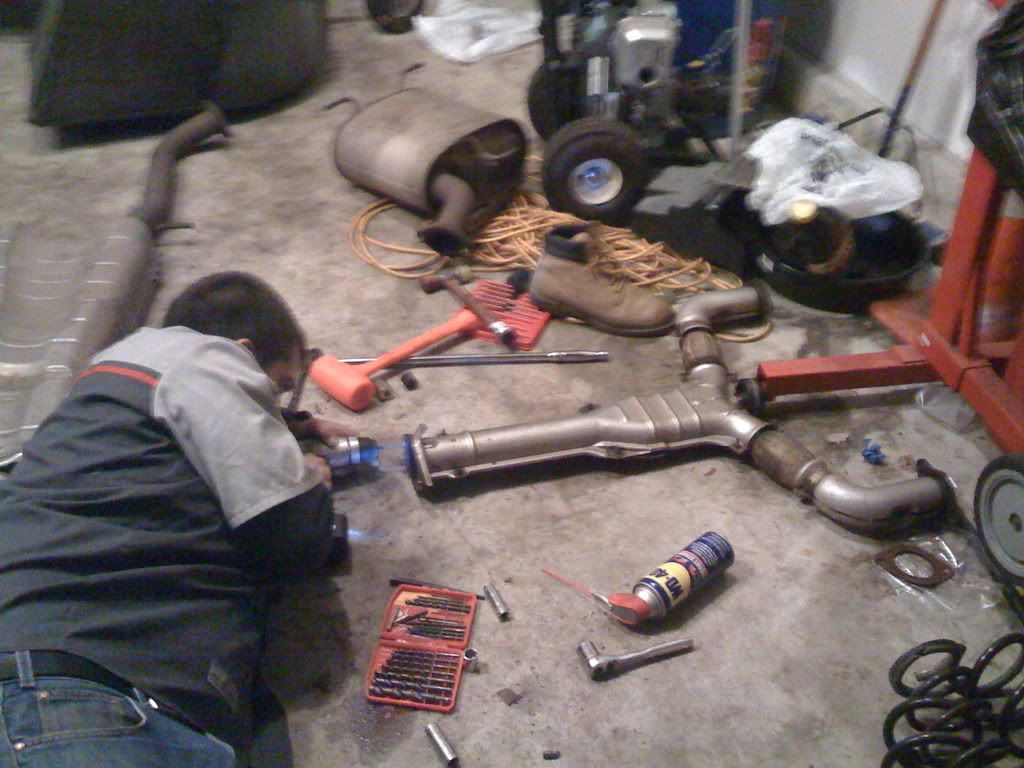
Cutting the studs in my garage lol. Note door is closed because it was mad early and the air tool is LOUD
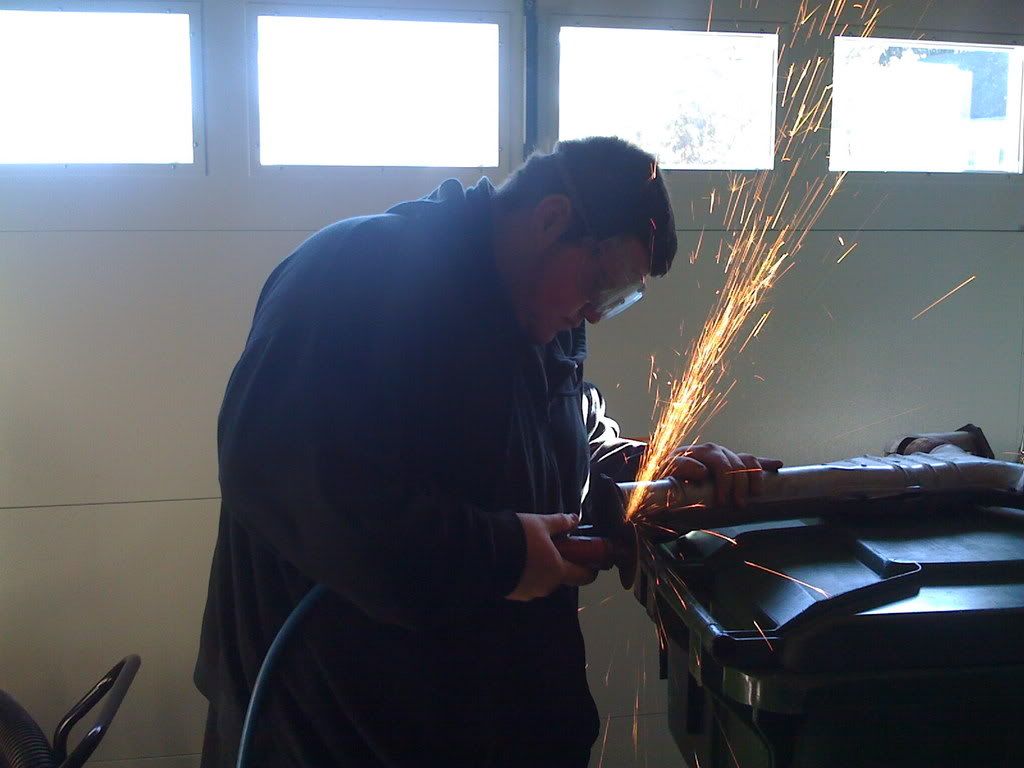
After using air hammer to get out studs... ready for INSTALL!!!!!!
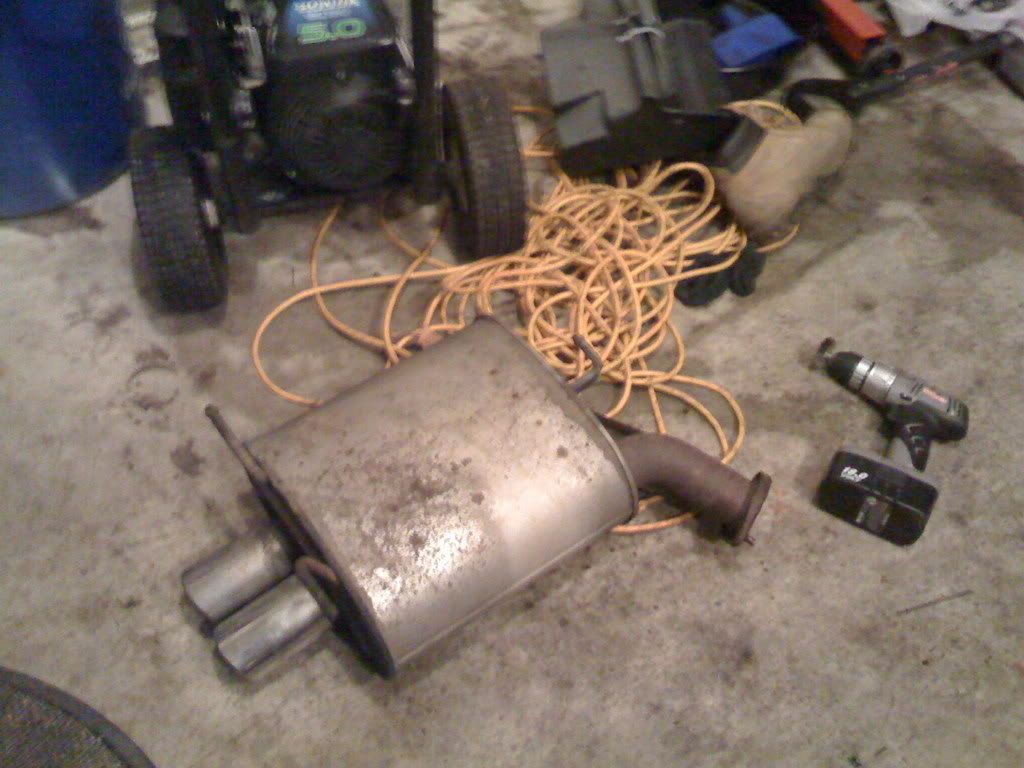
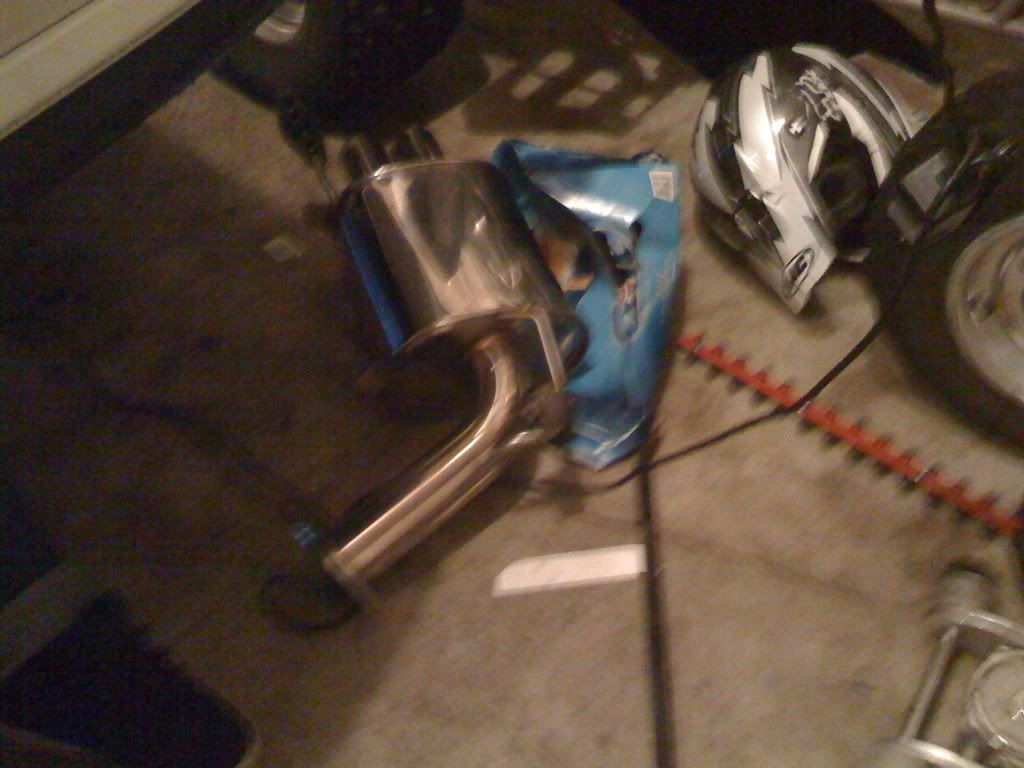
New muffler
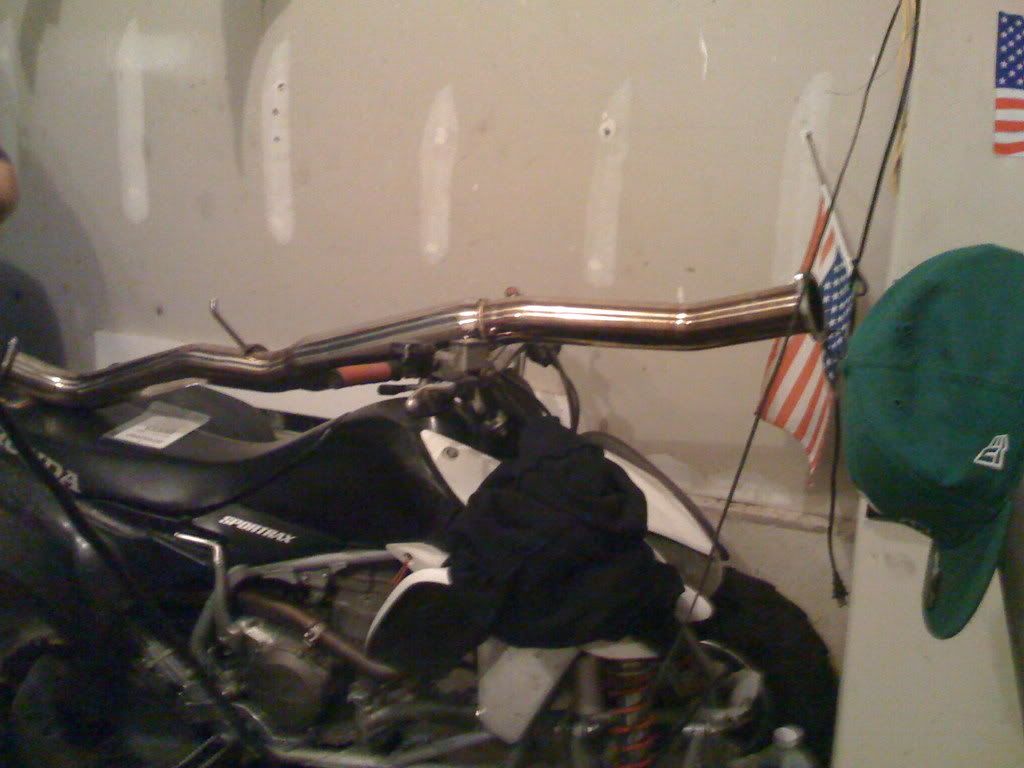
New mid section and half a quad lol
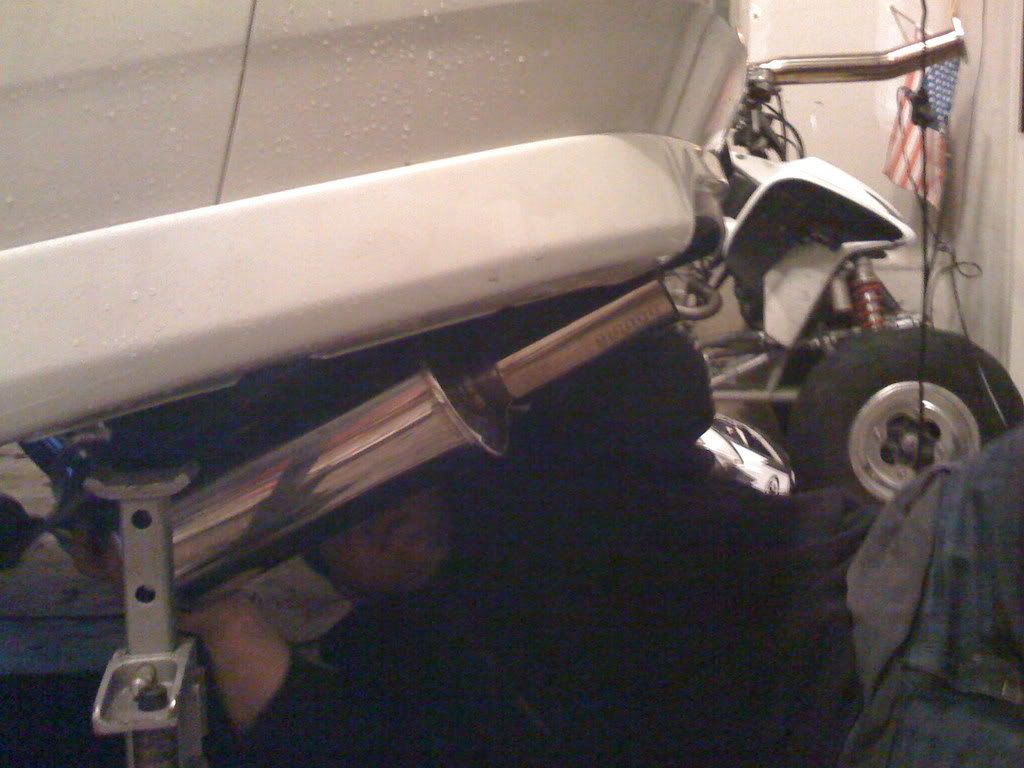
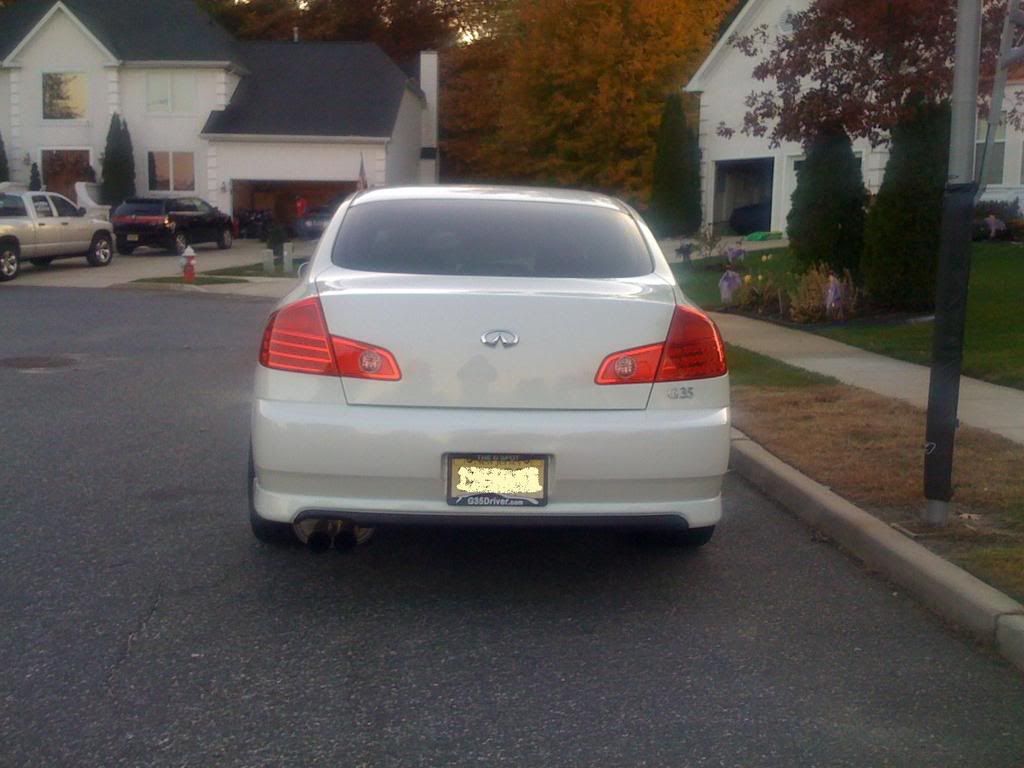
DONE!
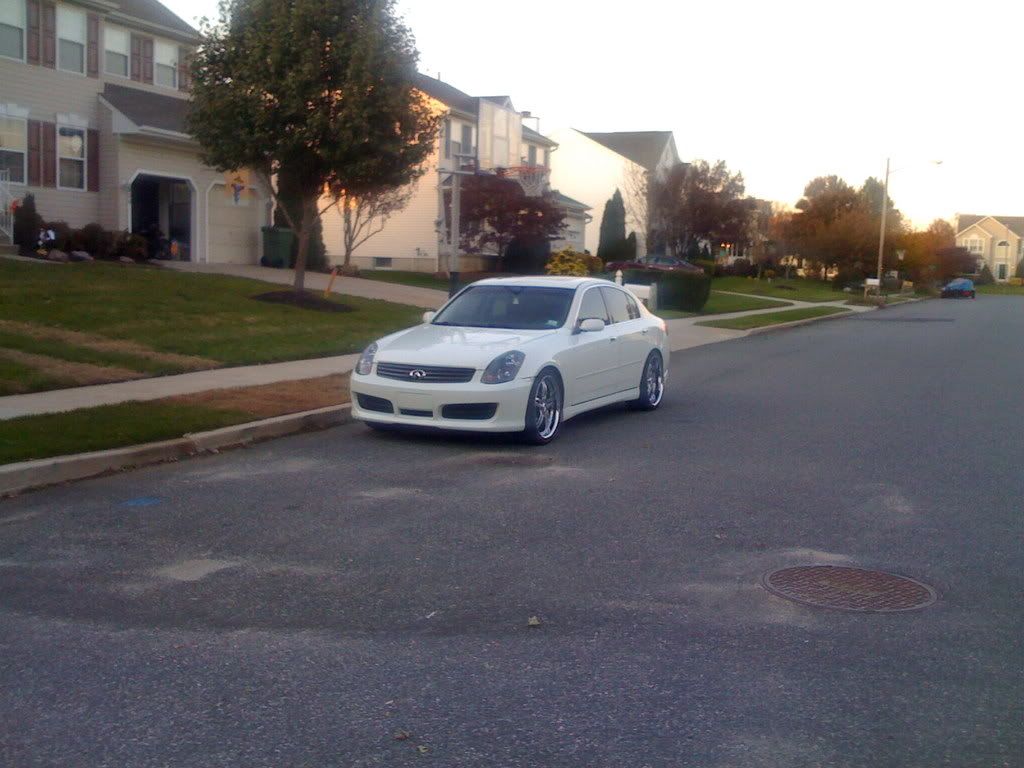
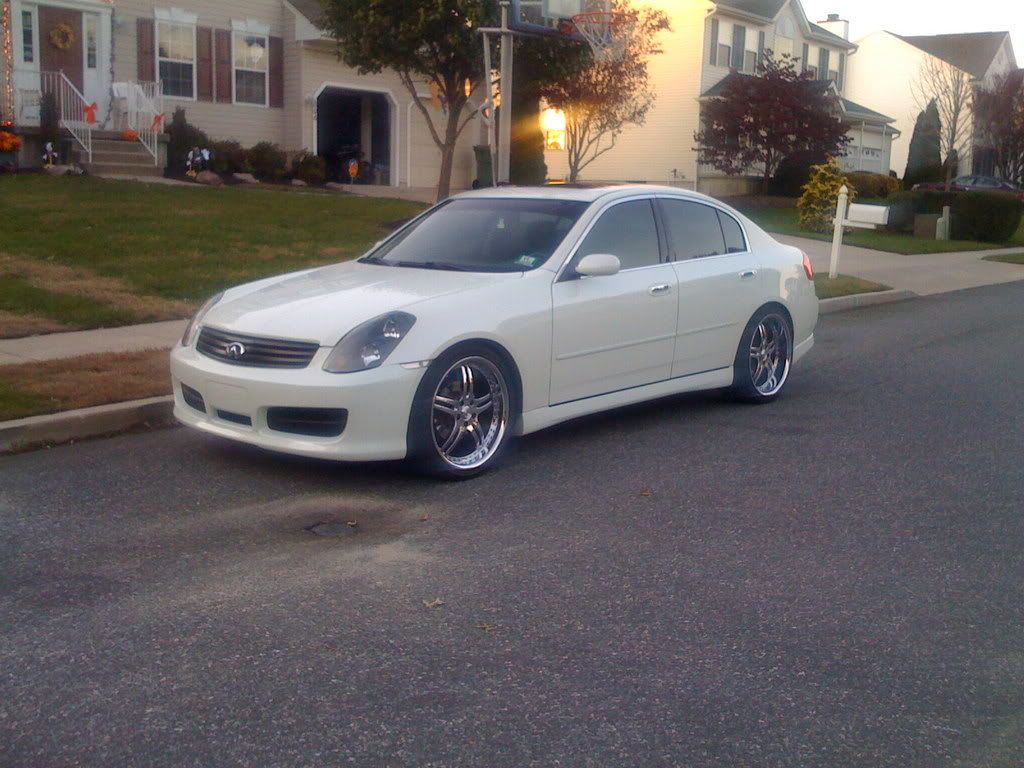
Also I just got black standard length rays lugs to replace the old extended blues....
Myself and two friends did the install.
Install was easy apart from 2 things......
Y pipe Bolts: They were so rusted that we ended up cutting them off and hammering out the remains with air hammer. Just replaced them with similar bolts/nuts/lock washers blah blah. Usually you just leave the studs in as they are sort of a part of the stock y pipe.
Rear Hanger: We had to buy a blank rubber hanger strip and drill the appropriate holes to hang the rear most section of the muffler. Also had to use a cuttoff to trim the long as bracket on the muffler. The muffler hangs a little lower than I like so I'm going to redo the rubber hanger. Simple job.
I reused the old y pipe gasket(metal)
I replaced the rear section gasket with a new one because it was basically non existent when we removed the old section.
If it weren't for the 2 little problems, I would rate the install a 3/10 but because of the problems (which are extremely common with an install like this) I would give it a 4.5/10. Small problems always come up with installs so I wasn't really surprised. Either way, its an easy install.
Pic showing how happy I was to be picking up exhaust lol, some ugly *** car we saw on the ride.... and then the install.
LOLOLOLOLOL
Soooo happy!(lol corny watever i love exhaust!!)
Uninstalling old crap
Cutting the studs in my garage lol. Note door is closed because it was mad early and the air tool is LOUD
After using air hammer to get out studs... ready for INSTALL!!!!!!
New muffler
New mid section and half a quad lol
DONE!
Also I just got black standard length rays lugs to replace the old extended blues....

love it
I really like it. It does have some drone but the exhausts with zero drone really aren't loud enough for me.
I've been getting all sorts of compliments on it. Also really turns heads.♦
I've been getting all sorts of compliments on it. Also really turns heads.♦
Yeah, I had the same exhaust a long time ago and I know how bad the drone can get. I sold the Megan mid-pipe and replaced it with an 05-06 Sedan midpipe. The drone went away and it sounds louder and nicer than the HKS axleback.


Thread
Thread Starter
Forum
Replies
Last Post
vstypicals
Buying, Selling & Leasing Discussion
6
Jul 20, 2015 10:55 PM