
CarBodykits Nismo V3 review


CarBodykits Nismo V3 review
This is the 1st time I ever purchase a poly bumper, or any body part off a vendor as a matter of fact. I figured I would give it a try so I got CarBodykits Nismo V3 last month with the Inven roof. I was gonna go with straffe, but figured everyone starts somewhere and this fell in my budget. Besides, anything would be better than what I had.
The bumper was pretty rough and scratched, which of course needed extra work, therefore costing me more to paint. I lost the pics I took of the raw bumper but have some of the finished product. The roof spoiler does not sit well so I will have to play with it later and post pics. The bumper fit rather well, though the sidemarker openings wer rather tight. Overall the product is not bad. But if you are not painting it yourself, consider another product. If I were to do it again, I would spend the extra money on another bumper instead of paint prep work
Here you can see some of the roughness my friend could not eliminate

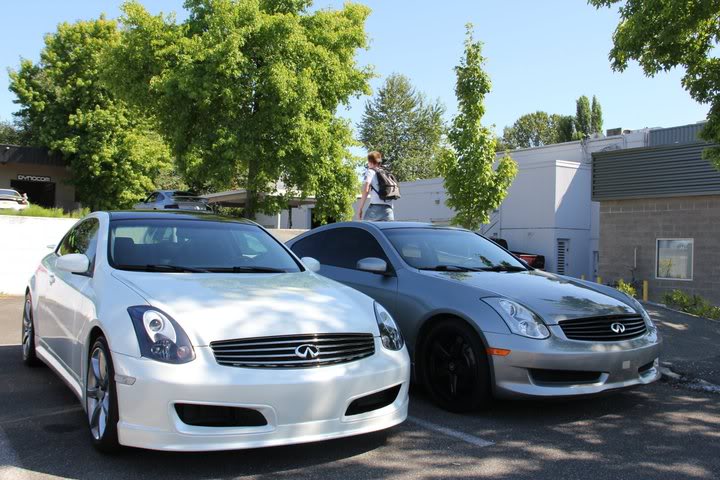
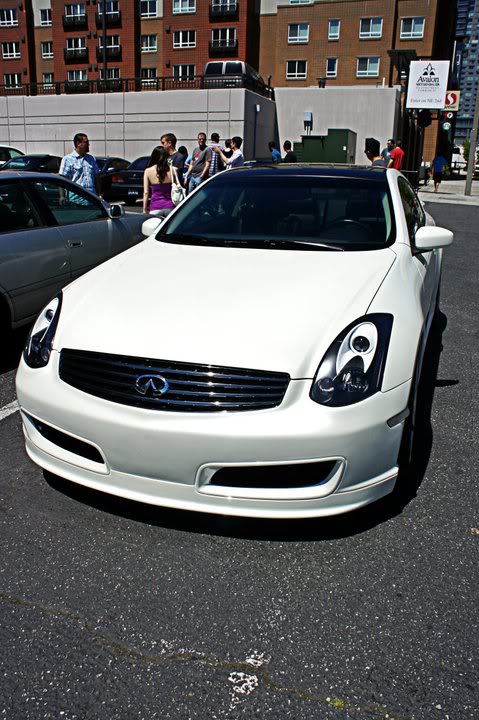
Here are the rest of the shots I have so far:


The bumper was pretty rough and scratched, which of course needed extra work, therefore costing me more to paint. I lost the pics I took of the raw bumper but have some of the finished product. The roof spoiler does not sit well so I will have to play with it later and post pics. The bumper fit rather well, though the sidemarker openings wer rather tight. Overall the product is not bad. But if you are not painting it yourself, consider another product. If I were to do it again, I would spend the extra money on another bumper instead of paint prep work
Here you can see some of the roughness my friend could not eliminate
Here are the rest of the shots I have so far:

Just fyi Carlos, ANY after market body parts will need some lever of prep, some more some less. The rough spot you pictured was just poor prep and what looks like possibly poor paint too, at least in that spot.


Former G35driver Vendor
iTrader: (37)
=[ Give me a call if you ever have any problems especially with prep here are instructions for prep on poly urethane:
1. Sand edges and seams completely
2. Wash all surfaces to be painted thoroughly with TSP in warm water and scotchbrite pads.
3. Sand surfaces to be painted with 320 wet dry sandpaper. (At this point, you should have a dull scratched appearance.)
4. Clean surface and all edges with either Dupont 2319S or Sherwin Williams R7K157 or R7K158 or equivalent.
5. Fill all imperfections (if applicable) with a flexible putty and sand smooth.
6. Apply adhesion promoter or equivalent Dupont #2322.
7. Note:some painters prefer, after cleaning the surface, to apply Dupont "Variprime". Let dry and scuff with a scothbrite pad.
8. Apply basecoat clearcoat following manufacture's recommendations for painting a flexible polyurethane plastic.
Poly Urethane is tricky to prep because the material is oil based. it needs to be cleaned then preped with a base coat primer. anyways let me know if you have any questions at 626-592-3103. the roof spoiler is simple to install however it does not follow the outline of the car but rather the outline of the rear glass (since thats what youre double side taping it to).
Trending Topics
Former G35driver Vendor
iTrader: (37)
wow thank you very much for that =)
Anyone's free to give me a call or PM on any of our products I've walked members, whether customers or not, through coilover installs, paint, kit installation, etc..
- Eric
Anyone's free to give me a call or PM on any of our products I've walked members, whether customers or not, through coilover installs, paint, kit installation, etc..
- Eric

Hey OP how and what did you use to mount he under tray to the bumper tabs the nismo 3 has? I installed my bumper today. The only paint in my *** was cutting out the slots for the grille. I will still have to play around with those. and I didnt mount the undertray yet not sure how cuz the metal slid on clips that come attached to the underside of the factory bumper are extremely hard to slid over the poly bottom tabs on the bumper. Any ideas?

I got my V3 Nismo from these guys, shipped extremely fast (2 days), least expensive I could find, shaved tow hitch cover, not a ton of prep needed, fitment as close to stock as you possibly could (even the undertray fits like stock), and even told me if it ever sagged like some poly bumpers do they would send me a fiberglass one free of charge. I love mine to death! I would definitly purchase from them again hands down. Plus they were always reachable when I had questions, big thumbs up to them!
and now with carbon fiber ducting... mmmmmm
and now with carbon fiber ducting... mmmmmm