
JAYY-G35 03-04 Headlight mod.

Joined: Jun 2007
Posts: 4,648
Likes: 8
From: SoCal / San Diego
What's up driver? It's JAYY-G35 formally known as MYG35IZSICK. so Decided to mod some 03-04 headlights today.
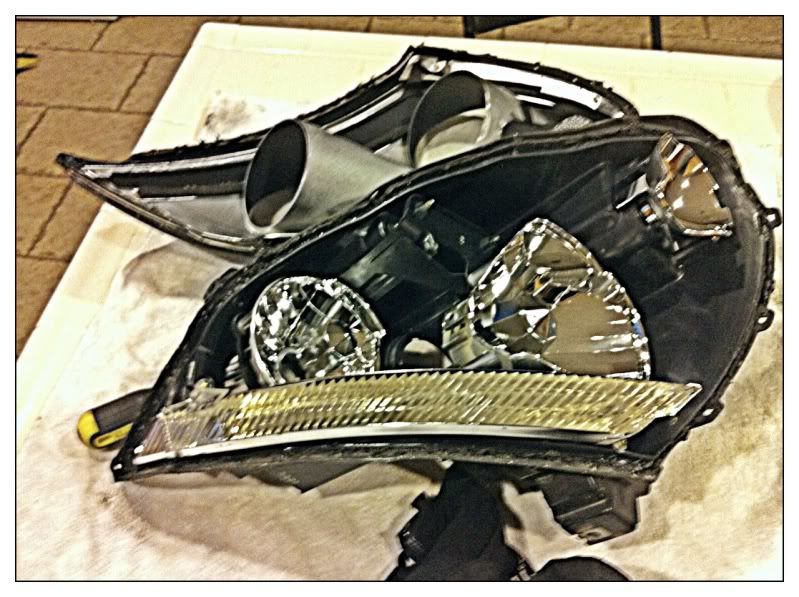
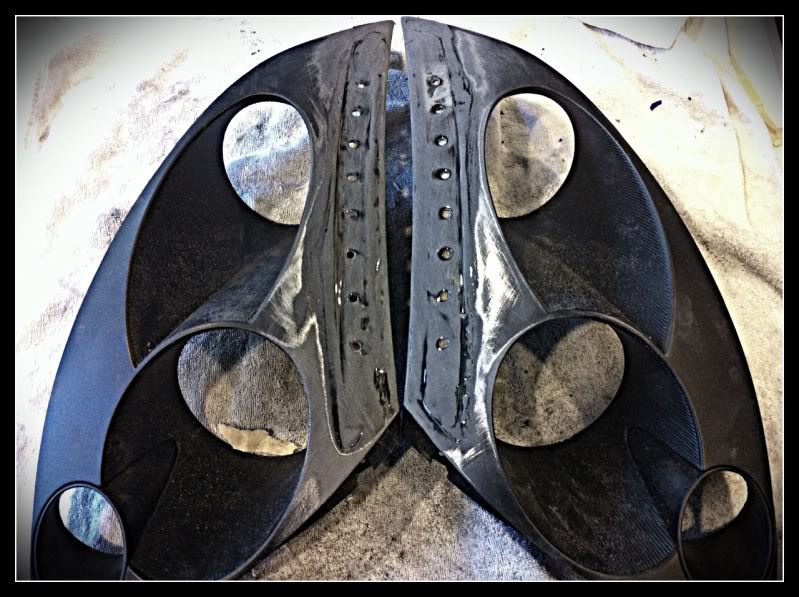
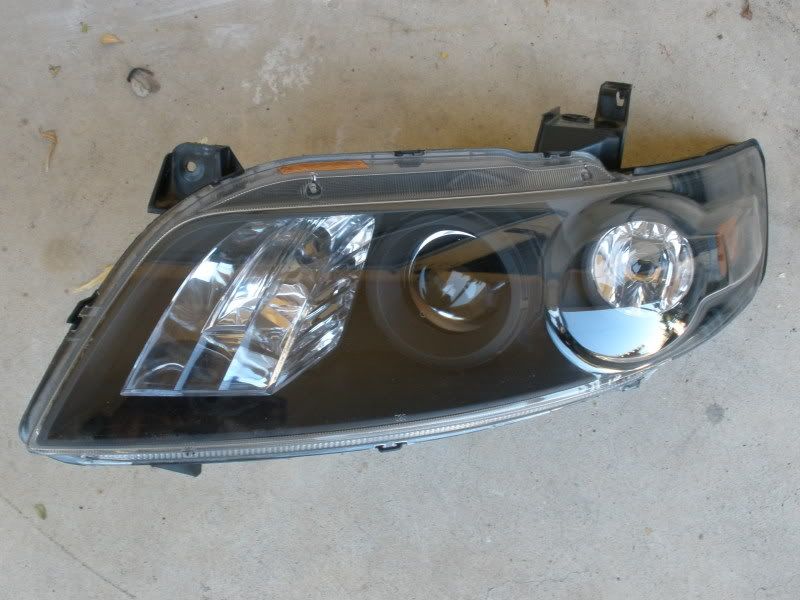
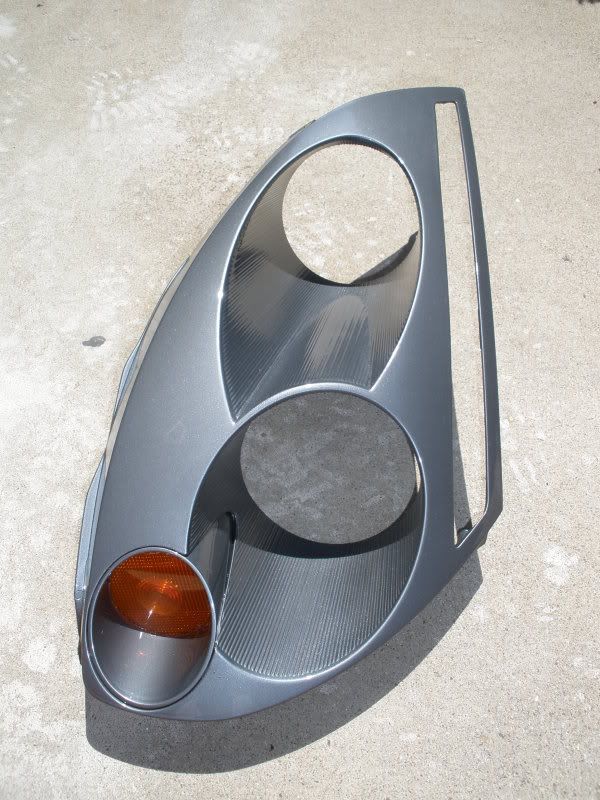
Headlights are apart
made a template for the holes out of reinforcement labels
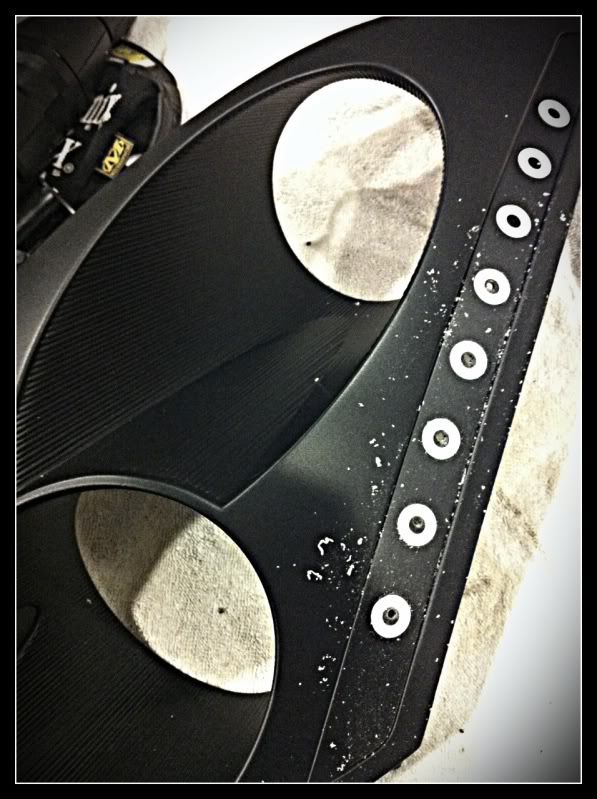
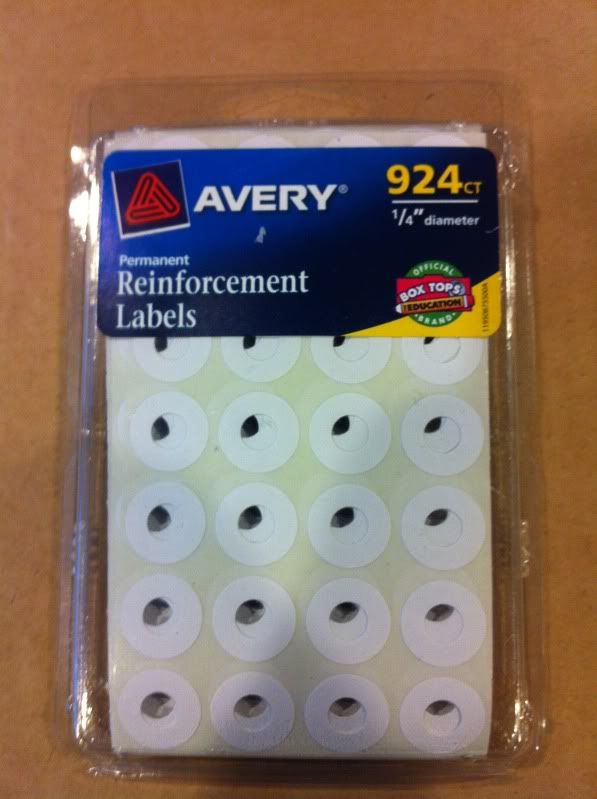
reinforcement labels
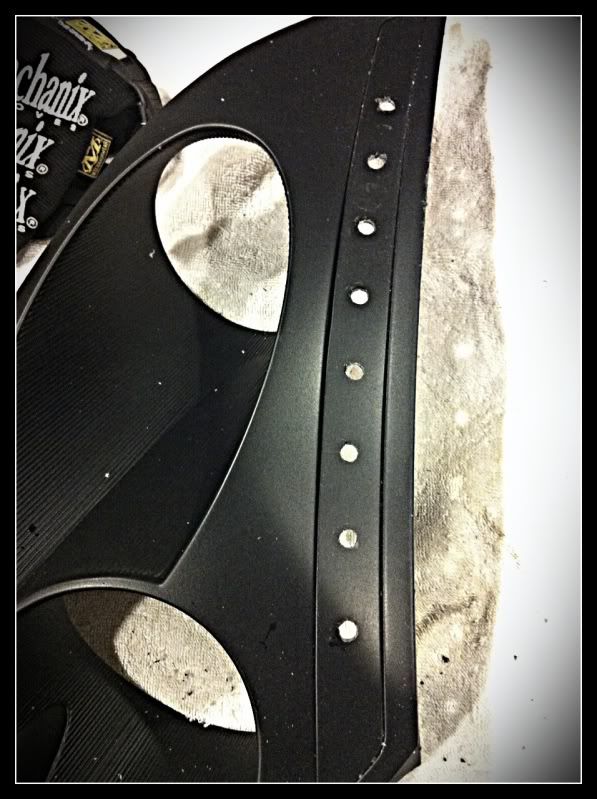
drilled holes
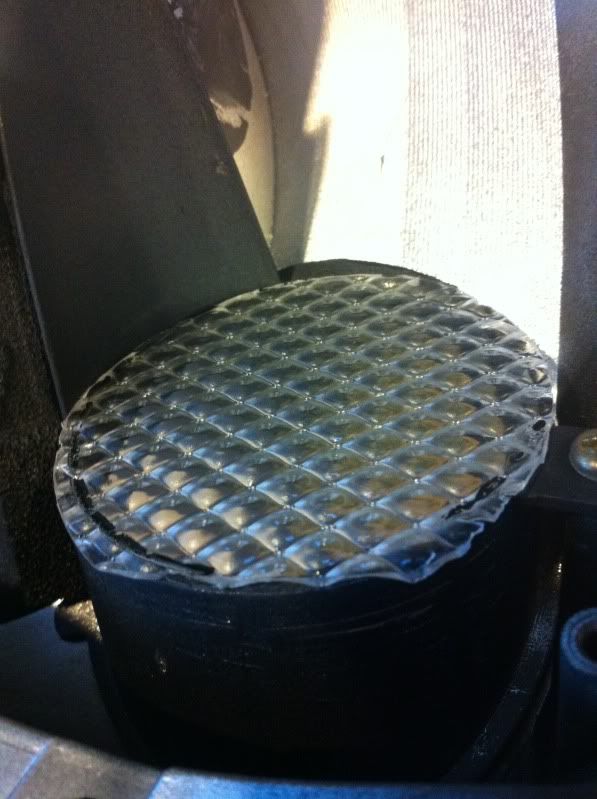
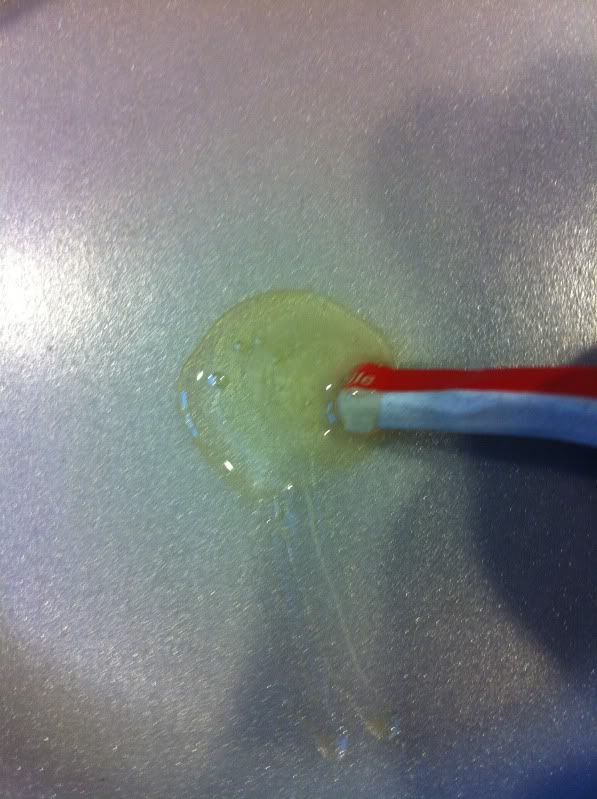
filled in the cracks with epoxy for plastic
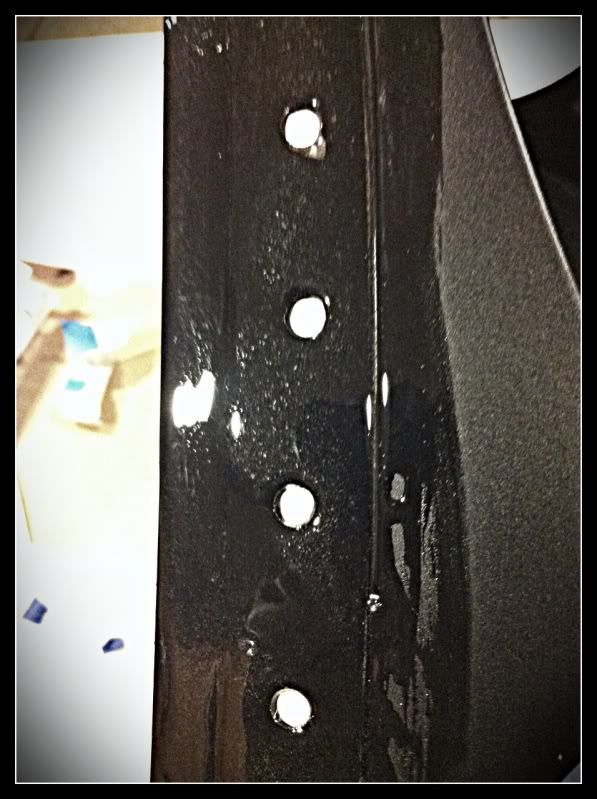
picture of the epoxy
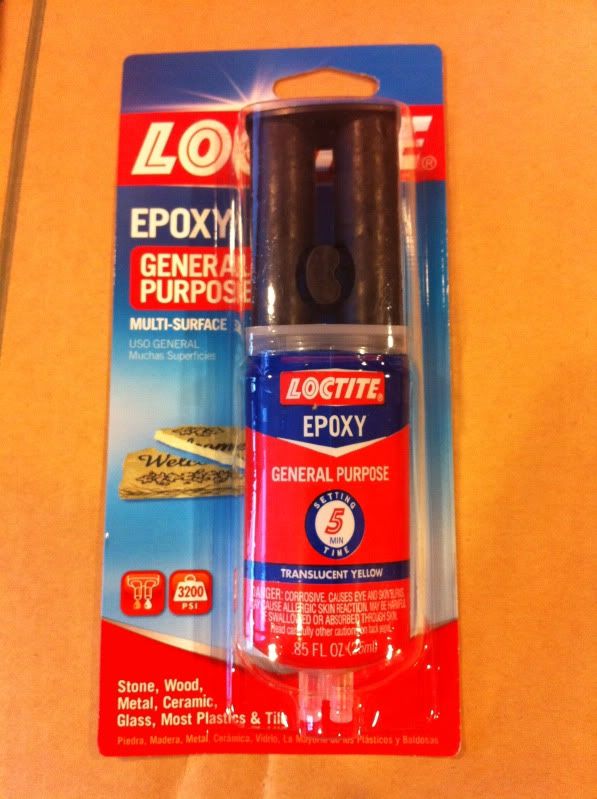
sanded down the epoxy a little before putting down bond
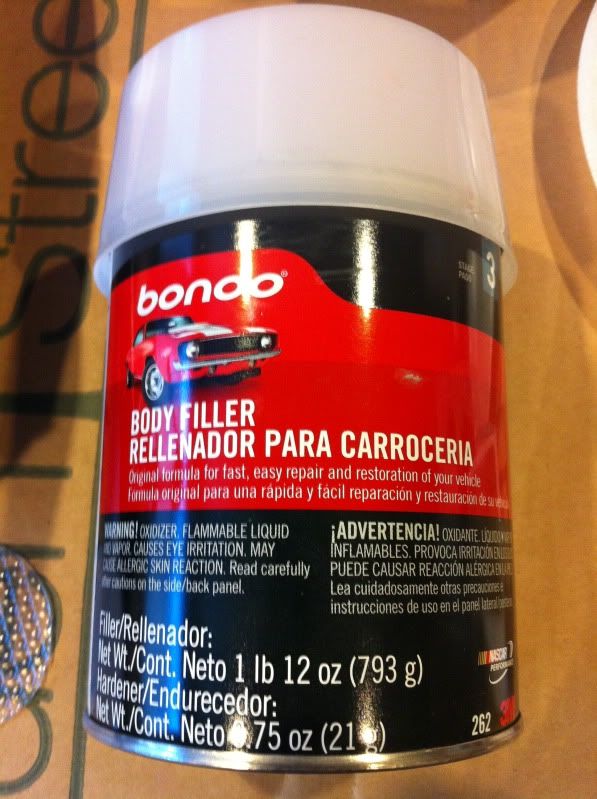
put some bondo down
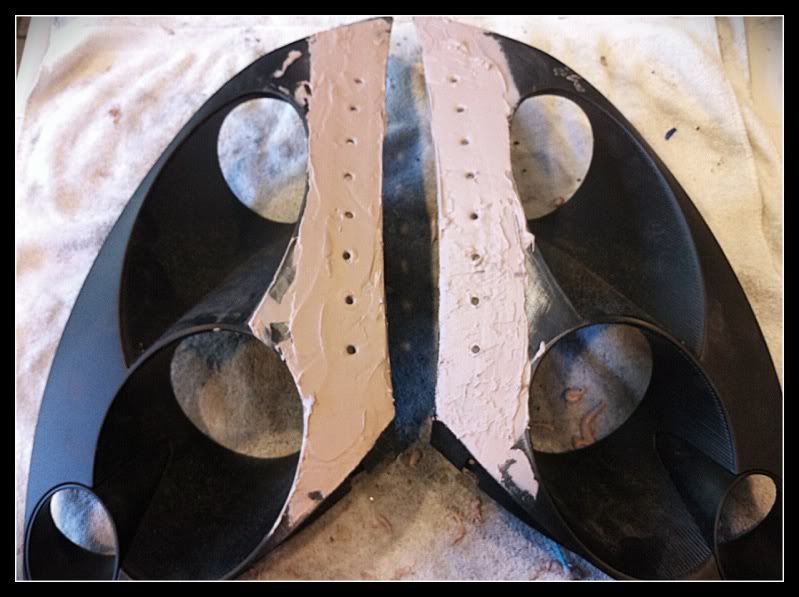
bondo
3 coats of primer
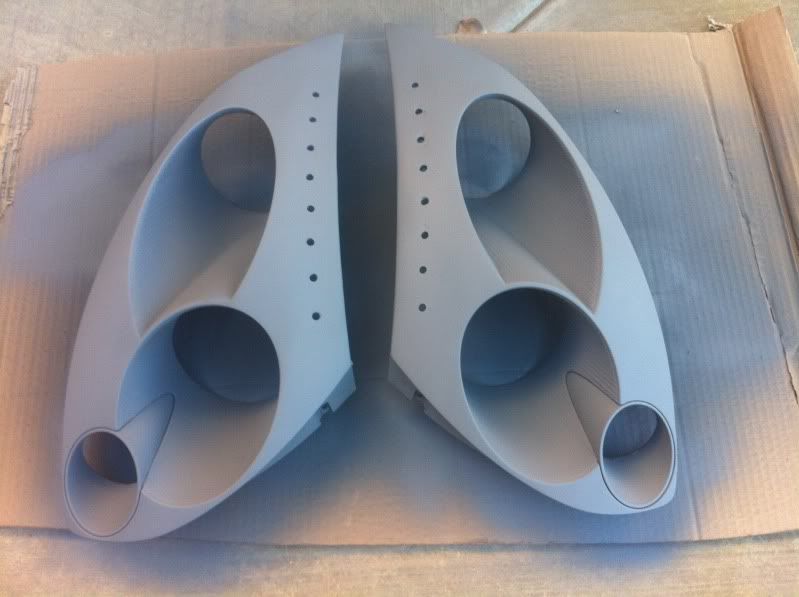
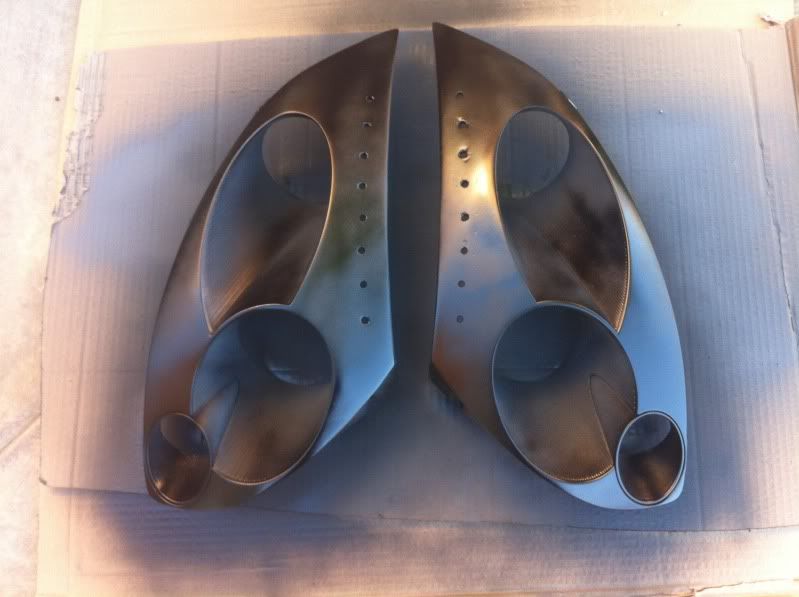
first coat of satin (rattle can)
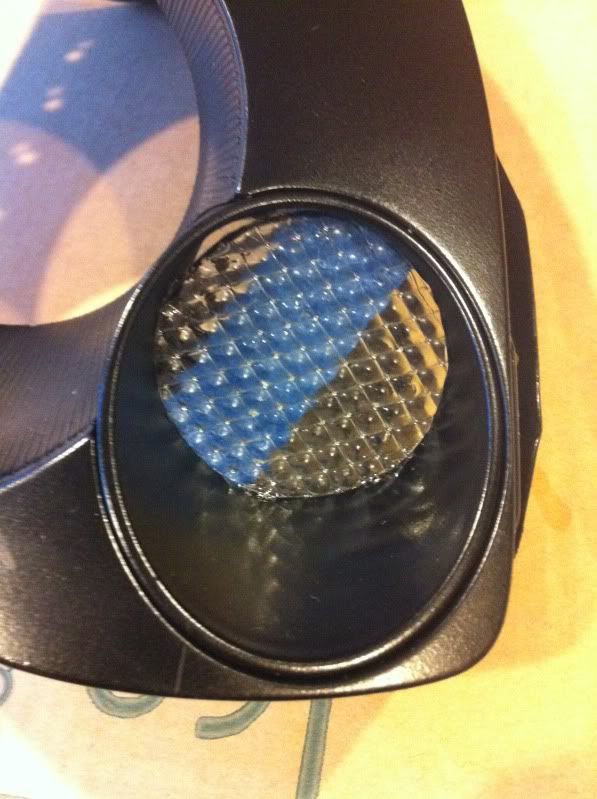
cut out some circles, pick up at any local hardware store.
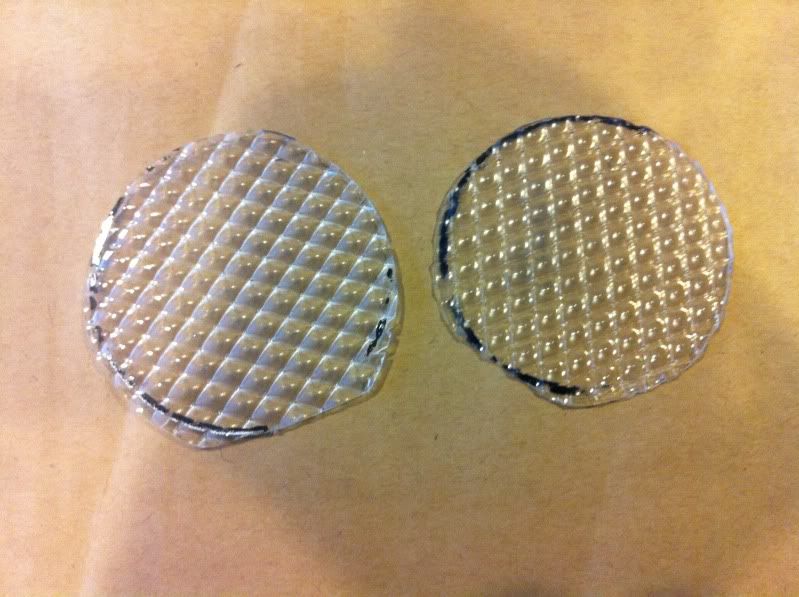
test fit
whip up that epoxy again
after putting the epoxy around the ring. I put a little painters tape to hold it together until it dry.
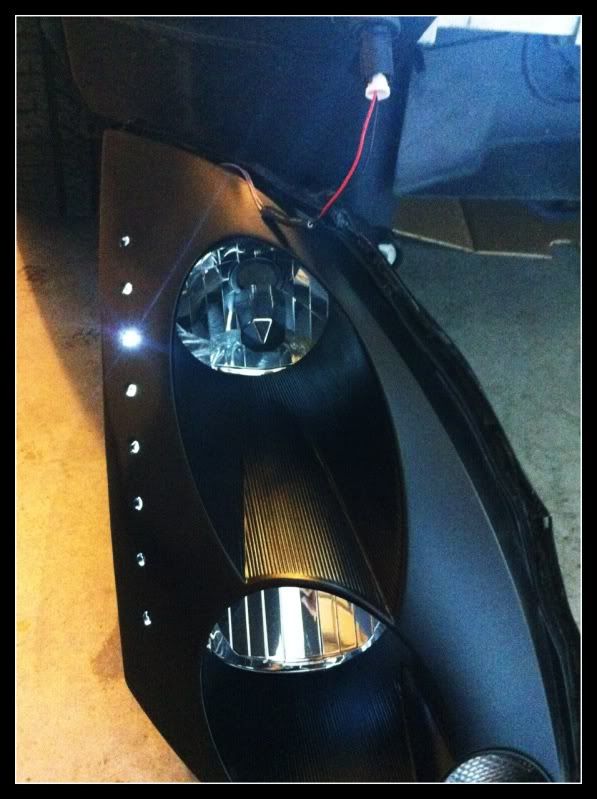
time for the LEDs (testing)

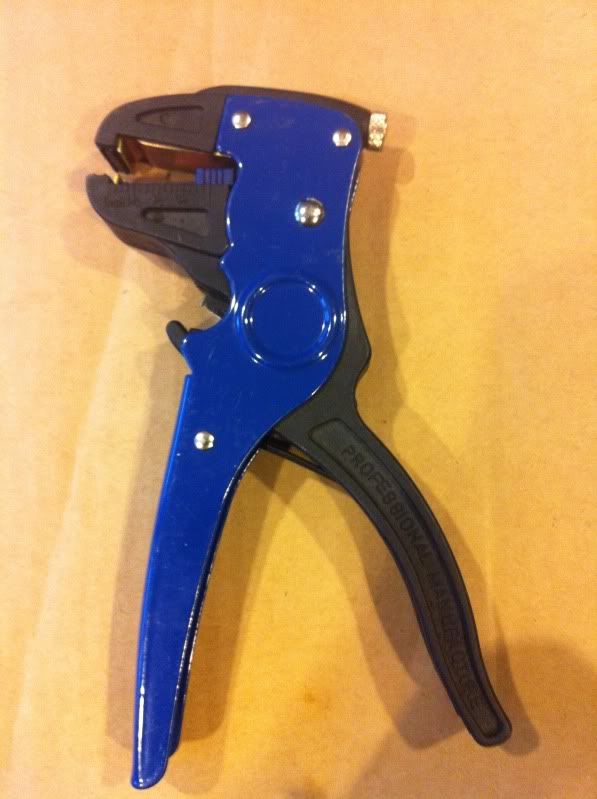
crimping tool
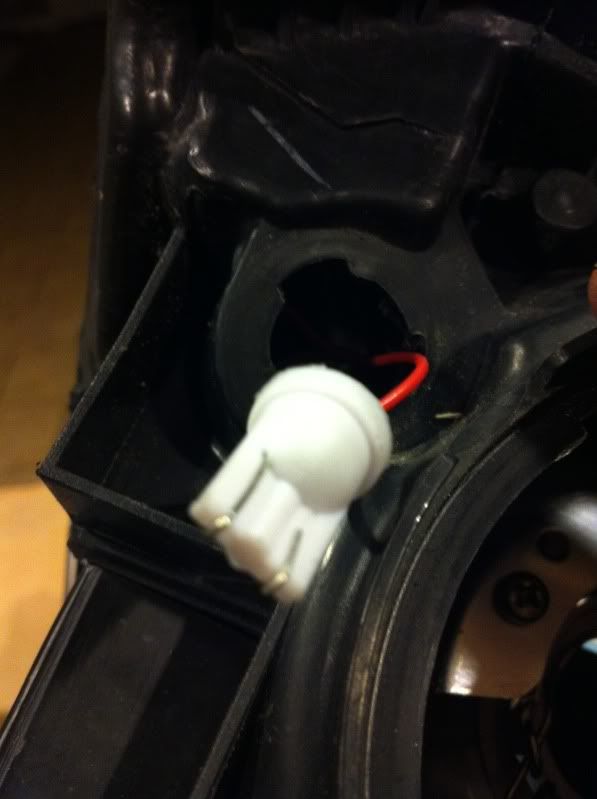
194 dummy (to make plug n play)
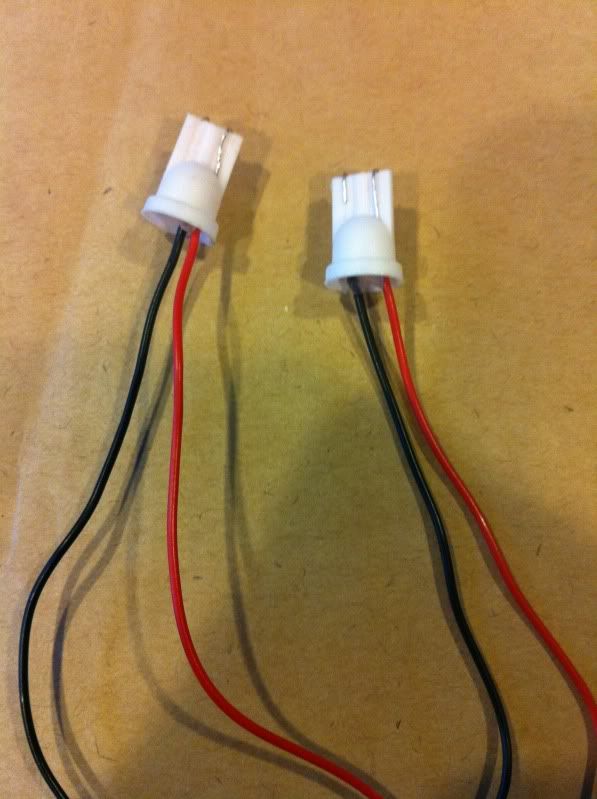
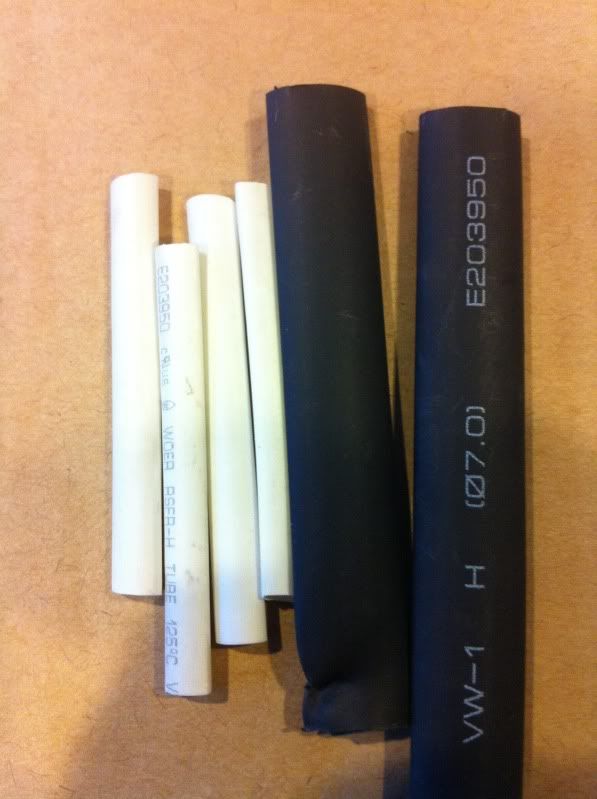
shrink tube
testing headlights before putting back together
put back together (will polish headlights tomorrow)

plug and play
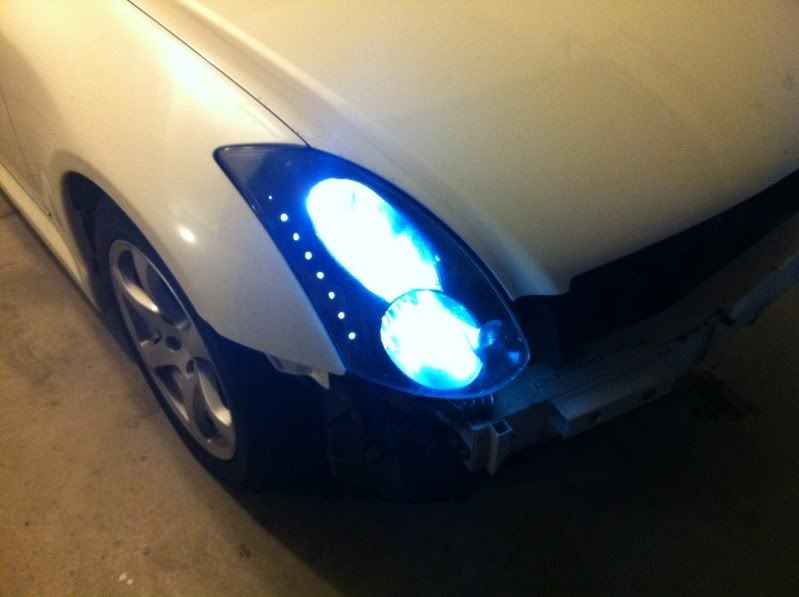
6000k replacement bulbs, 6000k fog kit & LEDs **Perfect match**
Please leave your comment
Any helpful tips would be appreciated.
Thanks for viewing!
***NEXT MOD ON MY LIST***

Headlights are apart
made a template for the holes out of reinforcement labels
reinforcement labels
drilled holes
filled in the cracks with epoxy for plastic
picture of the epoxy
sanded down the epoxy a little before putting down bond
put some bondo down
bondo
3 coats of primer
first coat of satin (rattle can)
cut out some circles, pick up at any local hardware store.
test fit
whip up that epoxy again
after putting the epoxy around the ring. I put a little painters tape to hold it together until it dry.
time for the LEDs (testing)
crimping tool
194 dummy (to make plug n play)
shrink tube
testing headlights before putting back together
put back together (will polish headlights tomorrow)
plug and play
6000k replacement bulbs, 6000k fog kit & LEDs **Perfect match**
Please leave your comment
Any helpful tips would be appreciated.
Thanks for viewing!
***NEXT MOD ON MY LIST***
Last edited by JAYY-G35; Jan 27, 2012 at 07:07 PM.


Trending Topics
Joined: Jun 2007
Posts: 4,648
Likes: 8
From: SoCal / San Diego
About 12hrs in total (2 day stretch)
Thanks
It's aligned very fine, just the angle of the i snapped the shot.
Cool idea, like the creativity.
I too hate the LED strip idea I think it looks super tacky.
The LED's you used look very cheap too.
Something I thought about when I saw all you guys doing this, if you're really into doing this type of thing, don't put led's in the holes, but rather, use fiberoptics
Grab some 2mm or 3mm fiberoptic strands and hook them up to a high quality SMD chip, then run the other end into your holes and aim them. I'd personally aim them at any angle and they'll almost lazer draw lines emitting out from the holes.
This way you'll get a sharp classy look rather than a tacky, bulgy, overdone cheap looking LED 'strip'. And you only need one SMD (LED), not a whole row of them.
Another suggestion, do a search on AMAZON.com for "malibu" lenses. They're the actual lights, but have a clear lens that works very well in the application you used the hardware store stuff for. They are OEM almost.
Just my .02. Clearly you've got some abilities there, you've done a great job with ideas like the Plug and play base, and bondoing the fins out, some creative work to be sure. And if YOU like it then I suppose the only thing that is in order is kudos.
Last edited by TunerMax; Jan 27, 2012 at 05:56 PM.
I just think the Bondo work could have been much smoother. Looks like you developed too many air bubbles when you applied it which resulted in lots of pitting. The pitting is also why the LEDs don't look perfectly round when lit
look at the pitting around the LED holes on the headlight on the right to see what I'm refering to

look at the pitting around the LED holes on the headlight on the right to see what I'm refering to
Joined: Jun 2007
Posts: 4,648
Likes: 8
From: SoCal / San Diego
Thanks for the comment guys! I appreciate it.
Also here's a few other headlights I've done in the past.
I could never keep them to myself, because someone also buying them off of me. lol
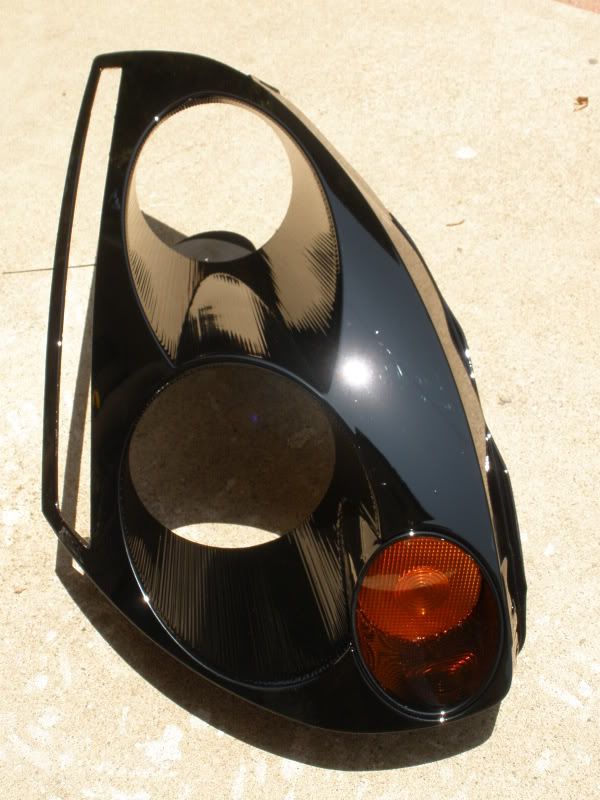
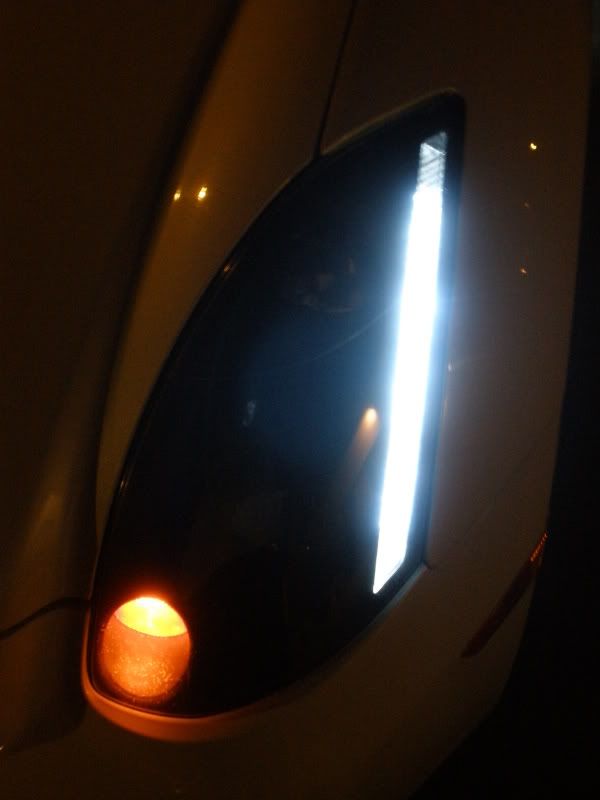
Gloss Black PPG paint w/ LED strip
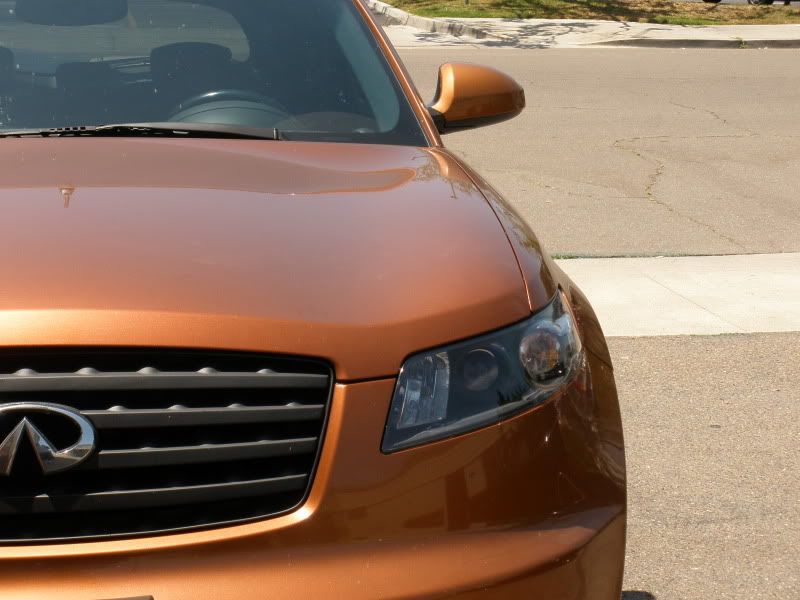
my FX35 Flatblack
A friend wanted his headlights to match his Work wheels. PPG paint
Also here's a few other headlights I've done in the past.
I could never keep them to myself, because someone also buying them off of me. lol
Gloss Black PPG paint w/ LED strip
my FX35 Flatblack
A friend wanted his headlights to match his Work wheels. PPG paint
Last edited by JAYY-G35; Jan 27, 2012 at 07:20 PM.

Damn that looks fantastic!! Wish I had the talent to do that. I painted mine too but didn't come out as good as yours lol
Also, what paint did you use on the gloss black headlight? (like brand, name e.t.c.)
Also, what paint did you use on the gloss black headlight? (like brand, name e.t.c.)