
DIY Sedan Cup Holder Lid

Joined: Aug 2011
Posts: 2,006
Likes: 49
From: Orlando FL
DIY Sedan Cup Holder Lid
Ok Guys I haven't seen one yet so here is my DIY on the F#ck!ng crappy cup holder lid never closing.
The issue is cause by Soda getting into the catch mechanism and breaking the little bar that holds the arm that catches and holds the lid closed. I'll show pics in a minute.
First refer to the Instrument panel section of your Service manual or just look at these pictures to take the center console out.
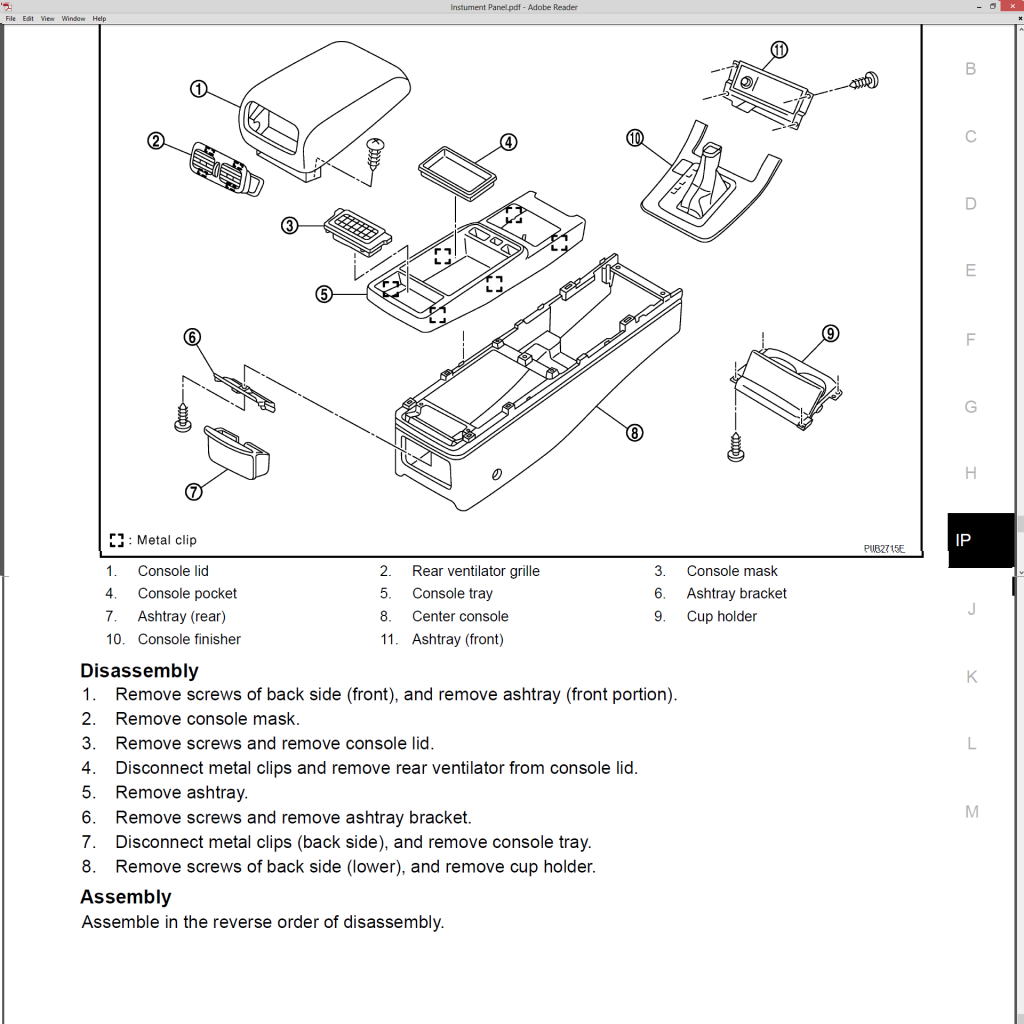
There are three screws underneath the little vent (which pops out with a small tug) only the front two hold the top on, the others are for the hinge and can be left alone.
Once the top and bottom of the console are separated you have to unscrew the cup holder
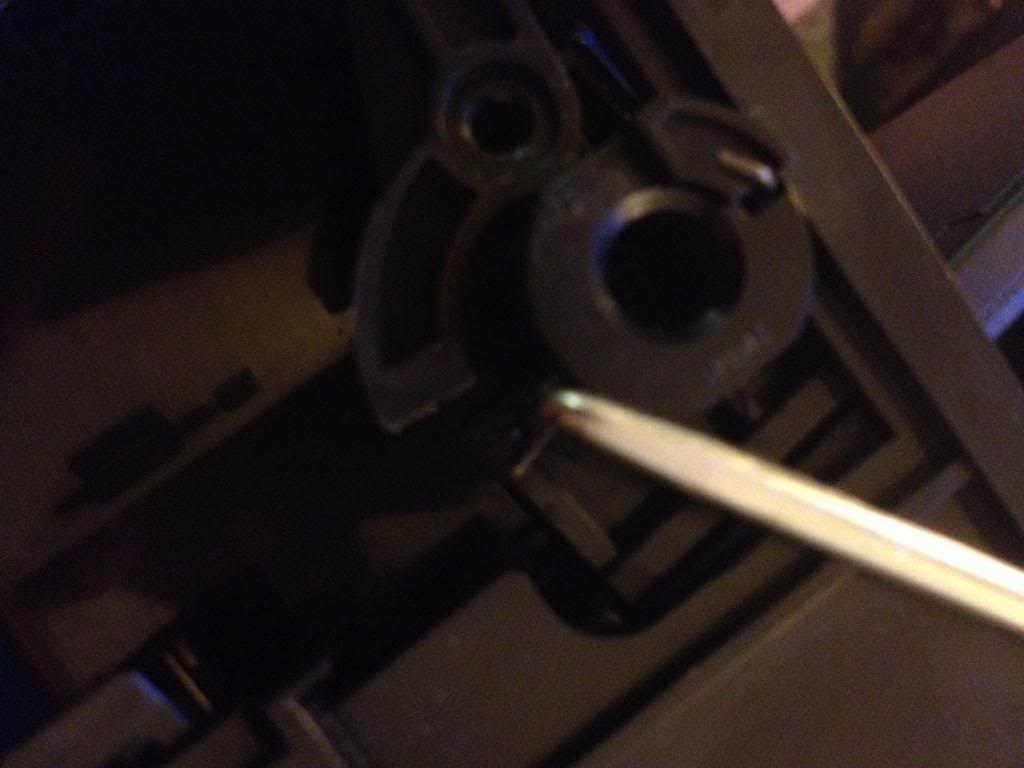
Then I steam cleaned all the soda residue out and removed this little screw

This spring will snap over hold it back however you please.
Now take the little arm off and sand the area that will contact the hing and the area on the hing that will be contacted.
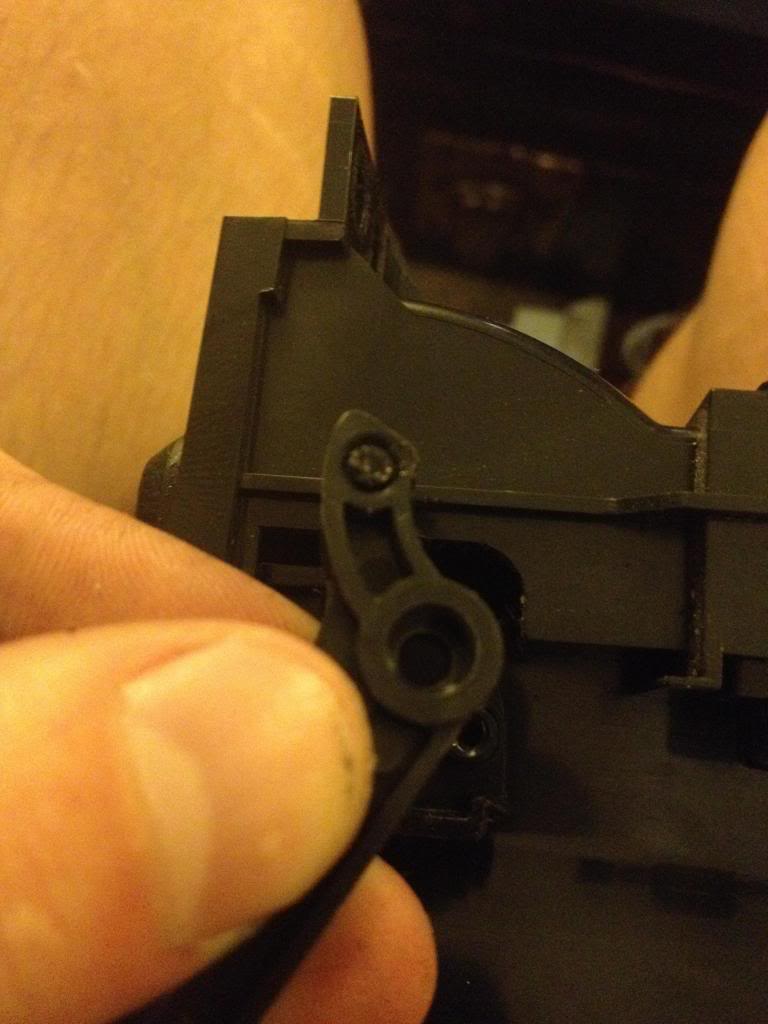
You can also see where the little bar was and how it is broken. Poor engineering.
Apply JB weld (I used a good bit because I don't want to do this again), snap the lid closed and it should have enough pressure to hold the arm into the appropriate location while drying.
Allow it to cure fully and reassemble.
Mine is currently still drying
this is also a good time to drill switch, usb and Aux holes into the cubby area. I'll post a finished pic sometime later this week.
Sorry so rushed just in a hurry to get back to the rest of the interior.
The issue is cause by Soda getting into the catch mechanism and breaking the little bar that holds the arm that catches and holds the lid closed. I'll show pics in a minute.
First refer to the Instrument panel section of your Service manual or just look at these pictures to take the center console out.
There are three screws underneath the little vent (which pops out with a small tug) only the front two hold the top on, the others are for the hinge and can be left alone.
Once the top and bottom of the console are separated you have to unscrew the cup holder
Then I steam cleaned all the soda residue out and removed this little screw
This spring will snap over hold it back however you please.
Now take the little arm off and sand the area that will contact the hing and the area on the hing that will be contacted.
You can also see where the little bar was and how it is broken. Poor engineering.
Apply JB weld (I used a good bit because I don't want to do this again), snap the lid closed and it should have enough pressure to hold the arm into the appropriate location while drying.
Allow it to cure fully and reassemble.
Mine is currently still drying
this is also a good time to drill switch, usb and Aux holes into the cubby area. I'll post a finished pic sometime later this week.
Sorry so rushed just in a hurry to get back to the rest of the interior.

Thread
Thread Starter
Forum
Replies
Last Post