
Polish & Seal G35 Headlights or Tail Lights - Opti Lens


Polish & Seal G35 Headlights or Tail Lights - Opti Lens
There are probably a million threads on polishing headlights & tail lights so im not gonna make this a big drawn out topic but I wanted to mention this because the biggest issue I have with polishing anything is that it only looks good short term & constant needs attention 30+ days later. Im more of a do it once and forget about it kind of person or at least make it a yearly thing. With that being said ill keep this thread open to track my headlights/tail-lights and see how they hold up.
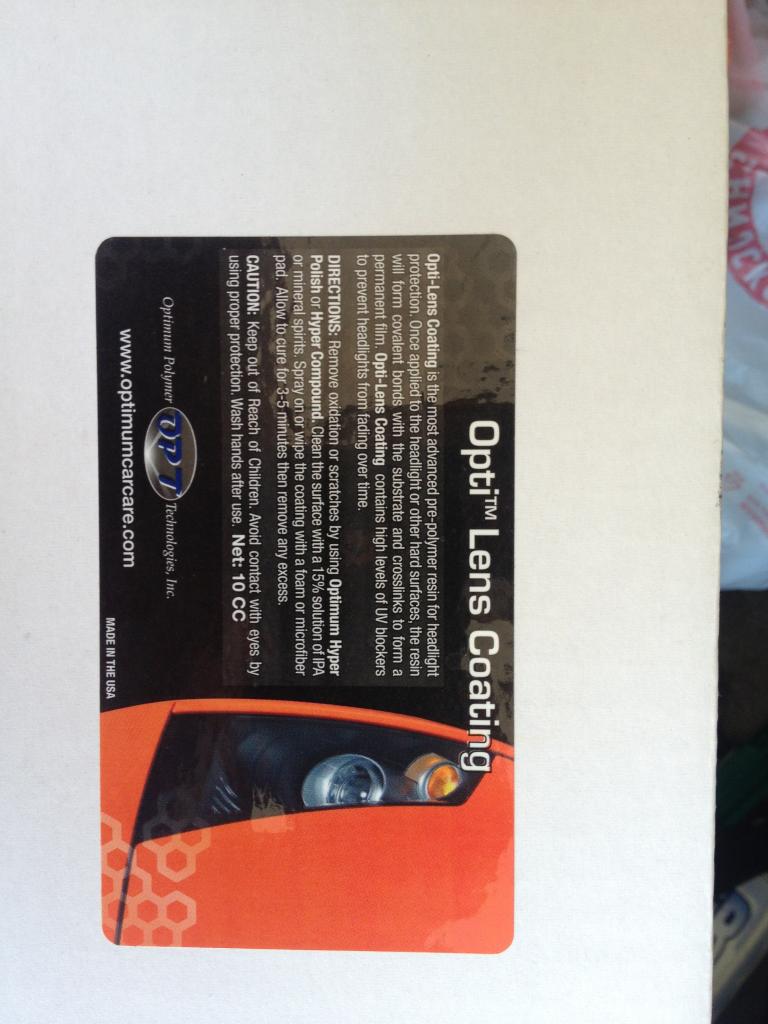
Both headlights & tail lights were sealed using Opti-Lens resin. It goes on as a liquid & hardens clear to protect the headlights/taillights from the sun/UV so they should NOT need to be re-polished or wax for a very...very long time. Without a good sealer/UV protection expect to be re-polishing or waxing your headlights every 30 days or they will get foggy/dull again.
Products Used:
1000 grit wet sand paper
3000 grit wet sand paper
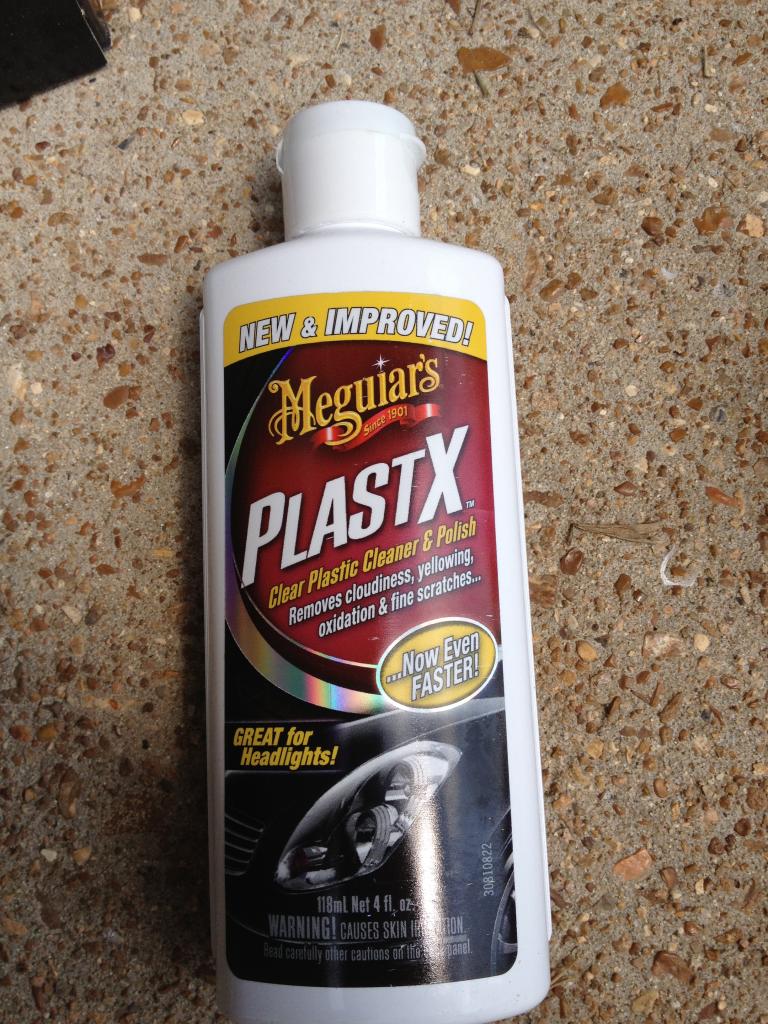
meguiars plastic x polisher
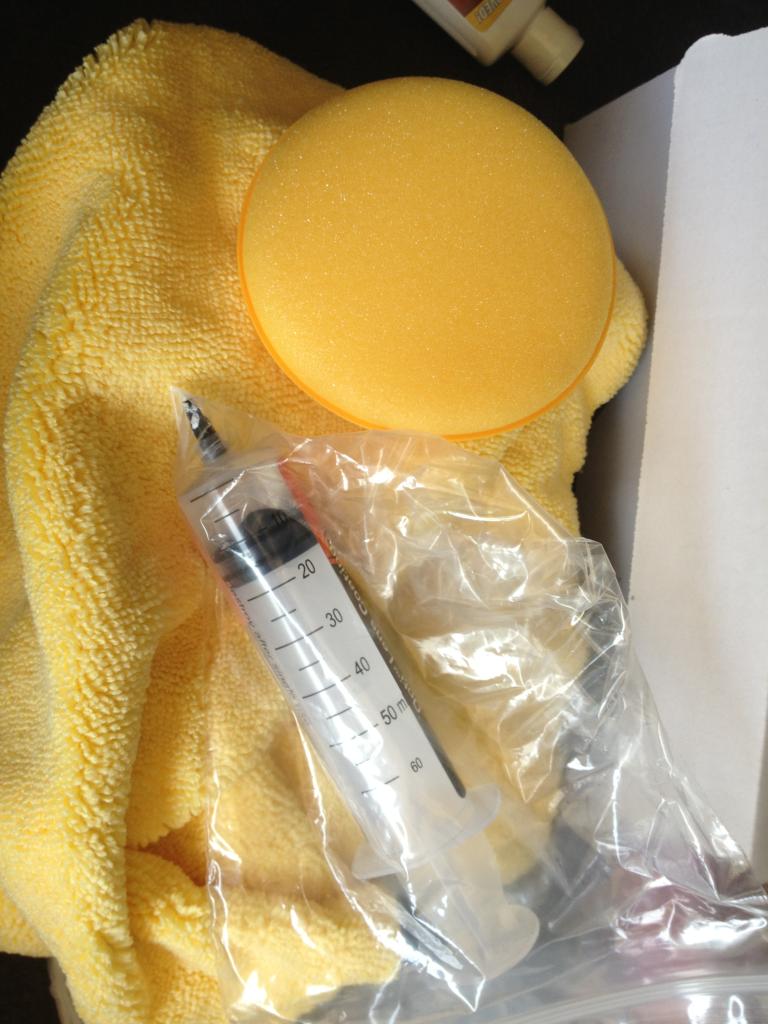
buffer pad w/drill attachment
Opti Lens clear headlight resin
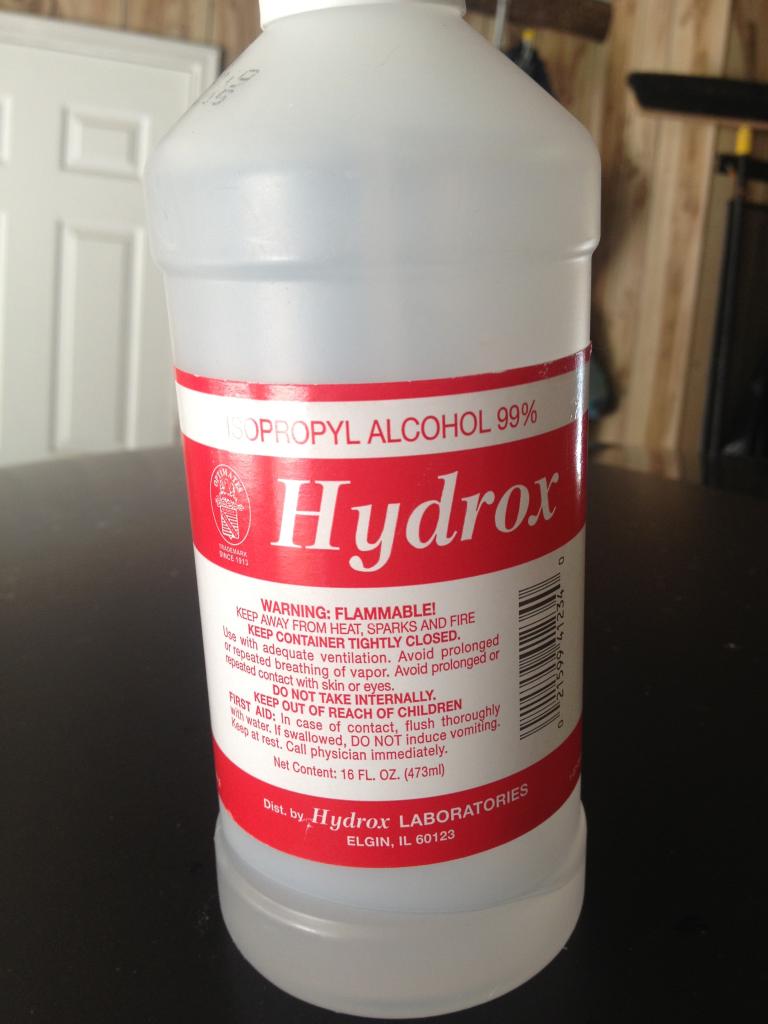
50/50 alcohol to water mix "for cleaning"
If you just buy the meguiars kit it comes with everything minus the opti lens sealer needed for this. Although its probably cheaper to just get wet sand paper, your choice of polish and the pad.
Polish Used:
Opti Lens Used:
Cleaner Used: I usually buy this stuff a box at a time and dilute 50/50. Its perfect for cleaning just about anything & amazon has it cheap.
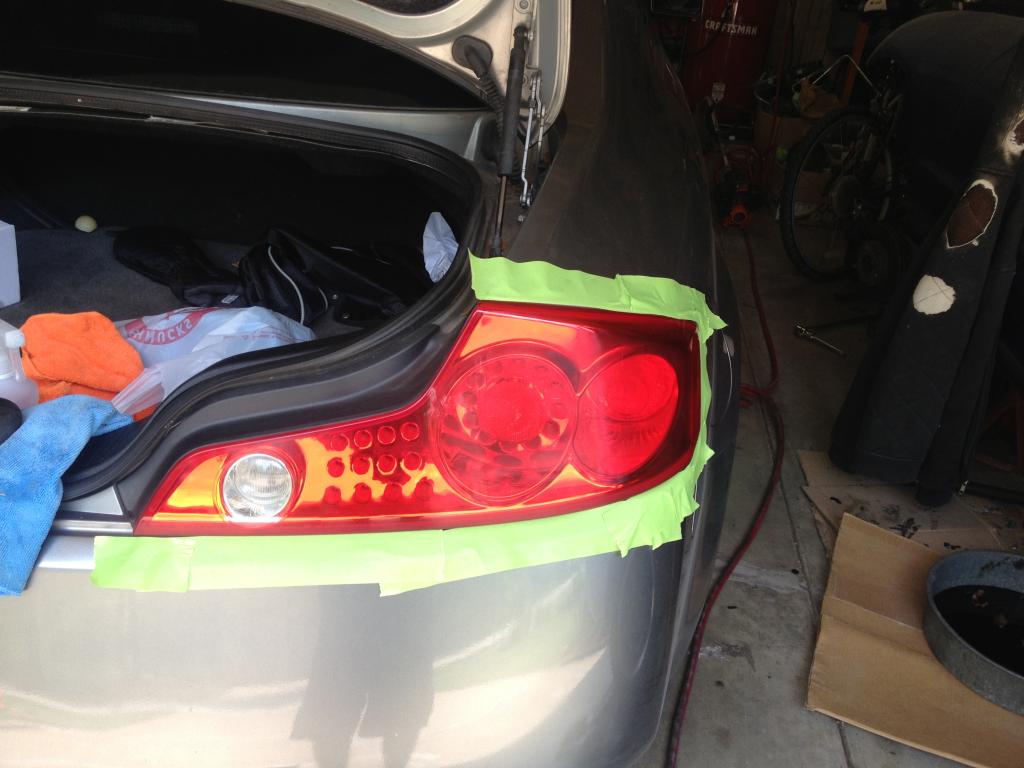
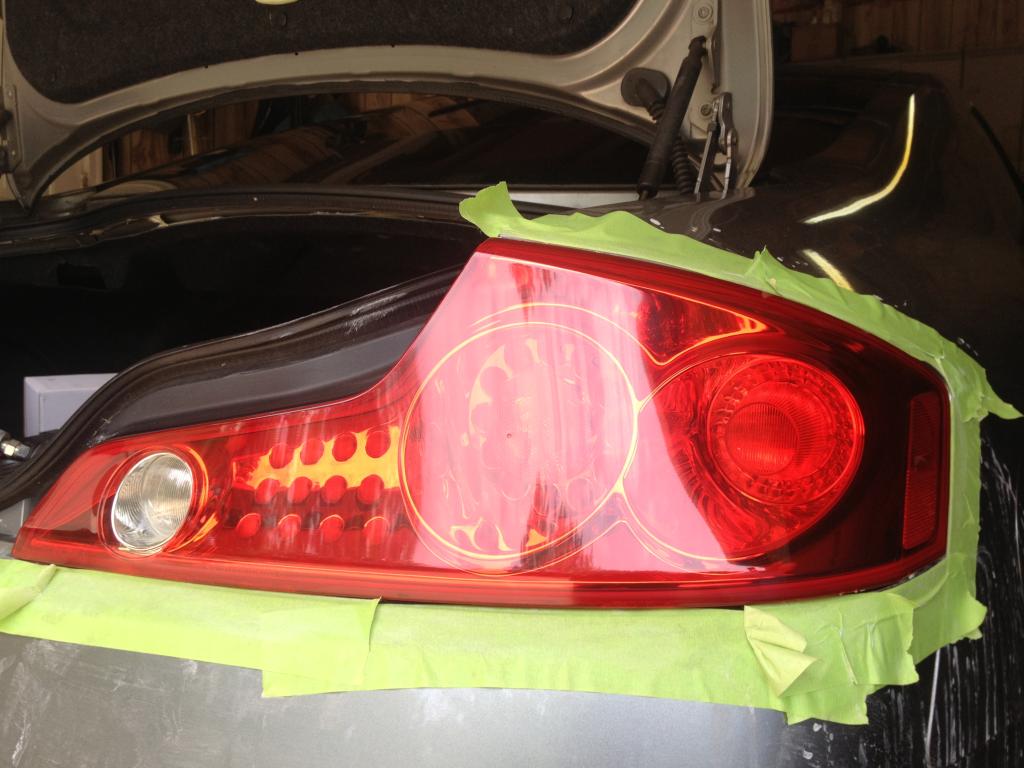
1) Tape off the areas around your headlights or tail lights to prevent sanding your paint or anything other than the object being polished.
2) Clean the headlight/tailight with a mix of 50/50 alcohol to water.
3) Get your 1k grit paper wet as well as the headlight and sand away. Make sure to keep it wet during the process.
4) After your done with the 1k grit switch to 3k grit and repeat. Note: I usually wipe it down w/my cleaner mix in between sanding
5) After your done with sanding w/3k grit give it a quick clean and your ready to apply the meguiars plastic X. I used a air drill but you can use a standard drill as well. I am using the meguiar polish attachment here found in the headlight kit. You dont need to apply alot of pressure just let the polish & pad do the work.
6) With a clean terry wipe off the left over polish. I usually do 2-3 coats.
7) Once its wiped down use a 70/30 mix of alcohol+water to wipe down the headlight or tail light.
8) Apply 7-10 drips of opti lens to the pad provided and just swipe it down on the object top to bottom. Dont worry if it looks likes its streaking it will conform while drying. I only used about 7-10 drips per headlight. A little more on the tail lights. It drys in aproximately 3-6 minutes.
Overall its a very quick & easy process & I am hoping the opti lens resin does its job and keeps these sparkling clean over the test of time. Ill update this thread every few months & post up if any issues come up. Thanks, lmk if you have any questions, like I said im sure its been covered a million times but I found nothing on the opti lens product in this forum.
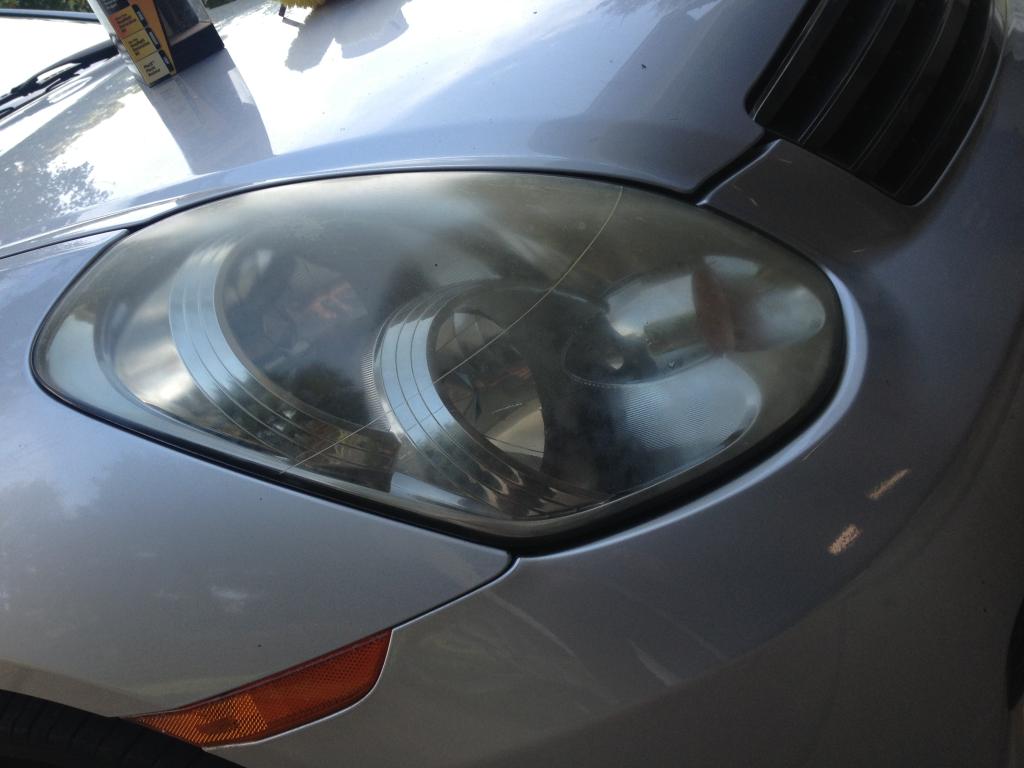
Before the process:
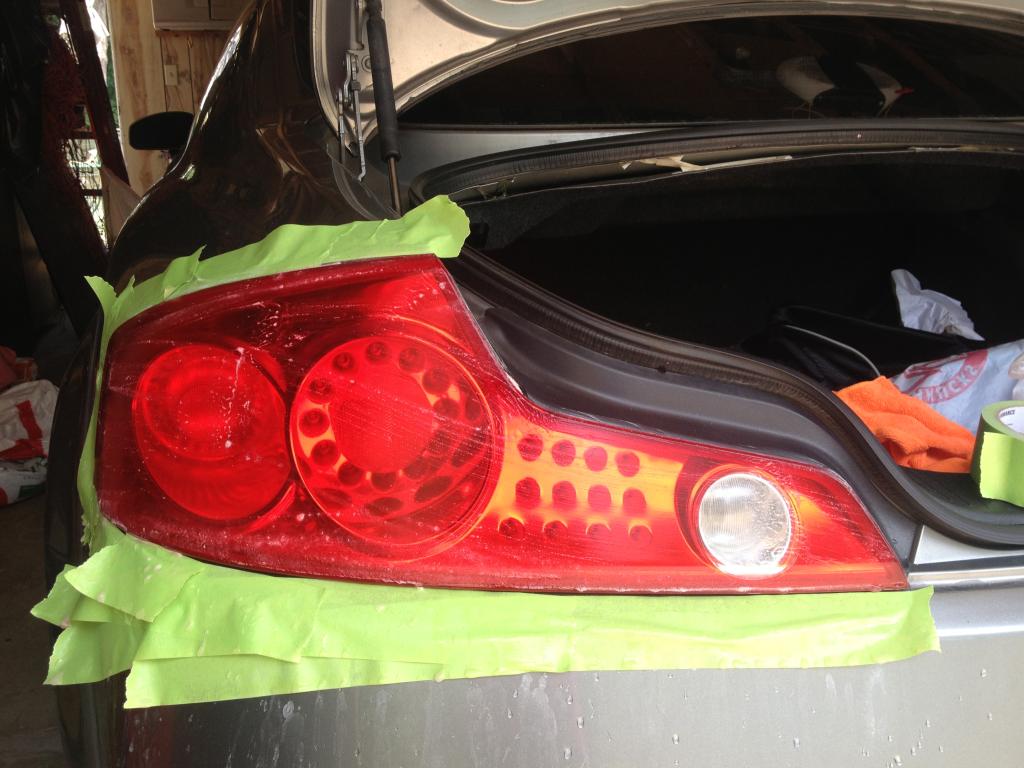
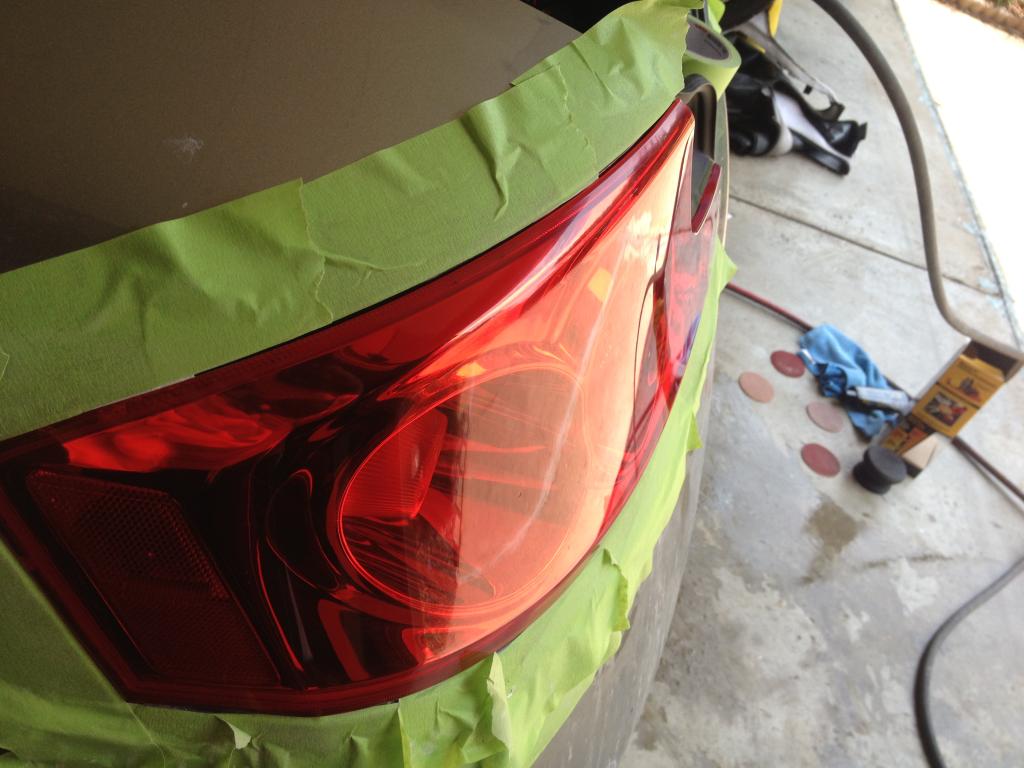
Sanding:
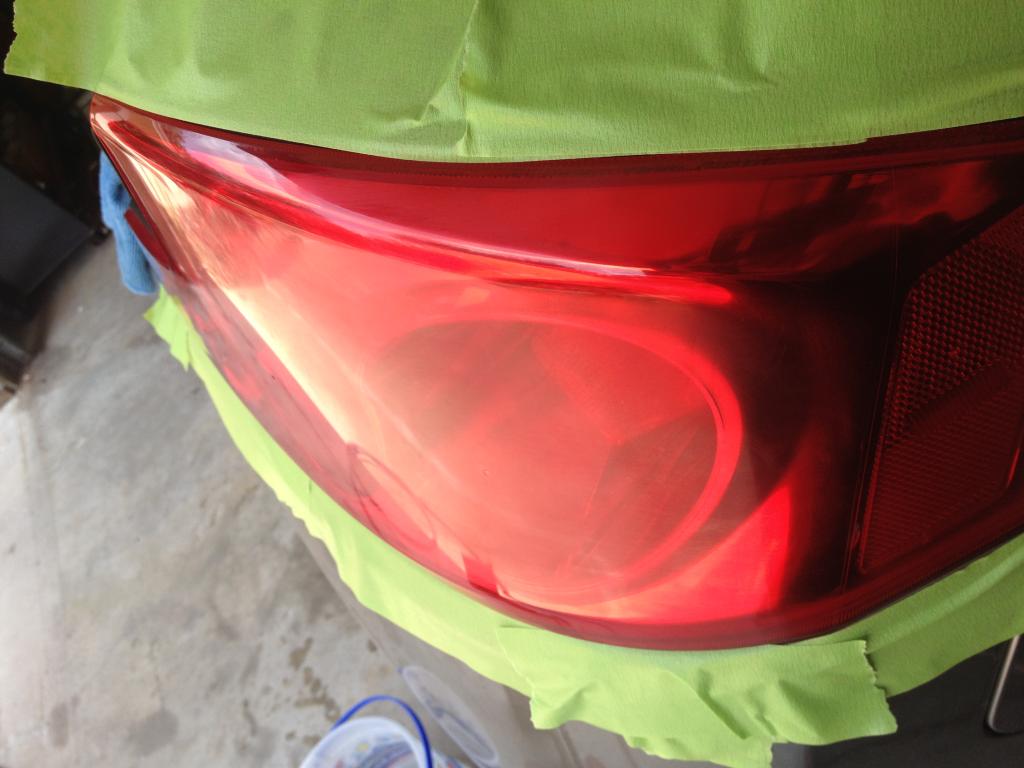
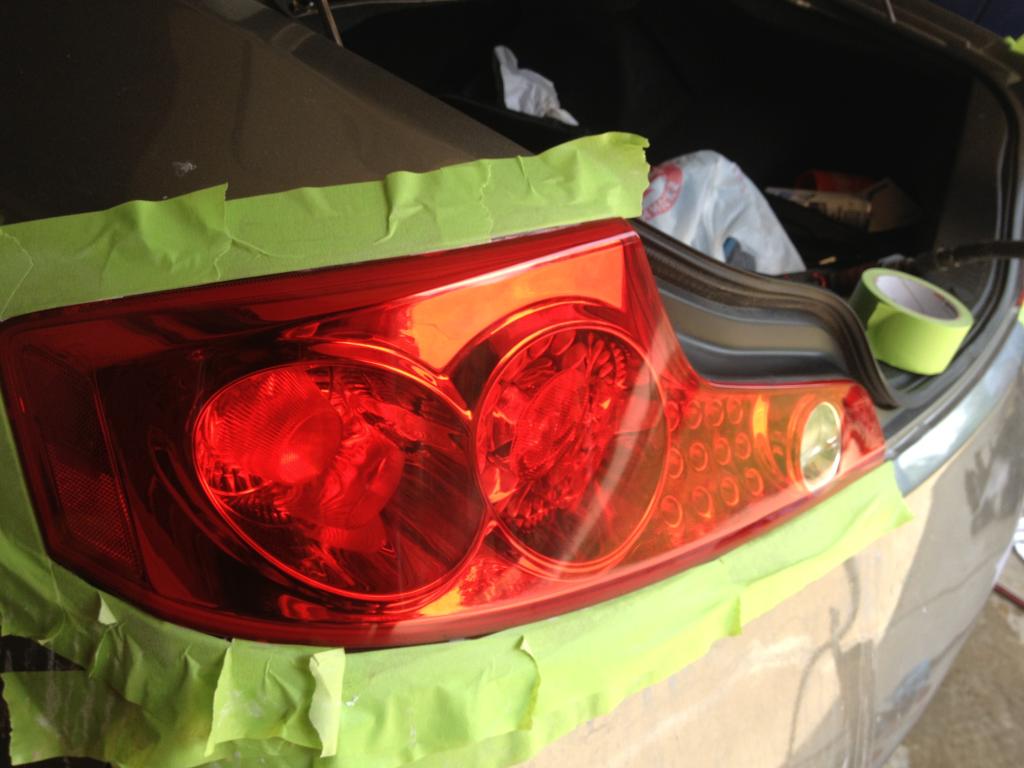
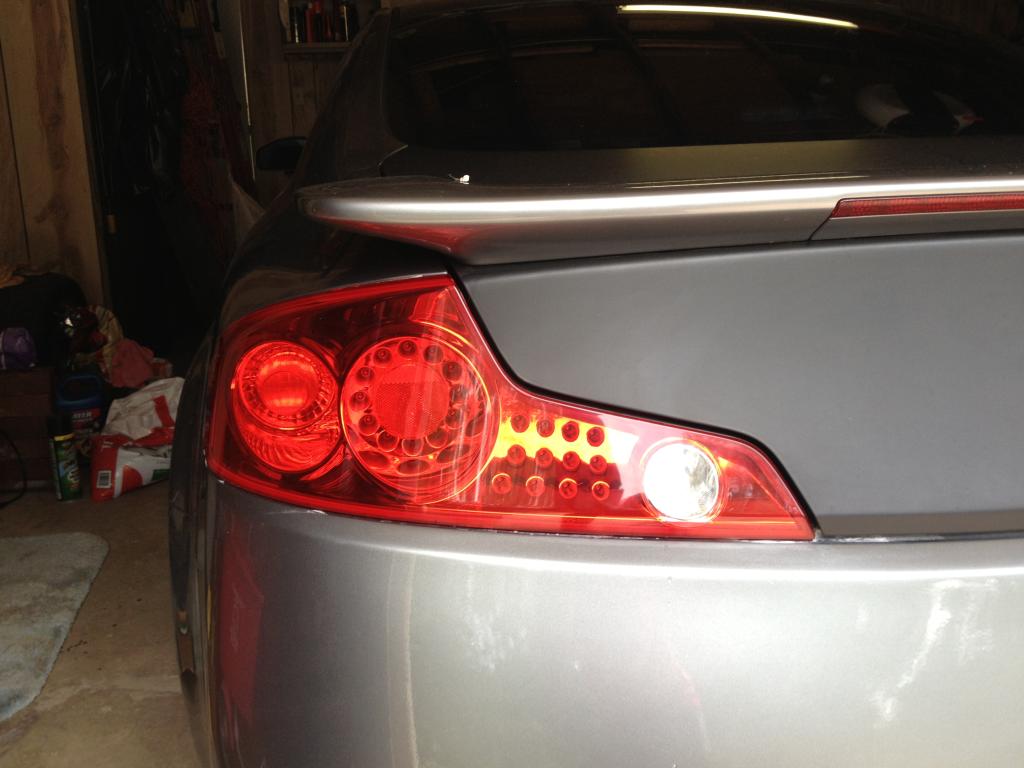
Polished:

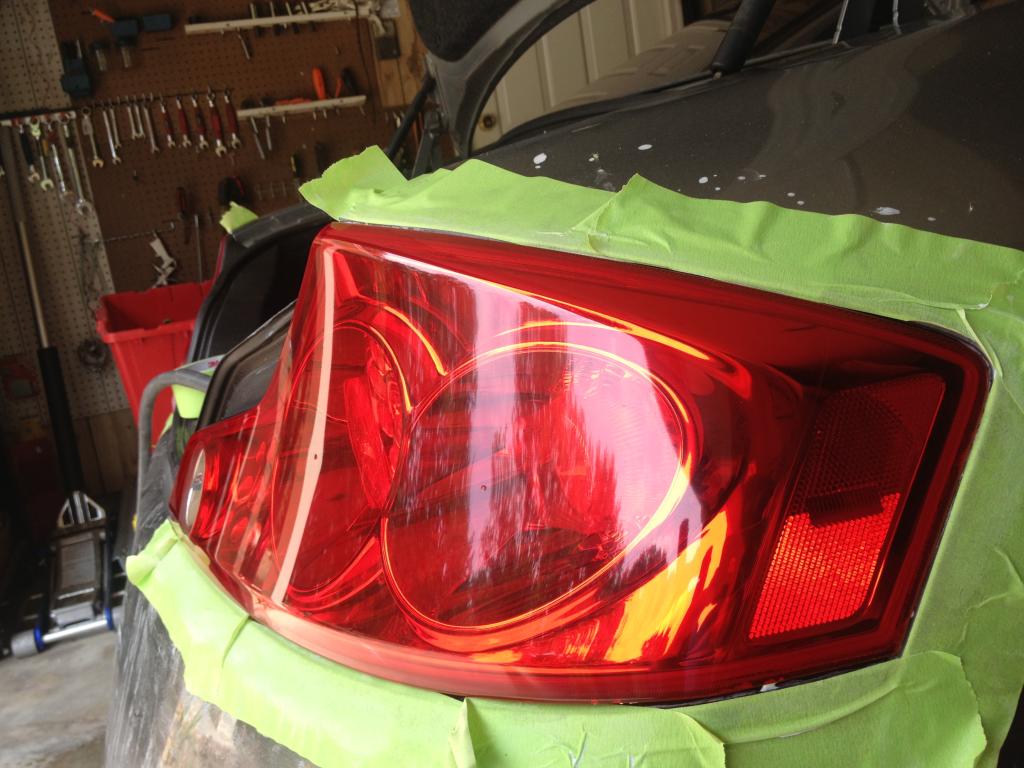
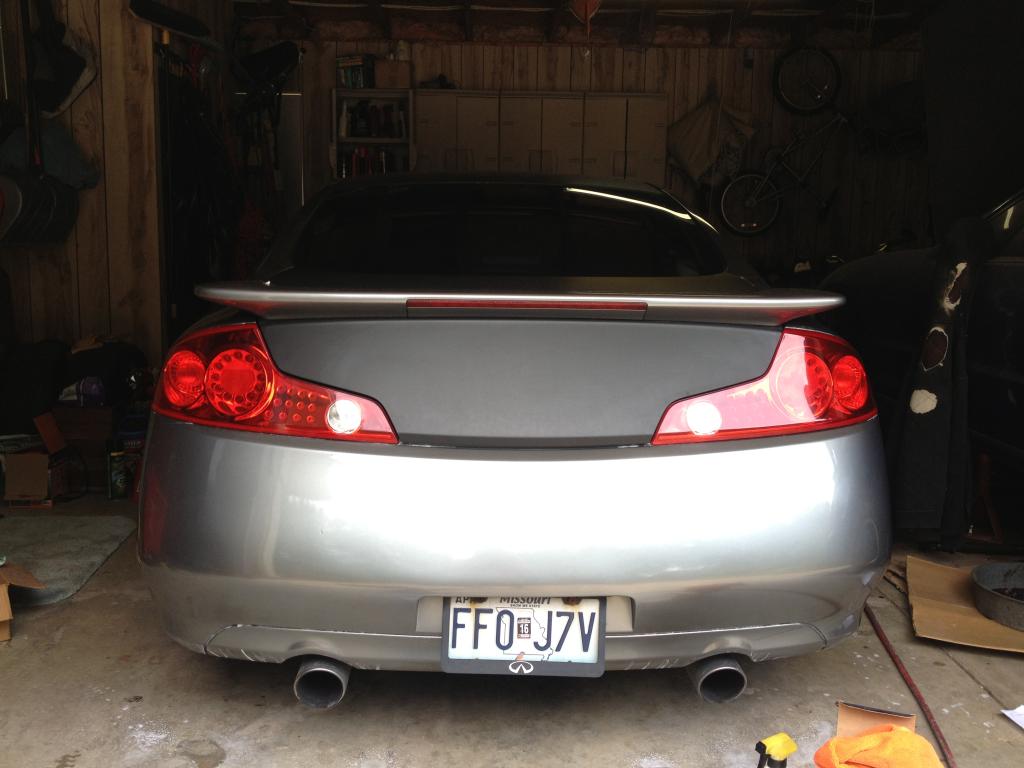
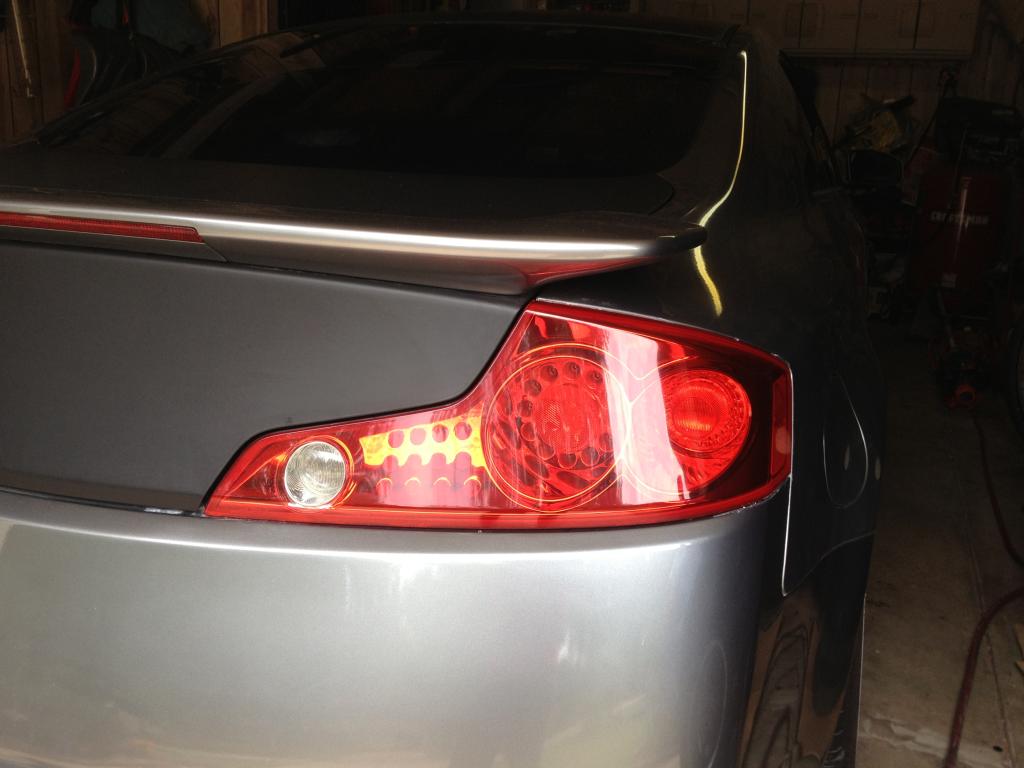
Opti-Sealed:
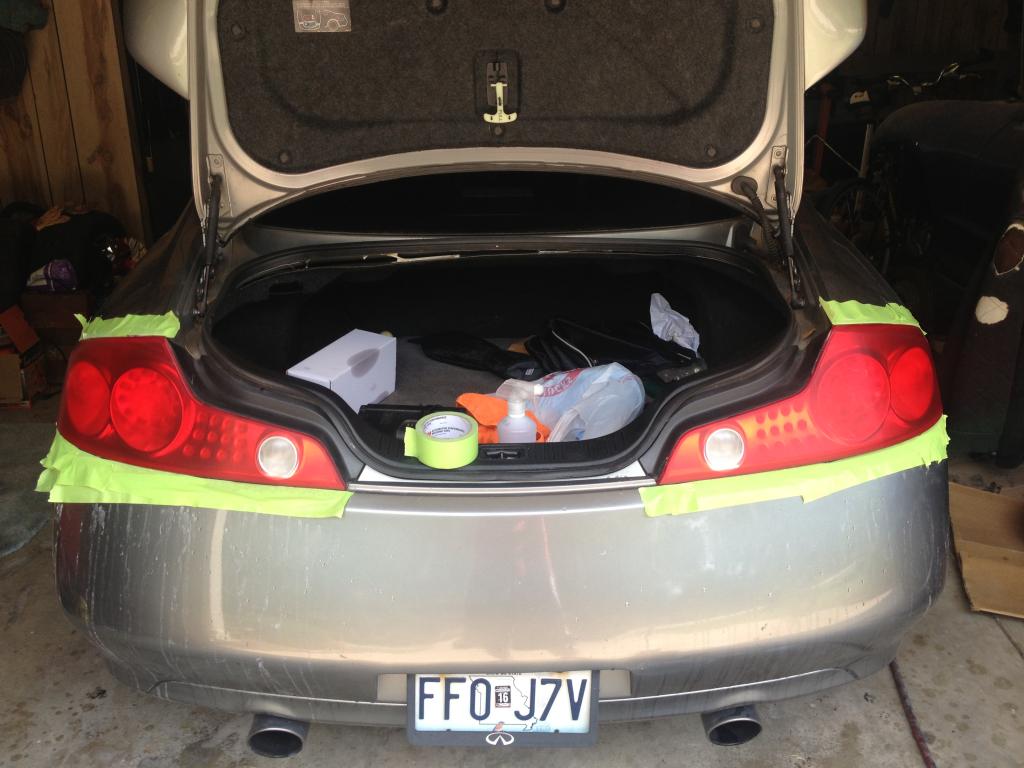
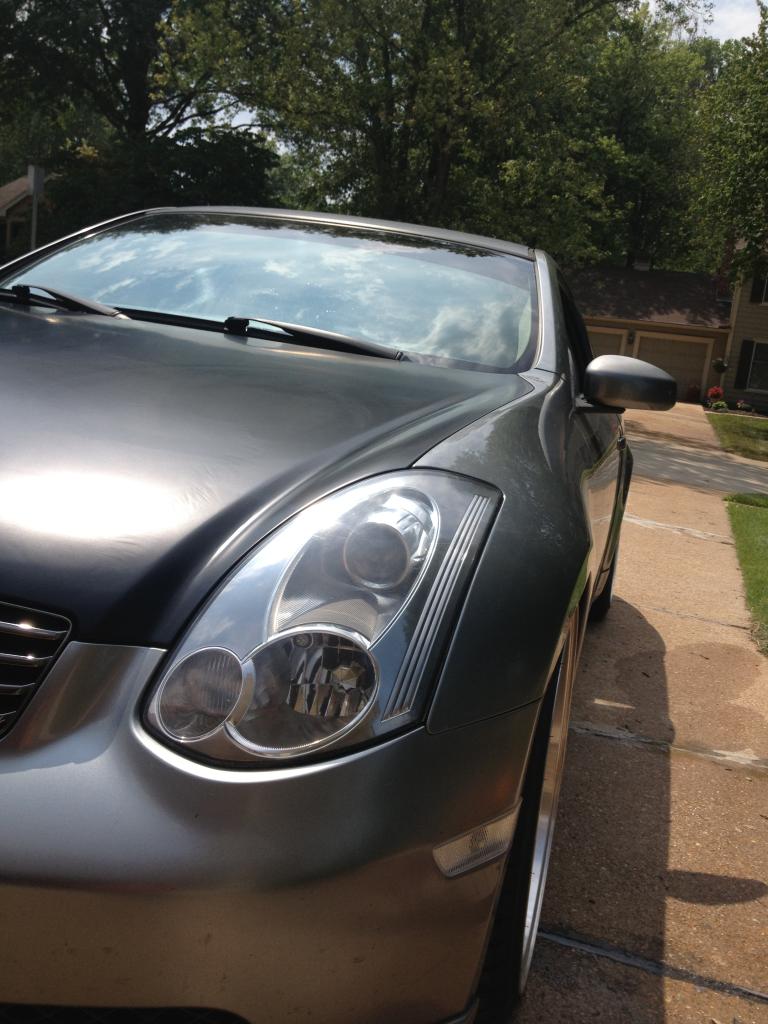
I did the headlights as well, this picture is kinda a bad pic as its directly in the sun but you get the idea.
Both headlights & tail lights were sealed using Opti-Lens resin. It goes on as a liquid & hardens clear to protect the headlights/taillights from the sun/UV so they should NOT need to be re-polished or wax for a very...very long time. Without a good sealer/UV protection expect to be re-polishing or waxing your headlights every 30 days or they will get foggy/dull again.
Products Used:
1000 grit wet sand paper
3000 grit wet sand paper
meguiars plastic x polisher
buffer pad w/drill attachment
Opti Lens clear headlight resin
50/50 alcohol to water mix "for cleaning"
If you just buy the meguiars kit it comes with everything minus the opti lens sealer needed for this. Although its probably cheaper to just get wet sand paper, your choice of polish and the pad.
Polish Used:

Opti Lens Used:


Cleaner Used: I usually buy this stuff a box at a time and dilute 50/50. Its perfect for cleaning just about anything & amazon has it cheap.

1) Tape off the areas around your headlights or tail lights to prevent sanding your paint or anything other than the object being polished.
2) Clean the headlight/tailight with a mix of 50/50 alcohol to water.
3) Get your 1k grit paper wet as well as the headlight and sand away. Make sure to keep it wet during the process.
4) After your done with the 1k grit switch to 3k grit and repeat. Note: I usually wipe it down w/my cleaner mix in between sanding
5) After your done with sanding w/3k grit give it a quick clean and your ready to apply the meguiars plastic X. I used a air drill but you can use a standard drill as well. I am using the meguiar polish attachment here found in the headlight kit. You dont need to apply alot of pressure just let the polish & pad do the work.
6) With a clean terry wipe off the left over polish. I usually do 2-3 coats.
7) Once its wiped down use a 70/30 mix of alcohol+water to wipe down the headlight or tail light.
8) Apply 7-10 drips of opti lens to the pad provided and just swipe it down on the object top to bottom. Dont worry if it looks likes its streaking it will conform while drying. I only used about 7-10 drips per headlight. A little more on the tail lights. It drys in aproximately 3-6 minutes.
Overall its a very quick & easy process & I am hoping the opti lens resin does its job and keeps these sparkling clean over the test of time. Ill update this thread every few months & post up if any issues come up. Thanks, lmk if you have any questions, like I said im sure its been covered a million times but I found nothing on the opti lens product in this forum.
Before the process:


Sanding:


Polished:


Opti-Sealed:


I did the headlights as well, this picture is kinda a bad pic as its directly in the sun but you get the idea.


Headlights are a pita to remove on these cars. Tail lights are cake but its simply not needed. Took 5 seconds to tape it off. If i took them off I'd gain nothing. Except have a harder time trying to polish with an air drill.

Damnit, jersey..
Haha
Wouldn't matter much anyway. You hit that paint with 3k on accident and it'll be shiny as **** once you rubbing compound it. I get scratches off my car by using the same process on my paint.
Haha
Wouldn't matter much anyway. You hit that paint with 3k on accident and it'll be shiny as **** once you rubbing compound it. I get scratches off my car by using the same process on my paint.


Trending Topics
Yea its not cheap, that's why I wanted to try it, make a thread & update as needed. Ive tried just about all polish/wax compounds and unless you like to re-apply every 30 days in missouri weather than its not a solution. Also keep in mind i did both headlights & tail lights & have plenty left for more. I plan to also apply to the girls really, really nasty headlights & some family cars down the road. Ill update the thread with those pics as well.
Yea its not cheap, that's why I wanted to try it, make a thread & update as needed. Ive tried just about all polish/wax compounds and unless you like to re-apply every 30 days in missouri weather than its not a solution. Also keep in mind i did both headlights & tail lights & have plenty left for more. I plan to also apply to the girls really, really nasty headlights & some family cars down the road. Ill update the thread with those pics as well.
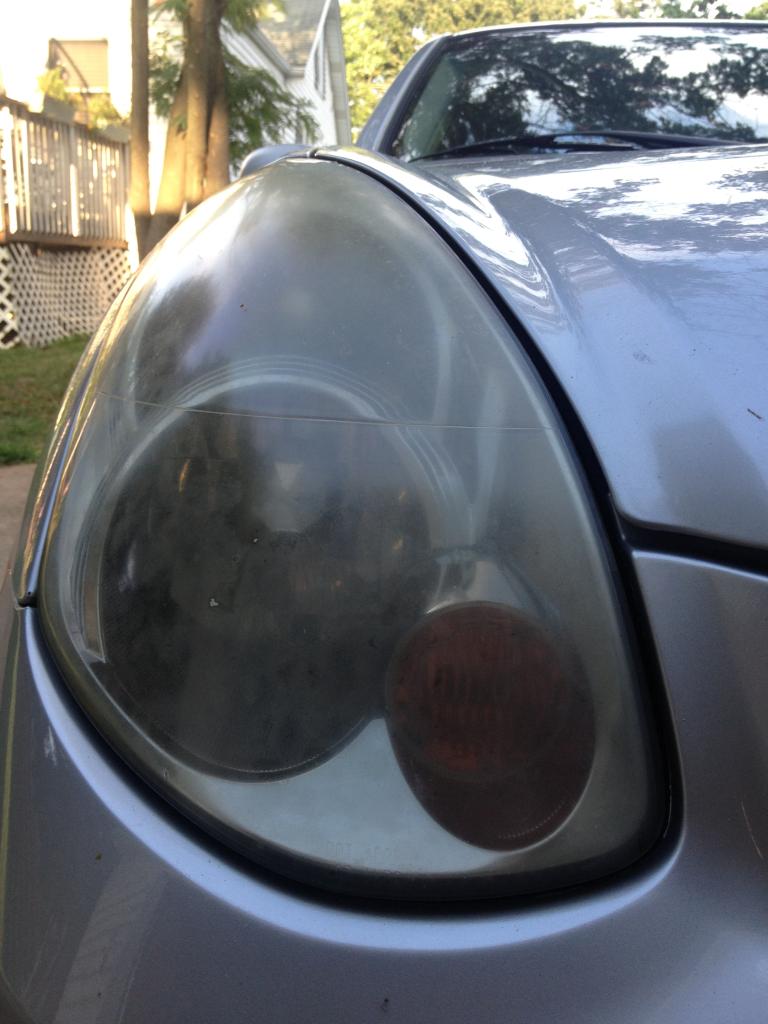
Went ahead & polished up some pretty bad 4 door headlights. I only did the passenger side as the driver side was recently replaced. It was very yellow, murky and ruff to the touch. I have more pics but these should suffice.
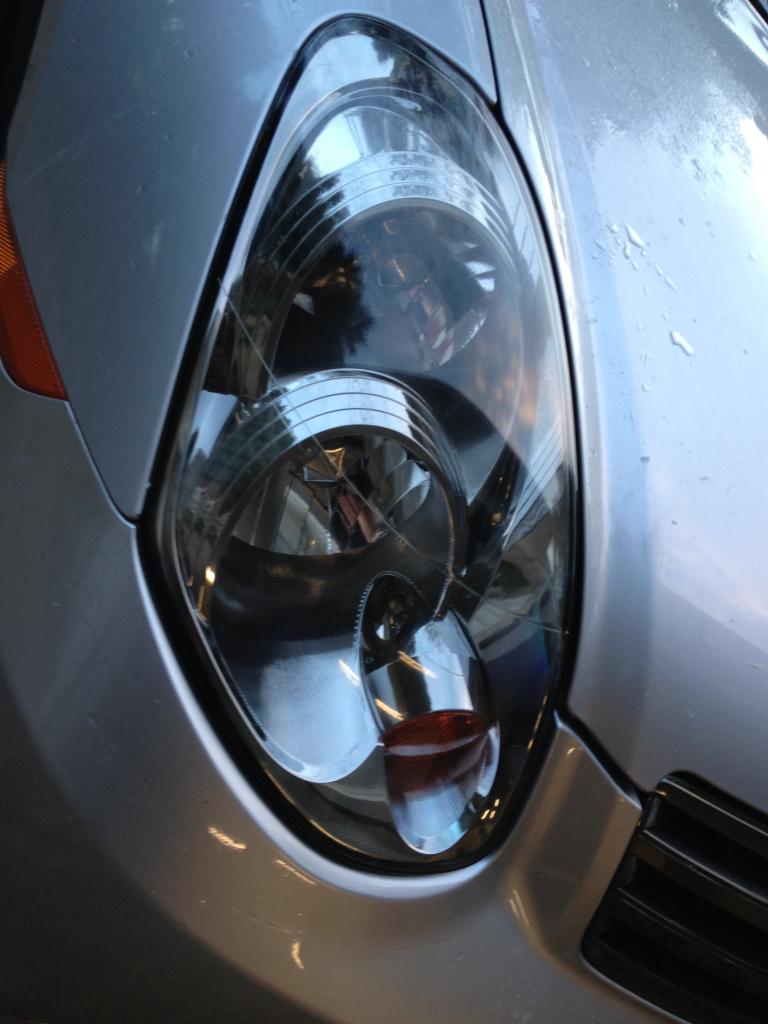


Just an update from 12/15/2014
Headlights look as crystal clear now as they did the day of polishing & sealing. So far 0 hazing & they are still 100% crystal clear. Next update will be after winter
Headlights look as crystal clear now as they did the day of polishing & sealing. So far 0 hazing & they are still 100% crystal clear. Next update will be after winter

Thread
Thread Starter
Forum
Replies
Last Post
FS[Canada]: G35 Front Upper Strut Tower Bar
netcbc
Steering & Suspension CDN
1
Jul 24, 2015 11:23 PM