
Accuair E level Build + More


Accuair E level Build + More
Hey guys! Things are rolling in fast so yesterday I started my build to get everything prepared for my E level kit.
What I plan to do is have the Tank, solenoid and everything else visible above the trunk liner. I also created a plan for my amps… well one of them to be visible via plexiglass where the spare was located.
Materials Used
1/4" thick plywood
2" x 8ft Beams
Jig Saw
Drill
Vinyl false wood floor
Lets get on with it:
Very messy
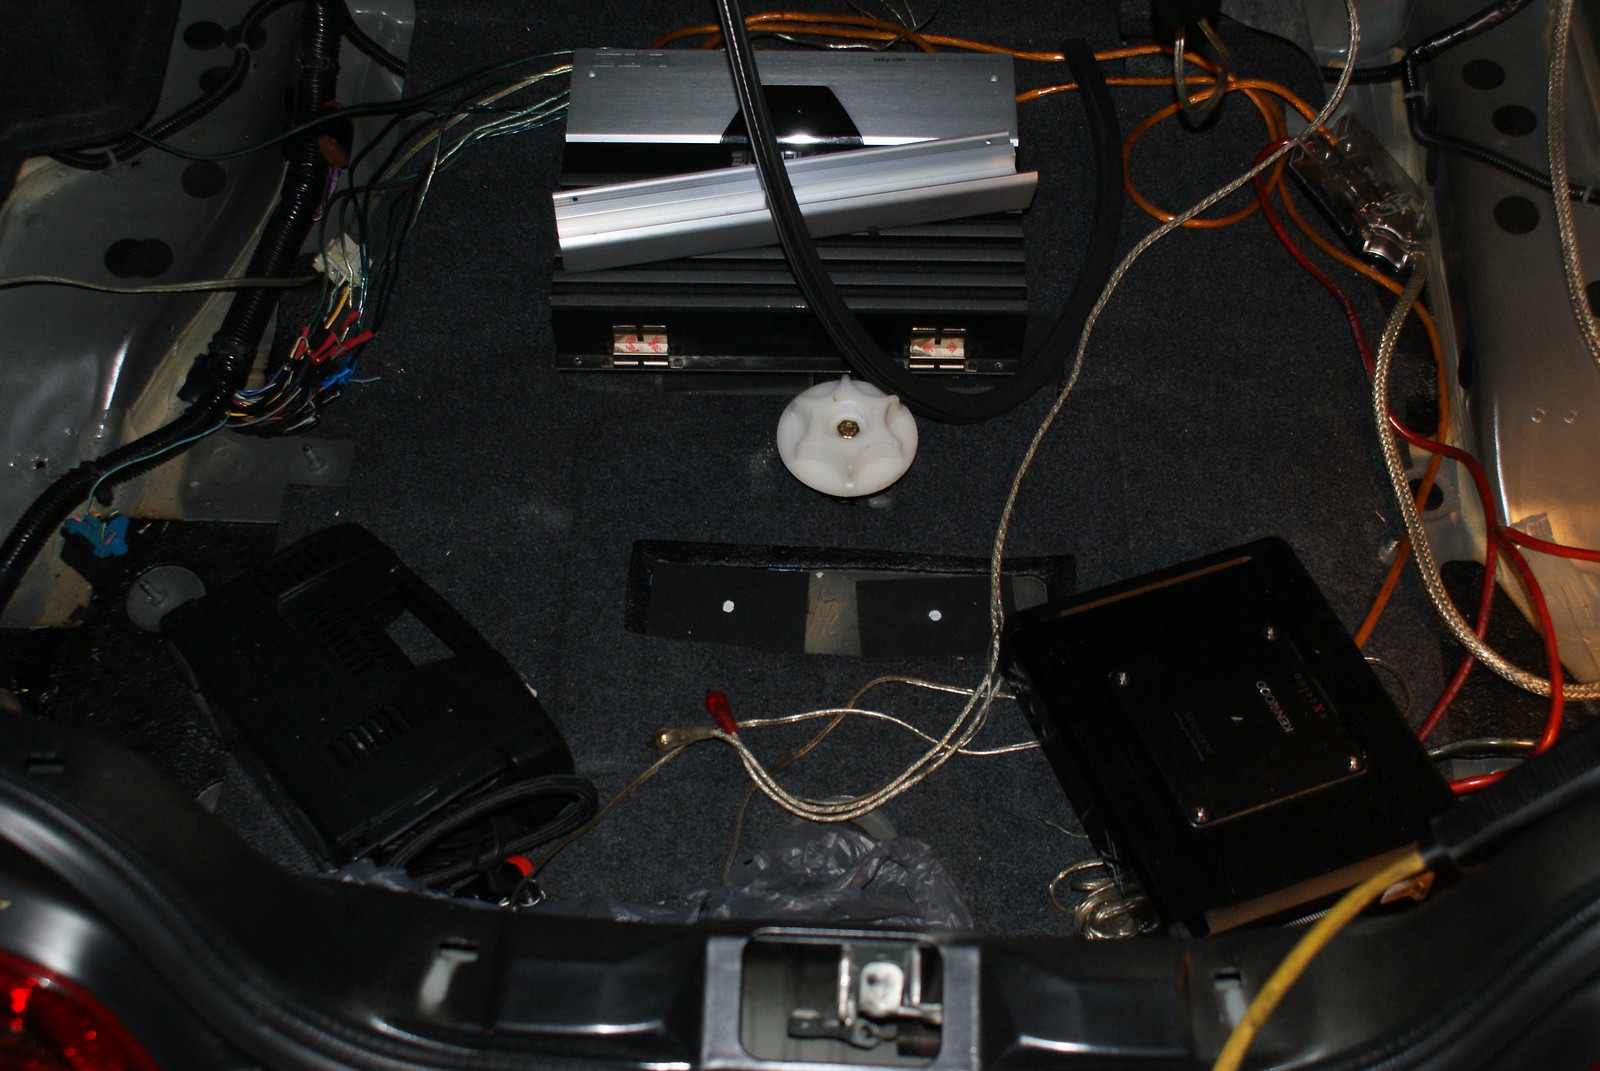
Very scary
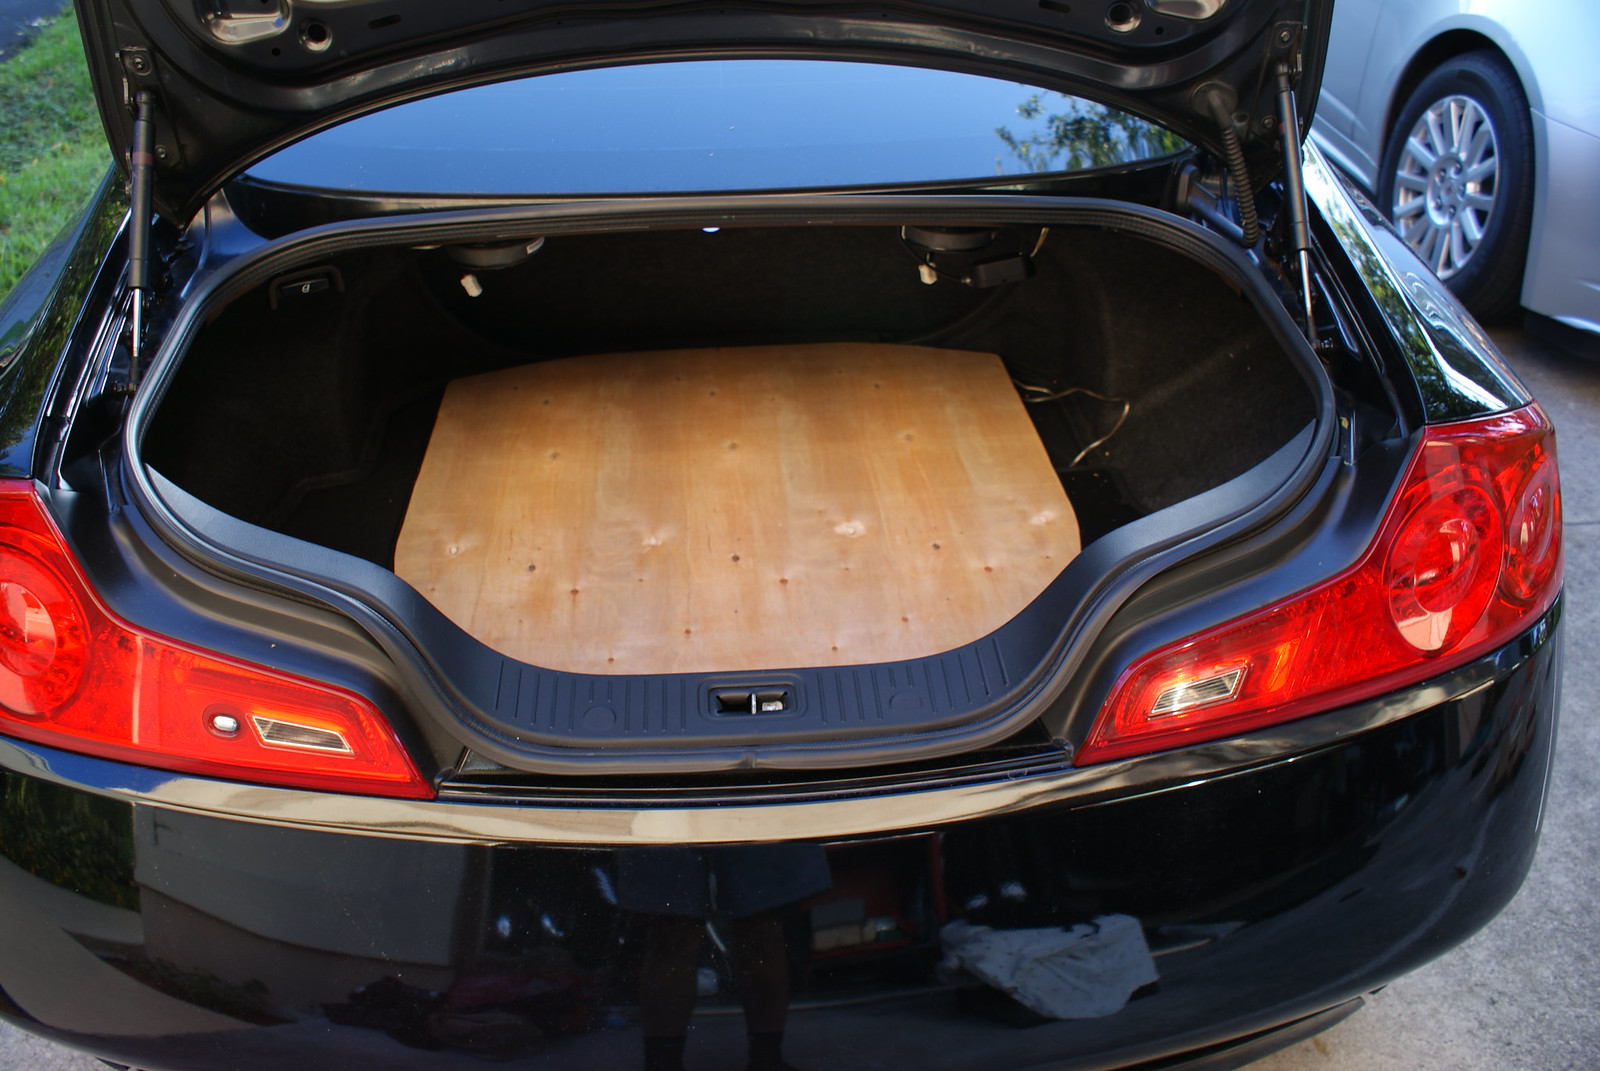
Traced and cut overlay ( Will be attaching OEM carpet to it)
… Plexiglass will be cut and placed into this today…
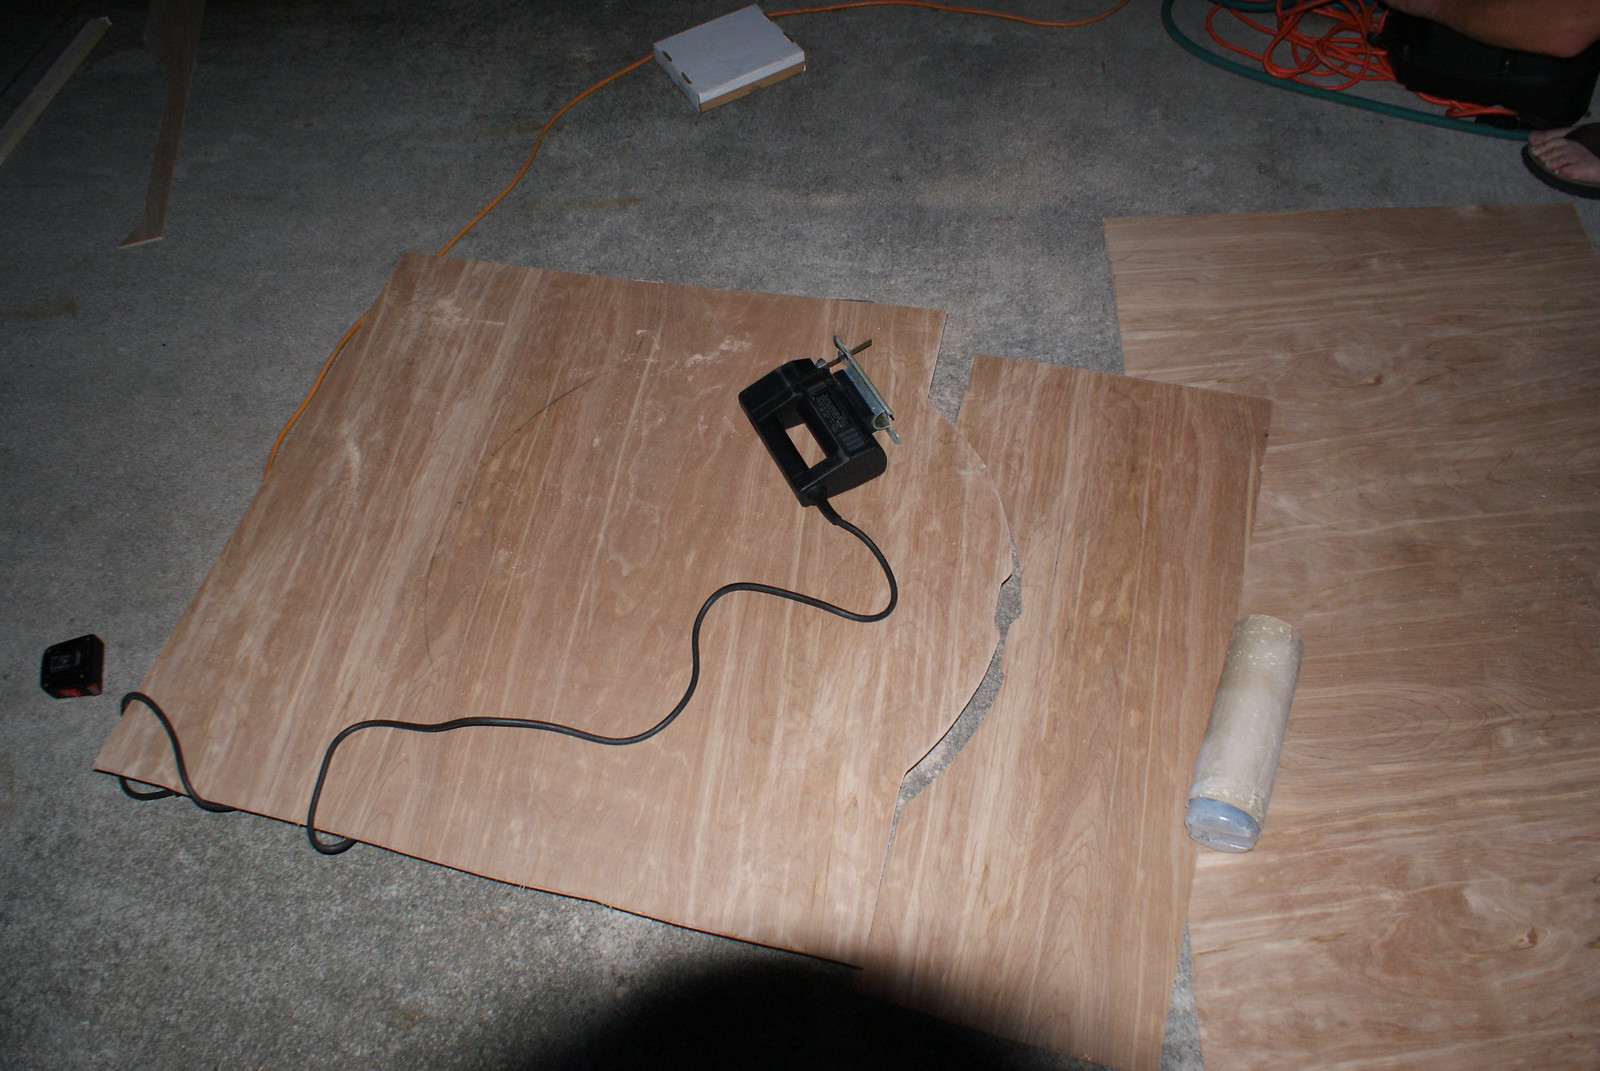
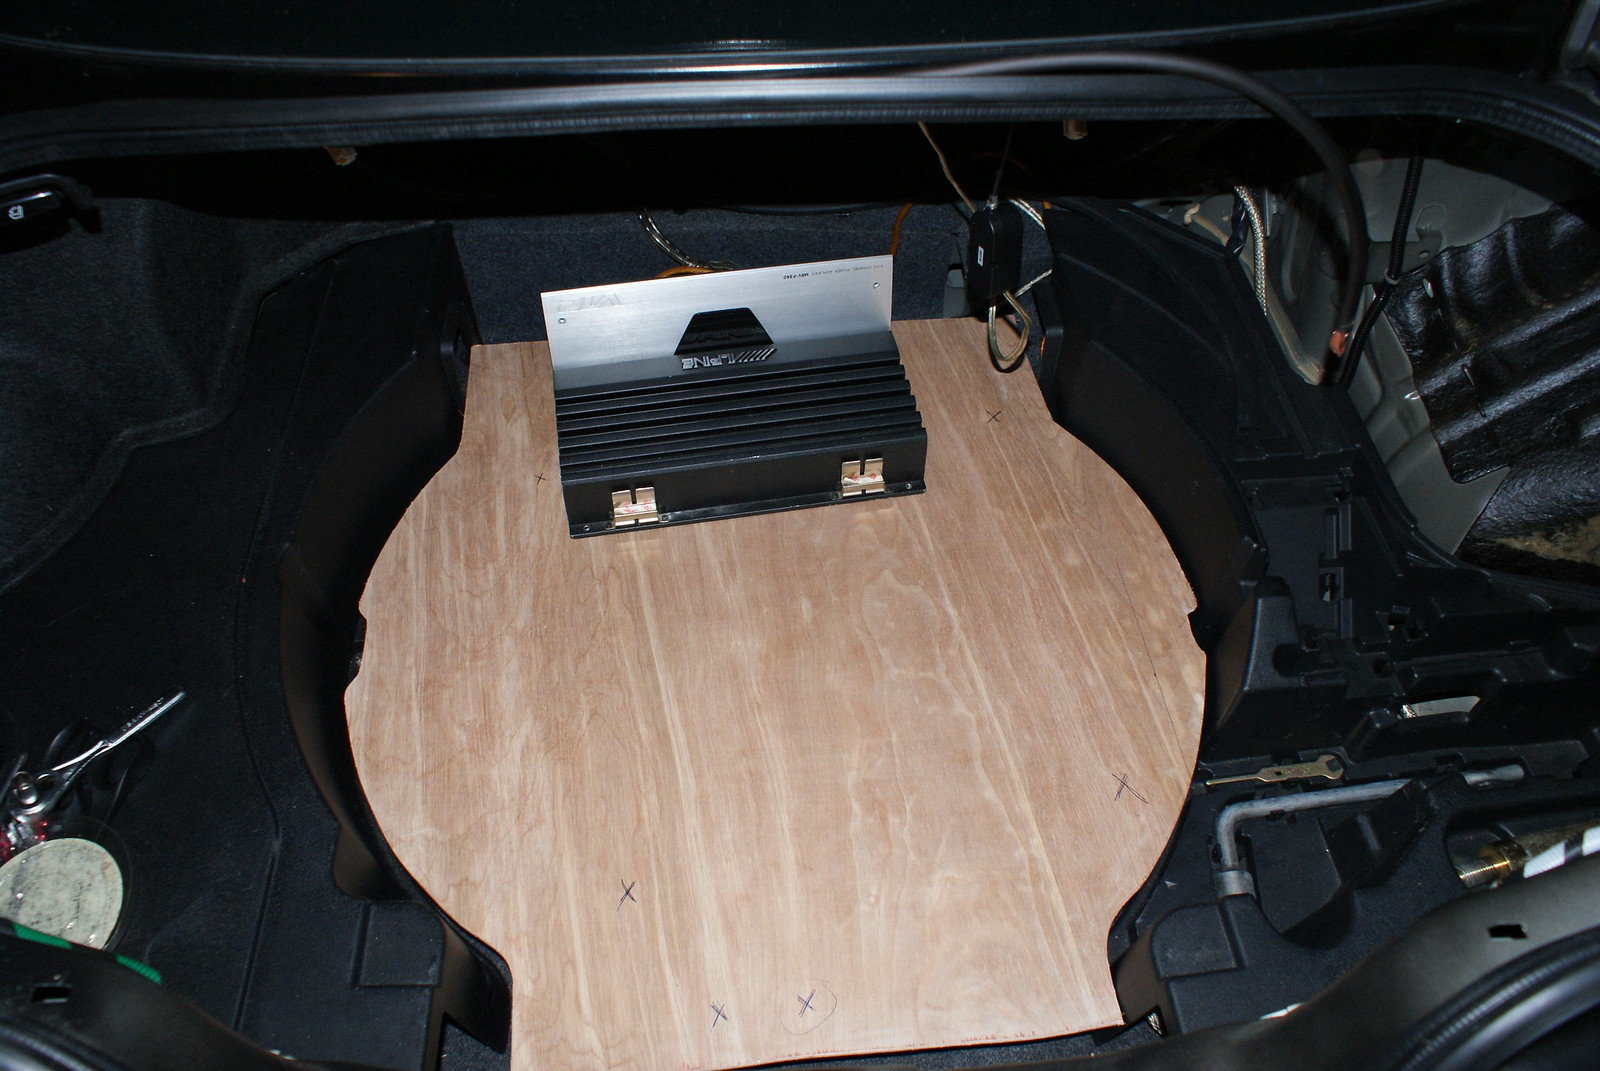
Cutting begins for the plywood that the amps will rest on
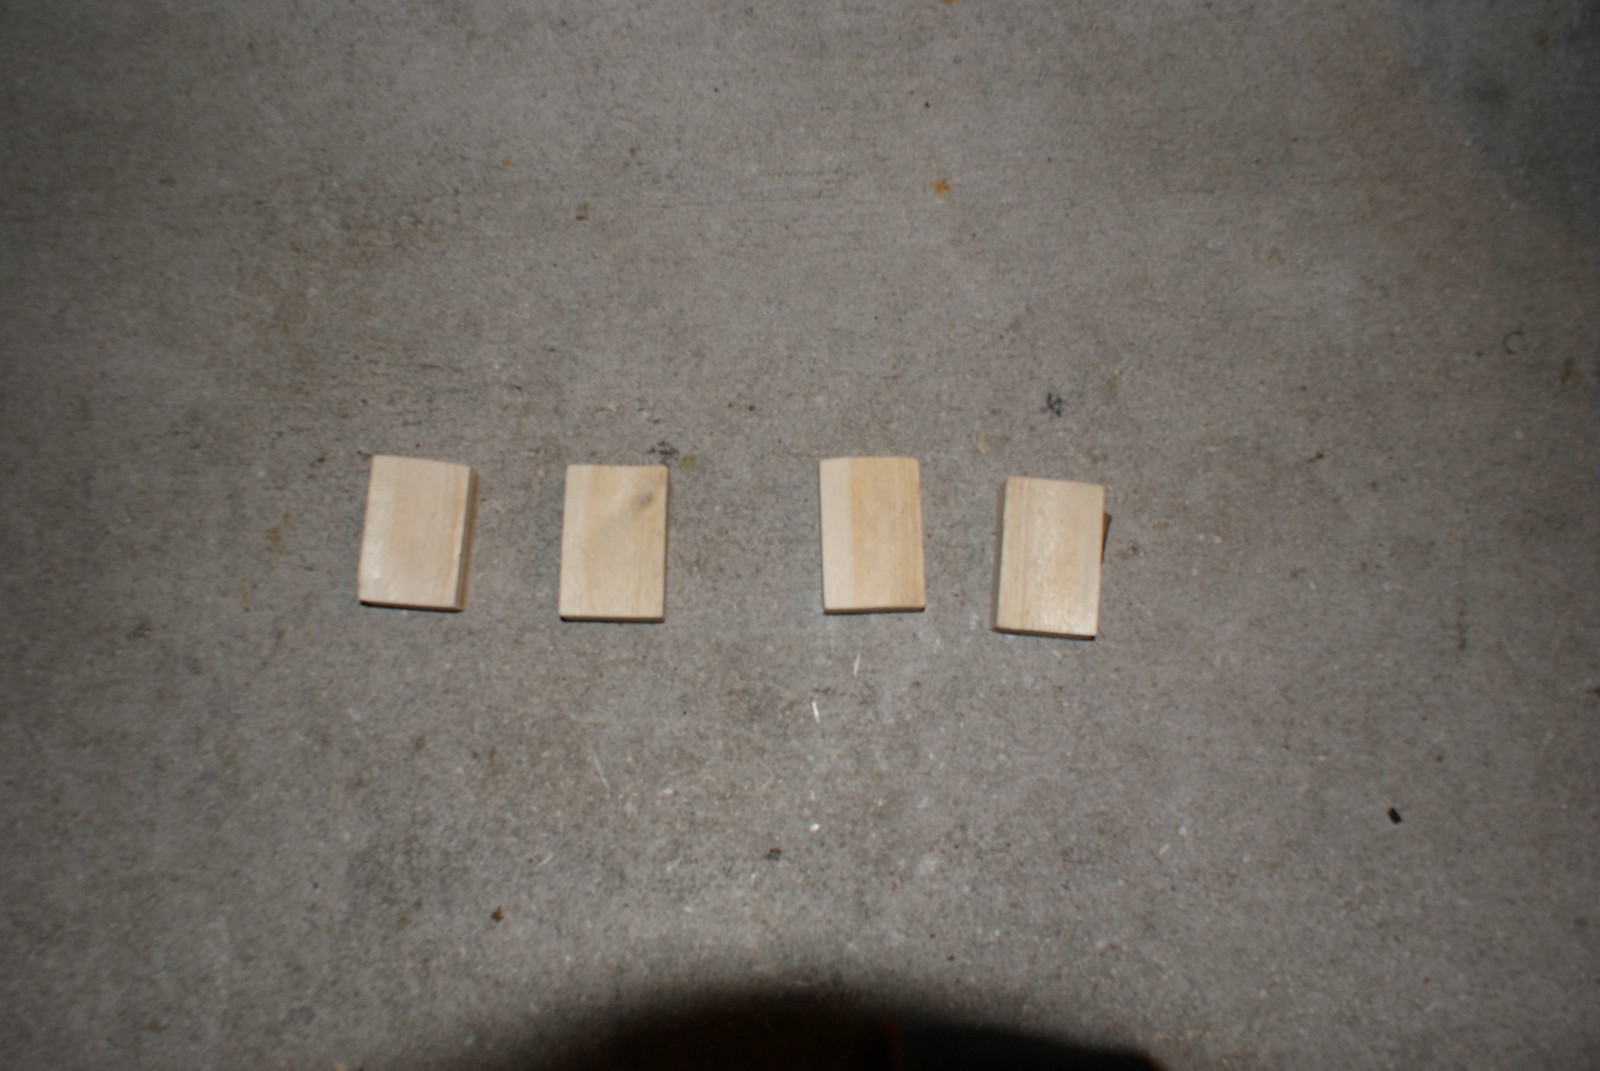
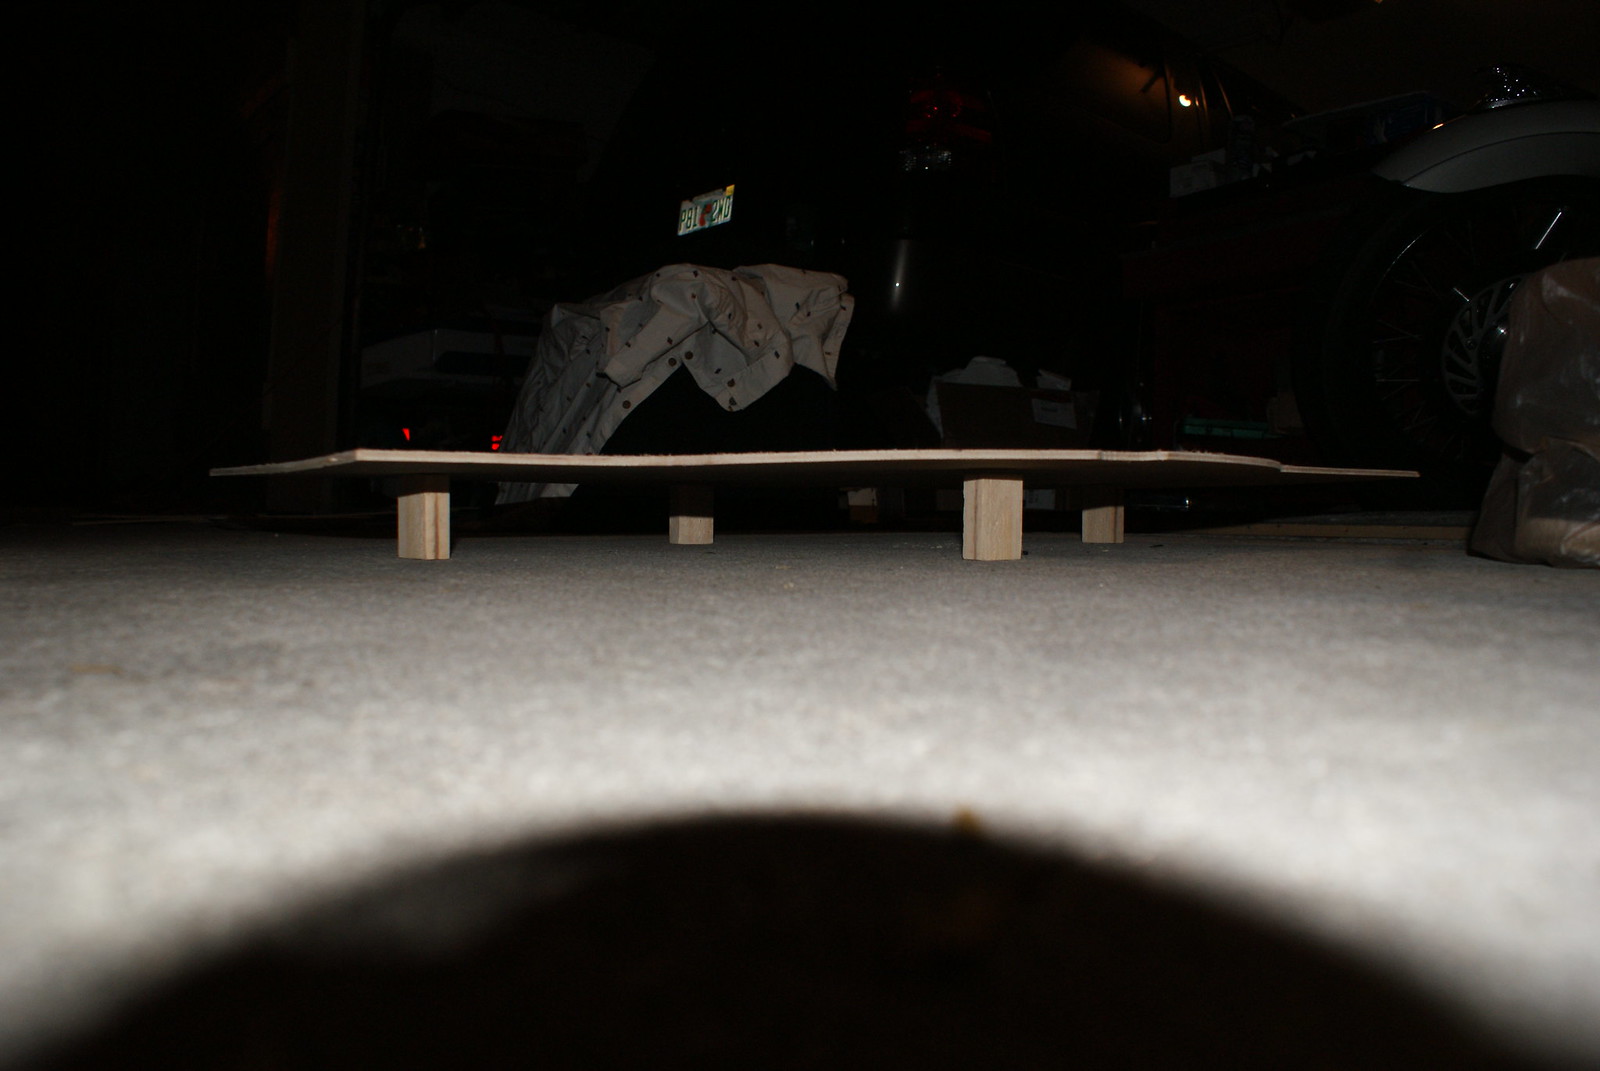
Supports created
Concept
Starting to come together (The X's aren't perfectly correlating with each other because of the dips in the body underneath)
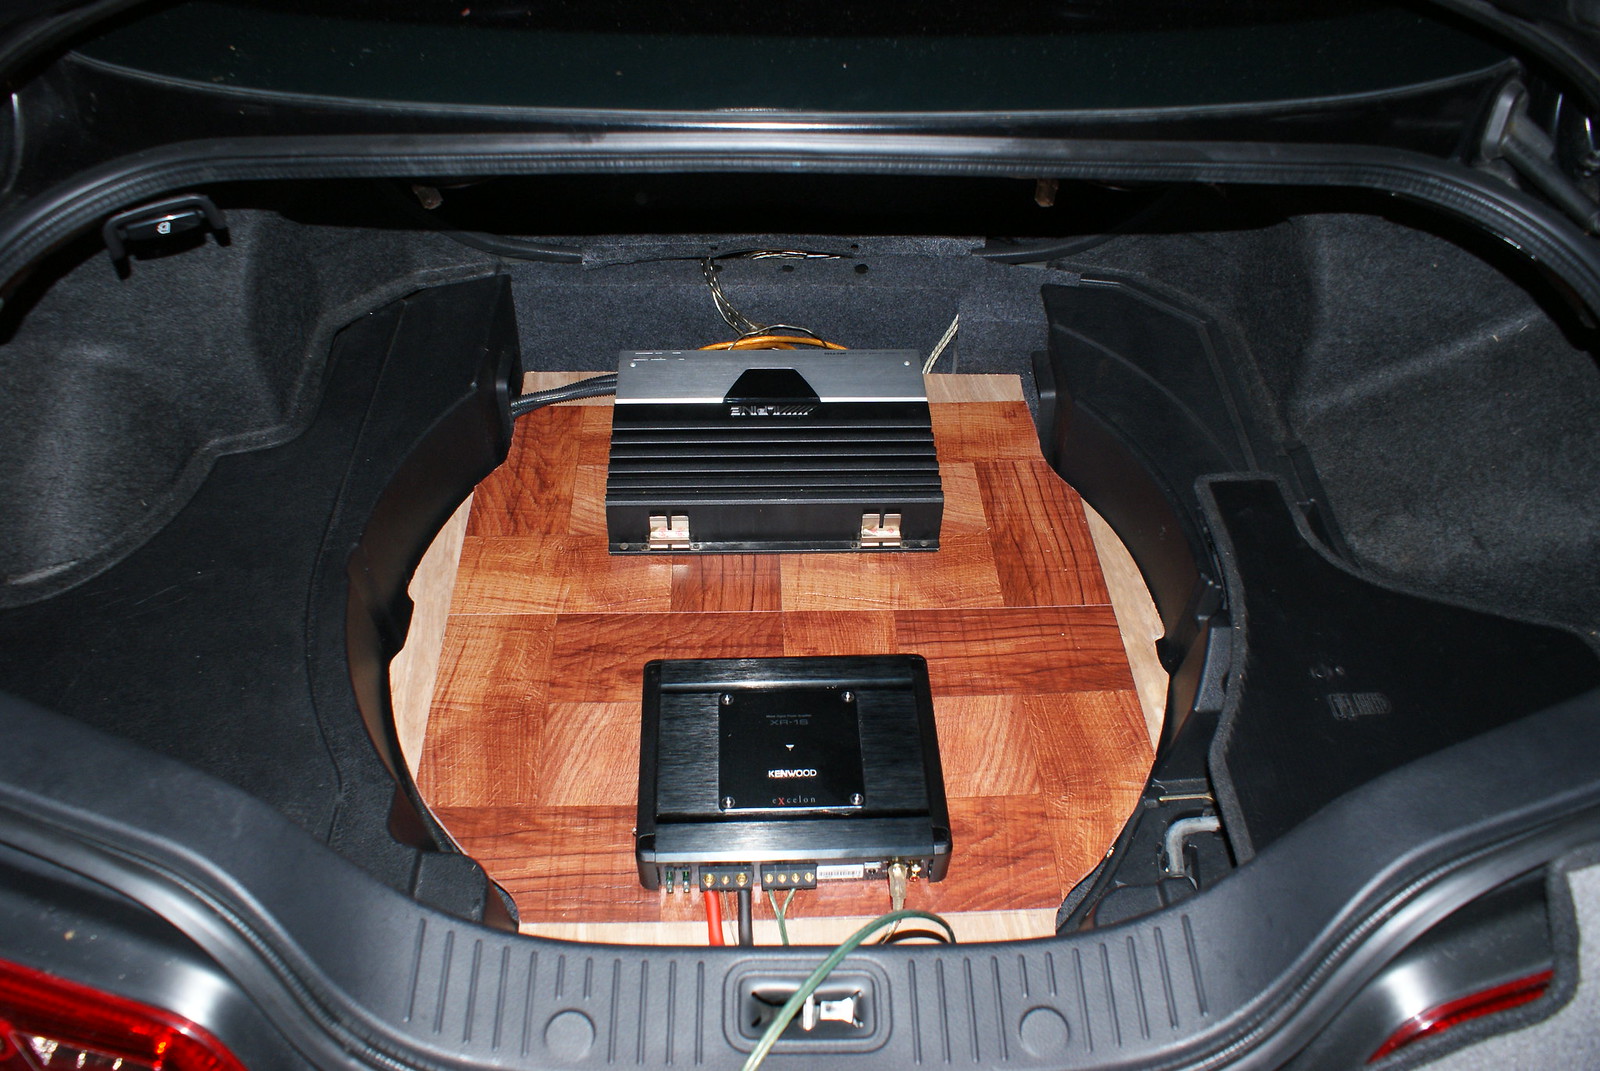
Vinyl wood placed, everything is sitting right… Drilled holes for all the sub amp wires (plexiglass will only reveal the vinyl wood and sub amp, the plywood that is seen in the corners will not be able to be seen. That is why I didn't cover the whole board with vinyl floor) I am also hiding the wires a little more today although it will not be seen… thats just me
As of now I only have my two front UAS bags… Accuair arrives tomorrow and along with my tank and compressors.
Today (6.10.14)
I will be creating the fiberglass sub mount for the side of the trunk. Will update with pics later.
What I plan to do is have the Tank, solenoid and everything else visible above the trunk liner. I also created a plan for my amps… well one of them to be visible via plexiglass where the spare was located.
Materials Used
1/4" thick plywood
2" x 8ft Beams
Jig Saw
Drill
Vinyl false wood floor
Lets get on with it:
Very messy
Very scary
Traced and cut overlay ( Will be attaching OEM carpet to it)
… Plexiglass will be cut and placed into this today…
Cutting begins for the plywood that the amps will rest on
Supports created
Concept
Starting to come together (The X's aren't perfectly correlating with each other because of the dips in the body underneath)
Vinyl wood placed, everything is sitting right… Drilled holes for all the sub amp wires (plexiglass will only reveal the vinyl wood and sub amp, the plywood that is seen in the corners will not be able to be seen. That is why I didn't cover the whole board with vinyl floor) I am also hiding the wires a little more today although it will not be seen… thats just me
As of now I only have my two front UAS bags… Accuair arrives tomorrow and along with my tank and compressors.
Today (6.10.14)
I will be creating the fiberglass sub mount for the side of the trunk. Will update with pics later.
Last edited by ChrisKG35; Jun 10, 2014 at 12:58 PM. Reason: Updated Links

Glad to see you have a plan. GL with the install!
By the way you may what to pick 2 of these up http://www.carid.com/qpower-audio-ac...-16522308.html
I used them on my set up, one for all the grounds and the other one for all power wires.
By the way you may what to pick 2 of these up http://www.carid.com/qpower-audio-ac...-16522308.html
I used them on my set up, one for all the grounds and the other one for all power wires.
Last edited by Hogbone; Jun 10, 2014 at 02:42 PM.

Thanks hog bone! Yeah I have one, made sure to buy one since im running dual 444c compressors.
I will for sure put pics up red :thumbsup: I can't wait! id be done by friday but I had to order bracket from Bag Riders and they are made to order… I haven't gotten an update and I ordered them last week -.-
I will for sure put pics up red :thumbsup: I can't wait! id be done by friday but I had to order bracket from Bag Riders and they are made to order… I haven't gotten an update and I ordered them last week -.-

It's good to have one not olny for the duel compressor, it's also makes it easier to run power leads for you amps. Which is the reason I used them as well. By the way how much did you pickup your Accuair system for? Oh an a water separator filter, I've already noticed my compressors had made a few water drops while I was playing with them. An some Dino Mat becuase these bitches are LOUD
Trending Topics
Haha I have one currently for my amps too! But definitely agree on what you just said. Also I bought the system on ebay for $1,500 new! What size compressors do you have? I haven't played with mine yet I hope they aren't too loud 
UPDATE:
Tackling the fiberglass side mount for my 12" sub…
Tools and items used:
Painters tape
Foil paper
Trash bags
3M Resin
3M Fiber glass mat (use the check board mat, its easier)
ALOT OF PATIENCE
Paint Brush
Gladware container
Only finished the first layer because I started around 8pm tonight and im still waiting for it to cure.
All you have to do is basically measure to make sure your getting that Ideal 1.25cbft of space and tape down every bit of sq ft in that area with foil paper so the molding will come out clean and simple.
First layer done
After the first layer you want to cover a second layer again with only resin… After that layer drys up, you should be able to remove it and make life easier to add the next 5 coats… or whatever thickness you desire… Once I finish up tomorrow I will continue the DIY. Just know that I will be using dowel rods, fleece, carpet, and of course a speaker ring.
Great work so far!
Right. I can say that once my tank fill to 150psi and me playing with the valve till the pressure sensor cut the compressors back on it took less then a minute for the sensor to kick the compressors off.

Wow Chris, your car is really taking off!! Im excited to see this done. Ive been going back and forth between saving up for Accuair e-level or a Datsun 240z project car lol. Exactly what kit did you get, i know there are several choices now from them? Lookin good!!
Thanks bro!! Making big moves haha! Ooof 240Z is exciting too! I save money by ordering online through ebay (trusted store sellers only). So I got everything separately.. Compressors/tank kit, Accuair E Level, Hoses, Fittings, Power wire, distribution blocks, fuse holders, air bags, and coil over brackets from Bag Riders. I got all that separate and in the long run it saved me money!
JUST NOTICED LOL… MODERATORS PLEASE MOVE TO G35 COUPE MEDIA SHARE )
)
JUST NOTICED LOL… MODERATORS PLEASE MOVE TO G35 COUPE MEDIA SHARE
)