When you click on links to various merchants on this site and make a purchase, this can result in this site earning a commission. Affiliate programs and affiliations include, but are not limited to, the eBay Partner Network.
Been super busy with life and everything thing else but things are looking up! Wife picked up a new job so now I can get more car goodies!
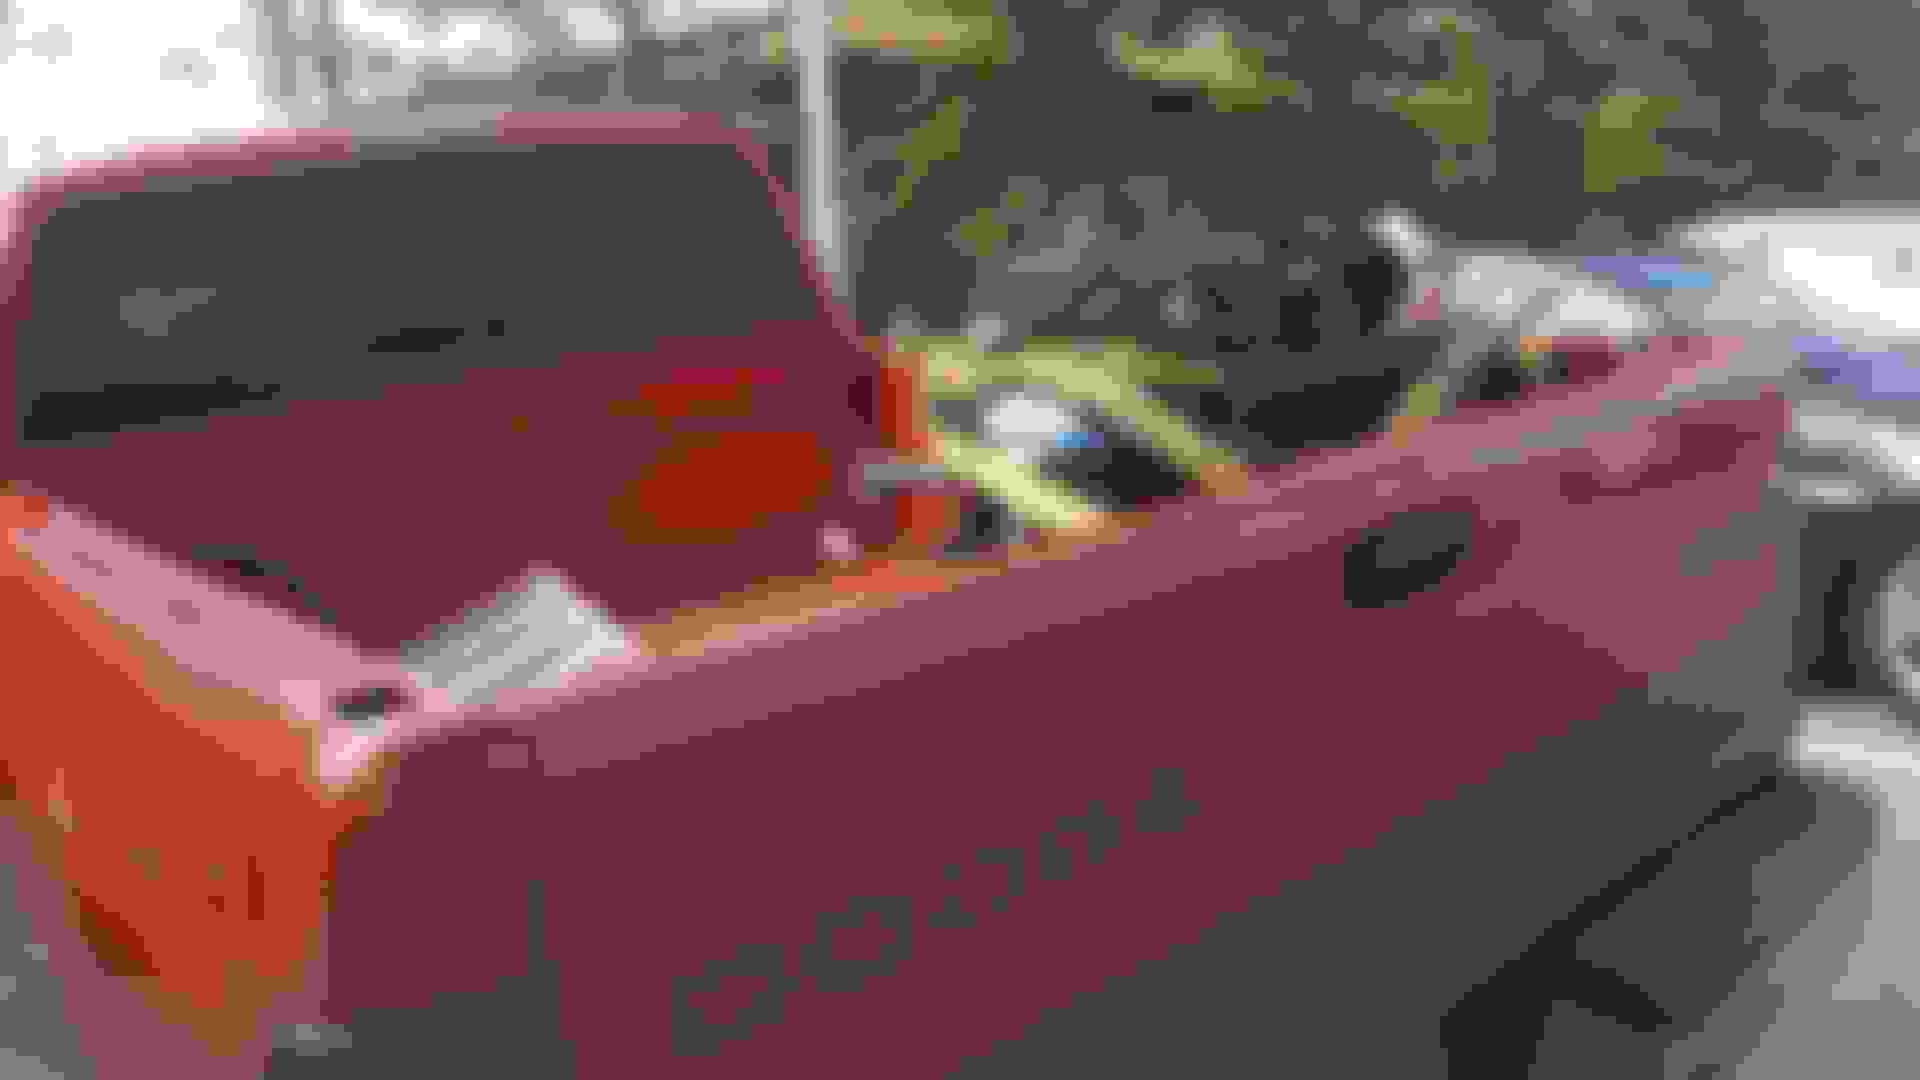
Engine delivery got delayed but I finally got it today. Well went to take a look at it rather.
Shop says 97k but doesn't look like it at all.
Valve covers are leaky which is to be expected, didn't pull the plugs but oil looks fine. Tommorow I'll be grabbing my friends pickup truck to bring the engine home and clean it up some and pull the valve covers and do a good once over before I start the swap.
Pretty common looking motor, I'd go through ALL the harnesses and unplug them to make sure they aren't corroded inside, depending on overall condition you might keep the TB/intake, some harness stuff, etc from the original motor. Usually they just use hydraulic shears and literally CUT every connection to the motor, unbolt the motor mounts and yank it out as fast as humanly possible.
I'll start off by stating that I have basic mechanic knowledge due to growing up around cars and my dad who loved cars. As I grew up I gained more knowledge and here we are today.
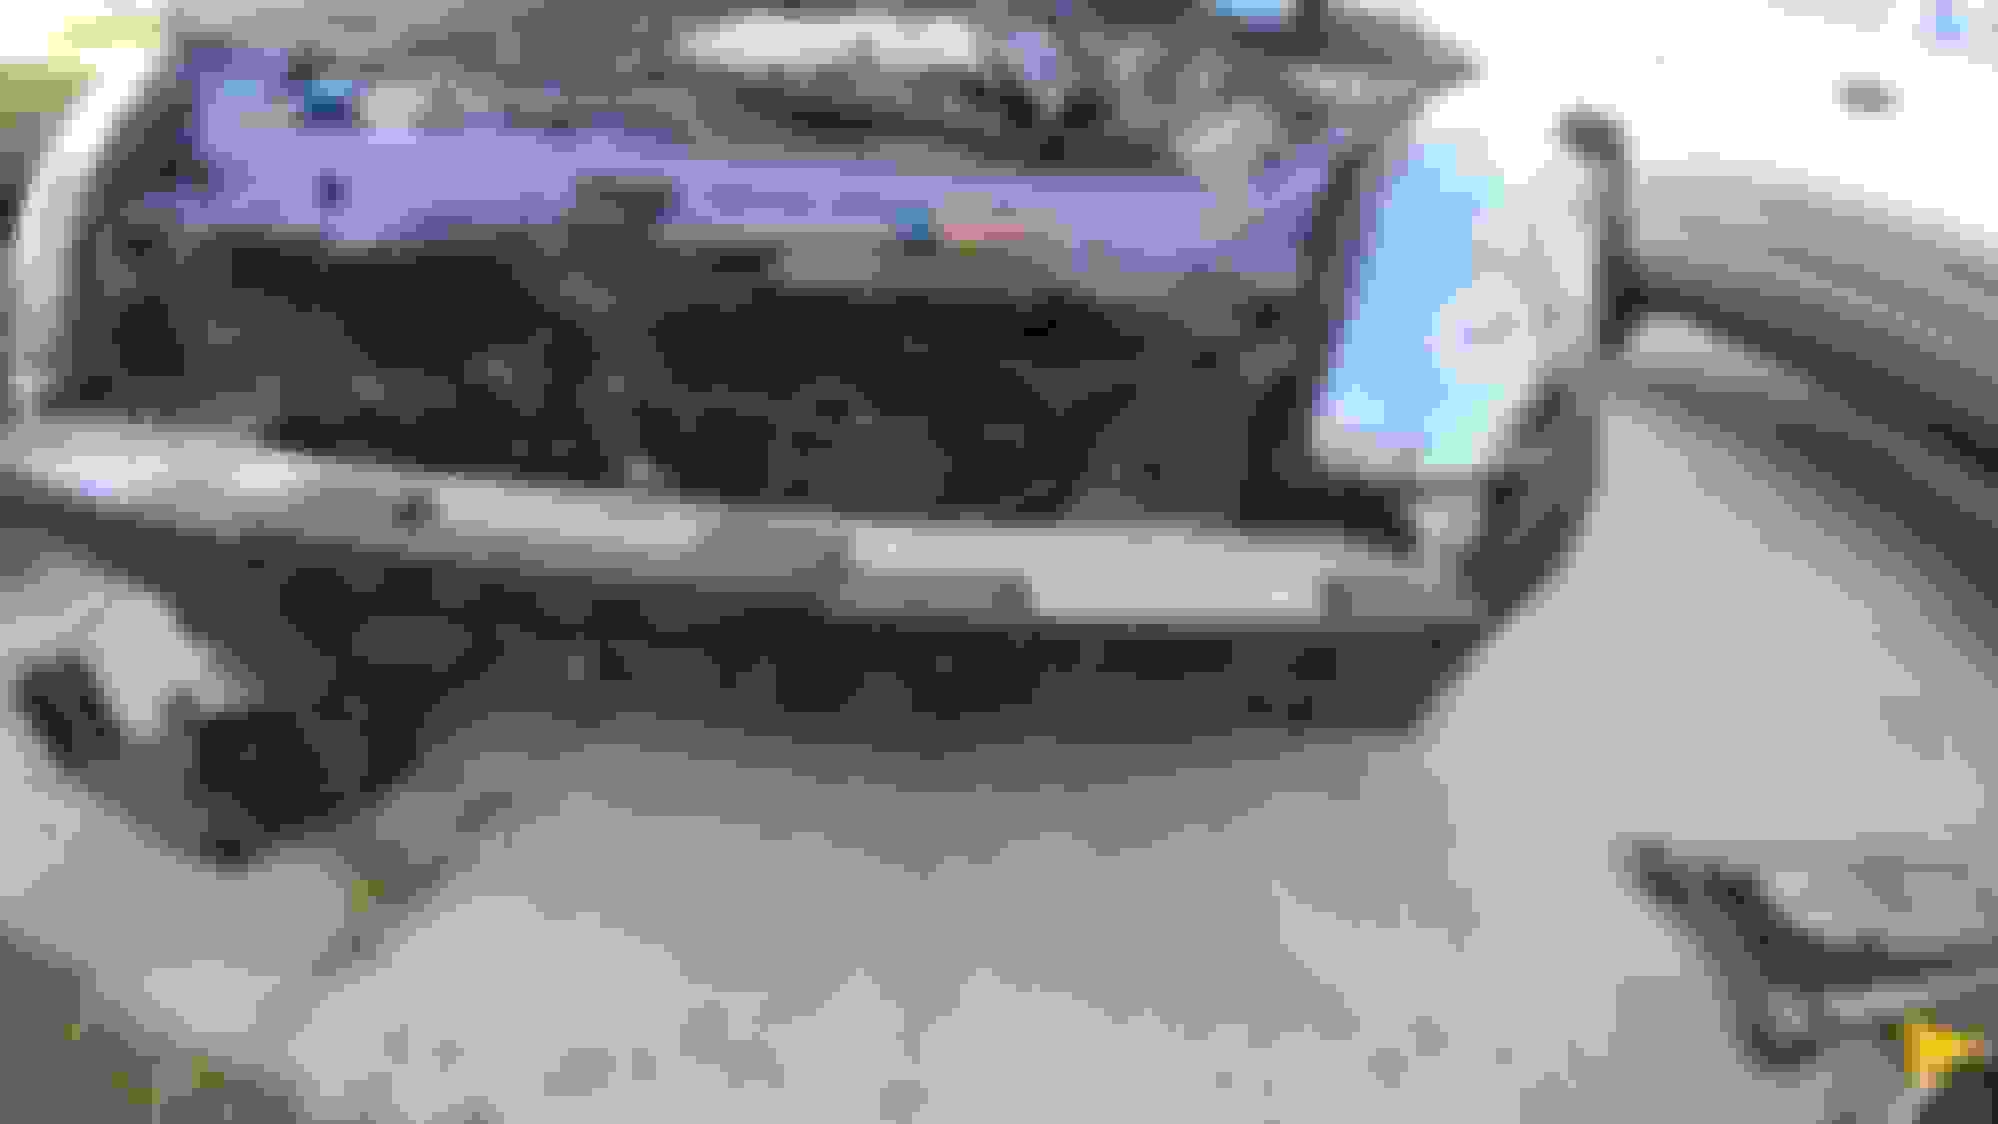
So removing the front end is pretty straight forward so I'll sum up the easy parts.
Remove bumper
Remove reinforcement bar which is held in by six bolts on each end.
Next Remove front fan (if you have one)
Next up is the horns which are located to the left of the fan
Then remove the hood latch that is held on by three bolts
Next I removed the headlights and Jacked the car up (jackstands are the only way you should support the car) to remove the coolant so the radiator can be removed but before then you have to remove black the plastic covering that shielding the radiator and condenser.
It's held on by two bolts in each side on the top that are 12mm and you have two on each side that is right beside the fender liner
Now you remove the shield and can drain the coolant and remove the radiator and Watch out for transmission cooler lines at the bottom.
*had my little helper with me as well lol.
Separate the radiator and the Condenser and you've completed phase one!
Two things I got stumped on that I will research later.
Removing the hood latch cable so I can freely remove the plastic shield and moving the condenser out the way so I don't break the lines.
Other than that it was pretty uneventful (minus the coolant spill lol).
Had a buddy come past and help me out with the offering of beer and food lol.
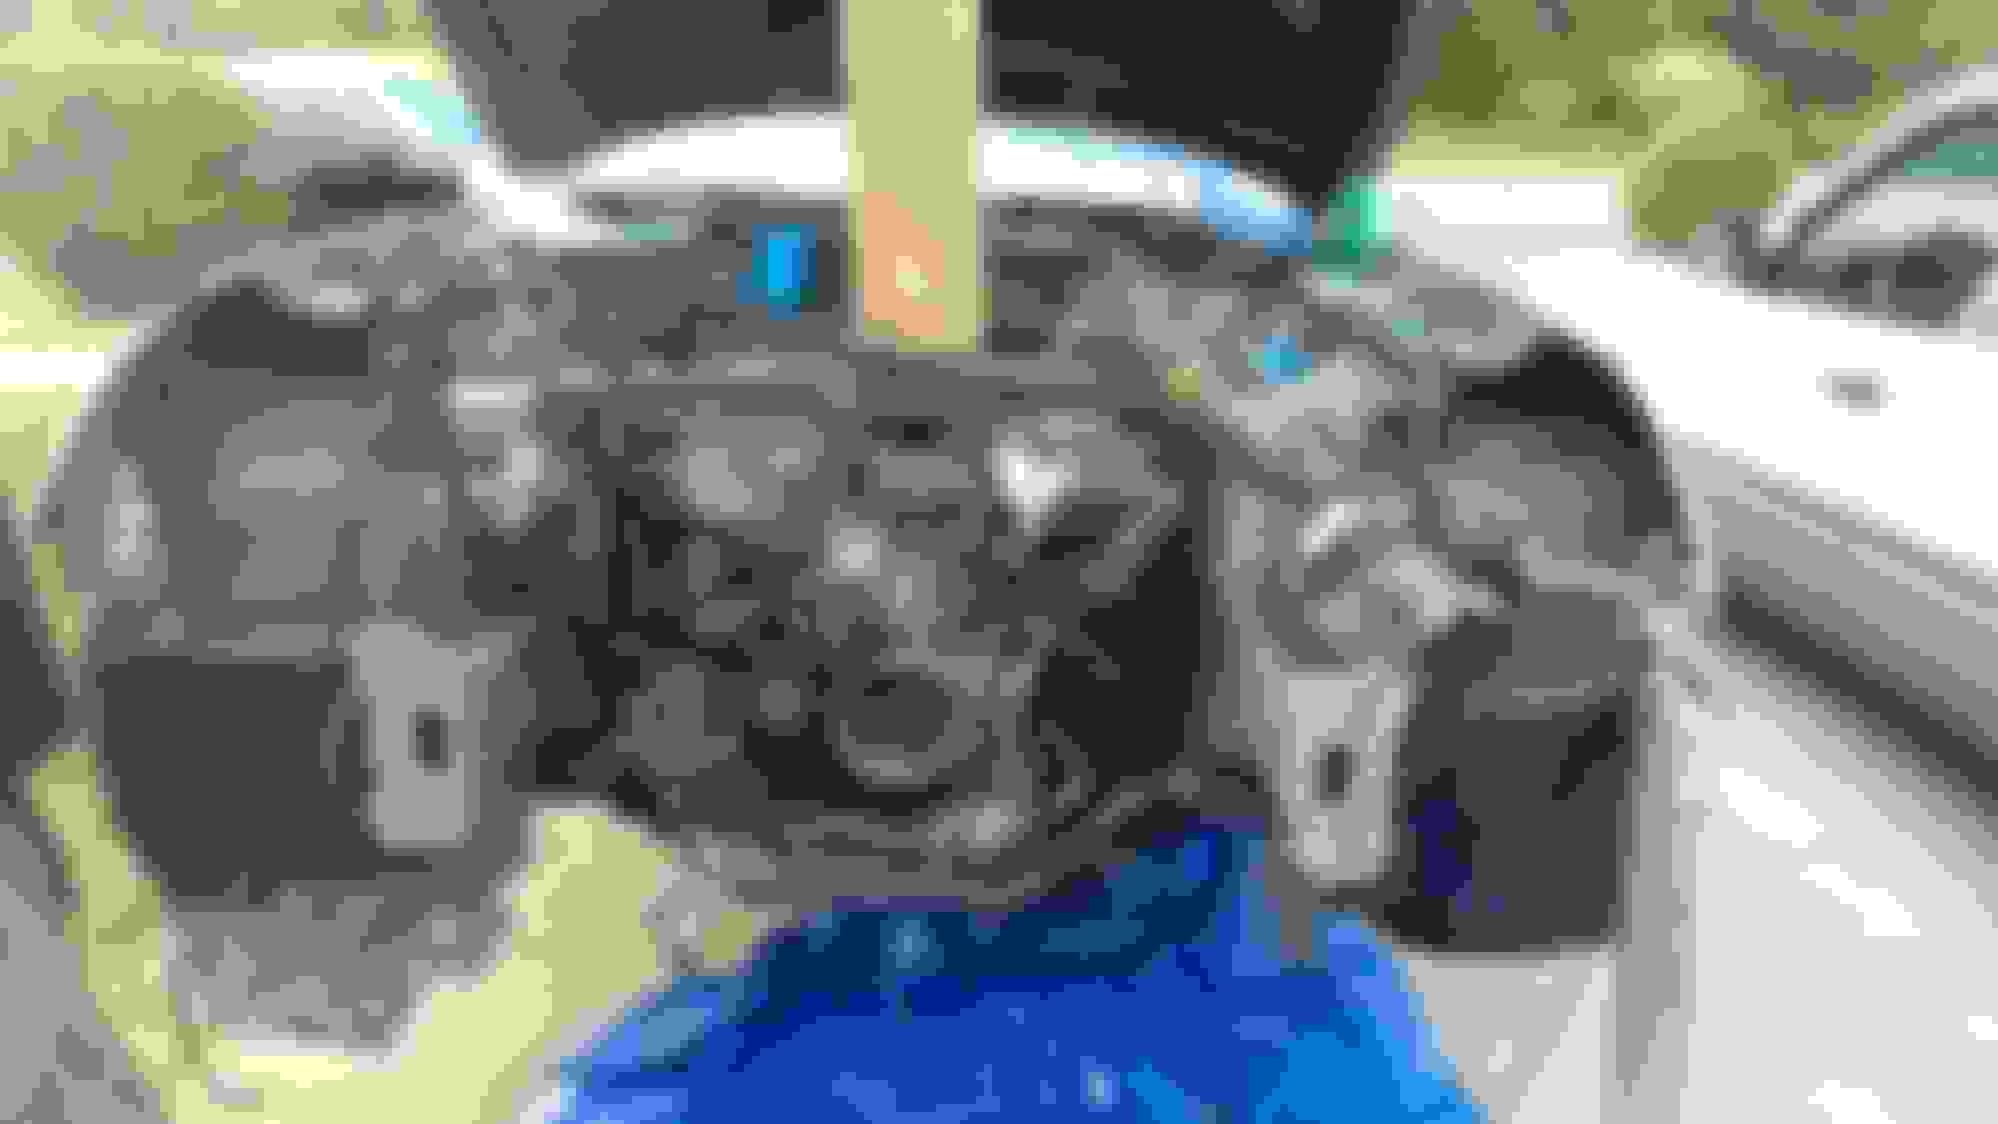
Okay it's Connection removal time.
Remove all connections from the top of the engine such as coils, throttle body, and anything else you see accessible.
Remove the grounds on the timing cover and any brackets you see.
There's some hidden sensors that won't be visible so I'm here to give ya the scoop on those.
Ac compressor has two connections, one on the top and one and the bottom so be sure to remove those.
There is a connection by the oil filter, power steering and alternator.
That's the alternator connector
Oh and here's a well needed tip.
The power steering AND ac compressor and condenser and be pushed to the side so no draining power steering fluid or dealing with the ac system
The drivers side has a ground hidden on the firewall but that can be unplugged. Passenger side has quite a few connections which are on the top so its pretty visible. You also have the fuel pressure regulator held on by two bolts and remove the hose as well.
On the rear of the engine you have two firewall coolant hoses the two camshaft sensors and one big connector (haven't removed this yet).
Bottom? Fun times my friends. The cat bolts have to be removed. I opted to removed the ones closet to the manifold and I HIGHLY suggest a swivel connector, it will make thing's so much easier.
Also while your down there you should remove the motor mount bolts. There is one on each side and it's a 17mm.
Next remove the starter Which has 2 14mm bolts and a ten mm nut for the battery cable.
After that i would start removing the transmission case bolts. The bolt ones are 14mm but as you get towards the middle they turn into 17mm. Also there's a crankshaft sensor that should be removed from the bottom of the transmission as well.
I think that's about it, I only have the top Trans bolts, the firewall hoses and that big connector on the rear and it should come out smoothly!
Edit. Engine is out but wanted to add a few notes.
Watch out for the trans cooler lines located on the side by the oil filter. They will stop you from removing the engine and can easily be removed by taking off the two ten mm bolts.
Last edited by eazdaskeez; Oct 15, 2017 at 07:26 AM.
Went and picked up the engine and pulled the plugs to get and general idea of how it was running and they looked pretty even all across
Next up is to drain the oil and pull the filter and cut it open to see if any debris is caught in the baffle. Also need to change the valve cover gaskets
Access plate is in the upper oil pan I think, single bolt holds it in place then you can rotate the engine to access those drive plate (flex plate) to flywheel to torque converter bolts.
Found the plate and hoping for the engine to be in today or in the am. I'll be starting a part out thread with the old engine if anyone needs anything. Maybe I can help some folks out because you've guys helped me so far!
Tq is now mated to the trans and fully seated. I'm assuming you should feel slight resistance when turning the tq. Question is how do I reattach the bolts to the tq and the flex plate once everything is back together? I'm assuming through the same opening that I used to access the bolts?