
Volks SF Winnings Work log.


Worklog: Volk SF Winnings - Disassembly, Cleaning, Repolishing lip & Paint.
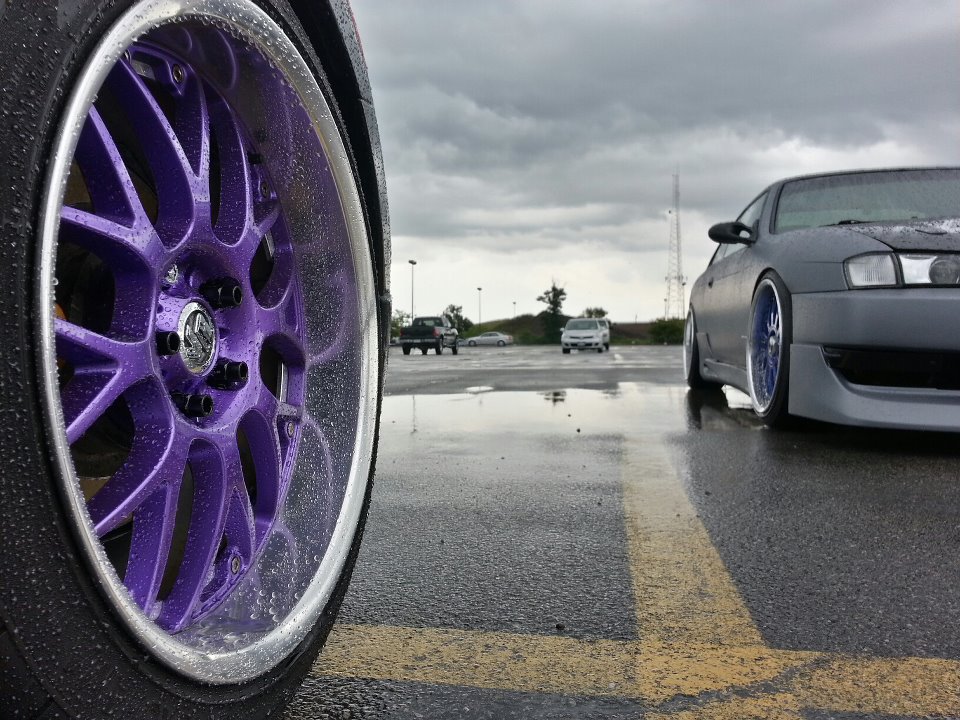
So I got these rims for a decent price. The condition was alright.
-Front wheel had a long curb rash
-2 other went had a minor ding
-Volks stickers was peeling off on all wheels
-Lip had water stains and a blue hint of IDK what.
-Wheels were urber dirty!
-The face was perfect after some cleaning.
The goal,
-Re Polish the lip
-Paint the face silver. Well now Gold!
-Throw it on & sit back and admire my work. =D
Highres Crappy iPhone pics can be found on my blog.
http://ivtecc.com/wordpress/volks-sf...s-refinishing/
Day 1. Cleaning up the rims
I first used soap and water then wheel cleaner to remove the sturrbon baked on brake dust.


Day 2. Clean the lip.
I tired:
-Waxing
-Clay baring
-Bonami
-More Soap and water
But nothing worked. So...

I buffed out a water mark. And it looked clean as hell. But everything else wasent.
Lets go ahead and refinish the lip!!!!!
I did some research and really didnt want to get the power *****. One time use and its done for. What a waste of $20 bucks. And its only one type of ball.
So I found this kit for my Dewalt drill: where you can order buffing pads for different uses. Cutting, really fine cutting, polishing, waxing etc. Its a way better investment.
I went ahead and got Chemical guys Extreme Polish & Chemical guys Fine Polish & wax.
Stage 1 and Stage 2 kinda... We'll see how this works out.

http://www.autogeek.net/spot-buff-kit.html
Day 3. Fix the curb.
This was about 10 mins of grinding and sanding.

Then I went all out. Lots of grinding and more aggressive sanding.
No pictures, sorry. You'll see it later.
Day 4. Lets take some things apart.
10mm bolt form the back and a Hex in front.
Note to self: Twist from the 10mm bolt in the back, not the Hex in the front.
I had to learn this the hard way by messing up some Hex patterns =[

Hey it says Rays! So F u XXR wanna be's


And holy crap! The face is 12 pounds!

Day 5. Stripping n cleaning & Volk sticker repair.
I used goof off to remove the weights and the sticker from the previous weights. And the loctite spray to glue on the Volks sticker.


Easy off time! This stuff will remove the Anodized coating.


More wet sanding! 200 grit, 600 grit and #000 steel wool.

The old curb rash!

So I need to wait for my polishing stuff to come in next week and see if I can find some 1000 & 2000 grit sandpaper.
Day 6. Disassembly & Stripping the other 3 wheels.
So this took about 4 hours. Also some quick sanding too.
Be sure to cover the back barrel up! and if the oven cleaner does get on it: wipe it off and spray it with water! or this will happen:

Taped up!

Oven cleaner in action

Day 6. Sanding time.
Finally got higher grit sandpaper!
So this is the level that i used.
80 (for curbs), 200, 800, 1500, 2000 then finally #000 wool.
The Final product thats ready to be polished:

Still drying

The curb rash.


And this morning I took the faces to my buddys place to get it prepped & painted. & it looks like the color we choose was a Honda Inca Pearl color.
More pics


Bolts being soaked in Dawn dishwashing soap for 20 minutes vs 5 minustes.

Fully sanded wheel

Only up to 800

I want bright gold like the Works VS-XX but this is the closent thing i can find. If you have suggestions let me know, paint wont start till next week.

Day 7. Polishing time!.
So my order from autogeek came in! (Bufffing pads not included)

Lets Start.
I wiped everything down with paint thinner. So that its extra clean.
Using the super blue hydro pad with the extreme polish(this pad was not included with the kit, but I wanted to try it anyways. used for rough cutting)

Using the orange pad with the extreme polish (again used for a finer cut)

Using the white pad with the metal wax (again used for a super fine cut)

It looked good but I wanted to try to use the grey pad with the metal wax to remove the swirls and it kinda did.

And the Final Product.

Notes to my self:
- I only sanded down 2 wheels and picked the best one thats sanded to be polished. & I did notice the deep starches from the 800 grit paper after the polish. Lesson learned.
So I'll be resanding down the other front wheel till its perfect!
- This thing gets the mirco fiber towel dirty, so have lots to use! 1 towel per rim if your being a jew.
- I have a cordless dewalts power drill, I used 2 batteries all ready. So I think I'll be switching to be corded power drill.
Things left to do:
- Sand down the other 3 rims.
- Polish the other 3 rims.
- My buddy will be helping me paint the faces on saturday.
- Order some tires for the front (245/40/19) and move the front tires to the back (255/40/19)
- Mount tires at a friends tireshop. Then throw the wheels on the car.
-Front wheel had a long curb rash
-2 other went had a minor ding
-Volks stickers was peeling off on all wheels
-Lip had water stains and a blue hint of IDK what.
-Wheels were urber dirty!
-The face was perfect after some cleaning.
The goal,
-Re Polish the lip
-Paint the face silver. Well now Gold!
-Throw it on & sit back and admire my work. =D
Highres Crappy iPhone pics can be found on my blog.
http://ivtecc.com/wordpress/volks-sf...s-refinishing/
Day 1. Cleaning up the rims
I first used soap and water then wheel cleaner to remove the sturrbon baked on brake dust.
Day 2. Clean the lip.
I tired:
-Waxing
-Clay baring
-Bonami
-More Soap and water
But nothing worked. So...
I buffed out a water mark. And it looked clean as hell. But everything else wasent.
Lets go ahead and refinish the lip!!!!!
I did some research and really didnt want to get the power *****. One time use and its done for. What a waste of $20 bucks. And its only one type of ball.
So I found this kit for my Dewalt drill: where you can order buffing pads for different uses. Cutting, really fine cutting, polishing, waxing etc. Its a way better investment.
I went ahead and got Chemical guys Extreme Polish & Chemical guys Fine Polish & wax.
Stage 1 and Stage 2 kinda... We'll see how this works out.
http://www.autogeek.net/spot-buff-kit.html
Day 3. Fix the curb.
This was about 10 mins of grinding and sanding.
Then I went all out. Lots of grinding and more aggressive sanding.
No pictures, sorry. You'll see it later.
Day 4. Lets take some things apart.
10mm bolt form the back and a Hex in front.
Note to self: Twist from the 10mm bolt in the back, not the Hex in the front.
I had to learn this the hard way by messing up some Hex patterns =[
Hey it says Rays! So F u XXR wanna be's
And holy crap! The face is 12 pounds!
Day 5. Stripping n cleaning & Volk sticker repair.
I used goof off to remove the weights and the sticker from the previous weights. And the loctite spray to glue on the Volks sticker.
Easy off time! This stuff will remove the Anodized coating.
More wet sanding! 200 grit, 600 grit and #000 steel wool.
The old curb rash!
So I need to wait for my polishing stuff to come in next week and see if I can find some 1000 & 2000 grit sandpaper.
Day 6. Disassembly & Stripping the other 3 wheels.
So this took about 4 hours. Also some quick sanding too.
Be sure to cover the back barrel up! and if the oven cleaner does get on it: wipe it off and spray it with water! or this will happen:
Taped up!
Oven cleaner in action
Day 6. Sanding time.
Finally got higher grit sandpaper!
So this is the level that i used.
80 (for curbs), 200, 800, 1500, 2000 then finally #000 wool.
The Final product thats ready to be polished:
Still drying
The curb rash.
And this morning I took the faces to my buddys place to get it prepped & painted. & it looks like the color we choose was a Honda Inca Pearl color.
More pics
Bolts being soaked in Dawn dishwashing soap for 20 minutes vs 5 minustes.
Fully sanded wheel
Only up to 800
I want bright gold like the Works VS-XX but this is the closent thing i can find. If you have suggestions let me know, paint wont start till next week.
Day 7. Polishing time!.
So my order from autogeek came in! (Bufffing pads not included)
Lets Start.
I wiped everything down with paint thinner. So that its extra clean.
Using the super blue hydro pad with the extreme polish(this pad was not included with the kit, but I wanted to try it anyways. used for rough cutting)
Using the orange pad with the extreme polish (again used for a finer cut)
Using the white pad with the metal wax (again used for a super fine cut)
It looked good but I wanted to try to use the grey pad with the metal wax to remove the swirls and it kinda did.
And the Final Product.
Notes to my self:
- I only sanded down 2 wheels and picked the best one thats sanded to be polished. & I did notice the deep starches from the 800 grit paper after the polish. Lesson learned.
So I'll be resanding down the other front wheel till its perfect!
- This thing gets the mirco fiber towel dirty, so have lots to use! 1 towel per rim if your being a jew.
- I have a cordless dewalts power drill, I used 2 batteries all ready. So I think I'll be switching to be corded power drill.
Things left to do:
- Sand down the other 3 rims.
- Polish the other 3 rims.
- My buddy will be helping me paint the faces on saturday.
- Order some tires for the front (245/40/19) and move the front tires to the back (255/40/19)
- Mount tires at a friends tireshop. Then throw the wheels on the car.
Last edited by ivtecc; Mar 14, 2012 at 12:26 AM.
Any questions feel free to ask but you seem to be doin' fine on your own!

Nath_19. This is a long process & I'm glad I can help.
& I updated the worklog.
Also I'm trying to find a gold pearly color. Any Idea?
& I updated the worklog.
Also I'm trying to find a gold pearly color. Any Idea?
Trending Topics

Final Update!
So I finished sanding down and polishing the wheels! and doing everything else. I do want to try the wool pad to see if I can get it more reflective! But as of right now I'm just way to lazy.
Paint products aint cheap!

I was thinking this color from honda. Blue Raspberry! But it was too late

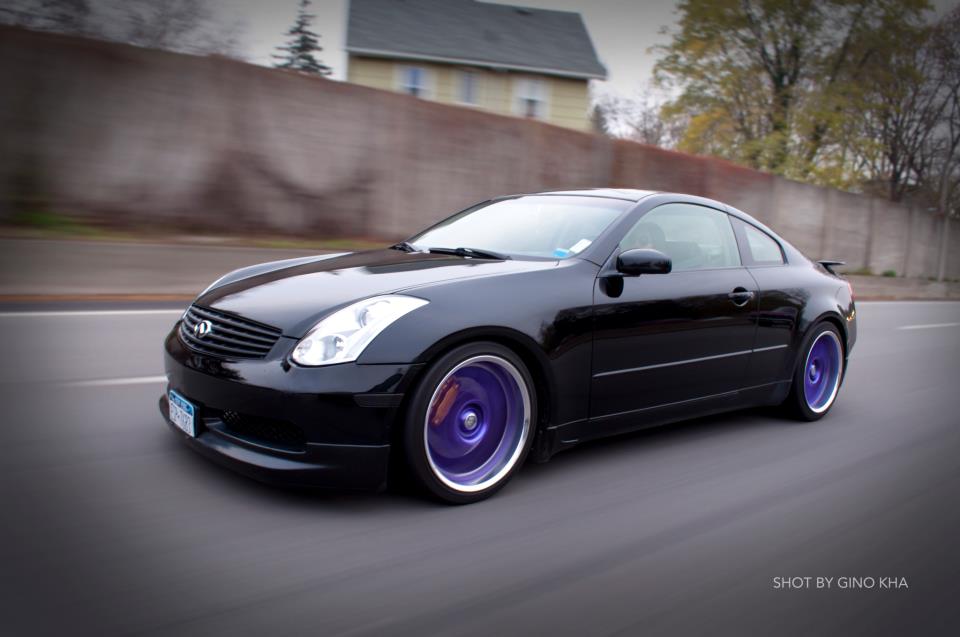
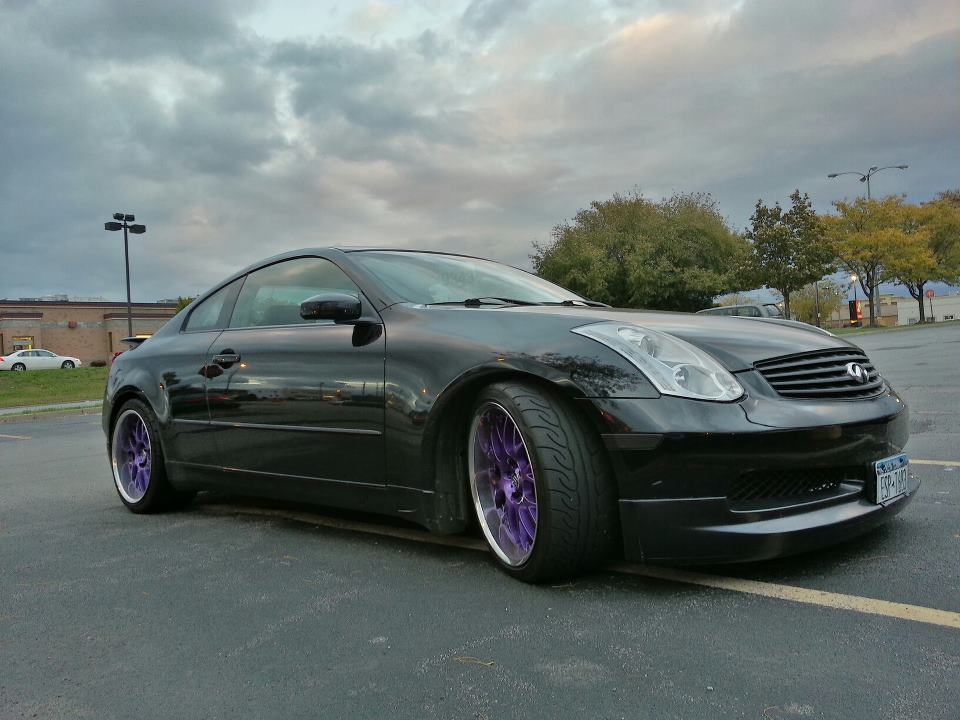
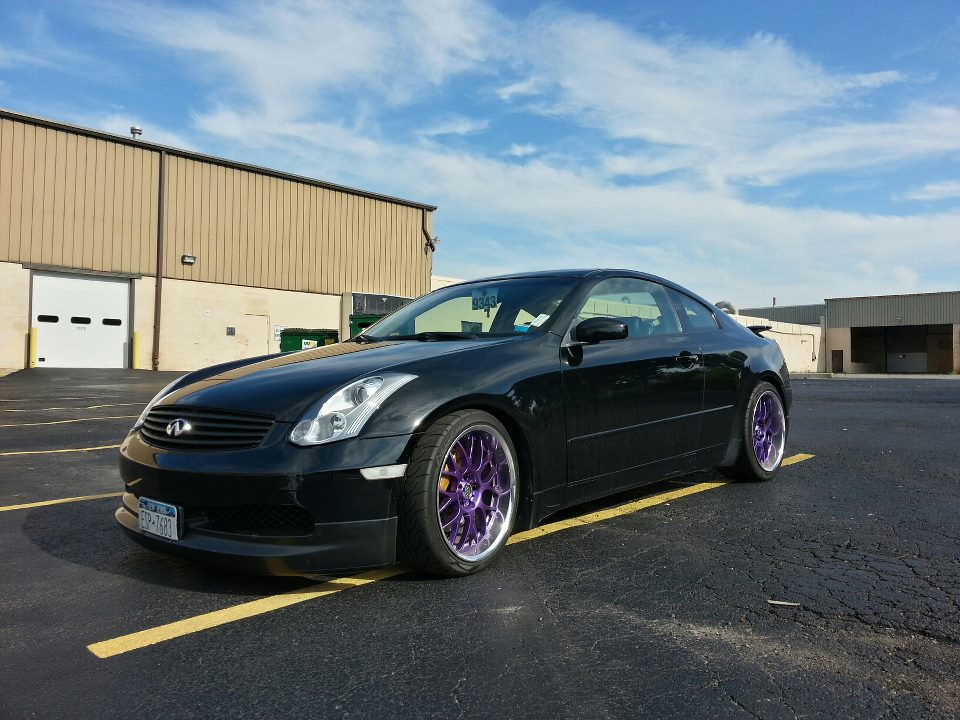
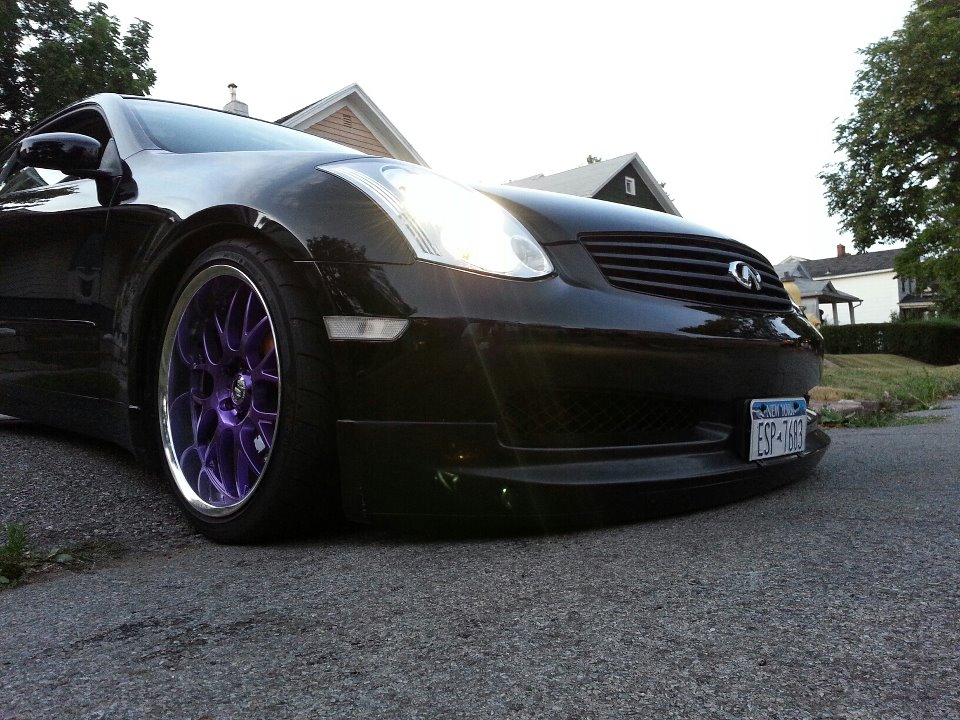
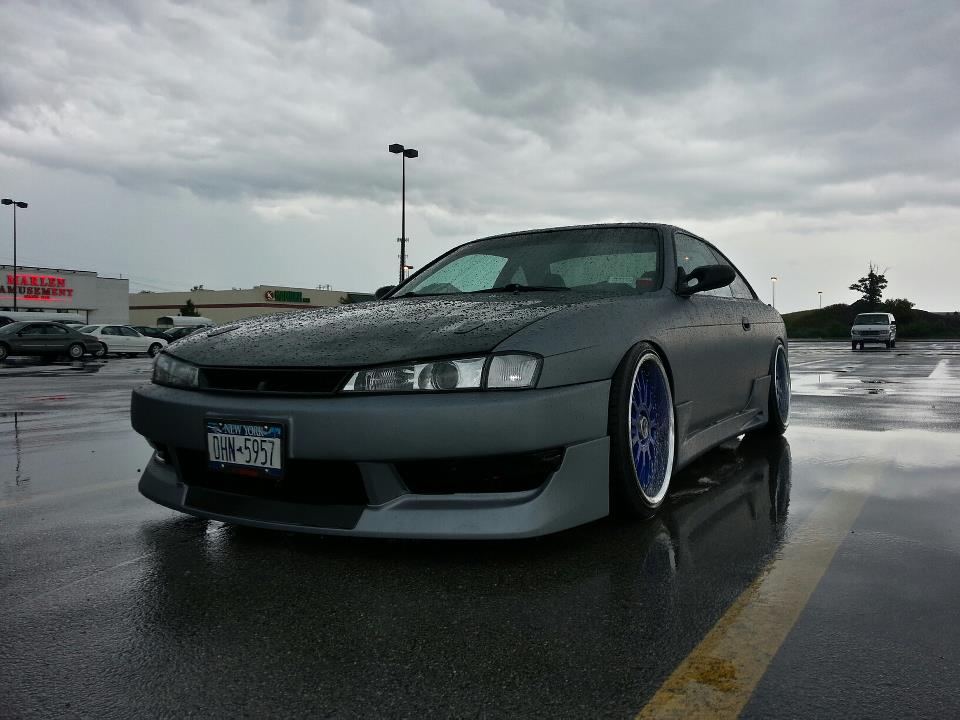
Final product after everything got bolted down at 22Ft/lbs with Loc Tite

Clean wheeels from being a 2005 huh?

Close up shot

With the tires on and some protection!

GOtta love having a Honda Pilot! Fitted 4 tires and 4 rims without any troubles.

I'll have more pics later!
So I finished sanding down and polishing the wheels! and doing everything else. I do want to try the wool pad to see if I can get it more reflective! But as of right now I'm just way to lazy.
Paint products aint cheap!
I was thinking this color from honda. Blue Raspberry! But it was too late
Final product after everything got bolted down at 22Ft/lbs with Loc Tite
Clean wheeels from being a 2005 huh?
Close up shot
With the tires on and some protection!
GOtta love having a Honda Pilot! Fitted 4 tires and 4 rims without any troubles.
I'll have more pics later!


Thread
Thread Starter
Forum
Replies
Last Post
911Turbo
19 Inch
10
Aug 24, 2016 08:31 AM
FS[Canada]: 19" Rays Volk LE37 Wheels Rims with Falken Tires
netcbc
Wheels & Tires CDN
1
Sep 24, 2015 09:53 AM