
DIY: Install USA Spec PA15-INF in 03-06 Sedans!!!


Thread Starter
|
Registered User
Joined: Jan 2010
Posts: 301
Likes: 19
From: Maryland
DIY: Install USA Spec PA15-INF in 03-06 Sedans!!!
Hello guys and welcome to my DIY for the USA spec PA15-INF. I was tired of waiting for my favorite songs to come on the radio and hate lugging around cd's so I did my research and found this item on Cruthfeild for 149.99. It will charge my Iphone- allow direct control of music on the ipod itself or through any of the controls on the radio or steering wheel. I ordered it on Monday, it came on Tuesday, and I put in on Wednesday. This was a very easy install but time consuming because I took it slow. All in all it took me 2 hours. So make sure you have plenty of daylight to burn. Ive never done a tutorial before so if I'm not as in depth as you would like just ask me any questions you have directly.
So..... LETS GET STARTED!!!
Tools Needed:
Flat-head Screw driver
Phillips Screw Driver
Copper wire clothes hanger
zipties or anything to bind the excess chord
First thing first as with any install is to disconnect the negative(black) battery terminal- but before that unlock all your doors, open your trunk and move your font seats as far up as possible to maximize room in the back seat. Disconnecting the battery will prevent damage to the head unit or electrical shock while touching wire so you can like to mod another day.
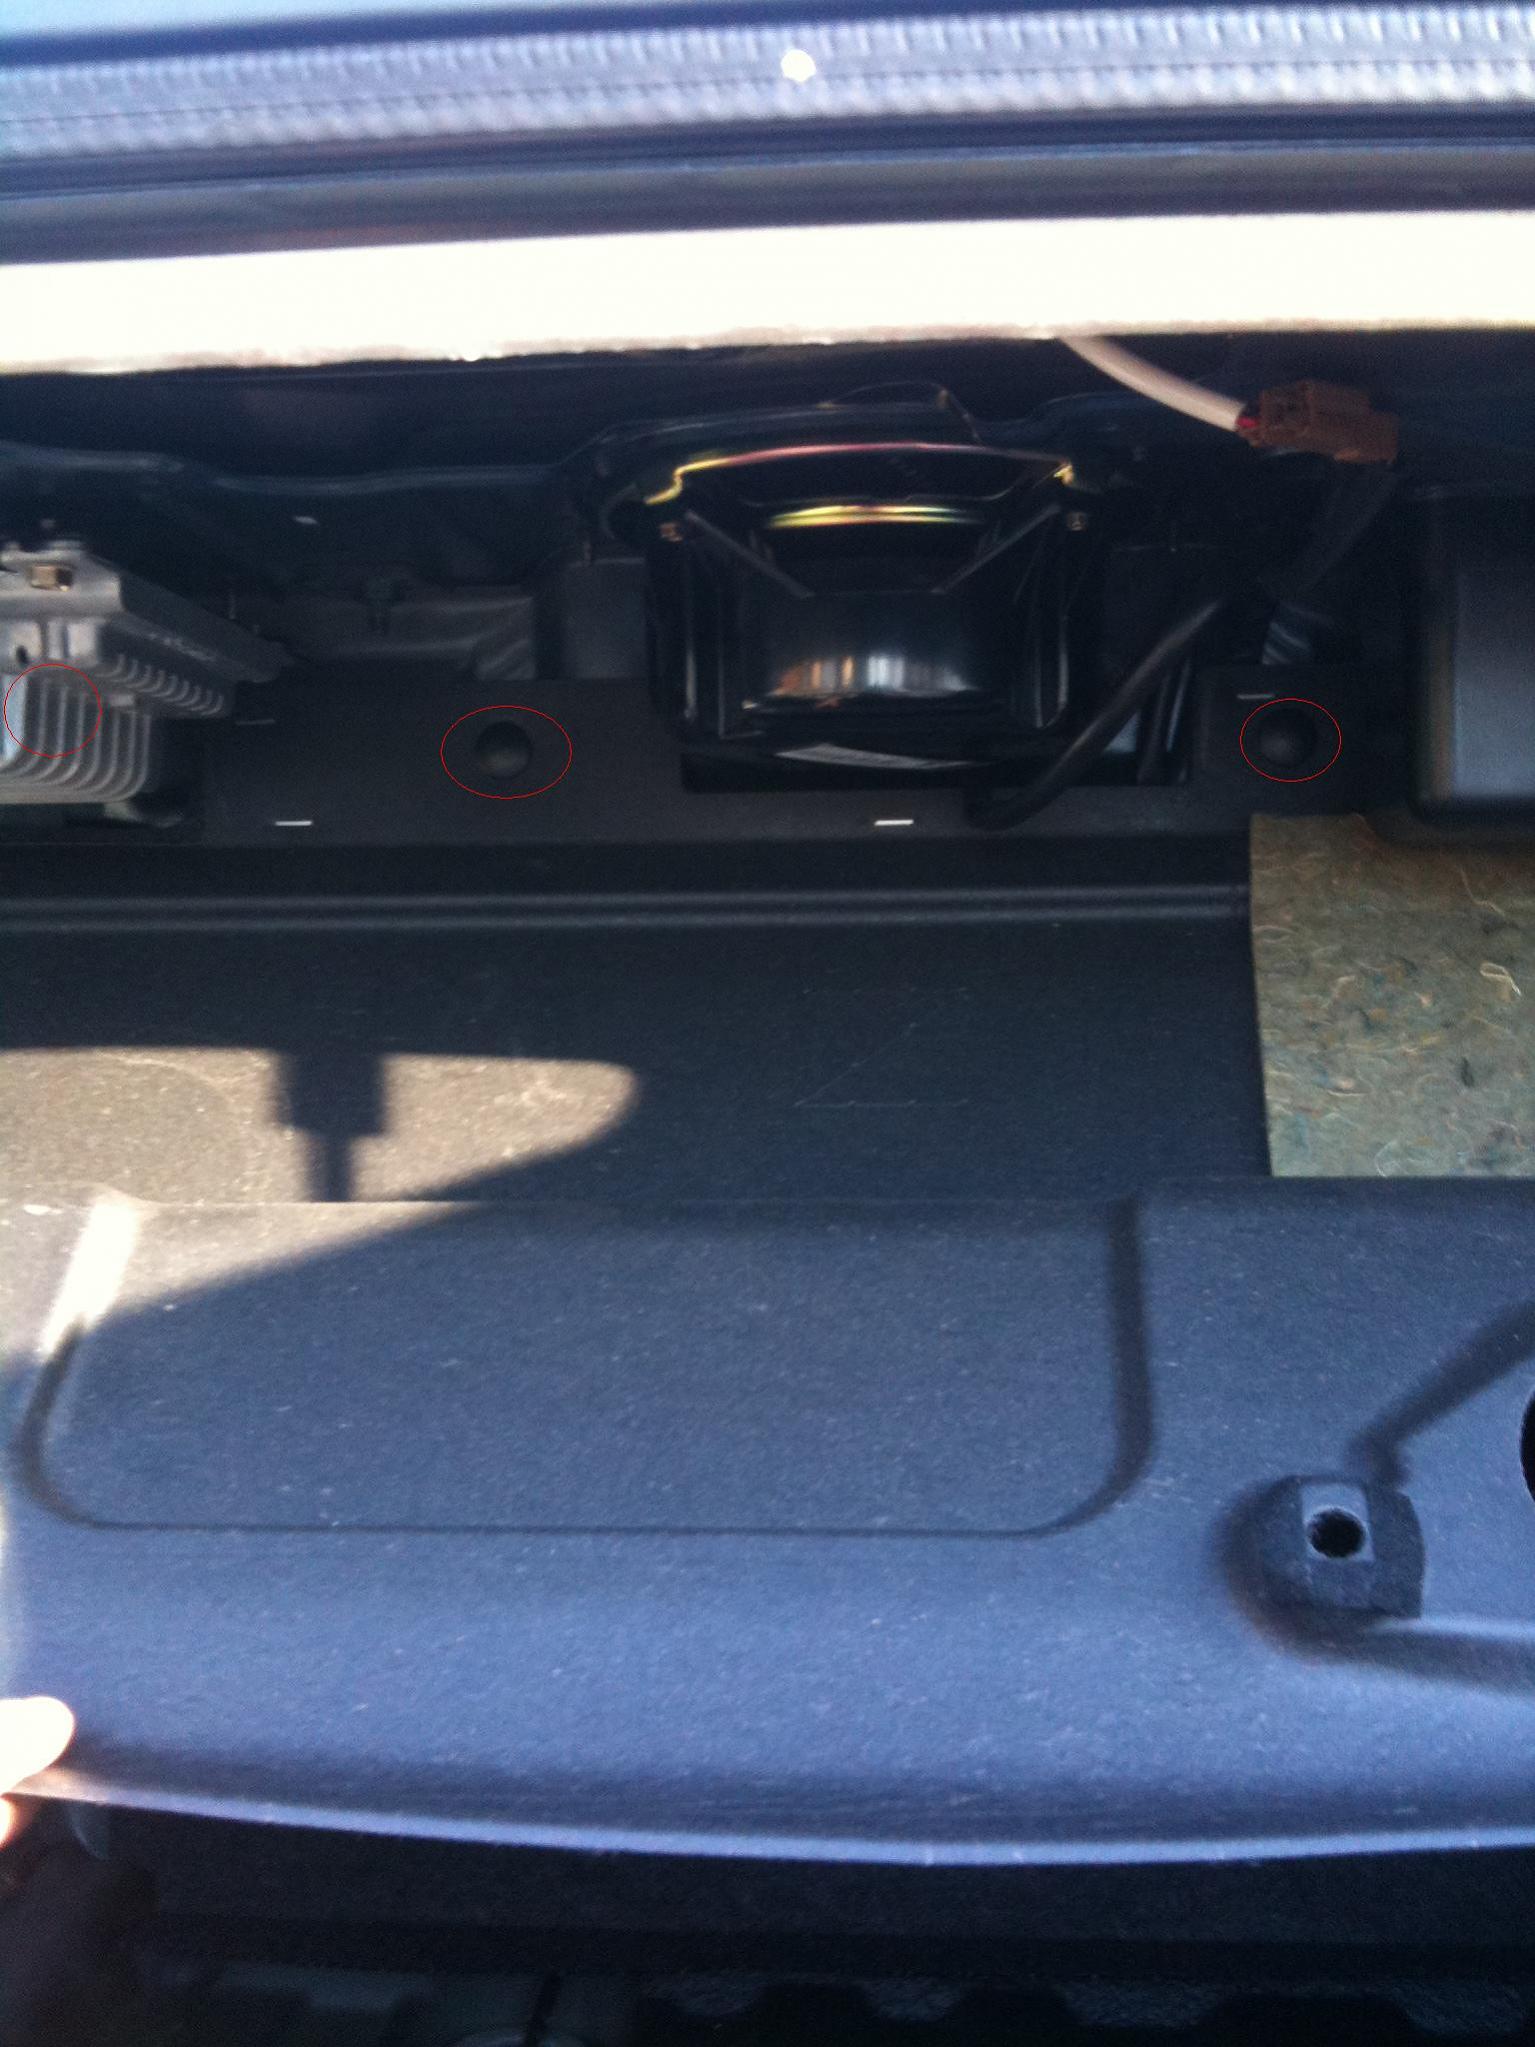
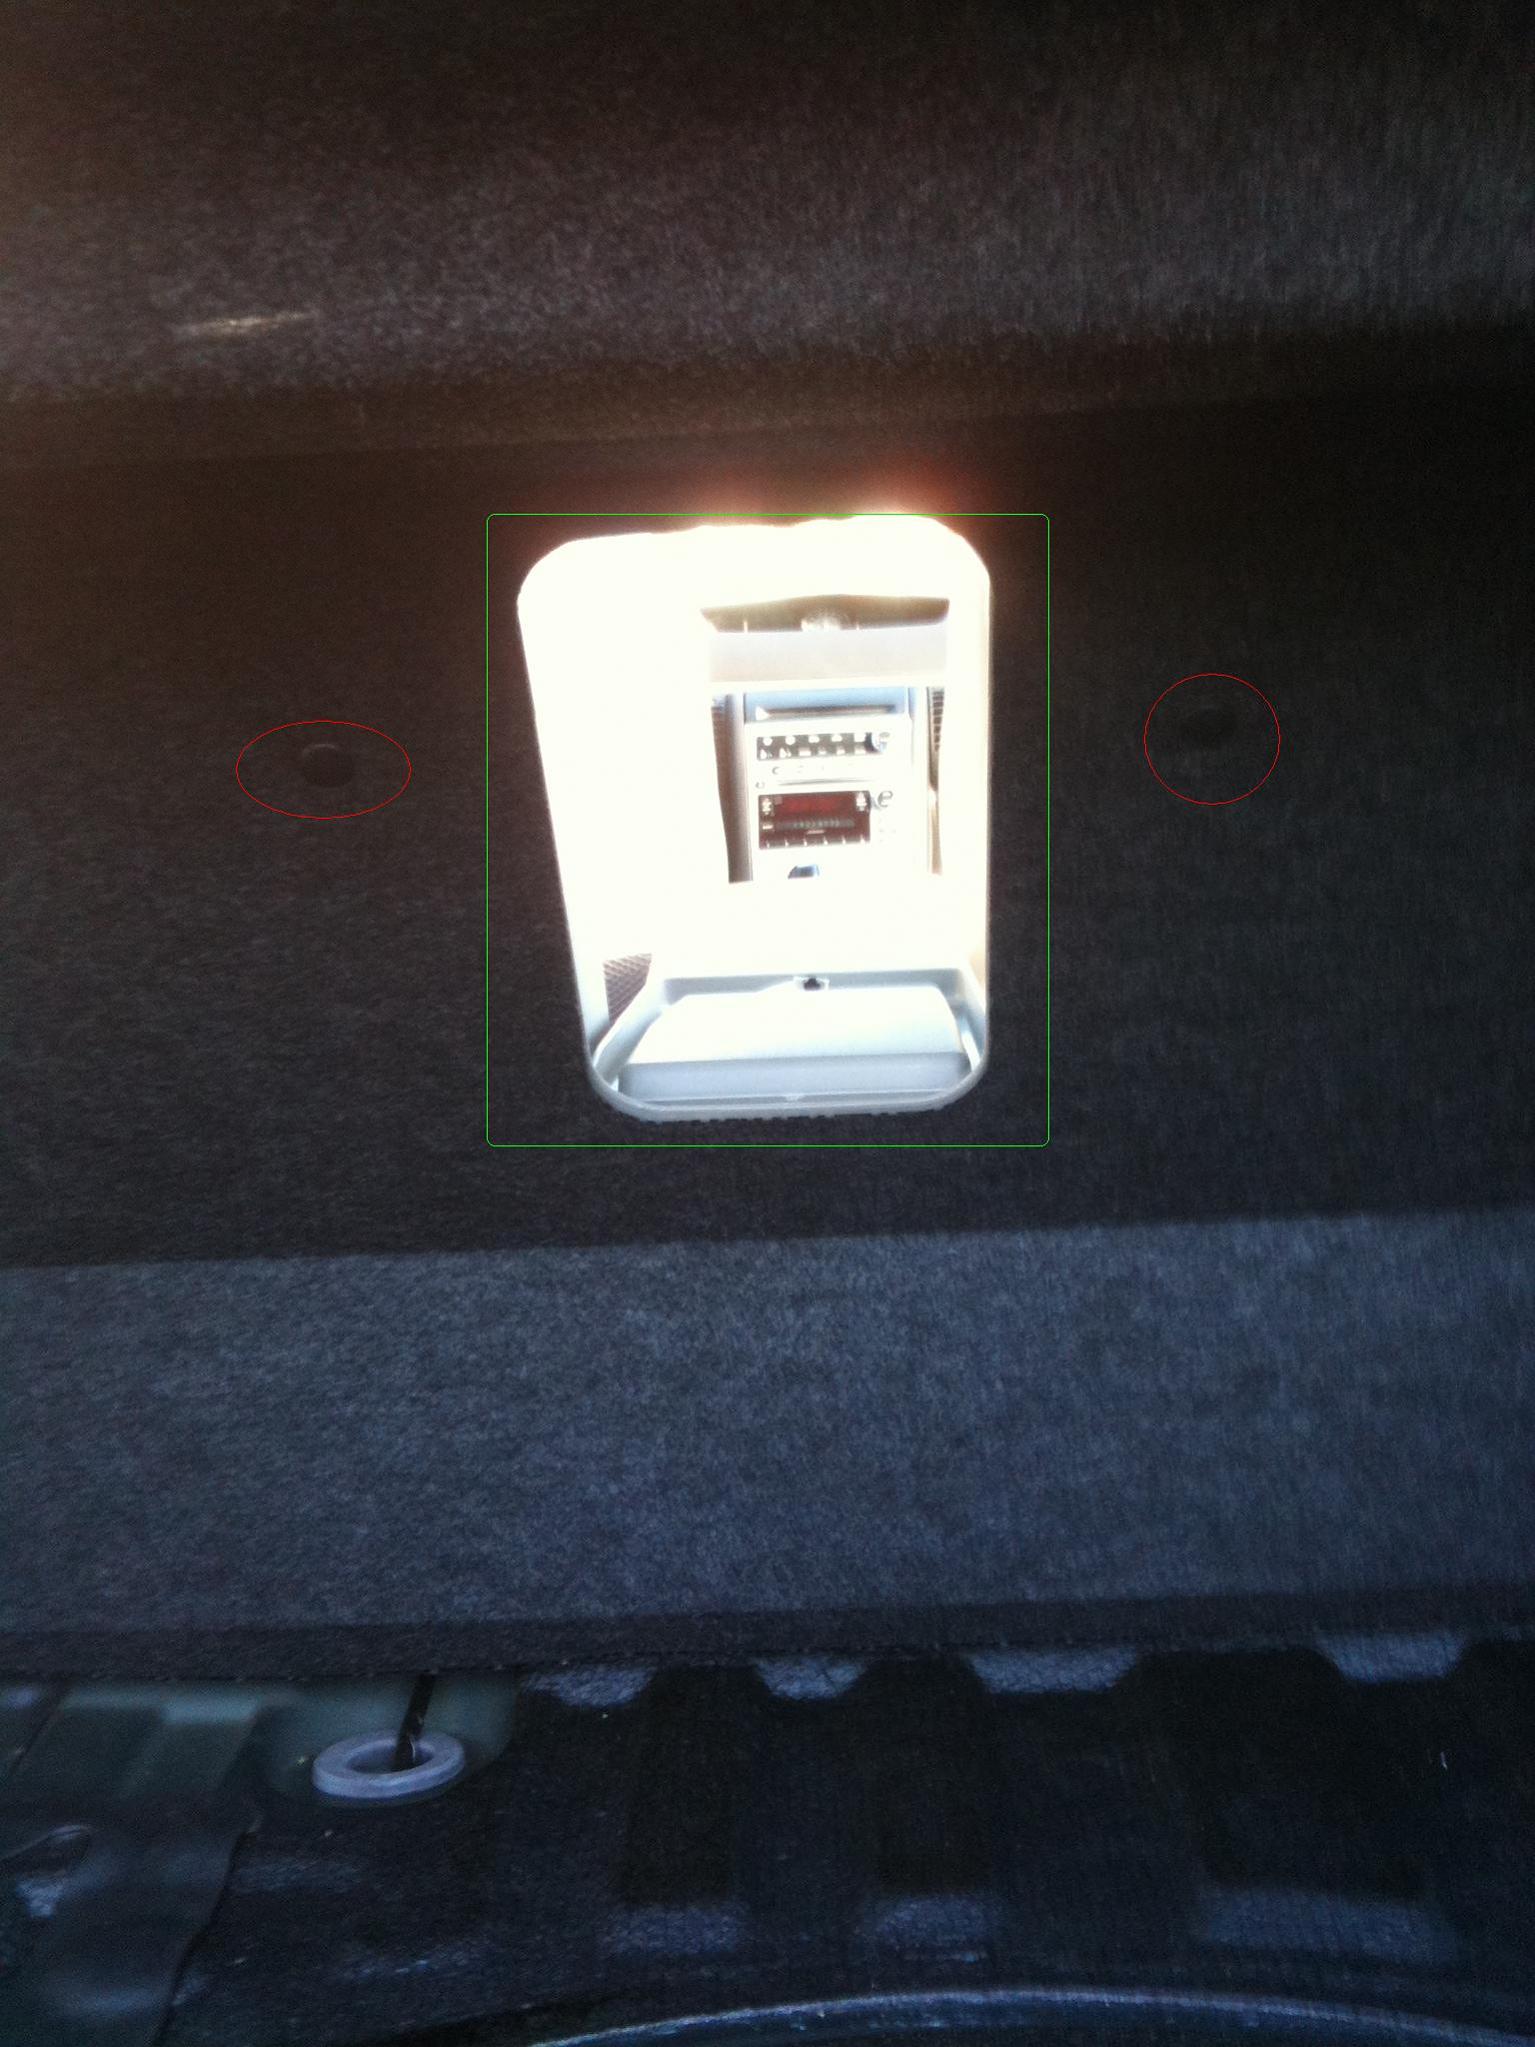
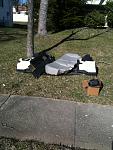
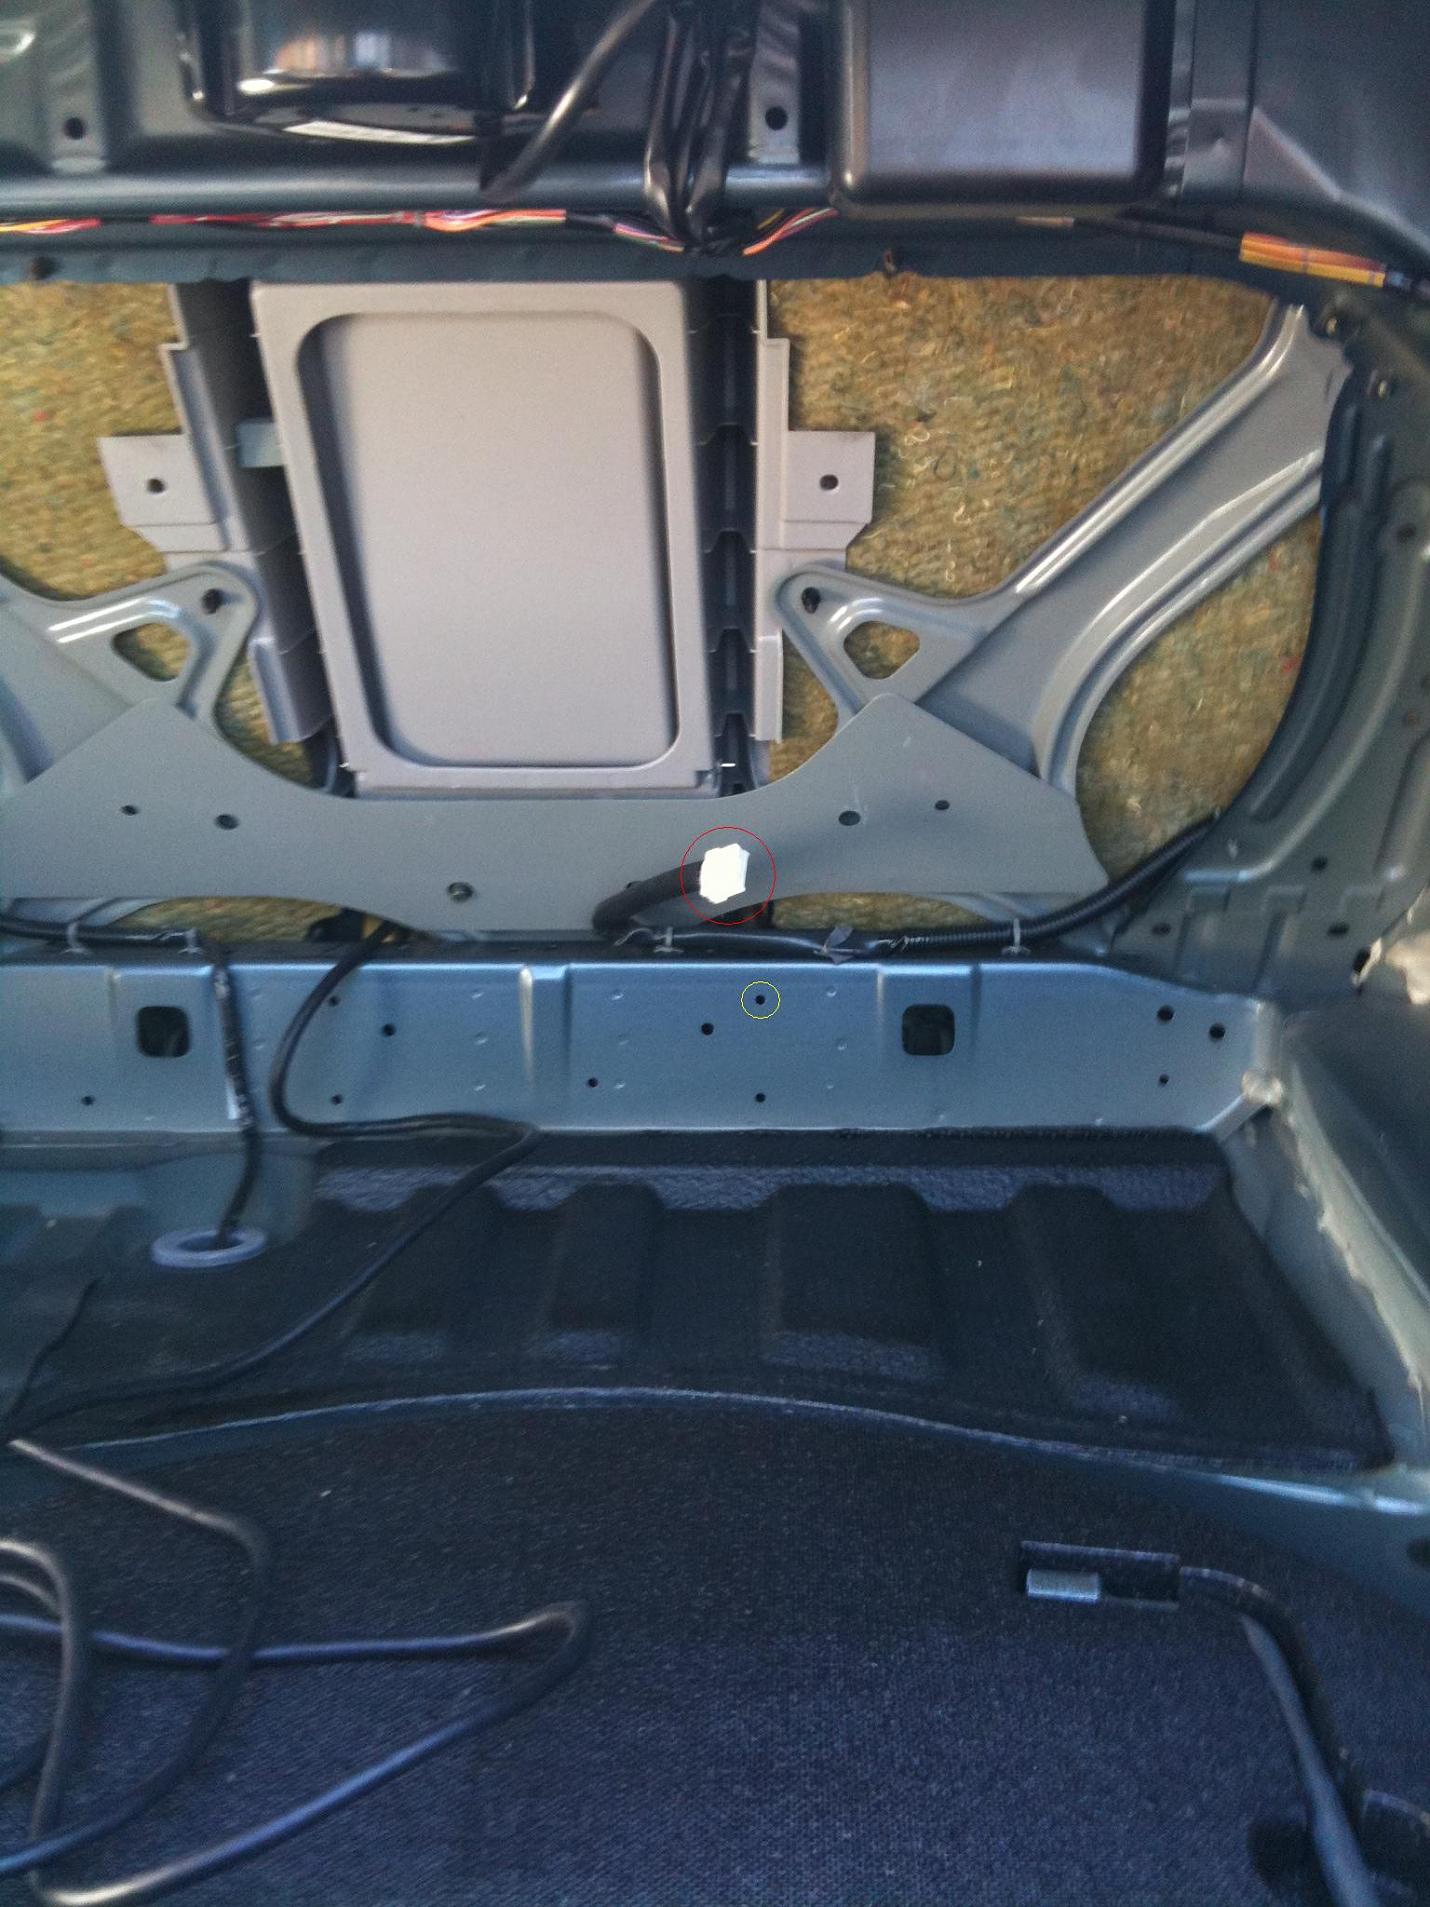
Now go to your trunk empty it out and start removing all the clips holding up all the trim pieces for the upper deck and side panels. Once all the clips are out pull down gently on the panel that is now held up by double sided tape to expose the stock sub and amp. The clips circled in red are what support the weight for entire upper panel.

Remove the clips on both sides of the trunk access door and remove the grommet that lines the interior of the trunk access door.
So..... LETS GET STARTED!!!
Tools Needed:
Flat-head Screw driver
Phillips Screw Driver
Copper wire clothes hanger
zipties or anything to bind the excess chord
First thing first as with any install is to disconnect the negative(black) battery terminal- but before that unlock all your doors, open your trunk and move your font seats as far up as possible to maximize room in the back seat. Disconnecting the battery will prevent damage to the head unit or electrical shock while touching wire so you can like to mod another day.
Now go to your trunk empty it out and start removing all the clips holding up all the trim pieces for the upper deck and side panels. Once all the clips are out pull down gently on the panel that is now held up by double sided tape to expose the stock sub and amp. The clips circled in red are what support the weight for entire upper panel.
Remove the clips on both sides of the trunk access door and remove the grommet that lines the interior of the trunk access door.
Thread Starter
|
Registered User
Joined: Jan 2010
Posts: 301
Likes: 19
From: Maryland
I found it easier to remove these by inserting my hand in between the panel and support bracket and popping the clip out
Now lift the rear panel up as you pull the side panels out for the left then the right(or right then left)

Now go around to back seat and feel down near where the seat meets the carpet. Theres a hook tab that you want to pull towards the front of the car as you lift up on the seat. Theres on clip on the right side and one on the left. But be CAREFUL. I unnecessarily pulled to hard on the right one and snapped the hook.(yikes, jergens lotion anyone???)

Thread Starter
|
Registered User
Joined: Jan 2010
Posts: 301
Likes: 19
From: Maryland
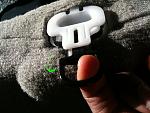
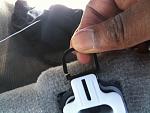
Now remove your rear seat by pushing the seat belt buckles down through their little slits and set everything aside somewhere out of the way.
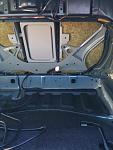
Now once all that is done your trunk should look something like this. The sat receiver wire is circled and is shown as a harness with a white connector.
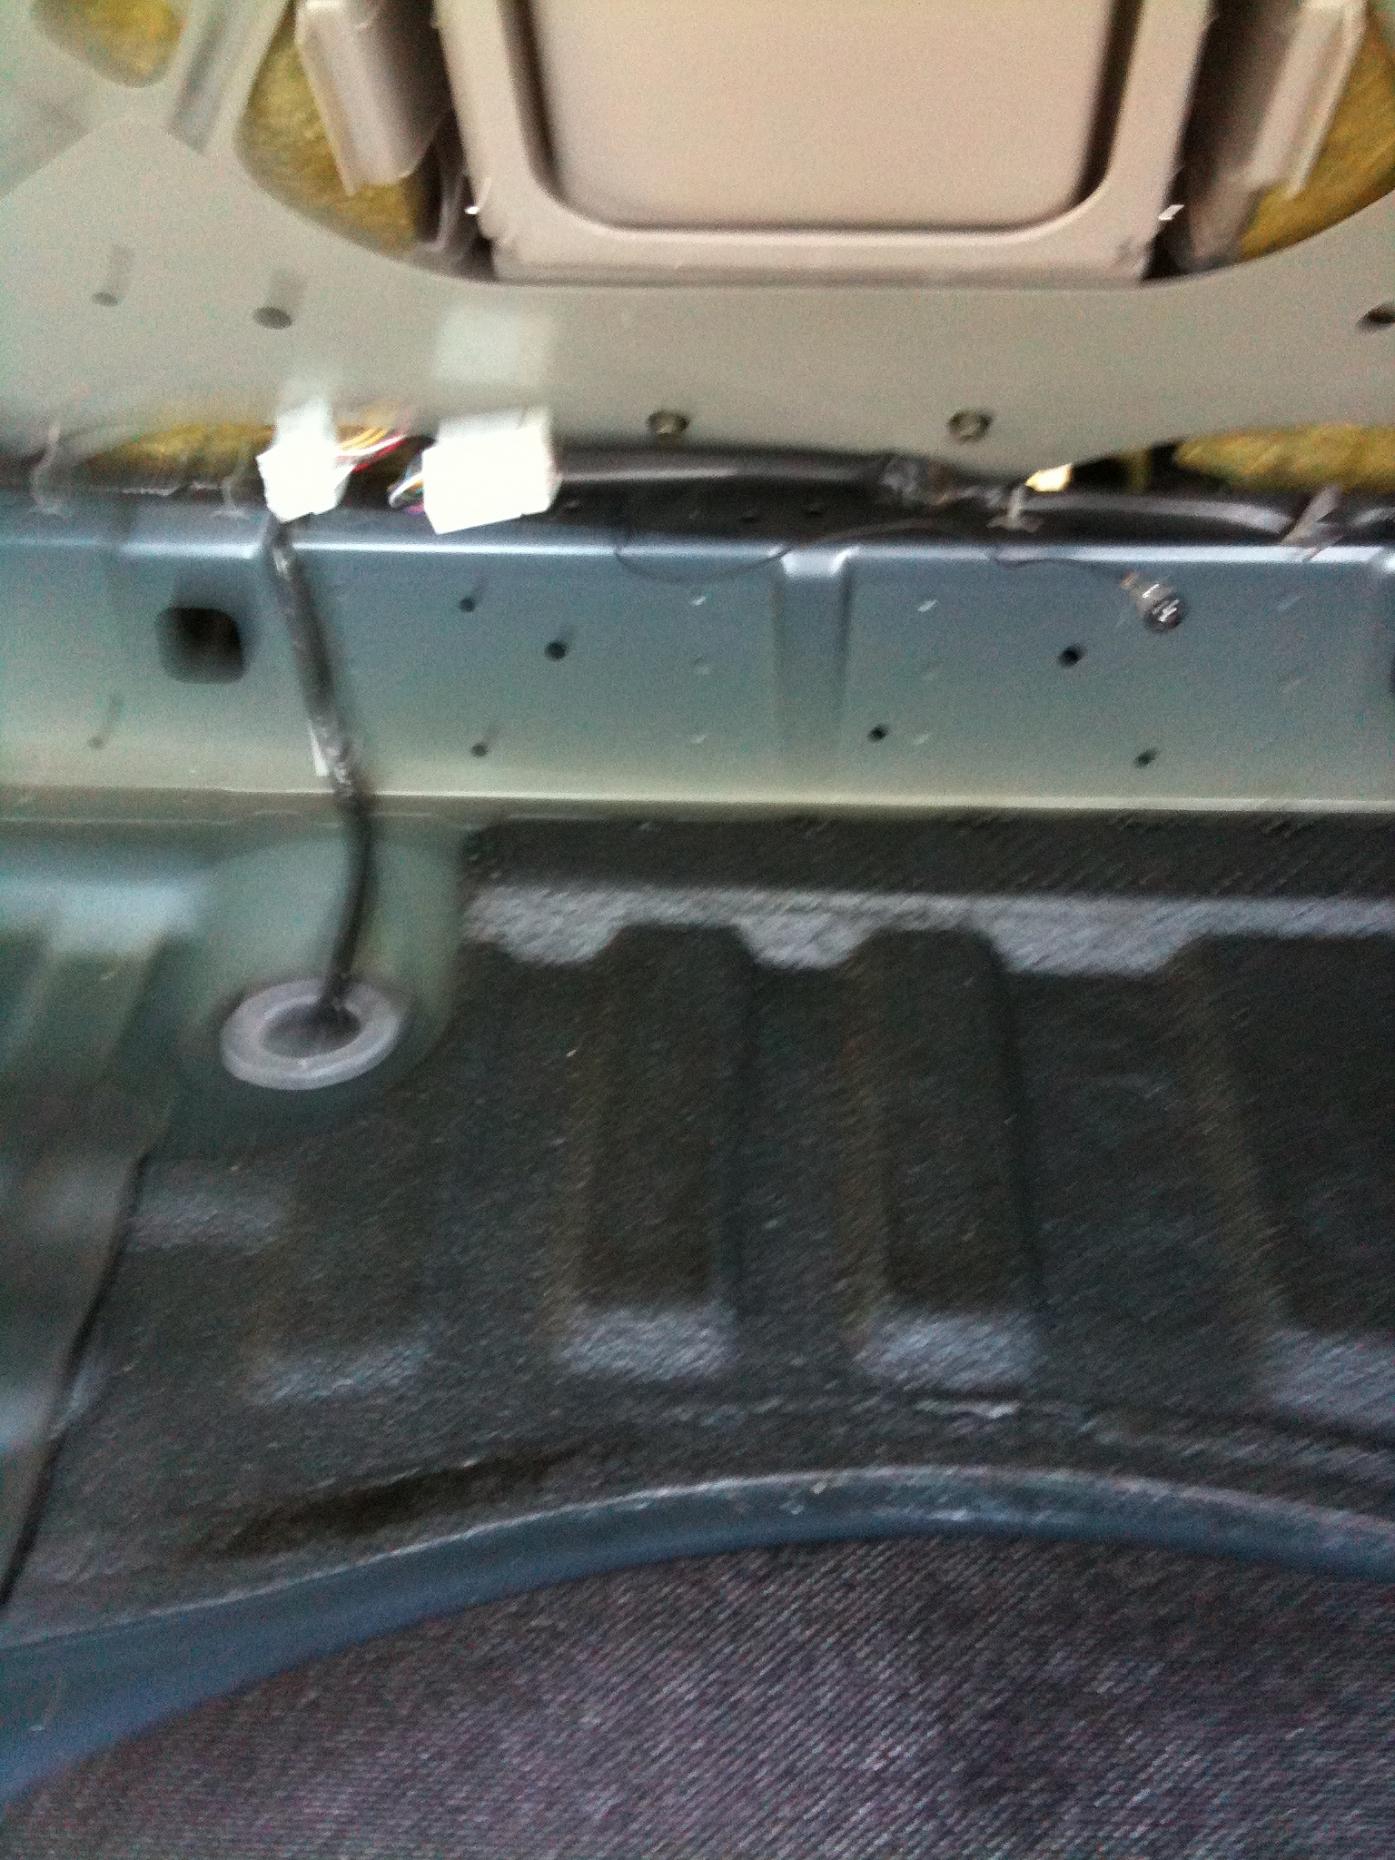
Now grab your harness that came with the PA15-INF and snake it through the nifty opening to the back seat area. (thanks nissan- that was easy!)
also a quick pic of the back seat

Now once all that is done your trunk should look something like this. The sat receiver wire is circled and is shown as a harness with a white connector.
Now grab your harness that came with the PA15-INF and snake it through the nifty opening to the back seat area. (thanks nissan- that was easy!)

also a quick pic of the back seat

Thread Starter
|
Registered User
Joined: Jan 2010
Posts: 301
Likes: 19
From: Maryland
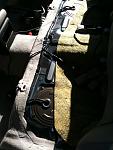
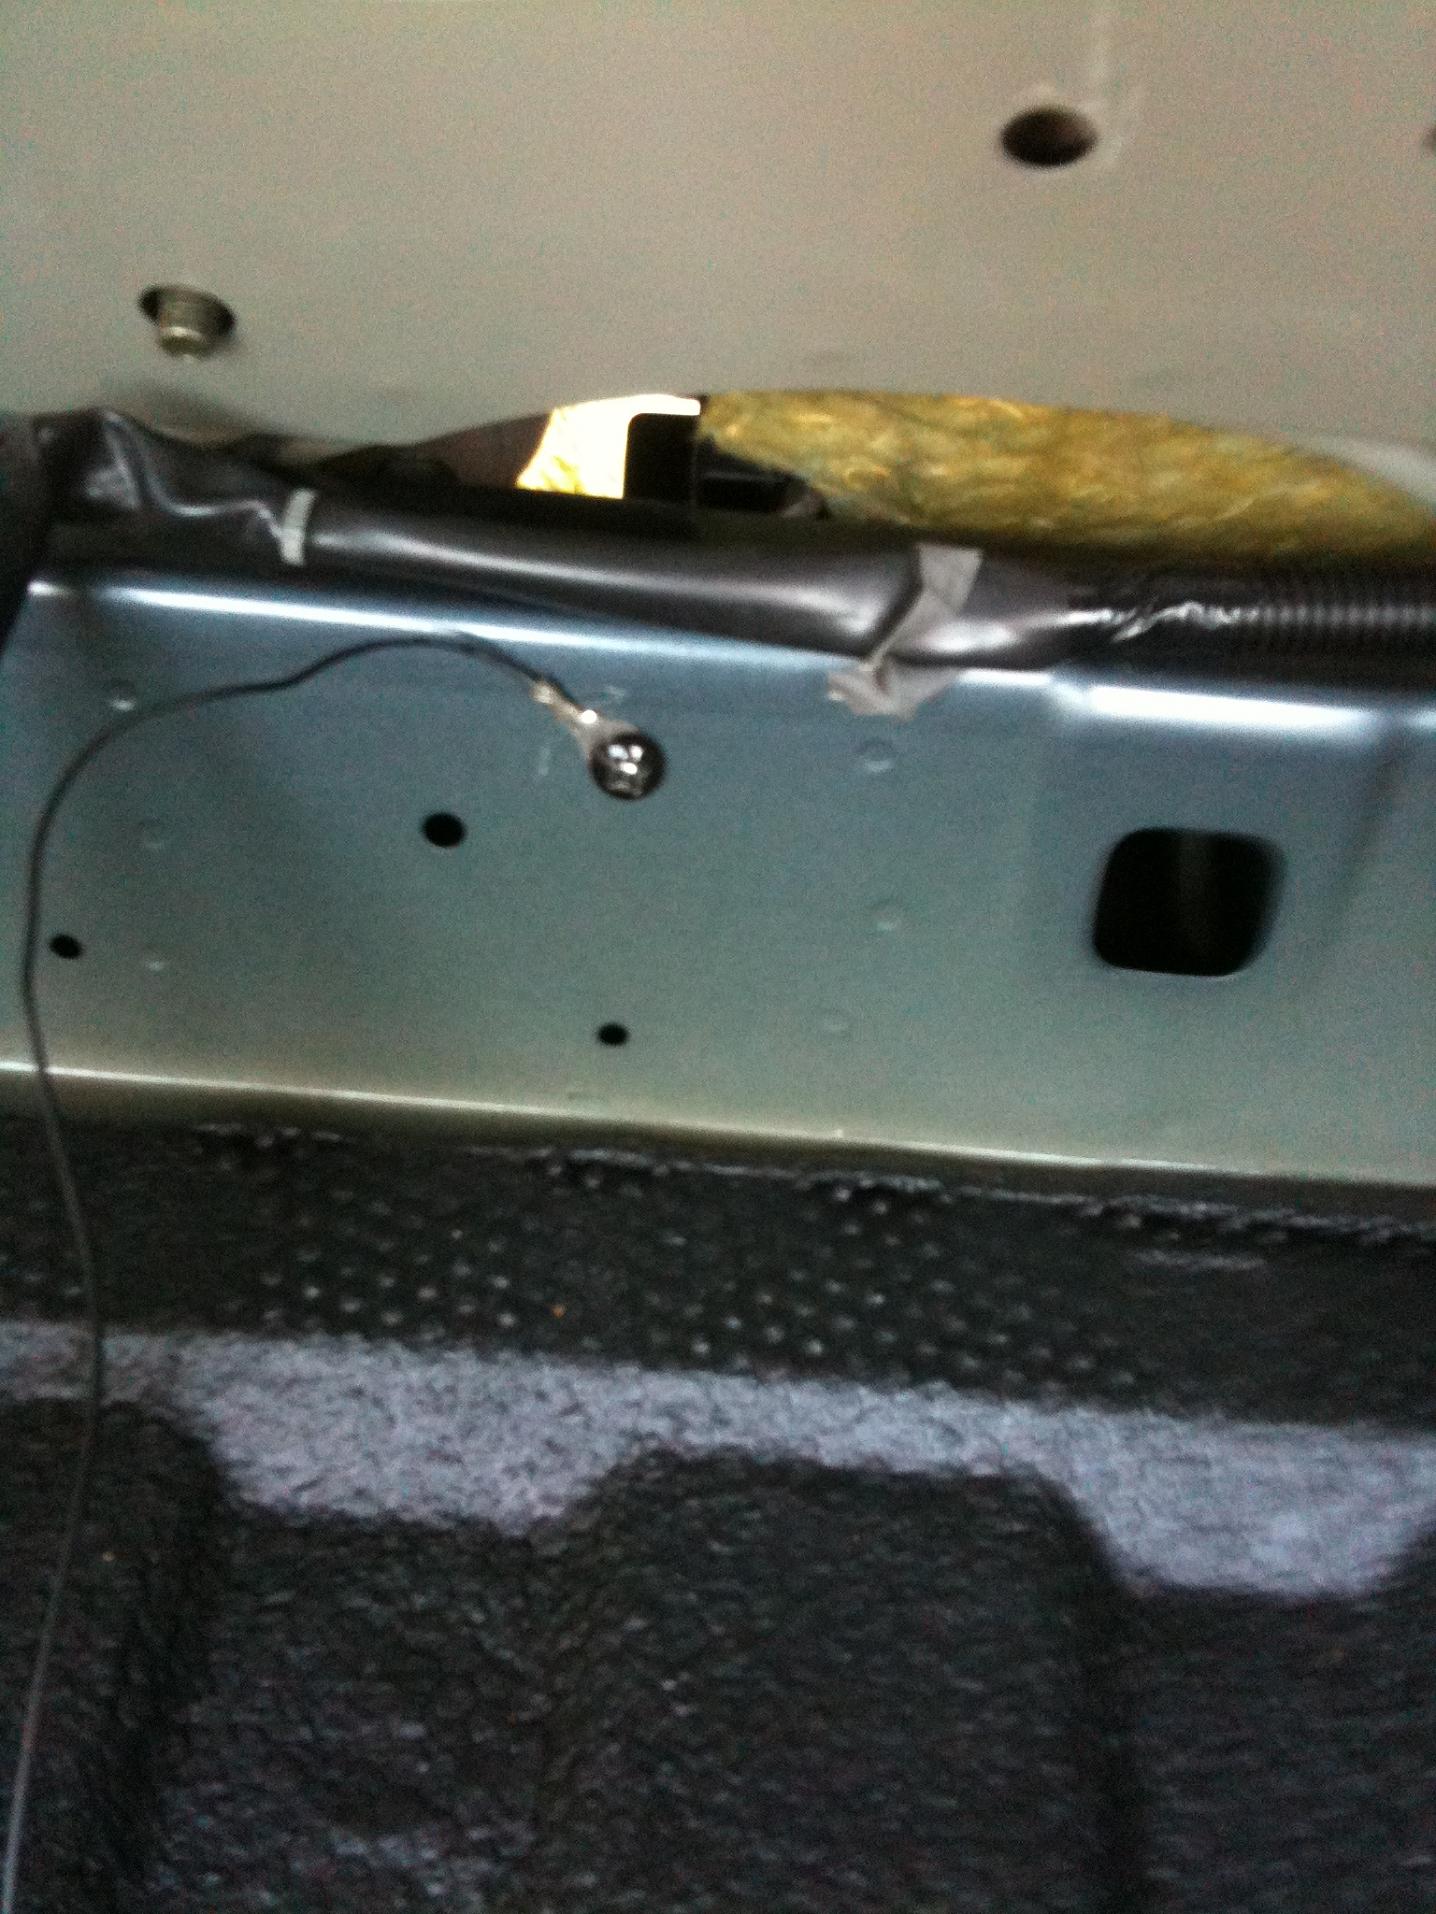
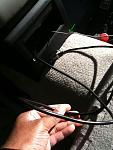
The SAT wire harness should appear just beneath the lever to recline the back seat. The wire is about 6 feet long so pull through as much or as little through as you want. I am going to tuck all the excess wire under the back seat.
Attachment 117953
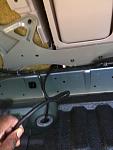
Now connect your female end of the harness onto the supplied male harness in your trunk and connect your ground wire to the metal chassis.

A quick pick of the trunk after grounding and harness connection

Attachment 117953
Now connect your female end of the harness onto the supplied male harness in your trunk and connect your ground wire to the metal chassis.
A quick pick of the trunk after grounding and harness connection
Thread Starter
|
Registered User
Joined: Jan 2010
Posts: 301
Likes: 19
From: Maryland
Now for the fun stuff!!! I chose to run the cable that connects my iphone to the PA15-inf unit under the carpet- under the center console- and out of the center console to the passenger side. There are two screws on the side of the center console towards the back bottom. This is where the copper hanger came in handy!!!


Trending Topics

Yes, it does! I play music from YouTube, Pandora, etc. Hope this helps!

Registered User
Joined: Aug 2010
Posts: 8
Likes: 0
I just got my PA15-INFI in the mail and I'm going to try and install it tonight...I have two quick questions:
1) If I disconnect the battery per step 1, will I lose my radio presets, memory seating, etc?
2) What is the best way to remove the trunk trim pieces without breaking anything? I'm worried about snapping the clips.
Thanks!
1) If I disconnect the battery per step 1, will I lose my radio presets, memory seating, etc?
2) What is the best way to remove the trunk trim pieces without breaking anything? I'm worried about snapping the clips.
Thanks!
2) just use a small flat head screw driver.

Registered User
Joined: Nov 2010
Posts: 35
Likes: 0
From: Costa Mesa, CA
Very helpful! Thank you! I ended up having to drill a new hole with a self drilling screw to ground the unit, i couldn't find any screws that fit perfect.
where did you place the control box that you plug the wires into?
where did you place the control box that you plug the wires into?

i just stuck it behind one of the screws that connect to the metal frame behind the stereo.
