
The Transformation of and Road to My VIP G35 Sedan


 )
)

Joined: Aug 2007
Posts: 10,850
Likes: 158
From: Los Angeles
Lugs won't be here for another week, but test fit in 10 hrs...now, time to rest and dream about the lovely lady that choked me, spanked me, and rubber her t*ts in my face.
Joined: Aug 2007
Posts: 10,850
Likes: 158
From: Los Angeles
I haven't done much updating in this thread and really haven't tracked the progress in the first few posts either. That said, I will be adding some updates shortly. Progress that I've posted throughout the thread but left out on the first page starts in post #3. I'll dig through my photobucket and see what updates I've done.
Joined: Aug 2007
Posts: 10,850
Likes: 158
From: Los Angeles
Forgot to add some of these.
May 14, 2010:
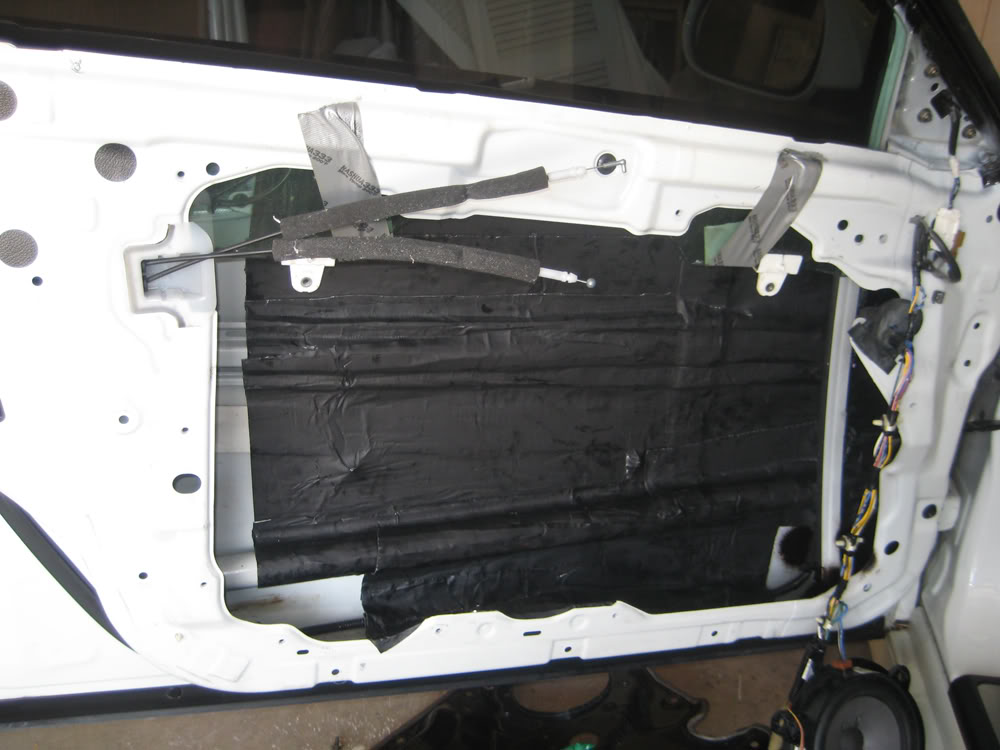
Started deadening my doors and I will do it as follows:
Inner part of door: 1 layer Damplifier Pro, 1 layer Overkill Pro
Inner black metal sheet: Same as above
Outer black metal sheet: 1 layer Damplifier Pro, 1 layer Luxury Liner Pro
Outer part of door: Same as above
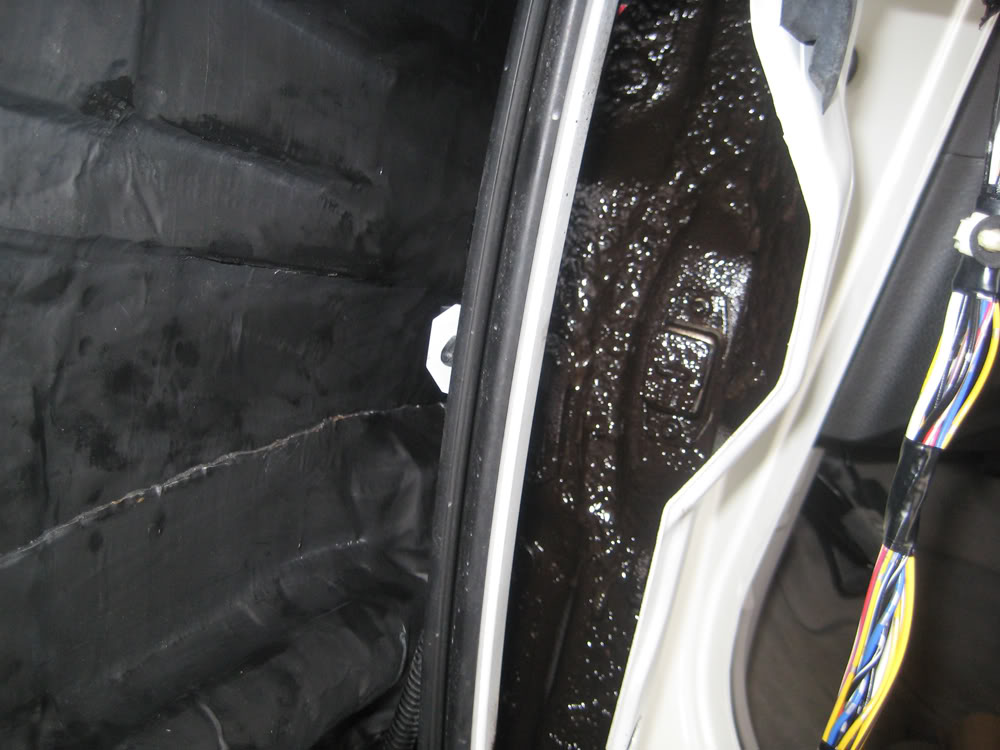
Some areas are tough to get to so I'm using rubber undercoating (what you spray on the truck beds, and Spectrum.
Untouched door:
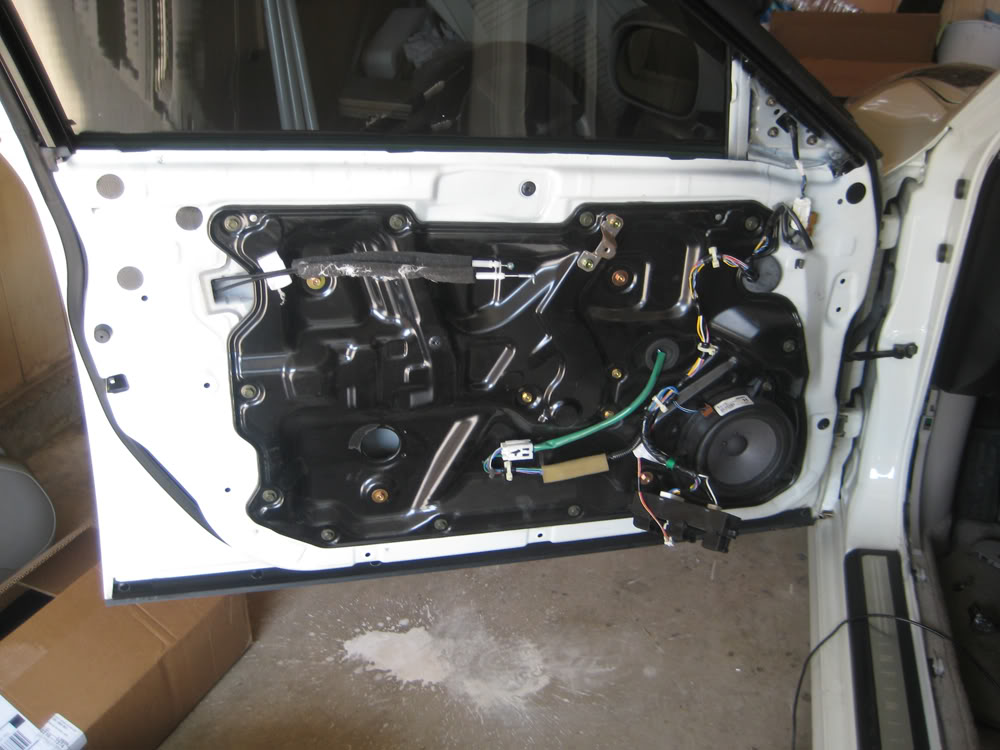
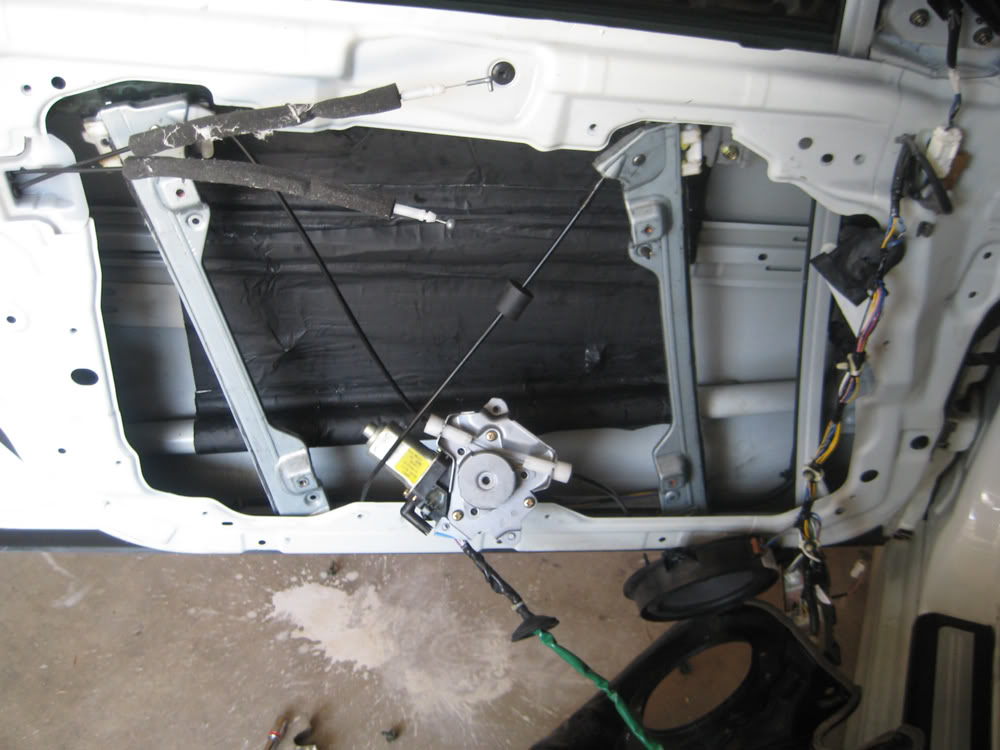
Black metal sheet removed and cleaned:

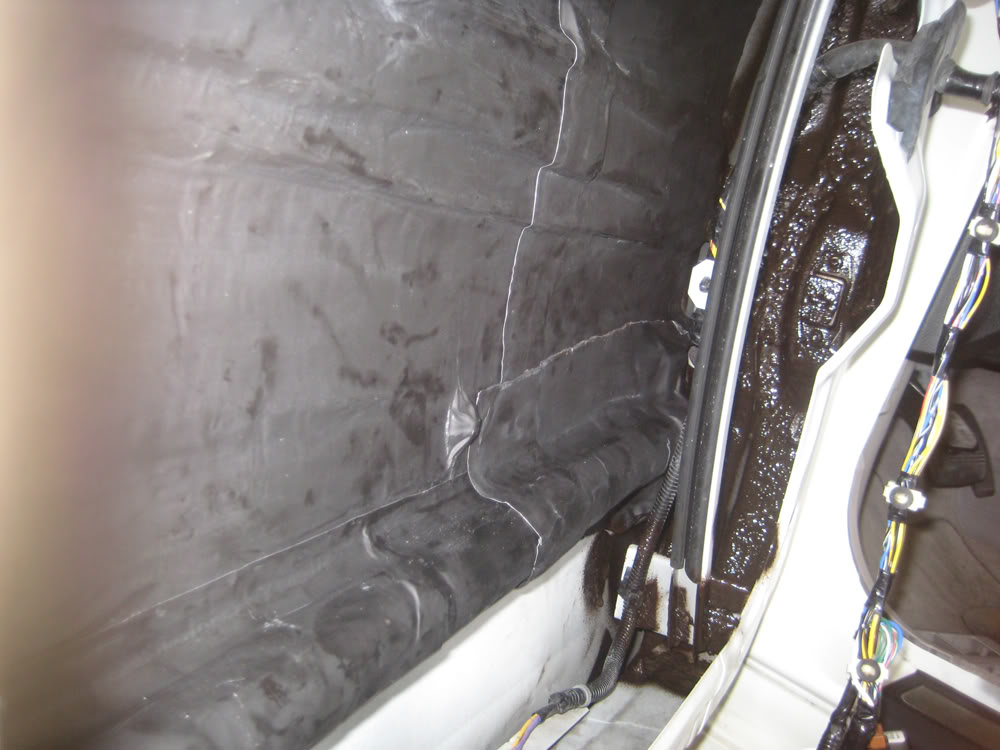
Starting the deadener install:
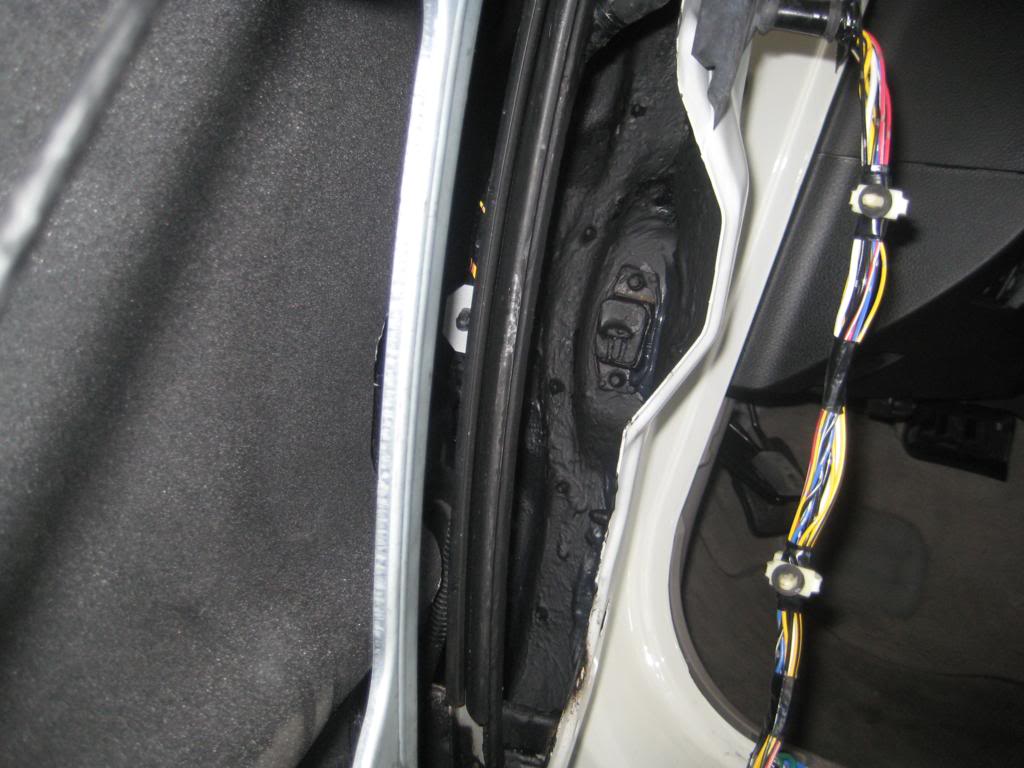
It wasn't till later that I realized I could remove the two bars to make it easier:
Rubber undercoating sprayed:
What I have done so far:
Door completed with Damplifier Pro:
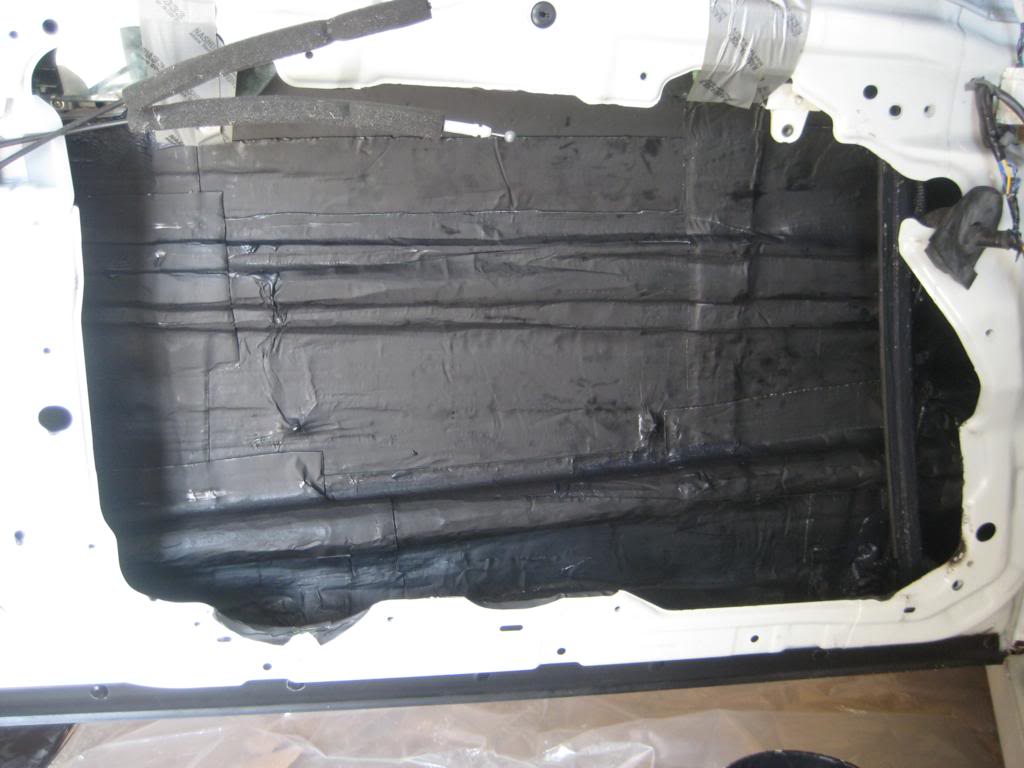
Overkill Pro add to improve midbass:

Spectrum & Rubberized Undercoating Added to get hard to reach areas:

Damplifier Pro on metal covering door shell:
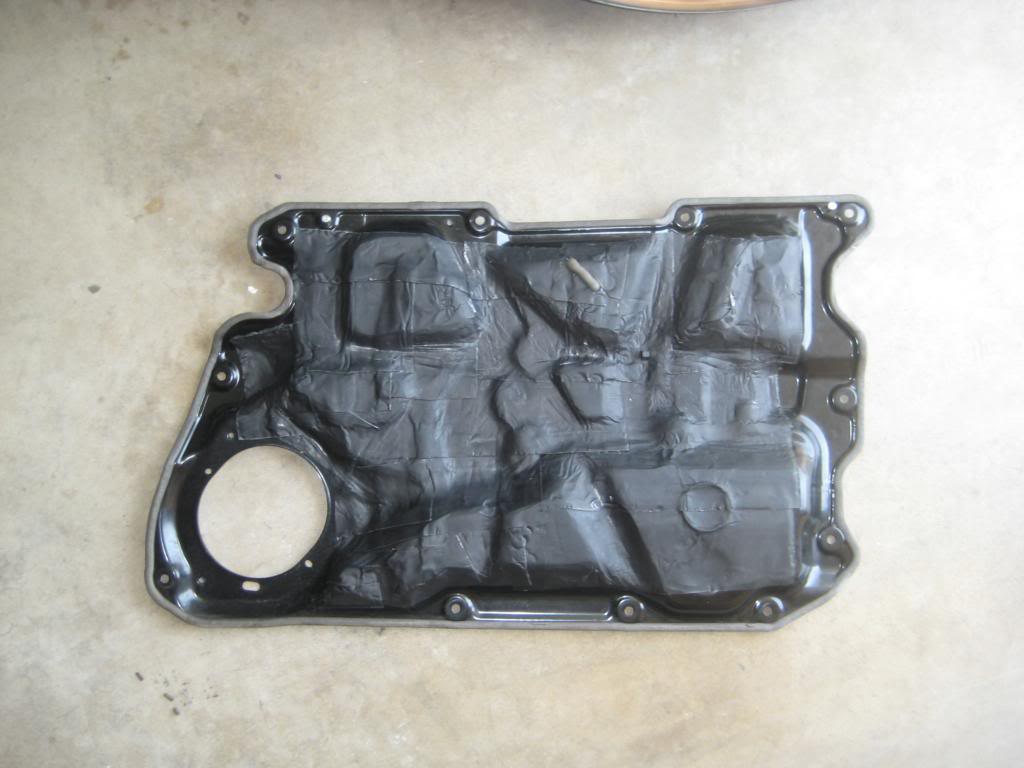
Spectrum on metal covering door shell (facing door panel):
I'll have more updated pics this weekend when I'm done adding the LLP.
July 4, 2010:
UPDATES:
- Added the Luxury Liner Pro on driver side.
- Passenger side still needs deadening.
- Wired amp through the back of the head unit for most output voltage.
Here's a couple pics, but I have more work to do. Gonna see about hooking up some mids and another amp for them. If all goes well, I'll put everything back together. Found out the cheap Kicker subs I got off craigslist are messed up, so I'm in the market for some other budget subs. Wish I hadn't sold some of my other ones
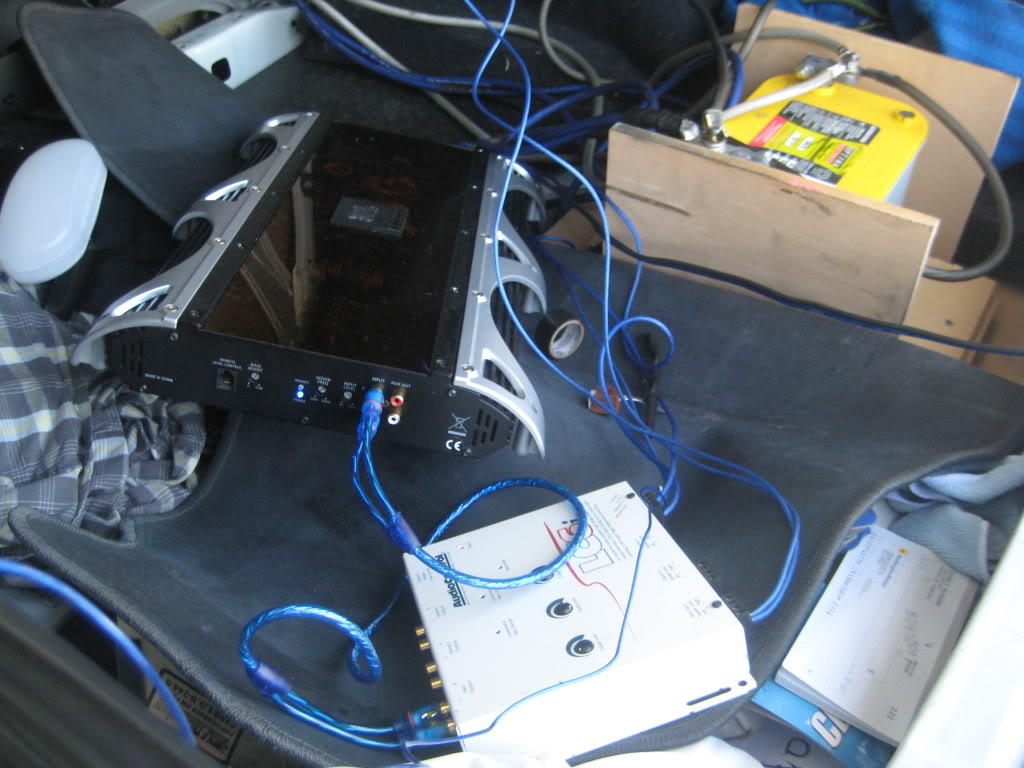
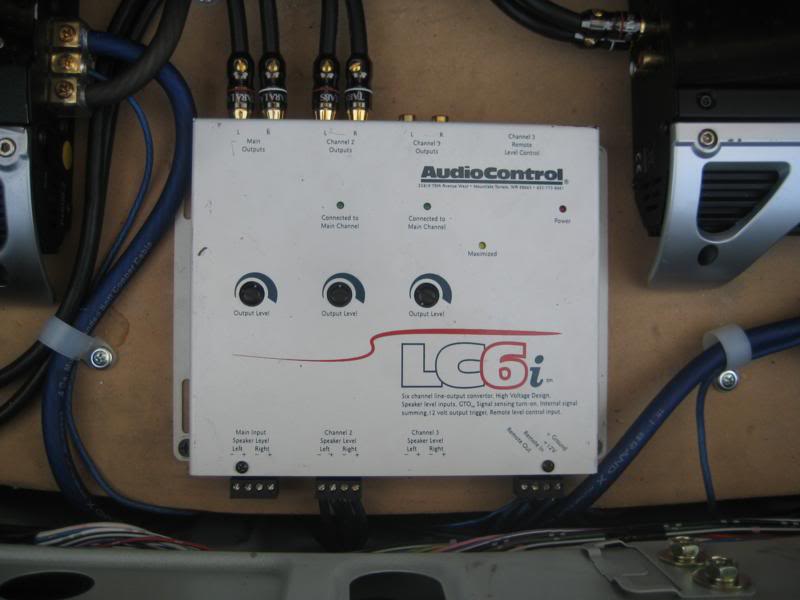
Rather than using a small little LOC I'm using an Audiocontrol LC6i. Got it from a friend and might do some EQ/XO settings with an add on unit, but we'll see. I just need some bass right now. It's been too long without it.
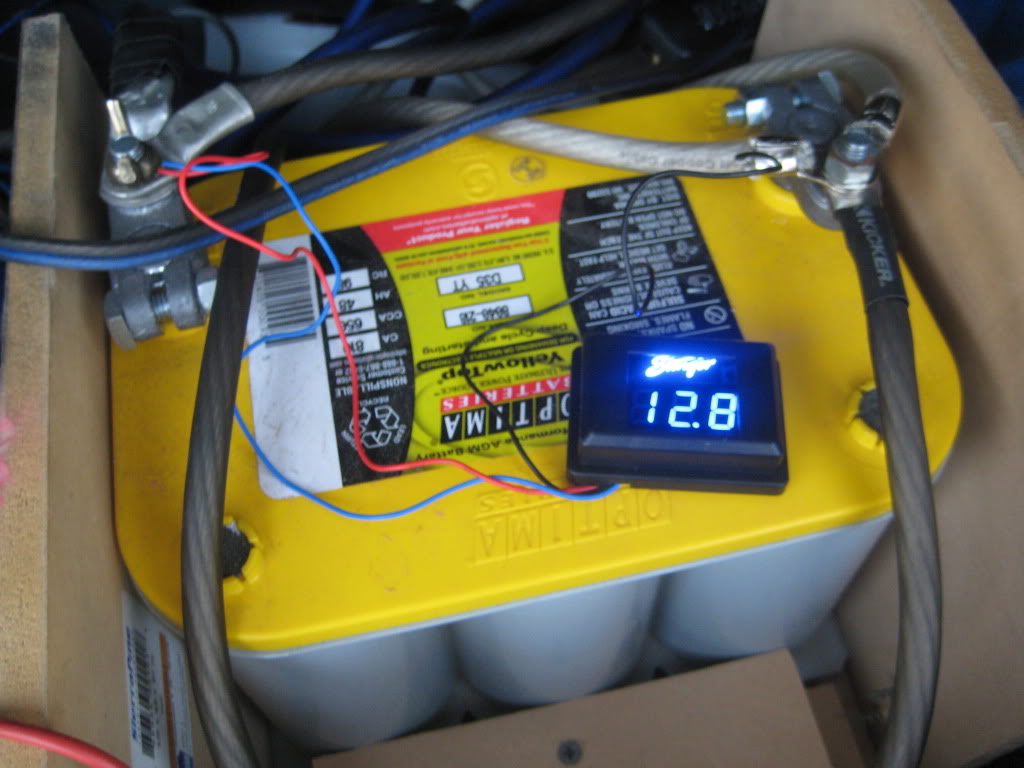
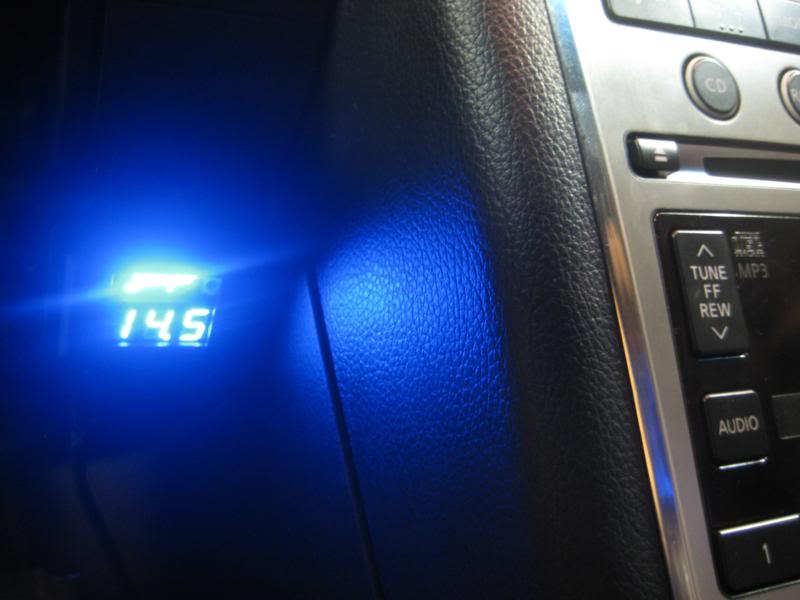
Testing out the Stinger voltage meter. Will be placed somewhere up front that is visible. Will be very useful once I get the full audio setup going on.
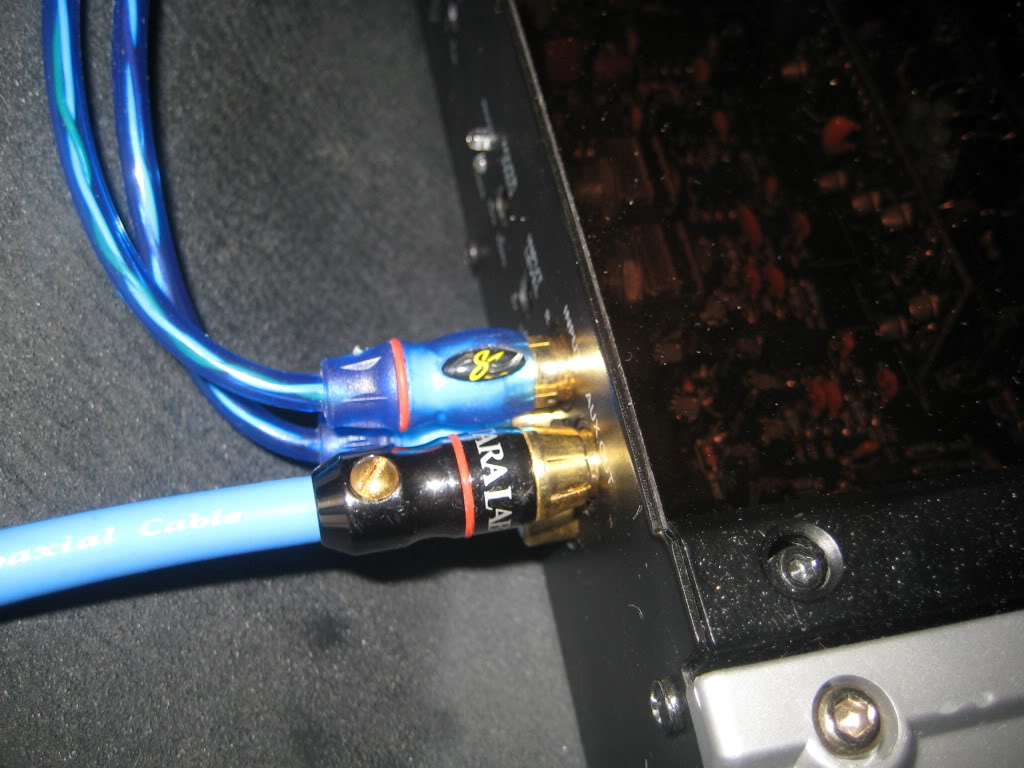
A comparison of the Tara Labs RCA ends I will be using as opposed to the Stinger RCA's I used to test out. Picture doesn't do these RCA ends any justice. They're black chrome with gold tips. Nice and solid. Well worth the $5 each price tag I paid several years back.
Gonna test out the front speakers tomorrow with the 2nd amp. Also gonna install a ground distribution block under the hood and in the trunk to make the install easier and cleaner. Probably will do the same for the power wire.
I will also mount the battery in a better location, just gotta figure out where exactly and see if I have enough slack for the wiring.
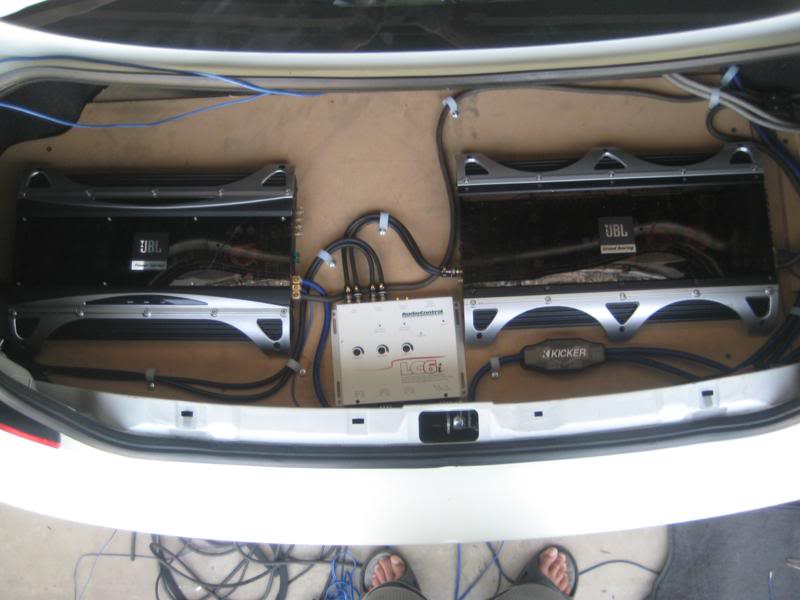
Long ass day. Got pretty much everything wired up. Since I need more wire I'll make baffles for the mids and mount them and the tweeters when I get wire. All that I have to do after that is mount the crossovers in the trunk, hook them up and do some quick wiring to the amps and I'll be done. Still on the search for some decent subs. Anyway, here are pics of what I got done today.
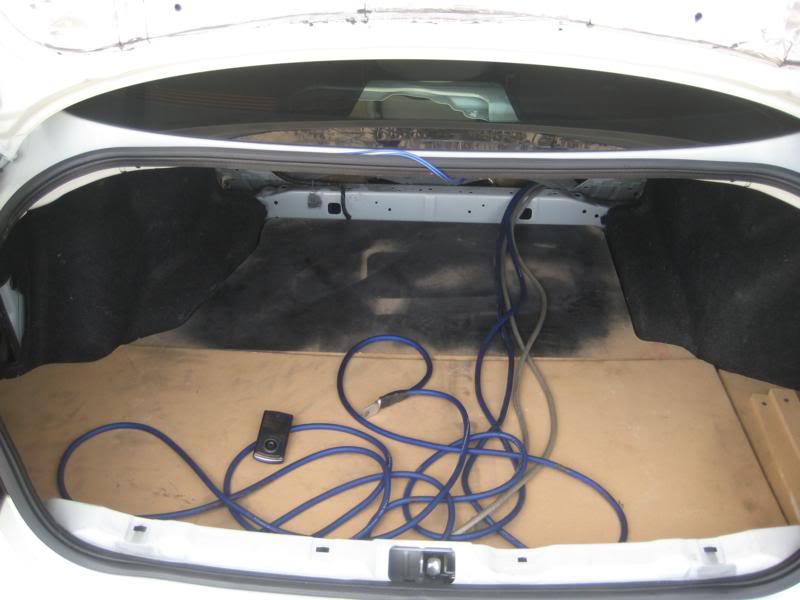
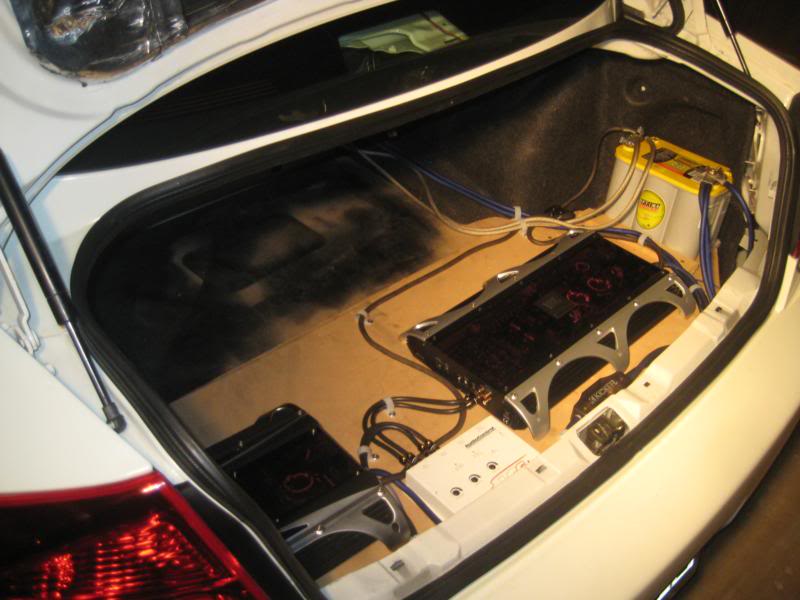
Starting off.....with an empty trunk.
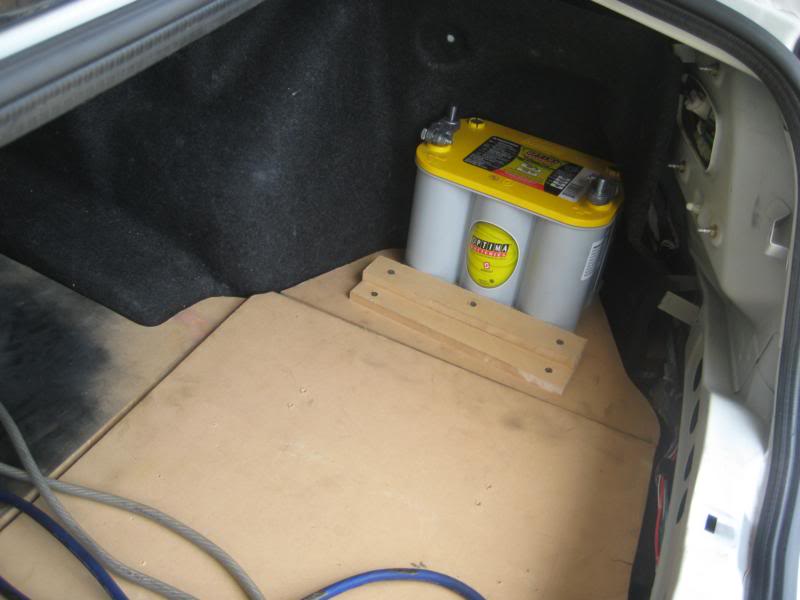
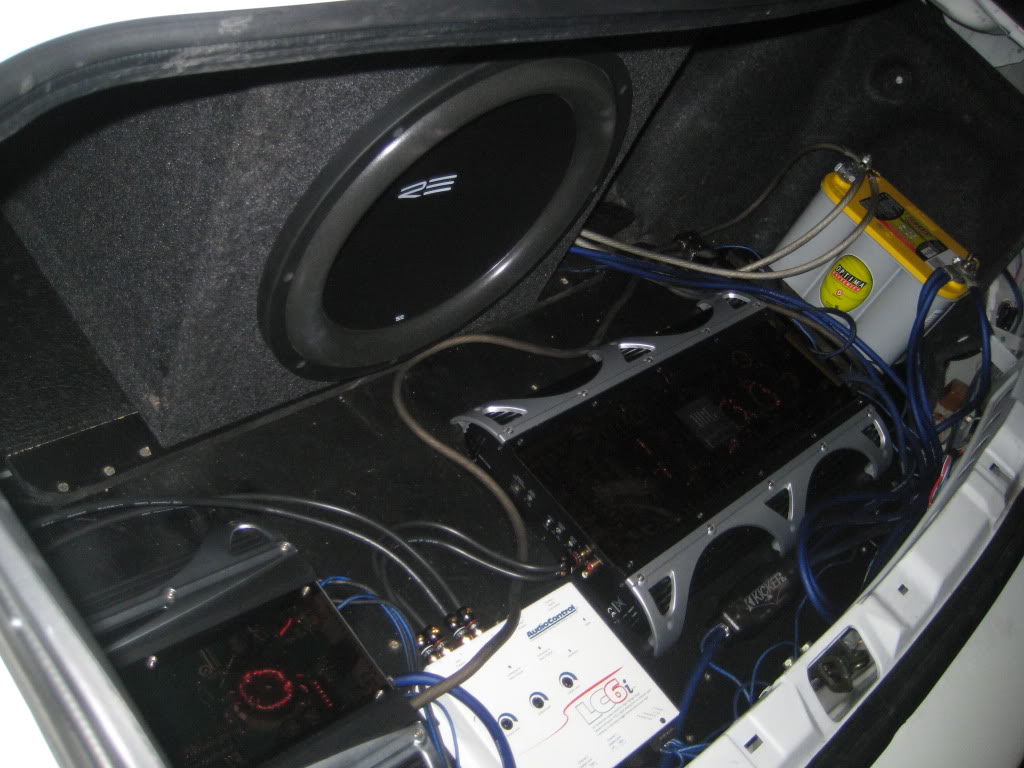
Mounted the battery.
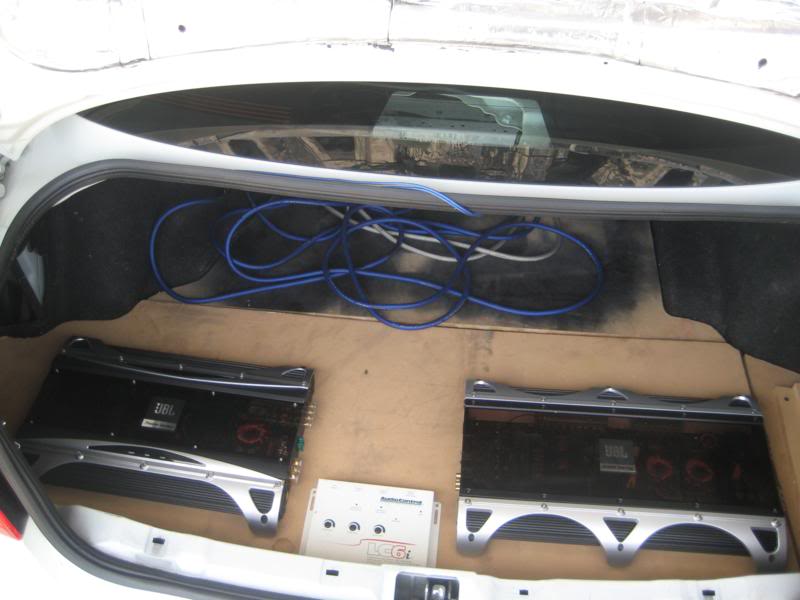
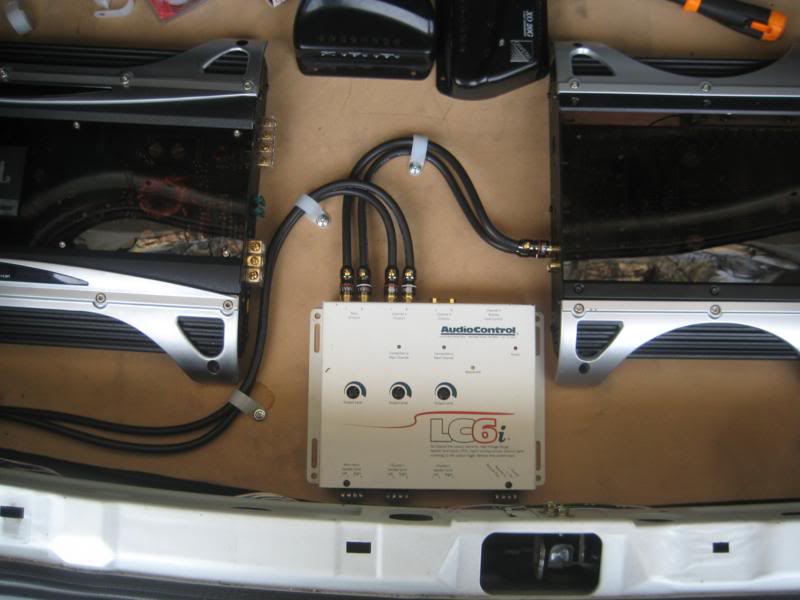
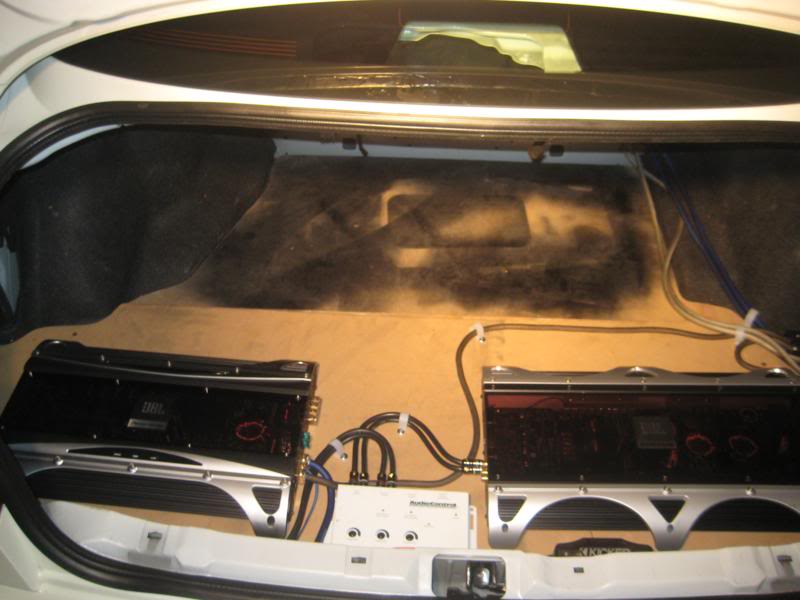
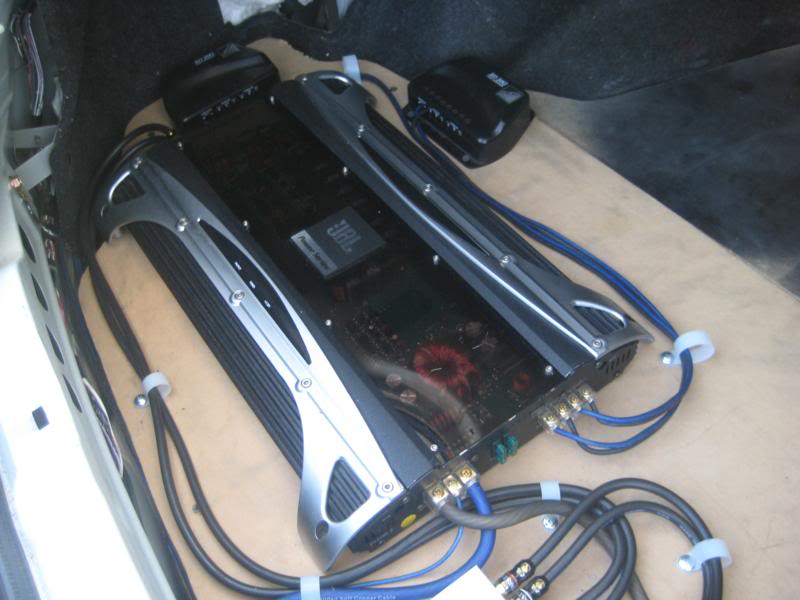
Mounted the amps and LC6i.
Made some RCA's with Tara Labs RCA ends.
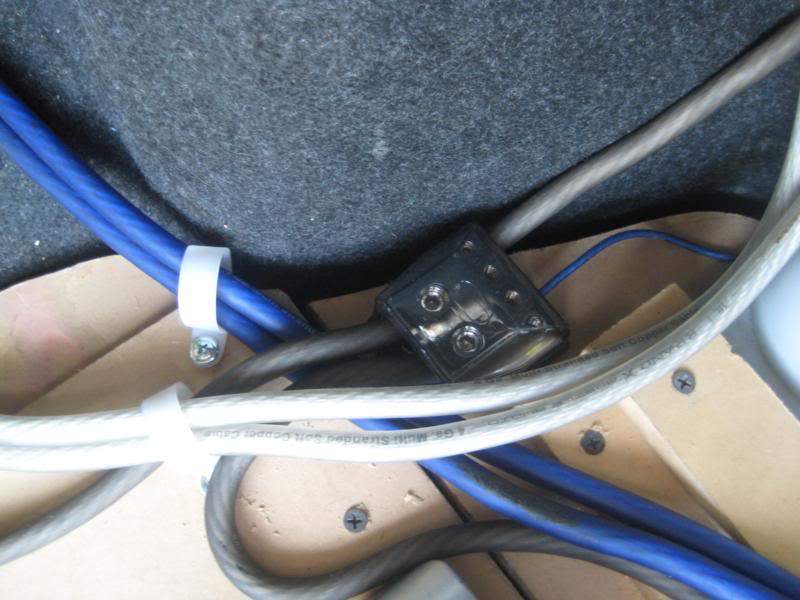
Mounted a ground distribution block next to the battery.
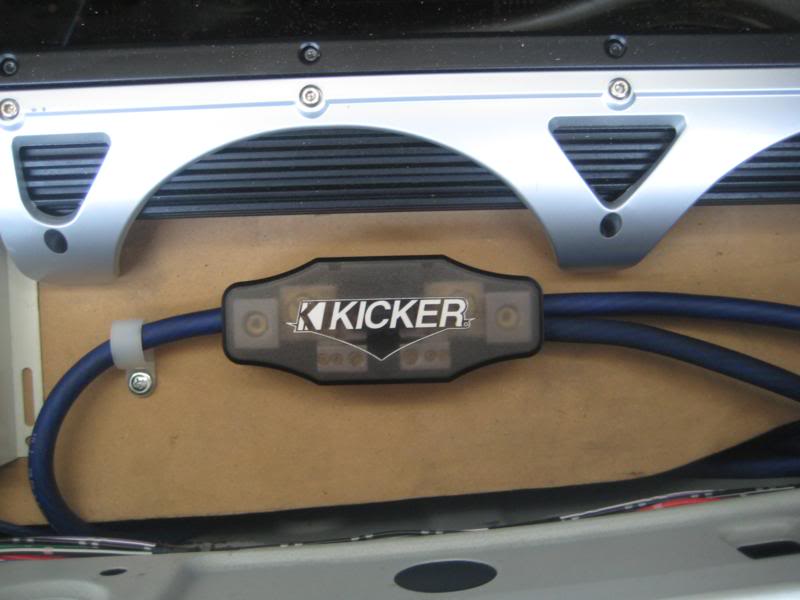
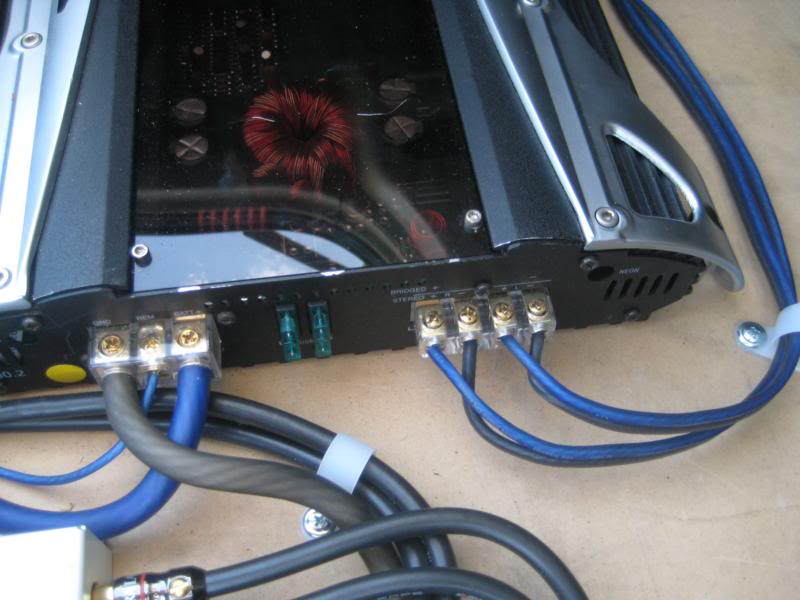
Mounted a power distribution block below the sub amp.
Moved onto the head unit and rather than twisting the wires and using electrical tape, I used butt connectors for a clean install.

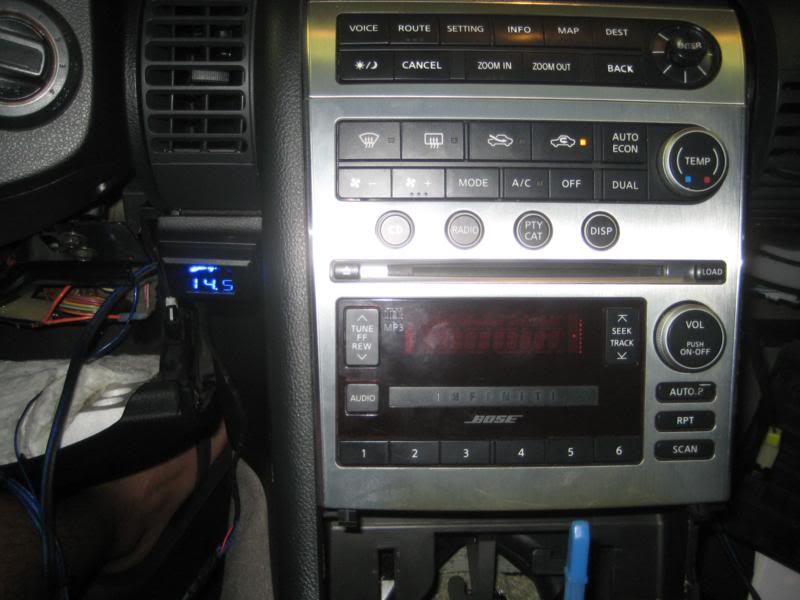
Ran wires from the LC6i to the Stinger voltage meter and mounted it in a location that wasn't distracting to me or the outside and still visible. Batteries run at 14.5 - 14.8V
Hooked up the wires coming from the battery under the hood and the ones for the amps.

Done....for now.

Got a little more work done yesterday....here's the progress.
Ran the wires for the voltage meter and the amplifier remote wire from the OEM head unit to the LC6i.
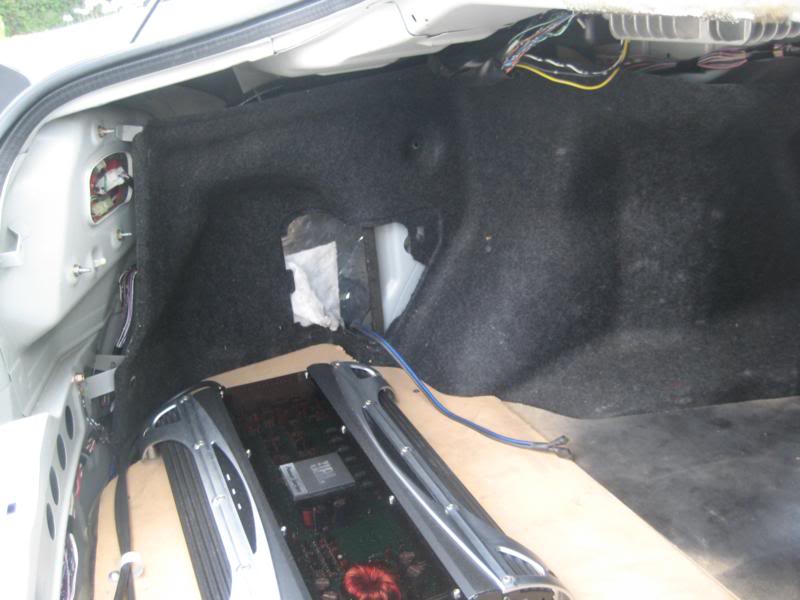
Installed crossovers and hooked them up to amp.
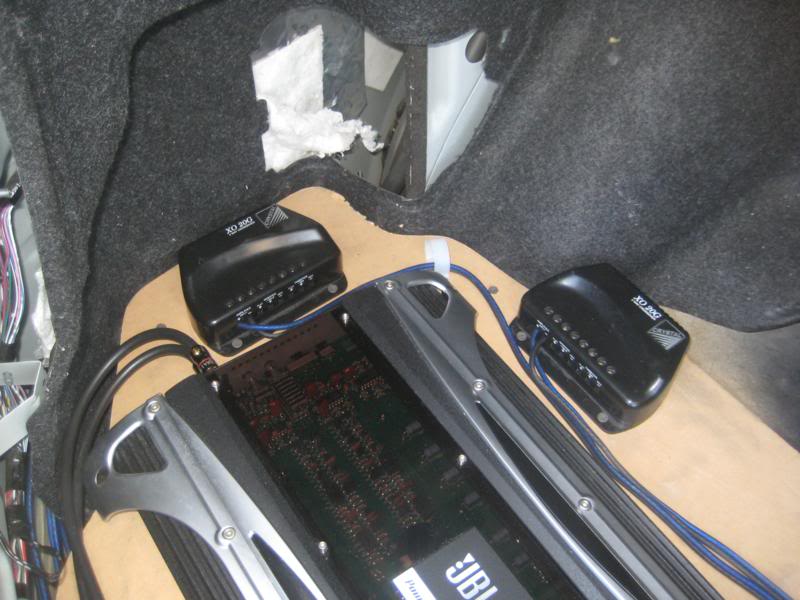
LC6i all wired up.
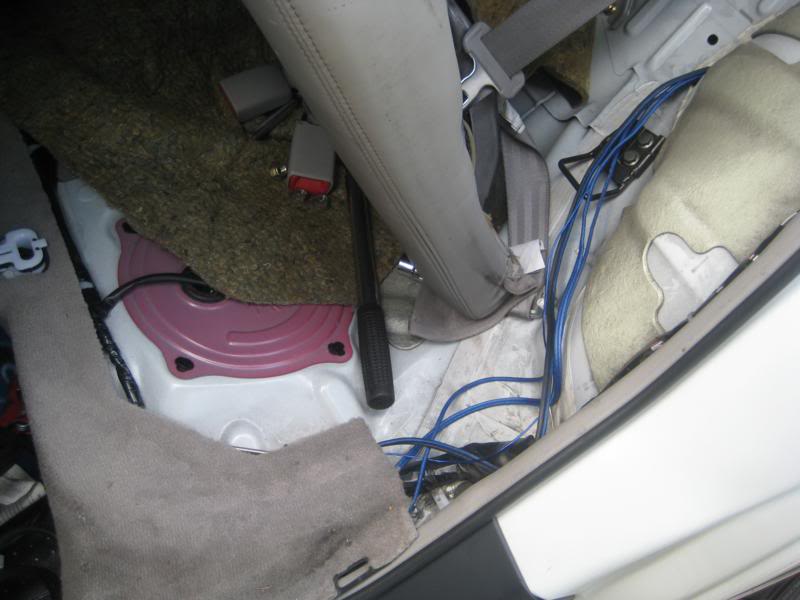
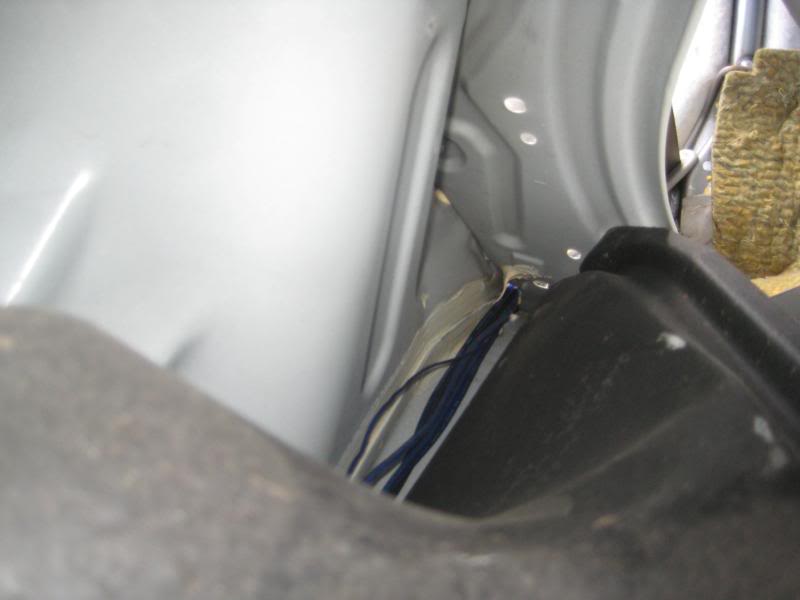
Next I need to run wires through the door and to the trunk for the mids and tweeters, make some baffles for the mids, and modify the window sail for the tweeters, maybe do a little fiberglassing. Still need to deaden the passenger door. Just about done with this setup. I think I'll also get a sub gain control so I can adjust it when I don't want much bass on some of those dreadful mornings.
Also got in on a pre order for some new subs coming out, gonna go with a pair of 12's for the time being. Not really a fan of the logo but oh well.


July 12, 2010:
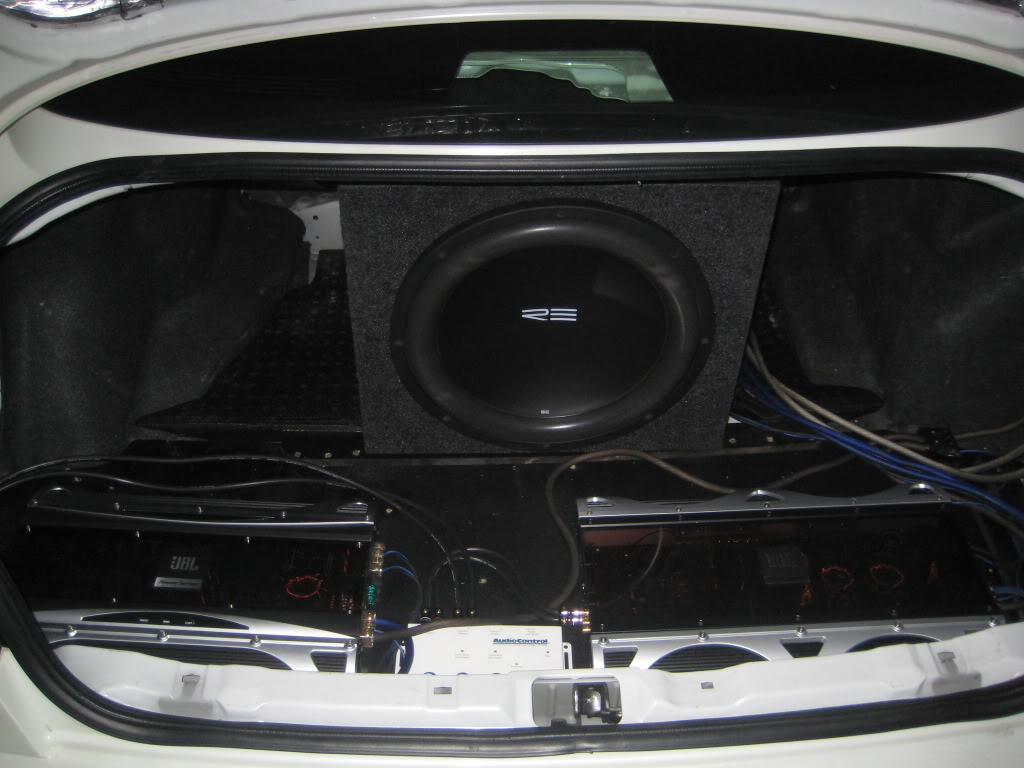
Finally got a sub in. 15" RE SE. Also painted the wood black so it looks a lil cleaner. Barely got the sub to fit in because of the stupid thick foam pieces the car comes with. Had to get a lil creative to get it in, but I got it.
In the vid below I actually turned the gain down quite a bit on both the Audiocontrol LC6i and the amp. It was quite a bit louder before and the rear view mirror immediately vibrated down, and much faster. Sunroof was also flexing quite a bit earlier. Sub sounds like it's rattling but its the old digital camera I'm using. Sounds pretty good though.
Pics

Video
May 14, 2010:
Started deadening my doors and I will do it as follows:
Inner part of door: 1 layer Damplifier Pro, 1 layer Overkill Pro
Inner black metal sheet: Same as above
Outer black metal sheet: 1 layer Damplifier Pro, 1 layer Luxury Liner Pro
Outer part of door: Same as above
Some areas are tough to get to so I'm using rubber undercoating (what you spray on the truck beds, and Spectrum.
Untouched door:
Black metal sheet removed and cleaned:
Starting the deadener install:
It wasn't till later that I realized I could remove the two bars to make it easier:
Rubber undercoating sprayed:
What I have done so far:
Door completed with Damplifier Pro:
Overkill Pro add to improve midbass:
Spectrum & Rubberized Undercoating Added to get hard to reach areas:
Damplifier Pro on metal covering door shell:
Spectrum on metal covering door shell (facing door panel):
I'll have more updated pics this weekend when I'm done adding the LLP.
July 4, 2010:
UPDATES:
- Added the Luxury Liner Pro on driver side.
- Passenger side still needs deadening.
- Wired amp through the back of the head unit for most output voltage.
Here's a couple pics, but I have more work to do. Gonna see about hooking up some mids and another amp for them. If all goes well, I'll put everything back together. Found out the cheap Kicker subs I got off craigslist are messed up, so I'm in the market for some other budget subs. Wish I hadn't sold some of my other ones
Rather than using a small little LOC I'm using an Audiocontrol LC6i. Got it from a friend and might do some EQ/XO settings with an add on unit, but we'll see. I just need some bass right now. It's been too long without it.
Testing out the Stinger voltage meter. Will be placed somewhere up front that is visible. Will be very useful once I get the full audio setup going on.
A comparison of the Tara Labs RCA ends I will be using as opposed to the Stinger RCA's I used to test out. Picture doesn't do these RCA ends any justice. They're black chrome with gold tips. Nice and solid. Well worth the $5 each price tag I paid several years back.
Gonna test out the front speakers tomorrow with the 2nd amp. Also gonna install a ground distribution block under the hood and in the trunk to make the install easier and cleaner. Probably will do the same for the power wire.
I will also mount the battery in a better location, just gotta figure out where exactly and see if I have enough slack for the wiring.
Long ass day. Got pretty much everything wired up. Since I need more wire I'll make baffles for the mids and mount them and the tweeters when I get wire. All that I have to do after that is mount the crossovers in the trunk, hook them up and do some quick wiring to the amps and I'll be done. Still on the search for some decent subs. Anyway, here are pics of what I got done today.
Starting off.....with an empty trunk.
Mounted the battery.
Mounted the amps and LC6i.
Made some RCA's with Tara Labs RCA ends.
Mounted a ground distribution block next to the battery.
Mounted a power distribution block below the sub amp.
Moved onto the head unit and rather than twisting the wires and using electrical tape, I used butt connectors for a clean install.
Ran wires from the LC6i to the Stinger voltage meter and mounted it in a location that wasn't distracting to me or the outside and still visible. Batteries run at 14.5 - 14.8V
Hooked up the wires coming from the battery under the hood and the ones for the amps.
Done....for now.
Got a little more work done yesterday....here's the progress.
Ran the wires for the voltage meter and the amplifier remote wire from the OEM head unit to the LC6i.
Installed crossovers and hooked them up to amp.
LC6i all wired up.
Next I need to run wires through the door and to the trunk for the mids and tweeters, make some baffles for the mids, and modify the window sail for the tweeters, maybe do a little fiberglassing. Still need to deaden the passenger door. Just about done with this setup. I think I'll also get a sub gain control so I can adjust it when I don't want much bass on some of those dreadful mornings.
Also got in on a pre order for some new subs coming out, gonna go with a pair of 12's for the time being. Not really a fan of the logo but oh well.
July 12, 2010:
Finally got a sub in. 15" RE SE. Also painted the wood black so it looks a lil cleaner. Barely got the sub to fit in because of the stupid thick foam pieces the car comes with. Had to get a lil creative to get it in, but I got it.
In the vid below I actually turned the gain down quite a bit on both the Audiocontrol LC6i and the amp. It was quite a bit louder before and the rear view mirror immediately vibrated down, and much faster. Sunroof was also flexing quite a bit earlier. Sub sounds like it's rattling but its the old digital camera I'm using. Sounds pretty good though.
Pics
Video

Joined: Aug 2007
Posts: 10,850
Likes: 158
From: Los Angeles
Thanks! I got it for a great deal through Harmon Kardon's eBay auction site. For some reason I have an outward dent in the lower part of the sub, guessing something hit it, but I'll be replacing it with the 2 12's soon...and then when I get the cash, 2 18" Image Dynamics IDW's.