
DIY: How to make your own double din w/ your oem Faceplate

Joined: Jun 2007
Posts: 4,648
Likes: 8
From: SoCal / San Diego
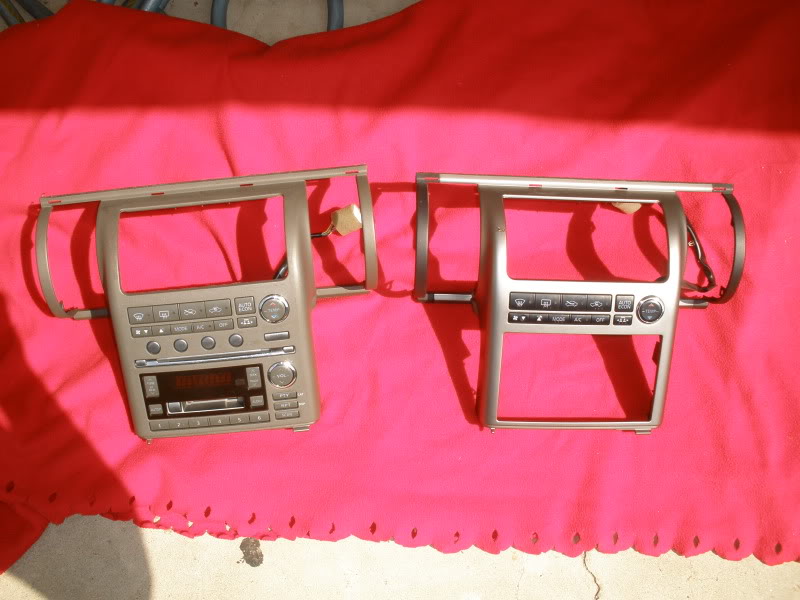
THIS IS JUST TO PROVE A POINT THAT THE JDM AC CONTROLS CAN FIT IN YOUR OEM FACEPLATE!
Lots of people on the forum wanted to know can the 03-04 JDM Double Din AC control fit 03-04 your OEM faceplate.
Well the answer is Yes.
[QUOTE=G SEDAN;4496686]I must warn everyone that attempts to do this beforehand......unless you are doing some kinda custom fabbing and/or repainting after this, beware.
the double din finisher has tapered edges (it rolls in) for a cleaner install, if you cut the UDSM finisher, you will basically have a cut edge (no tapers). IT is also very difficult to cut a straight line using a dremel type of tool especially on plastic, so it is almost guranteed that you will have to do some bondoing and sanding after your cut. So unless you are really doing something custom, I'm saving you from a heartache LOL
For a jdm double din "Kit", the most costly part is the AC controller, so if you are already buying that, think about if the risk of cutting your USDM faceplate is worth the extra $100 or so you are spending to get a jdm finisher.[/QUOTE]
Just follow my simple steps

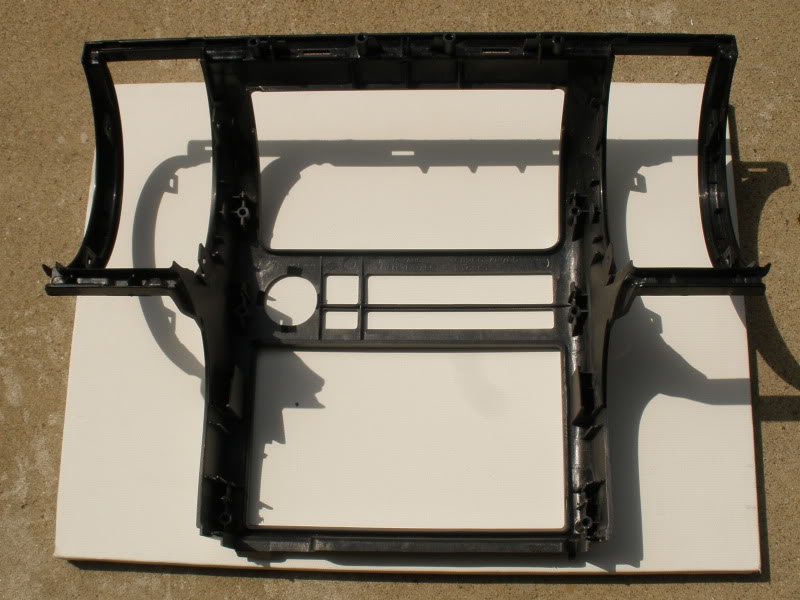
1. OEM HU vs DD KIT
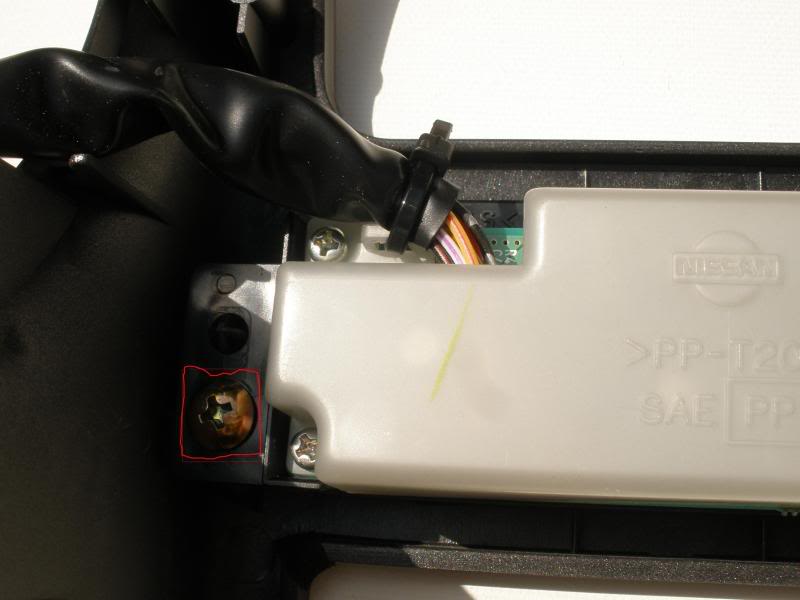
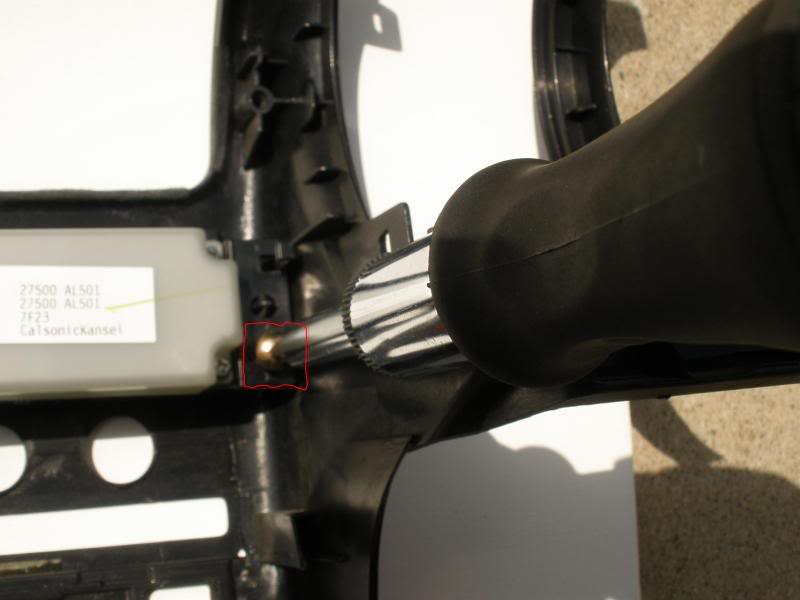
2. Remove all 5 screws on the back of the OEM HU
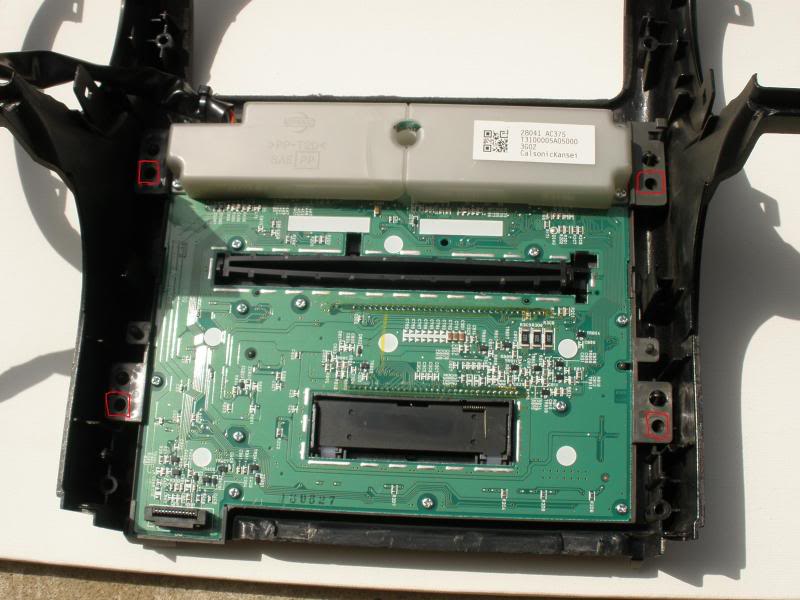
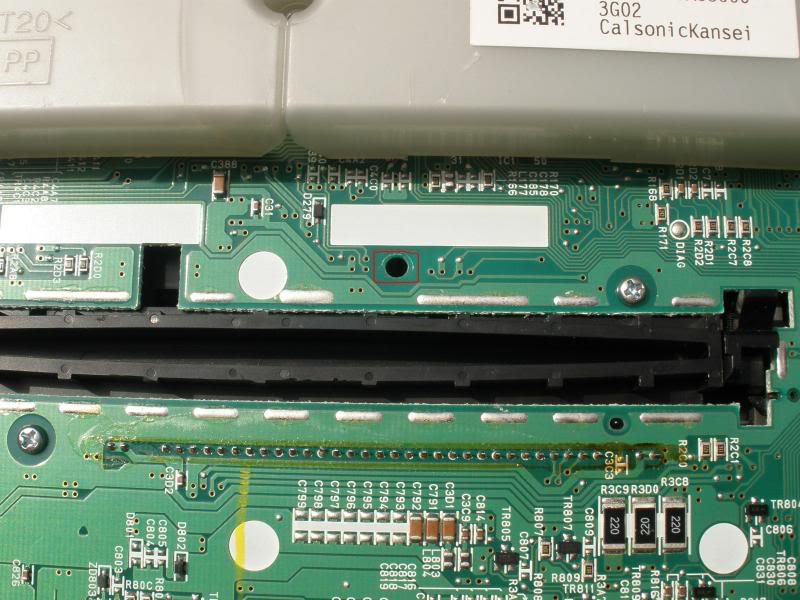
3. Don't forget to remove the 5th screw in the middle of the OEM HU
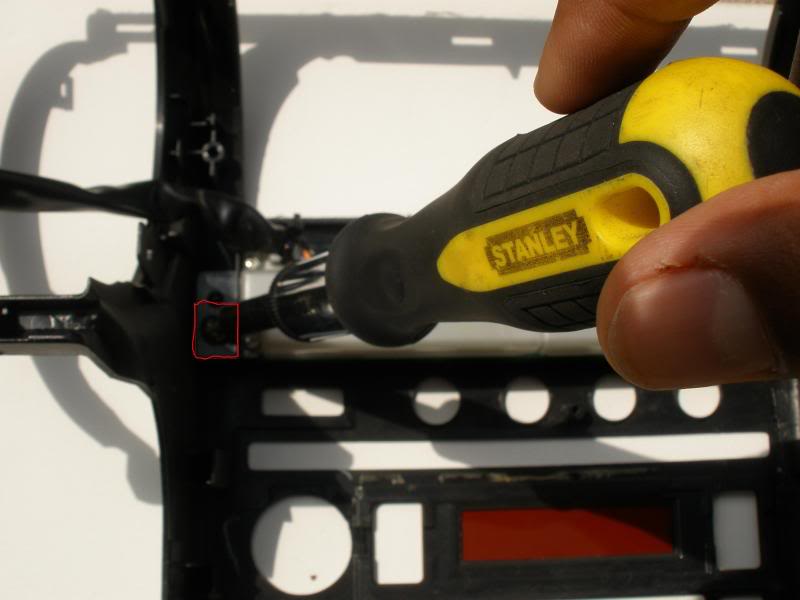
4. Remove 2 screws on each side of the JDM DD KIT
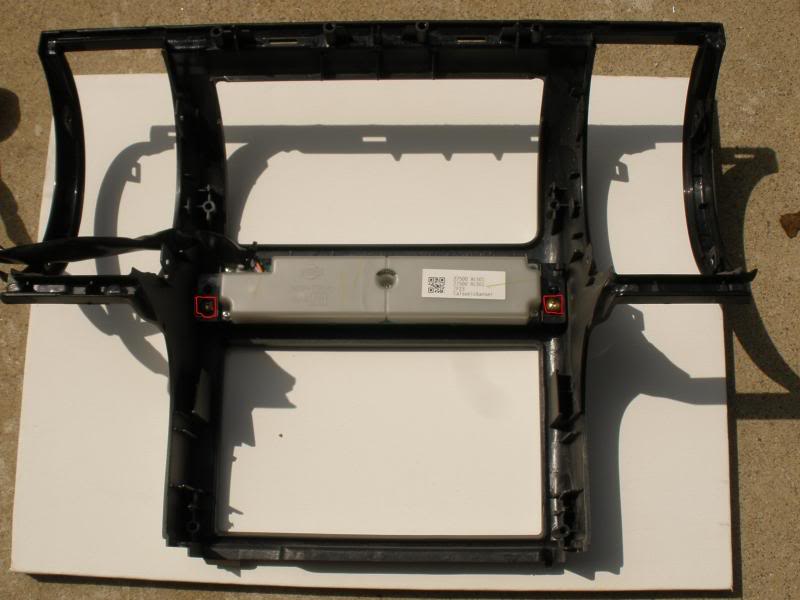
5. left side
6. right side

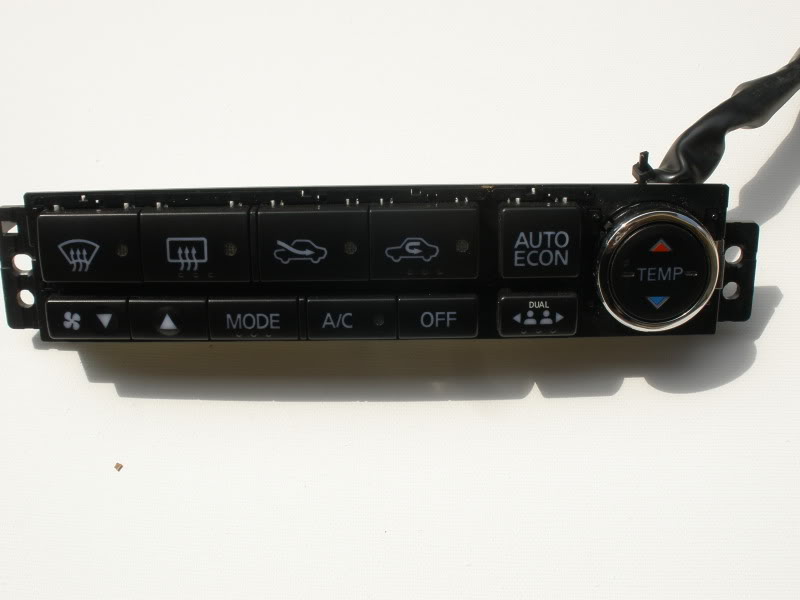
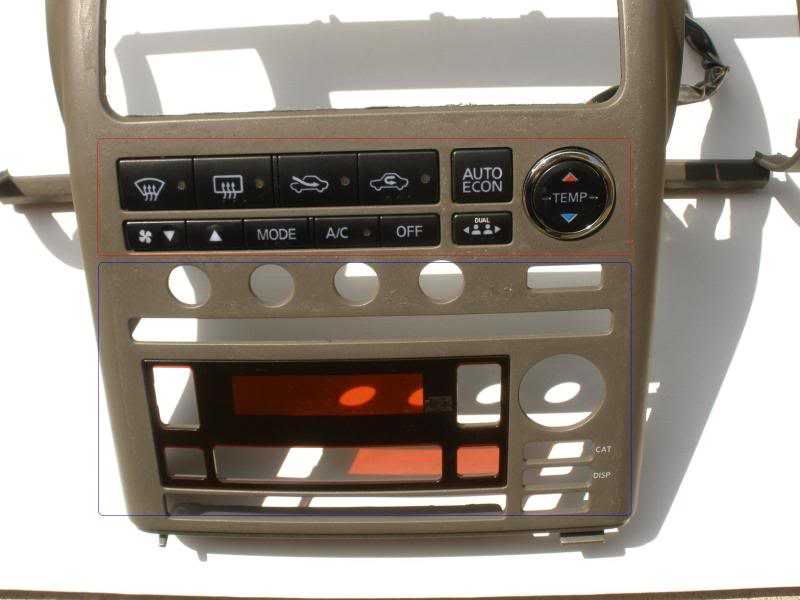
7. Ac control is removed from the JDM DD kit
8. DD AC control
9. Now it's time for the swapping of the DD AC control onto the OEM HU
10.
11. There you have it. DD AC control onto the OEM HU

I will post more pictures of the finished product when i get a chance.

Last edited by JAYY-G35; Aug 25, 2009 at 12:22 PM.

 goodlooking out

Registered User
Joined: Jun 2006
Posts: 1,245
Likes: 0
From: M.E.M.P.H.I.S/Smyrna, TN
Trending Topics


Joined: Jun 2007
Posts: 4,648
Likes: 8
From: SoCal / San Diego
Sure will
Do it Do it
Do it Do it
hahaha you can already tell visually that it fits. But thanks for the proof.
Do you think by reusing the stock face plate with the square cut out that the bracket will still be within range to bolt up the DD nicely? It's really easy to have a JDM and USDM finisher side to side to cut it identically, but what if it's common person, they just have to freehand?
I must warn everyone that attempts to do this beforehand......unless you are doing some kinda custom fabbing and/or repainting after this, beware.
the double din finisher has tapered edges (it rolls in) for a cleaner install, if you cut the UDSM finisher, you will basically have a cut edge (no tapers). IT is also very difficult to cut a straight line using a dremel type of tool especially on plastic, so it is almost guranteed that you will have to do some bondoing and sanding after your cut. So unless you are really doing something custom, I'm saving you from a heartache LOL
For a jdm double din "Kit", the most costly part is the AC controller, so if you are already buying that, think about if the risk of cutting your USDM faceplate is worth the extra $100 or so you are spending to get a jdm finisher.
Last edited by G SEDAN; Aug 22, 2009 at 08:14 PM.
Joined: Jun 2007
Posts: 4,648
Likes: 8
From: SoCal / San Diego
hahaha you can already tell visually that it fits. But thanks for the proof.
Do you think by reusing the stock face plate with the square cut out that the bracket will still be within range to bolt up the DD nicely? It's really easy to have a JDM and USDM finisher side to side to cut it identically, but what if it's common person, they just have to freehand?
I must warn everyone that attempts to do this beforehand......unless you are doing some kinda custom fabbing and/or repainting after this, beware.
the double din finisher has tapered edges (it rolls in) for a cleaner install, if you cut the UDSM finisher, you will basically have a cut edge (no tapers). IT is also very difficult to cut a straight line using a dremel type of tool especially on plastic, so it is almost guranteed that you will have to do some bondoing and sanding after your cut. So unless you are really doing something custom, I'm saving you from a heartache LOL
For a jdm double din "Kit", the most costly part is the AC controller, so if you are already buying that, think about if the risk of cutting your USDM faceplate is worth the extra $100 or so you are spending to get a jdm finisher.
Do you think by reusing the stock face plate with the square cut out that the bracket will still be within range to bolt up the DD nicely? It's really easy to have a JDM and USDM finisher side to side to cut it identically, but what if it's common person, they just have to freehand?
I must warn everyone that attempts to do this beforehand......unless you are doing some kinda custom fabbing and/or repainting after this, beware.
the double din finisher has tapered edges (it rolls in) for a cleaner install, if you cut the UDSM finisher, you will basically have a cut edge (no tapers). IT is also very difficult to cut a straight line using a dremel type of tool especially on plastic, so it is almost guranteed that you will have to do some bondoing and sanding after your cut. So unless you are really doing something custom, I'm saving you from a heartache LOL
For a jdm double din "Kit", the most costly part is the AC controller, so if you are already buying that, think about if the risk of cutting your USDM faceplate is worth the extra $100 or so you are spending to get a jdm finisher.
Thanks G Sedan.
Yes this is for something more Custom. If your looking to put a regular 7" double din monitor don't bother or waste your time.
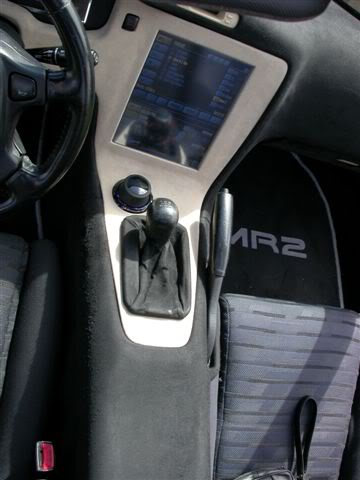
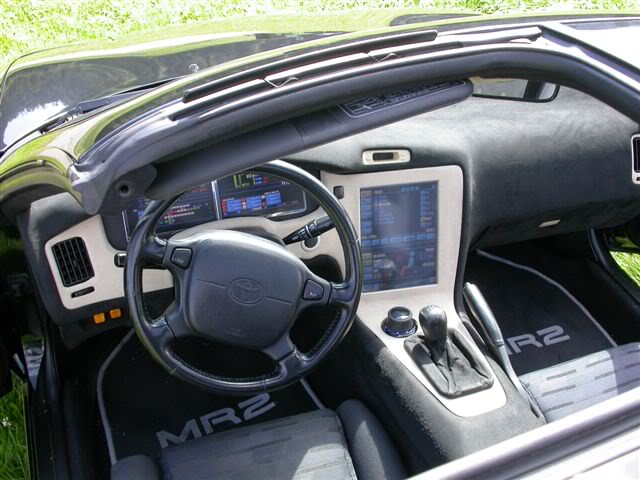
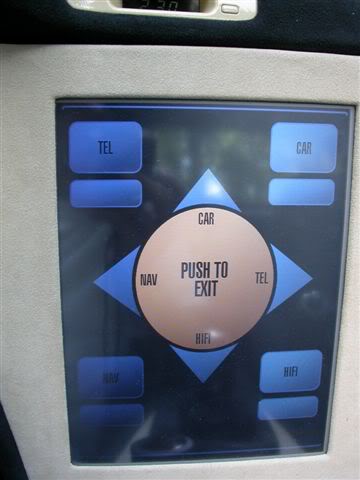
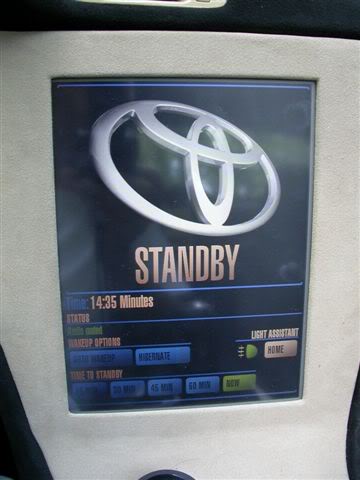
I'm looking to put a big carputer monitor. like this sick a$$ Toyota MR2 & Nissan Maxima
Nissan


Last edited by JAYY-G35; Aug 23, 2009 at 02:12 PM.
oh wow.....that Mr2 is awesome. I bet his electronics is worth more than the car itself
Not really sure if I'm digging how that nissan's screen is tilted way up. That looks molded so I doubt it can swivel forward, it must be a pain to look at and reach while driving.
I can't wait to see your setup man, you're doing some crazy off the wall stuff in there. I dont think we have much room to spare on the centner, so whatever you come up with will probably be pretty rare and sick. NICE!