
Nav relocation / dvd player edfc install


Joined: Oct 2006
Posts: 25,863
Likes: 187
From: In my garage

Nav relocation / dvd player edfc install
Hey I though I would share with you guys the idea that I had was to move the nav rom under the seat because you never take the cd out almost ever, and utilize that space for a dvd player and other goodies so that the car looks 100% stock. This is not that easy of a project but I am going to give you guys a play by play. I requires good electrical skills Ie. Soldering, cutting, clean wire layout ect.
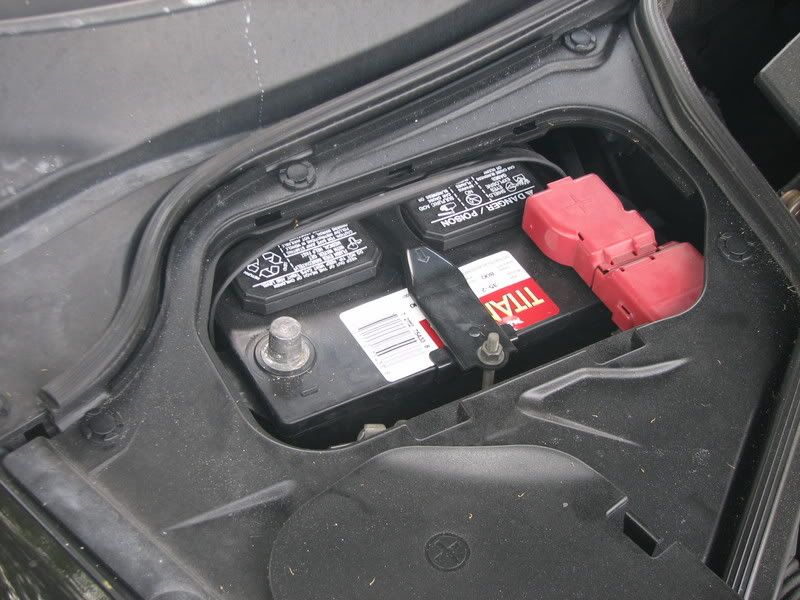
The first step is to unhook you battery I did a lot of cutting, soldering, and extending.
The next step I took out the seat so that I would not damage it and easier to run wires later.
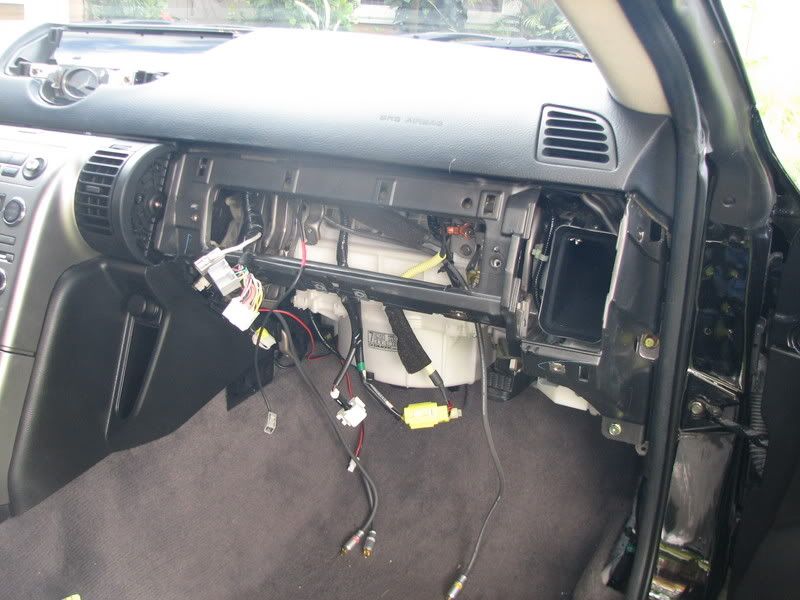
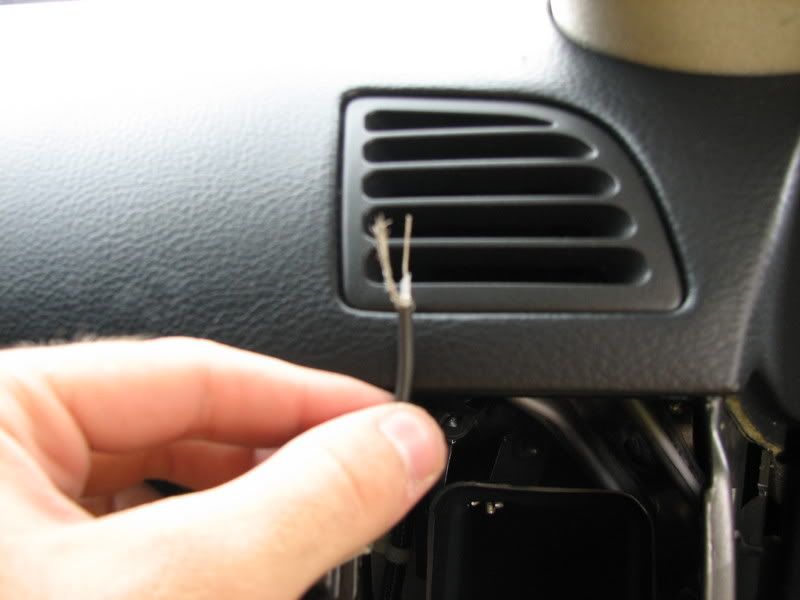
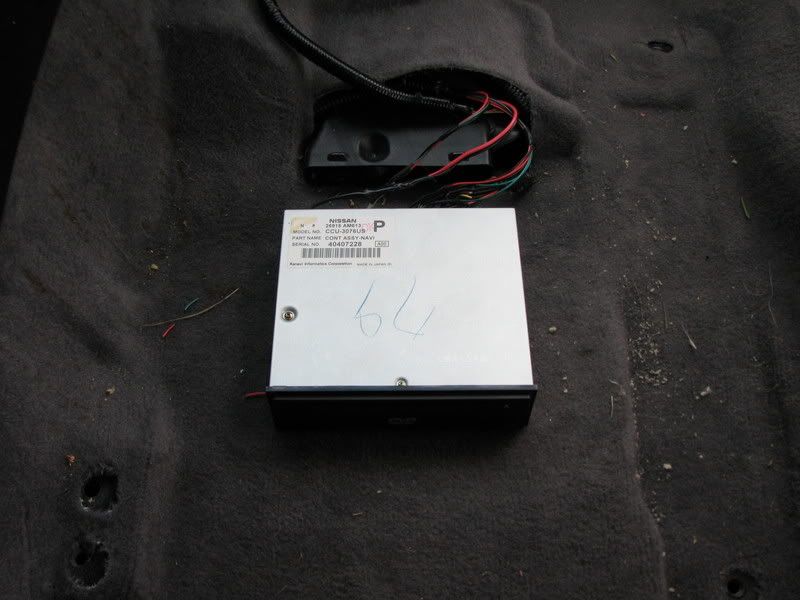
strip the dash area to get the dvd rom out and gain access to all areas of work.
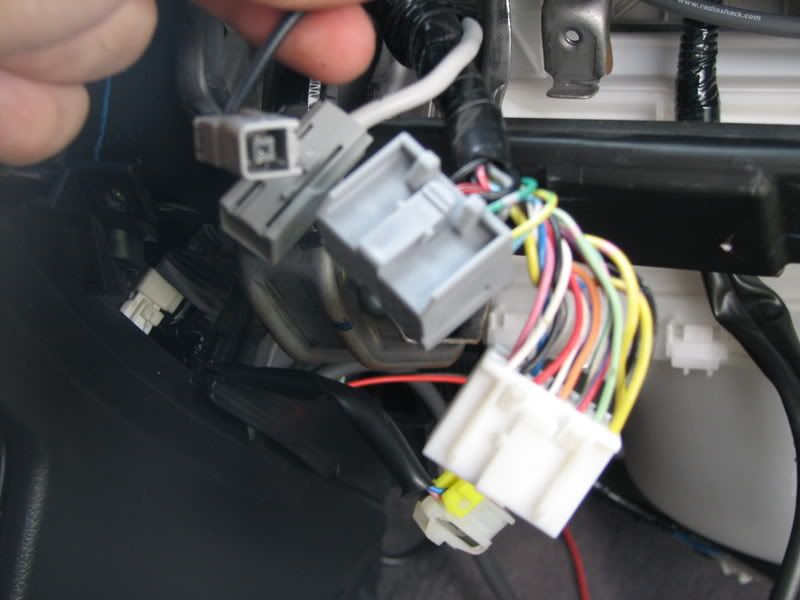
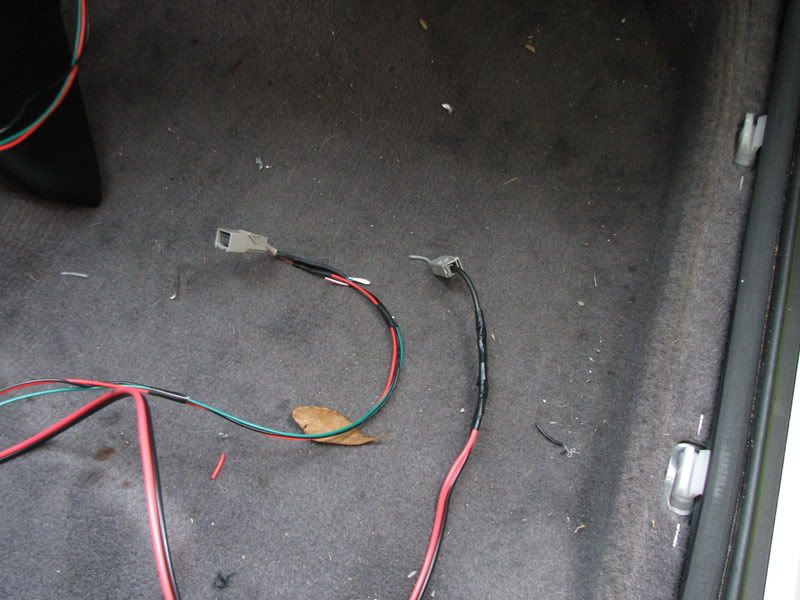
These are all the wires and connectors that we will be cutting and extending I think it was about three feet but dont hold me to it.

This was the only difficult cable because it has a insulation wire and a regular wire in the middle.
shave back the shielding cable then twist that up and stip the cable in the middle essentially making two wires out of the one.
here is a shot of the shielded cable and the ground I believe extended.
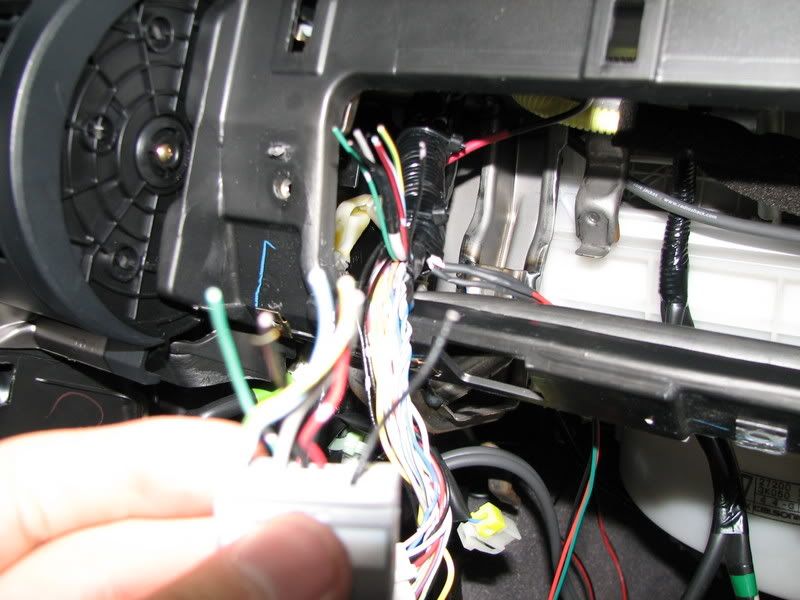
There is no turning back here also go one at a time or mark the wires there are a couple wires that are the same color so pay attention.
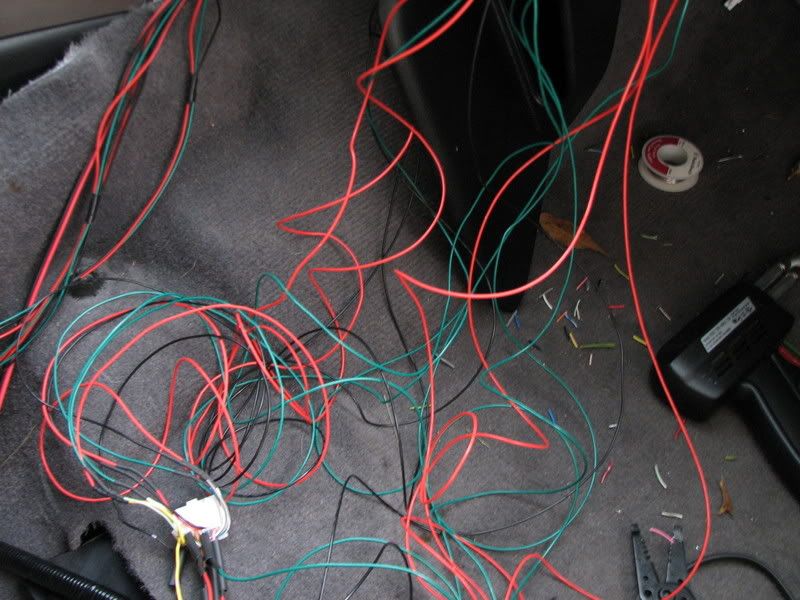
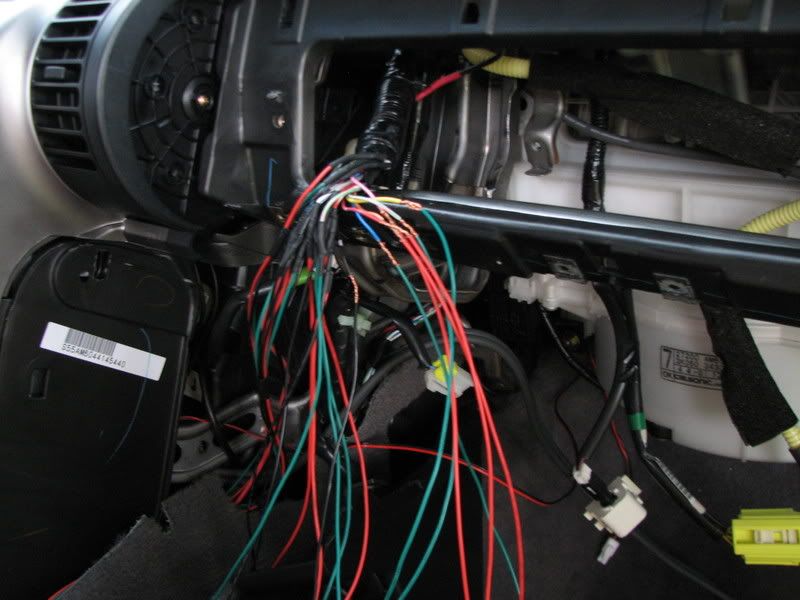
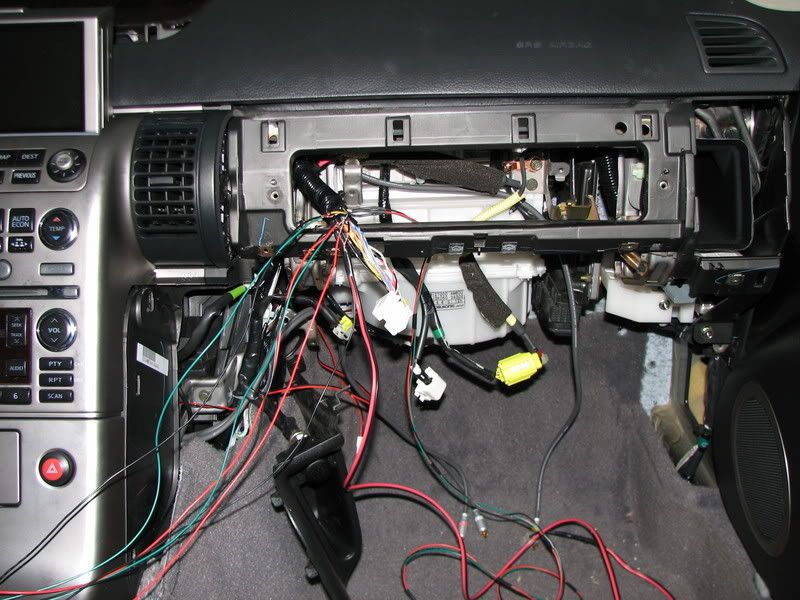
These are some shots to show how many wires you are dealing with here it is a lot but be patient and know what is what and it will come out great.

Here is the almost factory looking extended harnesses.
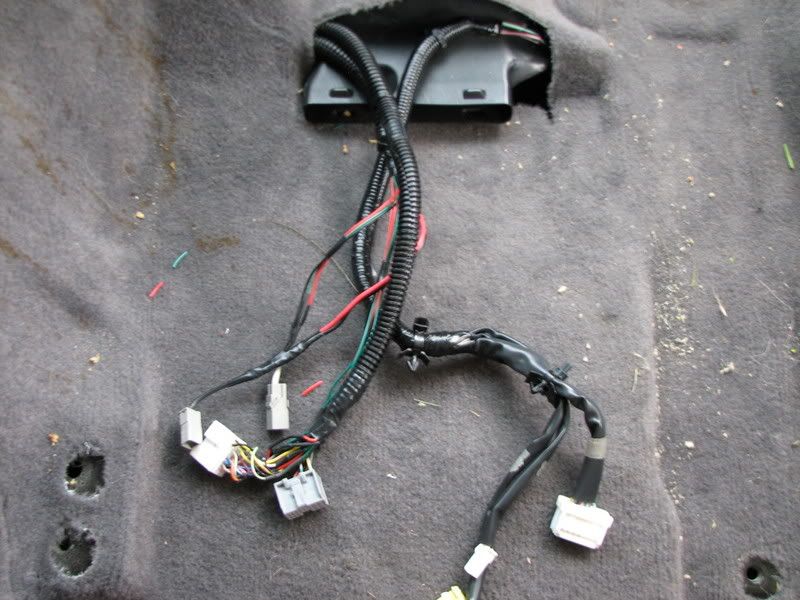
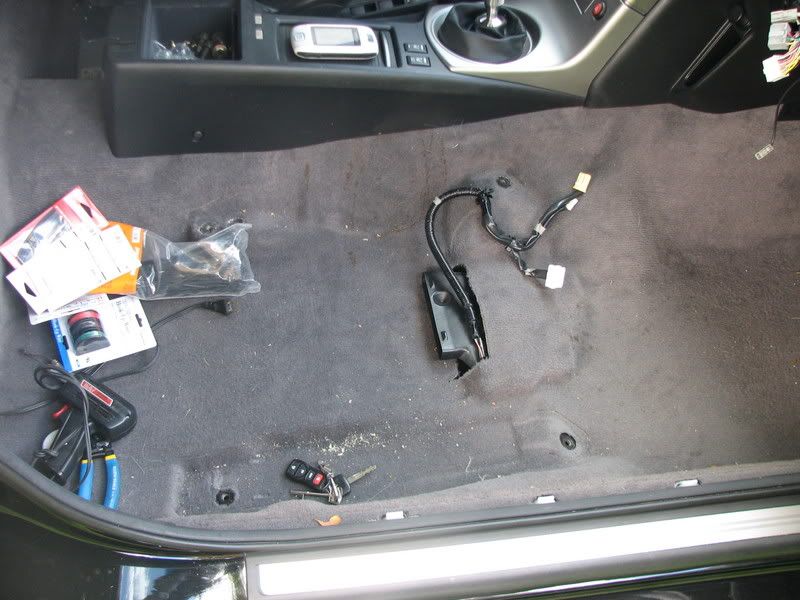
Here a pulled the carpet back so that I could route the wires where all the wires for the seat come out.
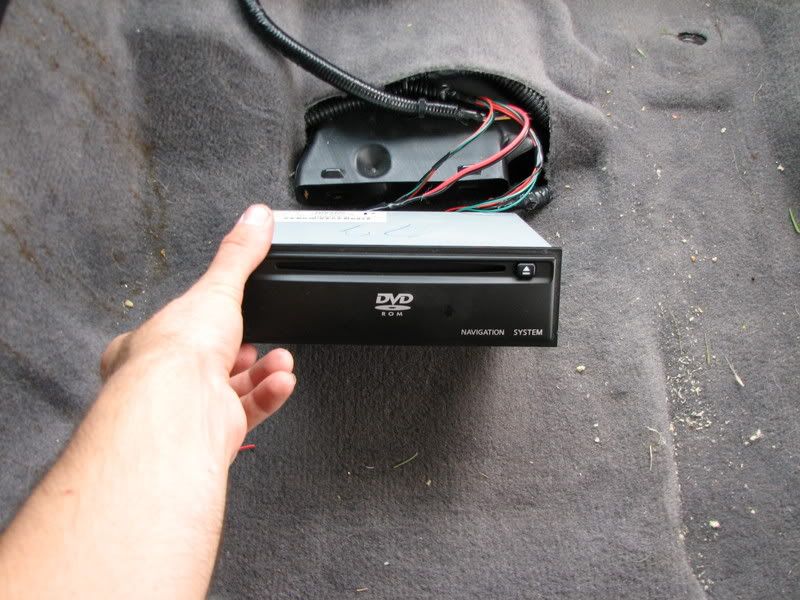
plug the dvd rom in and you will be good to go
The first step is to unhook you battery I did a lot of cutting, soldering, and extending.
The next step I took out the seat so that I would not damage it and easier to run wires later.
strip the dash area to get the dvd rom out and gain access to all areas of work.
These are all the wires and connectors that we will be cutting and extending I think it was about three feet but dont hold me to it.
This was the only difficult cable because it has a insulation wire and a regular wire in the middle.
shave back the shielding cable then twist that up and stip the cable in the middle essentially making two wires out of the one.
here is a shot of the shielded cable and the ground I believe extended.
There is no turning back here also go one at a time or mark the wires there are a couple wires that are the same color so pay attention.
These are some shots to show how many wires you are dealing with here it is a lot but be patient and know what is what and it will come out great.
Here is the almost factory looking extended harnesses.
Here a pulled the carpet back so that I could route the wires where all the wires for the seat come out.
plug the dvd rom in and you will be good to go
Joined: Oct 2006
Posts: 25,863
Likes: 187
From: In my garage
Next part what I did with the opening
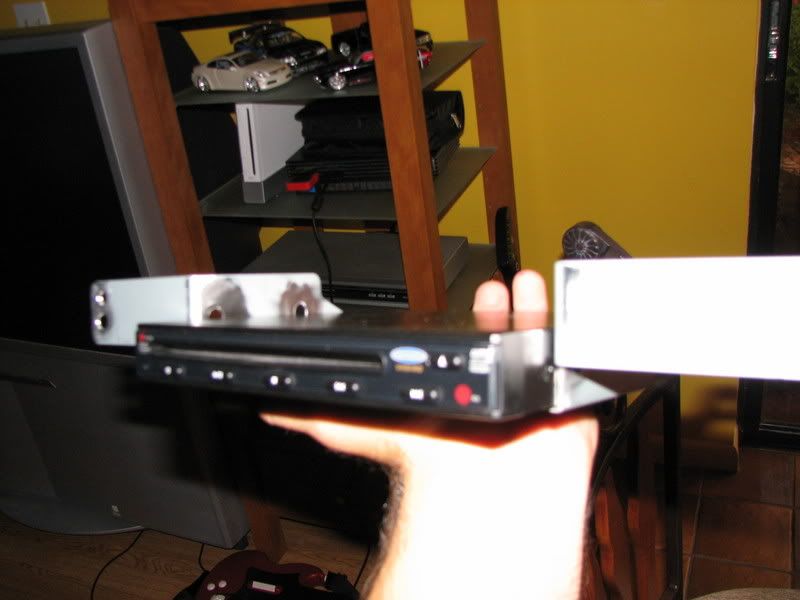
I reused the bracket that hold the dvd rom up in the upper glove box with some modifications.
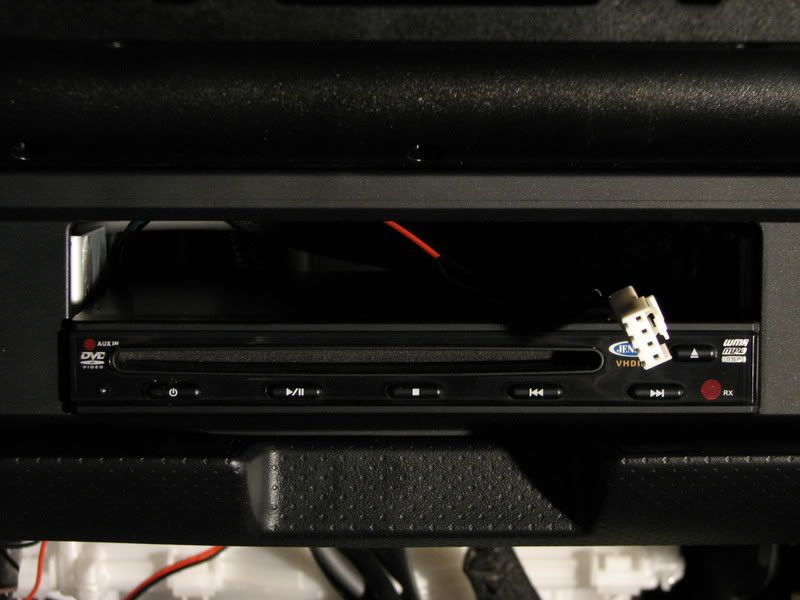
here is the new dvd player mounted and ready to go. with the plug for the edfc all wired up ready to be plugged in.
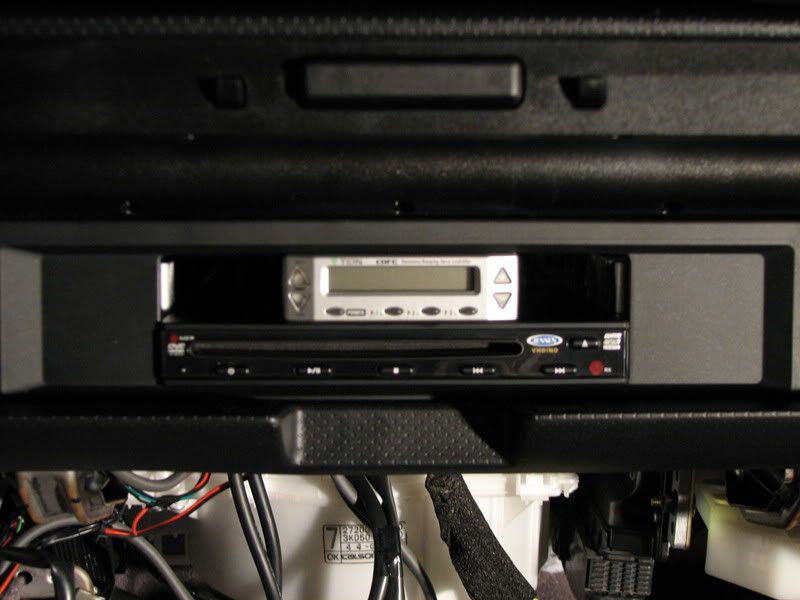
This is what it looks like with everything in there mounted up. I still need to make a finisher piece to cover the gaps on either side. I think I will use some black plexi.
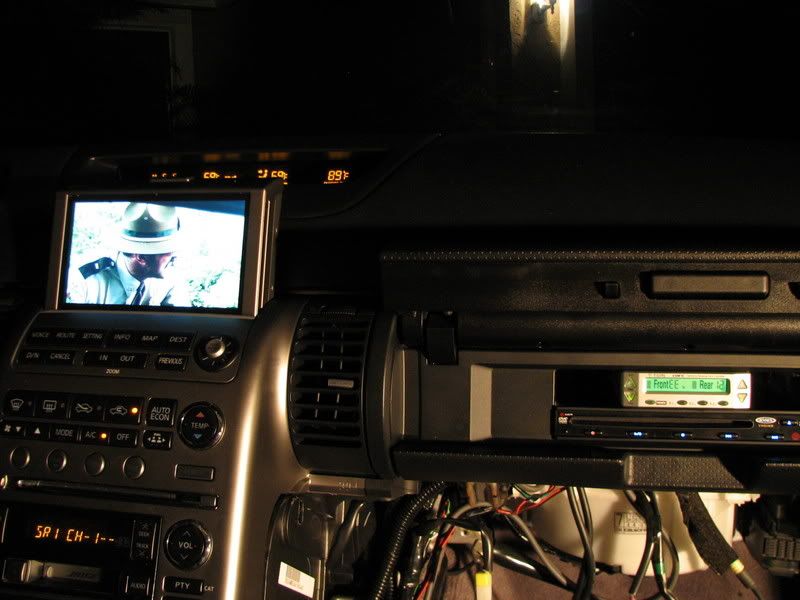
a shot of everything working ( super troopers is on the screen)
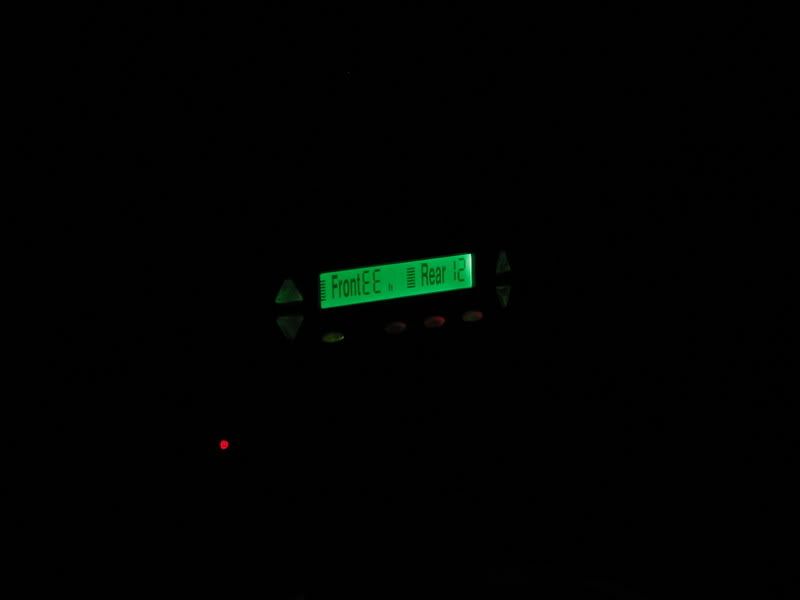
a shot of the edfc at night
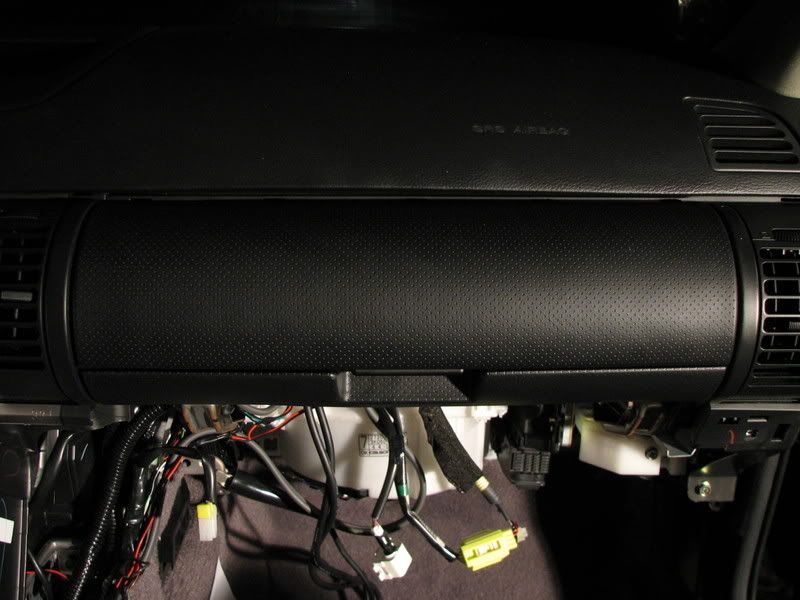
the upper glove box closed to show the factory look when everything is hidden
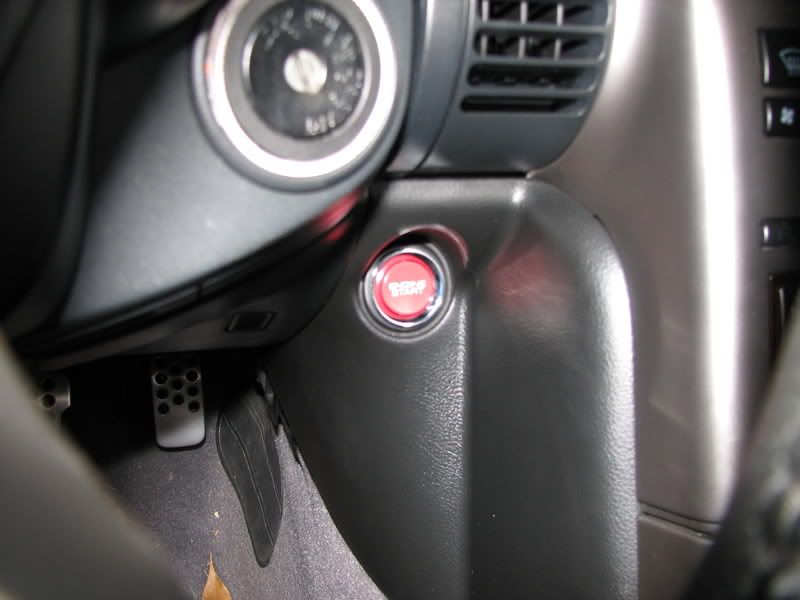
and last but no least the push button start out of an s2000
all and all this was a pretty time consumuing project I did it over 2 days and it was raining both days so not sure now many times I started and stopped but I am very happy with the results. Post some comments and tell me what you think.
Thanks
Danny


Ahh Great Work, But I Rather Take It To A Shop To Do Lmaoo.
Job Well Done, I Wish You Was Out Here In Cali. I Would Of Let You Handle All Of The Dirty Work Lol.
I Was Planning On Doing The Same Thing To My 2003 G35 Coupe.
Put The Dvd Player In, And Relocate My Nav
Job Well Done, I Wish You Was Out Here In Cali. I Would Of Let You Handle All Of The Dirty Work Lol.
I Was Planning On Doing The Same Thing To My 2003 G35 Coupe.
Put The Dvd Player In, And Relocate My Nav
Trending Topics


Joined: Oct 2006
Posts: 25,863
Likes: 187
From: In my garage
Originally Posted by izmir41500
wow that's a lot of work. good stuff. someone spilled some crap on your carpet.


