
GPS Install / Cubby Removal


Thread Starter
|
Registered User
Joined: Feb 2008
Posts: 26
Likes: 0
Please post all parts needed so I can go ahead and order..
You had the empty cubby to start out with right?
You had the empty cubby to start out with right?
The install should only take about 1 hour if you really take your time and know how to remove the factory head unit. That includes the time it takes to dremel out a notch for the power plug.
*I'm not sure about all GPS units, but if you go with a Garmin unit you'll need to notch the cubby lid so the power plug can fit into the lid and allow the unit to sit flush and at the proper height. If you use another brand, you may not need to do this*


Thread Starter
|
Registered User
Joined: Feb 2008
Posts: 26
Likes: 0
I am just trying to picture how the unit sits in the cubby hole. What is it sitting on? How does the lid close with the unit in place?
Is it just a fixed mount or does it rise up and down like the stock navi. Can we get some side and top pictures?

Registered User
Joined: Aug 2007
Posts: 2
Likes: 0
nice. I also just finished installing a Garmin Nuvi 750 (piano black housing, 4.3" screen) and did the same exact thing. I just ran the plug from the cubby into the center armrest. I didnt use a dremel to make any holes in the cubby compartment though. Once the center console panels are taken out, you could actually fit the plug through the opening behind the corner of the cubby door (when the door is open). It's kinda hard to explain....I'll post pictures soon. I have pictures with the panels removed...and the location of the plug wires. (btw....this is on an 06 coupe).

Registered User
Joined: Mar 2008
Posts: 37
Likes: 0
Originally Posted by spazemonki
nice. I also just finished installing a Garmin Nuvi 750 (piano black housing, 4.3" screen) and did the same exact thing. I just ran the plug from the cubby into the center armrest. I didnt use a dremel to make any holes in the cubby compartment though. Once the center console panels are taken out, you could actually fit the plug through the opening behind the corner of the cubby door (when the door is open). It's kinda hard to explain....I'll post pictures soon. I have pictures with the panels removed...and the location of the plug wires. (btw....this is on an 06 coupe).


Registered User
Joined: Nov 2006
Posts: 4
Likes: 0
From: Calgary, Alberta, Canada
Garmin 850 install
I just did the cubby-hole GPS install using a Garmin 850, on a '05 6MT sedan.
The power connects to the side port on the 850 mounting cradle, which I mounted to the cubby-hole lid using a 3/16" thick section of plywood spacer/adapter. I ran an aux. power port into the cubby, and tied the power into the +12v and ground supply to the factory lighter plug in the lower console. You really need to remove the radio assembly and trim pieces to do this properly, and there are several good DIY guides for console removal on this site - the search really works... The console really only takes 15 mins to remove - just do it on a warm day so that the plastic clips are flexible if you are concerned about breakage. I had no issues and everything came apart and reassembled with ease.
I tried to mount the GPS (actually the adapter plate that I made) to the cubby door using velcro, then with double sided tape - both to no avail. The glues in the tape(s) would simply not stick when the interior temps climbed on a hot day, and the unit would slowly slide off the lid. I ended up drilling two small screws (4-40 tapping screws) into the flat part of the underside of the cubby to hold the unit in place.
The cubby door closes fully, and the unit powers on and off with the ignition key. With the 850 model, the unit can be removed from the cradle by pushing a button on the bottom of the cradle. I simply purchased a second cradle and power cord for installation in my other vehicle.

Registered User
Joined: Nov 2006
Posts: 4
Likes: 0
From: Calgary, Alberta, Canada
[QUOTE=swest1970]I just did the cubby-hole GPS install using a Garmin 850, on a '05 6MT sedan.
I have some pics of the Garmin 850 install - using the Garmin 850 cradle and side-mount power plug...

Lid is manually opened/closed, lid will close fully.
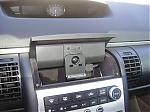
This is the Garmin cradle for the 850 model. It ONLY fits the 800 series, and has the power cable attachment on the lower right corner...
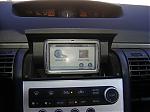
In operation - note the full signal strength...
I have some pics of the Garmin 850 install - using the Garmin 850 cradle and side-mount power plug...
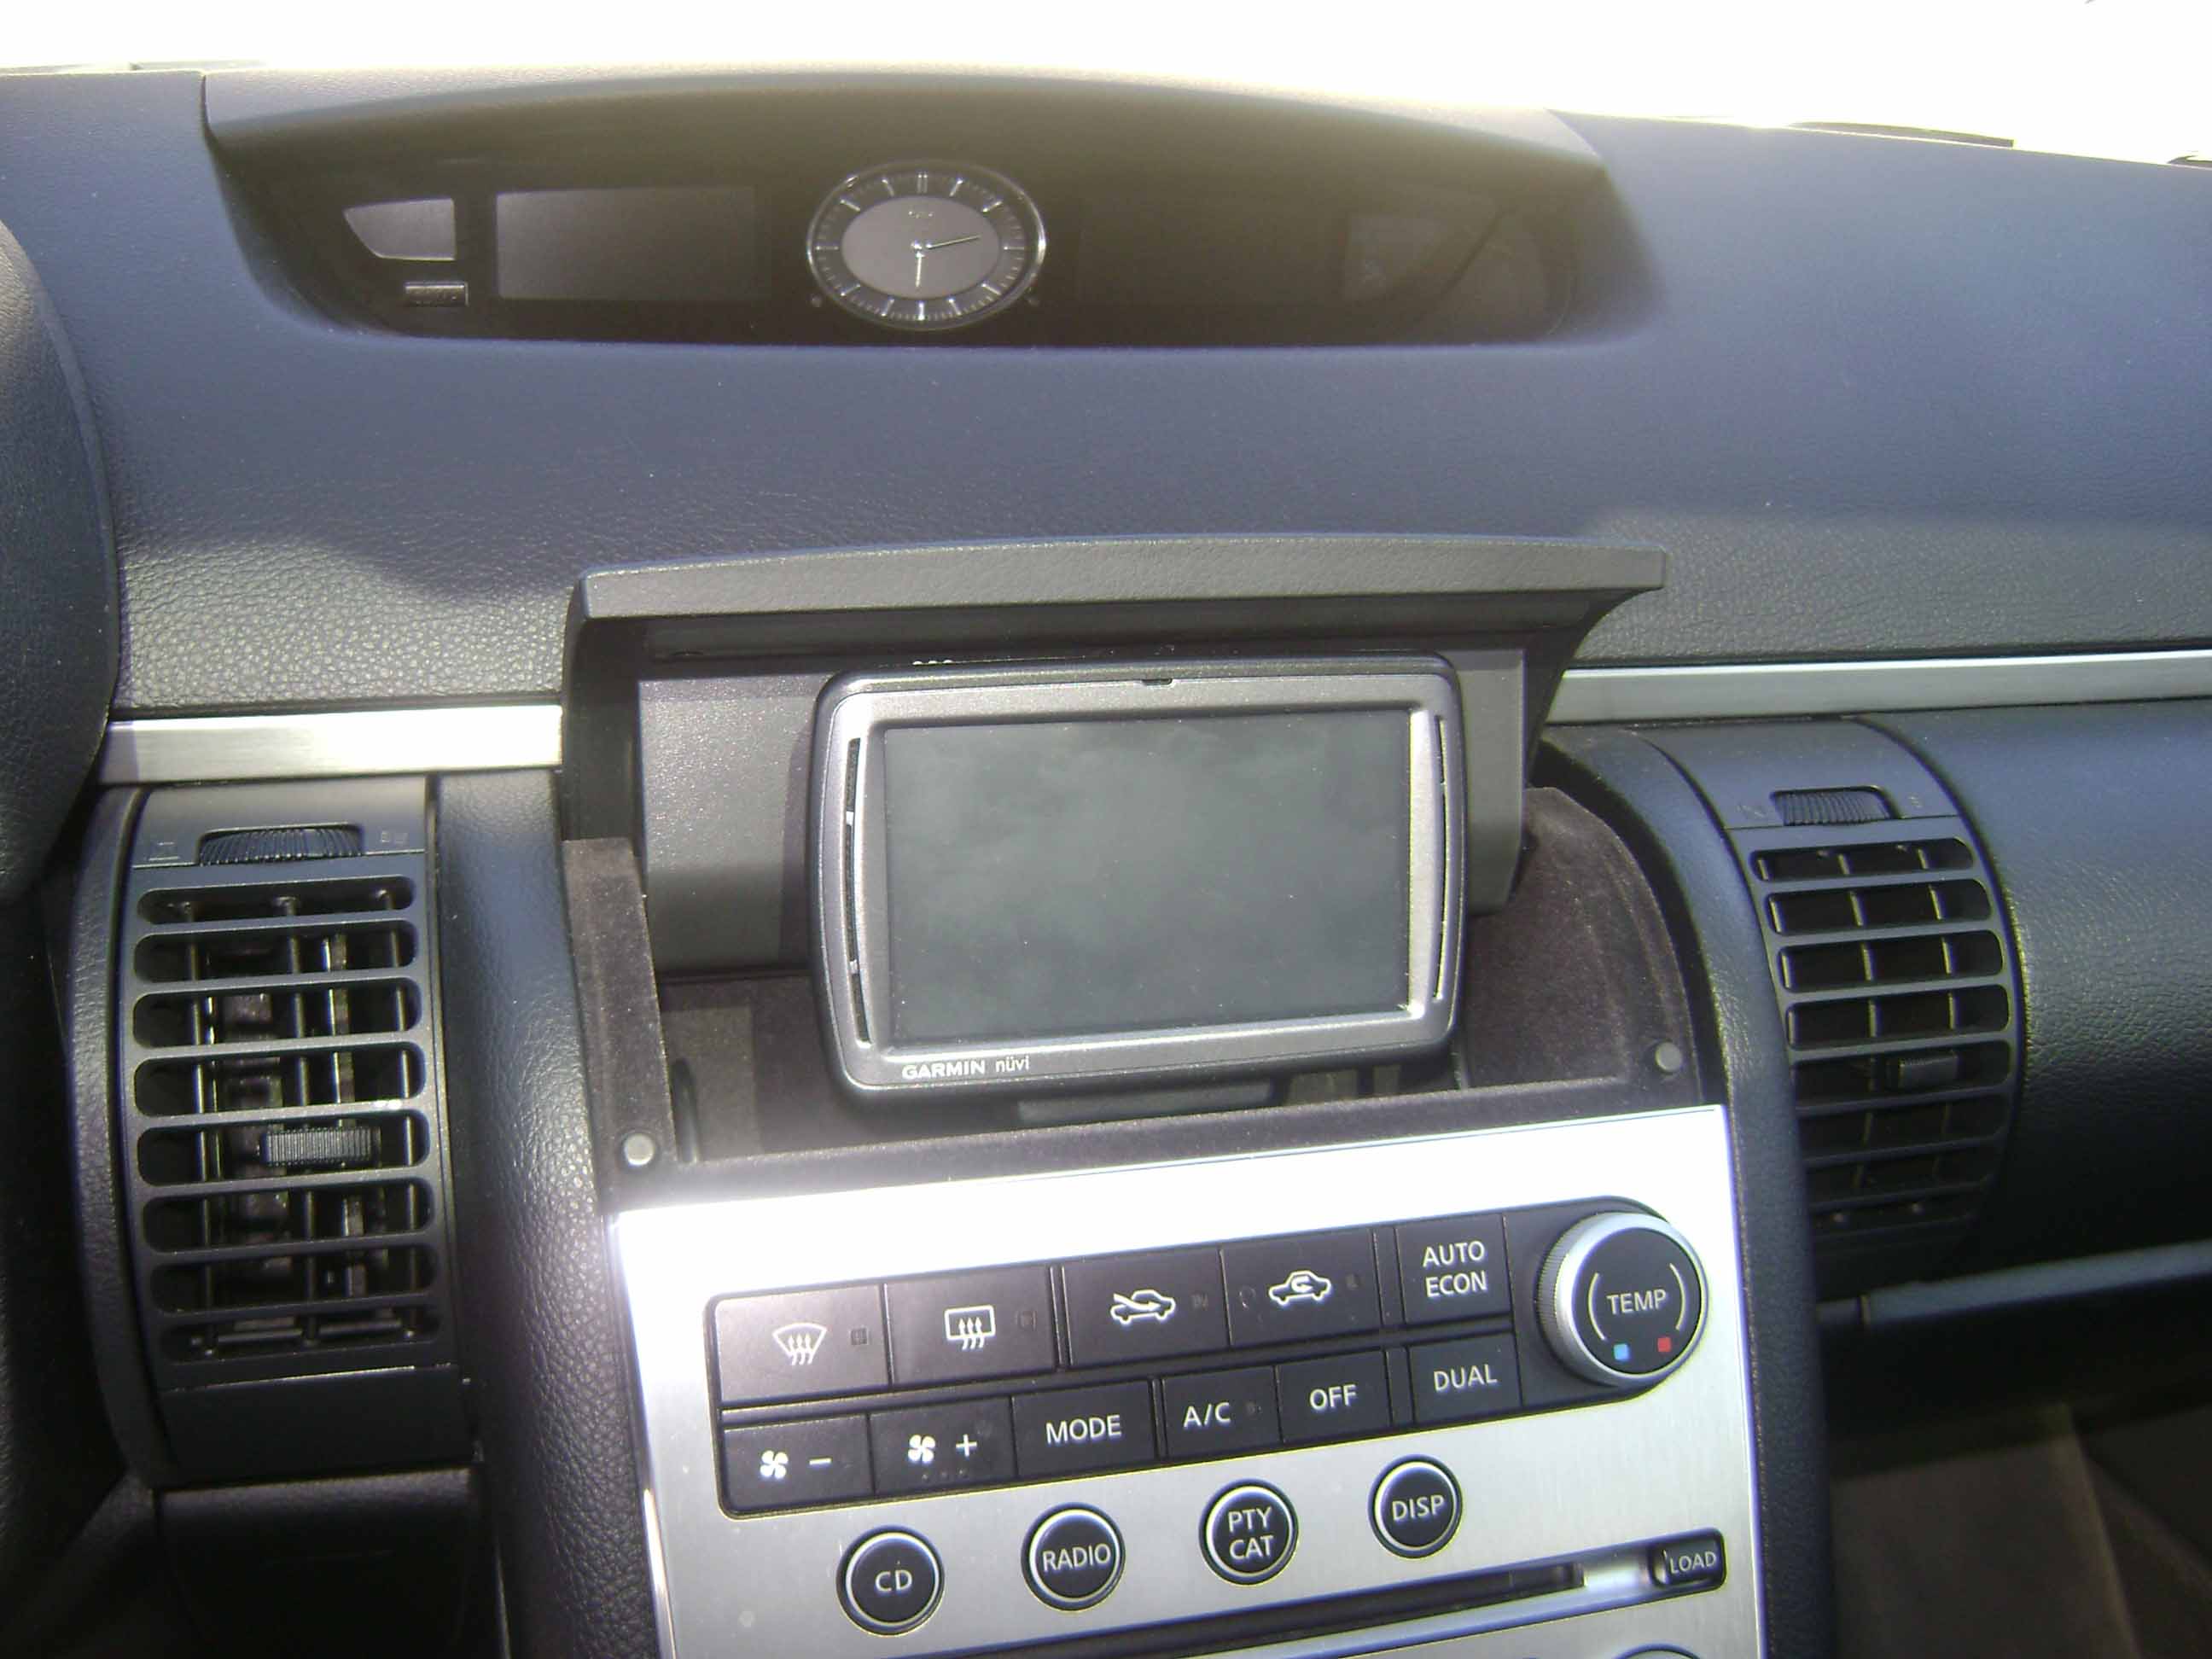
Lid is manually opened/closed, lid will close fully.
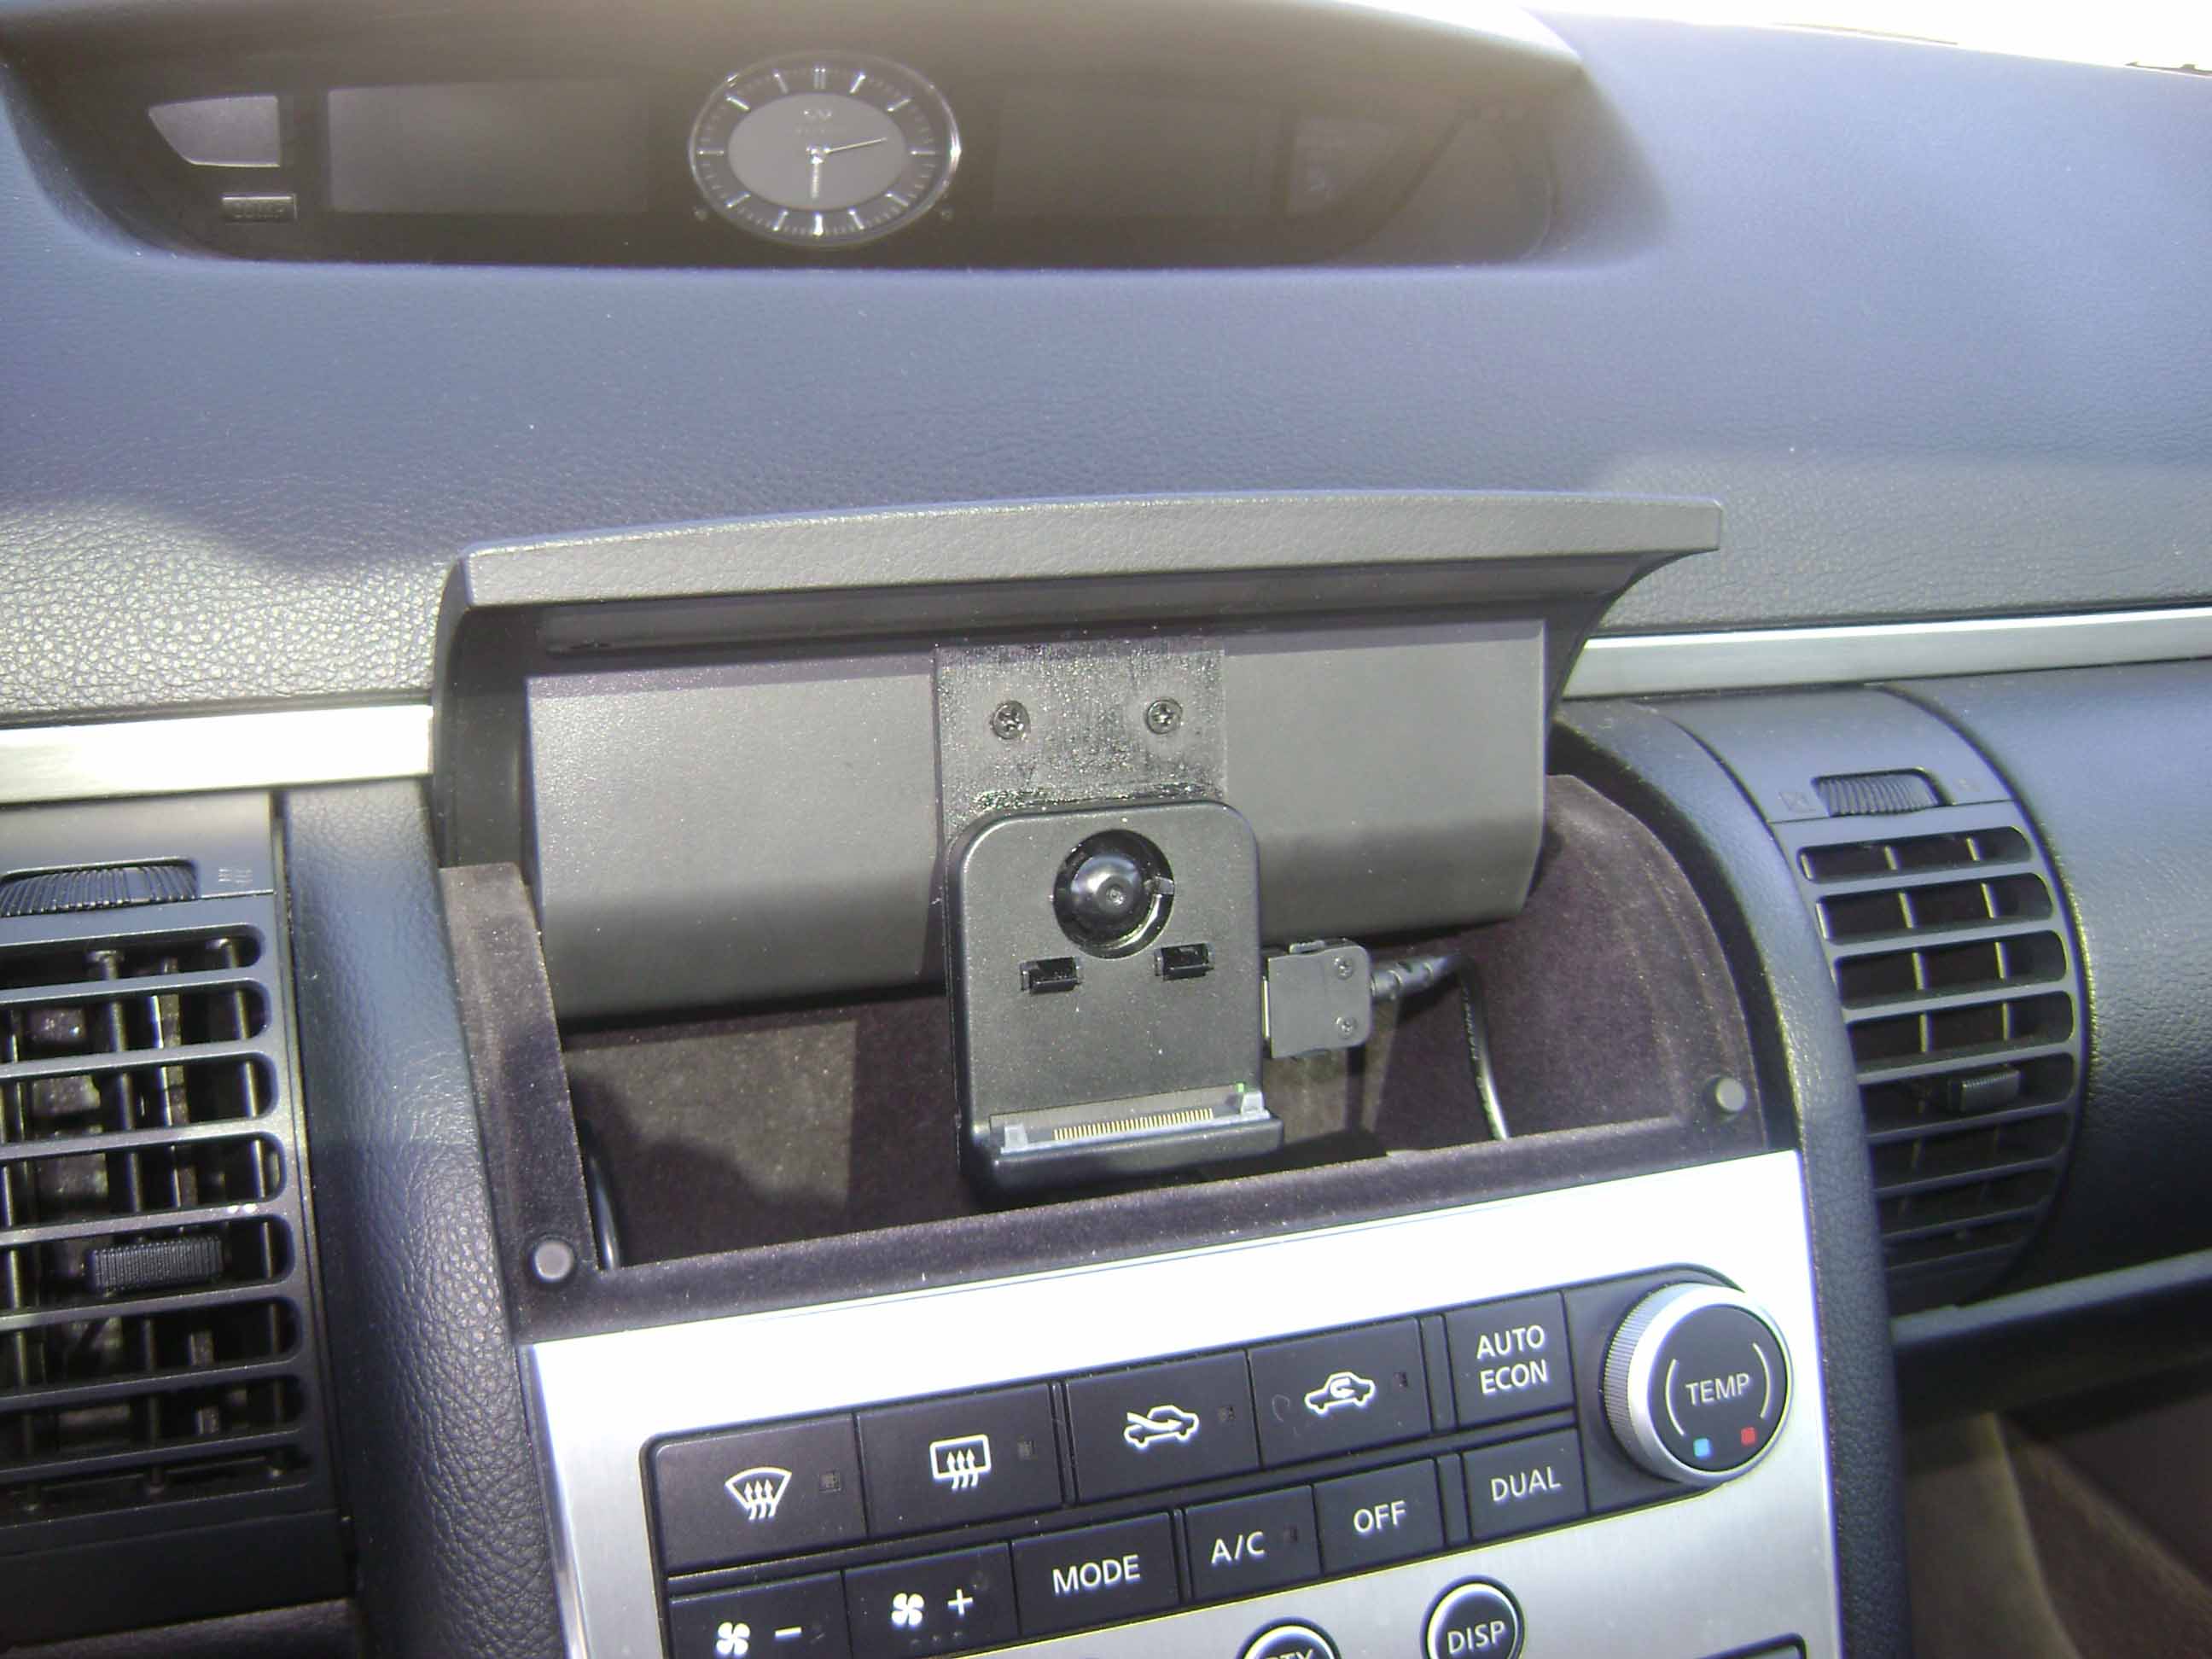
This is the Garmin cradle for the 850 model. It ONLY fits the 800 series, and has the power cable attachment on the lower right corner...
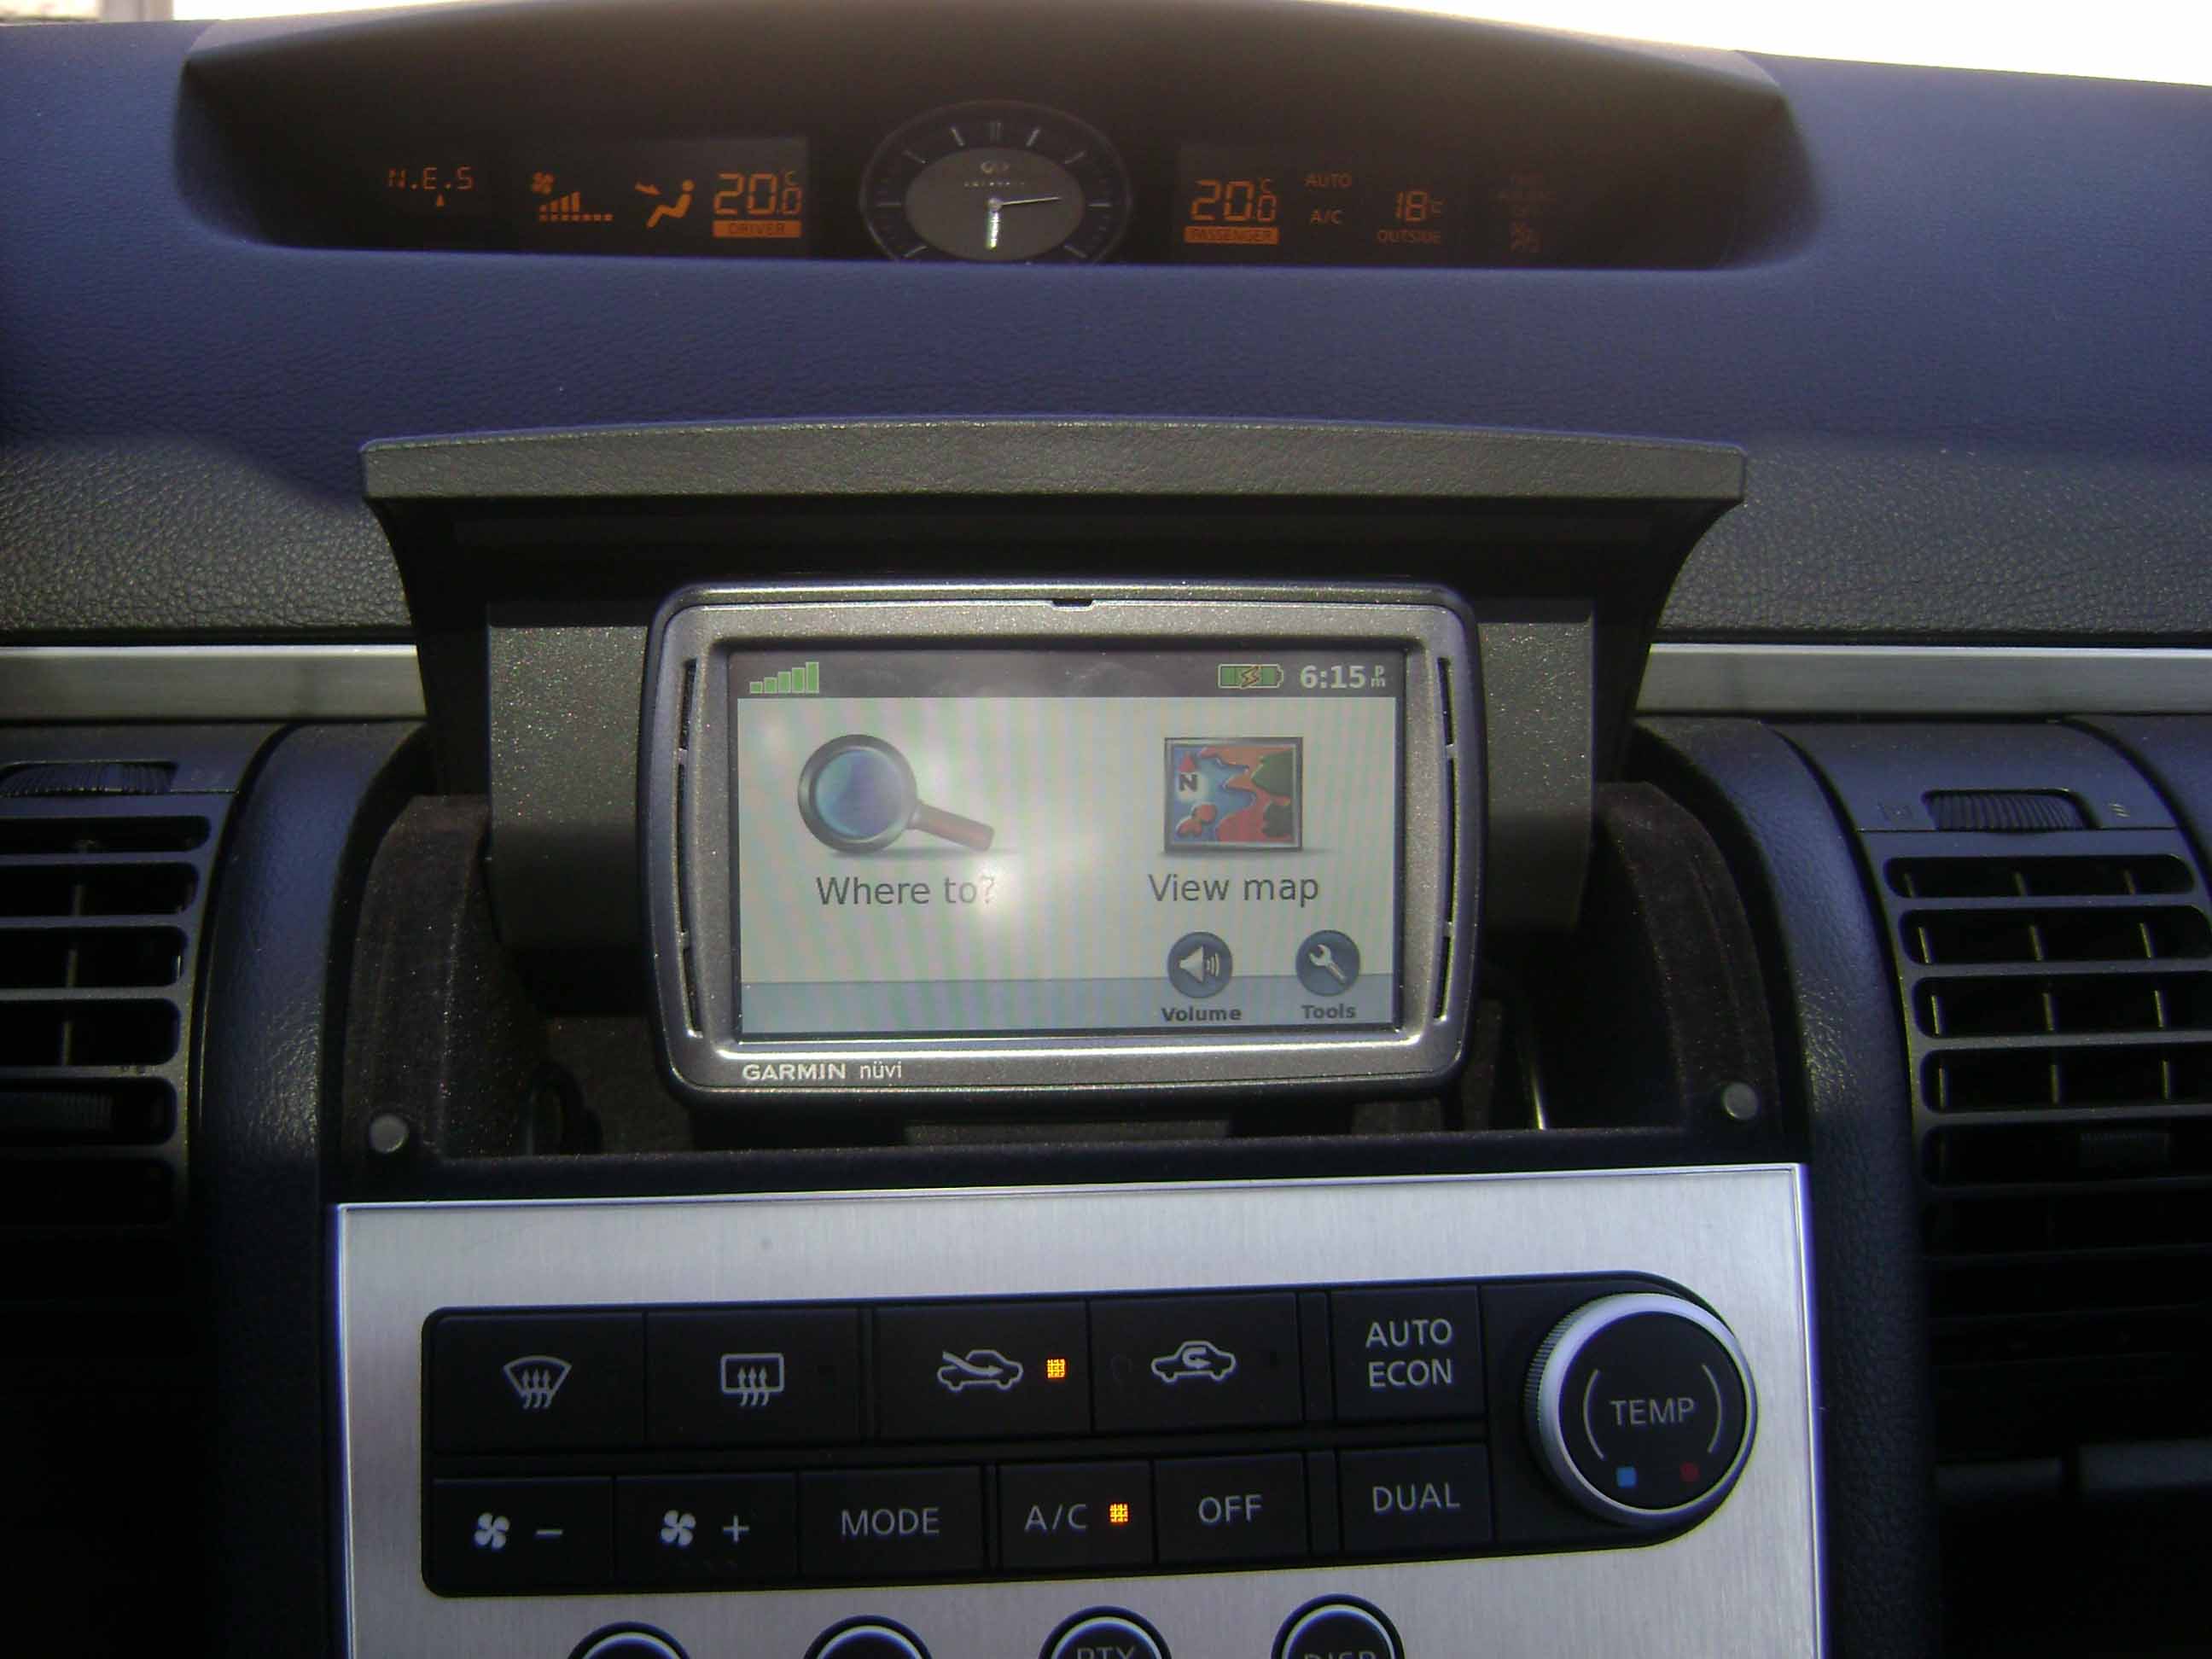
In operation - note the full signal strength...
