When you click on links to various merchants on this site and make a purchase, this can result in this site earning a commission. Affiliate programs and affiliations include, but are not limited to, the eBay Partner Network.
So, I got a request from a new member here for a very custom build they're doing (Vaydor conversion), so there's a legitimate reason to do another FrankenMetra (tm) climate control. If you see their pictures of the metra in there, with nice leather all around, you'd agree to help prevent such a travesty too. In fact... here you go. This is what is being avoided:
JUST SAY NO!
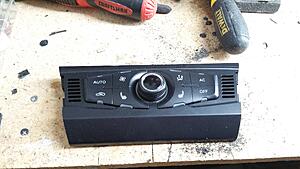
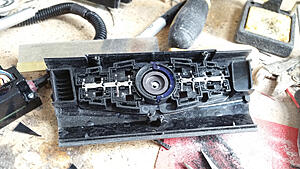
This one will be going into a true custom dash, and will use Audi climate control buttons. As with the previous abomination, the rotary control for climate control will be the biggest issue, but there's always a way.
Big lesson learned from the previous version is that re-using an existing circuit board leads to huge headaches from all the various circuit paths there are. So, this one is starting from a blank project breadboard.
It will be cut down to rough size (slightly bigger, of course) with a rotary tool, then sanded down to a precise fit with some 100 grit sandpaper, and a file for the little corners.
Lined up and marked.
Marked with the rough shape
After the rotary tool cut, doing the precise sanding down.
Almost done!
Another project board was cut down to fill the sides, since the board wasn't quite long enough to reach the defrost button positions.
Perfect fit!
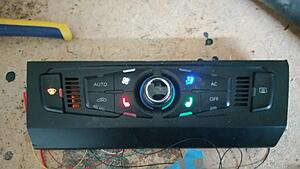
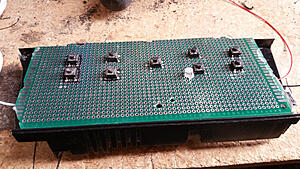
Now that the board is in place, the next step is to get the buttons in position. I got lucky with these, they have the exact same dimensions and feel as the factory pushbuttons, so I will not have to harvest anything from the Audi control board.
With the buttons lined up, the first test of them is complete.
The next piece arrived today - the 40-pin IDE extension cable.
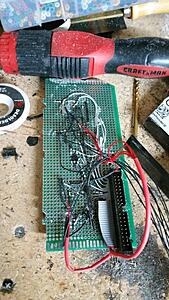
I started by wiring up the common input wire for all the buttons to be used.
Common wiring complete
Wiring up the control wires.
Control wiring complete. Lots of extra wires on the 40-pin harness.
Reassembled.
Reassembled with excess wires hanging out.
40-pin harness with the other half of the extension.
Now that it's back together, I've done testing of all the buttons through the wires. It's ready for the Metra board to connect to it. I'm leaving those excess wires from the harness for now. If the metra board sends the same voltage for LEDs, I might end up using them to illuminate the controls.
Last edited by Wrathernaut; Nov 26, 2016 at 11:30 PM.
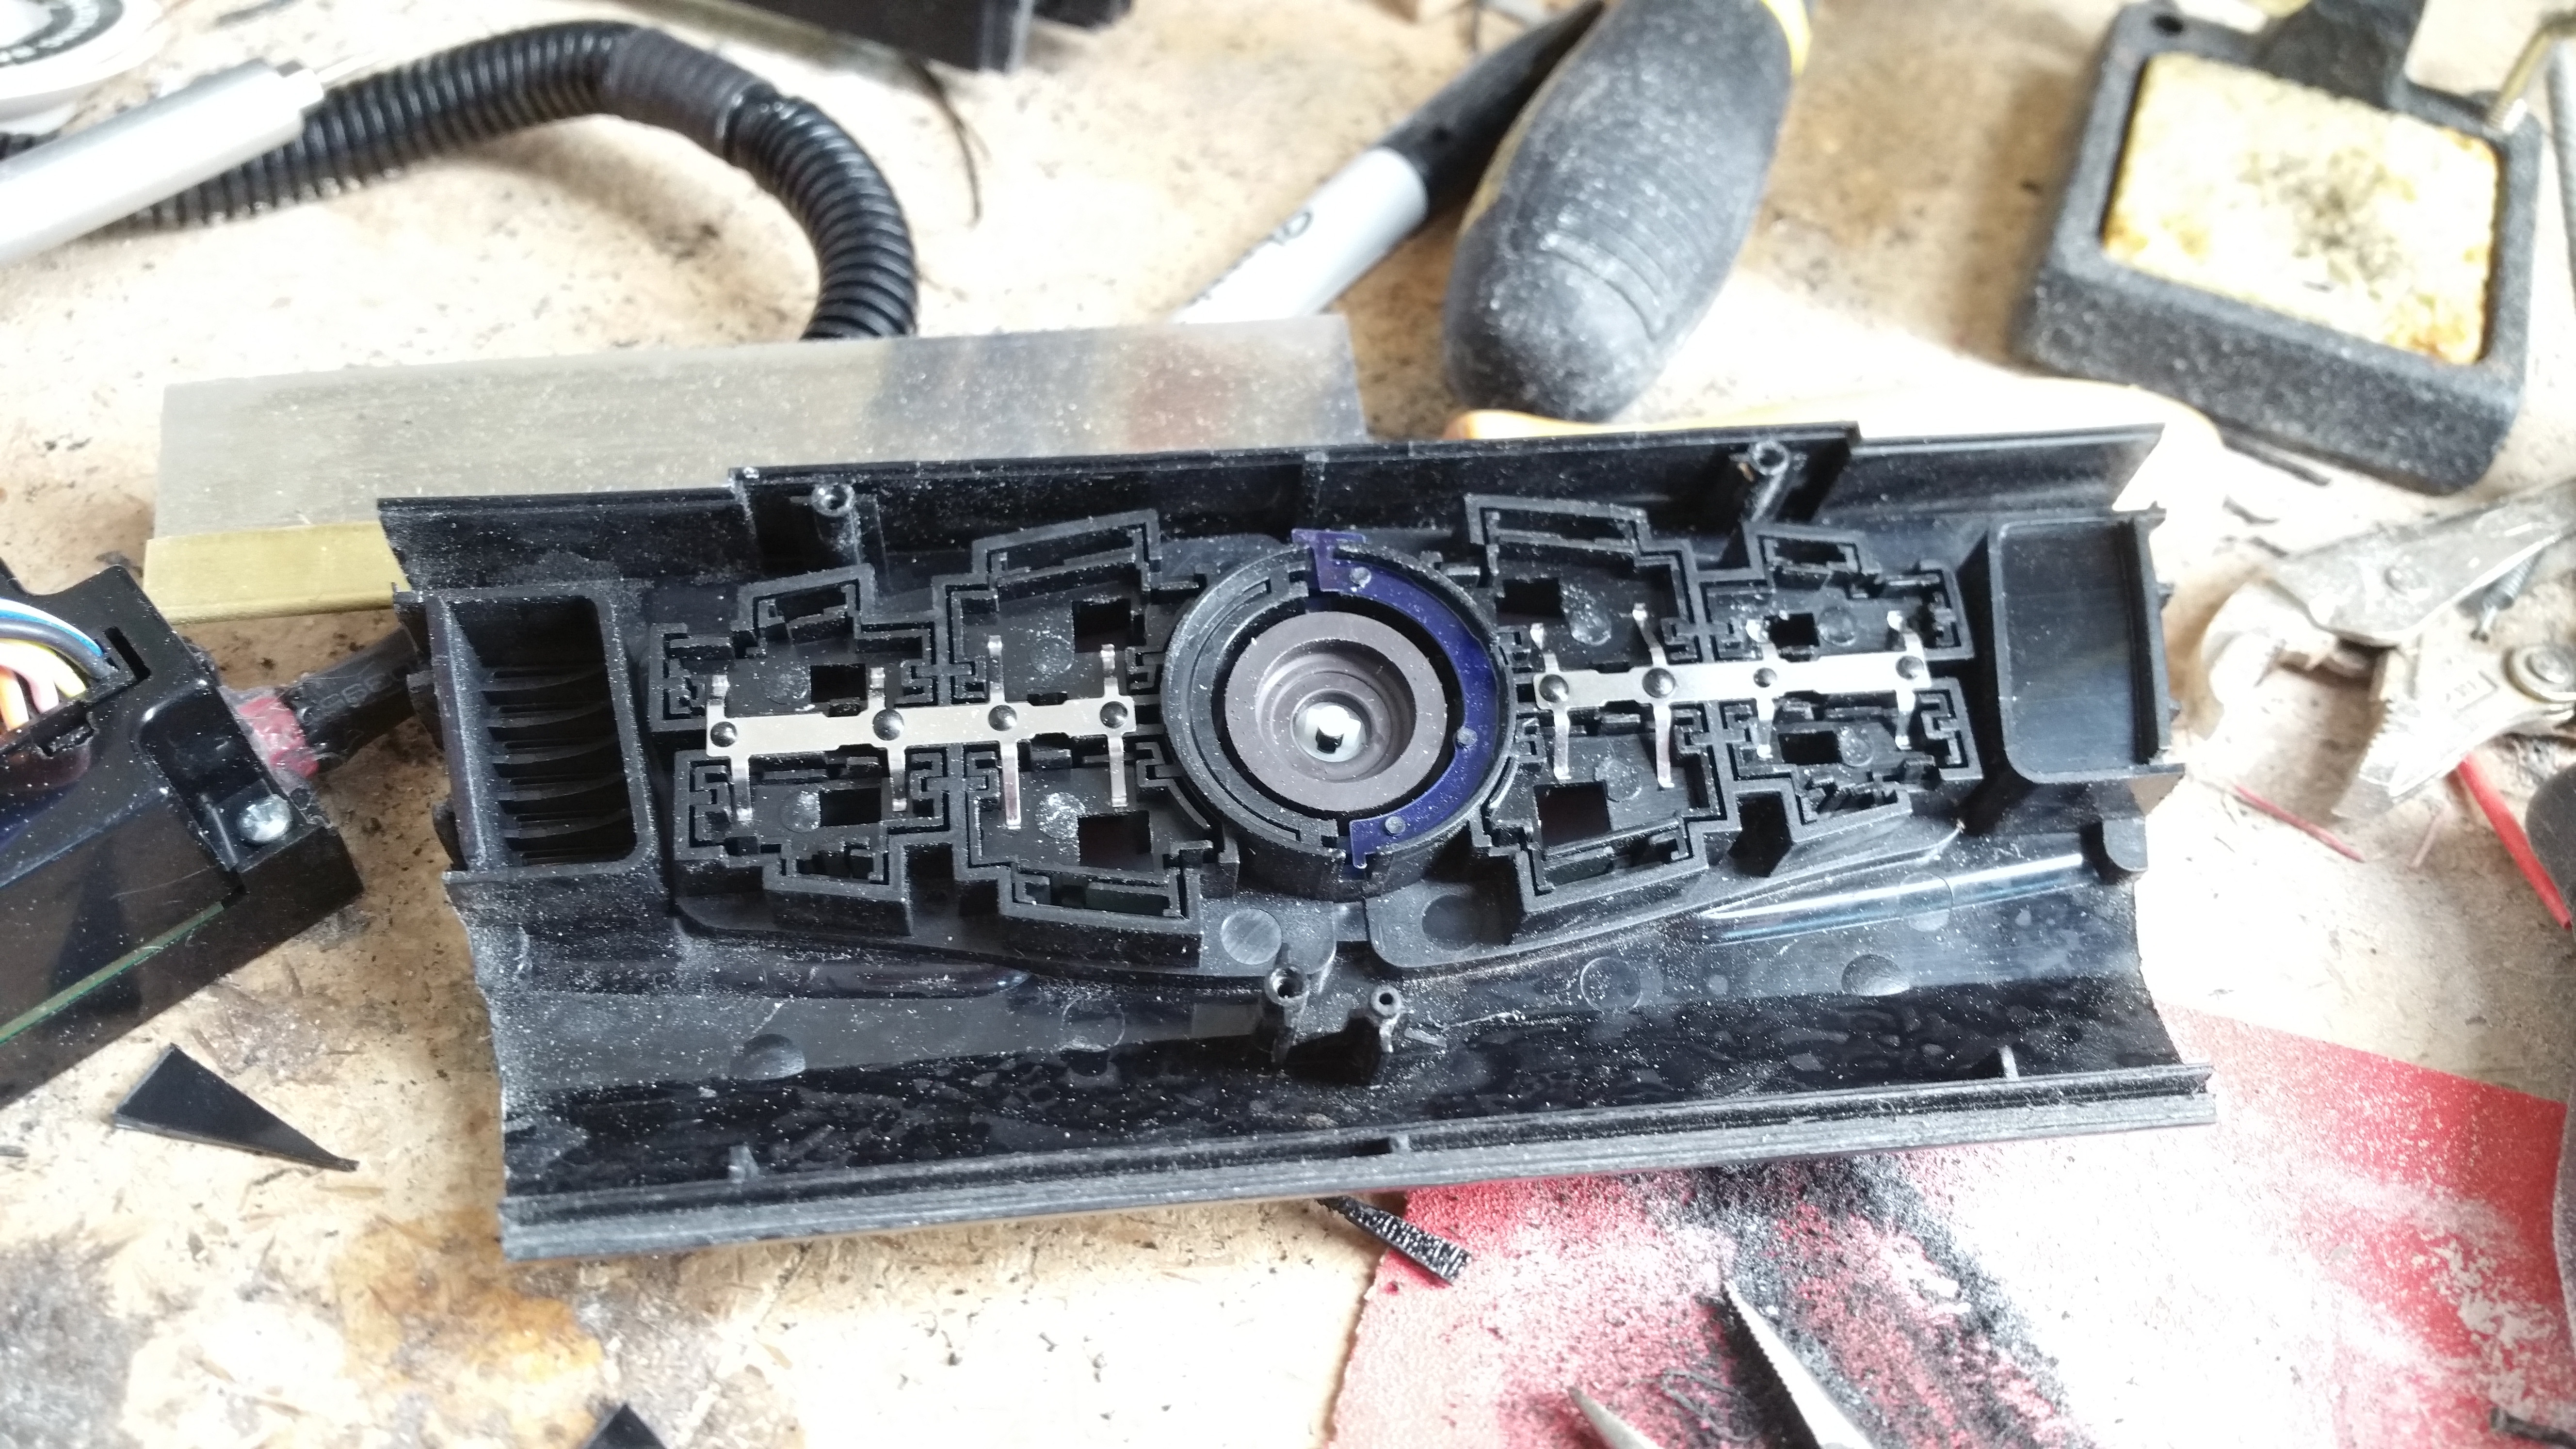
Metra board arrived, and was promptly disassembled and put under the soldering pen.
All the wires were marked according to function, since I don't have 14 different color wires of the right thickness to choose from
Once the wires were all soldered to the metra board, I ran them through some wire loom and soldered to the other half of the IDE extension cable through some super tiny heatshrink. I wish I'd put more of the large heatshrink on the loom before I started, since I'd much rather use that to bridge down to the smaller loom than the electrical tape. Either way, it worked out well.
All the wiring is complete - and you can see something here that nearly had me pulling my hair out when it didn't work.<br/><br/>Give up? It's the missing jumper on the OPTION setting on the metra board, but luckily I remember this old post - https://g35driver.com/forums/audio-v...ller-read.html and put a jumper in the right spot. OPT 1 for 05-06, not sure if it's the same for 2003-2004..
Fully assembled and plugged in.
... and run all the way to the metra board, which does all the translating to the car.
So, after a few hours of work, here's the horribly rough video, but it's late and I really don't feel like busting out the video editing software.
The LEDs arrived, five colors to choose from, tested by just shoving LEDs in the holes behind the buttons. You can also see the light shining through the temp sensor vent here. That gets addressed later.
Yes, red is the way to go.
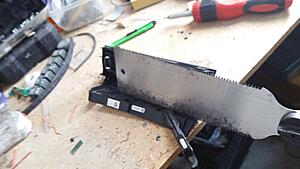
So, the full Audi part was too wide for this application, and there's the extra piece underneath. Good thing I've got a good compliment of saws at my disposal.
That underhang goes first.
Then the sides.
Now, to plug the air temp sensor vent holes - the one on the right has a painstakingly custom piece of plastic filling it.
And now it's time to mount the lights. One down!
A whole mess of wiring later...
Now it lights up via the illumination wires - whenever the backlighting is on on the metra slave board, it's on on the custom board too:
Hopefully the next pictures of this thing are post-install in the Vaydor.
So, lessons learned for the next time something like this comes up:
Look into etching a PCB to avoid the soldering and wiring complications.
Make sure the new buttons are the same height. These were about 1mm too tall, so I had to file them down a little.
Get surface-mount LEDs. These were too tall and had to be shaved down, and the angle is a little narrow, so they don't fully illuminate the AUTO button.
Next time? Maybe do a Raspberry Pi with a 16-relay GPIO board + touchscreen and custom UI to control it instead. Heck, run GPS and stuff on the pi?
I'm glad I dug out my variable DC power supply, it made testing the lights a breeze (and identify one bad soldering joint). Plugging into the car to test would be a pain.
I really need to clear up my workbench. And make it bigger somehow.
Last edited by Wrathernaut; Dec 13, 2016 at 01:00 AM.
Woah excellent work! Nice to hear you are still going crazy ha. I'm just learning about hardware modification myself.
That metra looks like *** in that super custom car. Why would you put that in a Vaydor car, let alone a G35.
Yeah, I'm really surprised they didn't at least get the JDM for that. With the cost of the Vaydor, you think they'd spring an extra $200 to not have to buttons.
So, I got a request from a new member here for a very custom build they're doing (Vaydor conversion), so there's a legitimate reason to do another FrankenMetra (tm) climate control. If you see their pictures of the metra in there, with nice leather all around, you'd agree to help prevent such a travesty too. In fact... here you go. This is what is being avoided:
JUST SAY NO! To the Vaydor conversion........
Fixed the first part of your post for you...........
JMO though, I can't understand why someone would put all this work into a 10 year old plus G but if it's what the owner wants I certainly can't hate. As usual Wrather, your work is impressive and I'm more than a little jealous because I know diddly squat about electronics. I'm starting to research them though, I always want to get better at things I don't know about, which means I have a LOT to learn lol.
It's actually really basic electronics, just takes a steady hand and patience.