
Custom Audio System Gallery


Specs:
2- Digital Designs 2500 series 10" Subwoofers w/carbon fiber dust cap
1- Digital Designs M2 "sub amp"
1- Digital Designs S4 "mids & highs amp"
2-Digital Designs 6.5 midbass/midrange pairs
6- Digital Designs T-28 tweeters "4 glassed in the pillars,two in bose sub-port" . Two more will be glassed in the pillars this summer.
L.E.D's to light up the Digital Designs logo, subs, and amps
I'll get some pics of the inside tonight


Registered User
Joined: May 2005
Posts: 5
Likes: 0


Thanks to Bing @ Simplicity in sound More detailed @ https://g35driver.com/forums/audio-v...tall-pics.html

wow some sweet set ups. I did mine my self to keep the cost down... and tried to use the best components that i could afford. it took me several weeks to complete.
JVC DD with JDM kit and sirrus
Brale battery (intrunk) with Stinger isolator
alot of sound deadner and Acoustic foam
Thunder Elite amps.
40 farad cap
custom sub box
10" massive DC-10
Boston pro60 doors (tweets Kicks)
Boston SL65 rear
Pac module
Monster 600speaker wire and Tsunami braided sub sure
Monster pro interconnects.
lots of LED lights.

Finished trunk (well not 100%)

ran all my signal and speaker cables up thru center of car (power routed down pass side)

sound mat used thruout entire car roof to floor and all metal surfaces

acoustic foam used thruout car inside doors and on top of all sound mat.

mocking things up


My custom encosure used real CF inside.

Over all its work in progress. i have alot more pics but i dont want to flood the board with my set up. let me kmnow what ya think for a home done setup. thank you for looking
JVC DD with JDM kit and sirrus
Brale battery (intrunk) with Stinger isolator
alot of sound deadner and Acoustic foam
Thunder Elite amps.
40 farad cap
custom sub box
10" massive DC-10
Boston pro60 doors (tweets Kicks)
Boston SL65 rear
Pac module
Monster 600speaker wire and Tsunami braided sub sure
Monster pro interconnects.
lots of LED lights.
Finished trunk (well not 100%)
ran all my signal and speaker cables up thru center of car (power routed down pass side)
sound mat used thruout entire car roof to floor and all metal surfaces
acoustic foam used thruout car inside doors and on top of all sound mat.
mocking things up
My custom encosure used real CF inside.
Over all its work in progress. i have alot more pics but i dont want to flood the board with my set up. let me kmnow what ya think for a home done setup. thank you for looking
Last edited by dreamweaver; Feb 8, 2009 at 07:52 PM.

My Setup
My Pioneer Setup
DEH-P800PRS CD Player
TS-C720PRS Speakers in Front Doors
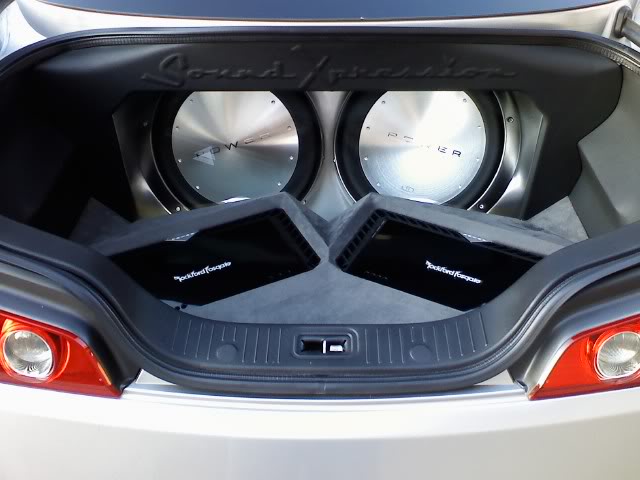
2x TS-W3001D4 Subwoofers
PRS-A900 Amplifer to Front Speakers
PRS-D1200SPL Running Subs
Ultralink Speaker Wire
Scosche Accessories
Over 100 Square Feet of Sound Deadening
DEH-P800PRS CD Player
TS-C720PRS Speakers in Front Doors
2x TS-W3001D4 Subwoofers
PRS-A900 Amplifer to Front Speakers
PRS-D1200SPL Running Subs
Ultralink Speaker Wire
Scosche Accessories
Over 100 Square Feet of Sound Deadening
Really Needs a Life
iTrader: (164)
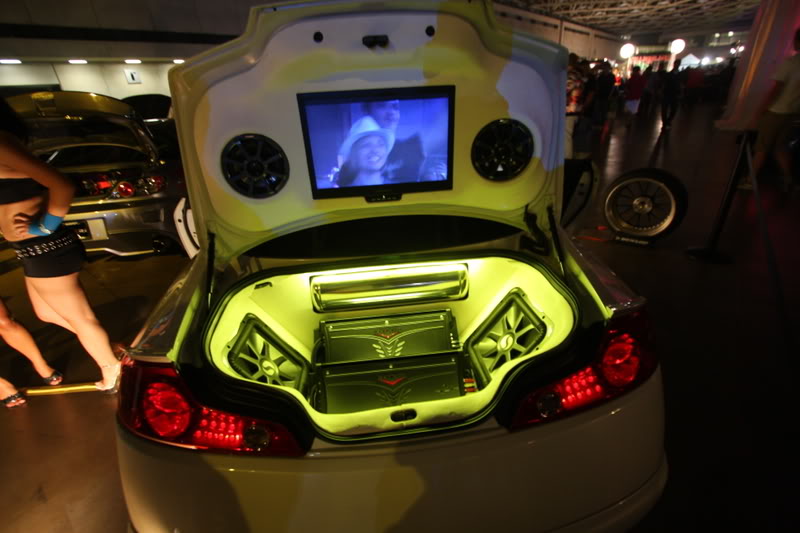
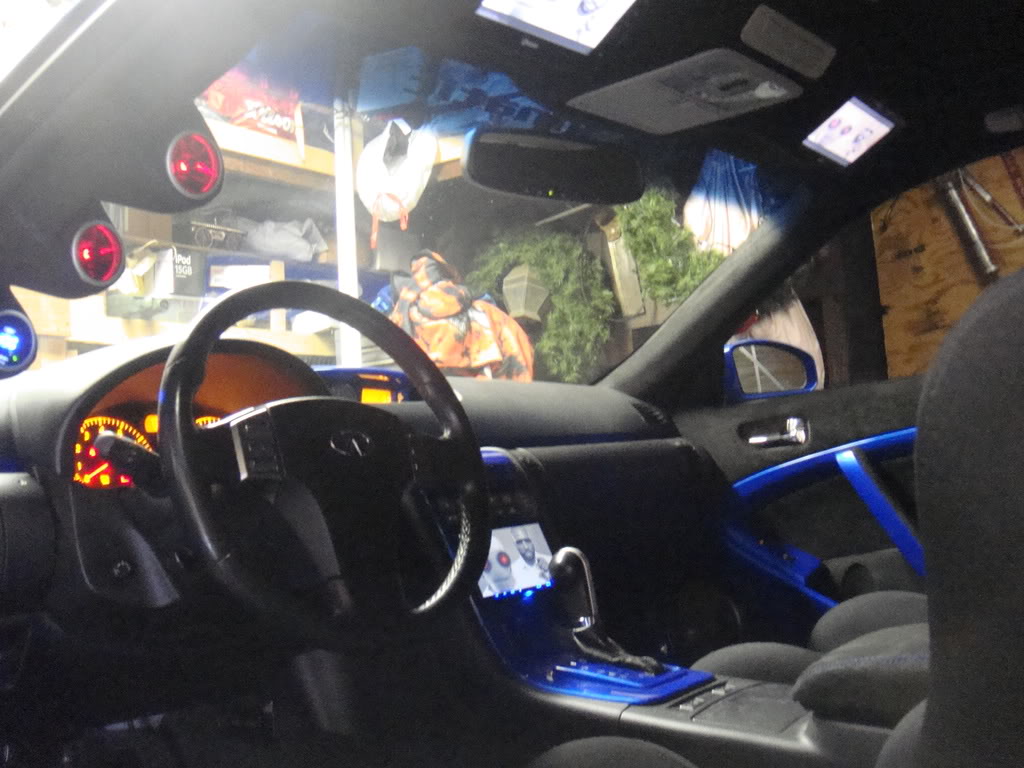
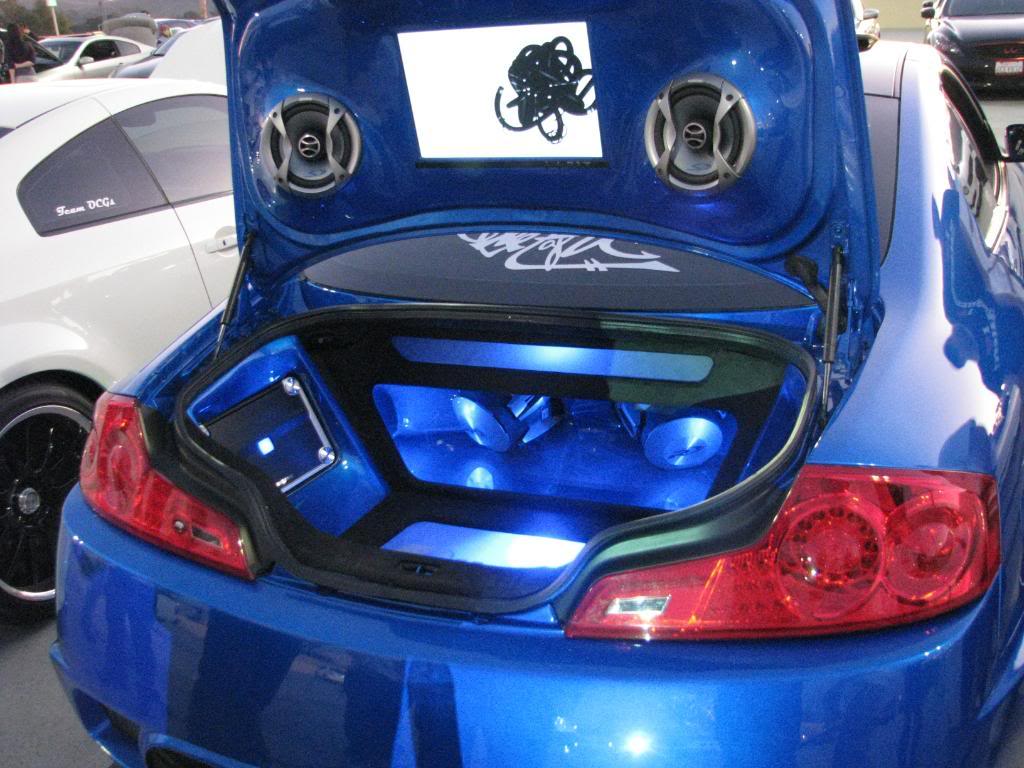
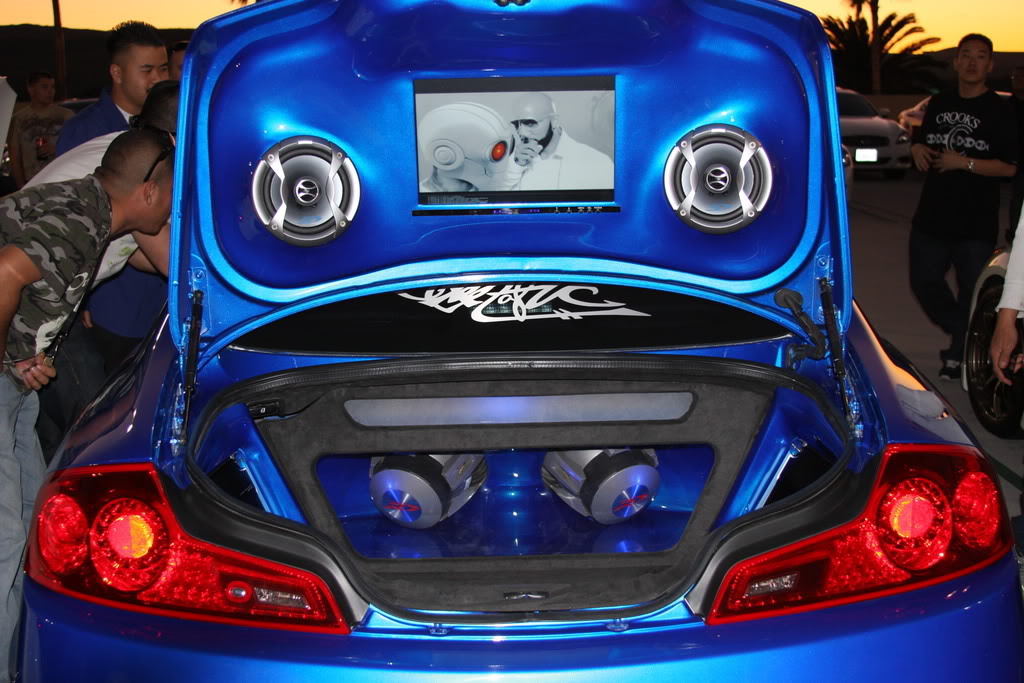
my contribution...
Custom Fiberglass trunk
Custom Fiberglass Trunk Lid
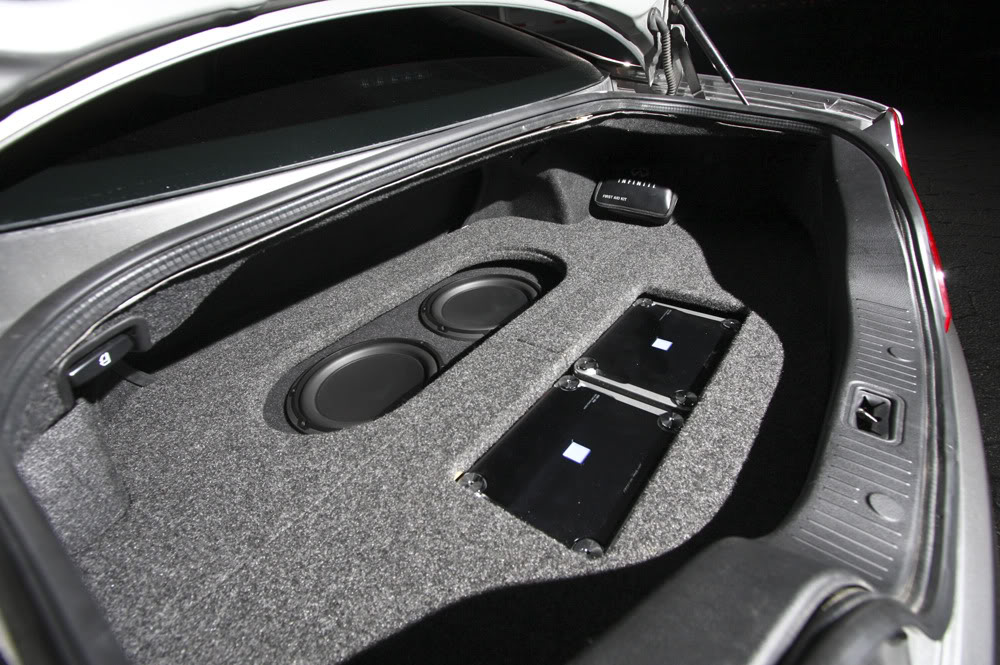
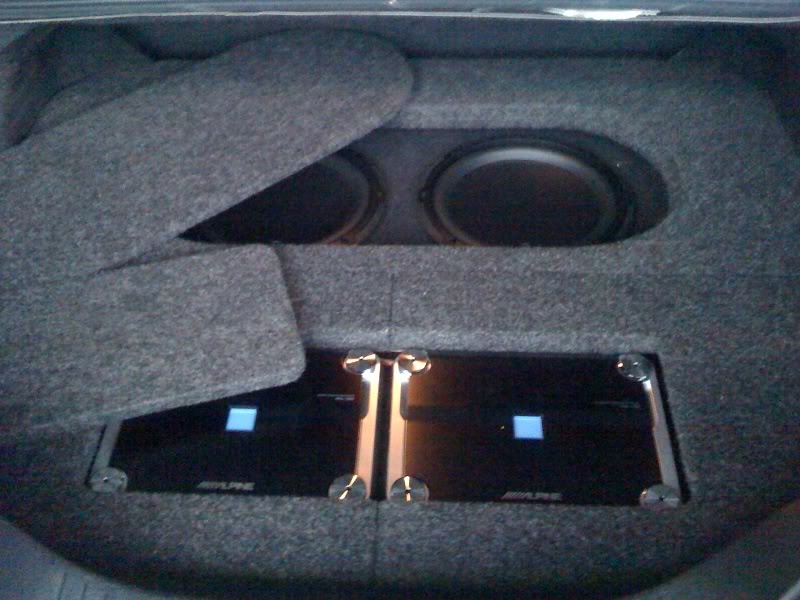
Alpine IVA- W505 7’ LCD Touch Screen
(2) 7’ Eigervision LCD monitors molded in headliner
15’ Eigervision LCD monitor in Trunk Lid
Alpine PDX 600.1 Amplifier
Alpine PDX 400.4 Amplifier
(2) Alpine SPR 17F components
(2) Alpine SPR 17C components
(2) Alpine SPF 600 Trunk lid Speakers
(2) Alpine SPR 1042D Sub

Custom Fiberglass trunk
Custom Fiberglass Trunk Lid
Alpine IVA- W505 7’ LCD Touch Screen
(2) 7’ Eigervision LCD monitors molded in headliner
15’ Eigervision LCD monitor in Trunk Lid
Alpine PDX 600.1 Amplifier
Alpine PDX 400.4 Amplifier
(2) Alpine SPR 17F components
(2) Alpine SPR 17C components
(2) Alpine SPF 600 Trunk lid Speakers
(2) Alpine SPR 1042D Sub


on behalf of my girlfriends install...before/after pics....we had an audio system in there before hand and upgraded....i will be having mine done by December
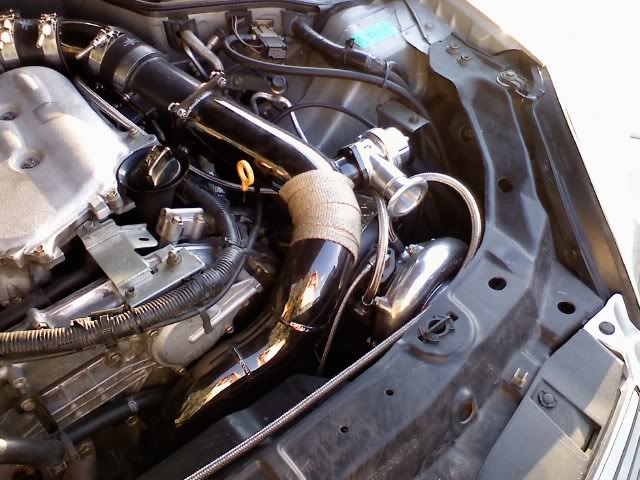
underhood battery terminal:

behind the headunit:

the old door panel, with the ADS crossover about to fall out of the door, i was wondering why there was a big long speaker grille:

until i saw the 3 way set with the mid and midbass screwed to the door panel itself:

a random wire that came through a hole in the metal and into the factory loom

audiobahn remote bass controller held on by one screw:
 [/QUOTE]
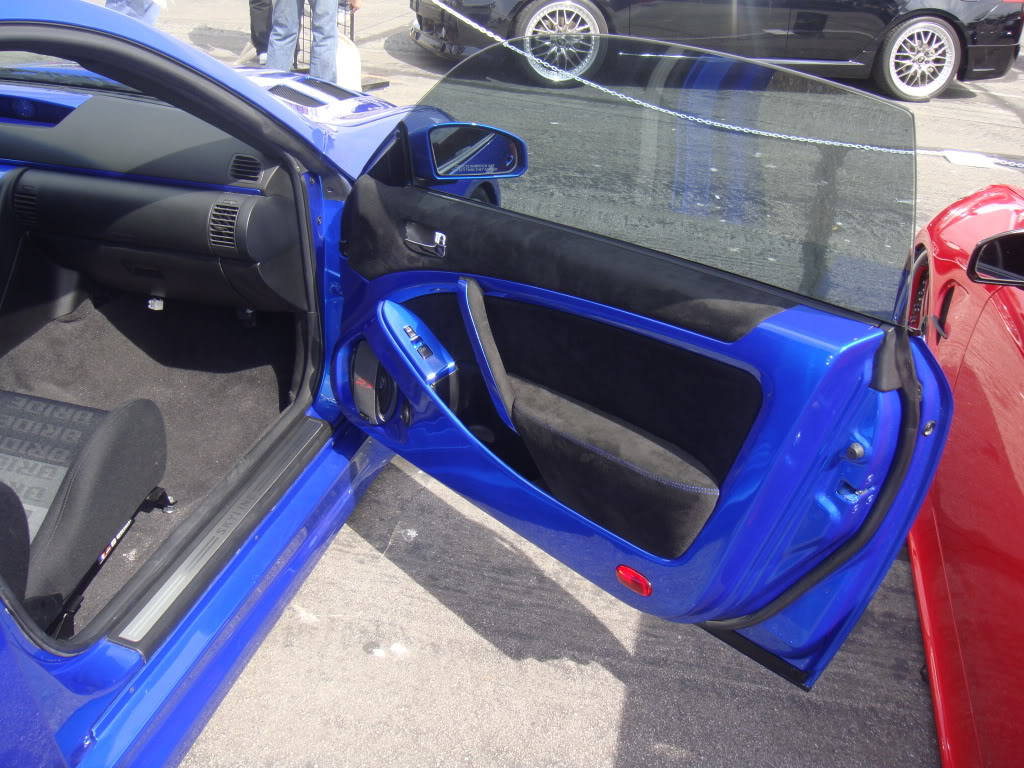
]After two days of tearing out stuff and fixing things, the new install got started.

here is the driver side pod from various angles and close ups.


likewise, here is the passenger side:


here are some quick build pics of the doors.
first, the metal door panel received a layer of foam to block road noise, a rack was attached, housing the two passive crossovers per door. new wires were run into the door via the factory molex:


next is the start of the door pod. first an initial mold was taken of the area the pod will take up:

once that�s cured, a layer of duraglass went on to ensure it doesn�t warp:

after that is allowed to cure over a weekend, the back mold was trimmed and rough sanded:

next, the various ring baffles was attached, along with the baffle for the zapco logo plate towards the back.

mold cloth was pulled over the entire shape and resin applied:


next the pods are reinforced from the inside via more cloth, chop strand, and duraglass:


then both pods are fillered and sanded smooth, and i mocked up the speakers and plates to ensure proper fitment:


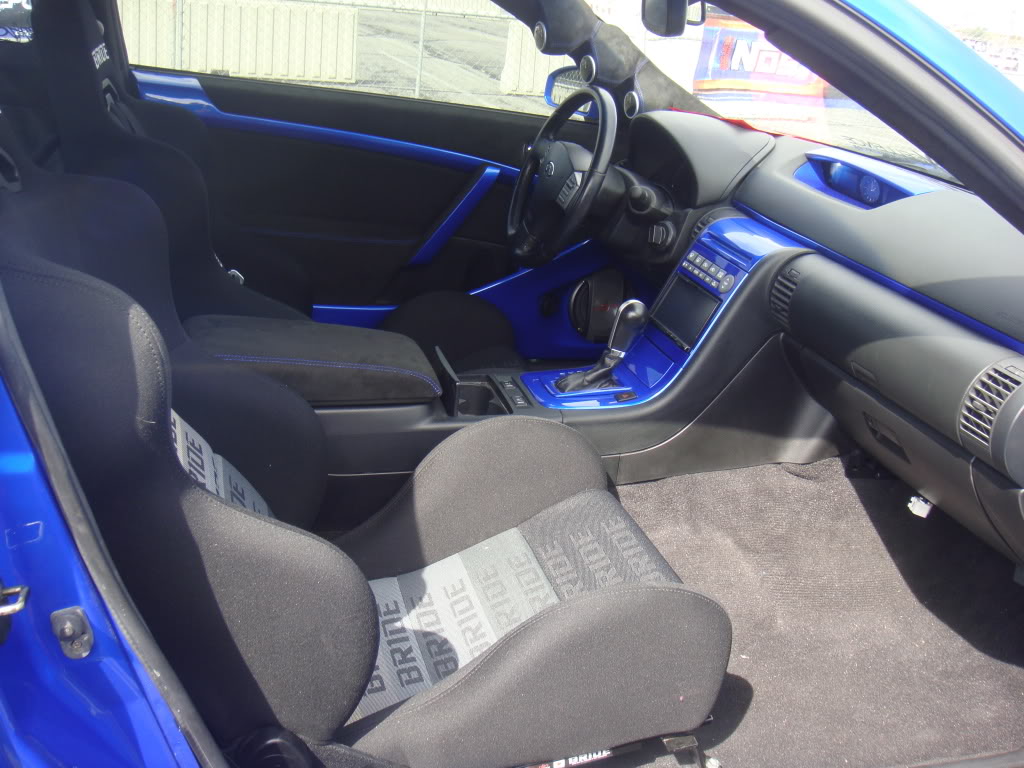
the inside of the pods received some more sound proofing:

both door cards were then heavily sound proofed as the G35 door panel is prone to buzzing and rattling if untreated:


then the pods were wrapped in black vinyl:

and finally, attached to each door card:


That�s it for the front stage, moving onto the back, one thing i did not get to snap a picture of was how the N5 brain, the BT and the XM modules were mounted from the previous, or rather, how it was NOT mounted, they were all just free floating under the passenger seat. I put a piece of MDF underneath and secured all three modules:

the rear deck was also removed, and sound proofed to prevent rattles:

the floor of the trunk sound proofed as well:

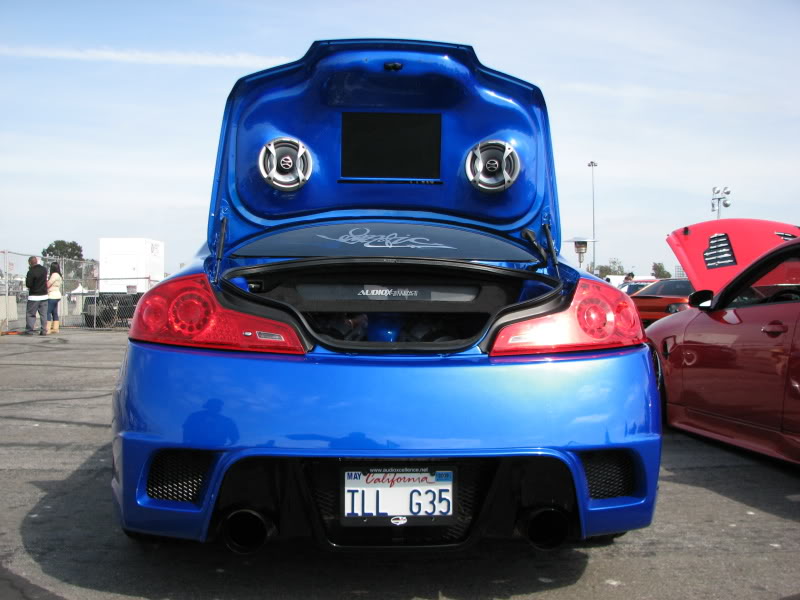
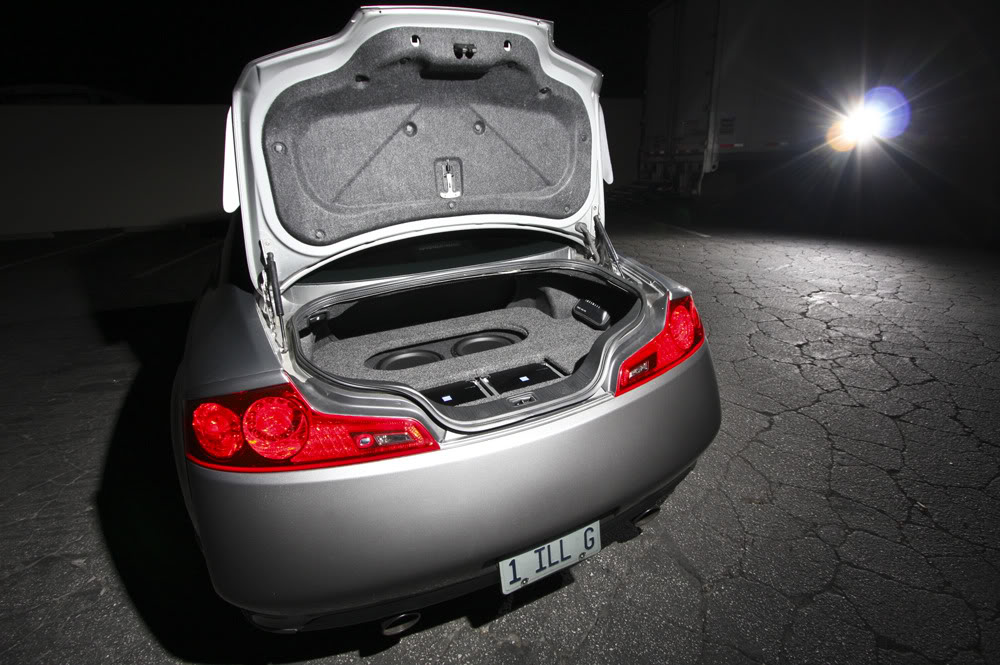
o, moving onto the trunk. the goal is to still maintain my basic values of class and simplicity, and to showcase the Iforce amps and subs. we used two Zapco 450s, one powers the front stage with 4 x 75 watts, while the other sends 250 watts to each Iforce 10" subwoofer.
after playing around with the limited space available, I came up with a simple symmetrical design for the display.
the two subs are upfront, in a 1.1 cubic foot enclosure, and the two amps sit towards the back. all have slant routed cutouts and are trimmed in red vinyl as suggested by the customer. The top fake floor cutout has a T shaped extension in the middle that divides the two amps as well as visually separating the amps from the subs.
there is a piece of routed plexi glass border under the entire cutout.
so here is the day light view of the trunk:


flip a switch, and the border lights up red from LEDs shining through the outer edge of the plexi glass. its hard to get the effect right with my camera, and these were the best that i can do:


finally, a shot of the wiring below the floor:

sorry for all the shots but please note this is before her paint job and body kit switch
underhood battery terminal:
behind the headunit:
the old door panel, with the ADS crossover about to fall out of the door, i was wondering why there was a big long speaker grille:
until i saw the 3 way set with the mid and midbass screwed to the door panel itself:
a random wire that came through a hole in the metal and into the factory loom
audiobahn remote bass controller held on by one screw:
[/QUOTE]]After two days of tearing out stuff and fixing things, the new install got started.
here is the driver side pod from various angles and close ups.
likewise, here is the passenger side:
here are some quick build pics of the doors.
first, the metal door panel received a layer of foam to block road noise, a rack was attached, housing the two passive crossovers per door. new wires were run into the door via the factory molex:
next is the start of the door pod. first an initial mold was taken of the area the pod will take up:
once that�s cured, a layer of duraglass went on to ensure it doesn�t warp:
after that is allowed to cure over a weekend, the back mold was trimmed and rough sanded:
next, the various ring baffles was attached, along with the baffle for the zapco logo plate towards the back.
mold cloth was pulled over the entire shape and resin applied:
next the pods are reinforced from the inside via more cloth, chop strand, and duraglass:
then both pods are fillered and sanded smooth, and i mocked up the speakers and plates to ensure proper fitment:
the inside of the pods received some more sound proofing:
both door cards were then heavily sound proofed as the G35 door panel is prone to buzzing and rattling if untreated:
then the pods were wrapped in black vinyl:
and finally, attached to each door card:
That�s it for the front stage, moving onto the back, one thing i did not get to snap a picture of was how the N5 brain, the BT and the XM modules were mounted from the previous, or rather, how it was NOT mounted, they were all just free floating under the passenger seat. I put a piece of MDF underneath and secured all three modules:
the rear deck was also removed, and sound proofed to prevent rattles:
the floor of the trunk sound proofed as well:
o, moving onto the trunk. the goal is to still maintain my basic values of class and simplicity, and to showcase the Iforce amps and subs. we used two Zapco 450s, one powers the front stage with 4 x 75 watts, while the other sends 250 watts to each Iforce 10" subwoofer.
after playing around with the limited space available, I came up with a simple symmetrical design for the display.
the two subs are upfront, in a 1.1 cubic foot enclosure, and the two amps sit towards the back. all have slant routed cutouts and are trimmed in red vinyl as suggested by the customer. The top fake floor cutout has a T shaped extension in the middle that divides the two amps as well as visually separating the amps from the subs.
there is a piece of routed plexi glass border under the entire cutout.
so here is the day light view of the trunk:
flip a switch, and the border lights up red from LEDs shining through the outer edge of the plexi glass. its hard to get the effect right with my camera, and these were the best that i can do:
finally, a shot of the wiring below the floor:
sorry for all the shots but please note this is before her paint job and body kit switch
I am in the process of making my custom trunk setup.
Check out the progress, and (to the audio gurus) help me out with some of the questions...
thanks!
https://g35driver.com/forums/audio-v...-opinions.html
One pic of some of the templates completed....
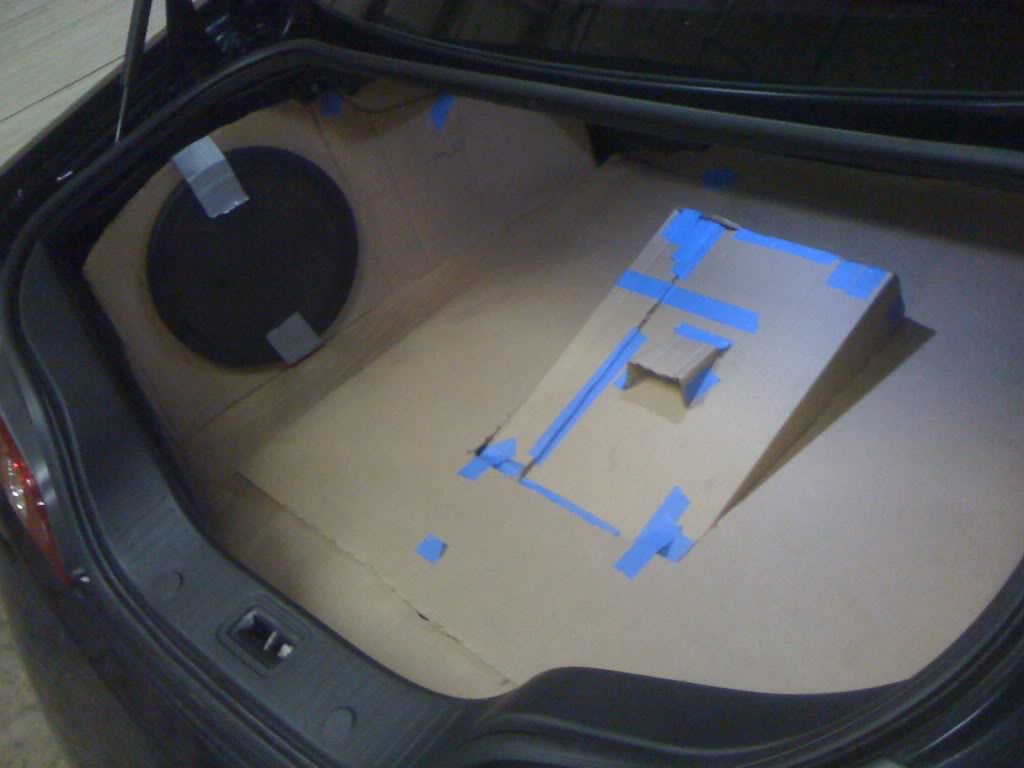
Thanks!
Check out the progress, and (to the audio gurus) help me out with some of the questions...
thanks!
https://g35driver.com/forums/audio-v...-opinions.html
One pic of some of the templates completed....
Thanks!
