
Crank Shaft Seal Replacement / tensioner pully bearing replacement

Crank Shaft Seal Replacement / tensioner pully bearing replacement
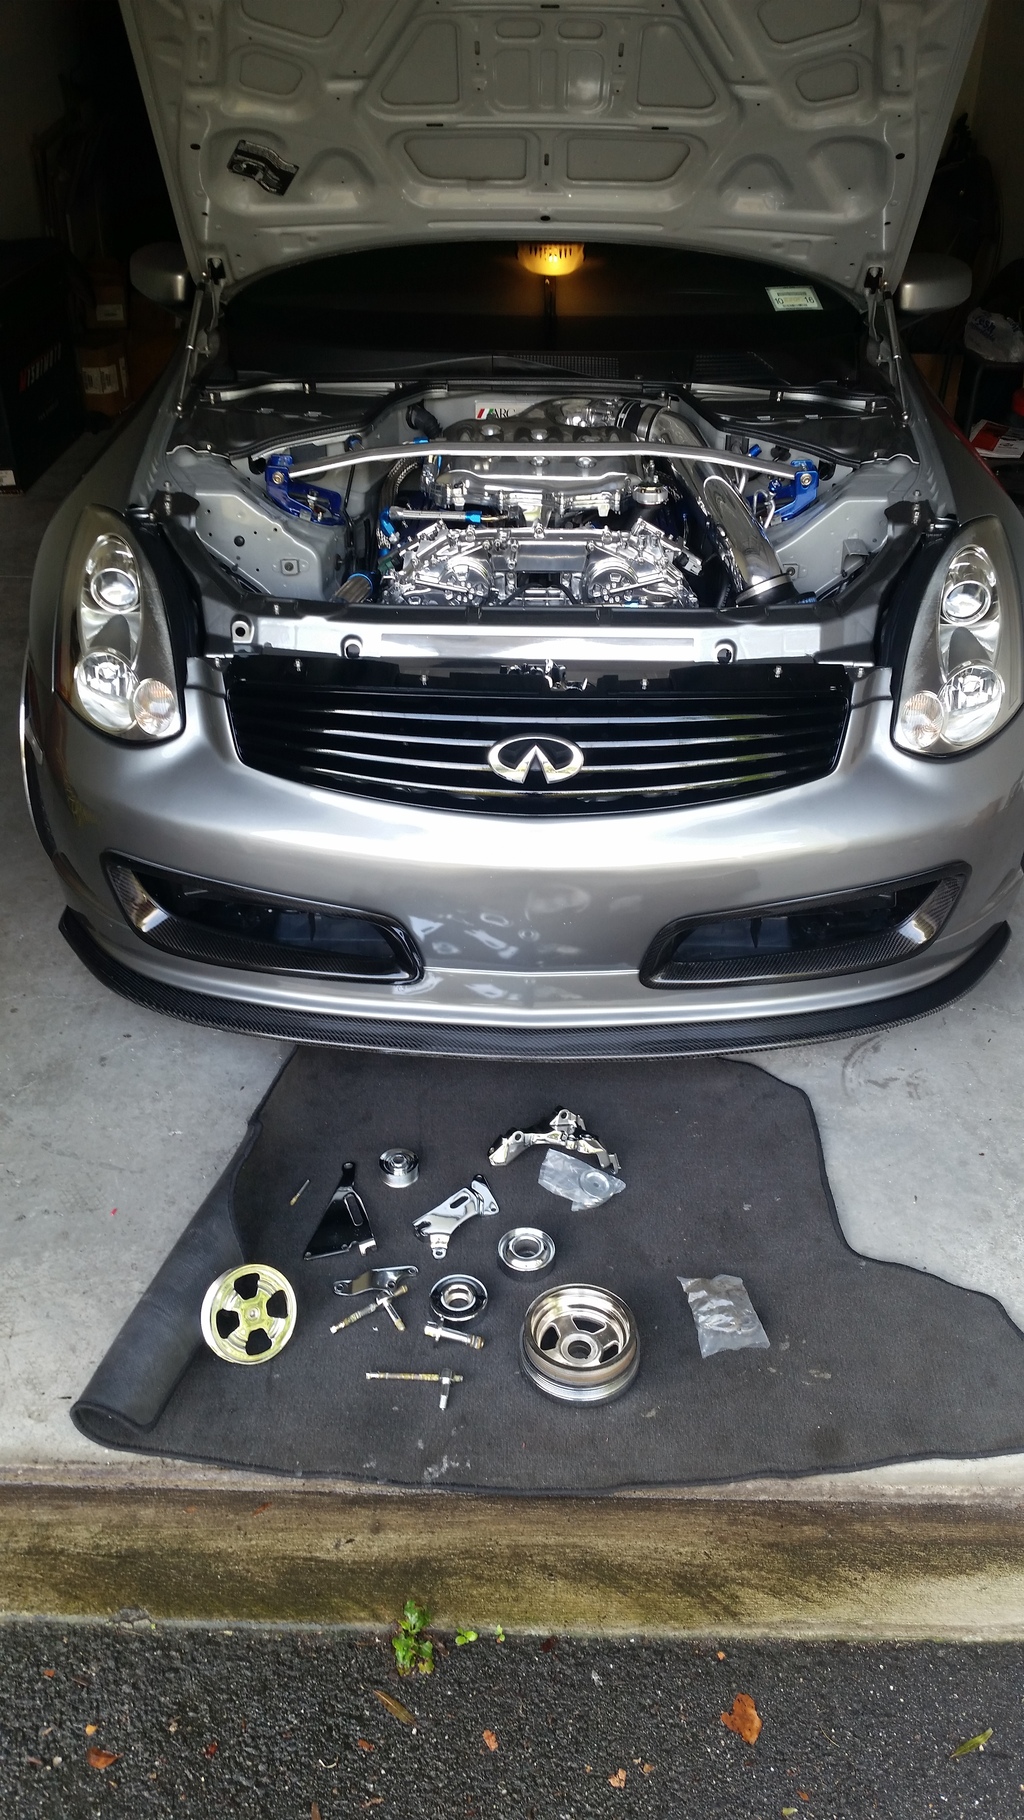
Going to start this off after having removed the belts and the crank pully.
Things you will need.
CRANK SHAFT SEAL REPLACEMENT
Small rubber mallet
Paint can opener
Crank Shaft Seal
1 5/8th socket
TENSIONER PULLY BEARING REPLACEMENT
14MM socket
New bearings(part numbers below in pictures)
Press (I brought mine to a local metal shop to be pressed in, around 10 bucks)
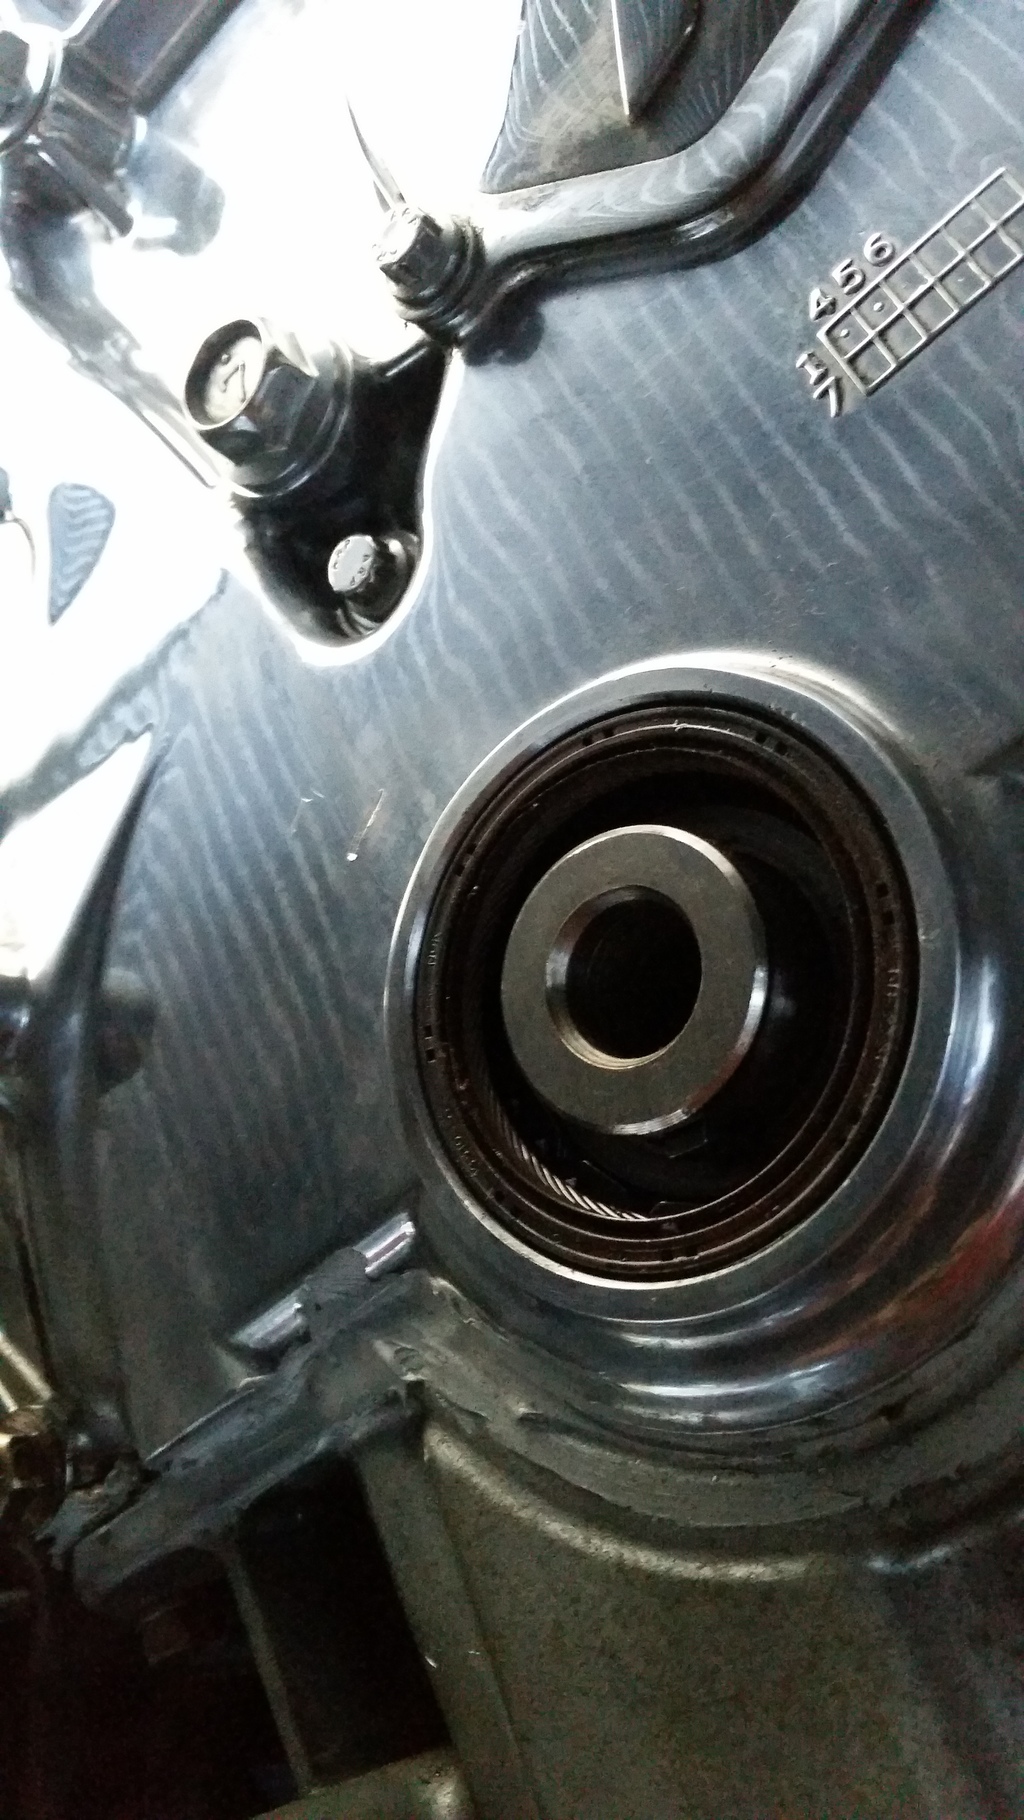
This is the old seal after I removed the crack pully. Had a small crack in it, and was leaking a small amount of oil. Be careful removing it, there is a spring that wraps around the inside of the seal itself, picture of spring below.
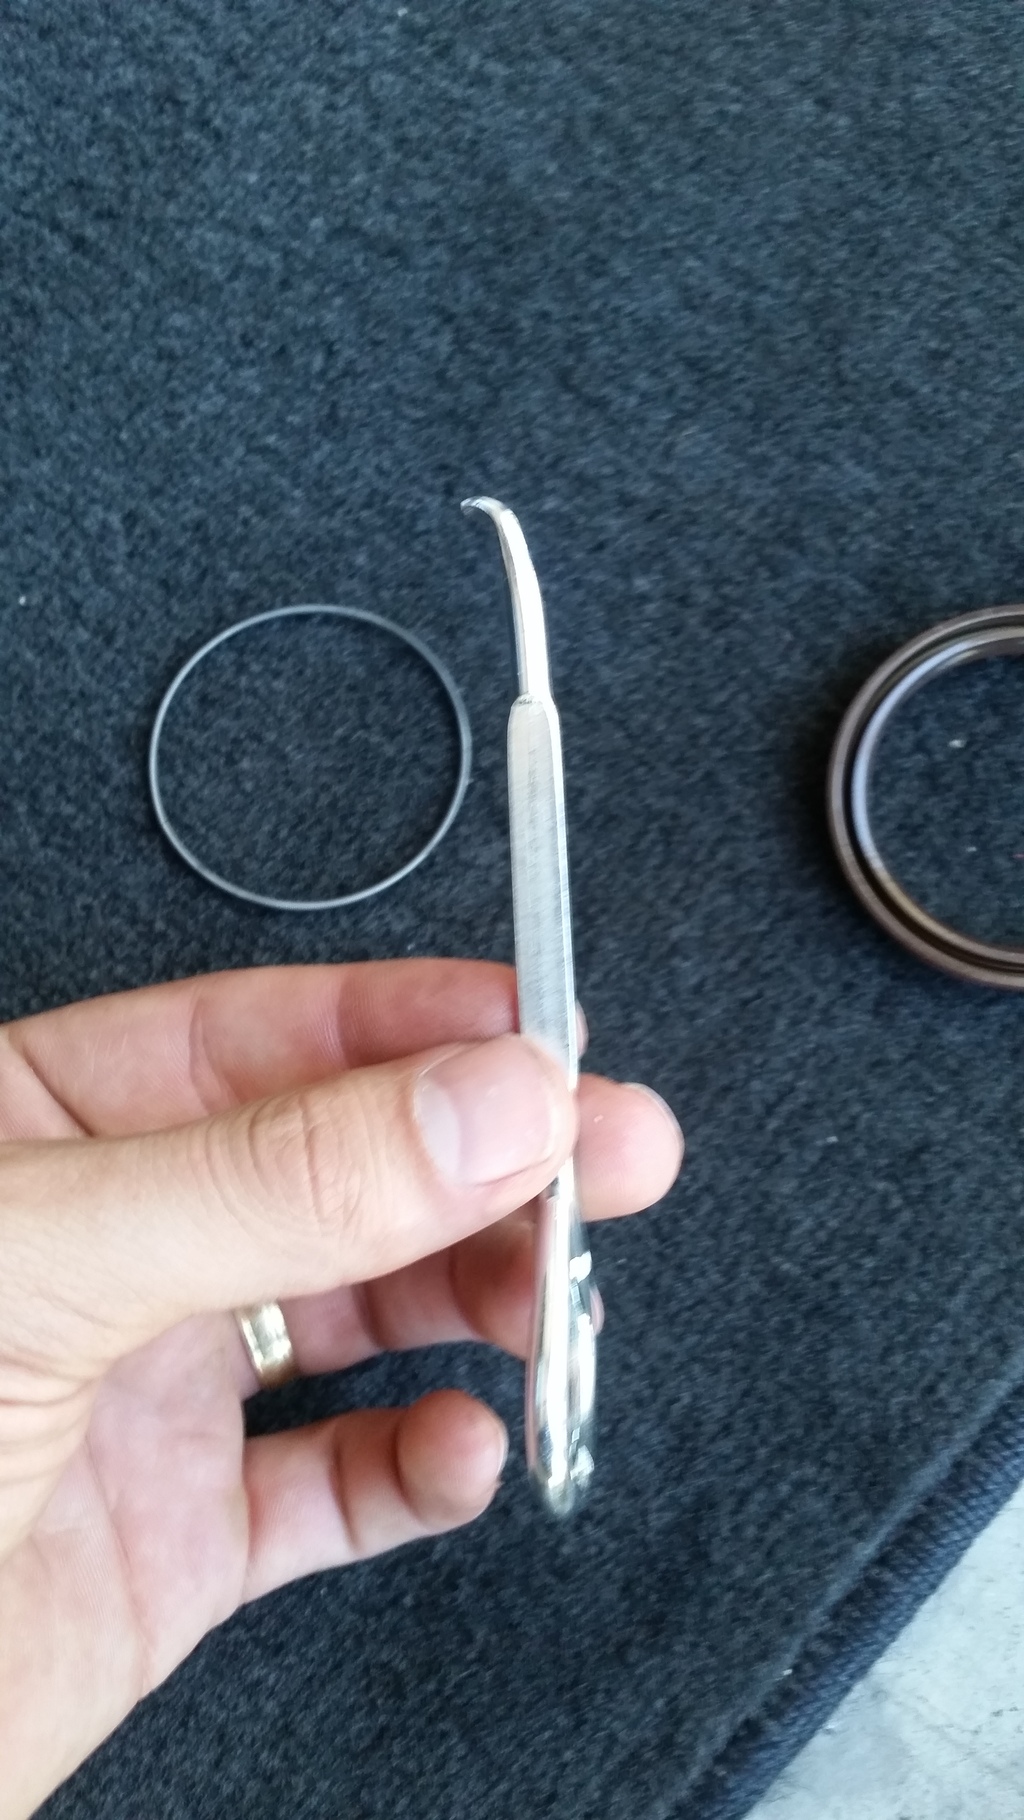
This is the tool I used to pull out the seal itself, its a paint can opener, you can get them from home depot for free.. You can see the spring and seal on the ground.

This is what it looks like removed.
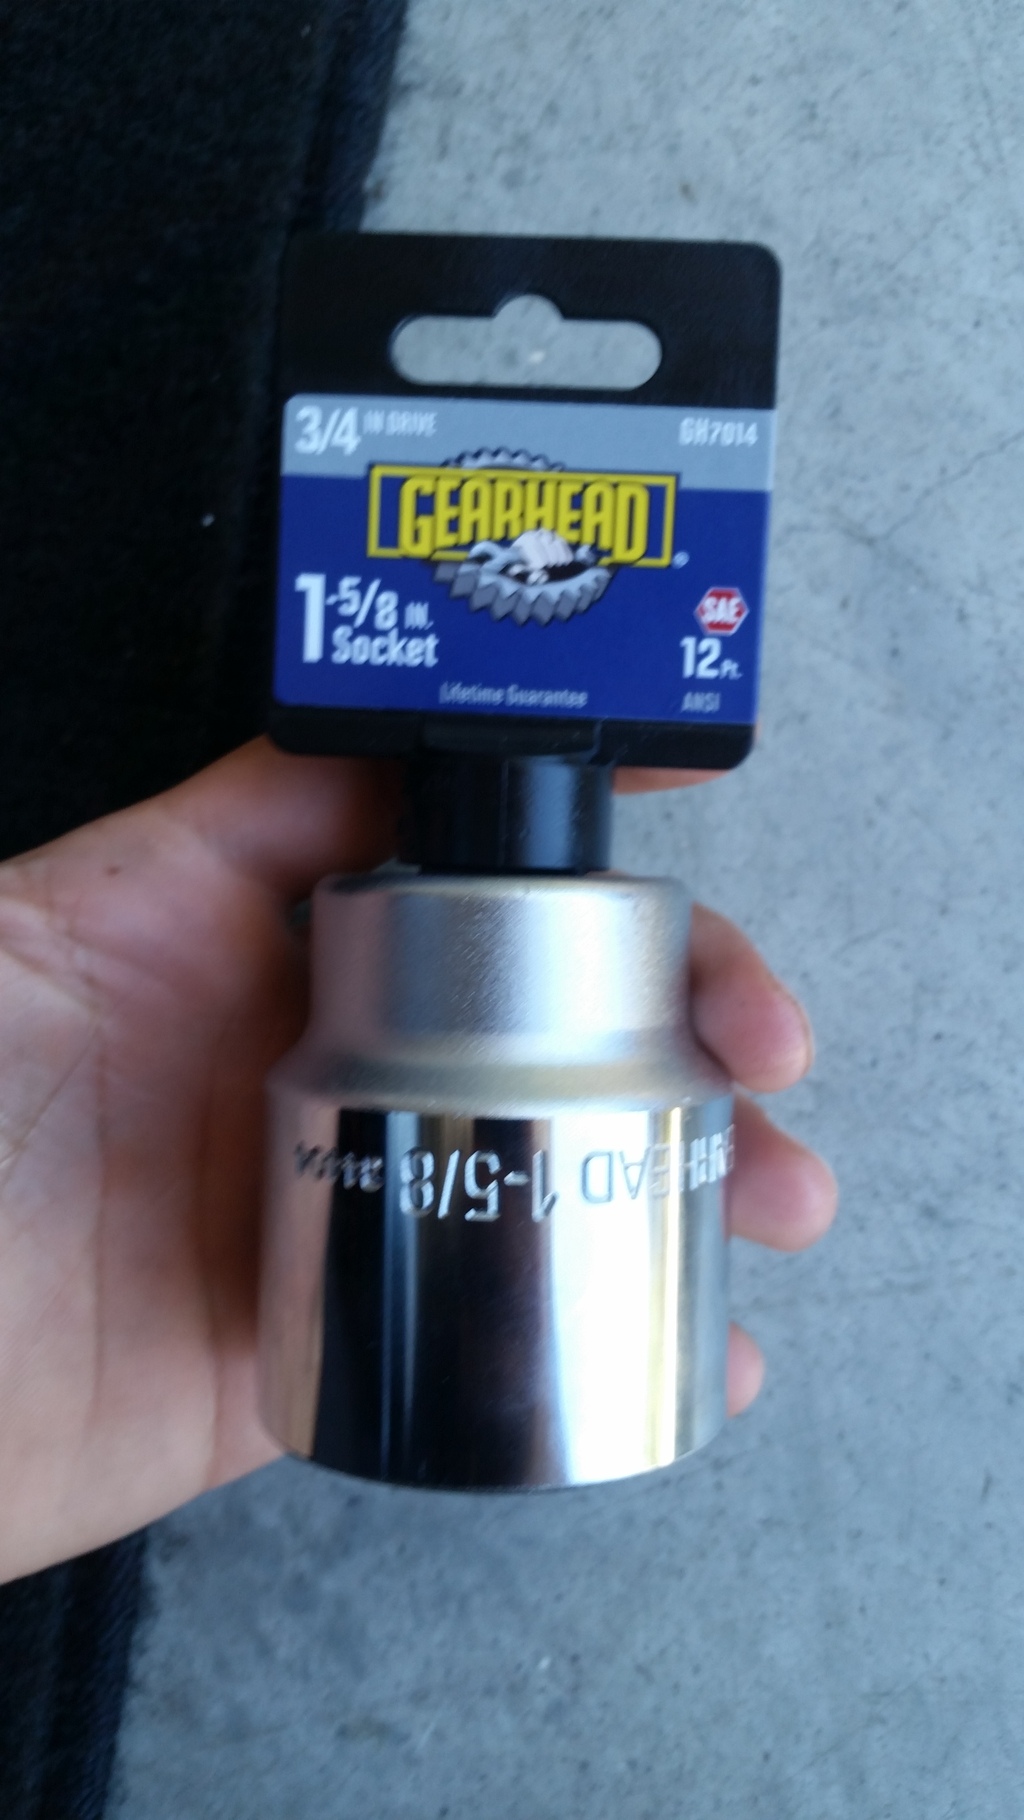
Socket used to tap in the seal evenly.
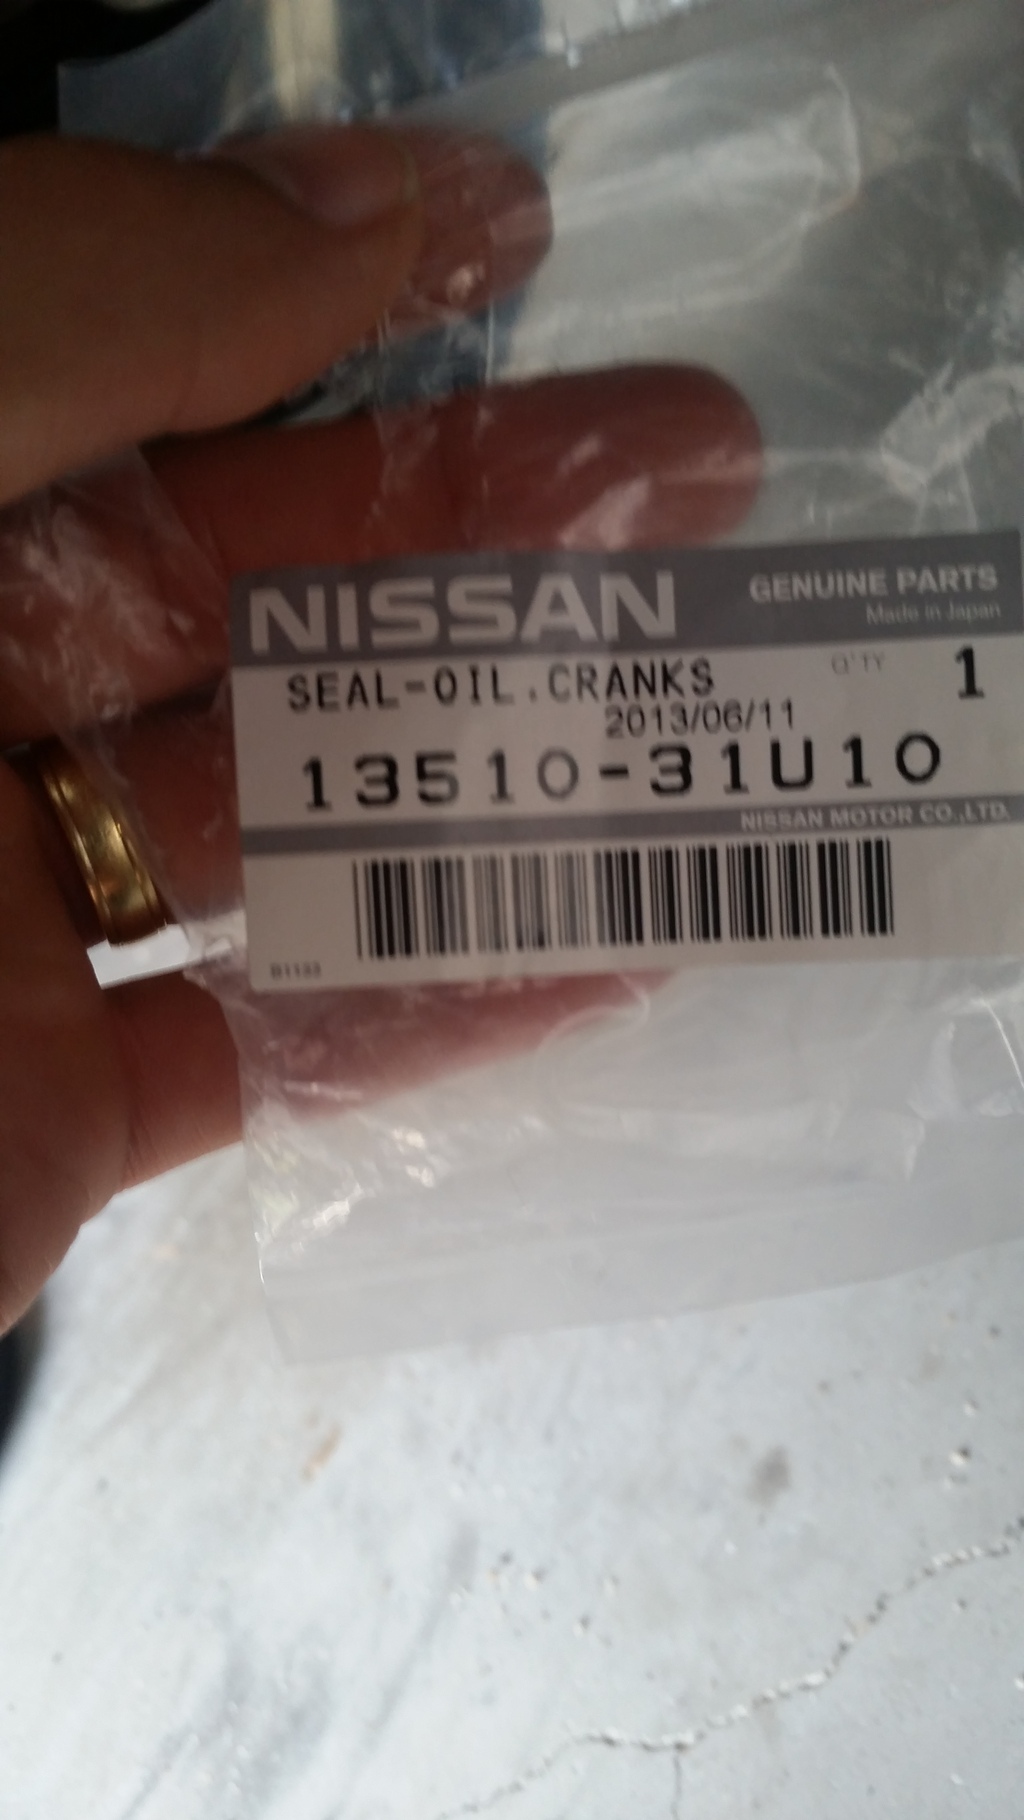
Seal part number
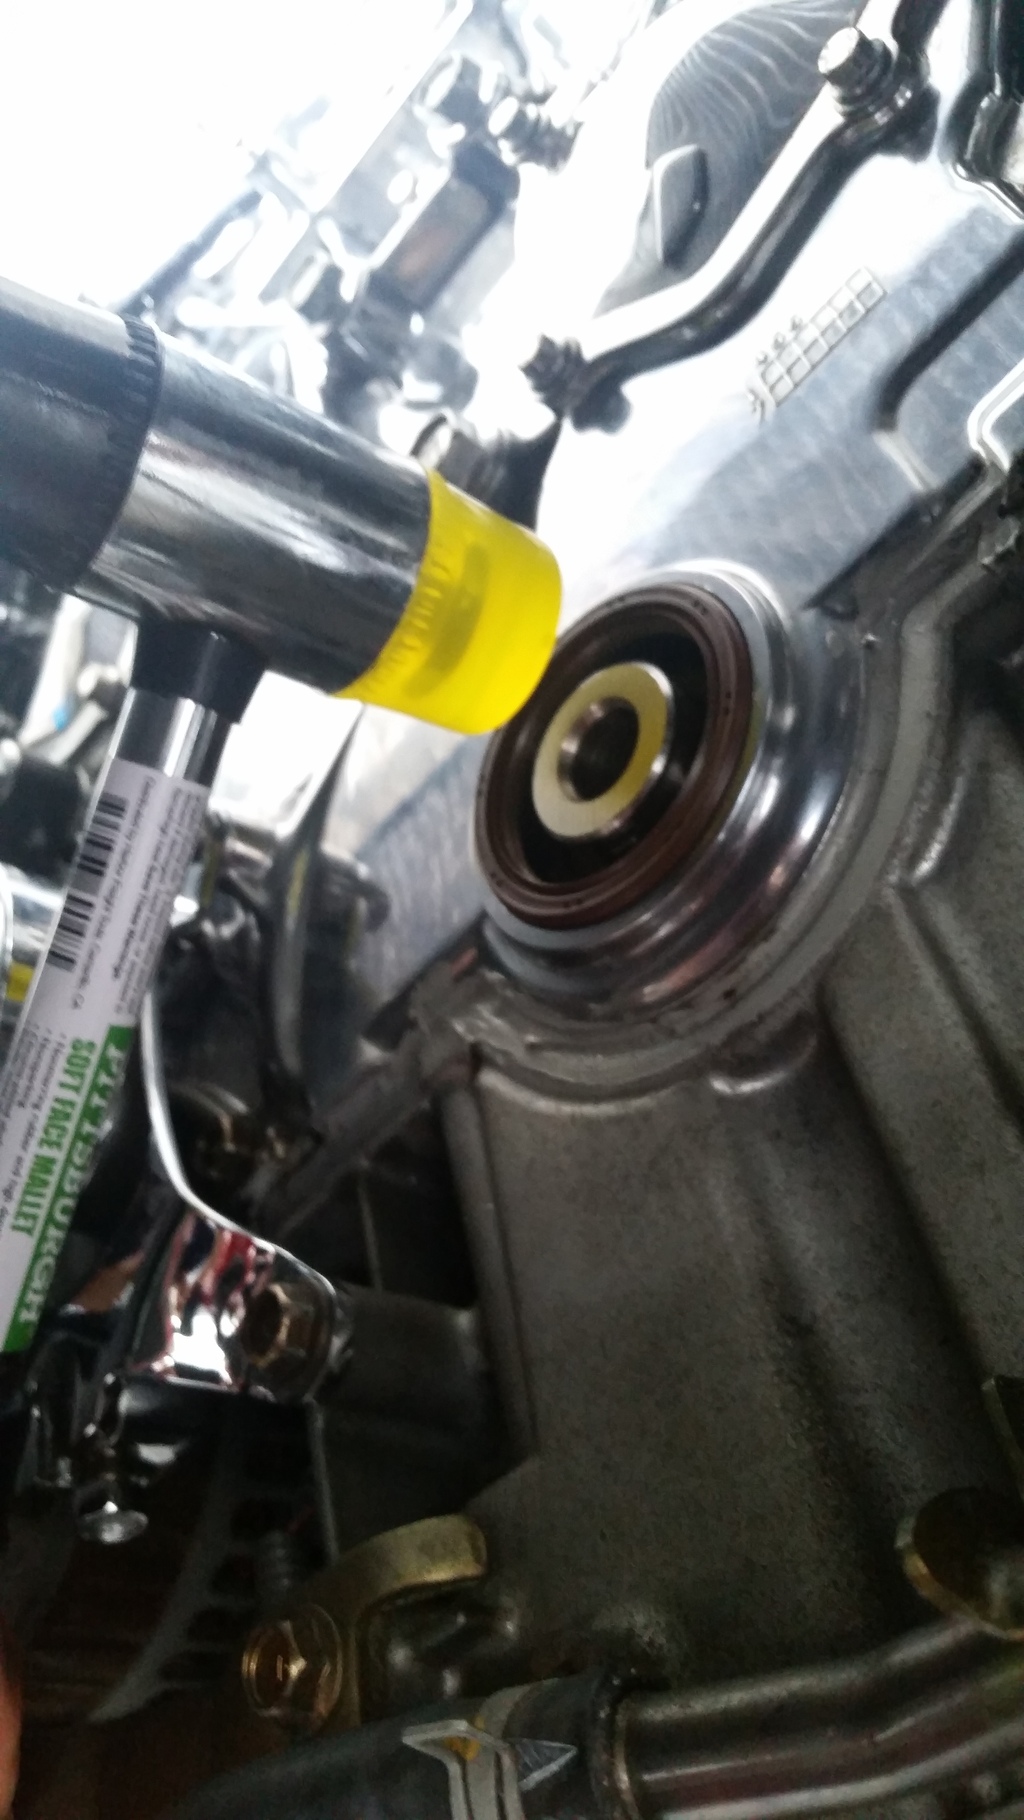
Take your new seal and insert it lightly into the timing cover. Tap around the seal to set it in place with mallet.
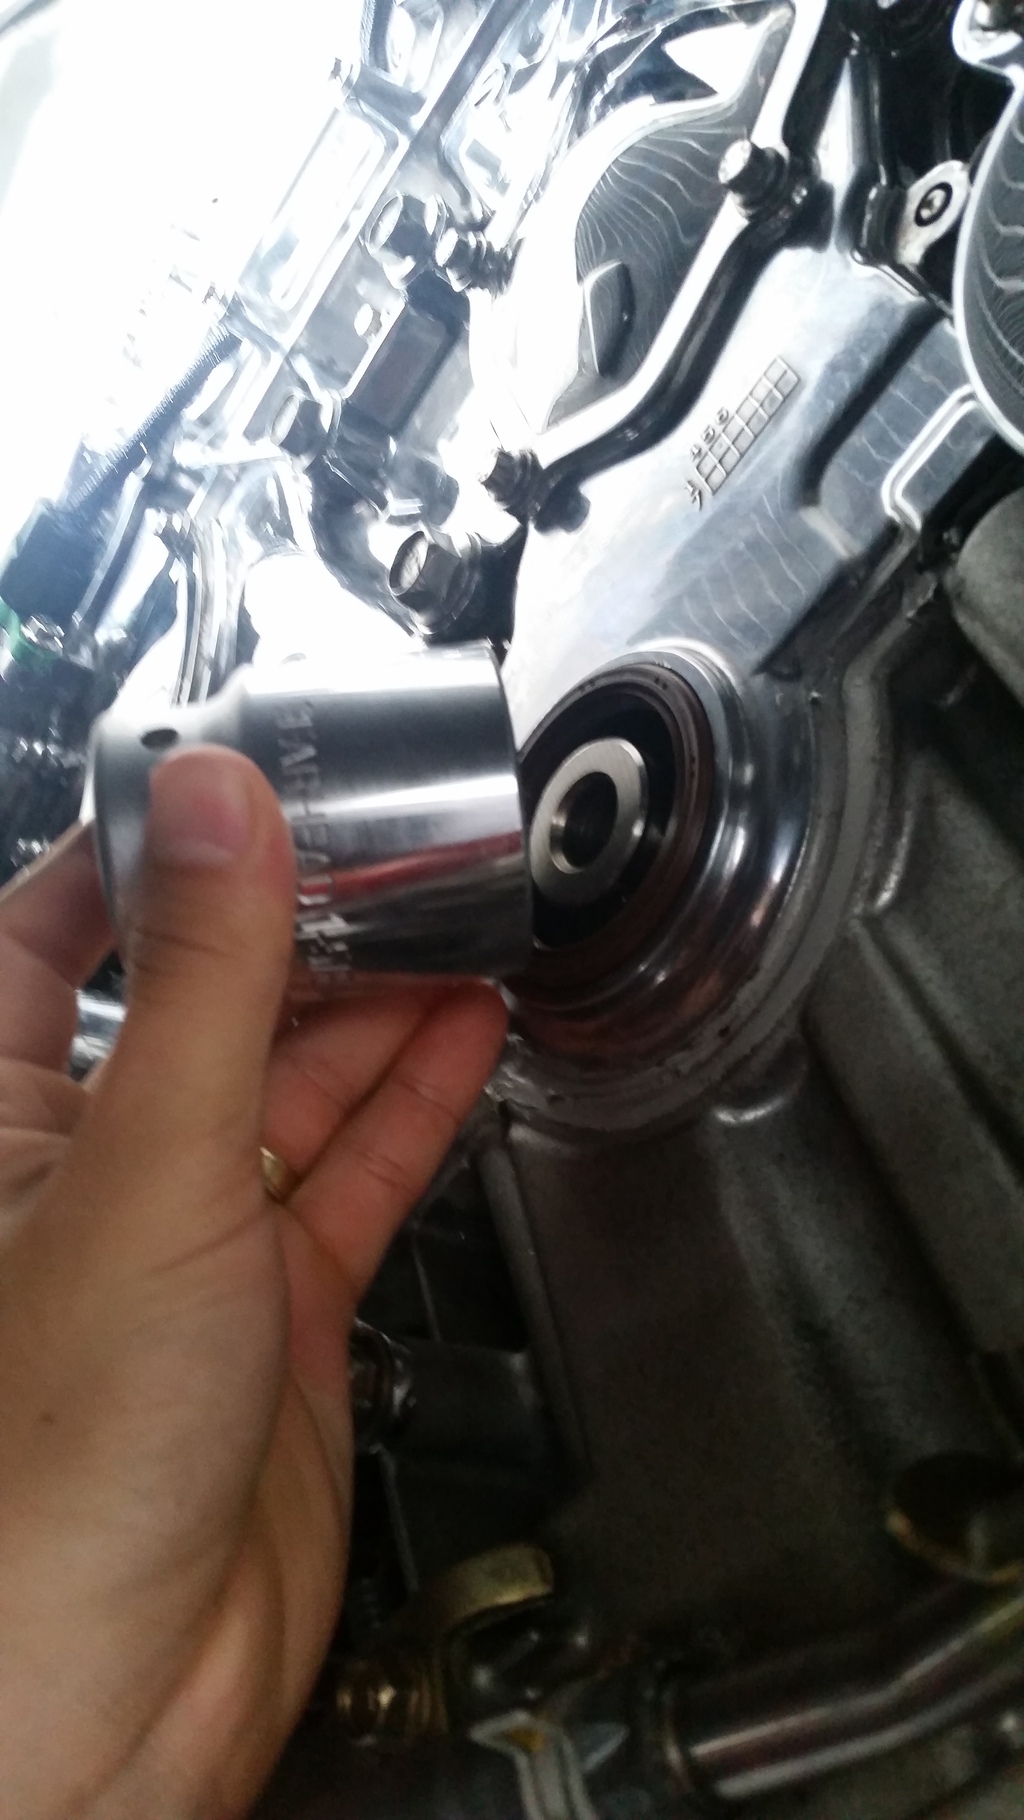
Use 1 5/8 socket to set the seal into the timing cover. Tap the socket with the mallet to do so.
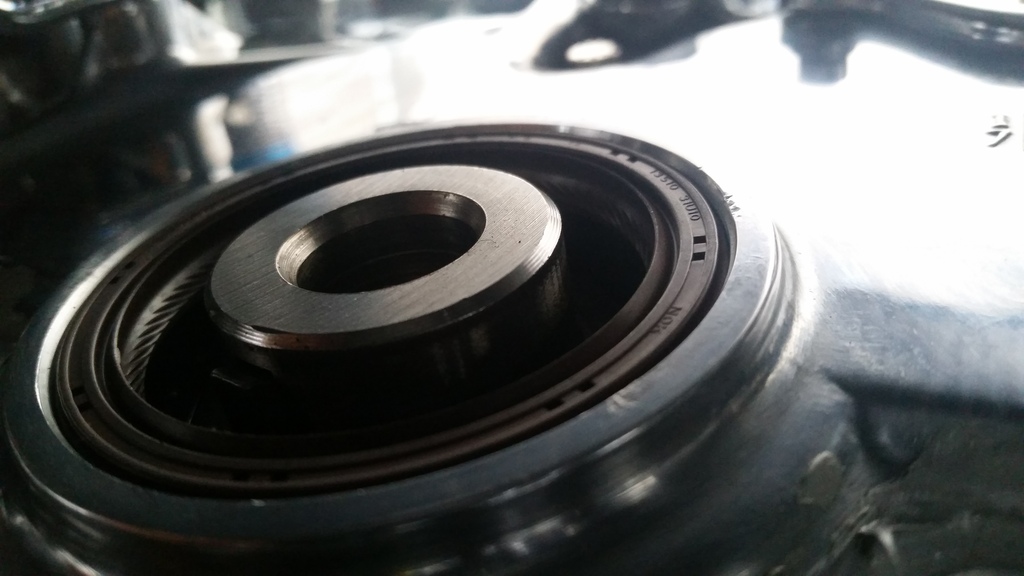
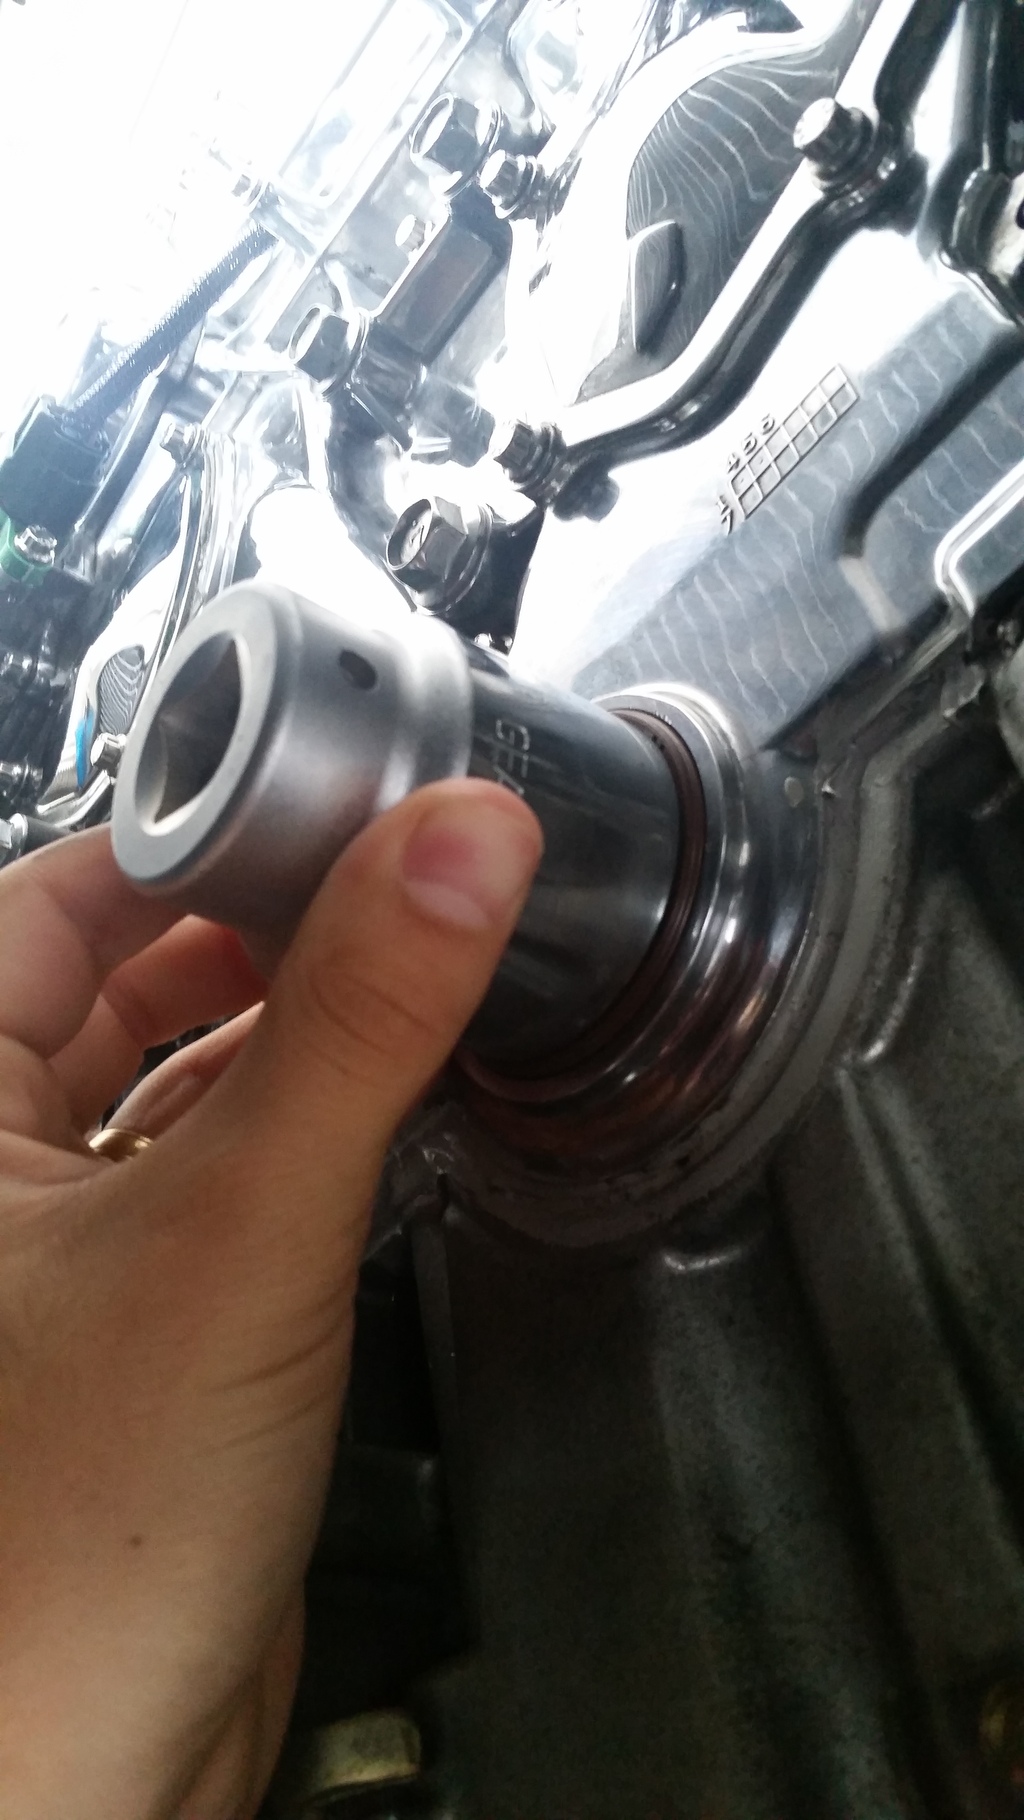
The new seal should look like this. Ensure the seal is even all the way around and not poking out.
That's it for the crank seal. Just reinstall the crank pully and you're good to go.
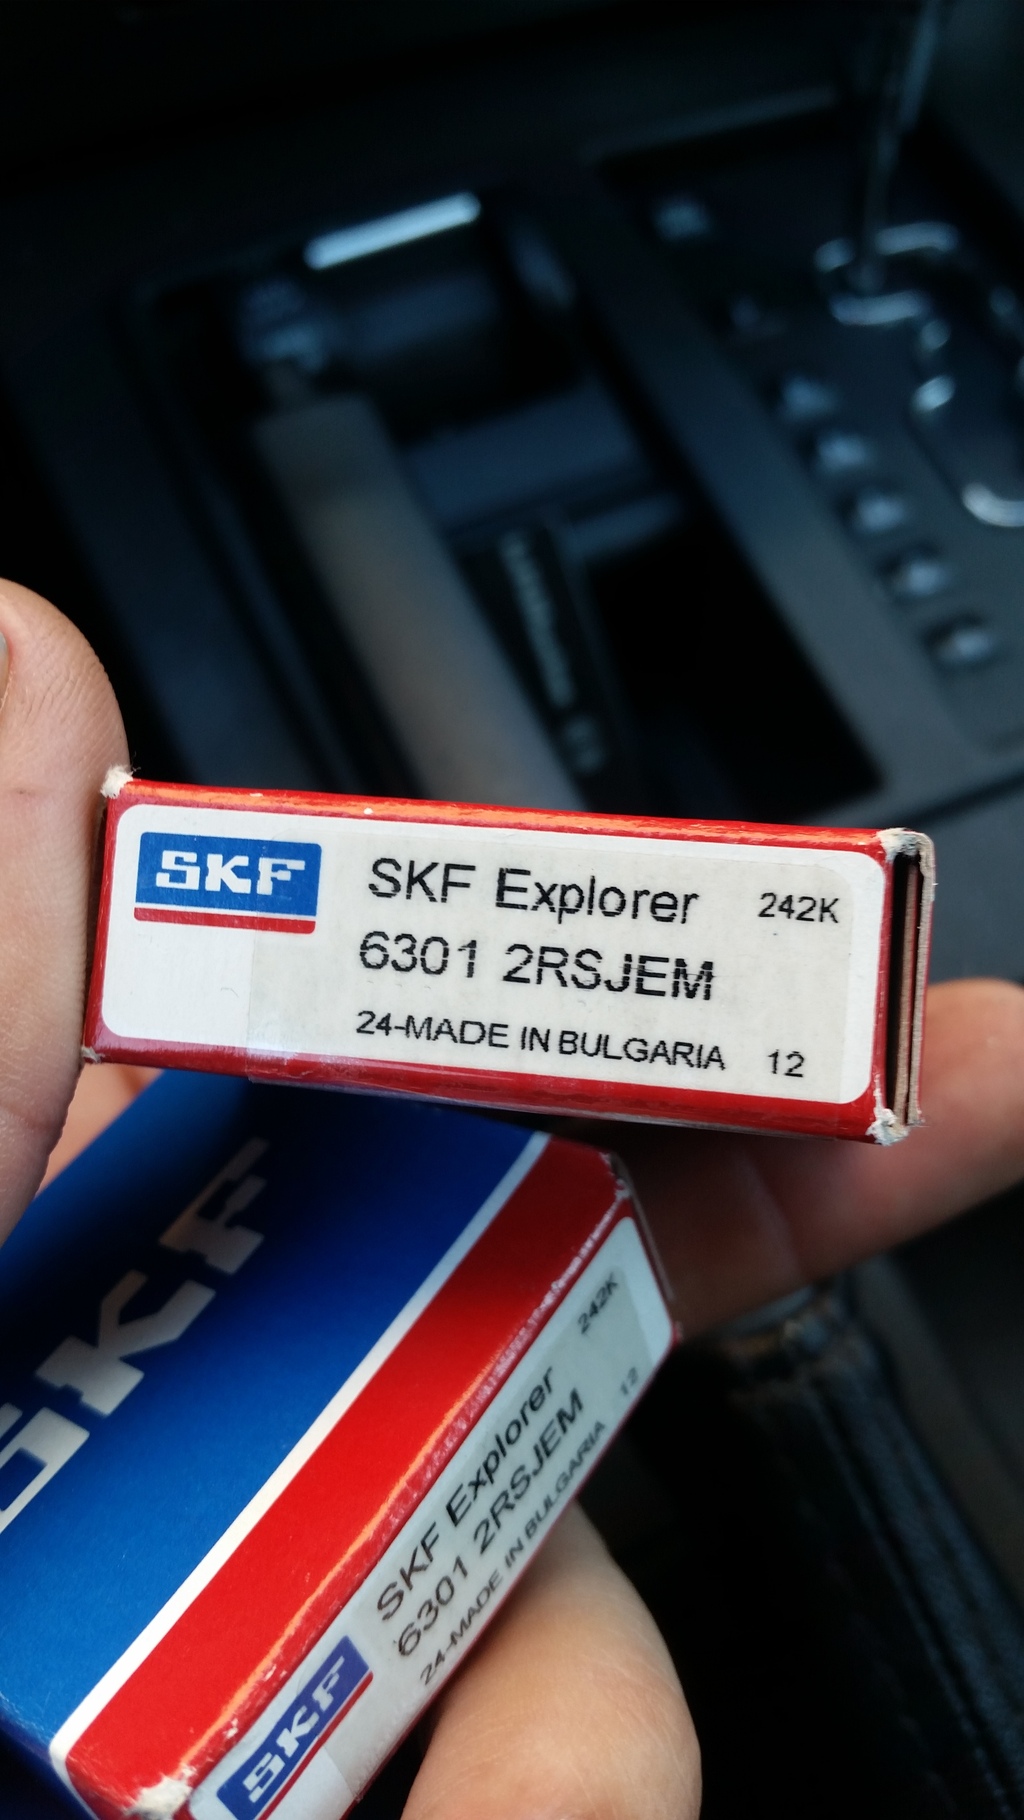
Here is a picture of the bearings you will need for the tensioner pulleys (3 total) they were about 15 bucks each and it took me forever to find them. One of the reasons I'm making this thread is bc I couldn't find any information on this entire DIY.
The pullys are easy, all you do is take them off and remember how to reassemble them. Take plenty of pictures so you remember how they go together, take the pullys and new bearings over to a shop and let them do their job. Sorry I didn't really take pictures of the tensioner pully job, the most important thing is the new bearings which I did get a picture of.
MERRY CHRISTMAS
Things you will need.
CRANK SHAFT SEAL REPLACEMENT
Small rubber mallet
Paint can opener
Crank Shaft Seal
1 5/8th socket
TENSIONER PULLY BEARING REPLACEMENT
14MM socket
New bearings(part numbers below in pictures)
Press (I brought mine to a local metal shop to be pressed in, around 10 bucks)


This is the old seal after I removed the crack pully. Had a small crack in it, and was leaking a small amount of oil. Be careful removing it, there is a spring that wraps around the inside of the seal itself, picture of spring below.

This is the tool I used to pull out the seal itself, its a paint can opener, you can get them from home depot for free.. You can see the spring and seal on the ground.

This is what it looks like removed.

Socket used to tap in the seal evenly.

Seal part number

Take your new seal and insert it lightly into the timing cover. Tap around the seal to set it in place with mallet.


Use 1 5/8 socket to set the seal into the timing cover. Tap the socket with the mallet to do so.

The new seal should look like this. Ensure the seal is even all the way around and not poking out.
That's it for the crank seal. Just reinstall the crank pully and you're good to go.
Here is a picture of the bearings you will need for the tensioner pulleys (3 total) they were about 15 bucks each and it took me forever to find them. One of the reasons I'm making this thread is bc I couldn't find any information on this entire DIY.

The pullys are easy, all you do is take them off and remember how to reassemble them. Take plenty of pictures so you remember how they go together, take the pullys and new bearings over to a shop and let them do their job. Sorry I didn't really take pictures of the tensioner pully job, the most important thing is the new bearings which I did get a picture of.
MERRY CHRISTMAS

Thread
Thread Starter
Forum
Replies
Last Post
Andrew Lau
G35 Sedan V35 2003-06
31
Mar 27, 2016 06:23 PM
Marlin84
Wheels & Tires
4
Oct 9, 2015 12:54 PM