

04 coupe vk56 engine swap and build


Thread Starter
|
Registered User
Joined: May 2011
Posts: 99
Likes: 5
From: CT
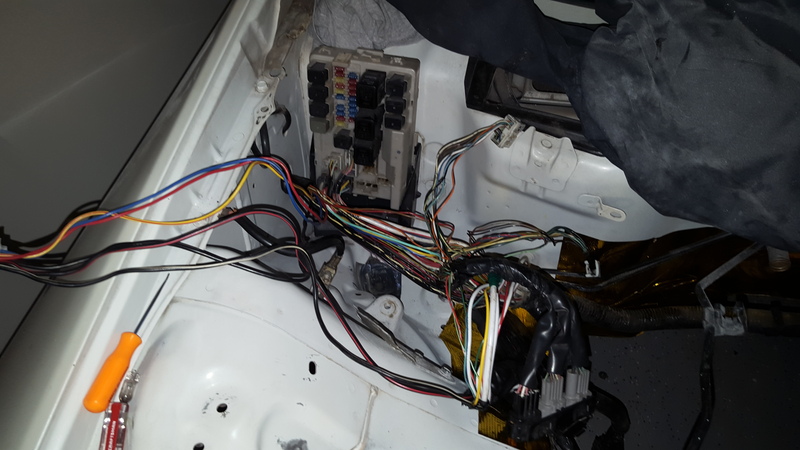
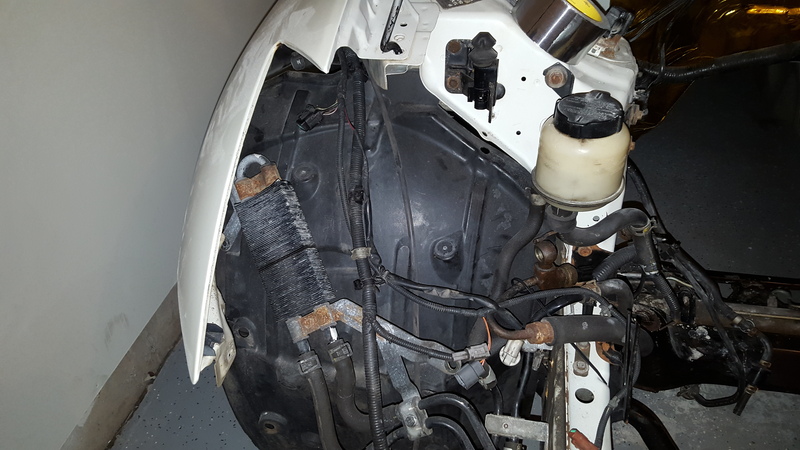
So I was looking through the thread and I kinda got bored with reading it on my phone, but I got the gist. So I did go back and read a bit and noticed that you de-loomed the entire side harness, I decided not to because it is running under the fender so I left it intact and pulled the knot of wires out between all the components where the battery tray is. After I did that. I now have plenty of slack and everything sites right back where it was.


Thread Starter
|
Registered User
Joined: May 2011
Posts: 99
Likes: 5
From: CT
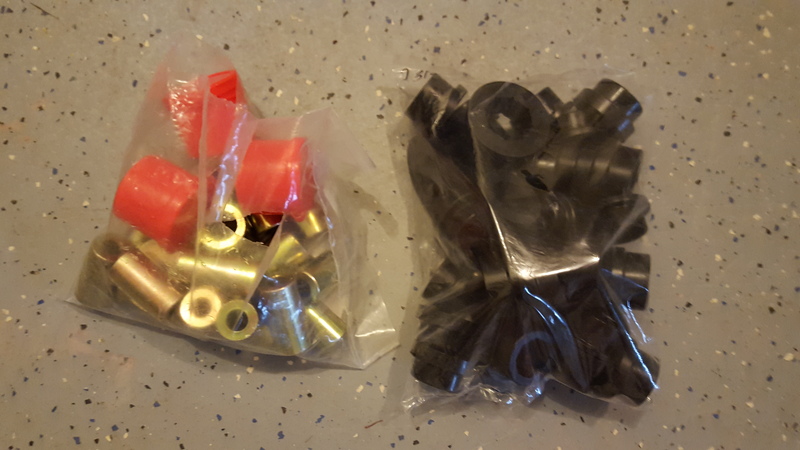
Sorry, build is on a slight hold due to medical bills and 2 weddings in different states this month. Headers have been started and I spoke with the shop that is doing them, so Hopefully in a week or so I will have pictures of them being jogged and built. Also I now have all the bushings I need to start tearing out the rear subframe and do solids on the subframe and diff, and the energy suspension polyurethane bushings on all rear arms.
SPL solid rear subframe
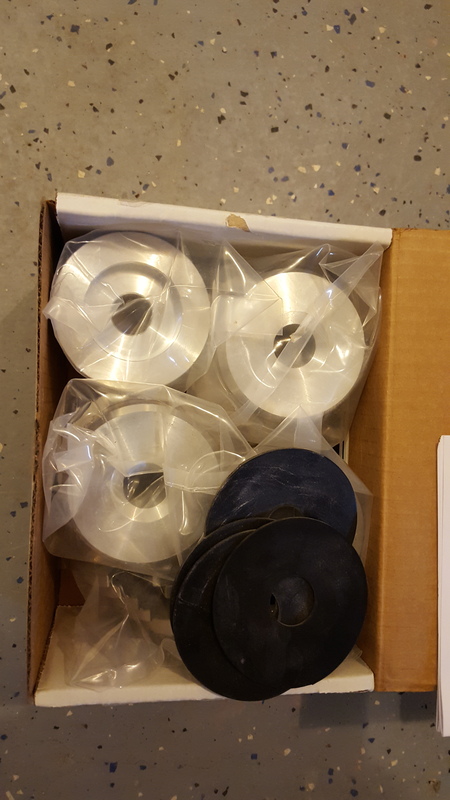
Energy suspension
SPL solid rear subframe

Energy suspension

Thread Starter
|
Registered User
Joined: May 2011
Posts: 99
Likes: 5
From: CT
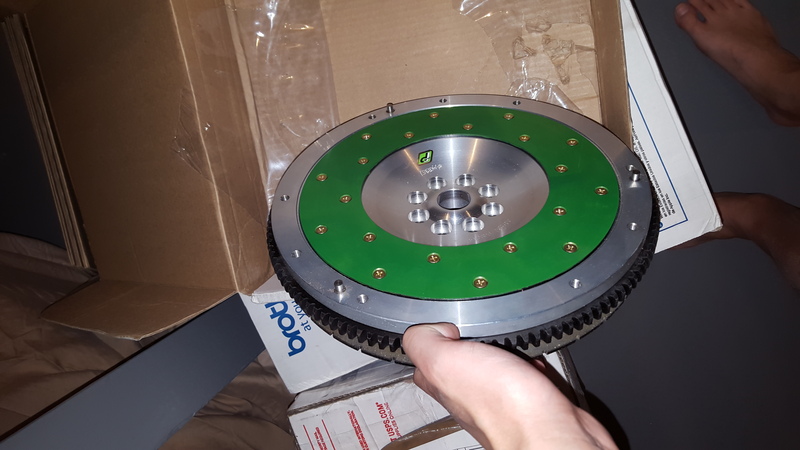
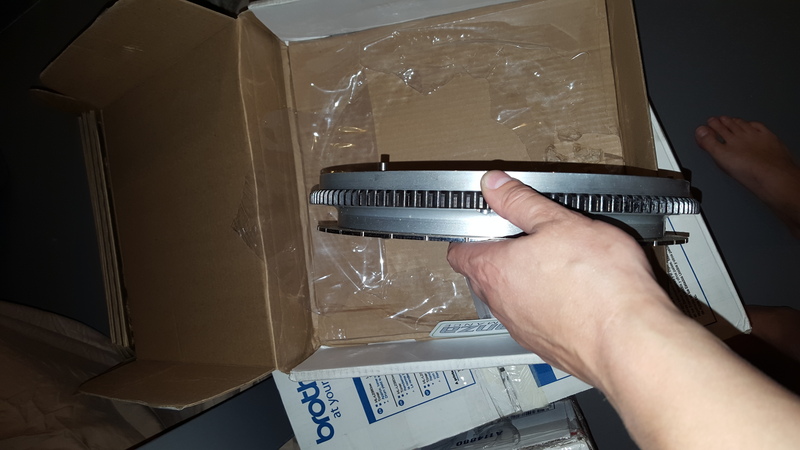
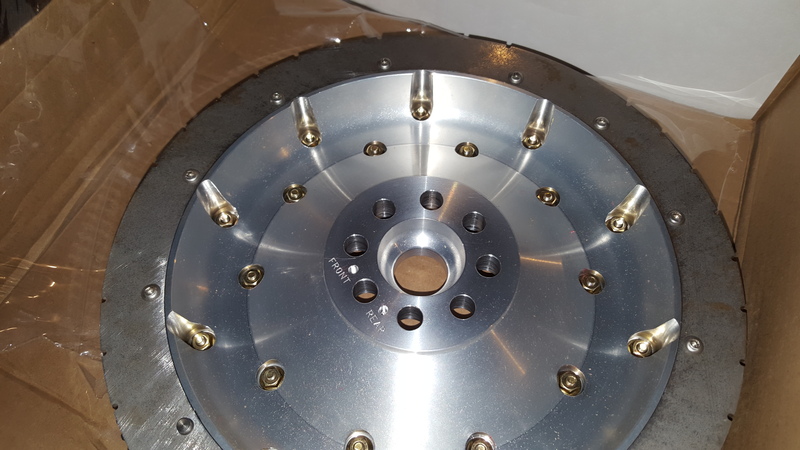
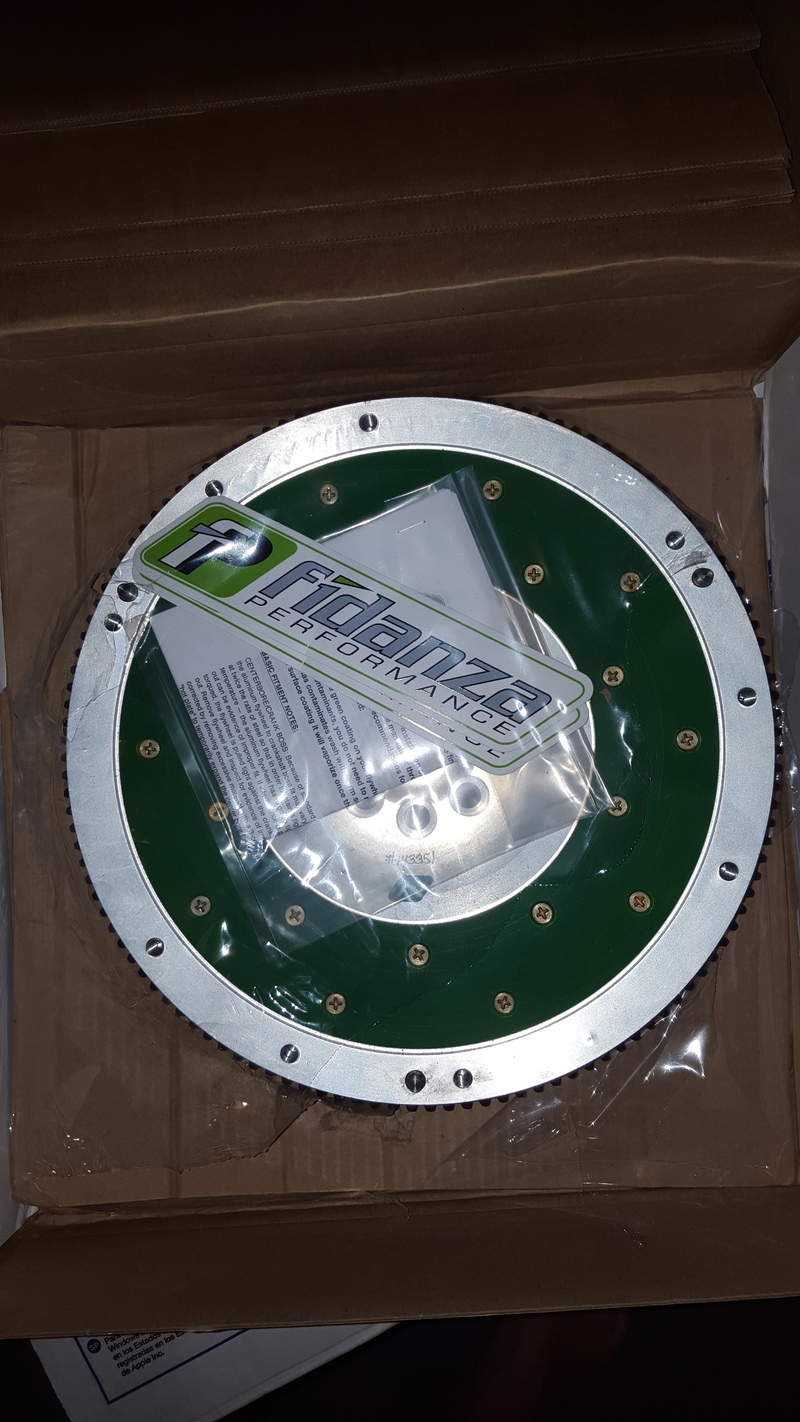
I must apologize that it has been a while since my last update. I was taking care of medical bills so acquiring parts was on temp hold. I have picked up a light wait Fidanza flywheel for a vq35de. 67060 aluminum with a 1050 steel replaceable surface. It is currently at the shop to have the outer lip milled off and will sit onto of the vk56de flex plate and trigger wheel to make up the (3 piece) flywheel haha, here are some pix before it went to the machine shop.
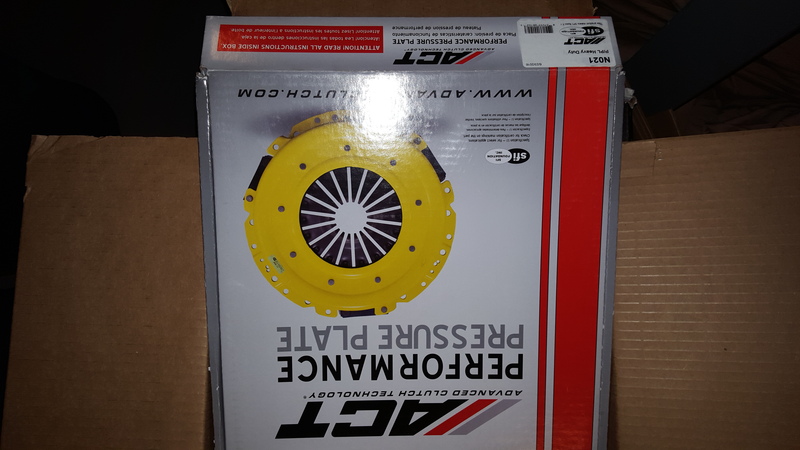
Next item I aquired is the high pressure pressure plate from ACT, also for a vq35de. I am still undecided on which clutch I will run yet, and I found this pressure plate on Amazon for a steel, pix...
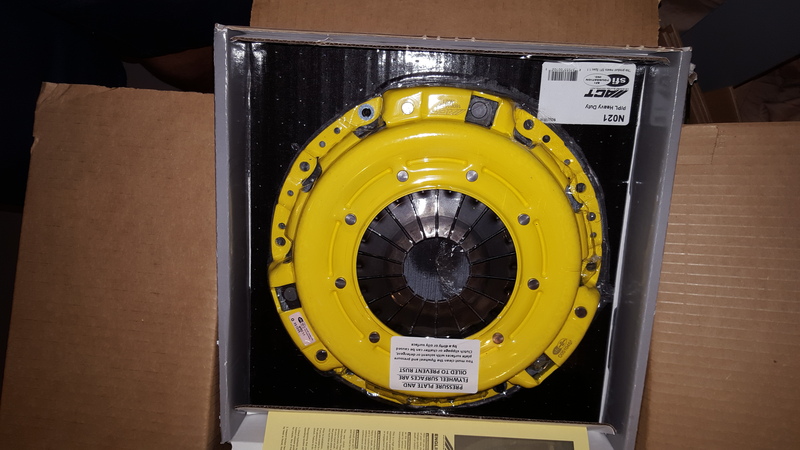
Headers are underway and hopefully done soon. I will post up pictures as soon as I obtain them. Also Motor and trans mount are being built, so I will have pictures of those once they are done as well.


Next item I aquired is the high pressure pressure plate from ACT, also for a vq35de. I am still undecided on which clutch I will run yet, and I found this pressure plate on Amazon for a steel, pix...


Headers are underway and hopefully done soon. I will post up pictures as soon as I obtain them. Also Motor and trans mount are being built, so I will have pictures of those once they are done as well.
Thread Starter
|
Registered User
Joined: May 2011
Posts: 99
Likes: 5
From: CT
Another post today. Sorry I am putting it all up now. Photobucket has been down and I could finally get new pictures up.
While I am having mill work done, and custom parts are being made, I have to turned my focus to the rear subframe and suspension. I have been taking out rusted bolts very slowly and with hand tools in order to not snap them. I am just about there. I have one nut left on the subframe, but it is broken loose and it was the easiest to get loose. The side posts and M member are off.
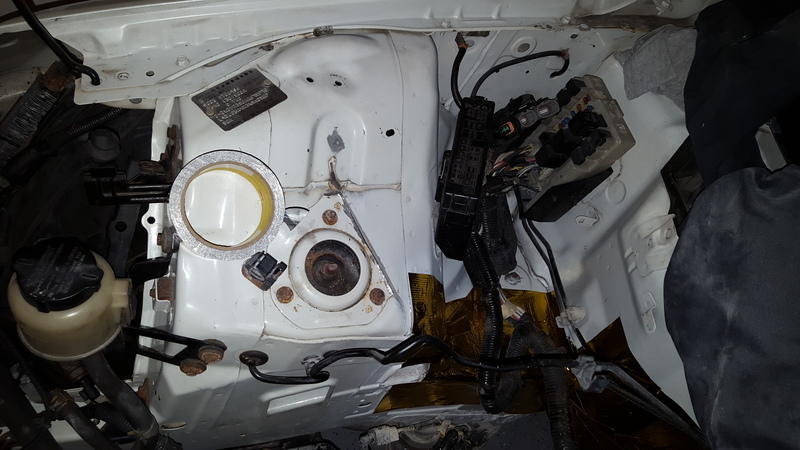
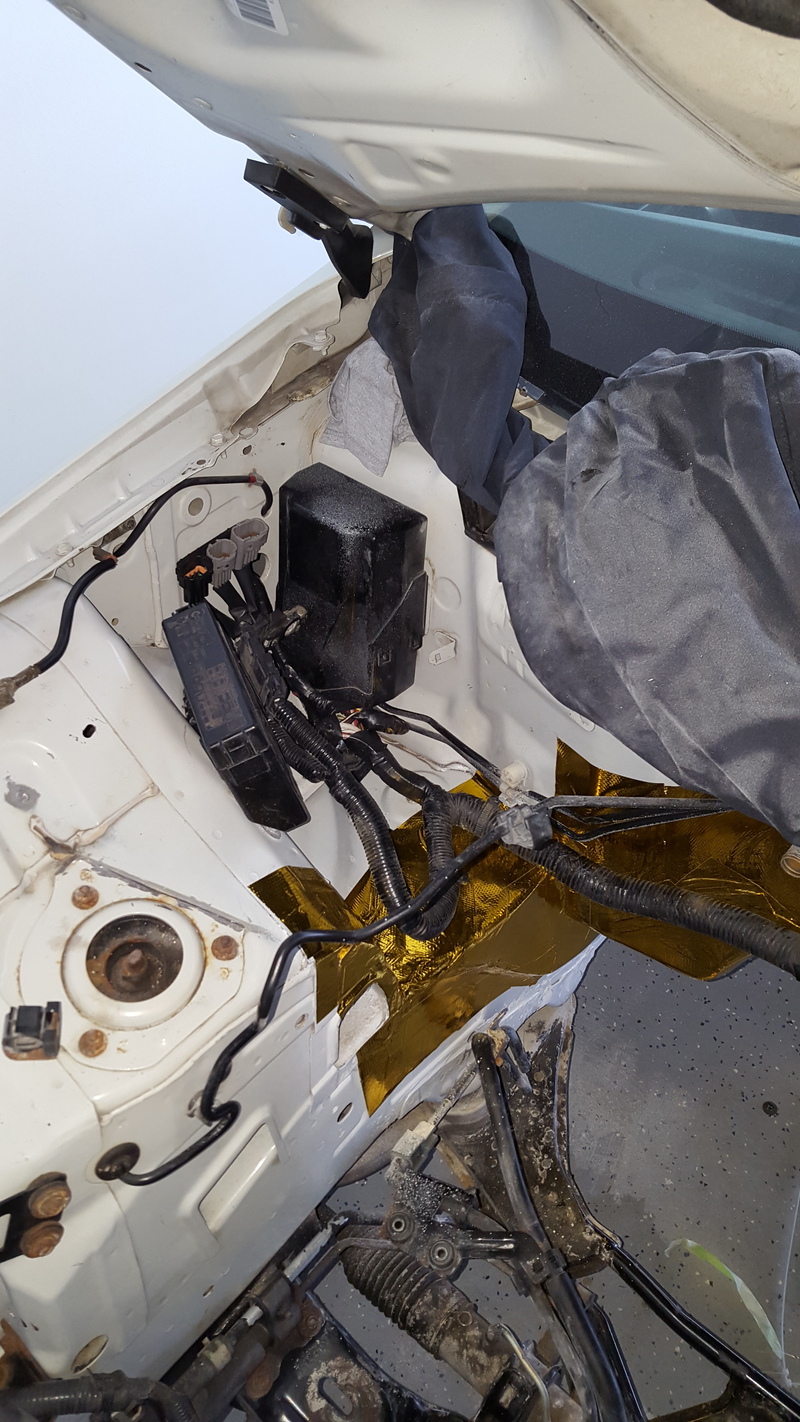
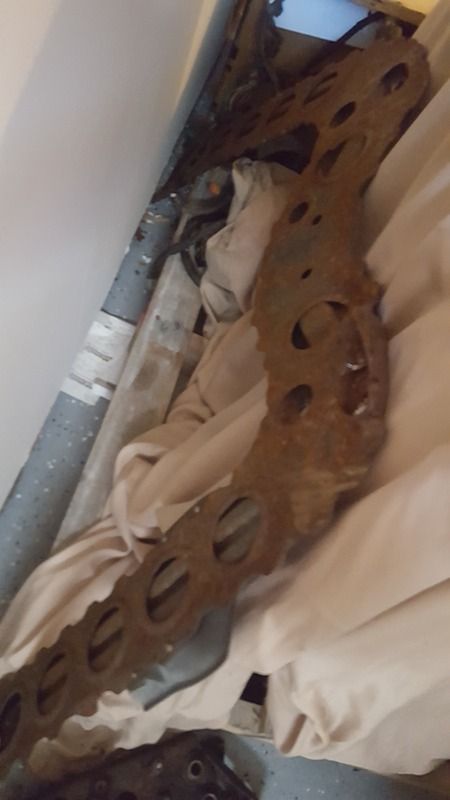
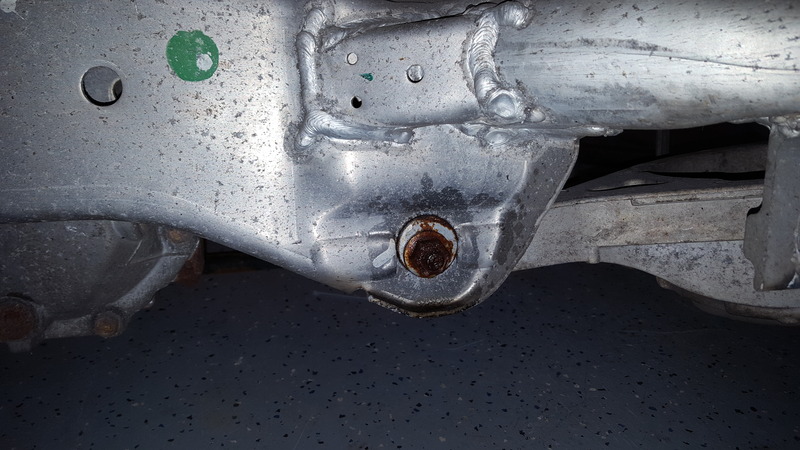
Anyone who lives in the Northeast understands rust, The salt, the rain, the salt, the salt. The rust is so bad and the car has 220k or whatever miles on it. That's a lot of accumulation and it made things hard over the last 2 weeks but its just about there.
Here is an idea of how bad it is.
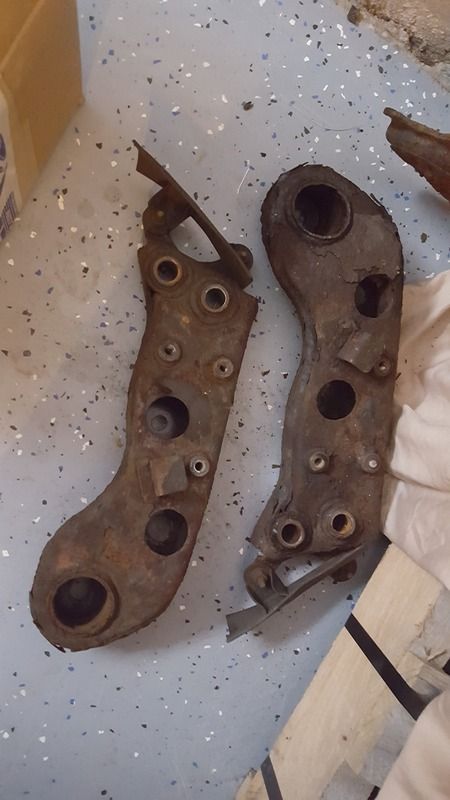
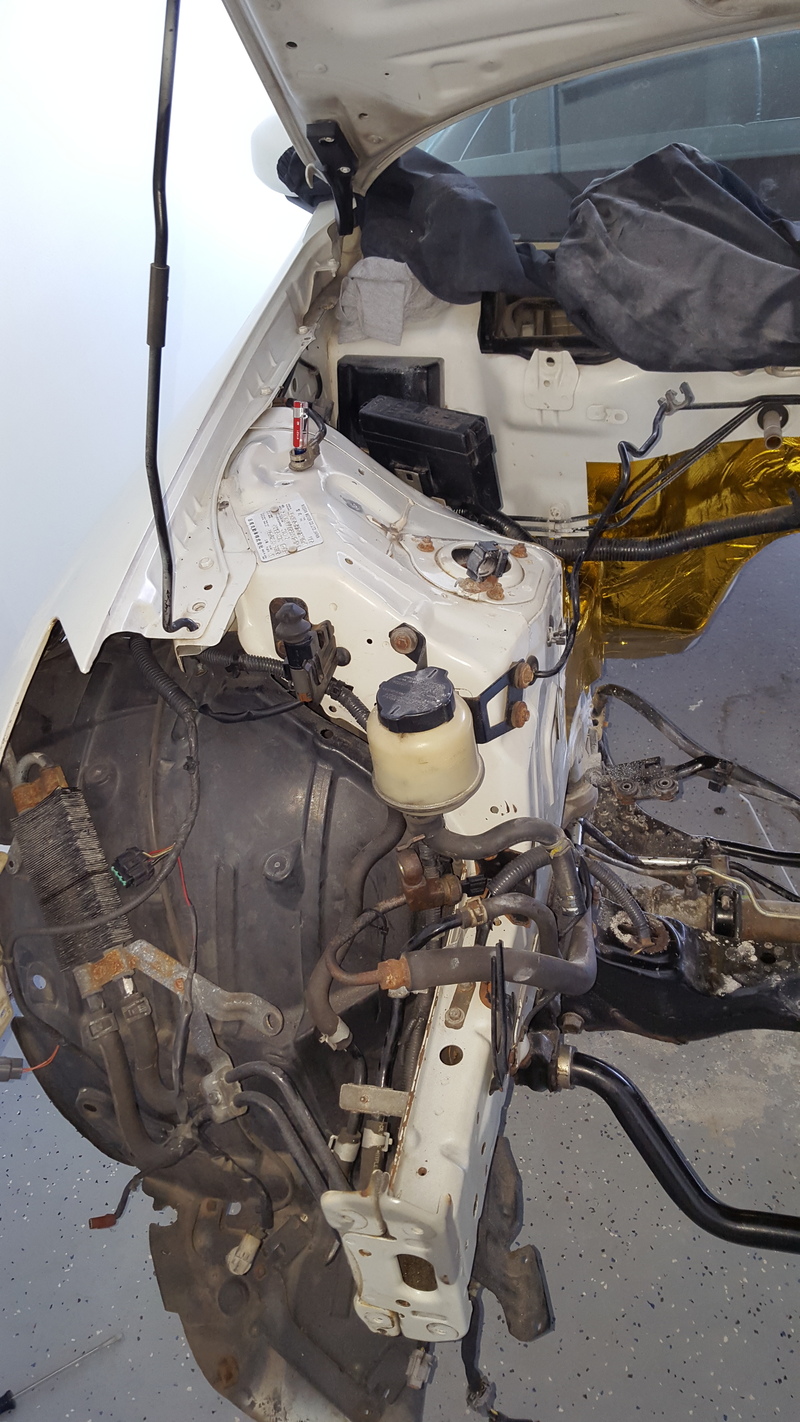
I am replacing all the hardware in the rear, I found a new M member for a great price, oem piece, and I found low mileage cheap side pieces of the side frame like pictured.
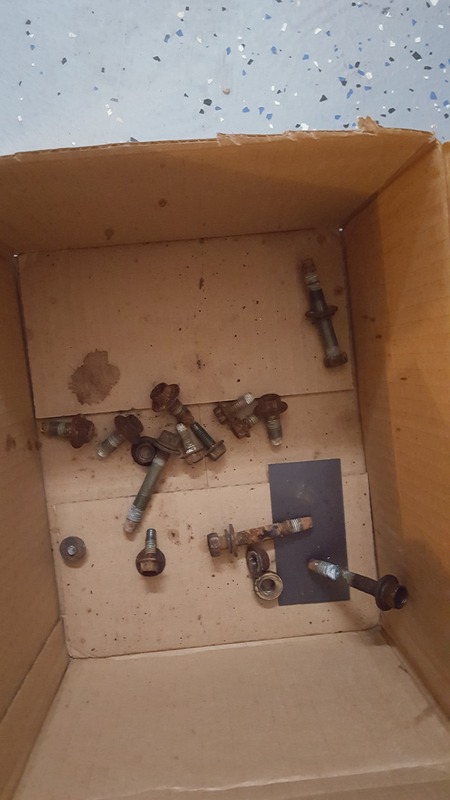
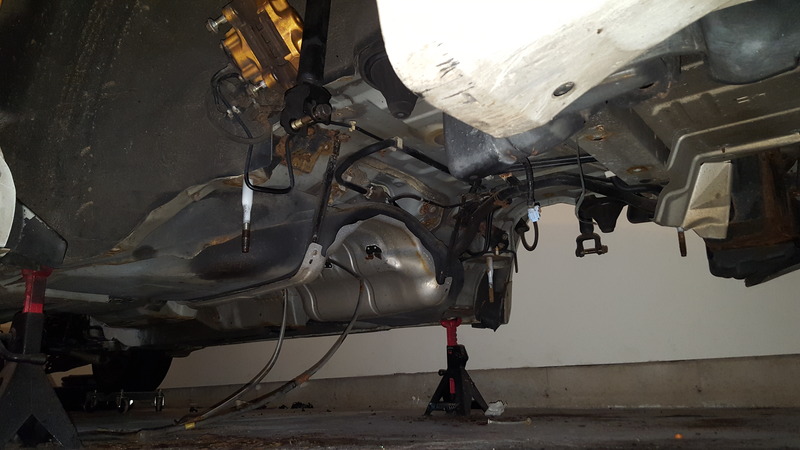
I have to take out and replace the rear gas tank firewall because it is rusted through haha, falling apart and I took the bolts out.
While I am having mill work done, and custom parts are being made, I have to turned my focus to the rear subframe and suspension. I have been taking out rusted bolts very slowly and with hand tools in order to not snap them. I am just about there. I have one nut left on the subframe, but it is broken loose and it was the easiest to get loose. The side posts and M member are off.
Anyone who lives in the Northeast understands rust, The salt, the rain, the salt, the salt. The rust is so bad and the car has 220k or whatever miles on it. That's a lot of accumulation and it made things hard over the last 2 weeks but its just about there.
Here is an idea of how bad it is.


I am replacing all the hardware in the rear, I found a new M member for a great price, oem piece, and I found low mileage cheap side pieces of the side frame like pictured.
I have to take out and replace the rear gas tank firewall because it is rusted through haha, falling apart and I took the bolts out.


Registered User


Joined: Jun 2016
Posts: 1,026
Likes: 102
6 speed G35 sedan
Should be a blast to drive with all the extra torque. Replaced the 350 (slightly modified) with a stock 455 in a '77 Cutlass I used to have. Obviously a much easier swap, buddy of mine and I did it all in a single day. But the additional 100-110 lb-ft of torque was amazing, immediate power right off idle. Rolling 20 mph burnouts were kinda fun too.
Hope you can get it up and running with minimal issues.
Hope you can get it up and running with minimal issues.


Thread Starter
|
Registered User
Joined: May 2011
Posts: 99
Likes: 5
From: CT
Should be a blast to drive with all the extra torque. Replaced the 350 (slightly modified) with a stock 455 in a '77 Cutlass I used to have. Obviously a much easier swap, buddy of mine and I did it all in a single day. But the additional 100-110 lb-ft of torque was amazing, immediate power right off idle. Rolling 20 mph burnouts were kinda fun too.
Hope you can get it up and running with minimal issues.
Hope you can get it up and running with minimal issues.
I used to own an 89 iroc with a 350 tpi. I was sad when I sold it but it allowed me to buy my first nissan, so it was still a win.
A 72 cutlass with a 455 sounds like a good time!
Thread Starter
|
Registered User
Joined: May 2011
Posts: 99
Likes: 5
From: CT
I just got word that the motor and trans mount should go out Monday, so I'm excited for that.
Registered User
Joined: Jun 2016
Posts: 1,026
Likes: 102
6 speed G35 sedan


Thread Starter
|
Registered User
Joined: May 2011
Posts: 99
Likes: 5
From: CT
Ok so a little off topic, but I think you guys will get a kick out of this. I got bored at work while reprogramming zone distribution equipment, so I took pix to show you guys my work toys...

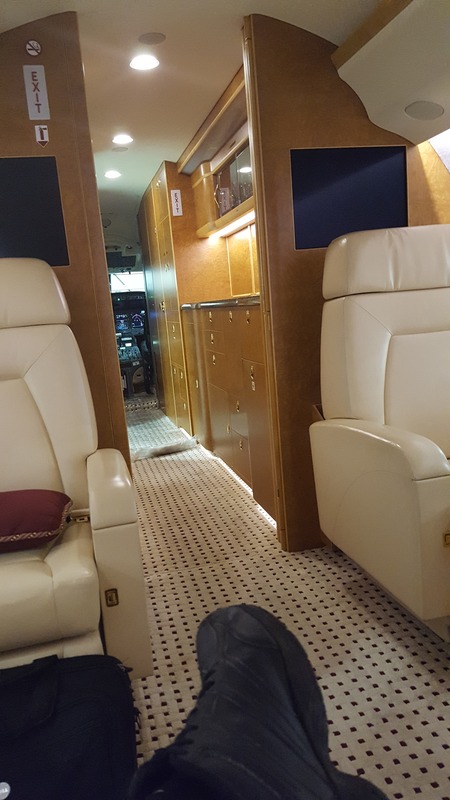
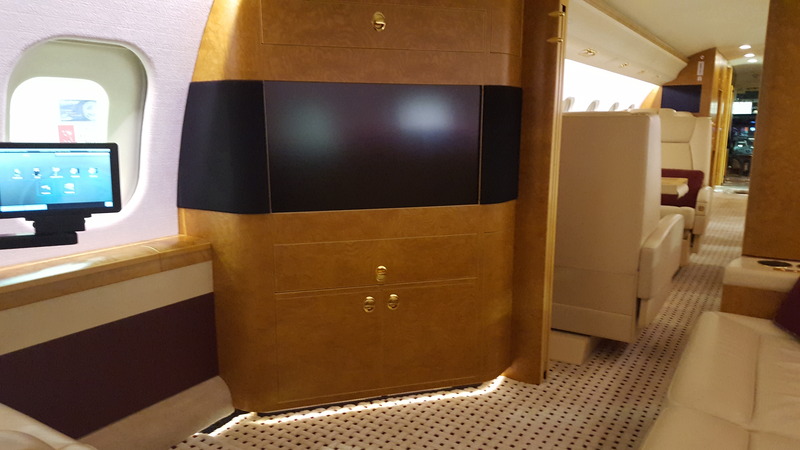
I can't tell you who's plane it is, but I can tell you they own the majority of a pro-football team.


I can't tell you who's plane it is, but I can tell you they own the majority of a pro-football team.
Thread Starter
|
Registered User
Joined: May 2011
Posts: 99
Likes: 5
From: CT
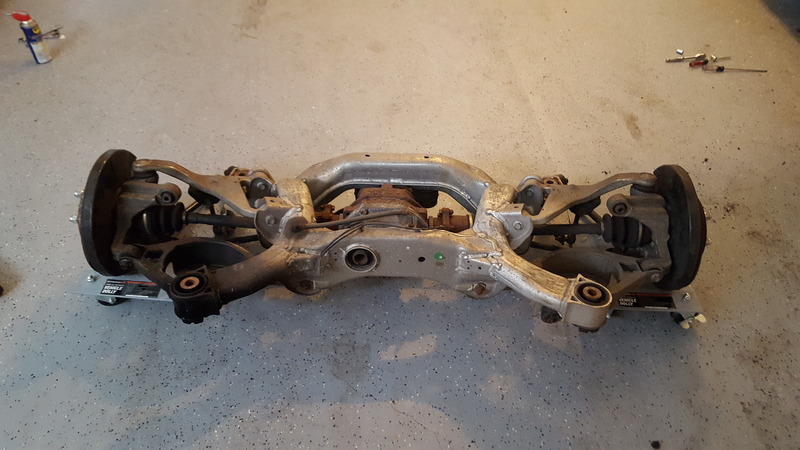
Ok so back to the car, I finally got the rear subframe out and all I have to say is F**k that thing. I am pretty sure I have to replace all the bolts, half of the arm bolts I took out snapped. mainly the to toe arms that mount to the frame, the corroded through the subframe to lock the bolt into the bushings, and had to be cut off both sides and then drill to get the arms out.
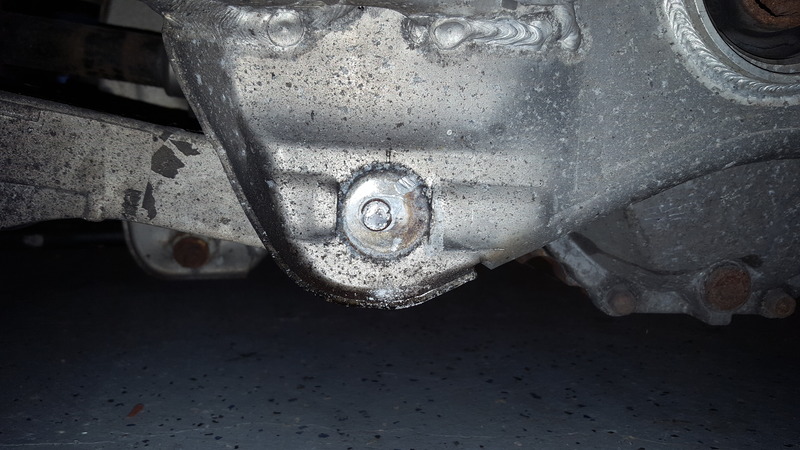
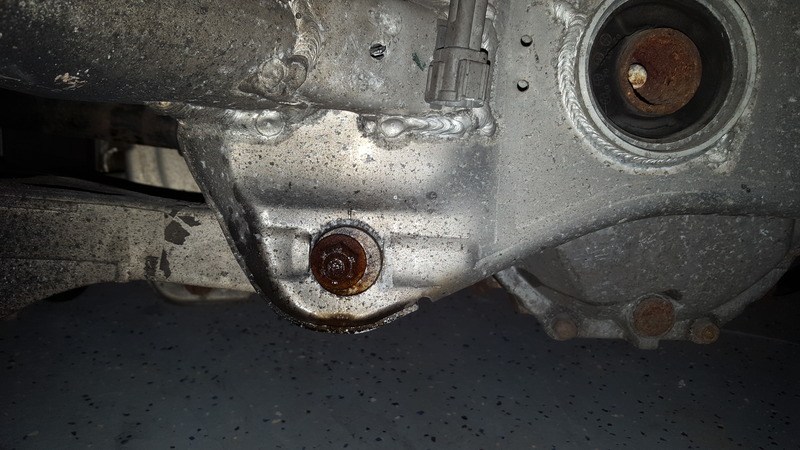
So here's the damn thing pulled.
Pulled apart so far. Toe arms off and upper A-arms are started, but I am having a hard time with the cracking the nuts on the ball joints. Any suggestions?
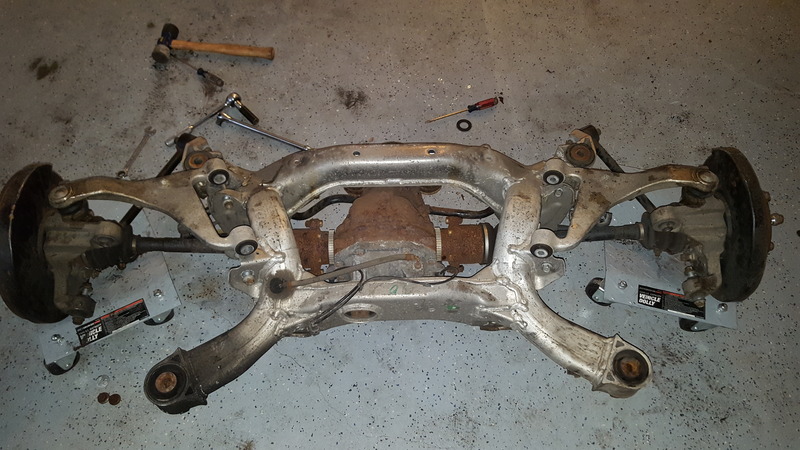
Here is the underside.


So here's the damn thing pulled.

Pulled apart so far. Toe arms off and upper A-arms are started, but I am having a hard time with the cracking the nuts on the ball joints. Any suggestions?

Here is the underside.
