
Stillen S/C stage 3 install


Stillen S/C stage 3 install
well I started to install the kit today, accually start yesterday in the beginning of the morning but had a friends I had to go to for Easter sunday dinner
so the only thing I could get done was adding the heat exchanger to the front
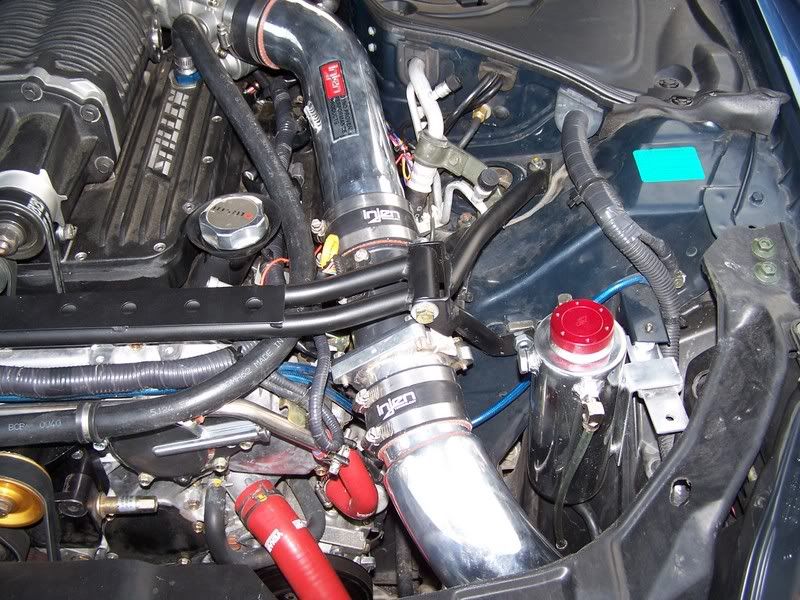
Today was the whole day from 9:00am-3:00pm, including going down to the local autozone for a couple of elbo's for the lines running to the pump
it made the routing to the front pump and heat exchanger alot easier and I didn't have to worry about the lines crimping which they were doing since the angles were a little tight.
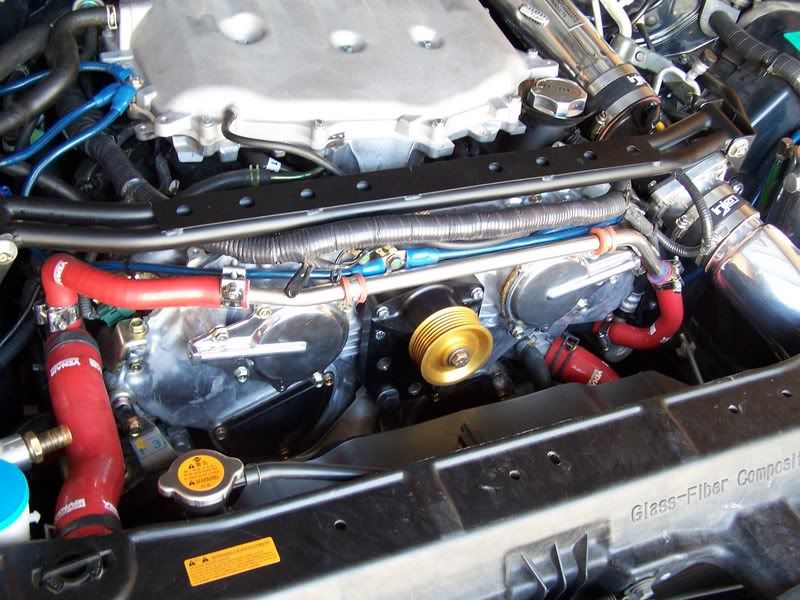
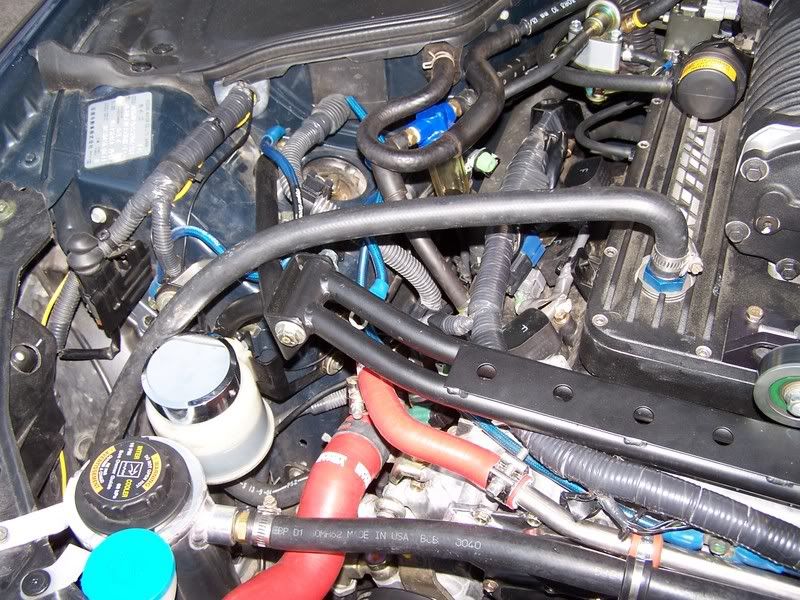
got the pump and everything wired through including the relay, also installed the double pulley and the idler and new longer belt, and the pulley assembly for the supercharger.
Rerouted the coolant overflow and added an aftermarket tank that I've had lying around, I had installed it in the lower fender spot as per the instructons but noticed the tank was filling up, after talking with my automotive instructor he told me the overflow tank (the top of it) needed to be at a higher elevation than the top of the radiator system, I guess meaning the neck of the cap where the hose runs from, so I reran this tank to the place where the orig airbox went, I think it came out nice, will have to see what you all think
one think I would like to know, is it ok to install the pump sidways I didn't have room to place it anyother way and this seemed to fit really nice
that is another question I hope someone can answer
well everything has been done that can be done and still drive the car, at least until Wed when I have another long class day at the Automotive lad as school, I have to give a thanks out to the two classmates (Travis and Evan) who really helped me out alot with all the work so far, hell they did most of it, they are some really great guys and I really appreciated the help.
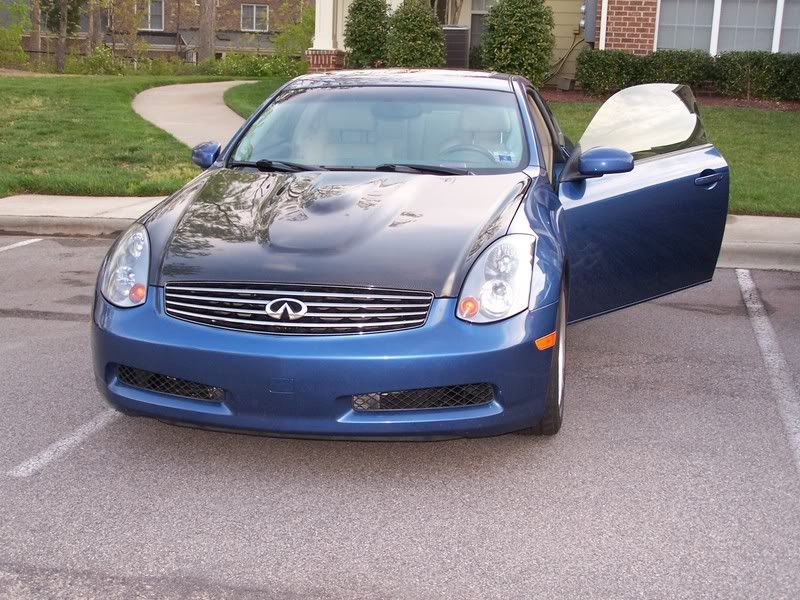
now on to the few pics I took


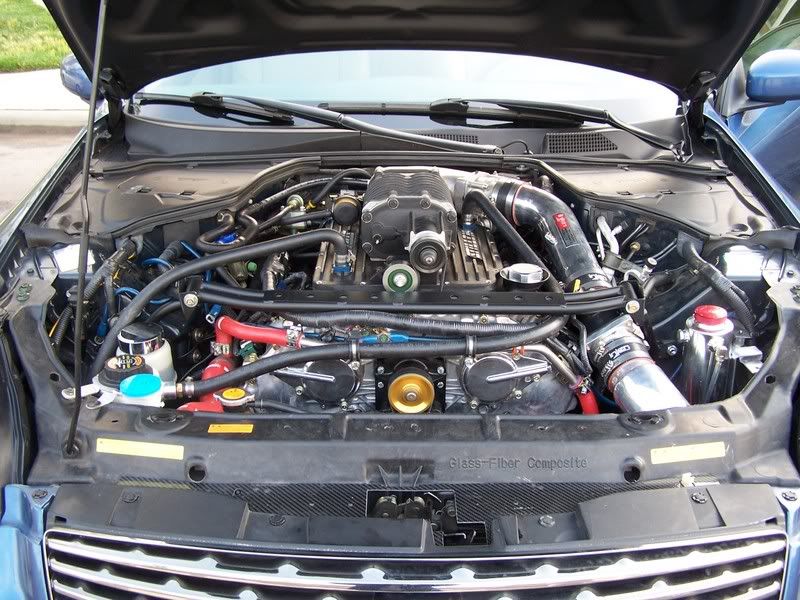
last couple here are of the car at home with everthing buttoned back up


will post back again when everything is done Wed
so the only thing I could get done was adding the heat exchanger to the front
Today was the whole day from 9:00am-3:00pm, including going down to the local autozone for a couple of elbo's for the lines running to the pump
it made the routing to the front pump and heat exchanger alot easier and I didn't have to worry about the lines crimping which they were doing since the angles were a little tight.
got the pump and everything wired through including the relay, also installed the double pulley and the idler and new longer belt, and the pulley assembly for the supercharger.
Rerouted the coolant overflow and added an aftermarket tank that I've had lying around, I had installed it in the lower fender spot as per the instructons but noticed the tank was filling up, after talking with my automotive instructor he told me the overflow tank (the top of it) needed to be at a higher elevation than the top of the radiator system, I guess meaning the neck of the cap where the hose runs from, so I reran this tank to the place where the orig airbox went, I think it came out nice, will have to see what you all think
one think I would like to know, is it ok to install the pump sidways I didn't have room to place it anyother way and this seemed to fit really nice
that is another question I hope someone can answer
well everything has been done that can be done and still drive the car, at least until Wed when I have another long class day at the Automotive lad as school, I have to give a thanks out to the two classmates (Travis and Evan) who really helped me out alot with all the work so far, hell they did most of it, they are some really great guys and I really appreciated the help.
now on to the few pics I took
last couple here are of the car at home with everthing buttoned back up
will post back again when everything is done Wed


Originally Posted by Tonys-G
one think I would like to know, is it ok to install the pump sidways I didn't have room to place it anyother way and this seemed to fit really nice
that is another question I hope someone can answer
that is another question I hope someone can answer
 .
.Everything else looks great, good work.
PS... That sure is an awesome looking strut tower brace !!


Originally Posted by wa2good
No, by all means. Do not mount the pump sideways. It will burn up pretty fast and cause your IC/heat exchanger to not work. a couple of years ago I made the mistake of not mounting the pump straight up and down and it took 2 pumps to figure it out. .
Everything else looks great, good work.
PS... That sure is an awesome looking strut tower brace !!
.Everything else looks great, good work.
PS... That sure is an awesome looking strut tower brace !!
OK this is a quick update, I finished installing the kit today, I started at 9:00am and finished around 3:00pm here are a couple of trouble areas I could think of off the top of my head
1. the long front Idle pulley bolt that screws in for the main belt would not catch onto the threads, we noticed the original had a taper on the tip, so off to the grinder my instructor went and after a couple of tries and a couple hits with the grinder it went in, that did eat up a little bit of time
2. I was able to re-install the pump with the inlet port facing down, took a little fabricating of a bracket that would move the pump over enough to the side to allow it to mount, pretty happy with how this went, it in no way looked like the picture in the manual.
3. I let someone else tighten the hoses for the heat exchanger, big mistake cause when we ran coolant into the tank it was leaking down by them, yea it turned out not to be tight enough, not too bad of an issue.
4. fuel line for the 7th injector had a smal leak when we cycled the car on, turned out to need to be tightened, rechecked and it is good now.
5. trying to connect the small vacuum line for the SS box with the line I used for the nipple didn't seem to match up, I spent a little time trying different things because this nipple is also where I ran my boost gauge into, so I had to put a T in there. finally found a small enough T to use that all three different size vacuum line would connect with.
6. last was the little supercharger accuator on the kit is attached to it by a bracket with three small plastic tabs, these look like they had lost their ability to hold it in place, used some zip ties for now but on a suggestion from one of the other guys i bought a set of Epoxy weld that I will be using on it hopfully it should hold it in place once it hardens.
I knew I was going to have to make alot of little adjustments buying a used kit so I really didn't mind all these little hurdles, and after all it really was in pretty good shape.
now for the first drive WoW !! I wasn't use to the added kick so I lost a little rubber coming out of the garage, the guys told me they could hear me going all the way down the main road, I also like the fact that at idle and slower speeds you really can't tell it's on there, until you hit the gas and the power is right there, and if you need it, it is there all the way through to the upper RPM
I must have came close to hitting the rev limiter before each upshift
this kit is exactly what I was looking for a nice steady power band, like stock except just more of it
I have read everybody elses coments on this fact and can say they were right.
I didn't have time to download anymore pics yet since I had to come straight to work so I will post them up tomorow of the finished kit
also have a few little house cleaning things to do on the car as well
but have to say I love this kit, I was looking for something as close to OEM as I could get with the least amount of troubles, and had to be able to pass state inspection.
this kit does all this well beyond my expectations, now lets see how reliable it is, that I guess will be determined later on down the road.
thanks to everyone on this board how gave me great advice and a helping hand, and most of all Tim for the kit and the little extras
Tony (now converted to the Darkside)
Last edited by Tonys-G; Apr 14, 2007 at 12:49 AM.
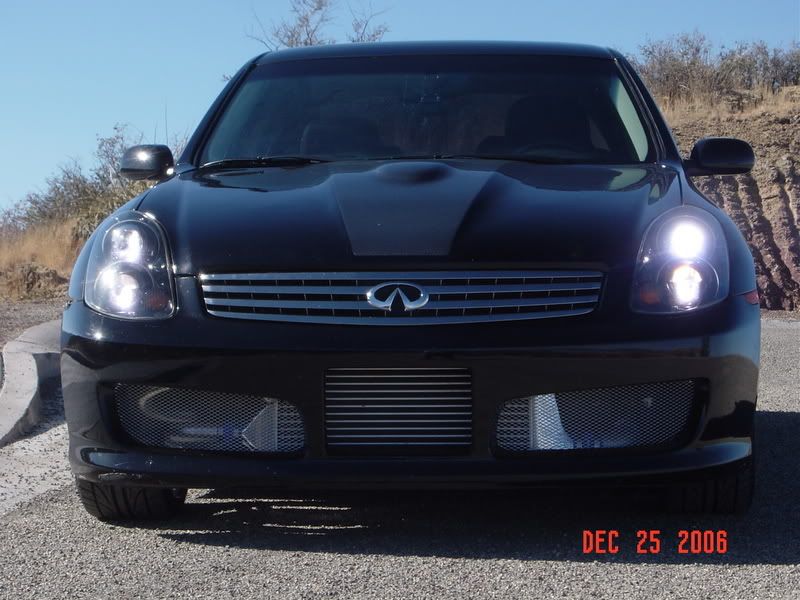
Here are the Pics from yesterday and today


one of the things I have been thinking about is wether I shoul dpaint the hood the same color as the rest of the car or not and leave it carbon fiber
I know a few guys that really don't go for ther C/F look especially the hood
would like to know what everyone thinks on that
also I heard that it is hard to find someone around the RTP area to work on Carbon Fiber and do it right
so let me know what everyone thinks about the hood?
thanks
Tony
i think the cf hood looks pretty good as is.congrats on the new found boost but it looks to me that you might want to back off the tension on the s/c belt.it just looks a little to tight in the pic,s and you will eat that little belt up in no time.
Trending Topics

Sweeeet! Congrats on your new Stillen SC set-up. I like the look of that hood. The hood has been always been a sore point with me. However, I have to say, it looks pretty good. As a daily driver, I will have to reconsider the Stillen SC. Enjoy your new found power! 


Be very careful of overtighetening the belts. You could even do without the tensioner pulleys, but it's a good idea to have them in. Just add a tiny bit of tension, and tighten a tiny bit if you notice belt slip.
Originally Posted by Triple8Sol
Be very careful of overtighetening the belts. You could even do without the tensioner pulleys, but it's a good idea to have them in. Just add a tiny bit of tension, and tighten a tiny bit if you notice belt slip.


Congrats Buddy!!!
She has a new home and someone to take good care of her.
That's awesome the strut bar fit like that. I always wanted to get that one but never got around to it.
As for the hood. I would do it like mine. Have a shop do everything except for the cowl part and also have them clear over the whole thing with a few coats so the line between the paint and CF is as smooth as possible.
Here's a basic idea of what I am talking about. This is my car before I did the hood pins and finished the mesh in the bumper. You can see what I am talking about. It looks so much more finished than just a big slab of CF.
I noticed that in the morning or when it is cold the belts sqeal real loud until the engine warms up
is there any fix for this?
also what grade or oil is everyone with the stillen kit using in their engine
I just changed out to 10w30 but I know the manual says 5w30
should I stick with that or go with the 10w30 that I just put in?
Thanks Tim, yea i think after I get it payed off this summer I will put the money together to paint it