
Question about ViS diffuser from new owner


Thread Starter
|
Registered User
Joined: Mar 2011
Posts: 77
Likes: 0
From: NorCal
@boostedforlife: Haha, the dealer knew exactly what I wanted and didn't budge on the price. I drove about an hour away to find mine. Thank you very much for the warm welcome =D
@oneup: Sexy car! ^^ It's how I wanted my mine to look like; Nismo front with diffuser in the back.
I want to take my b/f's Z wheels... and projectors if I could. XD
I was going to get a HID kit for my headlights; but the thing that bothers me the most is the yellow clearance strip.. which makes me want to replace the whole thing into '06 projectors. Anyone know any good deals?
Thread Starter
|
Registered User
Joined: Mar 2011
Posts: 77
Likes: 0
From: NorCal
 .
.
Thread Starter
|
Registered User
Joined: Mar 2011
Posts: 77
Likes: 0
From: NorCal
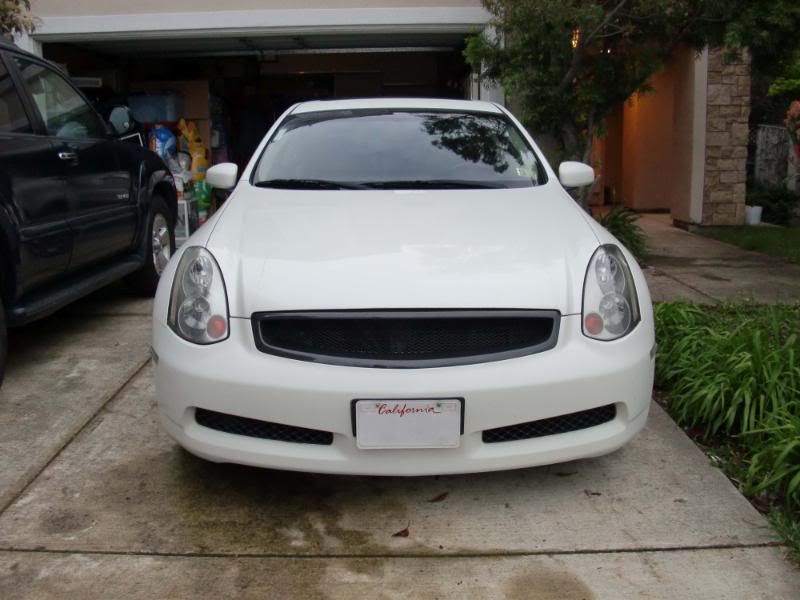
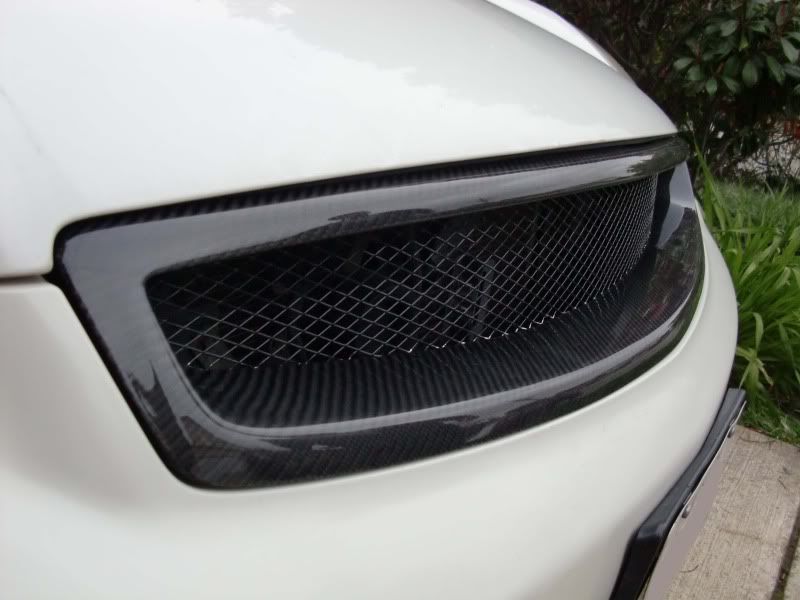
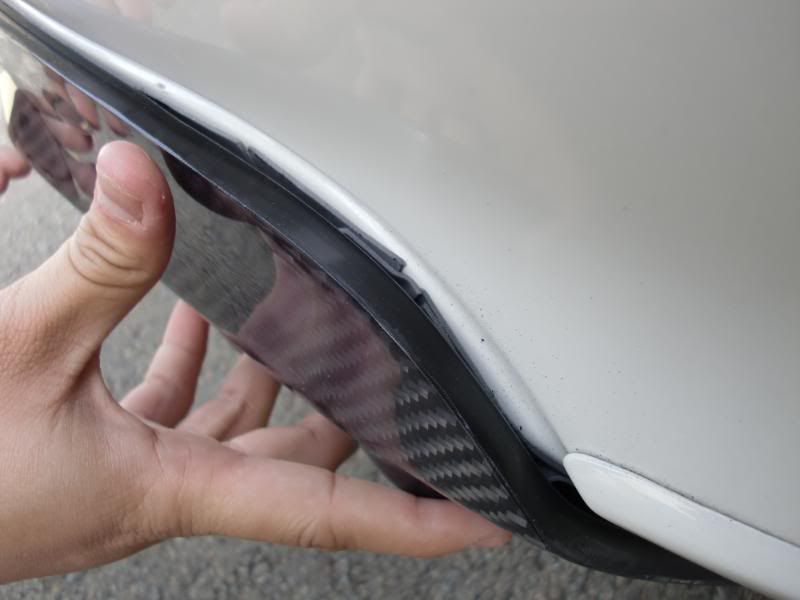
Finally got my CF grill and diffuser! The fitment is okay. The grill has space between the top and the hood while the bottom is very snug. The diffuser is a little short so one side is really snug and the other.. not so much.
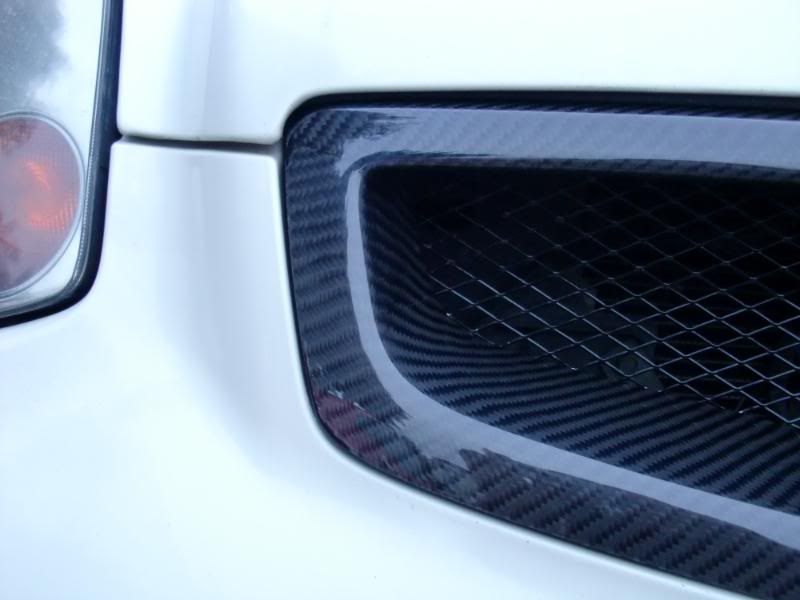
ViS Carbon Fiber grill installed using this DIY. Honestly, I think my b/f ended up breaking one of the clips that attaches it the the bumper because it wouldn't budge. The ViS Grill had no clips on the top. So we bought new plugs to hold it in. Another thing I noticed. The bottom of the mesh in the grill seems to be missing paint,; will need to get something to paint that in.
ViS Carbon Fiber Rear Diffuser. Installed with 3M Super Strength Molding tape and 4 screws. 2 on each side from under the car, 2 under the license plate.
Installation woes...
I attached the tape to the car, and we had two people push the diffuser on to the tape, holding it for about 5 mins. We let go.. and the diffuser popped off. The diffuser had a folded over edge where we were supposed to attach the tape. We looked at the tape and the diffuser and discovered that the diffuser had a layer of paint on the folder over edge that came off when we scratched it with a fingernail. The 3M tape was just pulling that paint layer off. We proceeded to scrape off all the paint and wiped it down again with alcohol. I also noticed that the contact of the diffuser and bumper wasn't flush either.. only very few parts of the tape made contact with the diffuser and pulled paint off. So I used two layers of 3M tape. It stuck! Proceeded to do the 4 screws. There were 2 more screw holes predrilled on the diffuser but the area it was against on the diffuser was some metal plate so we just skipped it.
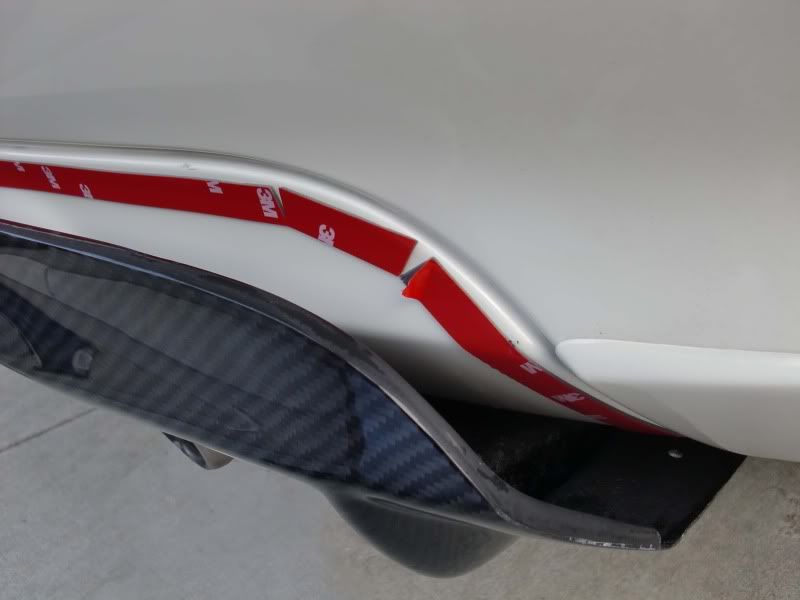
Unfortunately, the next day I saw this.
The two layers of tape were separating. This happened only on one side.. the side I was pushing in so maybe it didn't have as good of a contact. So I had my b/f try and push the diffuser back in place. We'll see how that holds.
ViS Carbon Fiber grill installed using this DIY. Honestly, I think my b/f ended up breaking one of the clips that attaches it the the bumper because it wouldn't budge. The ViS Grill had no clips on the top. So we bought new plugs to hold it in. Another thing I noticed. The bottom of the mesh in the grill seems to be missing paint,; will need to get something to paint that in.
ViS Carbon Fiber Rear Diffuser. Installed with 3M Super Strength Molding tape and 4 screws. 2 on each side from under the car, 2 under the license plate.
Installation woes...
I attached the tape to the car, and we had two people push the diffuser on to the tape, holding it for about 5 mins. We let go.. and the diffuser popped off. The diffuser had a folded over edge where we were supposed to attach the tape. We looked at the tape and the diffuser and discovered that the diffuser had a layer of paint on the folder over edge that came off when we scratched it with a fingernail. The 3M tape was just pulling that paint layer off. We proceeded to scrape off all the paint and wiped it down again with alcohol. I also noticed that the contact of the diffuser and bumper wasn't flush either.. only very few parts of the tape made contact with the diffuser and pulled paint off. So I used two layers of 3M tape. It stuck! Proceeded to do the 4 screws. There were 2 more screw holes predrilled on the diffuser but the area it was against on the diffuser was some metal plate so we just skipped it.
Unfortunately, the next day I saw this.
The two layers of tape were separating. This happened only on one side.. the side I was pushing in so maybe it didn't have as good of a contact. So I had my b/f try and push the diffuser back in place. We'll see how that holds.

Registered User
Joined: Feb 2010
Posts: 394
Likes: 7
From: Boston Metro West
Athens Blue G35 Coupe 6MT
Good luck...The scariest thing about tape in my opinion is the heat causing it to weaken. Did you say you screwed the diff on? If so, aside from fitment you don't have to worry about losing it.
If not, definitely give it a nudge test before driving on hot days, and keep an eye on the rear view
If not, definitely give it a nudge test before driving on hot days, and keep an eye on the rear view
I dont like the vis made diffuser, fitment isnt very good cause it doesnt have the curve to snug onto the bumper so you kinda have to bend it. Also the top peice of the diffuser is thick so it sticks out. I had the vis diffuser for an hour then took it off and ordered one from ionic here on driver. Fitment was day and night, nice mods so far!

im not sure about ur particular install but people usually put the tape on the object being attached to the car. ive never seen anyone attach the tape to the car like that. and u should really bolt something onto the diffuser so it doesnt go flying off
ps doesnt seem like ur bf knows wat hes doing either
ps doesnt seem like ur bf knows wat hes doing either
Thread Starter
|
Registered User
Joined: Mar 2011
Posts: 77
Likes: 0
From: NorCal
@anynigma: Lol, it's screwed on in 4 places! I will probably need to take it off and reinstall though.
@Silencer_0: Makes me smile every time I see my car! =D
@oneup: Thank you ^^ I know exactly what you mean; why the hell did they make the top part of the diffuser so thick? And it was really hard to make the diffuser stick because of the bad curve.. probably why one side isn't snug.
Do you have any pictures of the Ionic diffuser on?
@saywat?: After I put the tape on the car.. I reread the instructions and it definately said to put tape onto the piece you're adding on. Oops XD The diffuser is bolted on though, no risk of losing it.
I'm sure my boyfriend has no idea what to do, but he's nice enough to help me ^^
Thread Starter
|
Registered User
Joined: Mar 2011
Posts: 77
Likes: 0
From: NorCal
Nice IP with black interior, great combo.
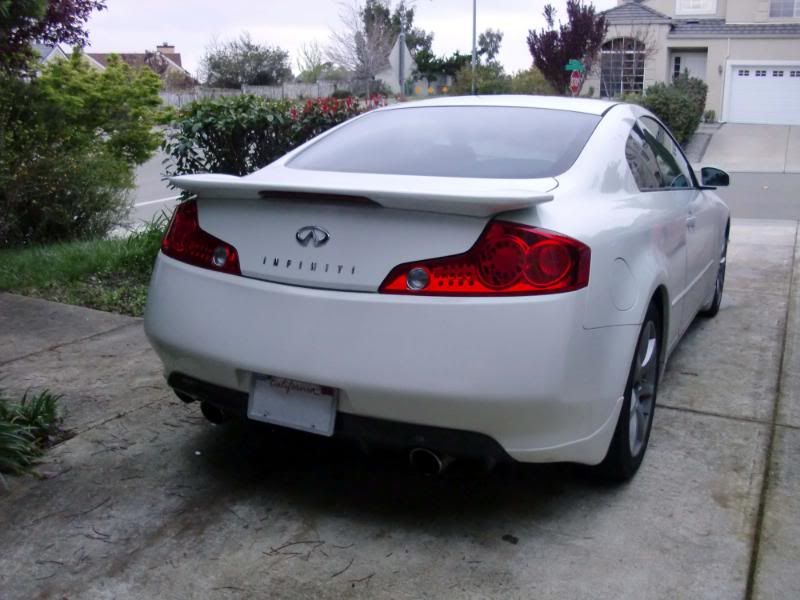
Yeah my ionic grille (fused with the oem grille) didn't fit too well either, actually it was so off I had to have it held on my zip ties. (almost 1 inch off in some areas..) But I'm okay with it now. I also have the nismo rear diffuser, not from Ionic but from Ravspec but it's the same thing, but mine is in matte black not CF, here is a picture:
keep up the good work.

Joined: Feb 2010
Posts: 5,249
Likes: 430
From: Houston
Itasha Coupe

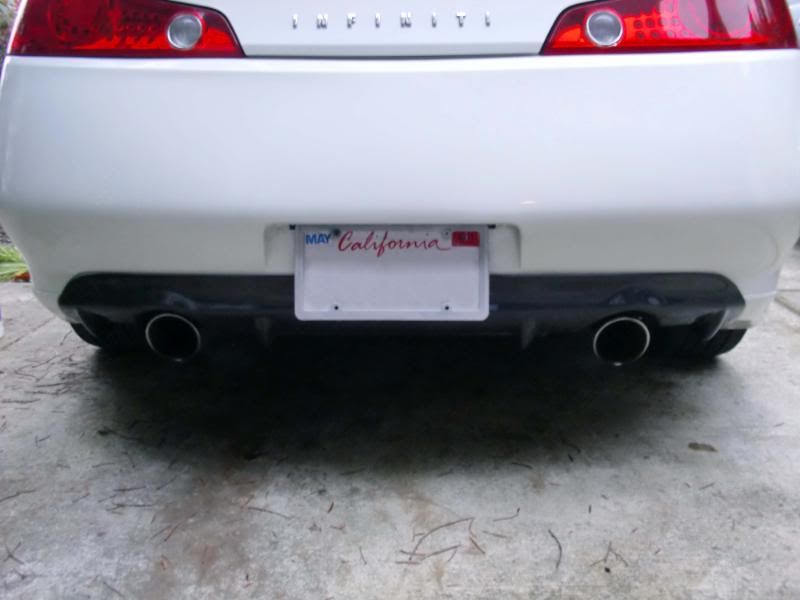
I had the same issue with my diffuser when I installed it with double sided tape. I knew that once I installed it, I wasn't ever going to take it off so I used epoxy to actually adhere it onto my OEM bumper. You can purchase the 2 part epoxy mixture from AutoZone or Advance Auto Parts.
But there are also a few other things I did to ensure that the diffuser stayed on.
1. Epoxy the part where it actually fits in the rear valance of your bumper. There should be a "lip" on your diffuser where it should fit snugly into the rear valance lines of your bumper. Use that as a guide to ensure that it fits properly.
2. I drilled holes into the bottom of my rear bumper and bolted it down by where the mudguards sit. This ensure that it bolts up on the bottom on the outside.
3. I dropped my exhaust and drilled 2 very small holes where the exhaust cut outs are for the diffuser. I then used 2 very small flathead screws and installed them on the bottom, to hold the diffuser flush on the bottom of the bumper. Keeps it from flying away on the highway and you won't see any of the bolts / screws since they're all at the bottom.
Try these methods and see if they work. It worked for me. Here's an image of how it looked before I ended up with my Chargespeed rear bumper.
Good luck on what you decide to do to make the diffuser fit.
And no, I didn't use any of the pre-drilled holes behind the license plate to bolt it up.