

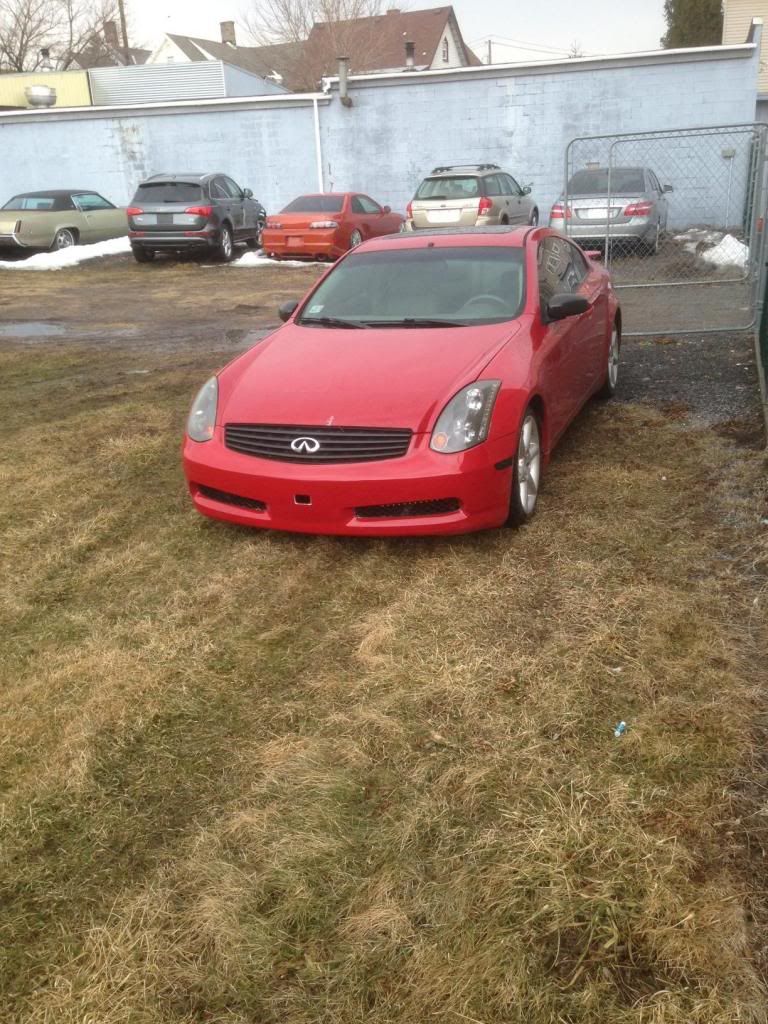
Hey guys this just to show you how I did mine, my first time and its my first DIY so it not perfect or best person give instructions on, And its not hard at alll!
Do on your own risk I am not responsible for your actions this is just for education purposes
step 1
Take your headlights off your car
step 2
Take all the bulbs and all the wiring off the headlight housing (I took my wiring off just to be cautious)
step 3
Preheat the oven to 215�
step 4
Take the three screws out of the housing (so he don't come in the way when taking part of the headlights)


step 5
Next I got a cooking tray and placed headlight on top of that and then I put in the oven for 10 minutes ( seven minutes or eight minutes or nine was just not doing it)
step 6
Take a flathead screwdriver and pride couple of the tabs between the headlight and the tabs on the headlights so you can take it apart pull from the top of the headlight with a screwdriver and prier open (will be hard if you doing the first time)
step 7
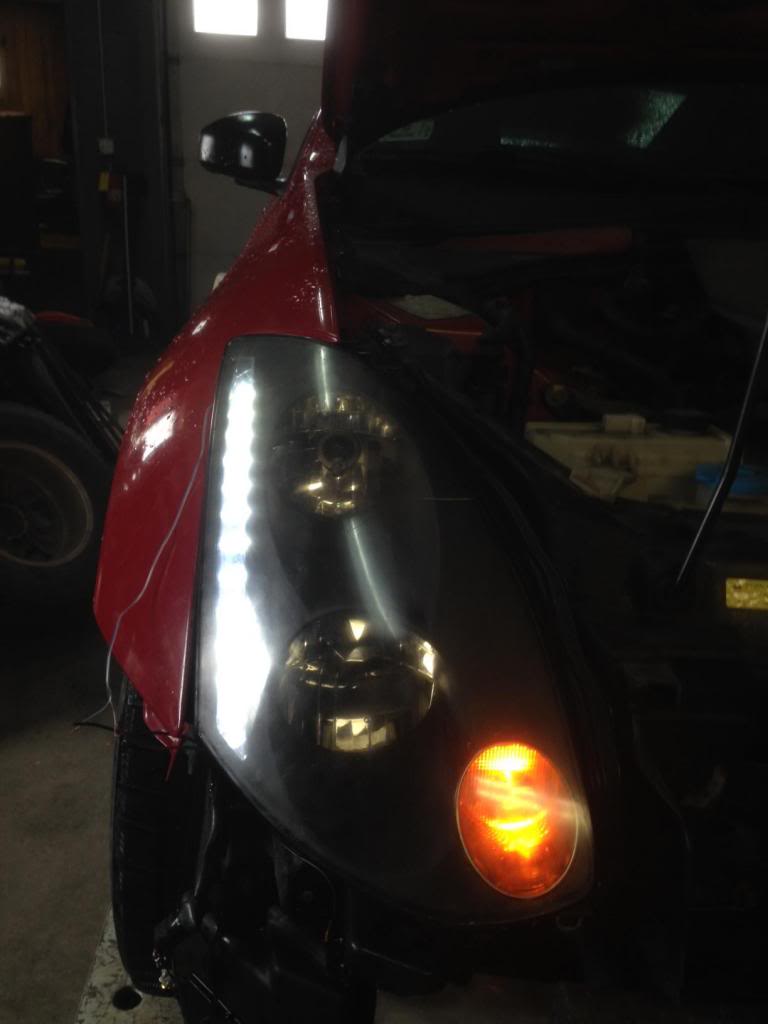
I don't have a photo but there are two screws inside of the housing to take the Lens out so painted my flat black from gray

step 8
taking part the clearance strip there two screw on the headlight holding the clearance strip in on the top and bottom once that it should come part

step 9
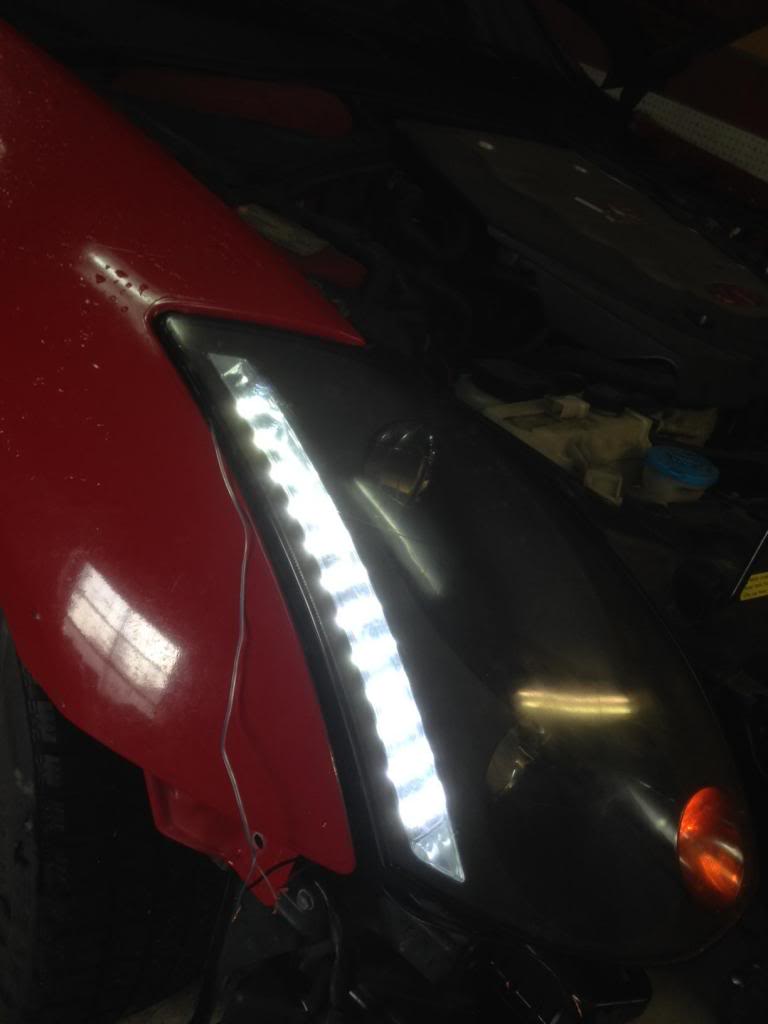
to put the led strip in the clearance strip housing, it had to be filled up so led can sit right i found a bubblewrap that was on a letter, I stuff enough in there that it will be nice and straight and wouldn't come out. I would put some glue underneath the bubblewrap or anything else you find so it doesn't come out. i did this at 2 o'clock in the morning so I didnt have all the materials that I wanted.
[


step 10
putting everything back together carefully and not to break the housing because I did


step 11
Putting the headlight back in the oven for 7 minutes so the glue can melt again and then you can put the headlights back together where it was originally. Went taking it out of the oven make sure you press everything together all the tabs and everything so it's nice and sealed

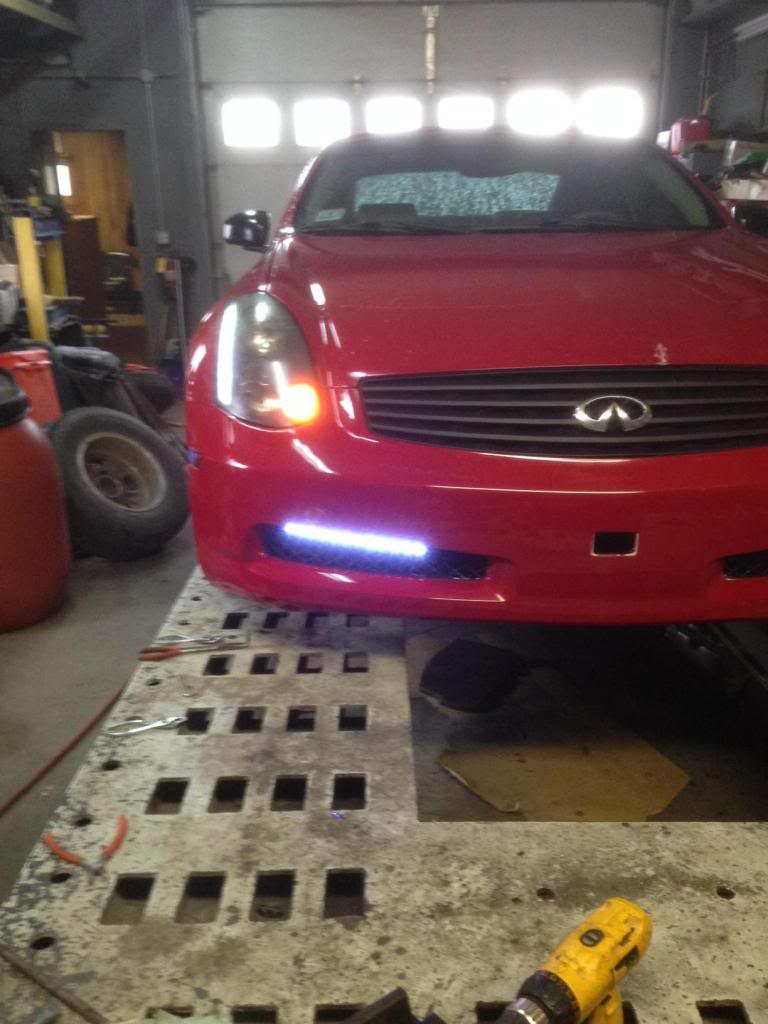
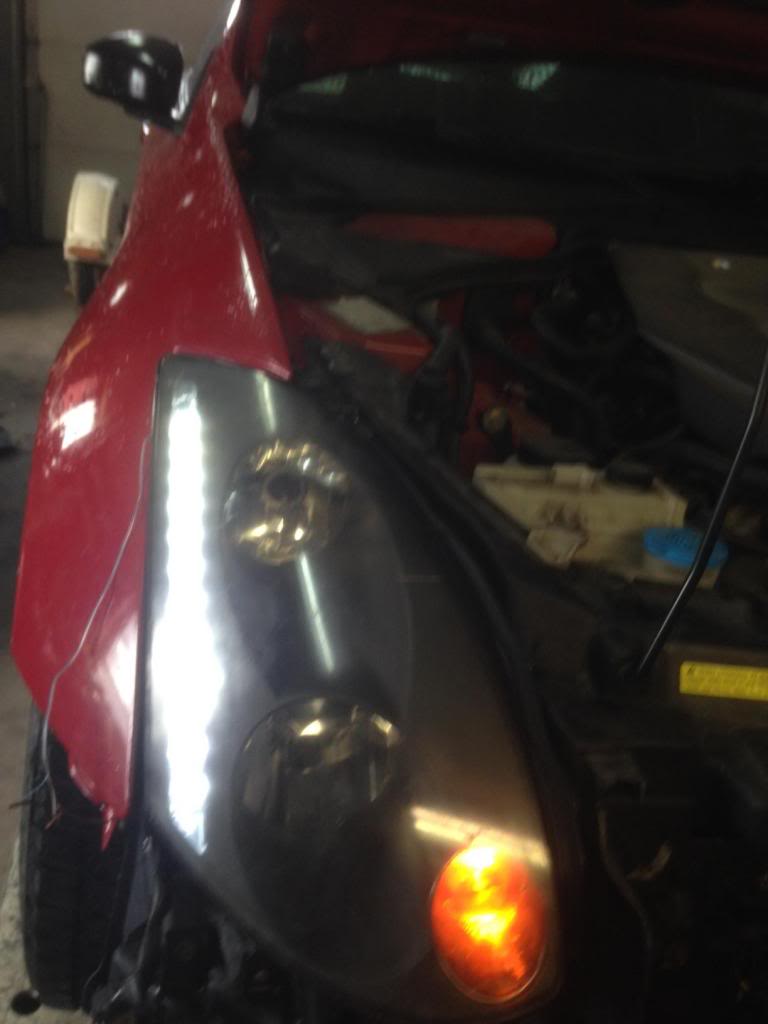
 what you guys think? i will post more photo of the headlights in the car
update :
Do on your own risk I am not responsible for your actions this is just for education purposes
step 1
Take your headlights off your car
step 2
Take all the bulbs and all the wiring off the headlight housing (I took my wiring off just to be cautious)
step 3
Preheat the oven to 215�
step 4
Take the three screws out of the housing (so he don't come in the way when taking part of the headlights)
step 5
Next I got a cooking tray and placed headlight on top of that and then I put in the oven for 10 minutes ( seven minutes or eight minutes or nine was just not doing it)
step 6
Take a flathead screwdriver and pride couple of the tabs between the headlight and the tabs on the headlights so you can take it apart pull from the top of the headlight with a screwdriver and prier open (will be hard if you doing the first time)
step 7
I don't have a photo but there are two screws inside of the housing to take the Lens out so painted my flat black from gray
step 8
taking part the clearance strip there two screw on the headlight holding the clearance strip in on the top and bottom once that it should come part
step 9
to put the led strip in the clearance strip housing, it had to be filled up so led can sit right i found a bubblewrap that was on a letter, I stuff enough in there that it will be nice and straight and wouldn't come out. I would put some glue underneath the bubblewrap or anything else you find so it doesn't come out. i did this at 2 o'clock in the morning so I didnt have all the materials that I wanted.
[
step 10
putting everything back together carefully and not to break the housing because I did
step 11
Putting the headlight back in the oven for 7 minutes so the glue can melt again and then you can put the headlights back together where it was originally. Went taking it out of the oven make sure you press everything together all the tabs and everything so it's nice and sealed
what you guys think? i will post more photo of the headlights in the car update :


Registered User
Quote:

How about any pics at all?Originally Posted by Shiftd
Any pics of them on the car turned on?
Hey guys sorry about this but I will upload the photos again but I'm really busy with work and college but I will update soon


Registered User
Quote:
Originally Posted by saywat?
how bout he get the pics to work first. one thing at a time lol
Quote:
If you werent lazy you can manually click on them in a new tab and see yourself Originally Posted by terrorx7
How about any pics at all?

Registered User
Quote:
Right click the image, new tab.Originally Posted by saywat?
ive tried clicking on it. don't work
OP where are u


Tempting..it's hard to see how well u hid the wire and the lead on the end of the strip.