
Headlight work - Matte black and cleared

Joined: Jun 2003
Posts: 14,505
Likes: 451
From: NorCal
Headlight work - Matte black and cleared
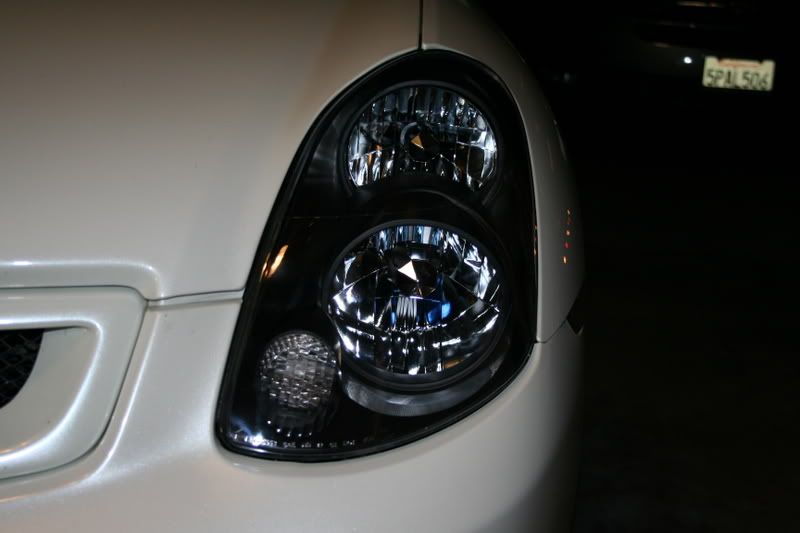
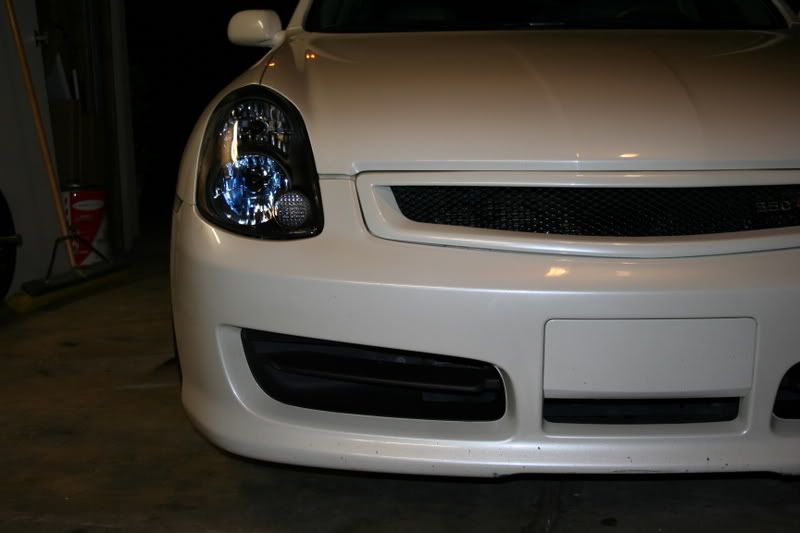
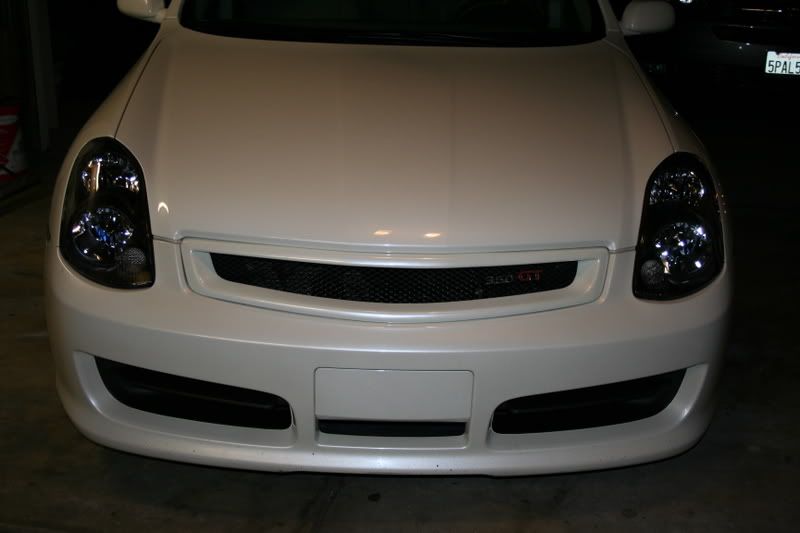
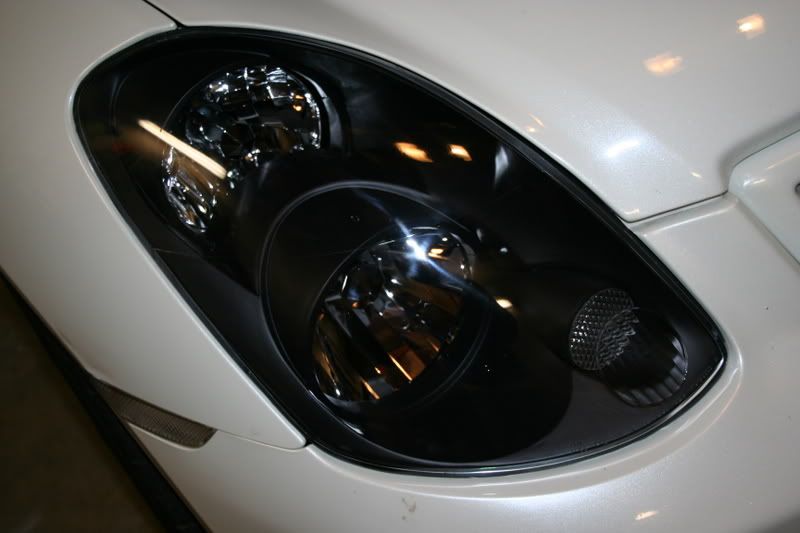
Did some work on a set of headlights yesterday with a few people up here in Norcal. Very pleased with how they came out. I needed new lenses badly
On to the pics
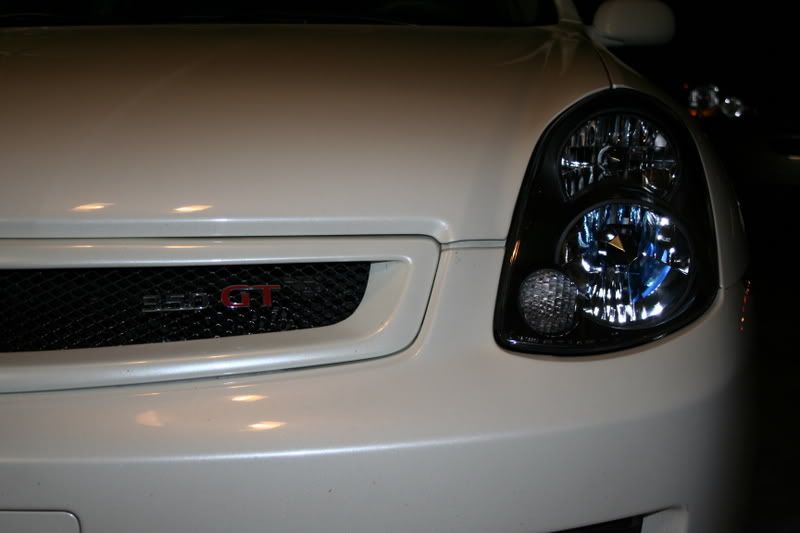
I'll take some better pics during the day later on this week and post them up.
On to the pics
I'll take some better pics during the day later on this week and post them up.


Joined: Jun 2003
Posts: 14,505
Likes: 451
From: NorCal
Originally Posted by g35freak86
wow. Chris. that looks Unreal. I want this done to mine so bad! How much did this run you if you don't mind.

I did it with another friend (member on the board) of mine yesterday. Actually, a few of us touched these lights at one point or another. Took us all day as we ran into a few snags but we worked through them and you see the results above.
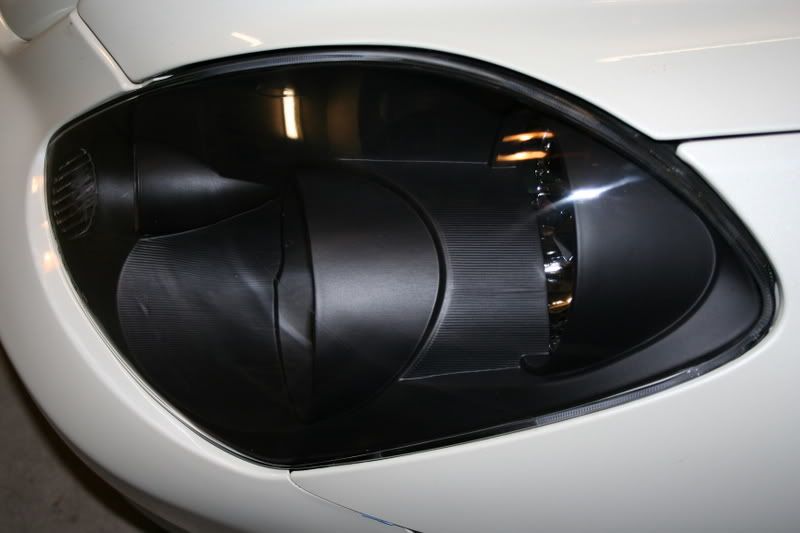
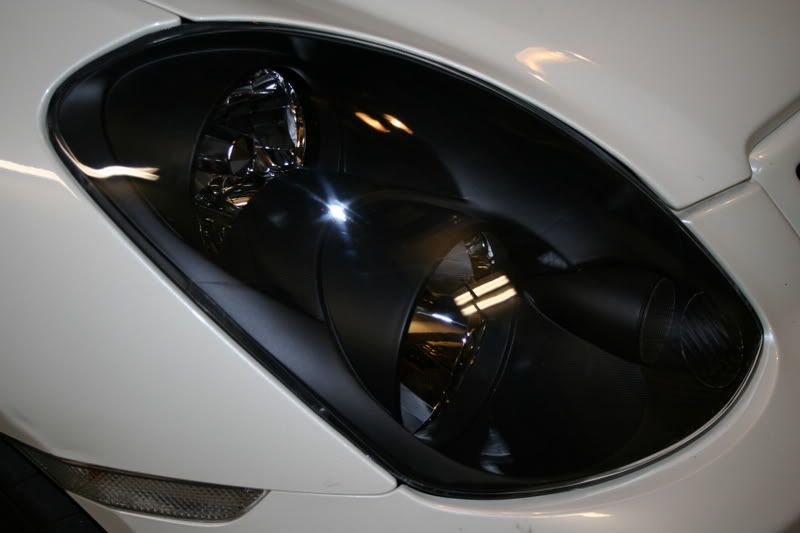
1 pack of sandpaper and two cans of black primer and a few hours of sanding, painting baking and putting them back together.
wow. I would definatly pay you to do this lol. it looks great
I could take this on myself but just the whole headlight removal and baking of the headlights is the only thing that doesn't settle well in my stomach lol
I could take this on myself but just the whole headlight removal and baking of the headlights is the only thing that doesn't settle well in my stomach lol
Joined: Jun 2003
Posts: 14,505
Likes: 451
From: NorCal
Originally Posted by ttrank
Those look great! Very clean. 
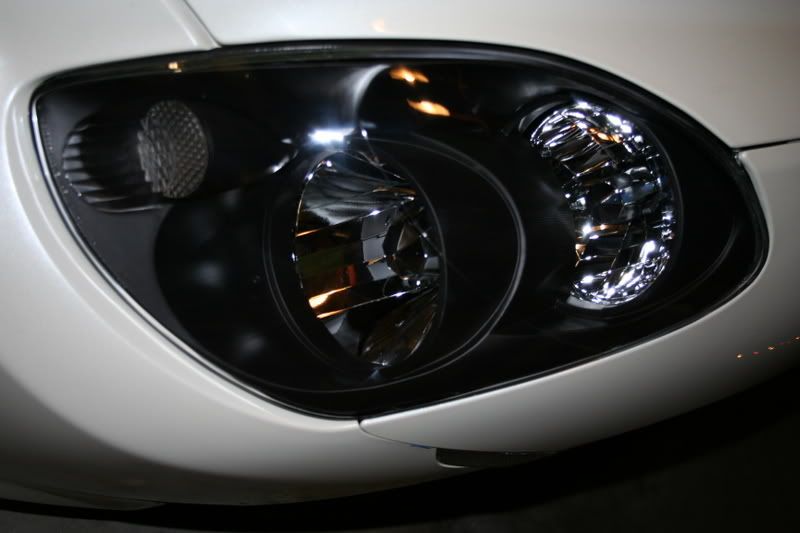
How did you do the blinker? It looks like it is on the outside.
How did you do the blinker? It looks like it is on the outside.
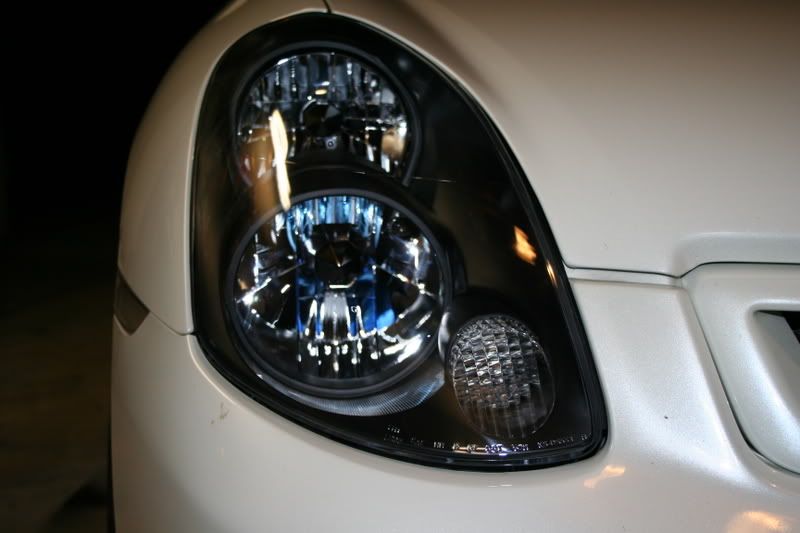
The blinker is on the inside covering up the original spot were the orange ring/cover was before. I used a dremel and cut out a piece of florescent light cover, sanded it down with the dremel then polished/sanded it with 400 grit wet/dry paper. Glueing the piece in was nerve racking. I almost opted not to clear them cause I was afraid to F up. Glad I was persuaded to go for it

Originally Posted by g35freak86
wow. I would definatly pay you to do this lol. it looks great
I could take this on myself but just the whole headlight removal and baking of the headlights is the only thing that doesn't settle well in my stomach lol
I could take this on myself but just the whole headlight removal and baking of the headlights is the only thing that doesn't settle well in my stomach lol
It's not that bad at all. I have had mine open 6 times and plan to do it again soon to change the lenses in my TL projectors again.
Trending Topics
Originally Posted by G35papa
Thanks Tim
The blinker is on the inside covering up the original spot were the orange ring/cover was before. I used a dremel and cut out a piece of florescent light cover, sanded it down with the dremel then polished/sanded it with 400 grit wet/dry paper. Glueing the piece in was nerve racking. I almost opted not to clear them cause I was afraid to F up. Glad I was persuaded to go for it
The blinker is on the inside covering up the original spot were the orange ring/cover was before. I used a dremel and cut out a piece of florescent light cover, sanded it down with the dremel then polished/sanded it with 400 grit wet/dry paper. Glueing the piece in was nerve racking. I almost opted not to clear them cause I was afraid to F up. Glad I was persuaded to go for it
Very nice work!

Those blinkers are a PITA and you did a great job.


Originally Posted by g35freak86
really? how long do you put it in for and what temperature? Also, how to do reseal the lenses back on, in other words, what do you use to reseal it?
I always do ~12-15 min at 185 and they open right up. Same to heat the glue to reseal.
What did you use Papa?
Joined: Jun 2003
Posts: 14,505
Likes: 451
From: NorCal
Originally Posted by g35freak86
wow. I would definatly pay you to do this lol. it looks great
I could take this on myself but just the whole headlight removal and baking of the headlights is the only thing that doesn't settle well in my stomach lol
I could take this on myself but just the whole headlight removal and baking of the headlights is the only thing that doesn't settle well in my stomach lol
After doing this mod with someone who has done it before and helping along the entire way, it isnt as bad as I thought it would be. I would have no problem at all taking on this mod again in the future and will probably do another set at some point (adding some projectors or color matching the bezels to the body color). It is time consuming because you really need to just take your time.
Joined: Jun 2003
Posts: 14,505
Likes: 451
From: NorCal
Originally Posted by ttrank
I always do ~12-15 min at 185 and they open right up. Same to heat the glue to reseal.
What did you use Papa?
What did you use Papa?
Heres the kicker, no sealant was used. We re-used the same OEM sealer that was on the lights. Works like a charm