
Headlight Restoration done by hand....


Headlight Restoration done by hand....
ill turn this into a DIY if anyone requests its really easy....
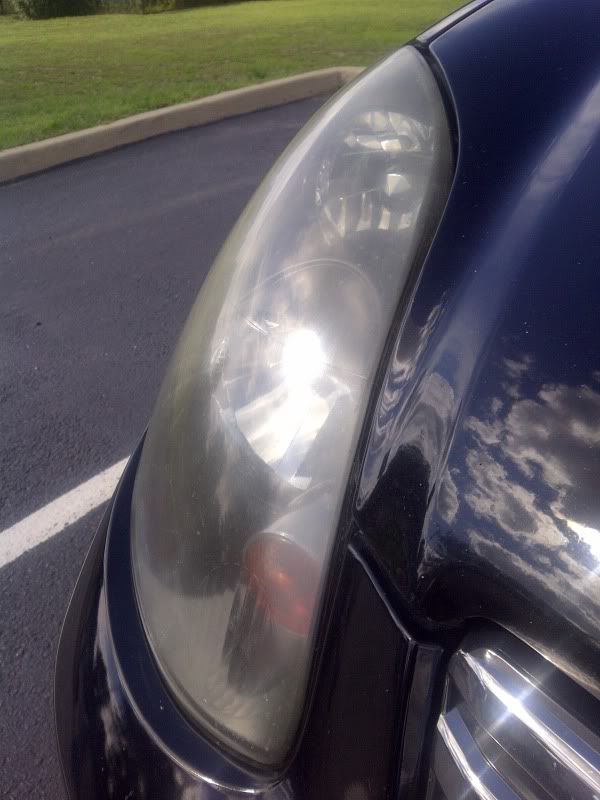
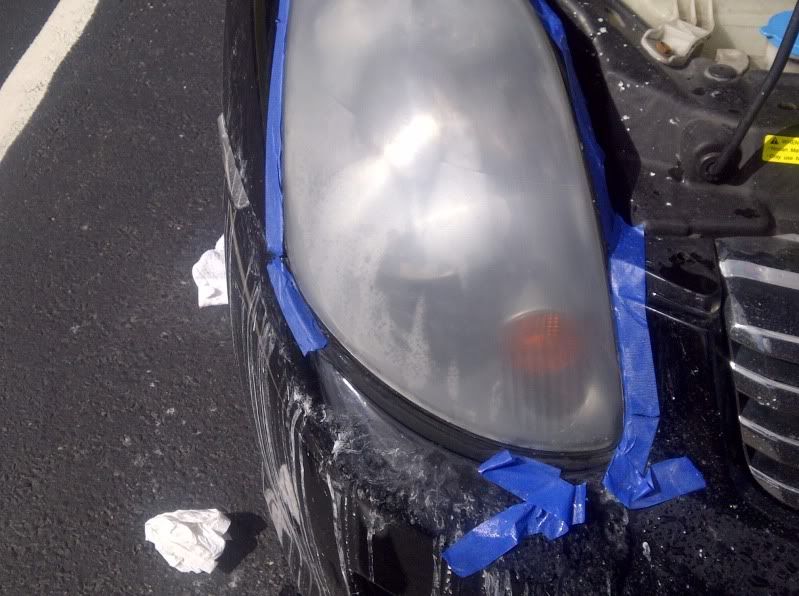
Ok so my head lights were hazed like alot of peoples and i hated it but i looked at my head lights the other night and they looked green with my 6k bulbs. I literally couldnt see inside the housing at night with the lights on
NOTE: since i painted my housings i been getting moisture in my passenger side head light (you'll see some in the pic i purchased the sealant and it'll be here tommorrow. As well as these pics are from my phone
Before
Pass side
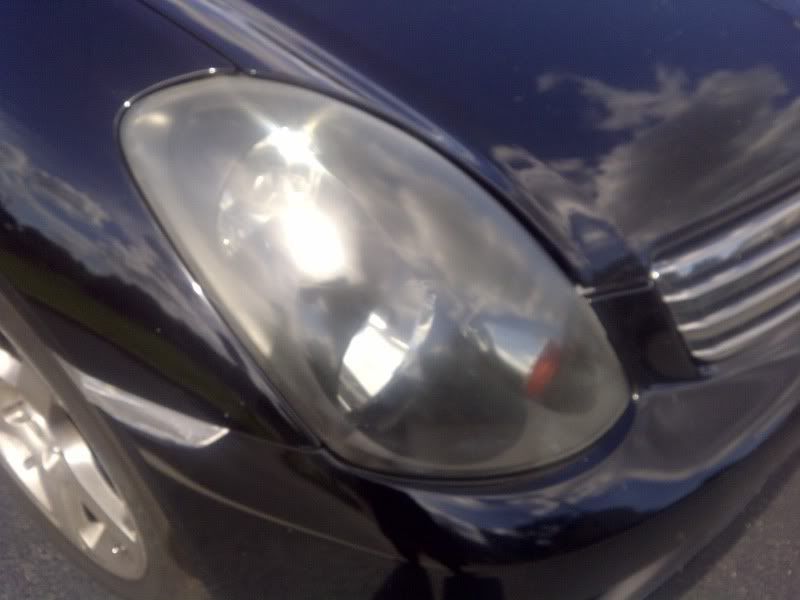
Drivers side
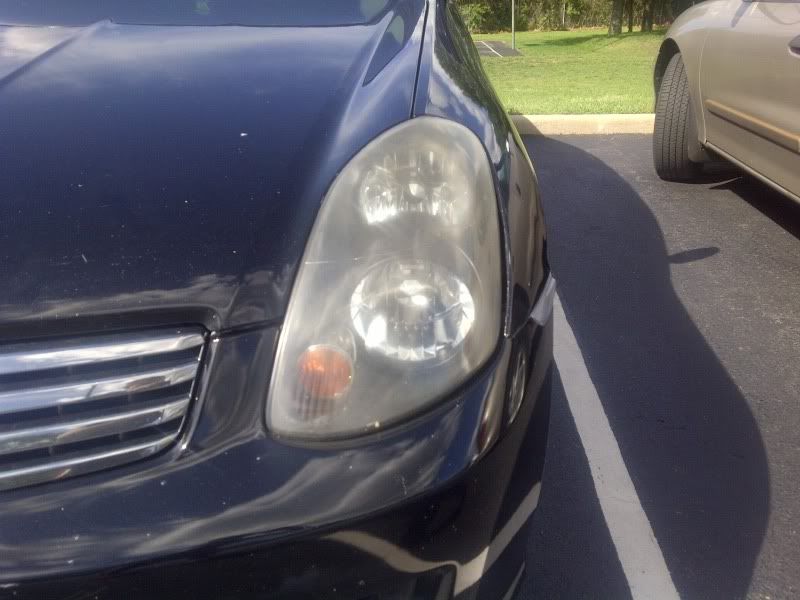
Front

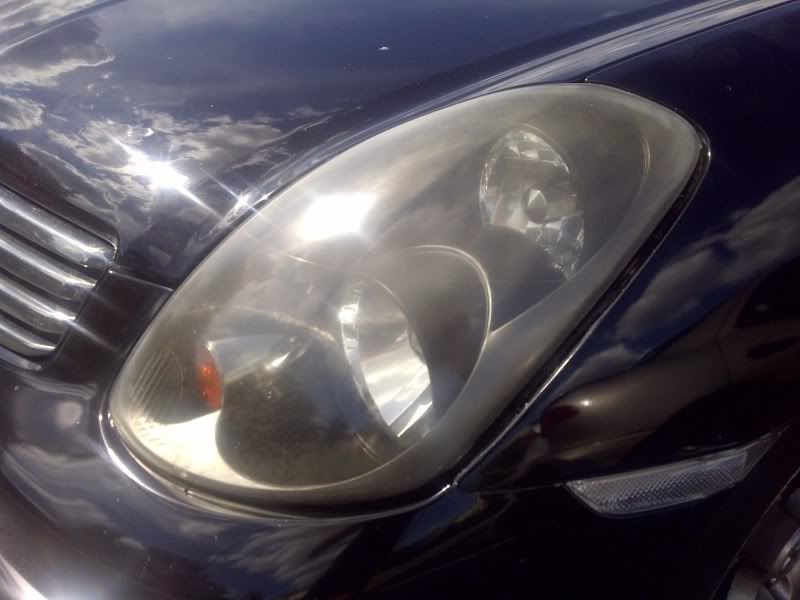
2000 Gritt on pass side (didnt start at 2) remember theres moisture too
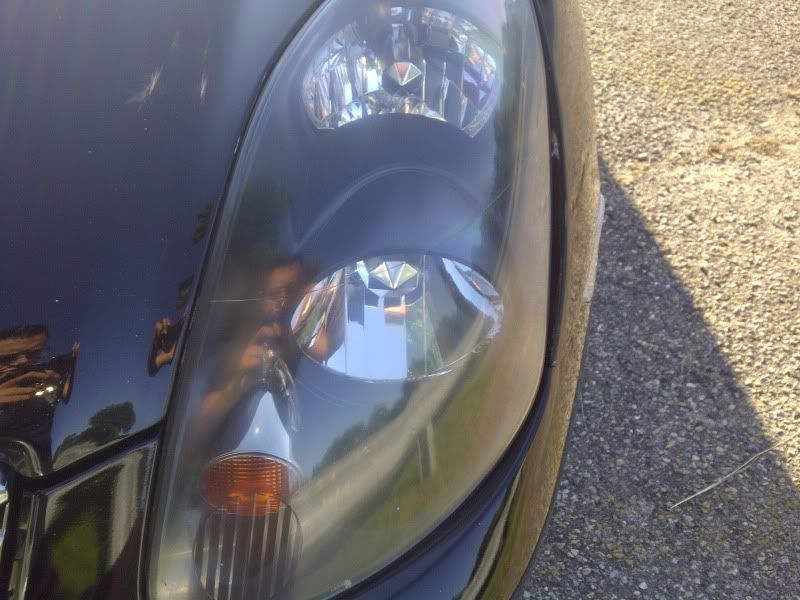
Drivers side done
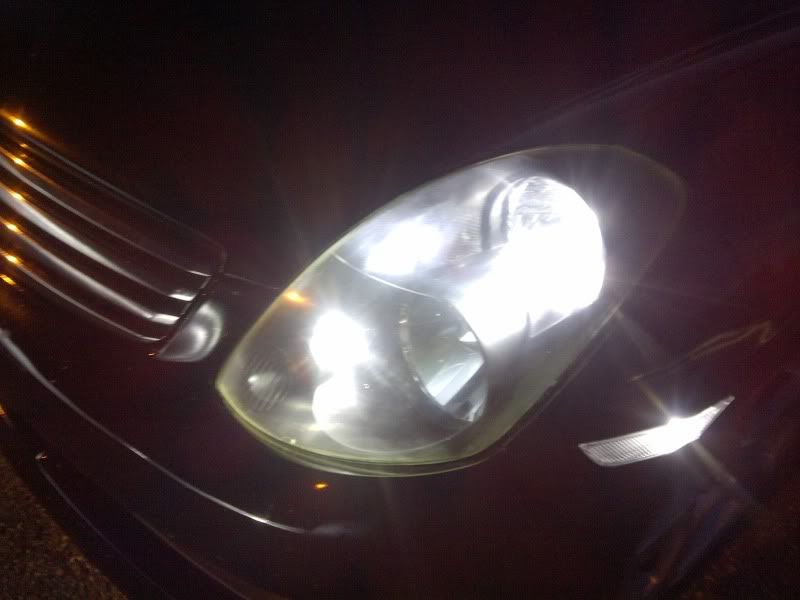
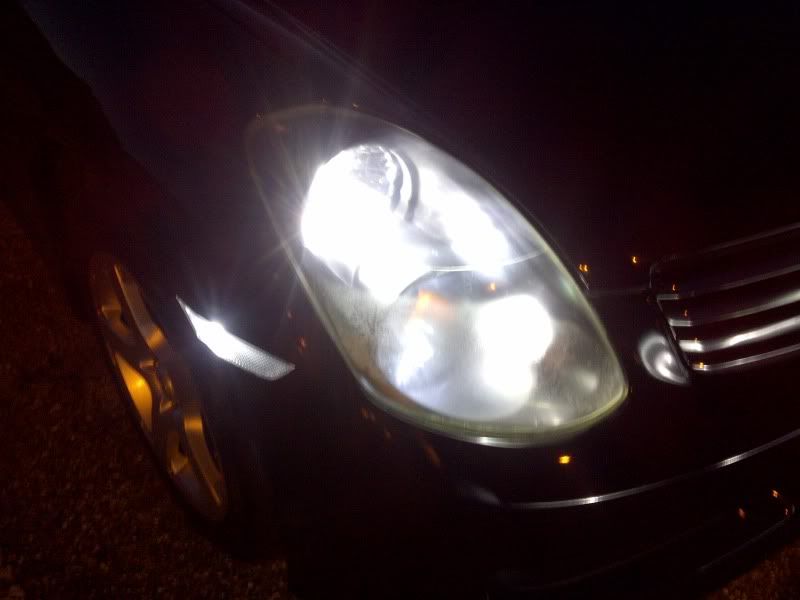
Night shots
Ok so my head lights were hazed like alot of peoples and i hated it but i looked at my head lights the other night and they looked green with my 6k bulbs. I literally couldnt see inside the housing at night with the lights on
NOTE: since i painted my housings i been getting moisture in my passenger side head light (you'll see some in the pic i purchased the sealant and it'll be here tommorrow. As well as these pics are from my phone
Before
Pass side
Drivers side
Front
2000 Gritt on pass side (didnt start at 2) remember theres moisture too
Drivers side done
Night shots
Did you, or are you going to clear coat the lense?
It will haze over again pretty quick.
I need to do mine soon. There is another thread floating around about this same topic that someone mentioned a clear coat that has UV protectant in it. You need that to keep it from hazing over again. If anyone knows off hand that would be awesome.
It will haze over again pretty quick.
I need to do mine soon. There is another thread floating around about this same topic that someone mentioned a clear coat that has UV protectant in it. You need that to keep it from hazing over again. If anyone knows off hand that would be awesome.

nice, but u should start usually at a lower grit, 1500 and work your way up to 2000 and then even higher then that, then right after cleaning them off thoroughly, IMMEDIATELY clear coat them, because the will haze over in about a month. but nice job on them, suck there is moisture though

Trending Topics

I started at 1000k grit and went up to 2500 and to be clear they took about a half hour per light
I didn't clear them i purchased a "sealer for restored headlights" which seems to give them a nice gloss/protectant I've done headlights as a side thing for people and haven't had anyone haze back up
The moistures no big deal it dries out and leaves nothing inside but I did this before I sealed them in case oxidation grime dried up on the inside so I could clean them before I sealed it but I had no issues the moisture is actually from washing the car after I was done

I did my head lights last night as well with Plastx. This is a once a month job. Five minutes and it's done. My wife's Acura TL does not have this problem at all with the headlights!
I guess once I get the side view mirrors repainted and the black mounting panels painted Slate I will have the body shop clear coat the head lights.
I guess once I get the side view mirrors repainted and the black mounting panels painted Slate I will have the body shop clear coat the head lights.

Nice. Looks SO much better.
I used the headlight kit. Basically any light polish and/or high grit sandpaper will do the trick but they'll eventually become hazy again. Mine looked good for a couple months and now they are starting to look like poo again.
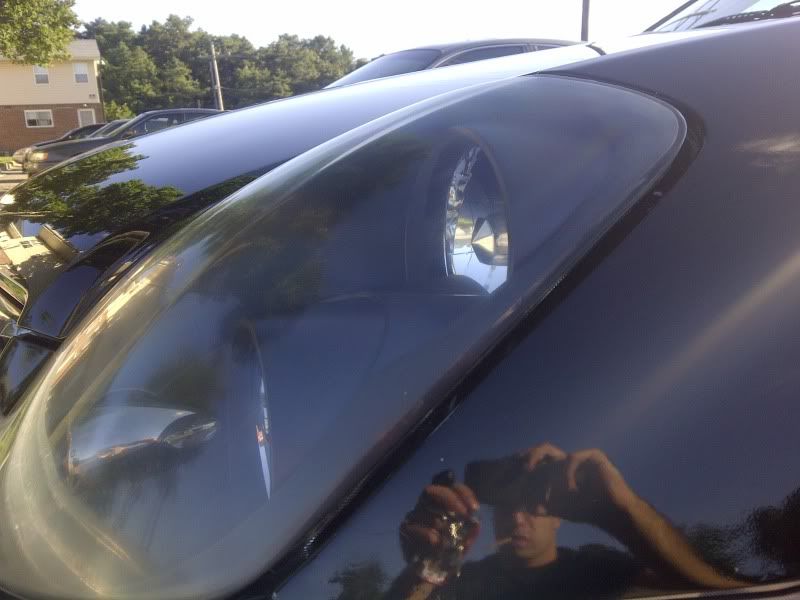
One thing I hated on mine was there's still this green tint you can see @ night around the edge from the side view. Same as here:
Did I just not get towards the edge well enough? If I took the headlights out and polished up the edge where it wraps around would it get rid of this? Or is there any other way to get rid of it (such as taking them apart, sanding, and reclearing them would they look like new?
I used the headlight kit. Basically any light polish and/or high grit sandpaper will do the trick but they'll eventually become hazy again. Mine looked good for a couple months and now they are starting to look like poo again.
One thing I hated on mine was there's still this green tint you can see @ night around the edge from the side view. Same as here:
Did I just not get towards the edge well enough? If I took the headlights out and polished up the edge where it wraps around would it get rid of this? Or is there any other way to get rid of it (such as taking them apart, sanding, and reclearing them would they look like new?
It would get rid of if we sanded better were human lol ill post info on the sealer and the pass side now that moisture is gone but my head light sealant arrived today so I'm gonna drop my bumper and reseal them ill post back in a bit