
03 Infiniti G35 LS1/T56 Build Thread


its borla exhaust we just glanced and saw hangars didnt really pay attention to see if it had bolts or if we could just clip the rubber mount will deffinately check it out today though

well we went to the shop today to finish cleaning heads and layed down kitty litter for our mess just painted valve covers and called it a night ill update pictures onces we get some more stuff done most likely this weekend!
lrighty UPDATE TIME !! we got quite a bit done today we just went to hang out a bit and we didnt think we would that much in just a couple of hours
once i got there i started painting 3 coats of high heat primer 3 coats of duplicolor automotive paint and 3 coats of high heat clear it started bubbling on the clear so ill sand it down tomorow and repaint them but it matches fast intake perfect!

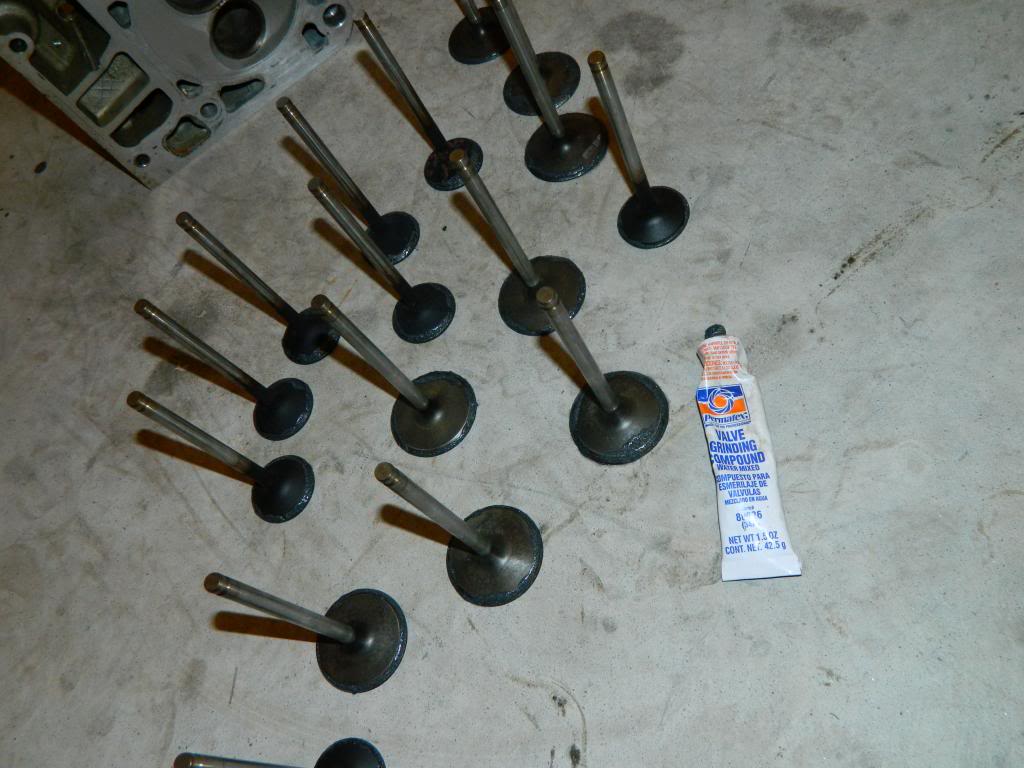
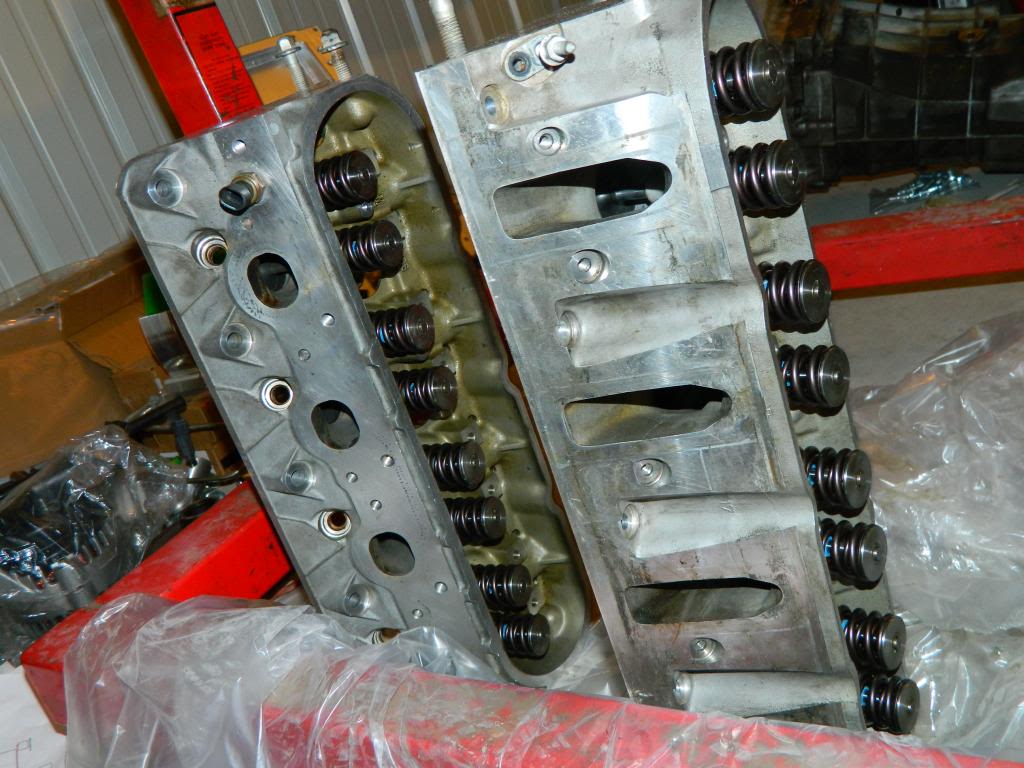
while the paint was drying kyle got started on lapping the valves to make sure they seal perfect!
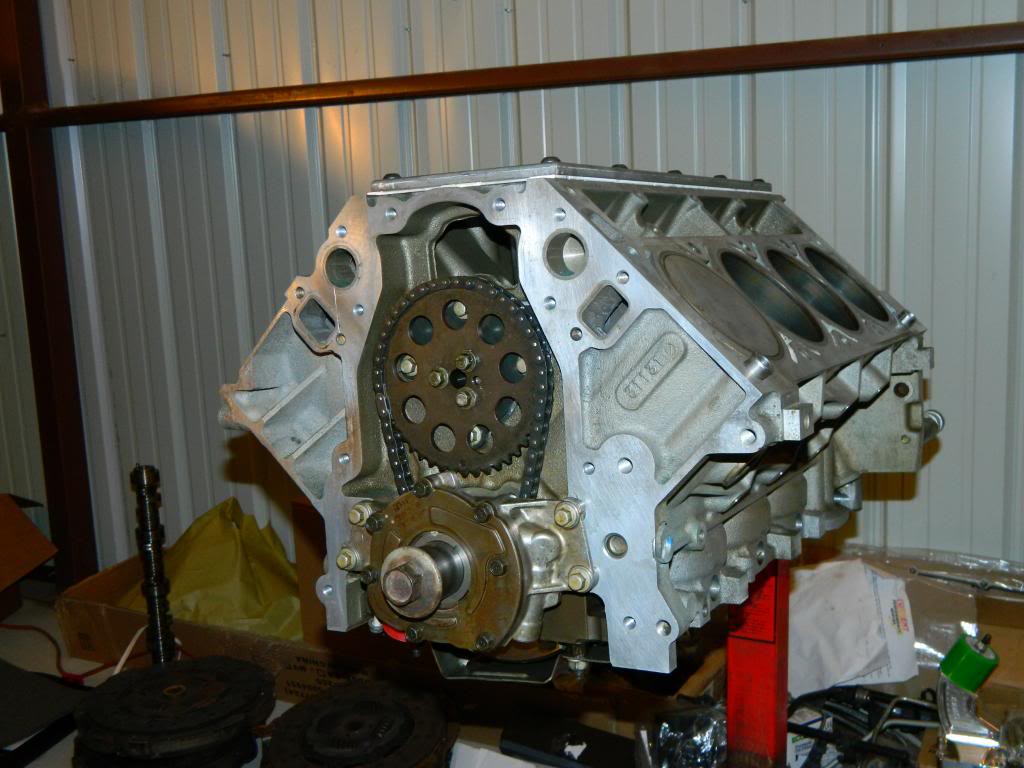
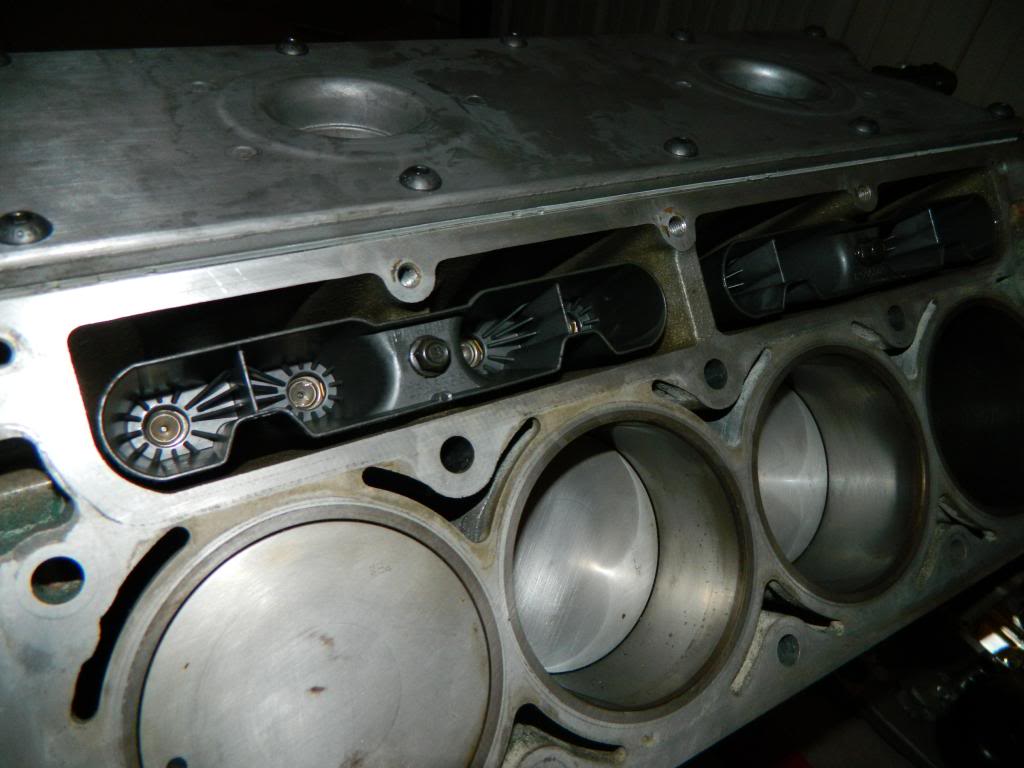
at the same time i went ahead and installed the cam with the timing chain oil pump and brand new lifters and trays
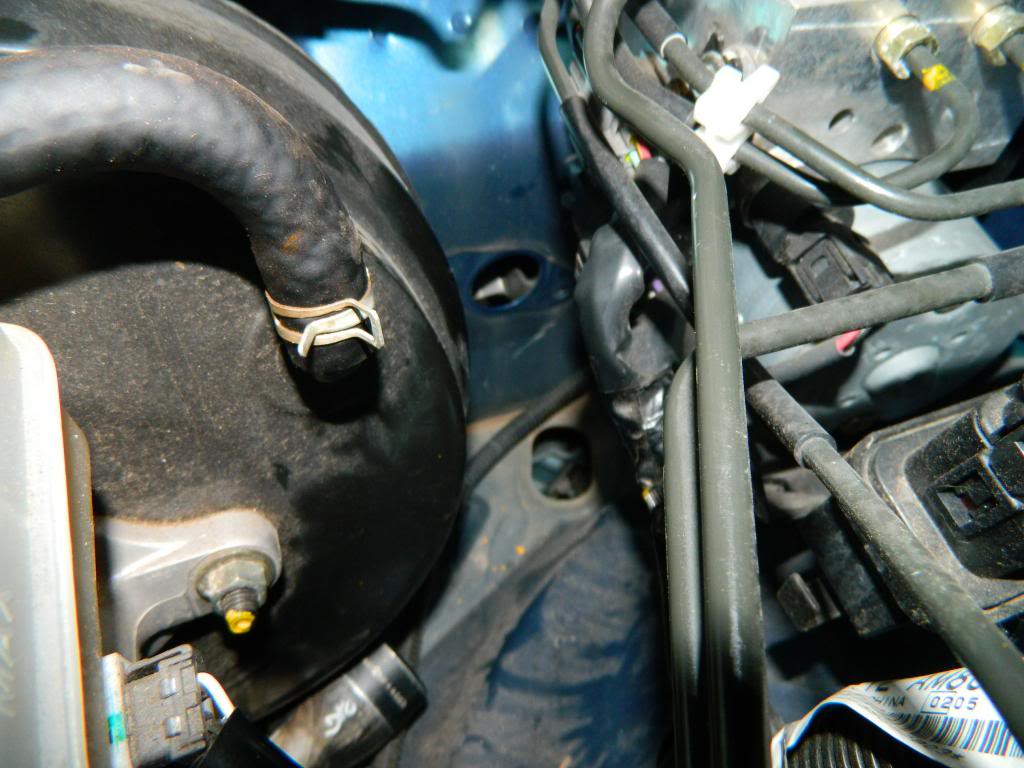
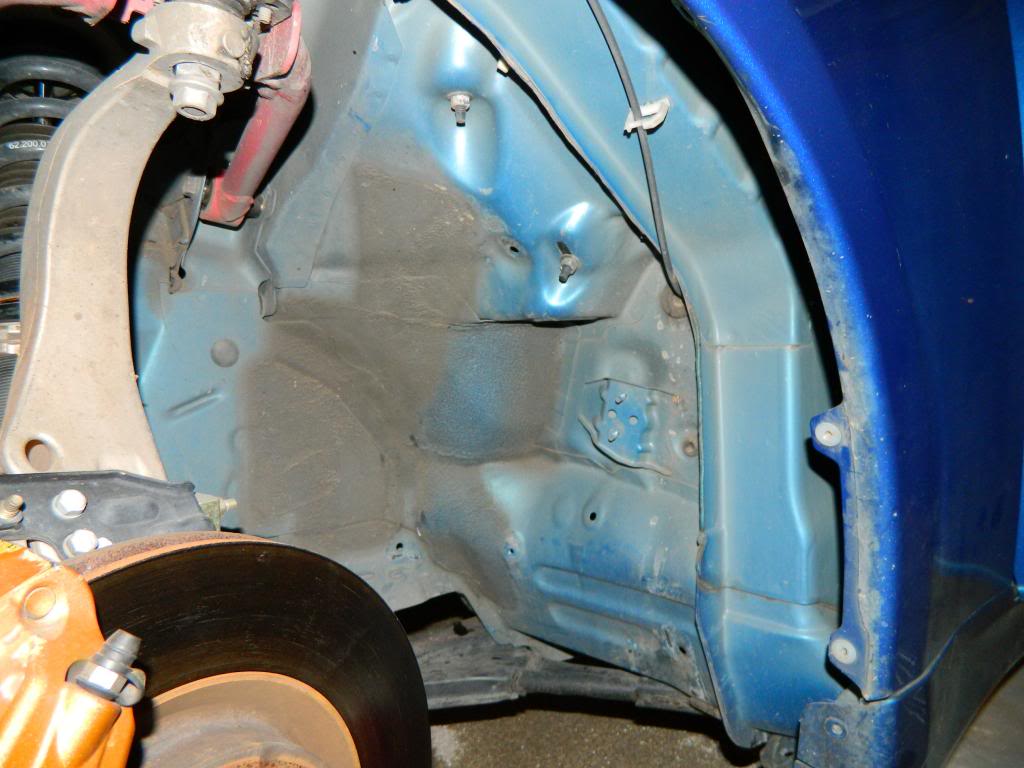
after that i decided to start removing the master cylinder see if i could figure out how the new ones going in ! once i got it pulled along with the stock lines under the fender it was easy as pie !
Picture of the factory master cylinder removed just 2 bolts and it was out !
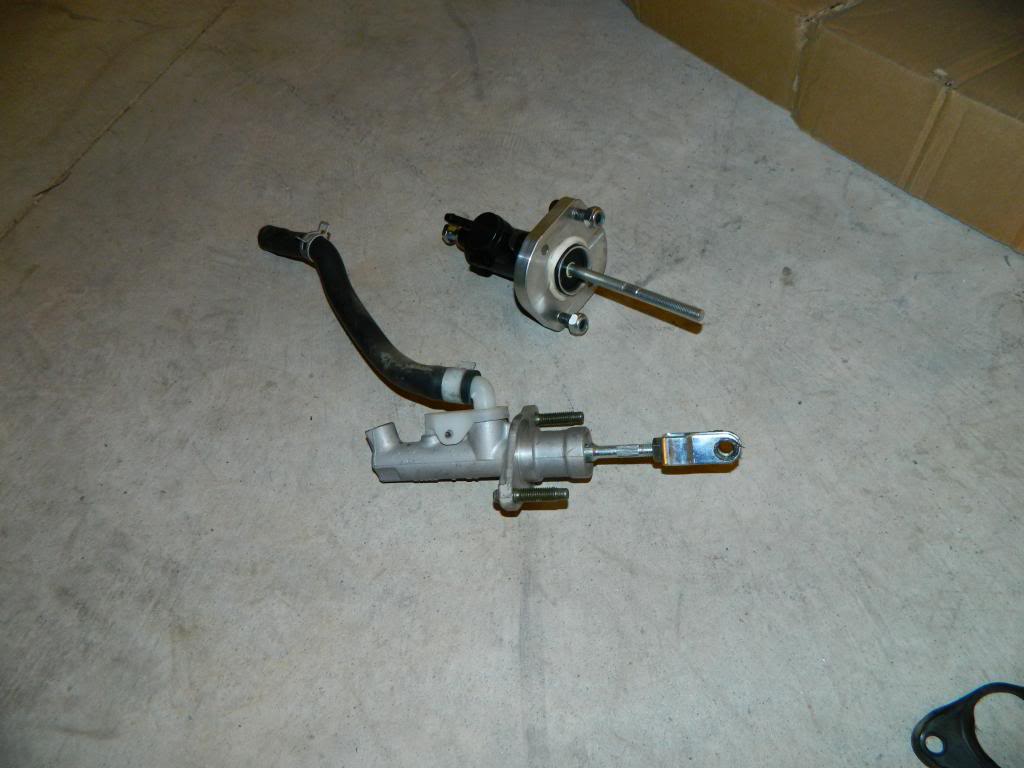
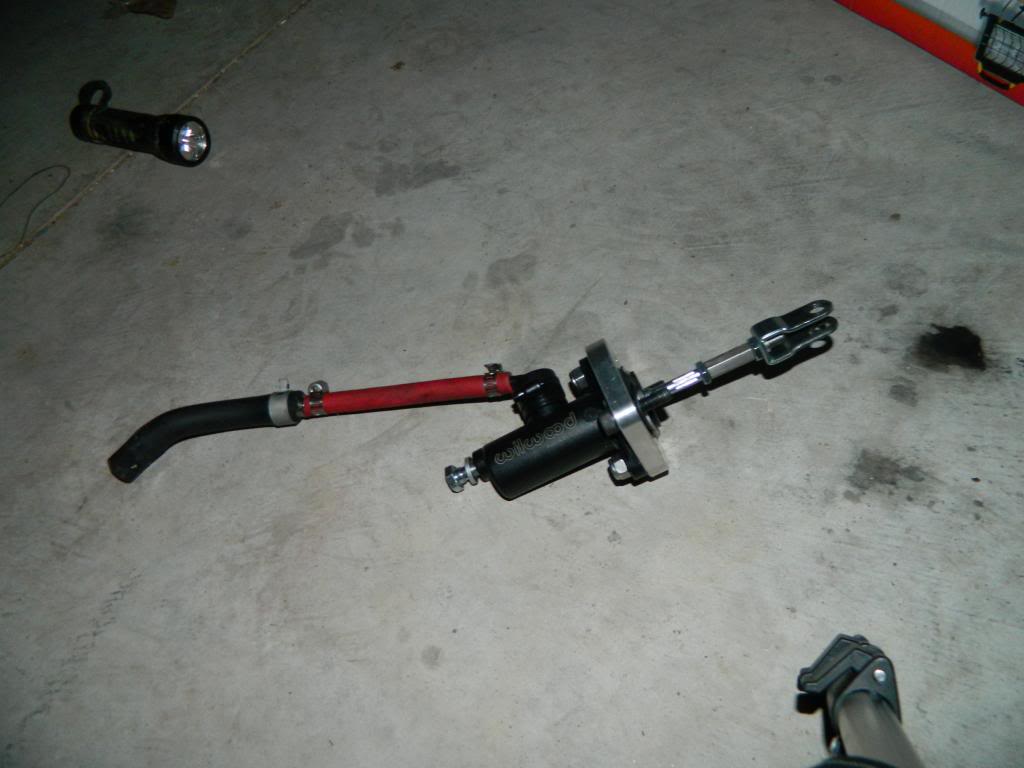
heres the factory master cylinder compared to the sikky provided willwood one its much better design all i had to do was swap the rod in the middle to the other so it will be just like factory. we will get a picture of it installed tomorow
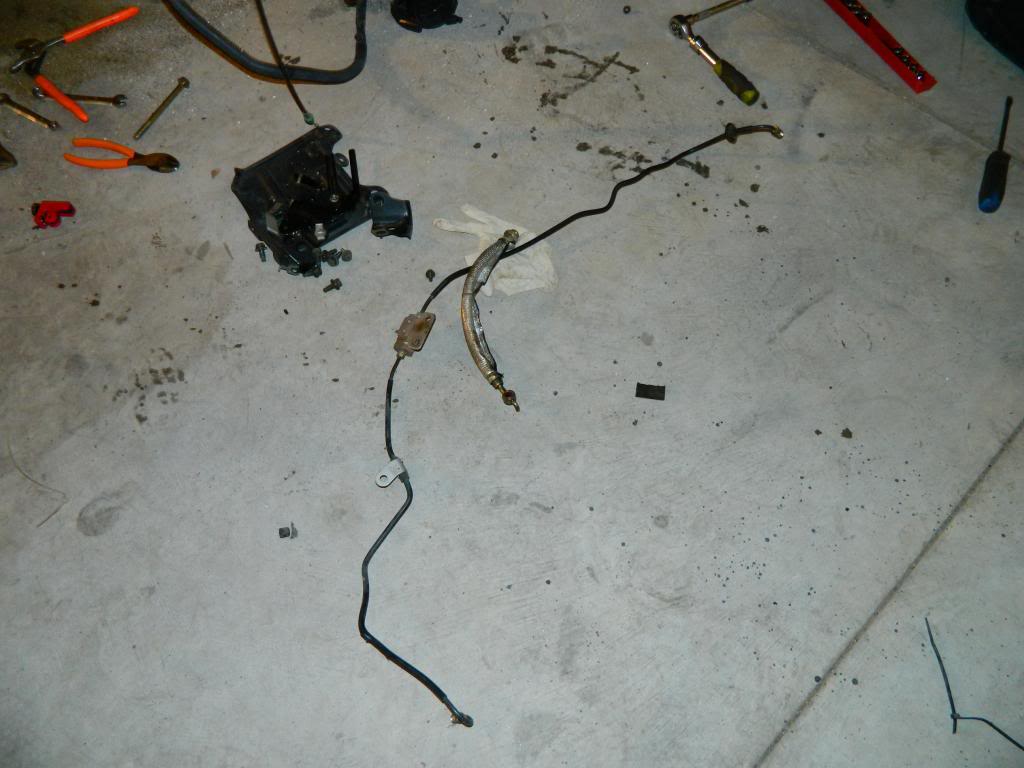
after bending the clutch line i finally got that little POS out of there lol
went ahead and finished pulling factory harness so it would be easier to splice the wires that we are saving for tach speedo and such and i found out the infiniti connectors are a pain in the @$$ to get off !! nothing like the chevy ones
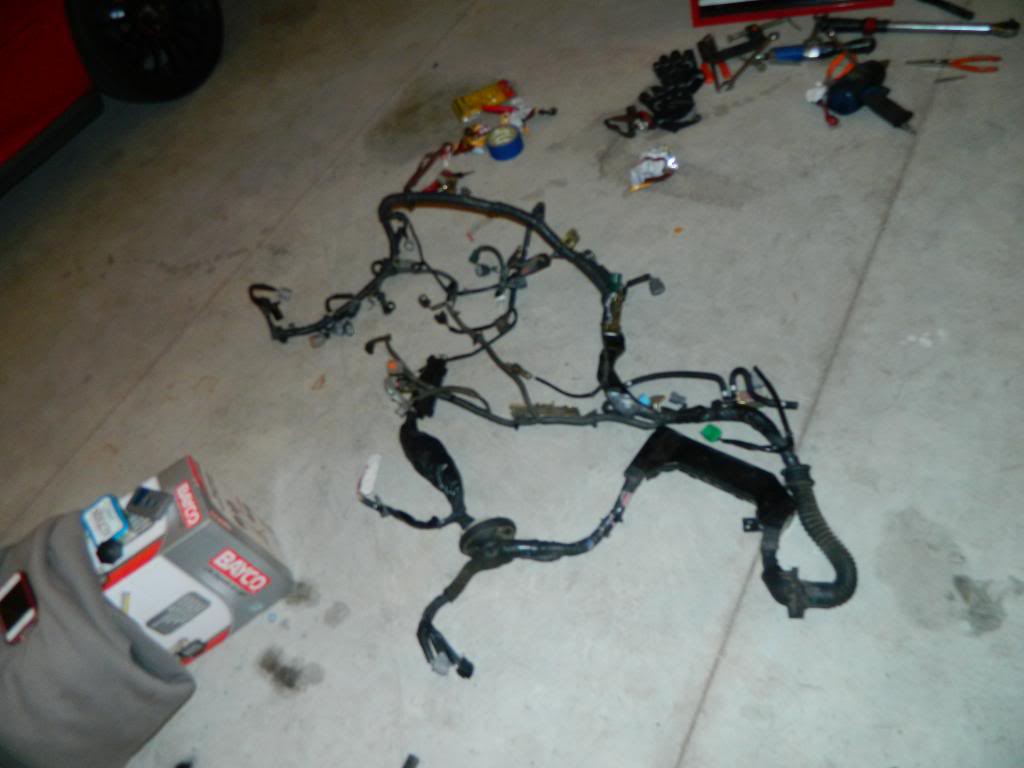
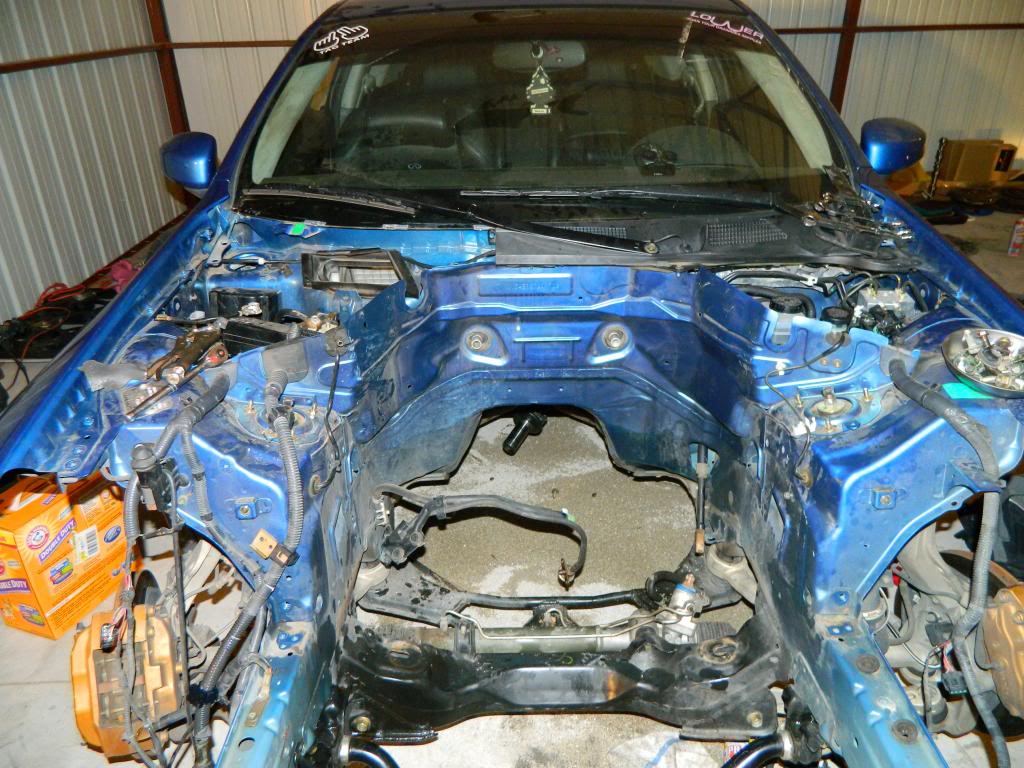
looks so much better with the cluster of a mess out of the way along with a bunch of useless brackets.
tomorow we are going to take it easy and spend sometime with the family before we stay away all weekend. our plans are to just get the factory pedal welded to the 240sx pedal we got since we are using cable driven throttle body and doing away with that stupid driveby wire electronic JUNK =) other then that we are taking it easy and gonna take the racecar to the track friday if weather lets us !!! then spend the rest of the night detailing car for the show early saturday morning after that its time for an all nighter gonnna attempt to get alot done now we have electricity and can stay over night without the use of flashlights ! cant forget we are gonna remove the borla exhaust and driveshaft this weekend and plan to put the spare g37 rims on it to roll it out and clean the huge mess we had underneath i know im not bolting no transmission up laying in kitty litter been there done that and wont happen again!
stay tuned for more and let us know what you guys think so far !
once i got there i started painting 3 coats of high heat primer 3 coats of duplicolor automotive paint and 3 coats of high heat clear it started bubbling on the clear so ill sand it down tomorow and repaint them but it matches fast intake perfect!
while the paint was drying kyle got started on lapping the valves to make sure they seal perfect!
at the same time i went ahead and installed the cam with the timing chain oil pump and brand new lifters and trays
after that i decided to start removing the master cylinder see if i could figure out how the new ones going in ! once i got it pulled along with the stock lines under the fender it was easy as pie !
Picture of the factory master cylinder removed just 2 bolts and it was out !
heres the factory master cylinder compared to the sikky provided willwood one its much better design all i had to do was swap the rod in the middle to the other so it will be just like factory. we will get a picture of it installed tomorow
after bending the clutch line i finally got that little POS out of there lol
went ahead and finished pulling factory harness so it would be easier to splice the wires that we are saving for tach speedo and such and i found out the infiniti connectors are a pain in the @$$ to get off !! nothing like the chevy ones
looks so much better with the cluster of a mess out of the way along with a bunch of useless brackets.
tomorow we are going to take it easy and spend sometime with the family before we stay away all weekend. our plans are to just get the factory pedal welded to the 240sx pedal we got since we are using cable driven throttle body and doing away with that stupid driveby wire electronic JUNK =) other then that we are taking it easy and gonna take the racecar to the track friday if weather lets us !!! then spend the rest of the night detailing car for the show early saturday morning after that its time for an all nighter gonnna attempt to get alot done now we have electricity and can stay over night without the use of flashlights ! cant forget we are gonna remove the borla exhaust and driveshaft this weekend and plan to put the spare g37 rims on it to roll it out and clean the huge mess we had underneath i know im not bolting no transmission up laying in kitty litter been there done that and wont happen again!
stay tuned for more and let us know what you guys think so far !


sorry for not posting anything in awhile i keep leaving camera at home or at the shop lol heres a few pictures of the update! almost ready to drop her in just a few issues gotta get our clutch tool figure out what to do with the evap hose for the fuel we have line to intake just have that extra line for nothing and the throttle cable gotta figure how we plan to route it !
went ahead and put springs and new seals on .650 springs
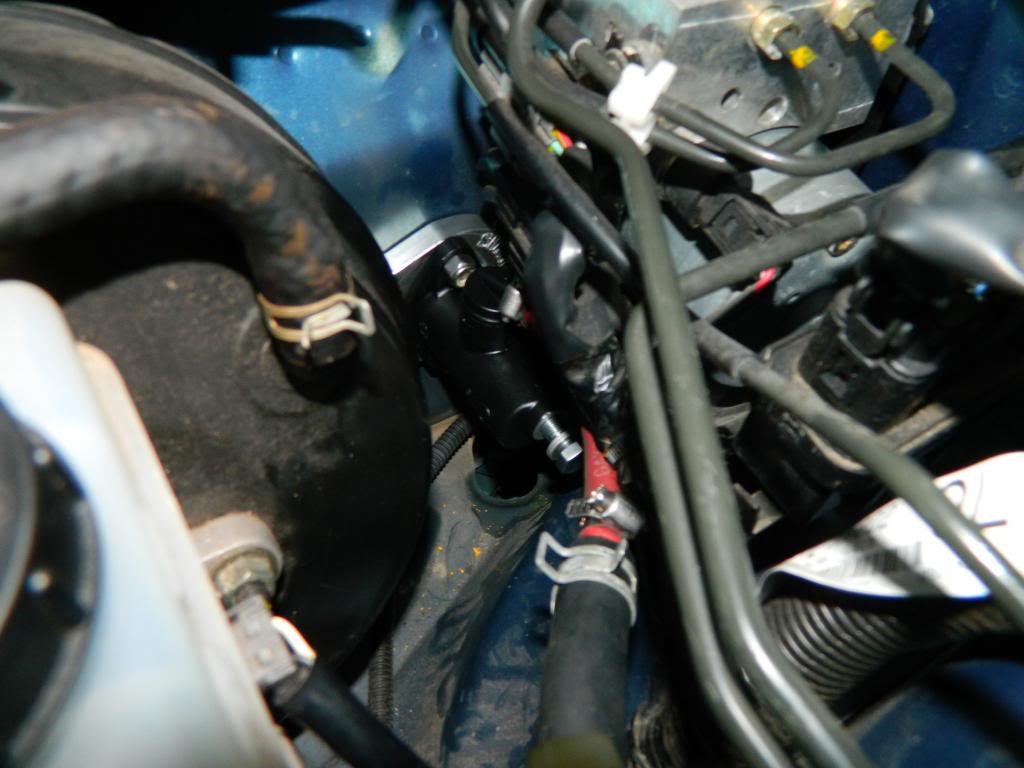
got the new willwood master cylinder all figured out and assembled and bolted up just gotta drill for the line to the trans and we are good to go on that part!
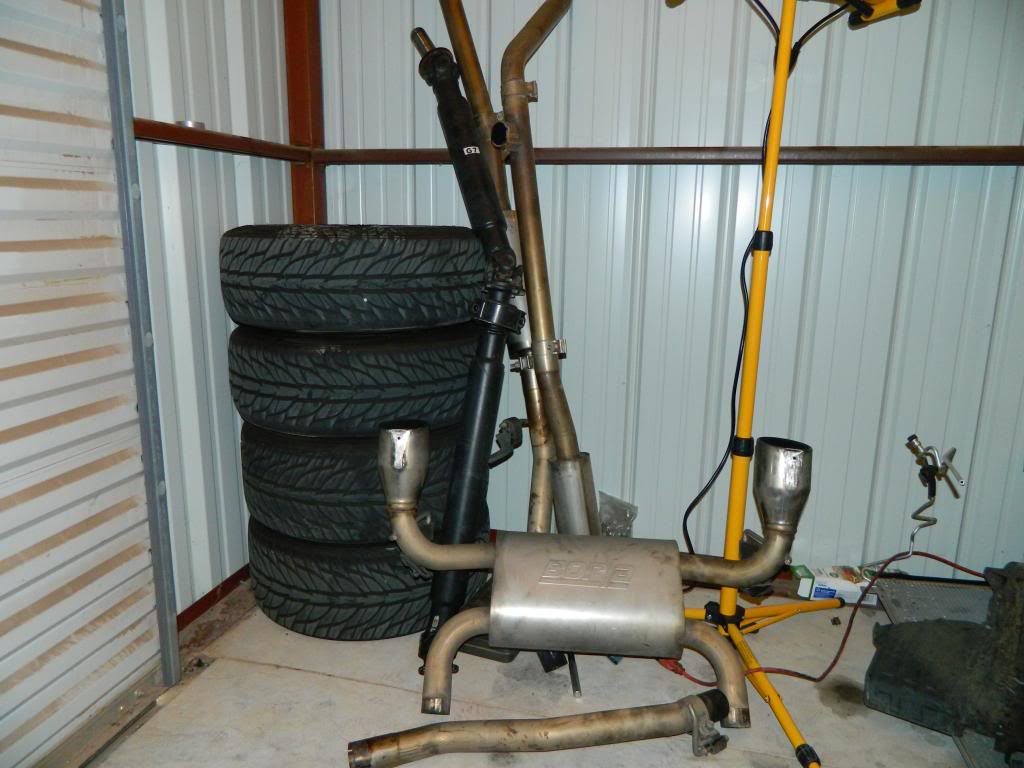
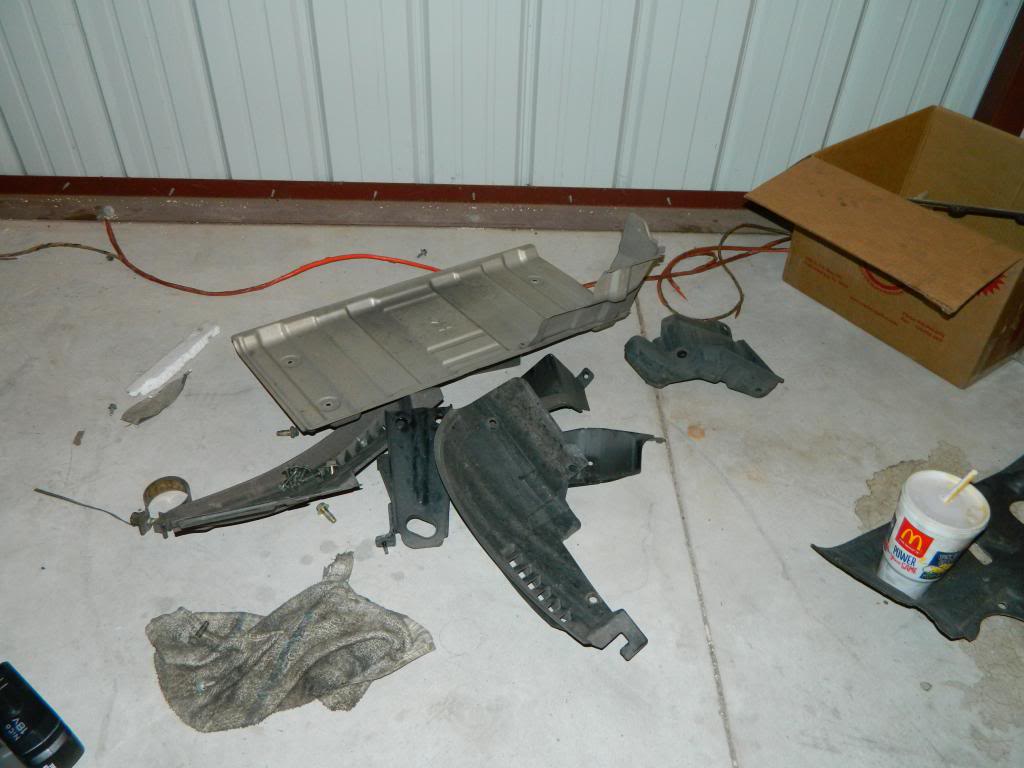
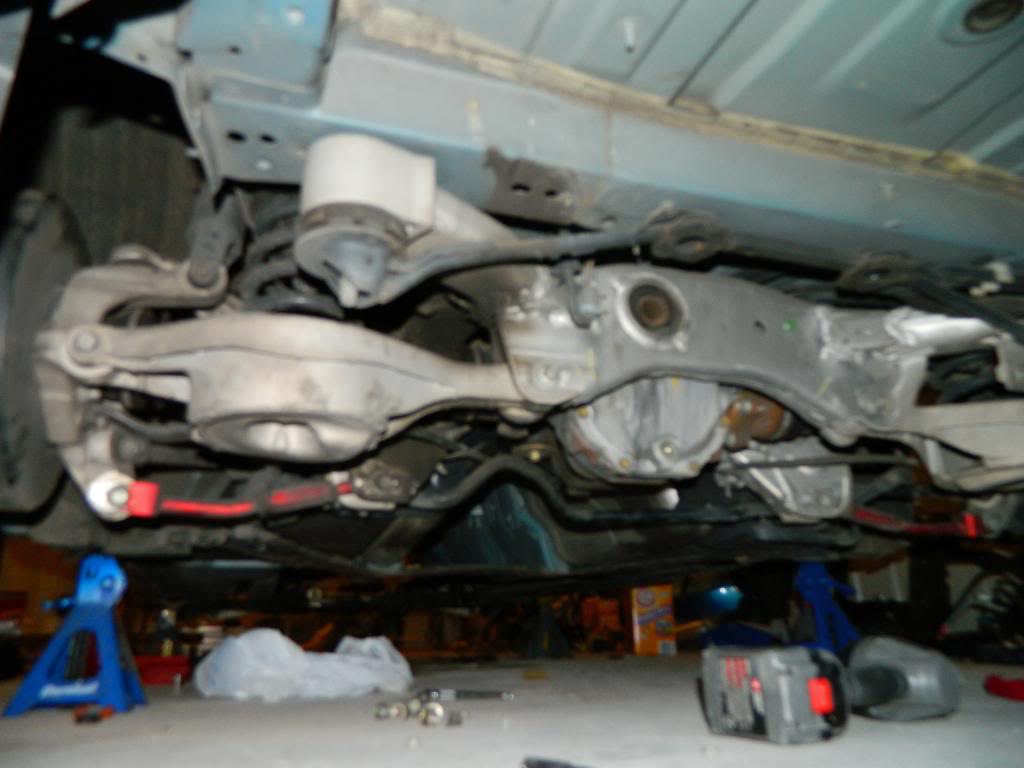
while he was putting springs on i was under the car with the impact removing the borla exhaust the heavy stock 2 piece driveshaft and a bunch of junk brackets and shields that aren't necessary
look at all that extra room now !
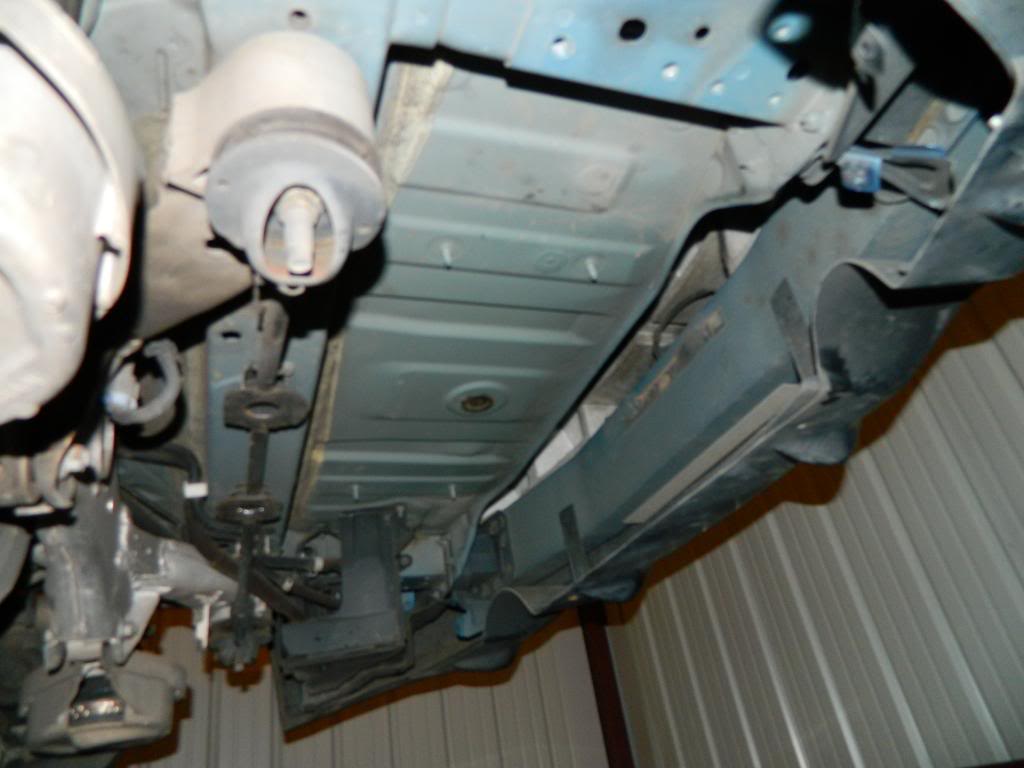
i bet a 9inch would set good in here ! ...... soon
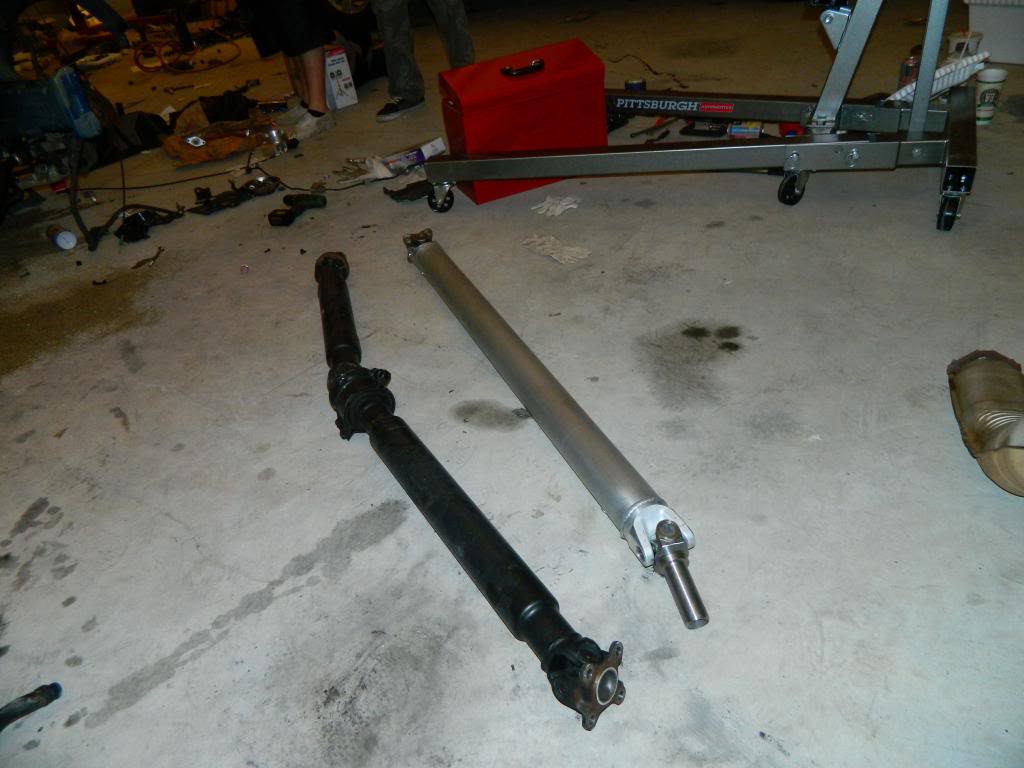
look at the difference in driveshafts its crazy the amount of weight from one another ! i cant wait to weigh these things we have removed ill get that done this week so all you weight saving freaks (me) can know !
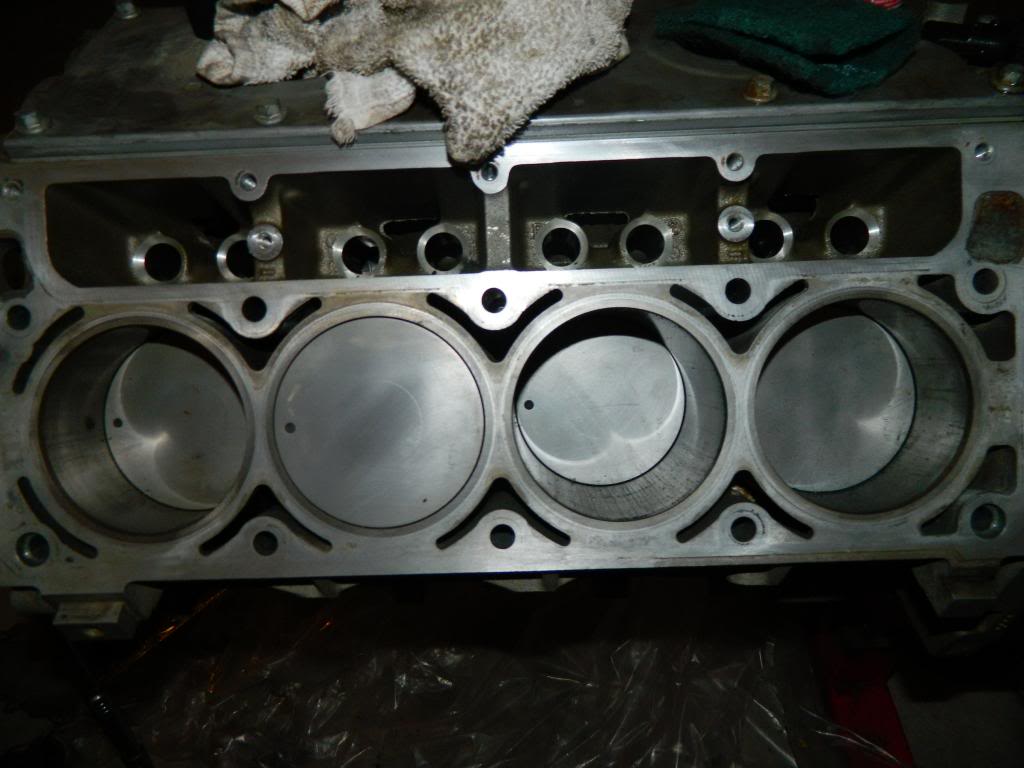
got the heads bolted up and torqued down thanks to texas speed for the headgaskets !
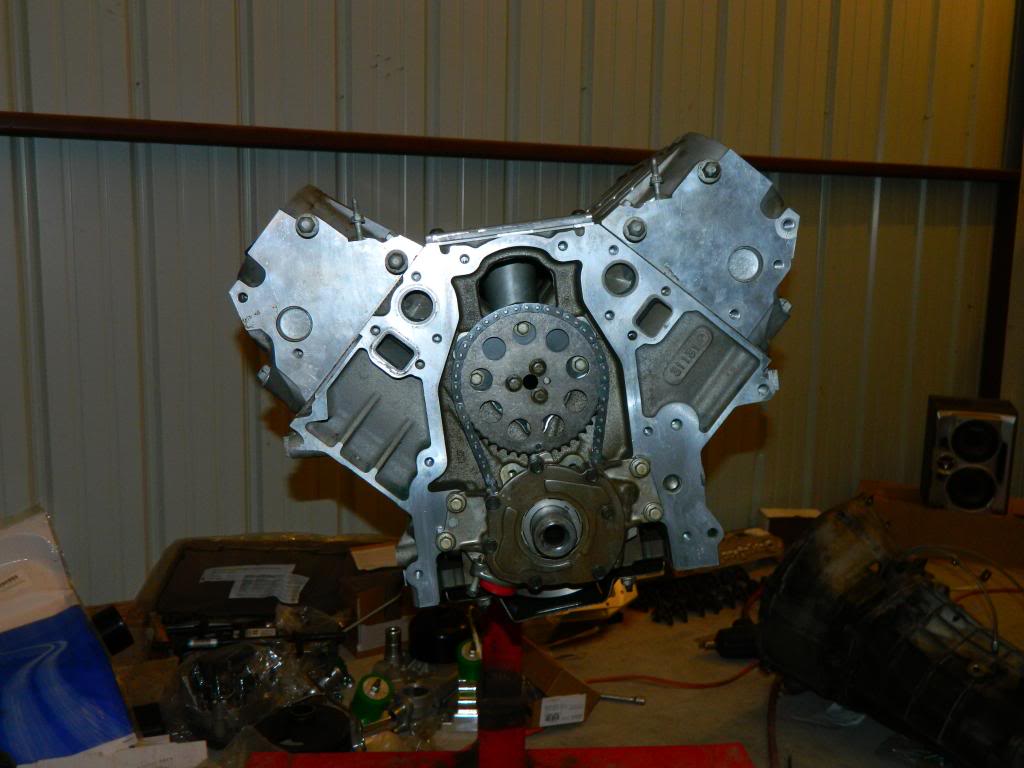
what does everyone NOT want to find after torquing heads ? yep 2 broken header bolts so we had to drill and heil coil them should be safe enough to run till he upgrades to some cnc 243s

we have alot more accomplished just been goofing off alot kept getting pissed one night so we had to take a break with the family have some ribs and cruise my racecar downtown just relaxing but this week we plan to have the harness cut away and spliced together tempting to use AN fittings for the heater hoses not sure yet! cant wait to see how this sets in there !
went ahead and put springs and new seals on .650 springs
got the new willwood master cylinder all figured out and assembled and bolted up just gotta drill for the line to the trans and we are good to go on that part!
while he was putting springs on i was under the car with the impact removing the borla exhaust the heavy stock 2 piece driveshaft and a bunch of junk brackets and shields that aren't necessary
look at all that extra room now !
i bet a 9inch would set good in here ! ...... soon
look at the difference in driveshafts its crazy the amount of weight from one another ! i cant wait to weigh these things we have removed ill get that done this week so all you weight saving freaks (me) can know !
got the heads bolted up and torqued down thanks to texas speed for the headgaskets !
what does everyone NOT want to find after torquing heads ? yep 2 broken header bolts so we had to drill and heil coil them should be safe enough to run till he upgrades to some cnc 243s
we have alot more accomplished just been goofing off alot kept getting pissed one night so we had to take a break with the family have some ribs and cruise my racecar downtown just relaxing but this week we plan to have the harness cut away and spliced together tempting to use AN fittings for the heater hoses not sure yet! cant wait to see how this sets in there !

