When you click on links to various merchants on this site and make a purchase, this can result in this site earning a commission. Affiliate programs and affiliations include, but are not limited to, the eBay Partner Network.
That's funny as my lower intake tube was booger'd on the newly modified piece. It was bent where it seats, so I just cut off the other end, beveled the edges, filled it with jb weld. Voila! No more oil in the intake. Enter my $9 total (I already had tubing and small filter) oil catch can. I've given up on sinking ungodly amounts into vehicles, it is a never ending saga going down that road. I'm happy with butt-dyno results and that's what counts; I've already got my 200mph patch so all I need now is the ability to pass when I want to!
$3 water bottle from wally world plus two fittings ($5) from tractor supply, one package of SS scrub pads from dollar store.
Hahaha nice, I built a similar system off the PCV valve using a compressed air line filter as the catch can. It's a little on the small side but I check it often enough that it seems to do the trick - When I replaced my plugs the other day the TB looked clean after ~15k miles since I last buttoned everything up in there.
Damn, 200 mph is no joke, what and where if you don't mind me asking? My biggest automotive claim to fame was a couple years ago, cruising through the desert highways outside Vegas at sun set, driving a friend of a friend's RWB 993 and chasing a couple track spec BMWs at.. speed. I still have the mental image of looking in the side mirror and seeing nothing but fender haha
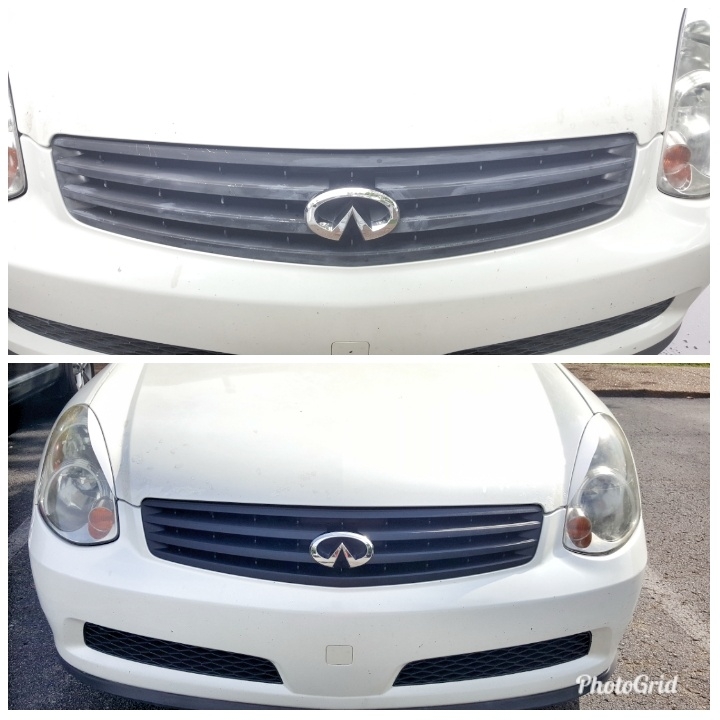
I redid my seats and wrapped my dash in vinyl leather. Also if any of you guys are looking, I found this website called yourautotrim.com and they sell all types of vinyls and leather. They have headliner too and a bunch of other stuff, yall should look at it, its helped me a lot.
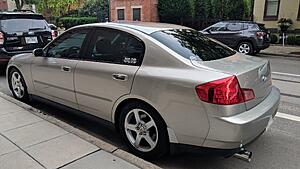
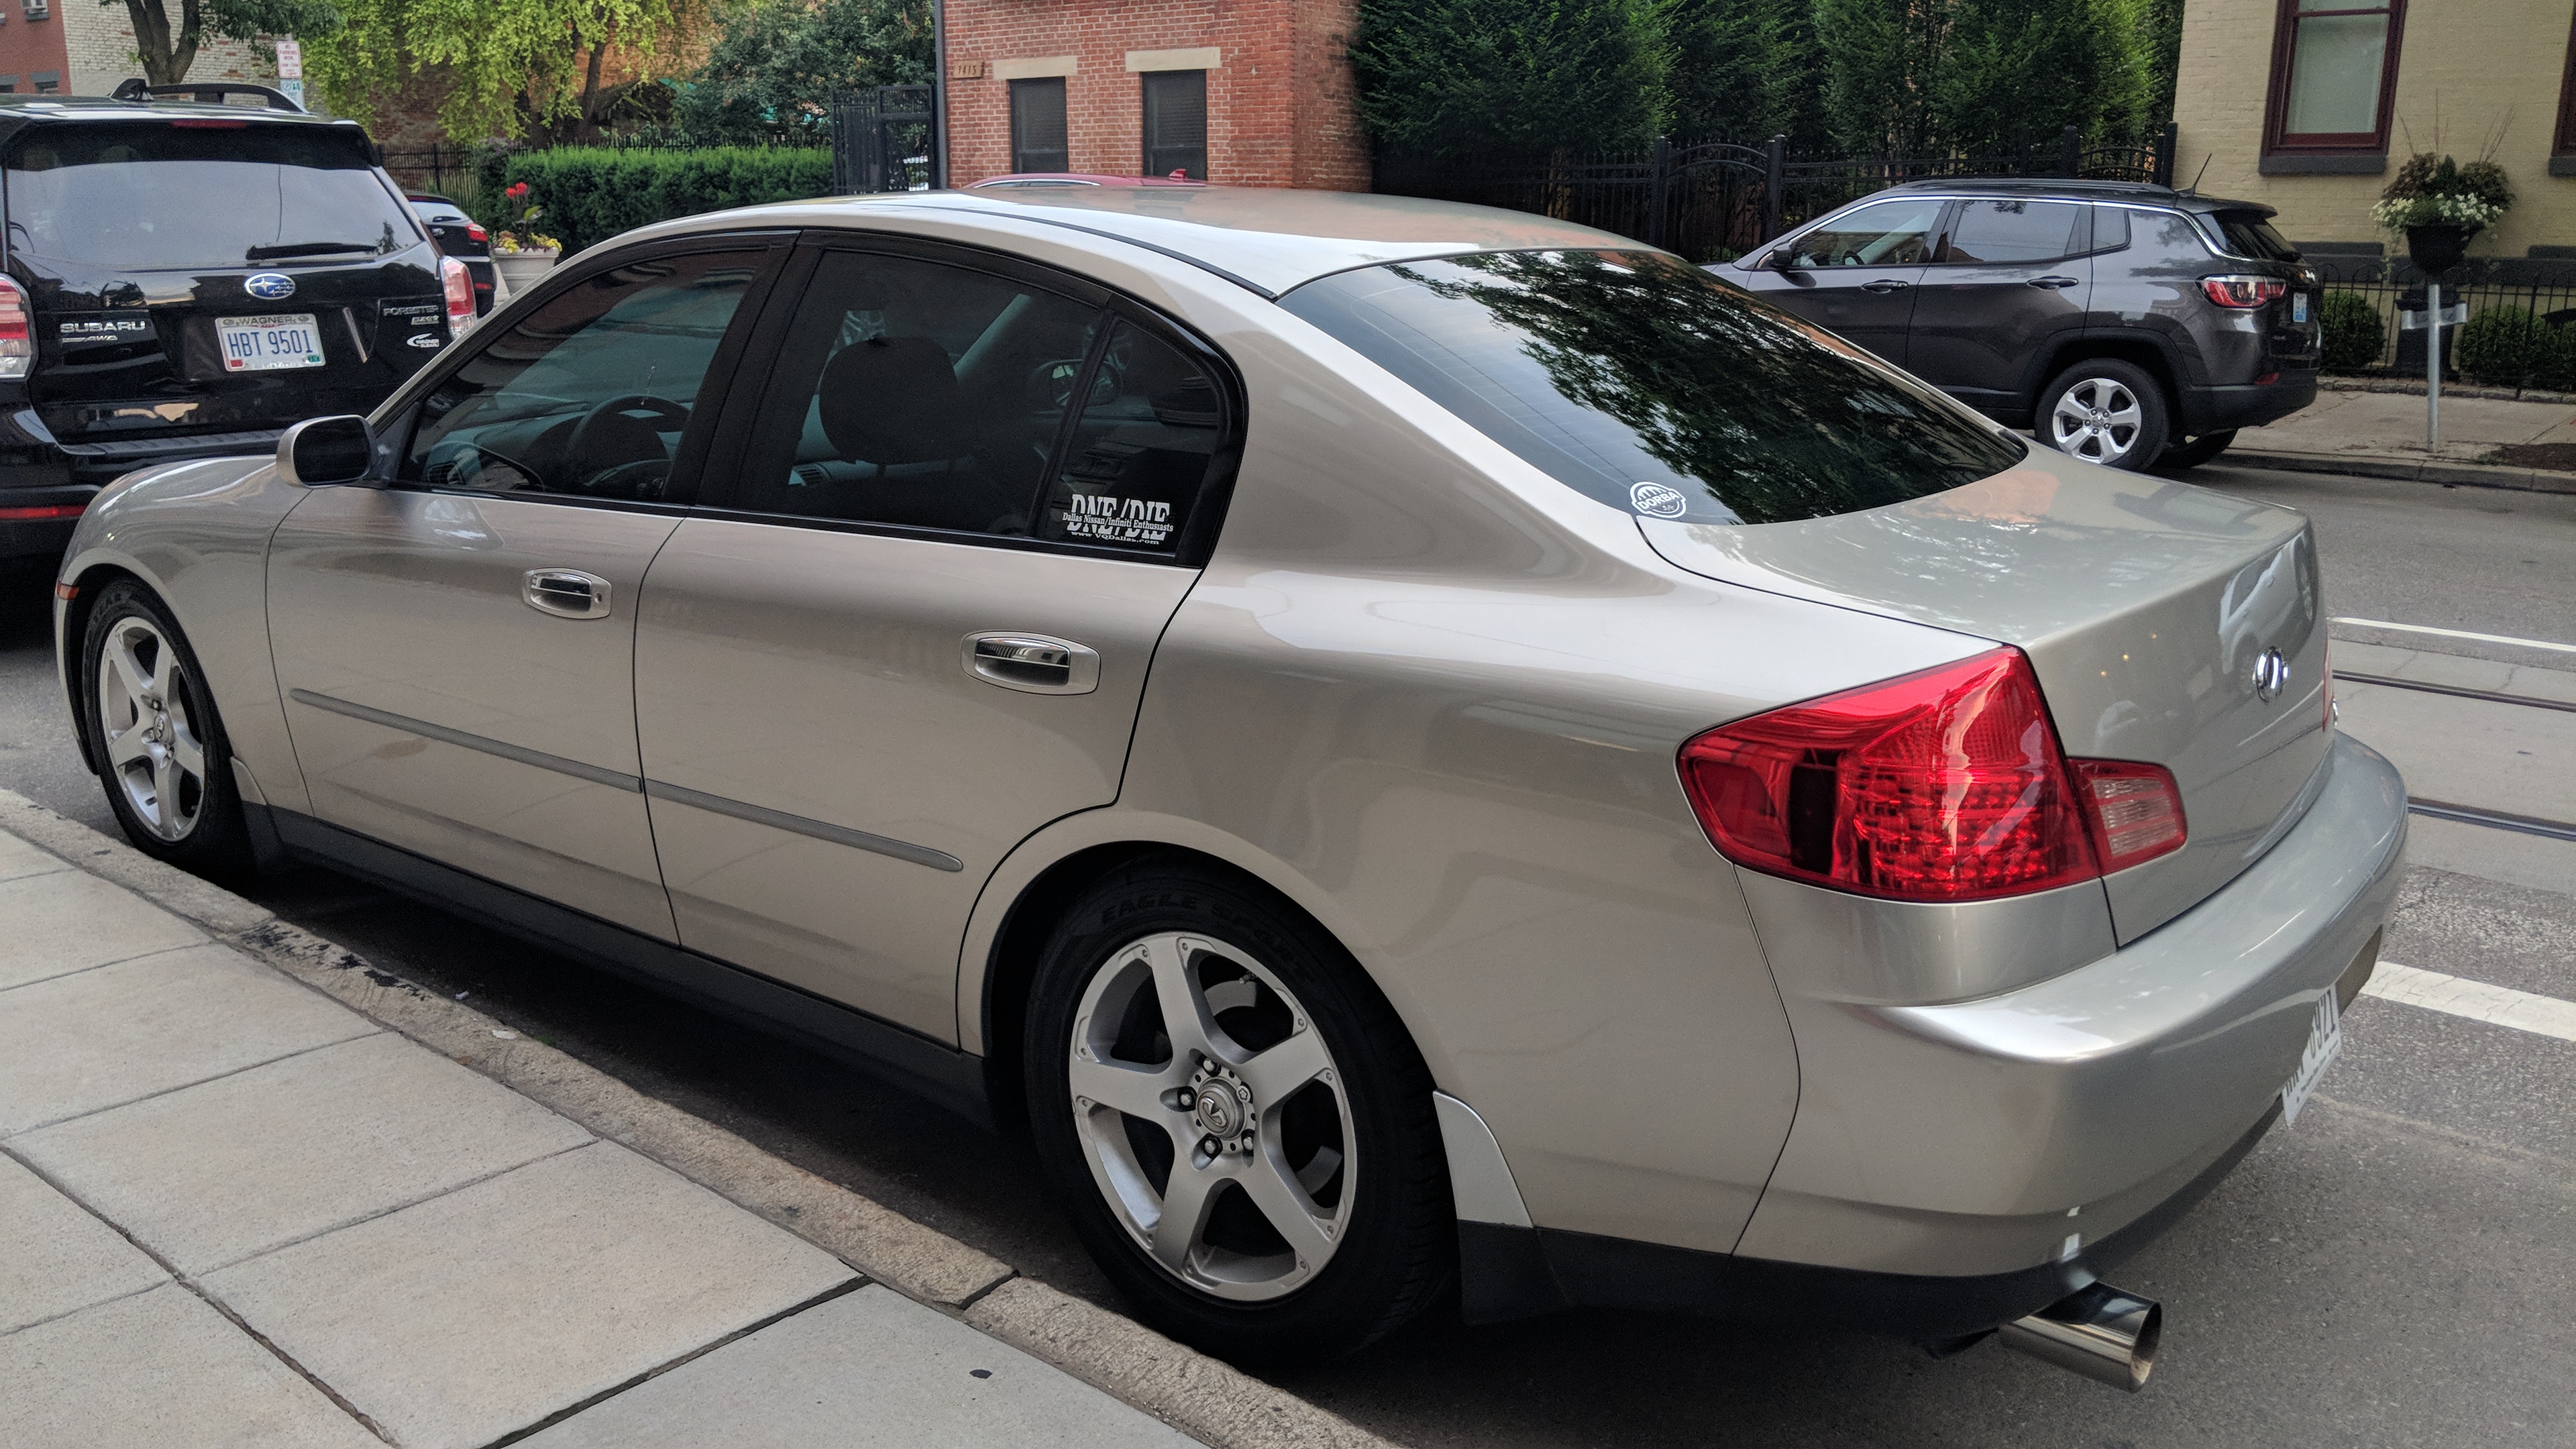
Well, not today but last week into early this week. Drove to Cincinnati to see my son get married, took my girlfriend and nephew. Even with 3 people and a trunk full of luggage and averaging 75 mph and running a/c all the way there and back, still got 25 mpg. Car didn't miss a beat. I believe this is the 8th road trip since I bought the car 2 years ago.
I redid my seats and wrapped my dash in vinyl leather. Also if any of you guys are looking, I found this website called yourautotrim.com and they sell all types of vinyls and leather. They have headliner too and a bunch of other stuff, yall should look at it, its helped me a lot.
Can you post pics of your dash? I'm interested in changing my dash up too.
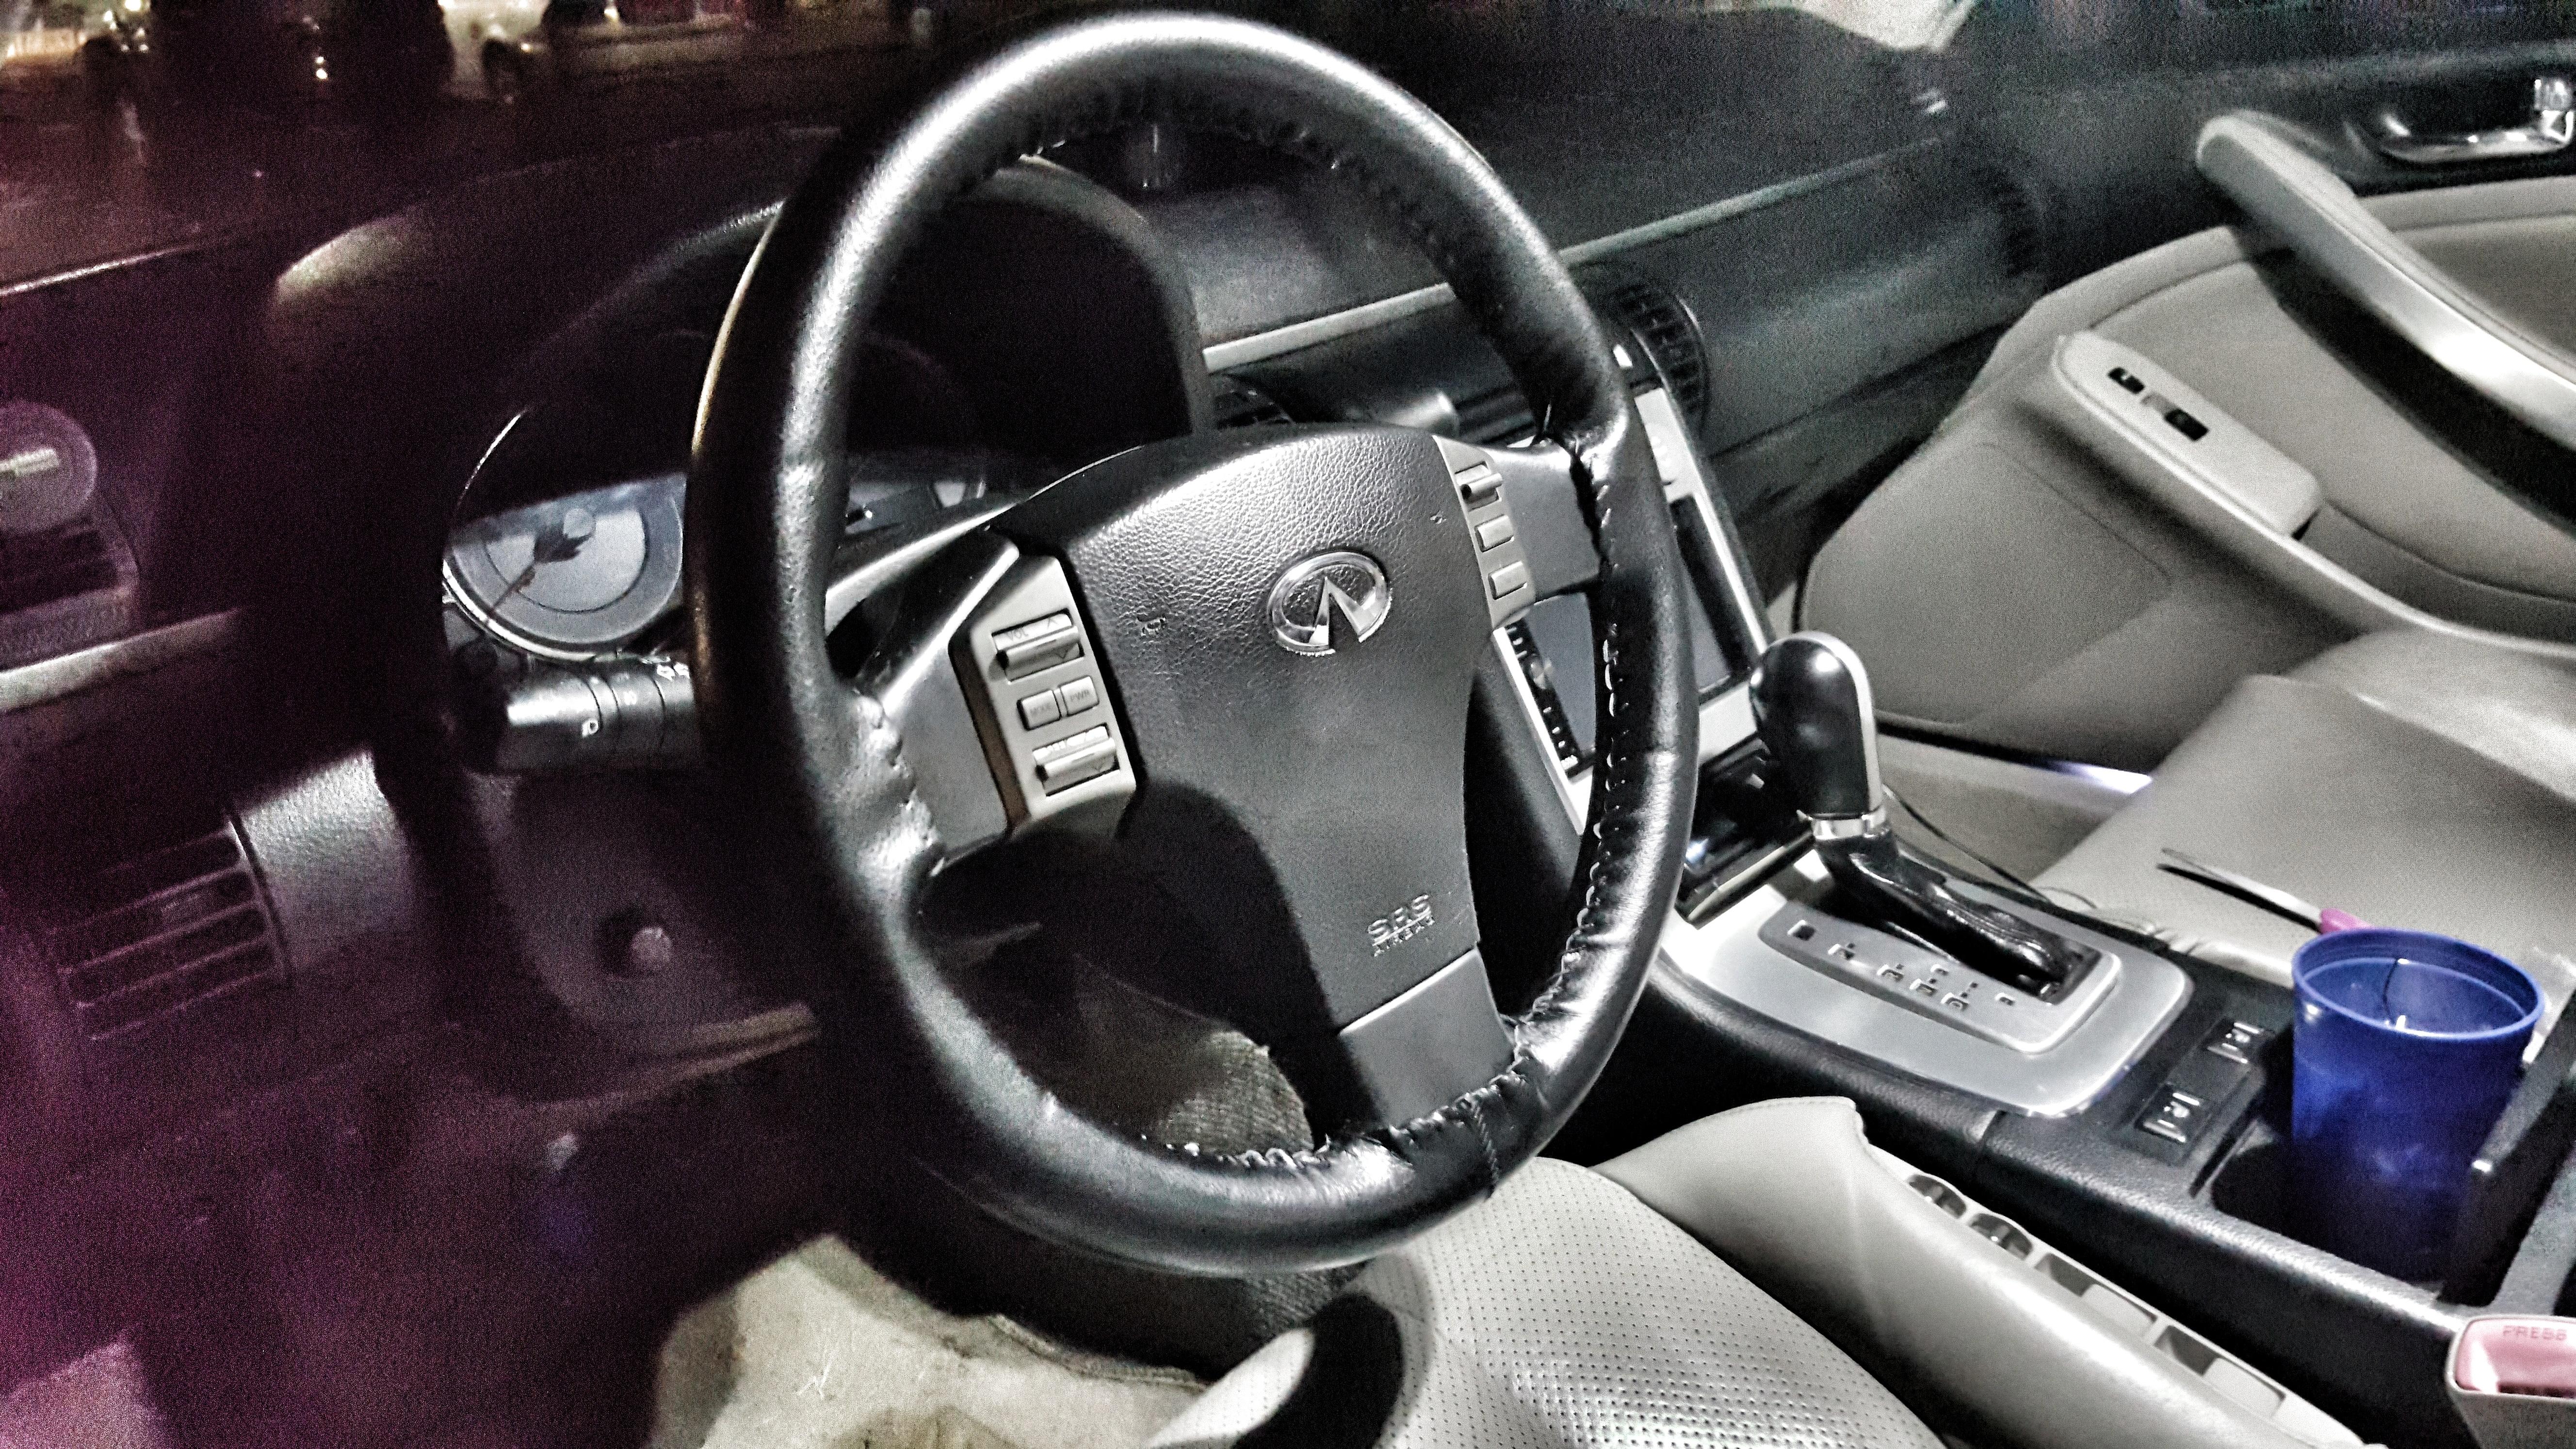
I got tired of the thick O'Reilly steering wheel cover so I bought this hand stitched genuine leather (exactly like the wheelskins ones) from eBay for $11. Not bad in my opinion. 😁
Maintenance weekend. 2006 G35x with 108,000 miles. Coolant, rear diff, front diff, transfer case fluid swapped. Wanted to do my transmission, but can't find Matic S locally, might have to order that.
Highly recommend the vacuum fill method. This was fast, easy and no system bleed needed. Fills it up to the perfect level and also lets you pressure test your cooling system.
Blue I think the craftsman is just his air line, but I'm also curious - I'm seeing a couple $60-70 versions on amazon, but one looks like a couple have fake reviews. Snap-on makes one but it's $250 + $90 for the universal cap if you need it.
Konsol, how did you pull vacuum with the res cap off? Would you mind doing a quick DIY walk through? From what I'm seeing on the YouTubes you:
1. Drain the coolant
2. Attach the gizmo to the radiator cap (or coolant overflow tank?)
3. Attach shop air and open valve to pull vacuum on system
4. Close shop air valve and leave it at (25psi?) for a couple minutes to check for leaks
5. Dip bottom hose in a bucket of coolant mix and open valve, vacuum on system will pull coolant in.
6. Don't run out of coolant, you're done when overflow tank is at proper level .
Its the OEMTOOLS 24444 Cooling System Refiller Kit which is like $75
1. take off the underside front shield
2. Look on the bottom of the radiator, driver side, for a plastic phillips head drain plug.
3. Unscrew the radiator cap (make sure the car is cool)
4. Unscrew the radiator drain plug, drain into a large container. It will take awhile to drain. Then re-install the drain plug.
5. Take the overflow container out of the vehicle (one 10mm bolt, and the hose that hooks to the radiator cap) . Clean it out and re-install.
6. Install the vacuum filler to the radiator cap using one of the included adapters to make it fit, tighten it down.
7. Hook up shop air (I have a 20gal shop compressor, 100-140 psi works) . You put in 100+ psi, but the venturi effect creates suction on the system. You are sucking air out, not putting air in. So the system goes to -25 psi or so (vacuum).
8. Open the side with the air line, keep the fill side closed. Pressure should go to around -25, you can then close the valve on the gauge. It should hold pressure. This acts as a cooling system test. The line into the bucket is just for blow by, nothing came out until the end when the system is full, so don't worry about this too much. Put a rag over the bucket or something.. i inhaled way too much of that crap. -20 psi is probably fine, the most important thing is that it holds pressure, but you want it to really get all the air out and suck all the coolant it needs in, so you want good pressure. Make sure the seal around the radiator cap is good.
9. Mix your coolant if you need, get a bucket with 2 gallons of fresh coolant. Put the fill hose into it.
10. with the system at vacuum, open the fill side valve and the coolant gets sucked into the system.
11. I had about 3 qt left in my bucket after vacuum fill, put that into your overflow canister. The vacuum fill with NOT fill the overflow container for you like it does on a expansion tank. Expansion tanks are part of the pressurized system and they will fill as part of this process. The G doesn't have that. This is also why you have to put it on the radiator cap spot, and not the overflow.
The way the overflow works, has to do with the radiator cap. The overflow container is actually open to the air. Look at the top, it has a square opening right up top, it never gets pressurized. The 'valve' only opens with pressure, but can suck in coolant to the radiator from the overflow (which is why it has a minimum mark on it.. you dont want it sucking in air).
Thats about it. I measured what came out and it was pretty spot on with what went in.
Awesome, thanks Konsole! Your walk though answered almost all my questions, but I have one more if you don't mind - In step 8, when you say close the 'valve to the gauge', is that the shop air valve (left in your picture) or the venturi valve (middle in your picture)? I assume it is the shop air valve, because you then open the coolant valve (right in your picture) to fill the system, which will overflow through the venturi valve once it is full. Is that correct?
Either way, thanks again, and thanks for explaining the overflow/rad system, I had no idea. I've been (foolishly) putting off doing a coolant flush since the G is my only car and I've read nothing but horror stories about the coolant bleed process, but this seems like the easiest way to get it done without taking it to a shop or dropping $3k on a professional grade coolant flush station.
In this photo: 1 is closed, 2 is closed, 3 is mostly open. (they valve is open when its straight, closed when its 90 degrees on either side)
1 is the air line, to make suction. 2 also has to be open for suction. You close 2 and 3 to seal the system and see if it holds pressure.
3 is for letting coolant get sucked into the system.
Modes:
A: Put the system into vacuum: 1 open, 2 open, 3 closed.
B: Once the system is vacuum, keep it there and see if it holds: 1 closed, 2 closed, 3 closed.
C: Filling the system with new coolant: 1 closed, 2 closed, 3 open.

 05-30-2018, 10:48 PM