Digital Deviant Progress Thread

#136
 03-04-2015, 09:25 PM

lol this is the entire list from sounddeadenershowdown.com
Generation:
3rd
Measured Year:
2 005
Doors (each):
4 CLD Tiles, outer skin
1 CLD Tile, cut into smaller pieces, inner skin
1 CLD Tile, cut into smaller pieces, trim panel
Extruded Butyl Rope
7.2 ft� MLV
7.2 ft� 1/8" CCF
6 ft� 3M Thinsulate Acoustic
2.5 Velcro Strips, adhesive 2 sides
Passenger Compartment Quarter Panels (each):
4 CLD Tiles, outer skin
1 CLD Tile, cut into smaller pieces, inner skin
1 CLD Tile, cut into smaller pieces, trim panel
8.2 ft� MLV
8.2 ft� 1/8" CCF
7 ft� 3M Thinsulate Acoustic
2.5 Velcro Strips, adhesive 2 sides
Kick Panels (each):
.5 CLD Tiles
.9 ft� MLV
.9 ft� 1/8" CCF
1 Velcro Strips, adhesive 2 sides
Floor:
4 CLD Tiles (assumes significant coverage from the factory)
40.1 ft� MLV
55 ft� 1/8" CCF (extra is to double up in the bottoms of the foot wells)
2 Velcro Strips, adhesive 2 sides
Back Seat Platform / Riser:
3 CLD Tiles (assumes significant coverage from the factory)
13 ft� MLV
13 ft� 1/8" CCF
4 Velcro Strips, adhesive 2 sides
Roof:
6 CLD Tiles
10.5 ft� 3M Thinsulate Acoustic
Rear Deck:
4 CLD Tiles
4.6 ft� 1/8" CCF
C-Pillars (each):
1 CLD Tiles
1.3 ft� 3M Thinsulate Acoustic
* Be very careful if there are airbags in the C-Pillars. The safest course in that case is to do nothing.
Trunk Floor / Spare Tire Well (ish):
3 CLD Tiles, horizontal surfaces (assumes significant coverage from the factory)
1 CLD Tile, sides of spare walls (assumes significant coverage from the factory)
16 ft� MLV
16 ft� 1/8" CCF
5 Velcro Strips, adhesive 2 sides
Trunk Lid:
3 CLD Tiles
Quarter Panels (each):
3 CLD Tiles
5.6 ft� MLV
5.6 ft� 1/8" CCF
3 Velcro Strips, adhesive 2 sides
Trunk Back Wall:
2 CLD Tiles
7.6 ft� MLV
7.6 ft� 1/8" CCF
2 Velcro Strips, adhesive 2 sides
Totals:
59 CLD Tiles
1 roll Extruded Butyl Rope
121.5 ft� MLV
140 ft� 1/8" CCF
39.1 ft� 3M Thinsulate Acoustic
30 Velcro Strips, adhesive 2 sides
1 32 oz can HH-66 Vinyl Contact Cement
As an Order:
59 CLD Tiles @ 2.25 = $132.75
1 roll Extruded Butyl Rope @ 9.75 = 9.75
130.5 ft� MLV @ 2.11 = 275.36
11 sheets 1/8" CCF @ 15.55 = 171.05
40 ft� 3M Thinsulate Acoustic @ 3.70 = 148.00
3 Velcro Strips, adh. 2 sides, 10-pack @ 14.65 = 43.95
1 32 oz can HH-66 Vinyl Contact Cement @ 16.50 = 16.50
1 2" Maple Roller (Free w/ 60+ CLD Tiles) N/C
Sub Total: $797.36
#137
03-04-2015, 09:37 PM
#138
03-07-2015, 10:12 PM
http://m.ebay.com/itm/141581229236
Said it worked really good.
#139
03-08-2015, 10:59 AM
The thing about gt mat is it is a deadener. it serves to stop resonance of the panels, so you actually only need 25% coverage with this type of item. the mlv is what really serves as a sound barrier. adding extra of the dampener is actually just added weight. it doesnt actually block the sound.
found this thread when i searched for information comparing gtmat (the stuff your buddy used) and sds mlv.
http://www.diymobileaudio.com/forum/...gone-down.html
found this thread when i searched for information comparing gtmat (the stuff your buddy used) and sds mlv.
http://www.diymobileaudio.com/forum/...gone-down.html


#141
03-18-2015, 01:19 PM
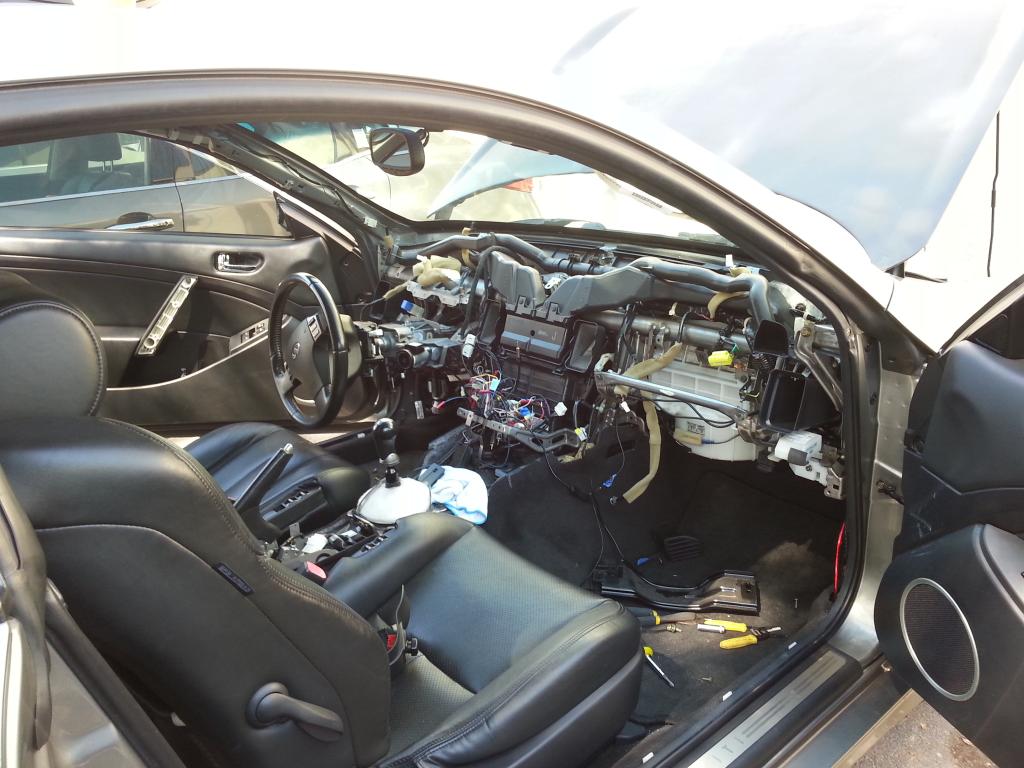
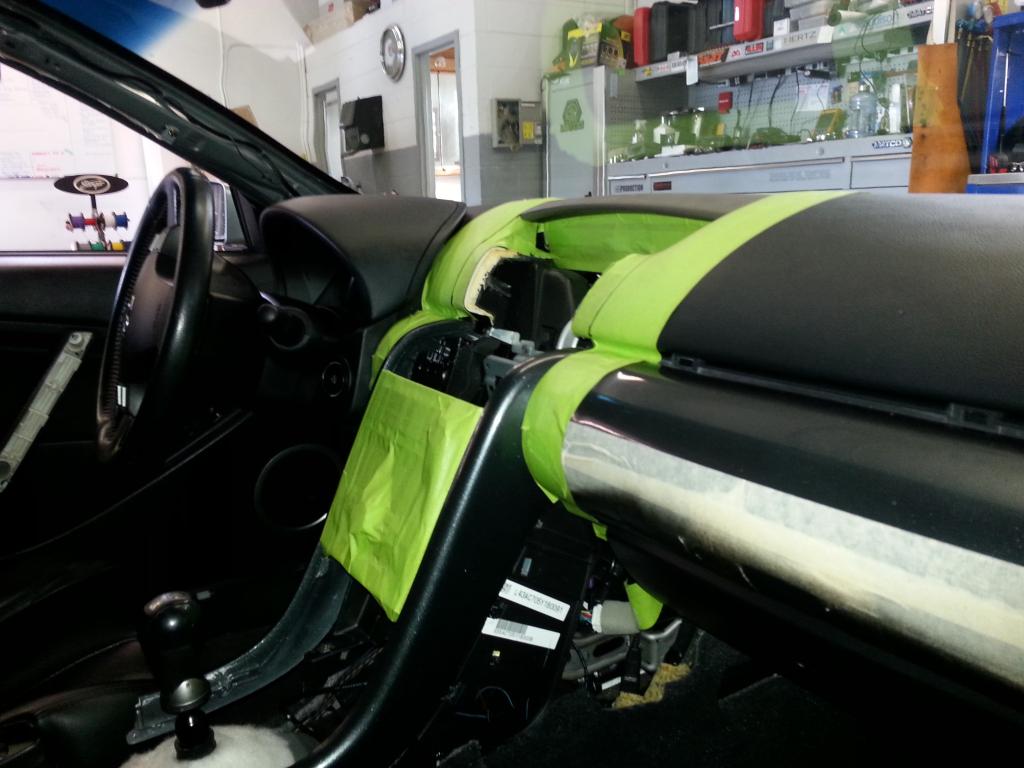
Interior Update
Before:

Dashboard Removed:
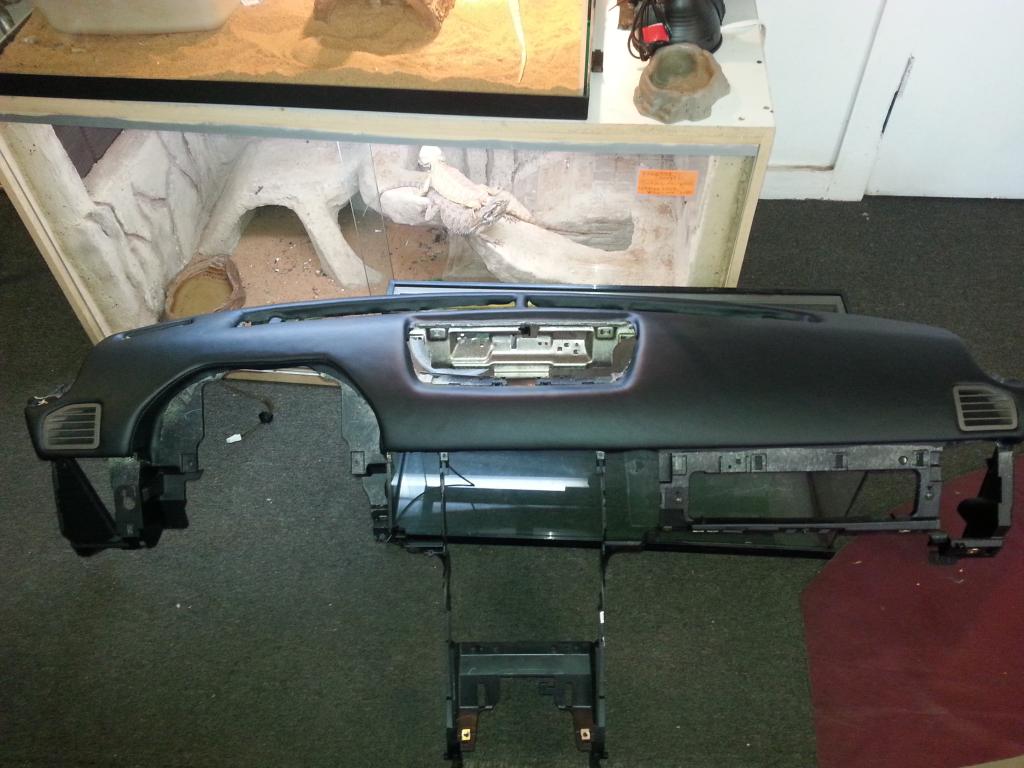
Material used on dash:
Shot of wrapped dashboard before going in:
Shot of dashboard installed:
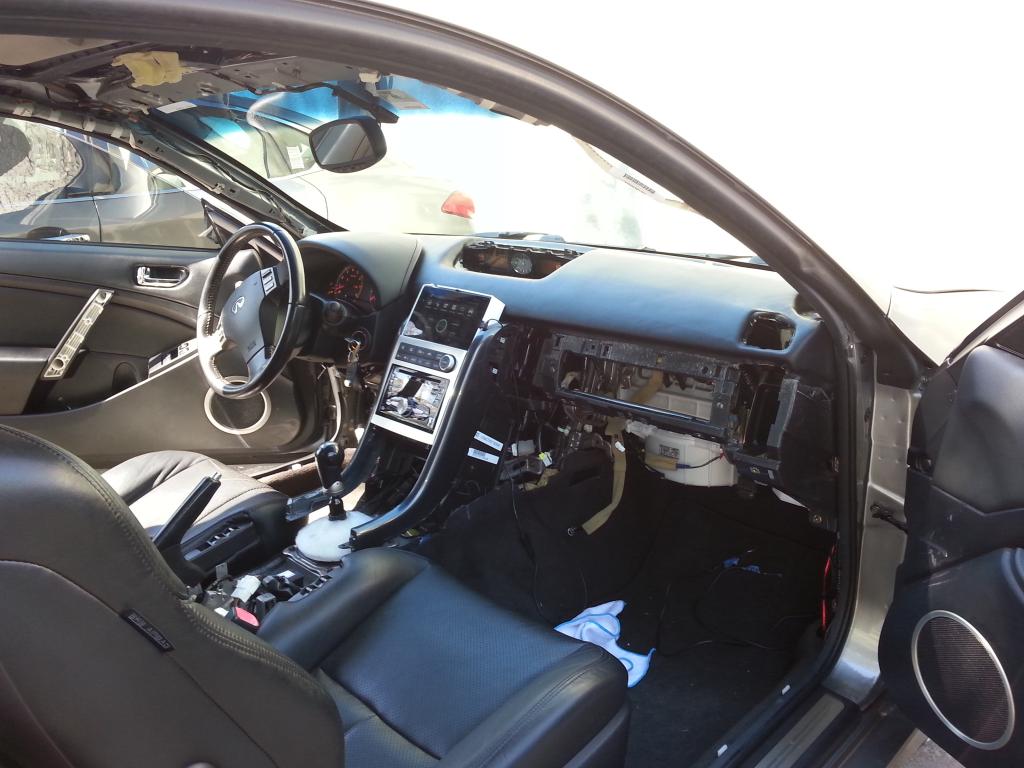
Next was the install of the JDM Trim A/C controls and JVC Radio:
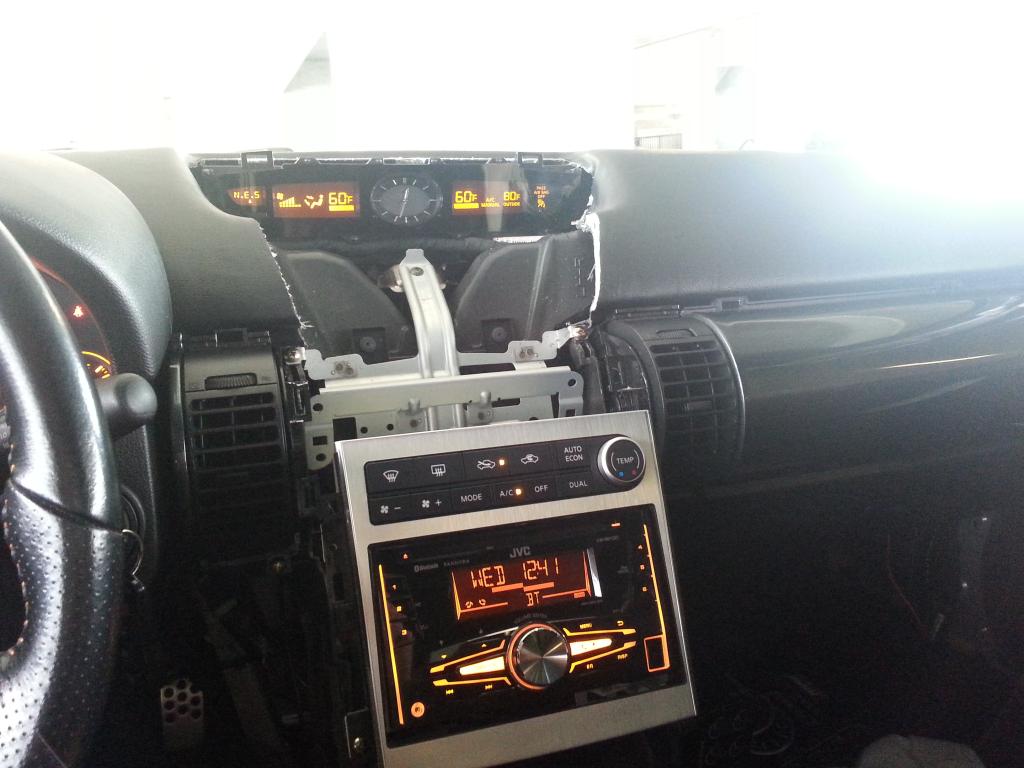
Time to install these:
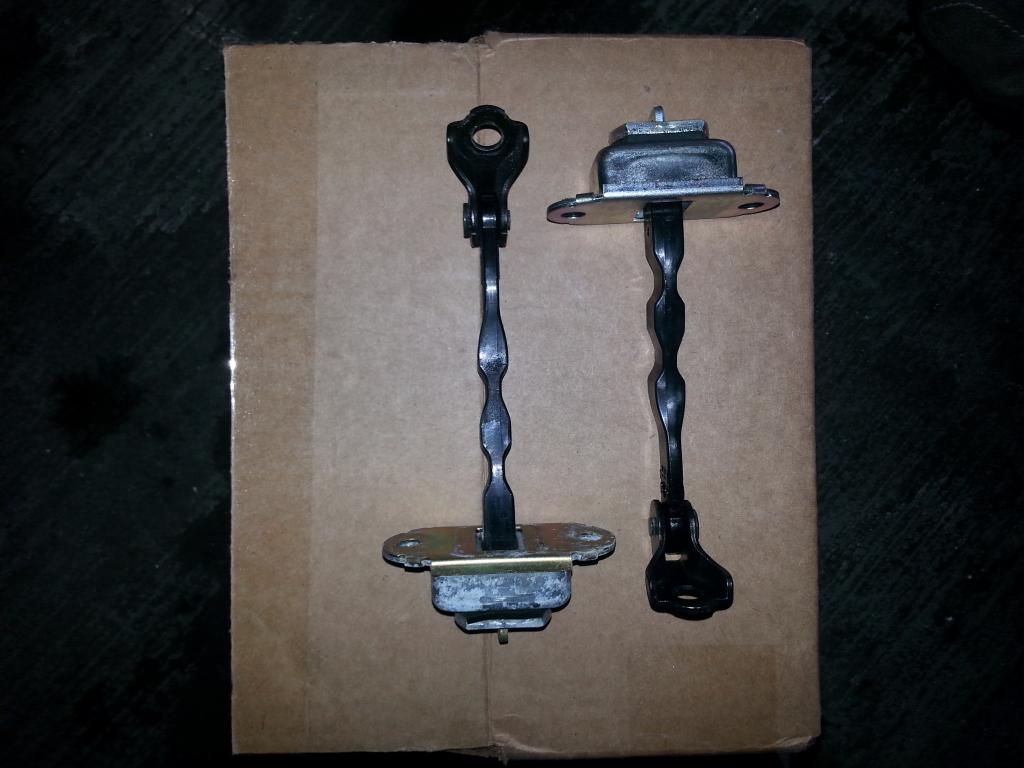
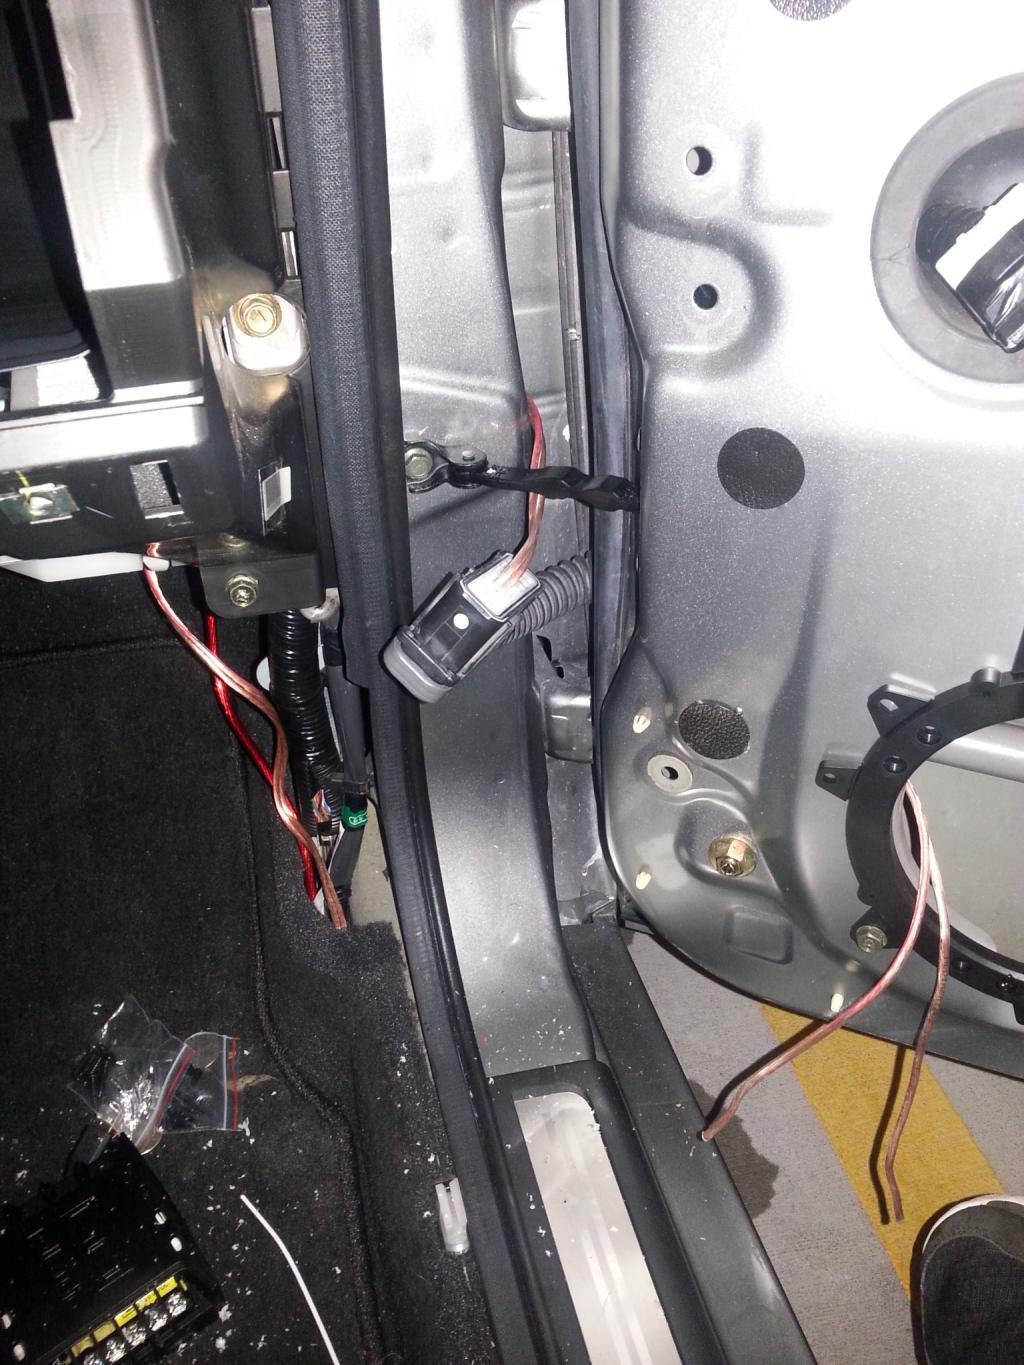
But First, lets install some new door checks, cause my fn shins hurt:
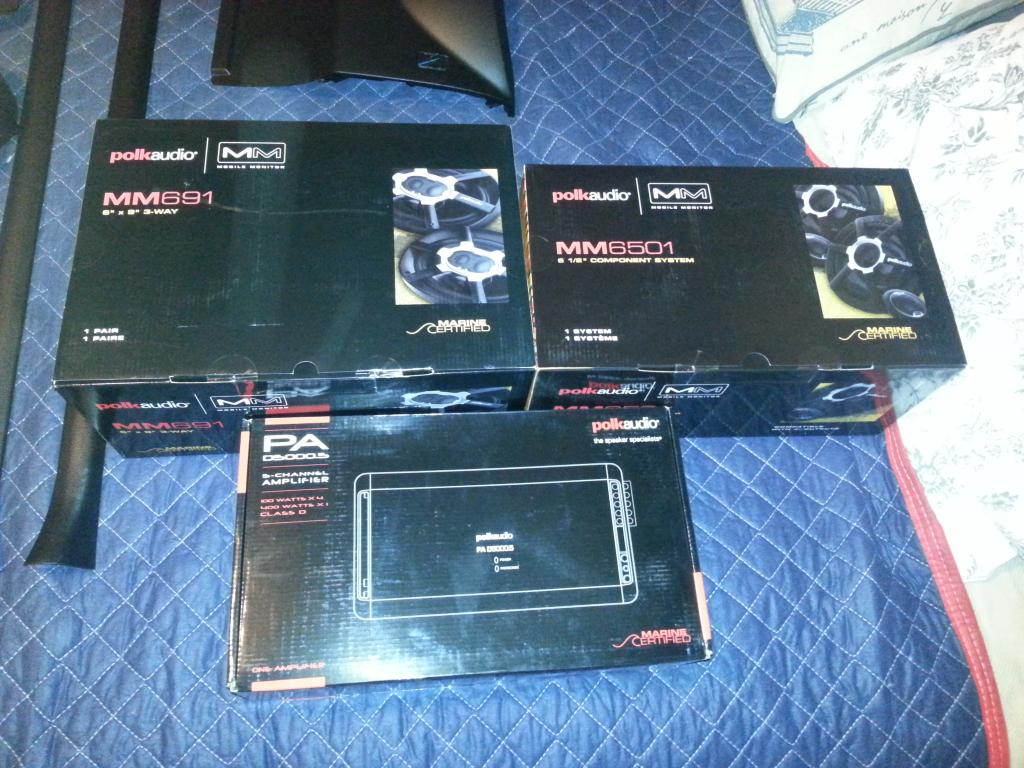
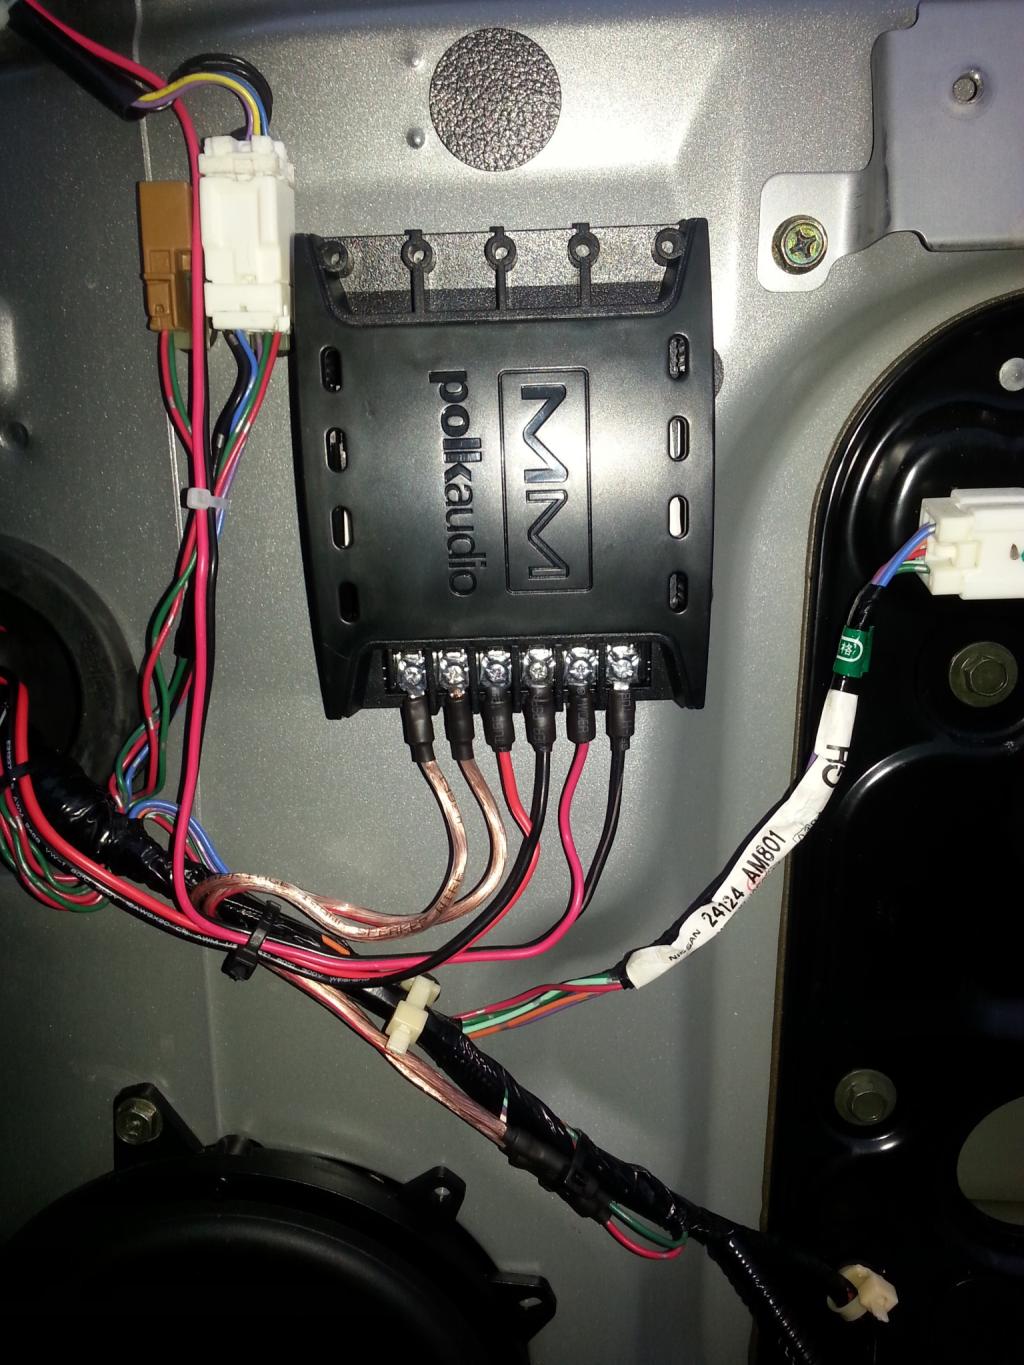
Then moved to wiring all the speakers 14 gauge thru molex:
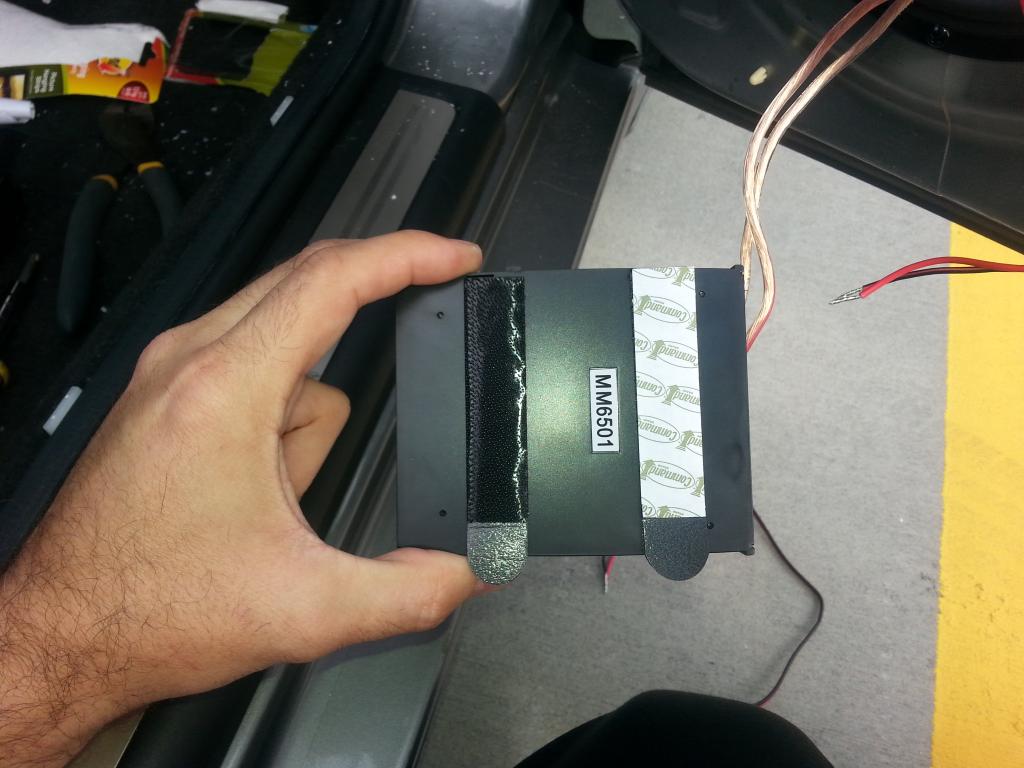
Used some sticky Velcro stuff to attach the components to the doors:
Time to make all those wires / connections look good with head shrink and terminal connectors:
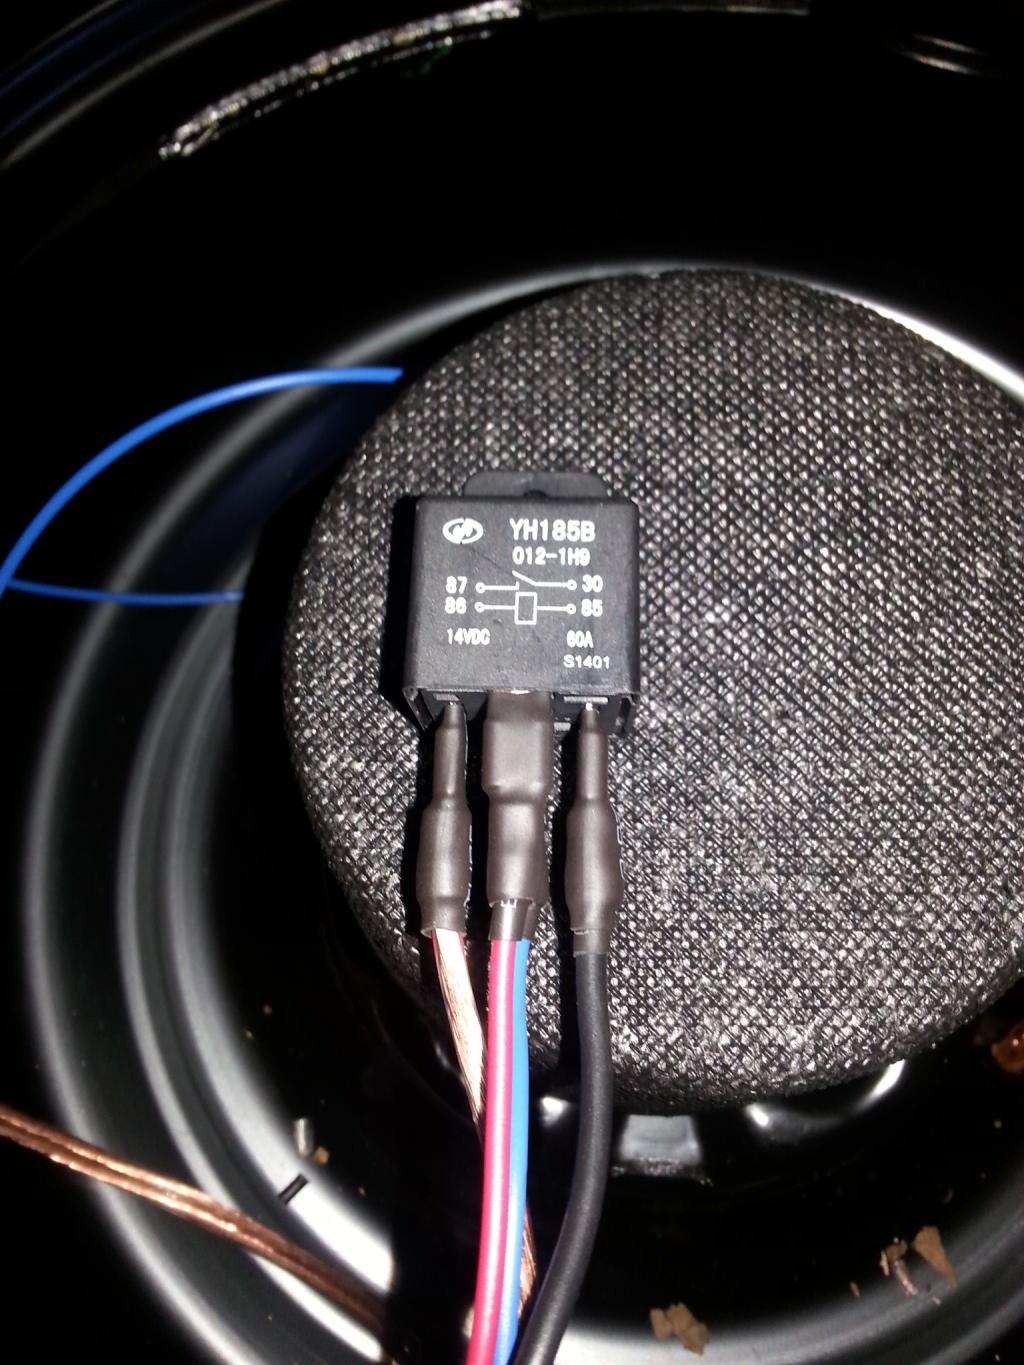
Added a couple of relays. One behind the dash and one in the trunk for the amp etc:
Rear 6x9s in:

While all my interior was out of the car, I decided to do some refreshing of the plastics with a heat gun.
Door panel before / after:
Before:
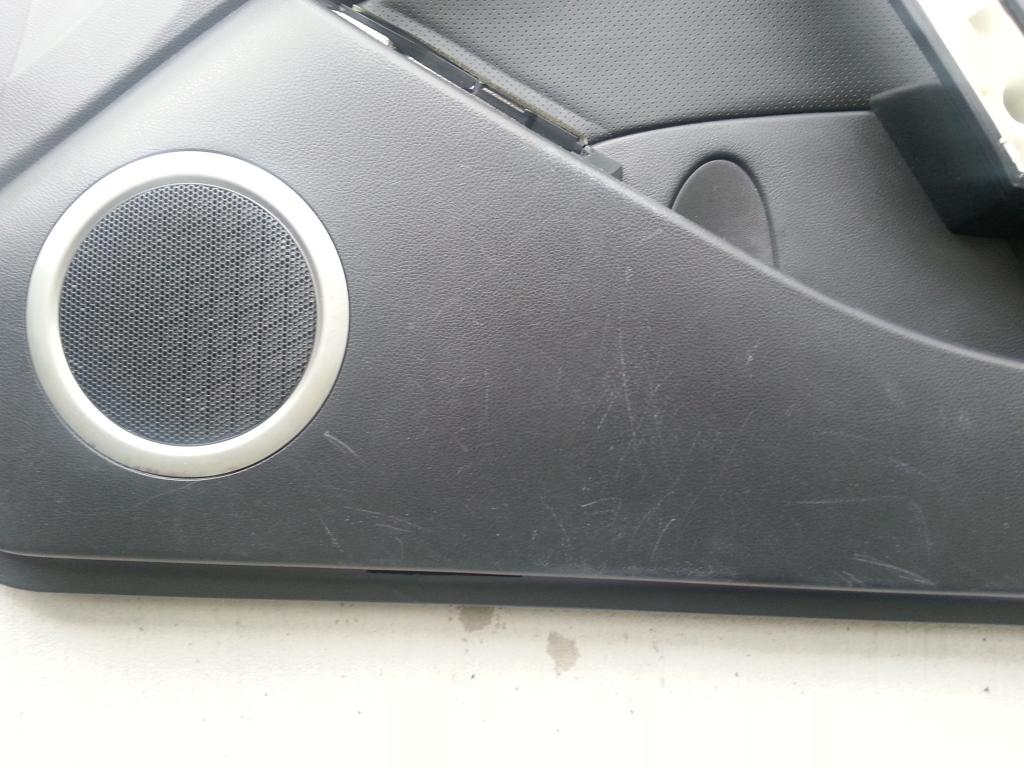
After:

Center console before / after:
Before:
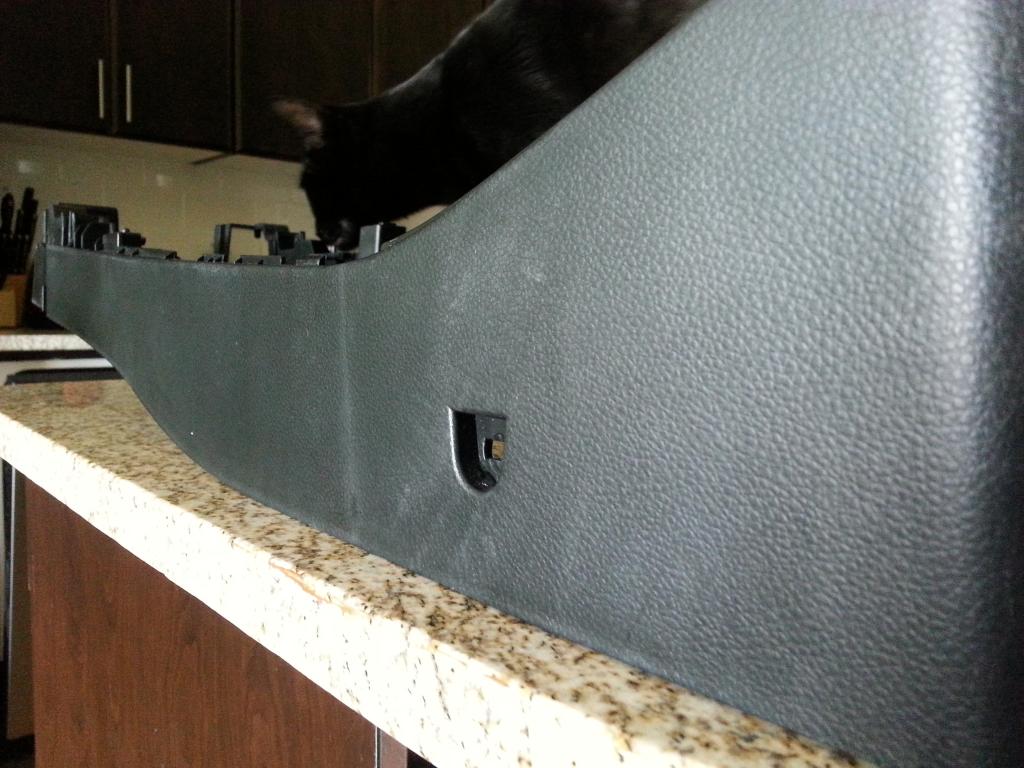
After:
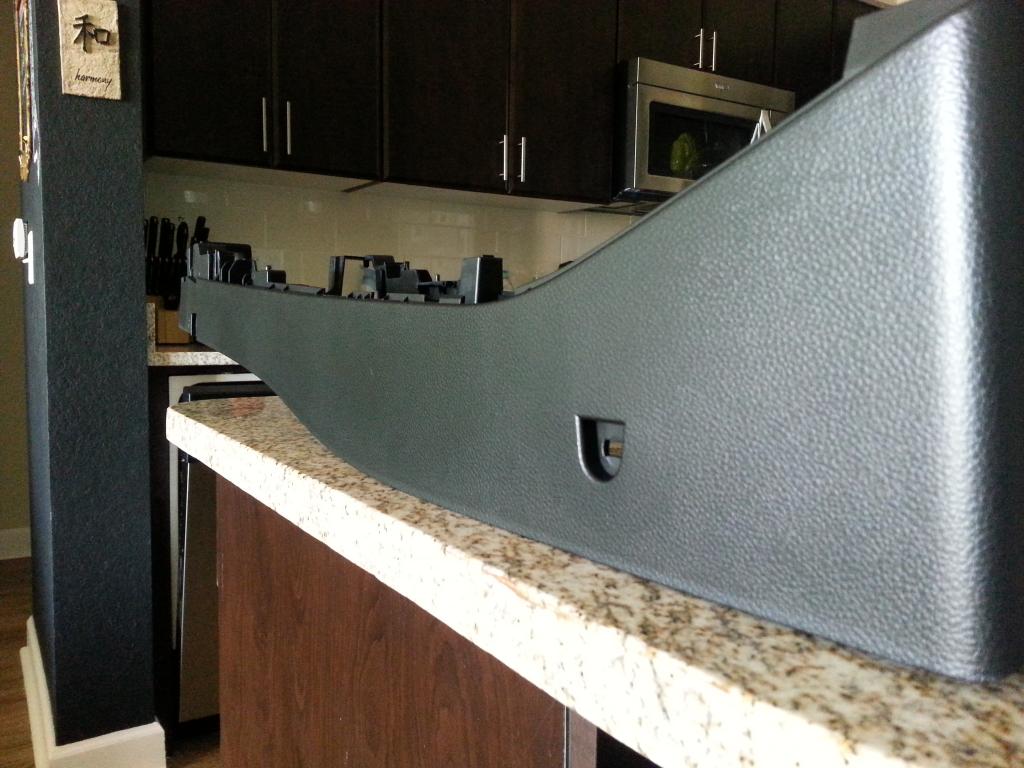
I continued this process on pretty much everything.


Dashboard Removed:

Material used on dash:

Shot of wrapped dashboard before going in:

Shot of dashboard installed:

Next was the install of the JDM Trim A/C controls and JVC Radio:

Time to install these:

But First, lets install some new door checks, cause my fn shins hurt:

Then moved to wiring all the speakers 14 gauge thru molex:

Used some sticky Velcro stuff to attach the components to the doors:

Time to make all those wires / connections look good with head shrink and terminal connectors:

Added a couple of relays. One behind the dash and one in the trunk for the amp etc:

Rear 6x9s in:

While all my interior was out of the car, I decided to do some refreshing of the plastics with a heat gun.
Door panel before / after:
Before:

After:

Center console before / after:
Before:

After:

I continued this process on pretty much everything.

#142
03-18-2015, 01:20 PM
Interior Update 2
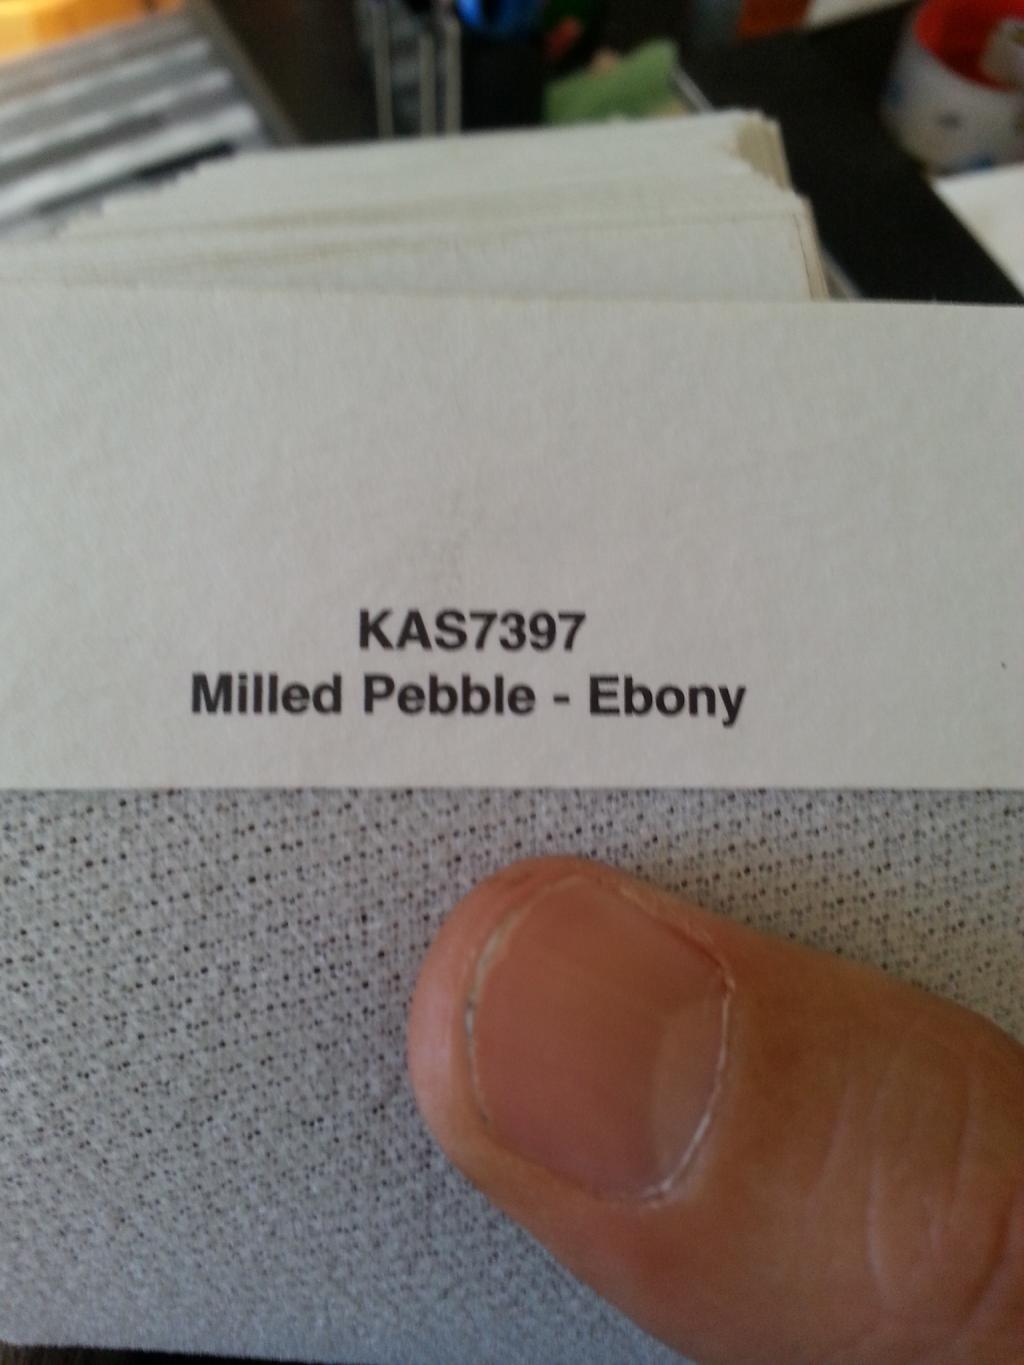
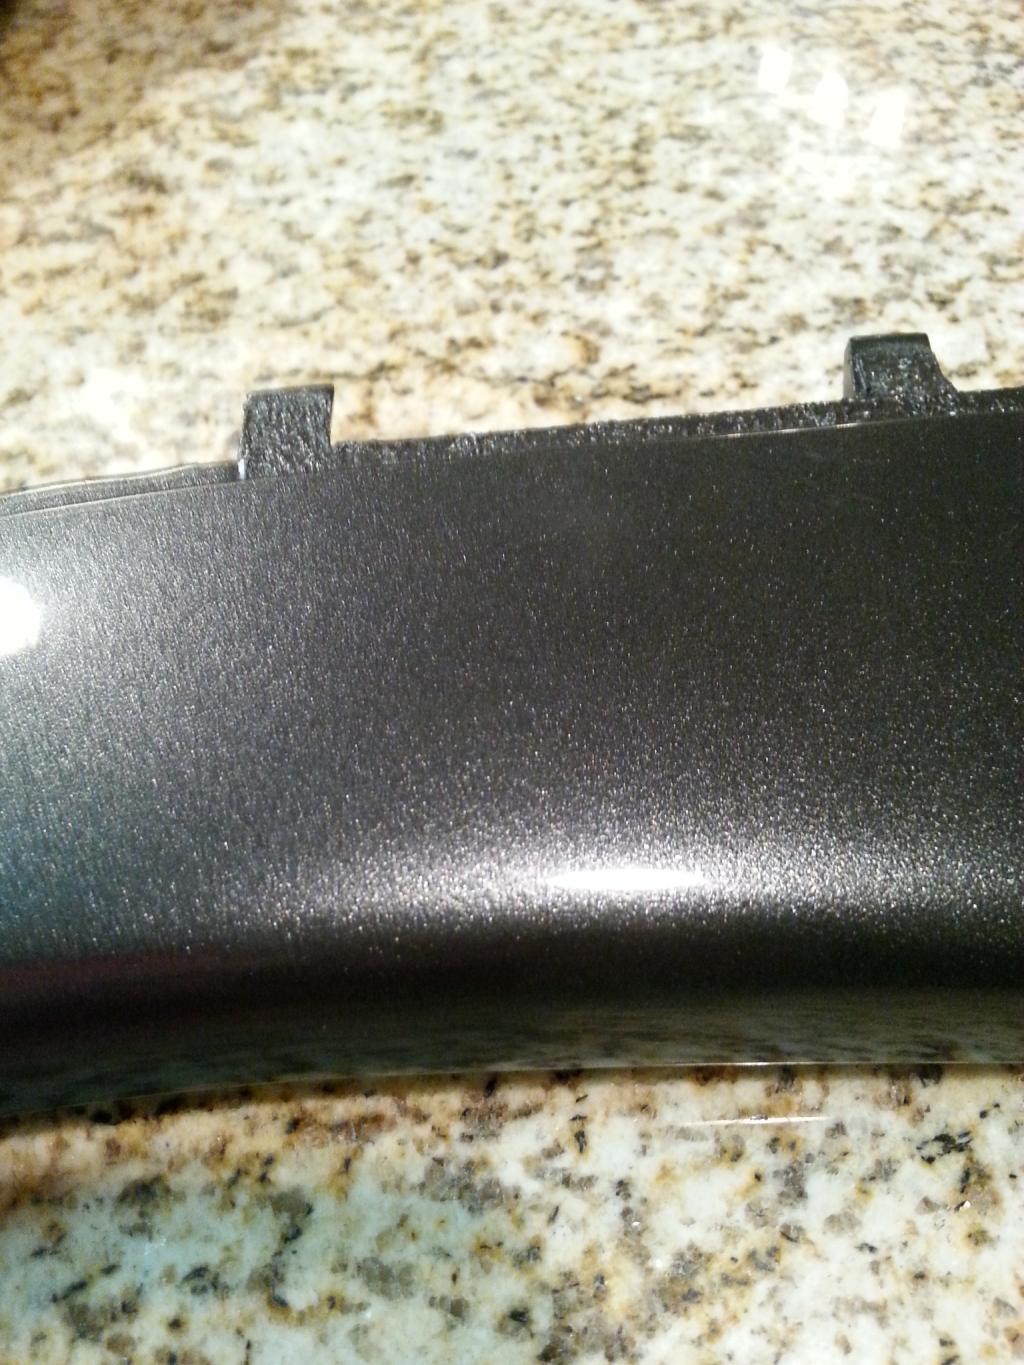
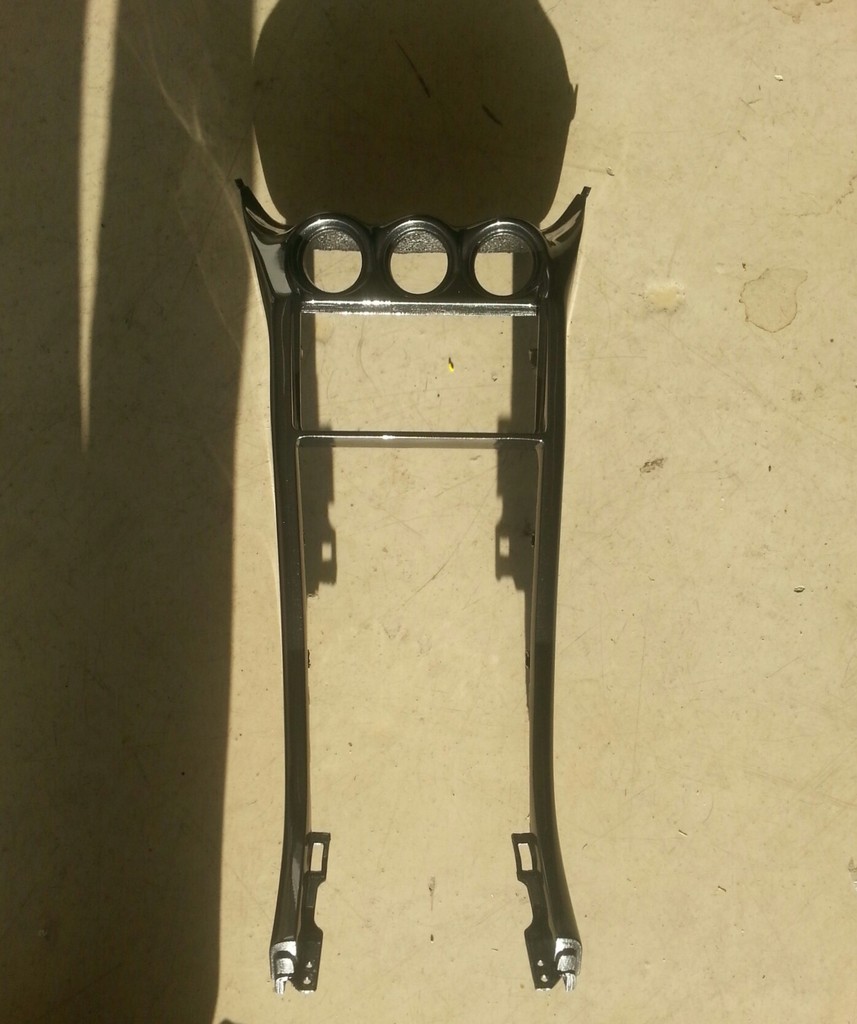
After all that was done. I sent out some pieces to get painted:
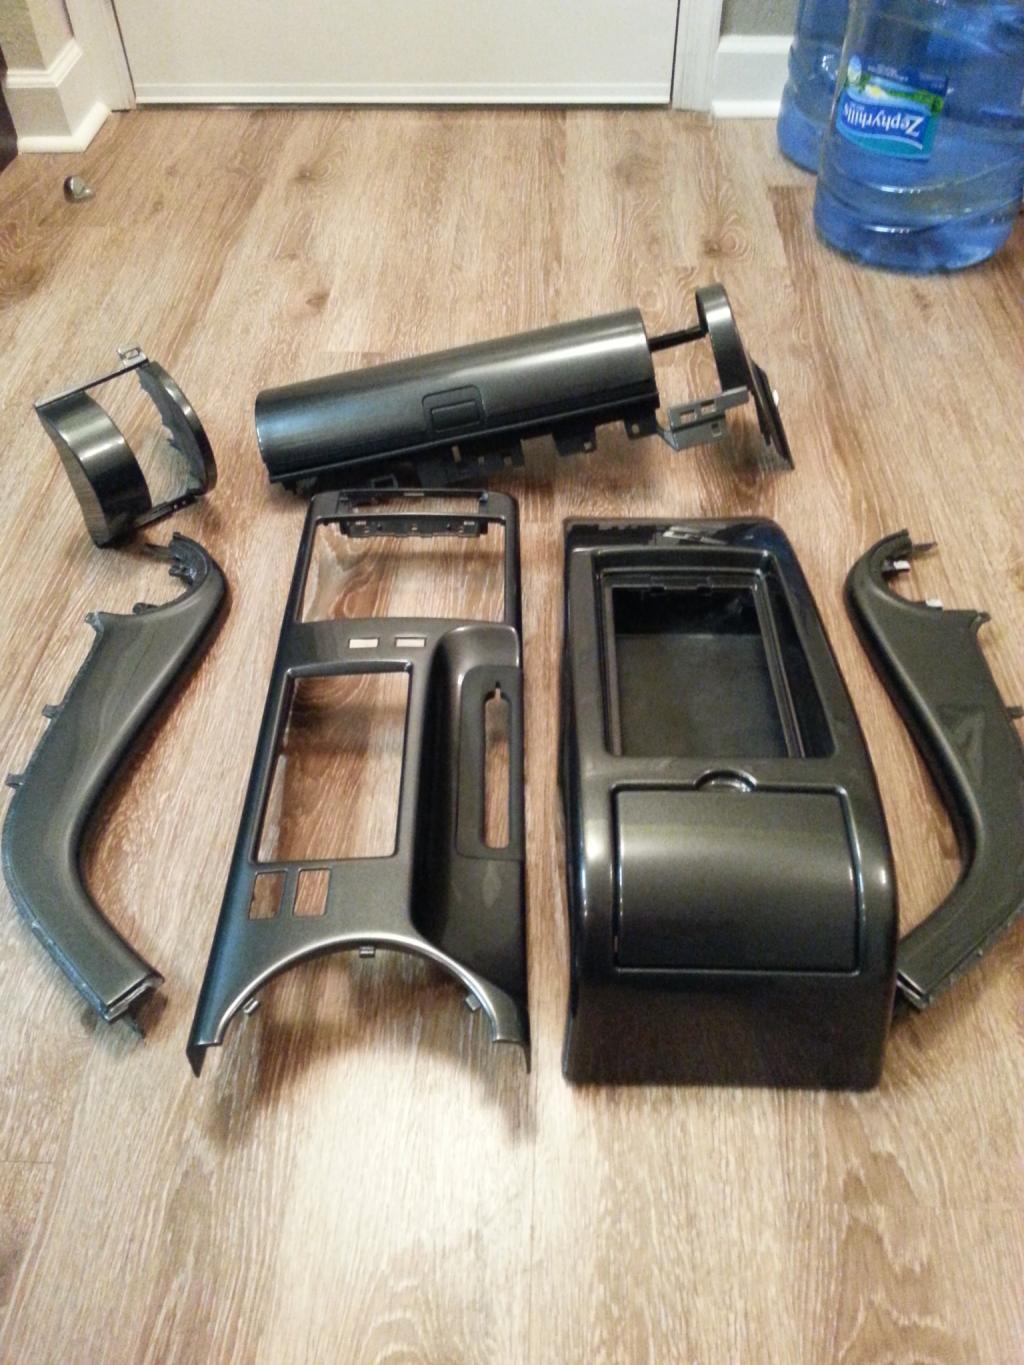
Here is the color up close:
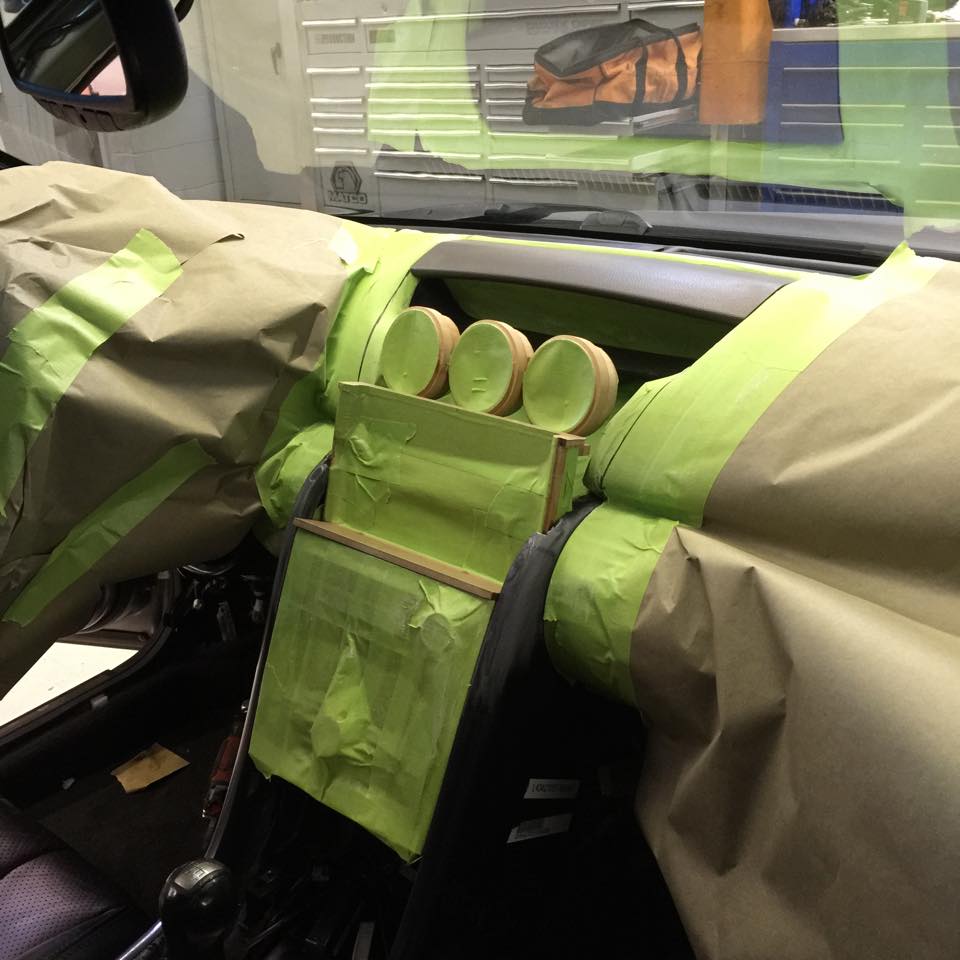
Now that we got those pieces done. Lets move on to the real reason why most of you are subbed......The 350z gauge / tablet project I started.
When i first was like, yah, this wont work, i'll have to make something:

Then it was time to cut the dash:
Rough mock up of how I wanted it:
Then it was ready for some fiberglass / bondo and a lot of hard work:
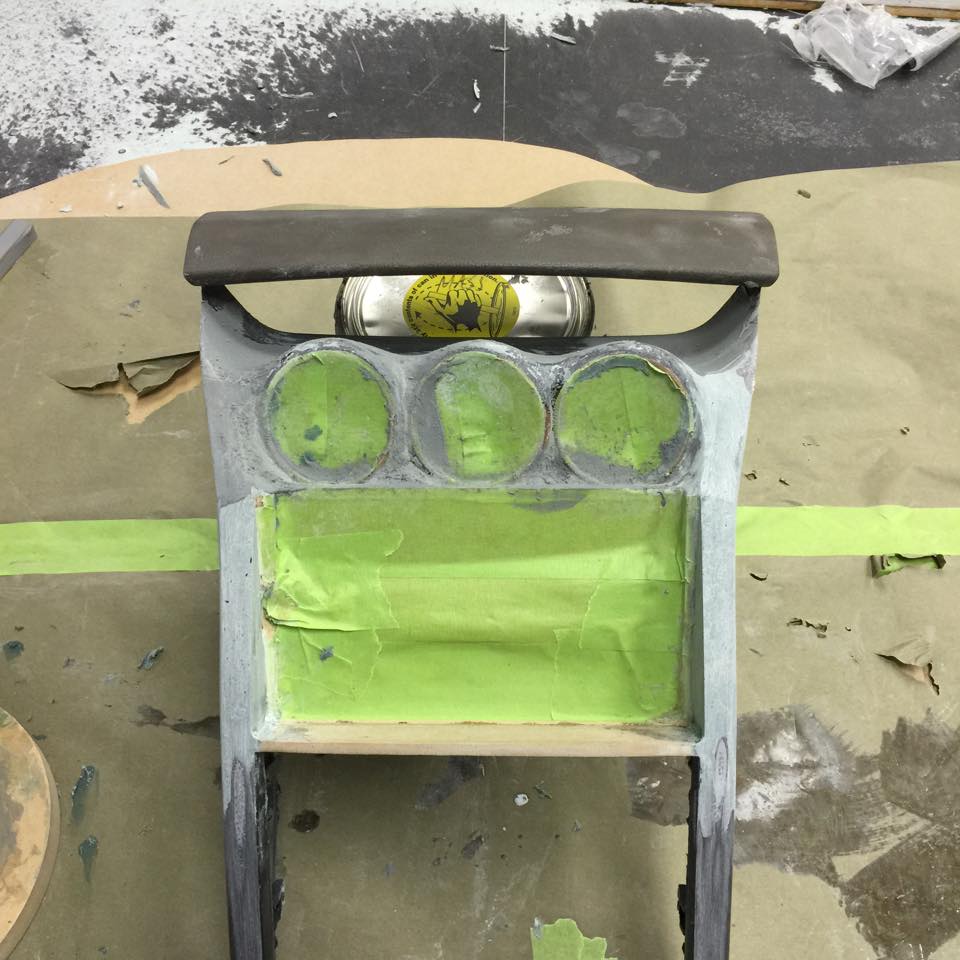
Test fitting it to make sure I didn't F anything up:
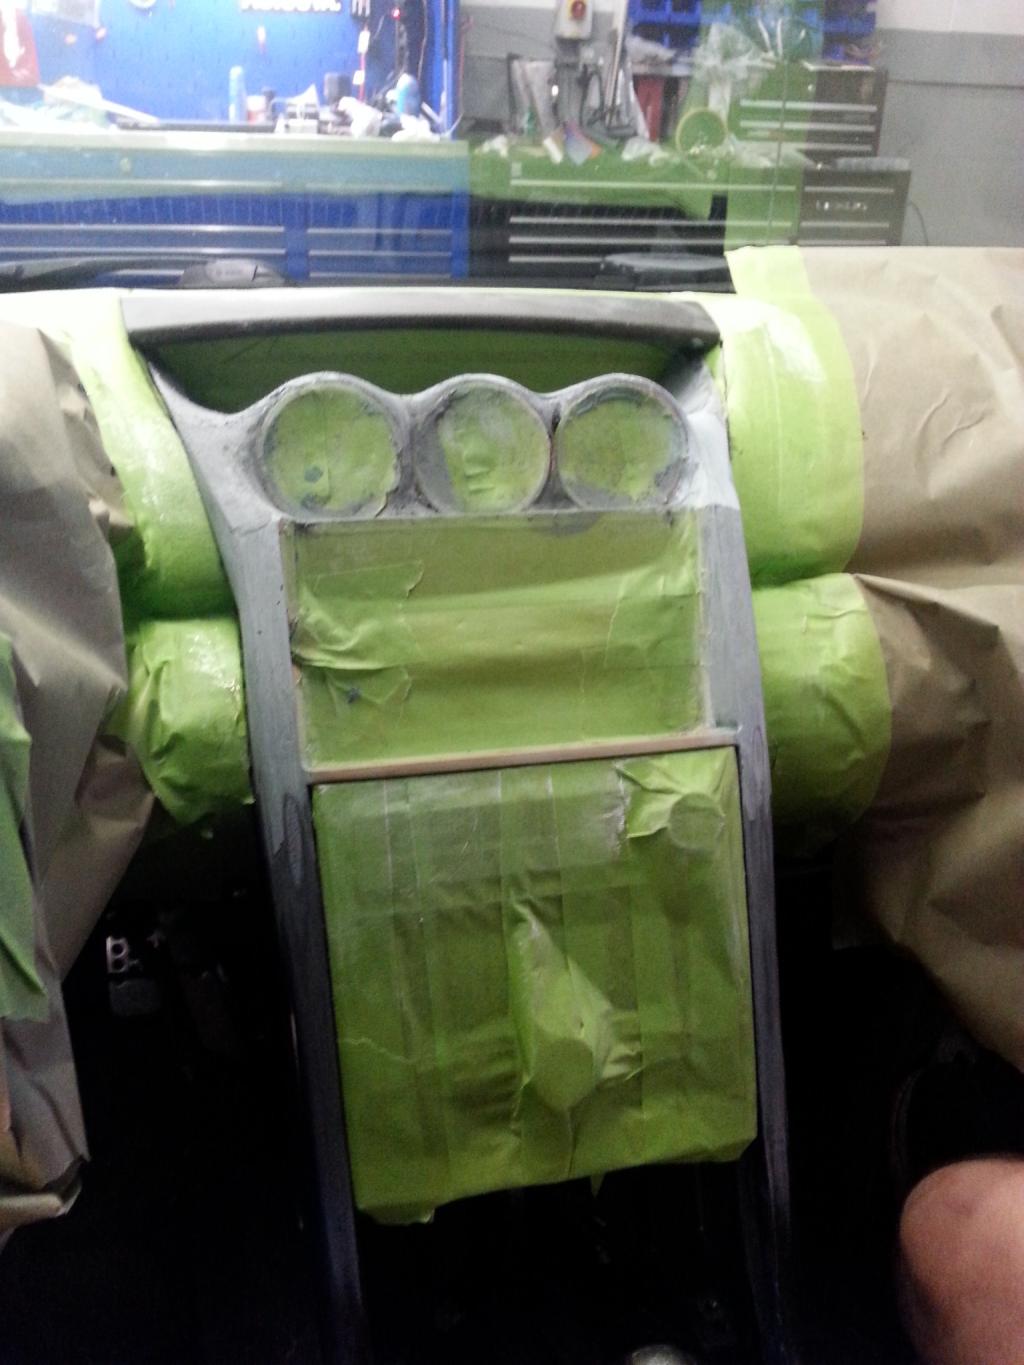
After a lot and i mean A LOT of sanding. It was time for some primer and more sanding:
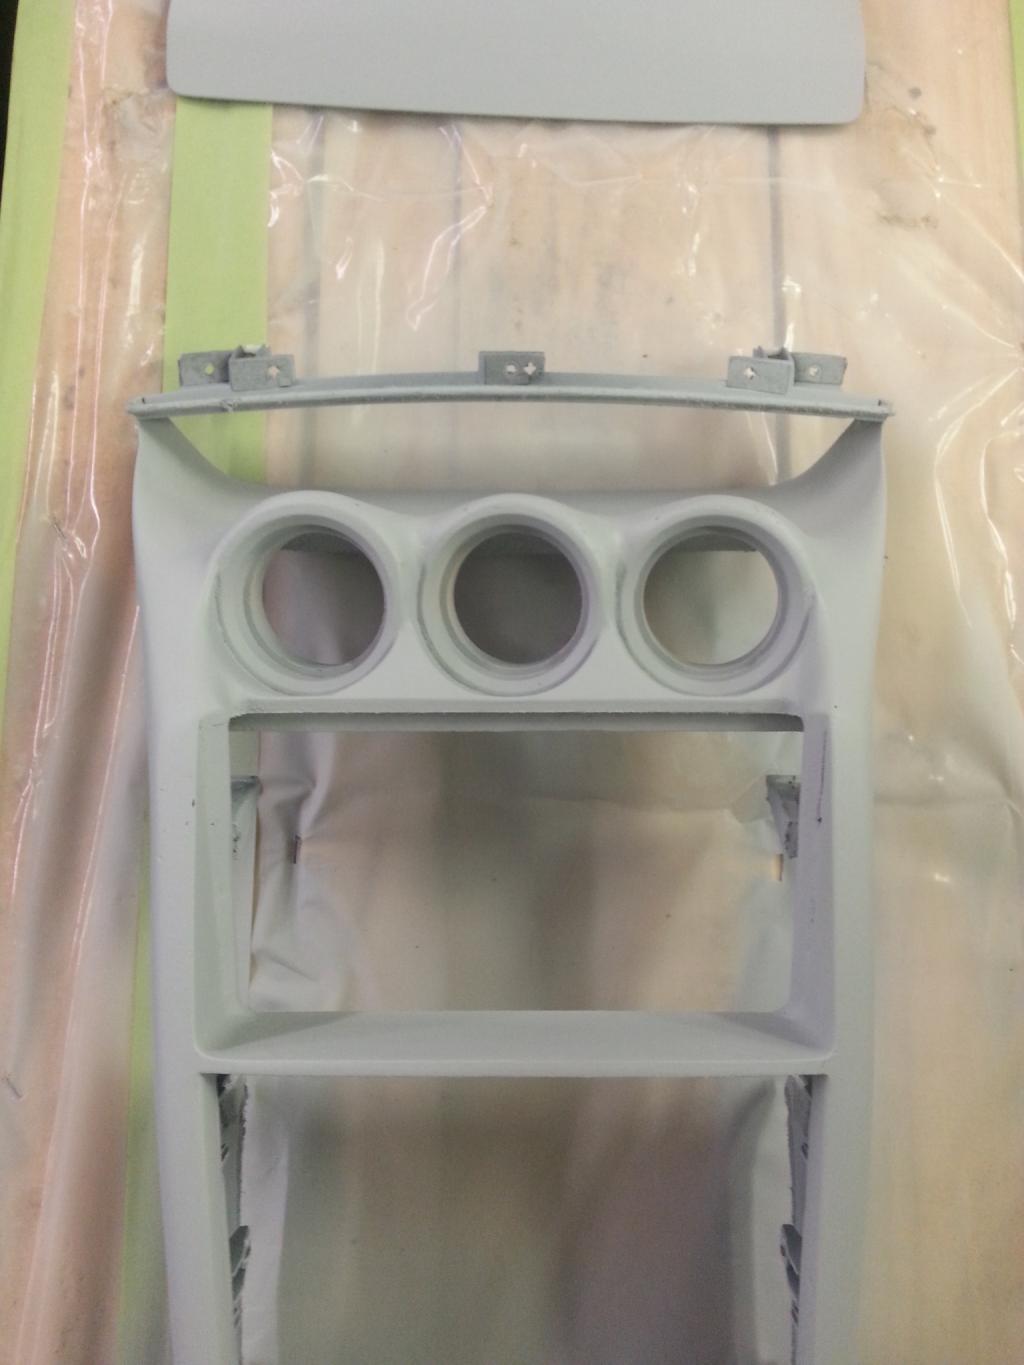
Entire piece:

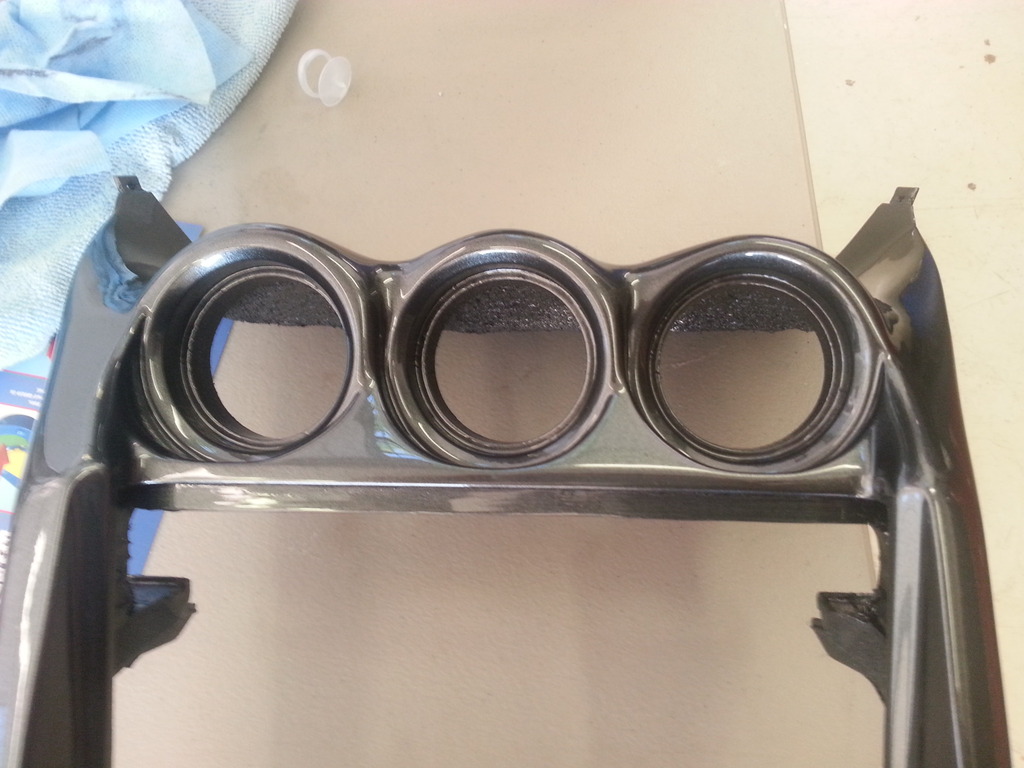
Then it was time to finally shoot some paint on a 4 month project.
Now, while that cures for a few days I spent the time wiring up all the stuff for the gauges / tablet. Forgot to snap pictures...
Then it was back to the interior stuff....
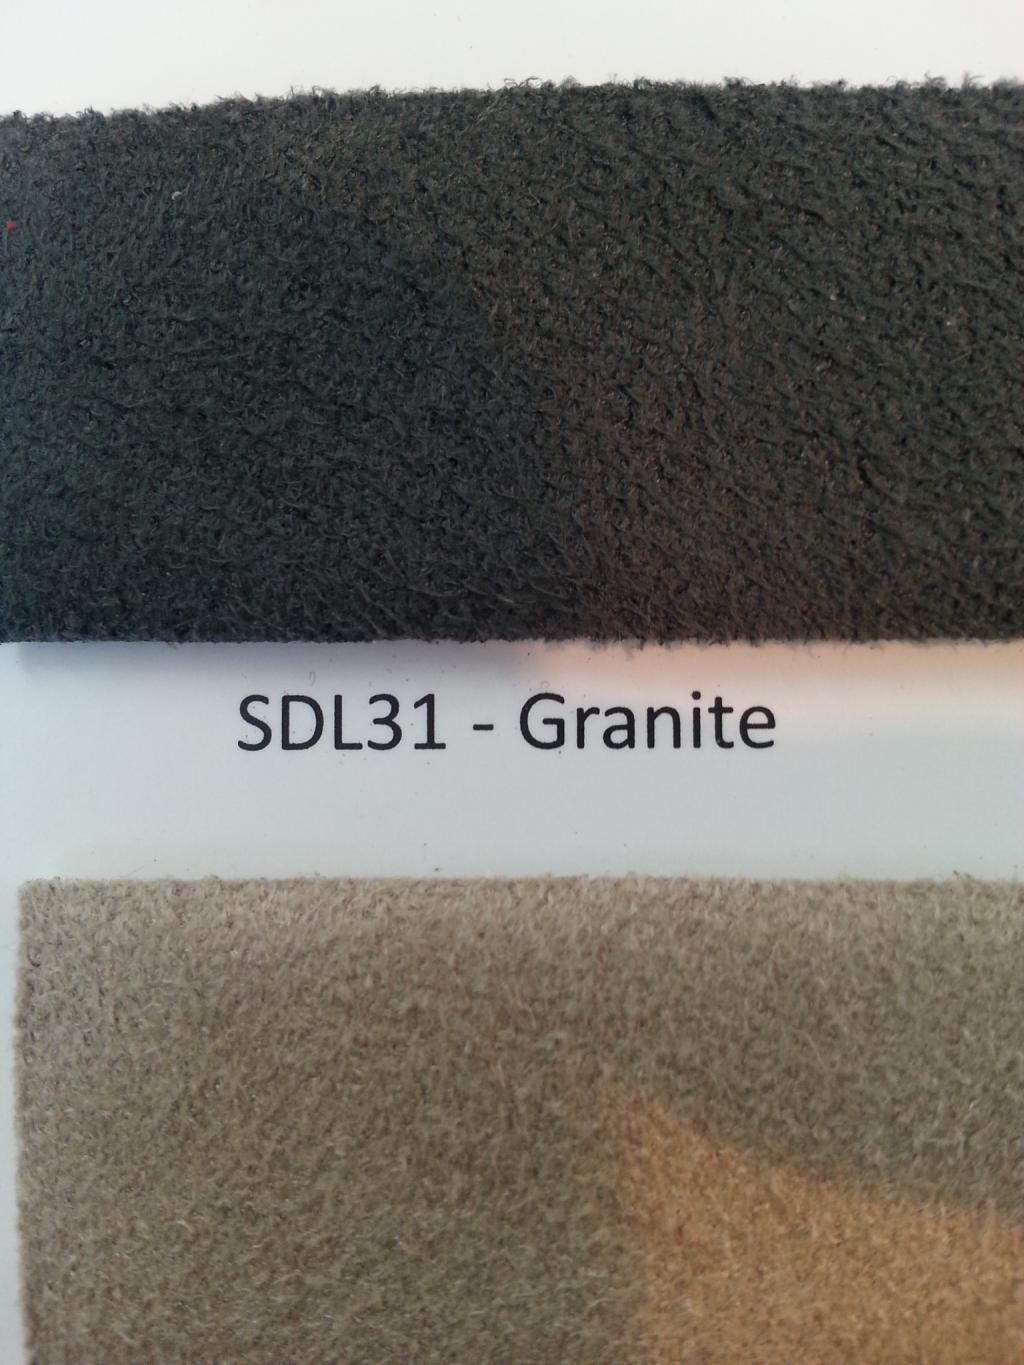
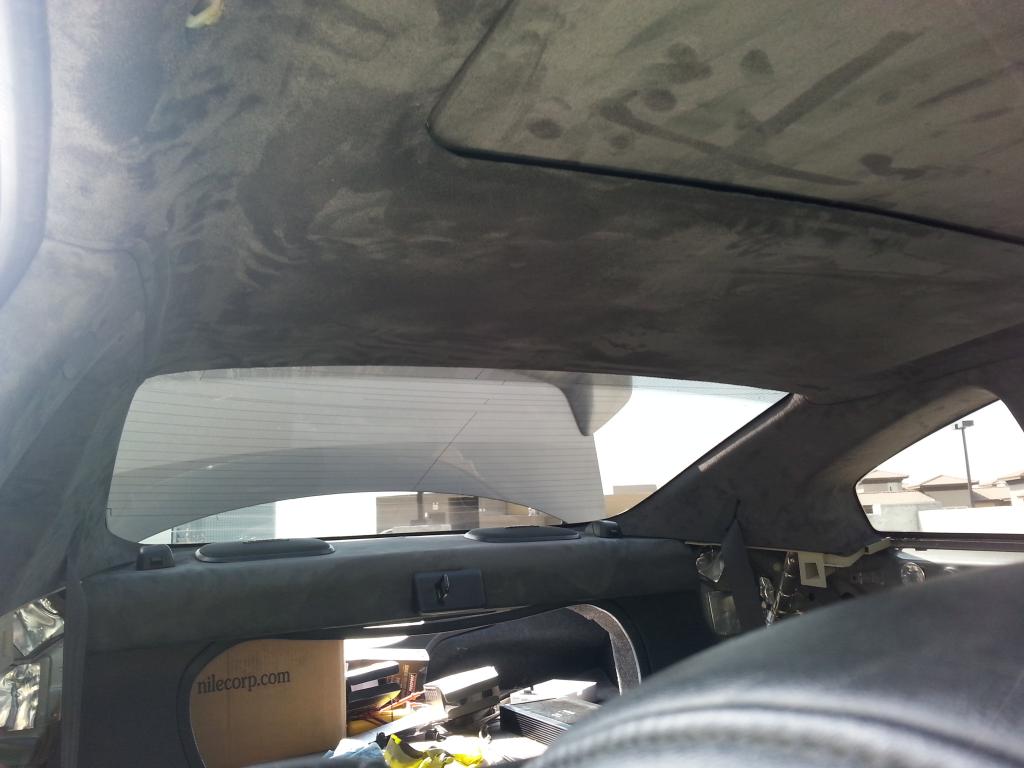
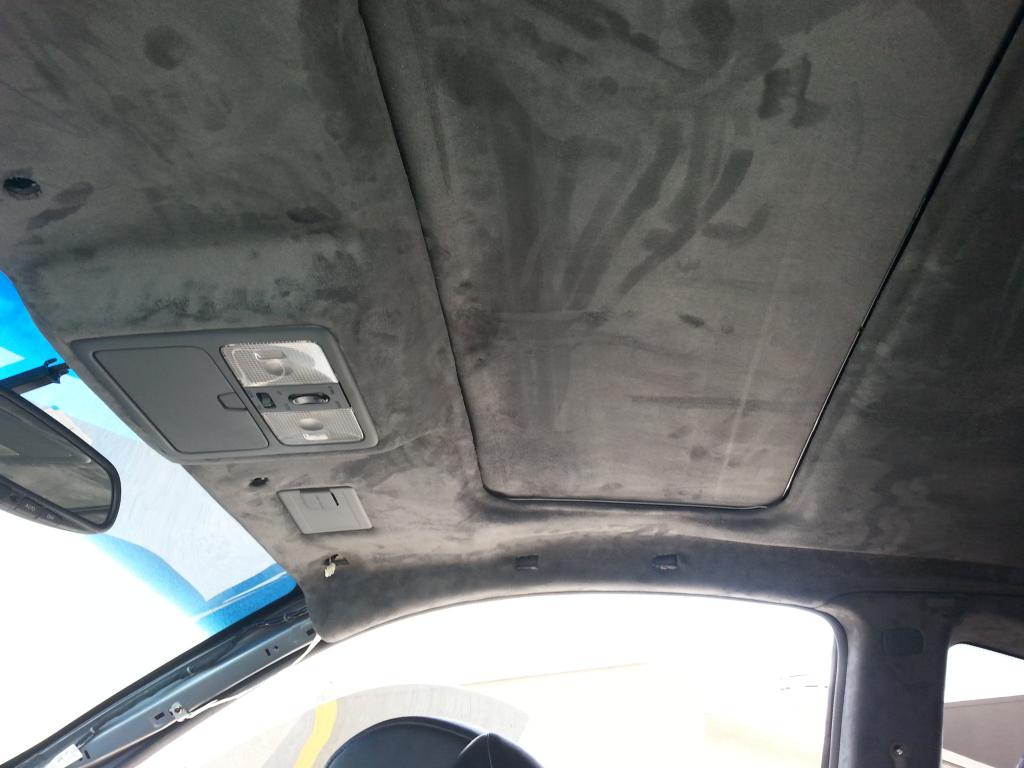
Suede Fabric:
Rear deck, rear pillars and headliner installed:
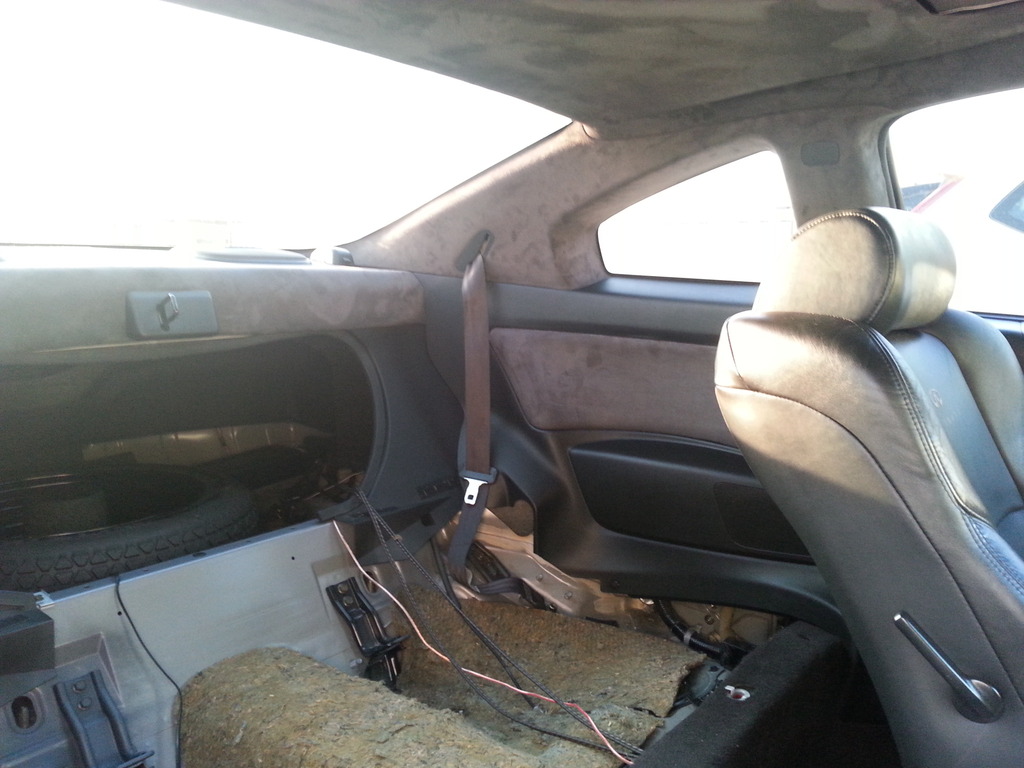
Rear Lower Panels installed:
Then the pillar gauge pod:
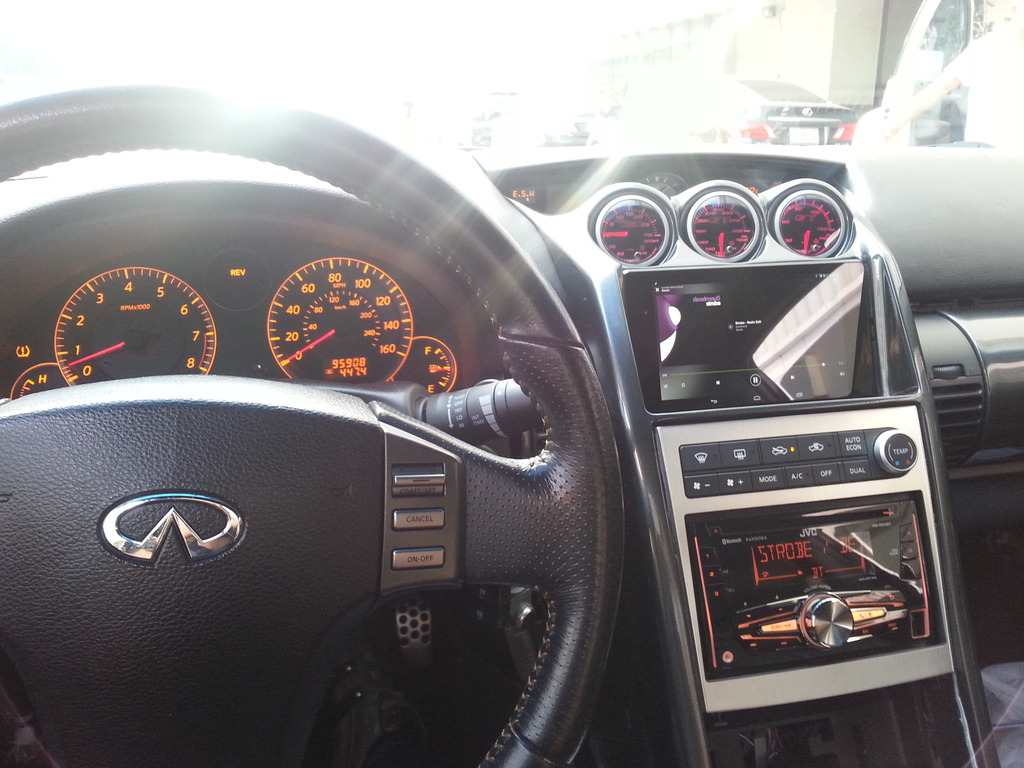
Plastics were painted to match. I didn't want the black trim.
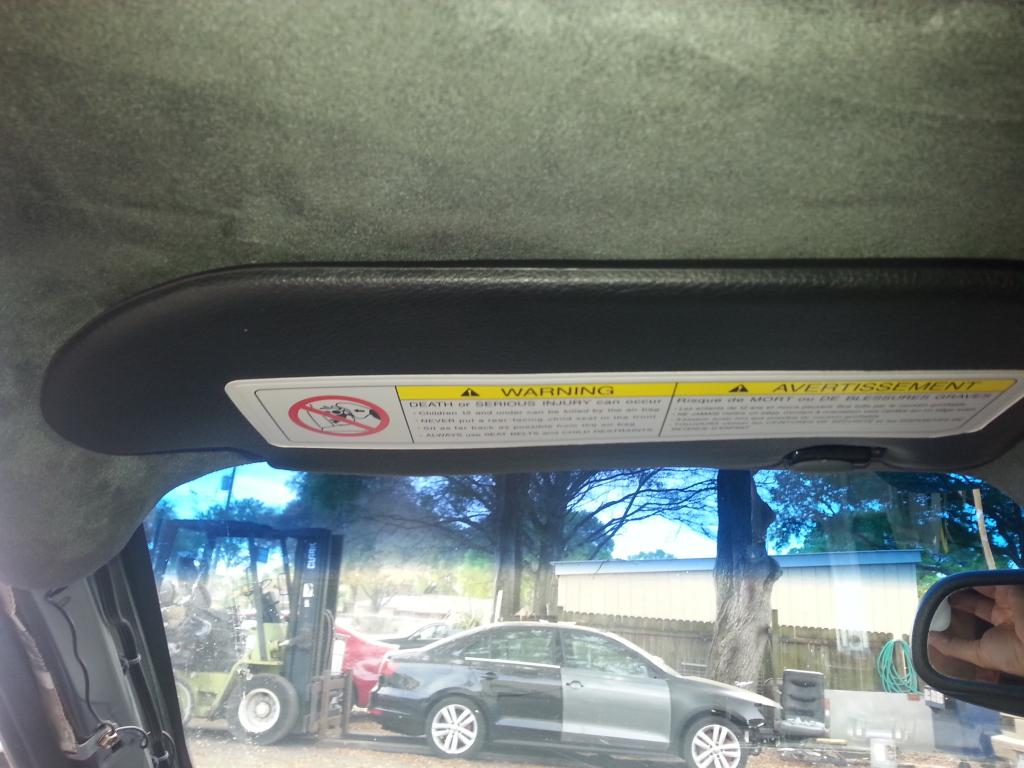
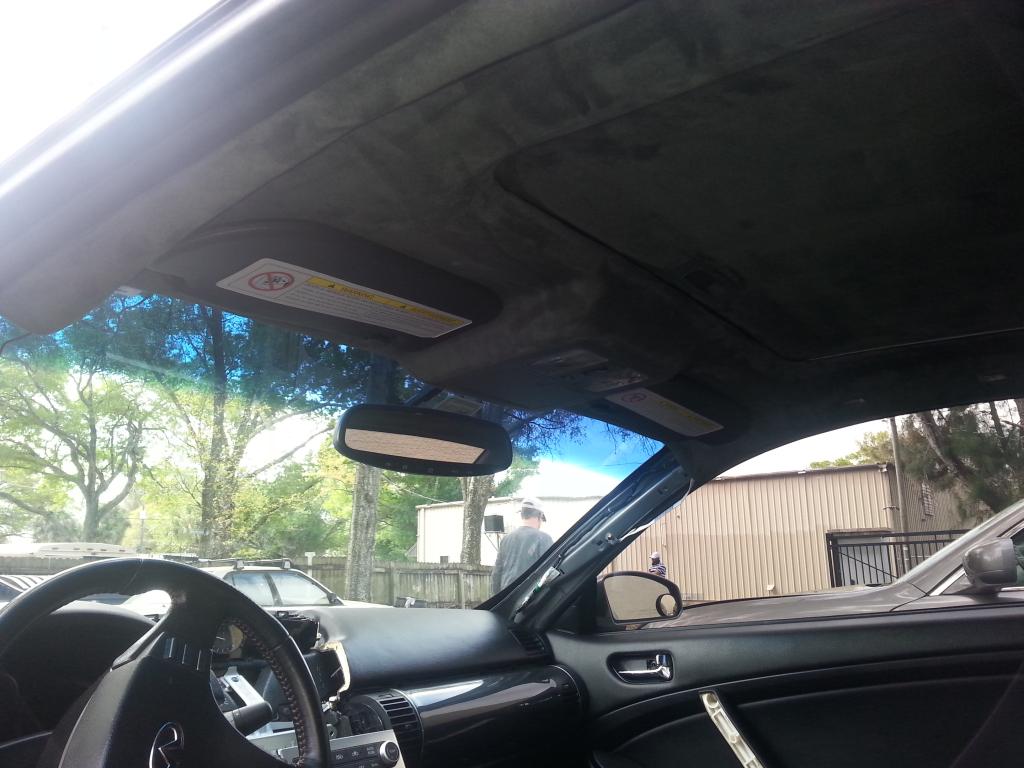
Then i went by my favorte place (Turbo-Toys) to pick up some 350z convertible sun visors, these will be dyed as well to match:
Just yesterday this arrived:
So, that is where she sits for now. Ill be adding some more photos in a couple of days. Once i get a little further.

Here is the color up close:

Now that we got those pieces done. Lets move on to the real reason why most of you are subbed......The 350z gauge / tablet project I started.
When i first was like, yah, this wont work, i'll have to make something:

Then it was time to cut the dash:

Rough mock up of how I wanted it:

Then it was ready for some fiberglass / bondo and a lot of hard work:

Test fitting it to make sure I didn't F anything up:

After a lot and i mean A LOT of sanding. It was time for some primer and more sanding:

Entire piece:

Then it was time to finally shoot some paint on a 4 month project.


Now, while that cures for a few days I spent the time wiring up all the stuff for the gauges / tablet. Forgot to snap pictures...
Then it was back to the interior stuff....
Suede Fabric:

Rear deck, rear pillars and headliner installed:

Rear Lower Panels installed:

Then the pillar gauge pod:

Plastics were painted to match. I didn't want the black trim.

Then i went by my favorte place (Turbo-Toys) to pick up some 350z convertible sun visors, these will be dyed as well to match:


Just yesterday this arrived:

So, that is where she sits for now. Ill be adding some more photos in a couple of days. Once i get a little further.
Last edited by DigitalDeviant; 04-06-2015 at 08:57 AM.
#143
03-18-2015, 03:20 PM

The following users liked this post:
DigitalDeviant (03-18-2015)
#144
03-18-2015, 03:23 PM


#145
03-18-2015, 03:28 PM
#147
03-19-2015, 10:35 PM
#148
03-19-2015, 10:48 PM
I like it. Its like an upgraded stock version. model is on my first page. BT, color change 2 outputs and a BT mic. Simple and effective.
Last edited by DigitalDeviant; 03-19-2015 at 11:05 PM.

#150
03-19-2015, 10:59 PM