When you click on links to various merchants on this site and make a purchase, this can result in this site earning a commission. Affiliate programs and affiliations include, but are not limited to, the eBay Partner Network.
Looking for suggestions on exterior window moulding
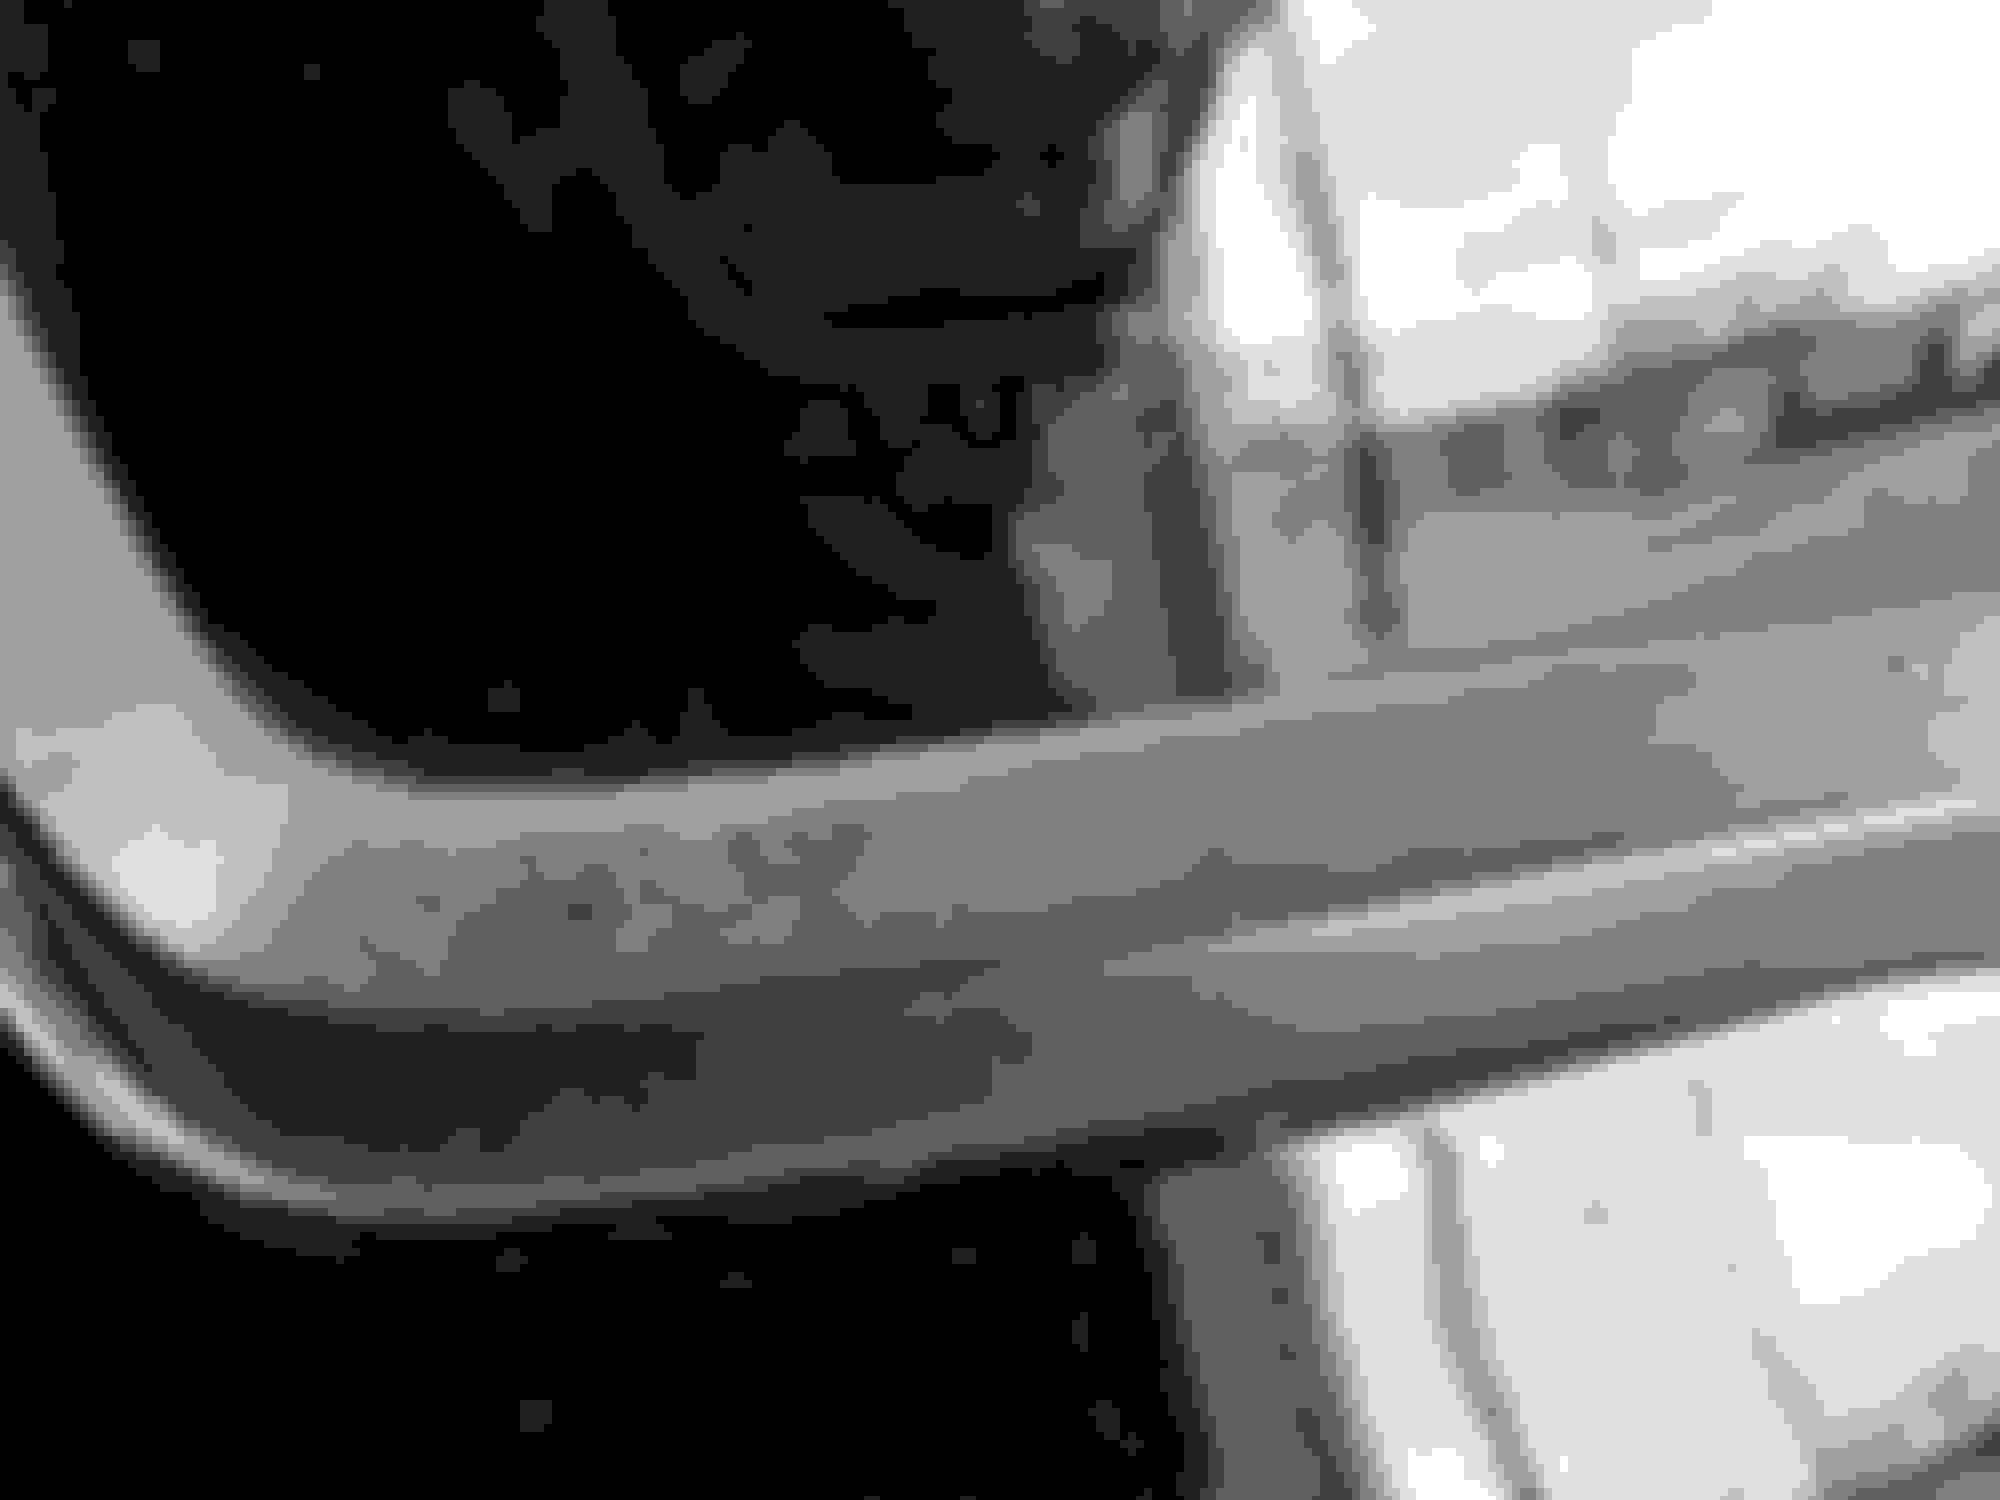
2006 coupe, passenger rear glass window moulding has some oxidation/deterioration/wear. Has anyone had luck with any restoration product for rubber in this condition? I'm not thrilled about replacing the factory moulding and would rather try a few products to save this existing rubber first.
Wow, I just realized there's a phone number etched into the glass for Safe-Guard Vehicle Protection so that's probably NOT the factory moulding... either way I'd like to save it if possible so still open to suggestions.
Easiest and most permanent is simply painting it. I didn't like the idea simply cuz I didn't want it to "look" like it was painted, but I tested it on my insight mouldings and it actually looks great.
If you wanna try an easier route first, get some "Wipe New". I can attest to that stuff bringing plastics back to life in an outstanding way. It's basically just a clear coat, but man, it makes everything from plastics to faded paint surfaces look great for a long long time. Roof rain rails, cowl and wipers, side-view mirror mounts, etc. and especially restored headlights.
Edit: infact, now that I look again at your pic, the Wipe New is perfect for that. You will not be disappointed.
Finally got around to using that Wipe New about a month ago, that stuff is amazing and STILL looks amazing. Anyone who is dealing with faded black plastic exterior components that wants something that LASTS I highly recommend checking it out but BE WARNED you don't want to get this on any surrounding paint or glass. I assume this is an acryllic-based product similar to Klasse paint sealant and you WILL see it on the glass. Rubbing alcohol and a lot of elbow grease will remove it from glass eventually.
This is the exact one I used, I'll try to get a pic later of how it turned out, I was PARTICULARLY impressed with how it shined up the side mirror plastic attachment on the door panel, mine was always a sort of "faded dark grey" but it's now a nice glossy black again.
Just for reference sake, I used it for the first time on my other car; that was a year and a half ago and it still looks really good. It is beginning to fade a bit, but still looking much better than before I did it (I missed a tiny spot when I originally did it, so I can tell how bad it was before applying it). I will probably redo it soon, but I live in San Diego (lots of sun), and reapplication every 1.5 - 2 years is perfectly acceptable.
But why not just repaint it? Seems like it would be the easier/longer lasting option.
Yeah, paint looks like paint. I don't really like the idea of painting unless it's the only option (like if the rubber stuff is chipping). Plus, with paint it takes a LONG time and a lot of masking and prepping (not to mention cleanup if you overspray). The wipe-new literally just wipes on and you can do everything in probably 30 mins including cowl, windshield wipers, roof drip rails, window mouldings, side mirror mounts, front bumper grid vents, and the rubber at the top of the windshield. It would take forever to paint all that stuff properly, and it wouldn't look any better.
bonus: It's also an outstanding clear coat for restored headlights.
For anyone using this in the future I do recommend masking off the areas you are applying this stuff because it's HELL to get off of glass and surrounding paint.
I tried this stuff over the weekend. I like to think I took all the necessary steps in preparation, and I am not impressed with how it turned out. It could very well be my neanderthalic ham hands that messed it up, but the finish turned out splotchy and streaky despite my best efforts. I will use it again because I don't really have a choice, and it can't get much worse than it looks now, but if it doesn't take a complete 180� in appearance, I would hesitate to recommend it. Again, it could have been completely my fault, and I have a feeling due to the awkward shape of the mirror trim my coatings were pretty inconsistent, but if that were the case the headlights should have ended up fine (spoiler alert: they didn't).
First, it's a couple bucks cheaper in store at Walmart and Home Depot than it is on Amazon, so there's that.
Second, the instructions recommend cleaning the intended surfaces with soapy water, and then using a degreaser "such as Trisodium Phosphate". I could ONLY find TSP brand Trisodium Phosphate in store at Lowe's. Walmart, HD, and Target had Trisodium Phosphate listed on their sites (and Amazon, of course), but it was only available in store in the paint section of Lowe's.
Anyways, I cleaned all the surfaces with soapy water, degreased with the degreaser (which seemed to pull a good amount of debris off, so I rinsed and repeated this step), let everything dry for a couple hours, and the WipeNew still came out streaky in some places, and splotchy in others (see pics). Maybe my 12yo plastic needs two coats of the stuff, but as it stands it would have looked way better if I had just painted it. The lighting makes it kinda hard to tell, but the first pic is the 'before'. The 'after' surface definitely looks darker in person and overall better than the faded plastic, but again, splotch city.
On top of the less than spectacular results on the intended surfaces, the instructions said to "saturate" the little cloth with WipeNew, but doing so and then touching the saturated cloth to a vertical surface (such as the side mirror trim) causes liquid run out of the cloth, down your masking tape, and alllllll up onto your paint. Wonderful! I was able to take care of the running issue in most cases, but some of the WipeNew managed to find it's way into/through my masking tape and cure there, so it's all over my paint on one side, and will have to be buffed away.
TLDR; Difficult to apply evenly, 4/10 would not buy again.
PS: bonus garage wine painting because I'm a classy motherf*cker.
Honestly, I didn't even read the instructions, so I never saw the part that said to "saturate" the cloth. I had previously used their headlight kit which comes with a pre-soaked application rag (kinda looks like a wet-nap). I later got the box with the bottle, but I just put enough on the rag to "feel" like the original headlight kit napkin. But, yeah, you definitely don't want this stuff dripping.
What was included in the headlight kit? The kit I got had a little 2x2" 2000 grit sanding pad to remove the oxidation, and a 3rd microfiber (2 were yellow meant for trim, 1 was red and slightly larger meant for the headlights). Supplying the rags like wet-naps is a good idea though - when I applied to my headlights it looked like I had full coverage, but as it cured I think it dried up in parts leaving streaks because the coating wasn't 'thick' enough / rag wasn't saturated enough. Maybe. Who knows.
It's not supposed to rain here tomorrow (product has to cure for 24h before getting wet) so I think I'm going to wash and remask tonight and give everything another coat. I still have hope.