
03 G35 Sedan Quad Morimoto Projector Retrofit


Joined: Jun 2012
Posts: 267
Likes: 55
From: El Mirage, AZ
03 G35 Sedan Quad Morimoto Projector Retrofit
I had recently got some questions in regards to my projector retrofit. I did document the process to the best of my abilities so I figured I would share with you all.
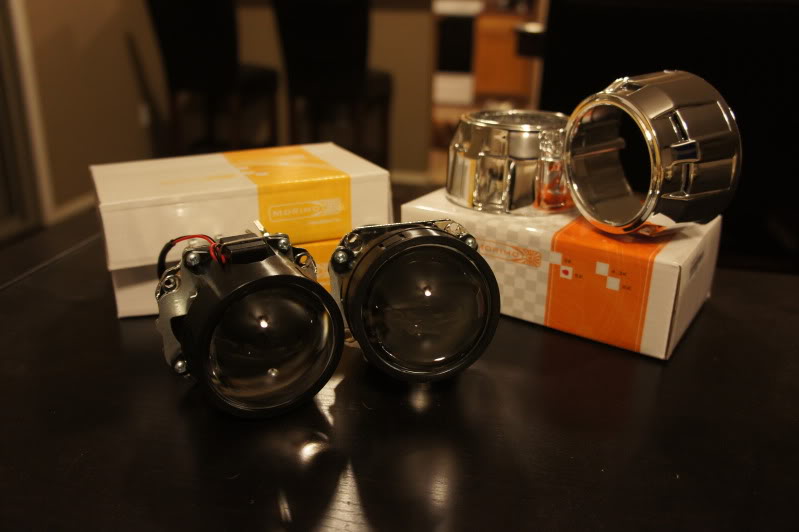
This is the Morimoto Bi-Xenon Mini Stage III H1 kit that I purchased. It is a simple, close to plug and play as it gets out there on the market. Comes with the projector, ballasts, bulbs, EVERYTHING needed for the retrofit. I originally was going to do just the low beam in the high/low location but decided against it and finished up the look now while I had the headlights open.
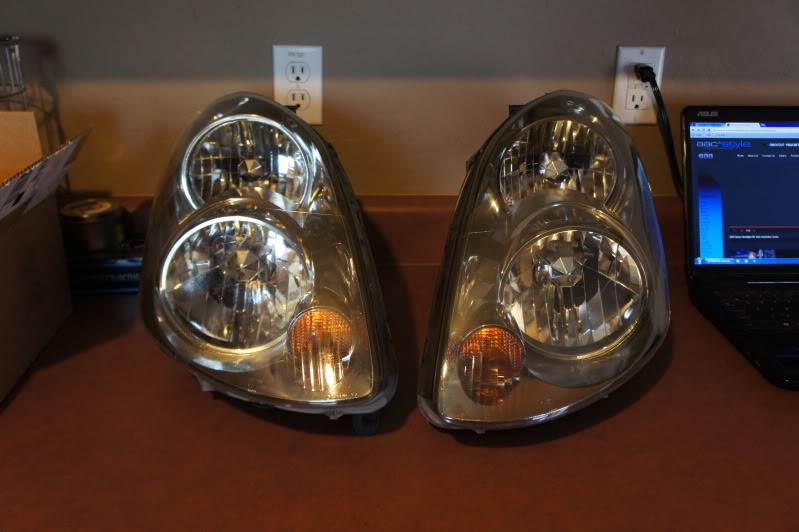
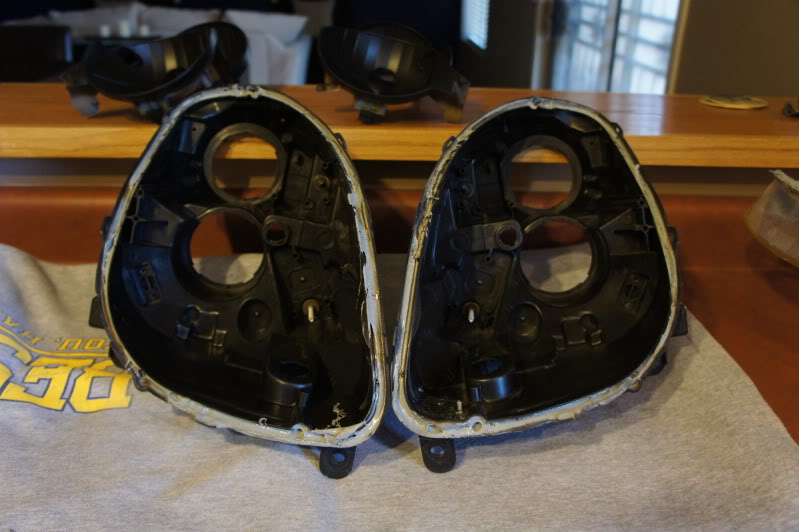
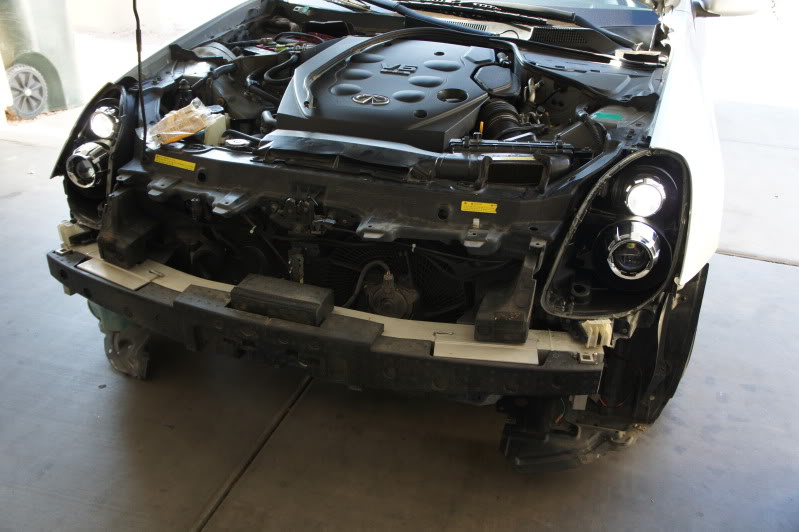
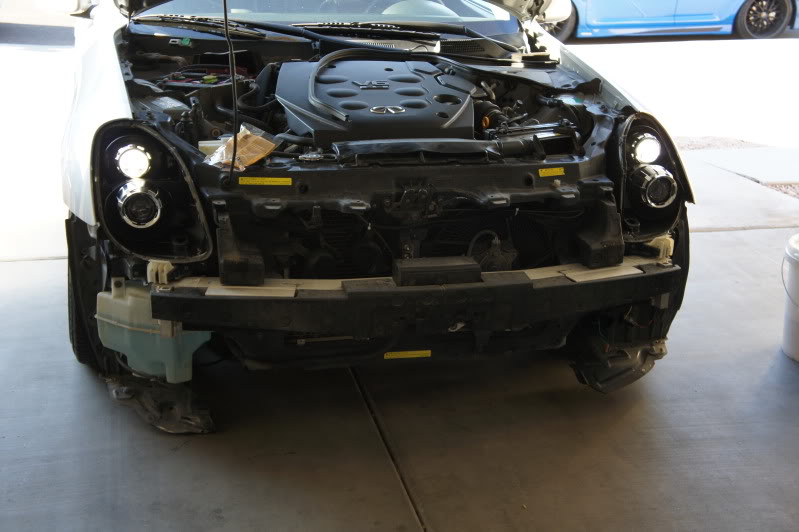
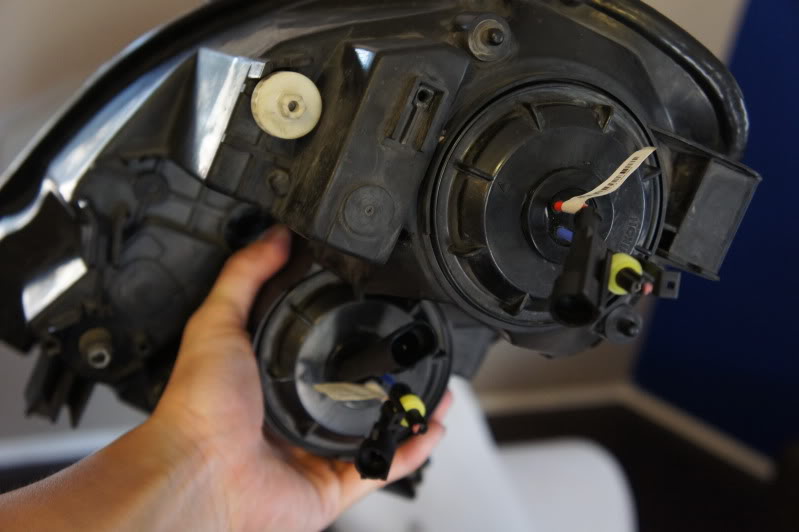
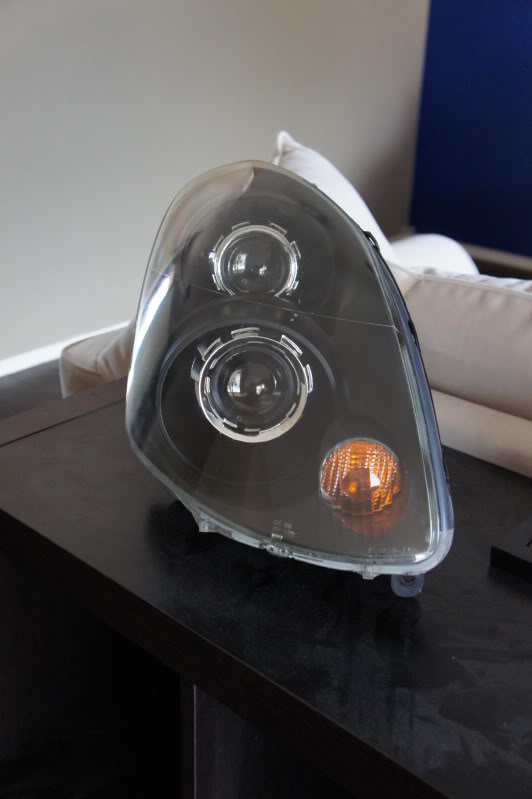
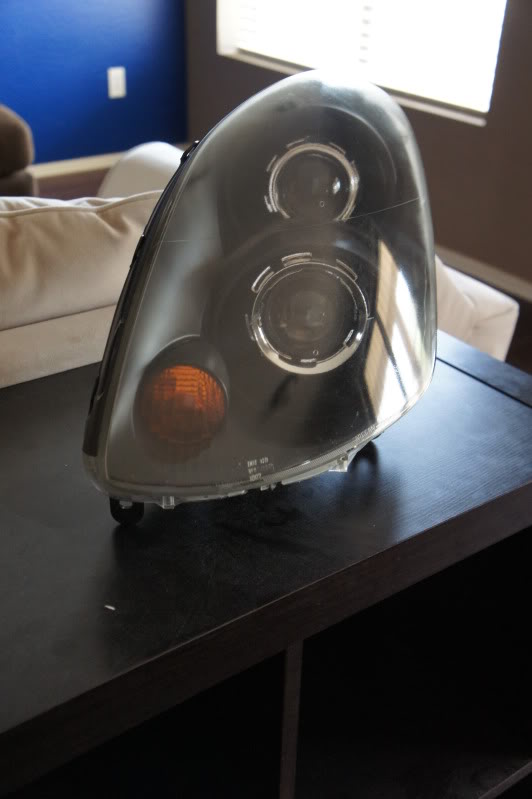
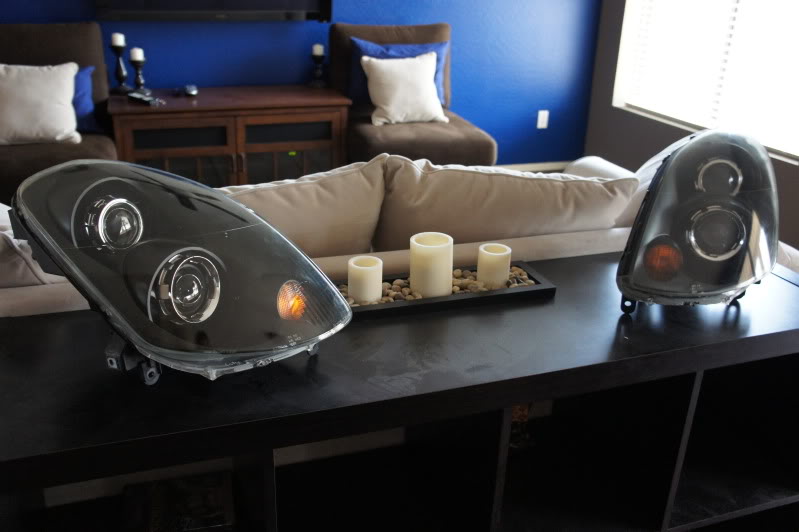
So up first would be getting the headlights removed from the vehicle. I did not document that portion since I assumed most will already know how to do that. Headlights removed and ready to start the project:
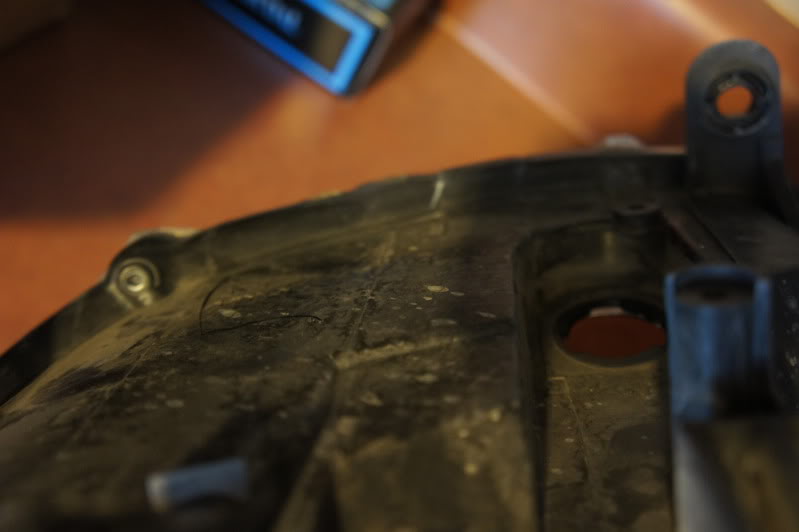
Funny part was after the removal of the headlight, whoever the original owner was of this car decided to break all three mounting brackets on the driver side headlight, maybe they didn't have a clue how to remove the headlight I fixed that too but that is for another time.
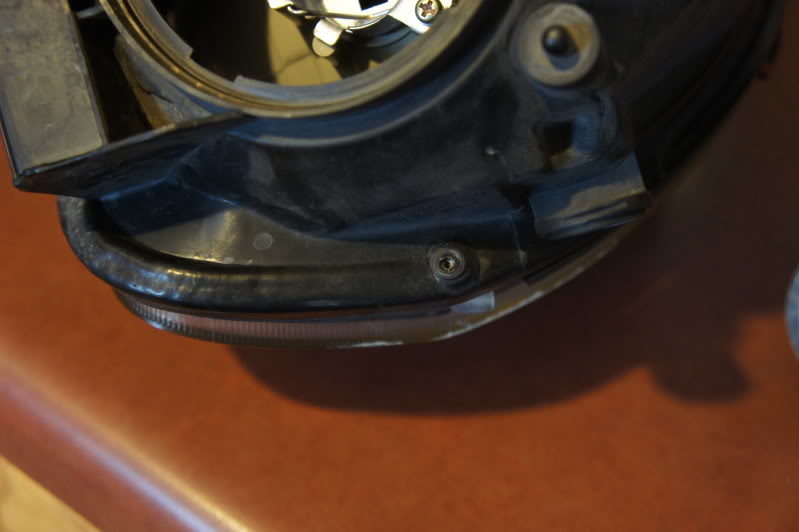
Before putting the headlights in the oven to remove the lens, there are I believe 3 screws holding the lens to the housing that needs to be removed with a screwdriver:
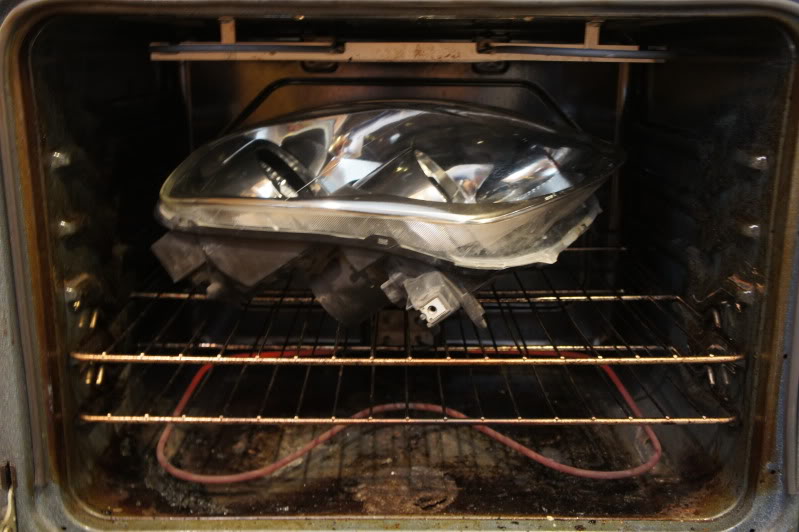
After removing those, preheat oven to 220 and put headlight in for about 15 min to bake. Process is to heat up the adhesive holding the lens to the housing so that it can be easily pried apart:
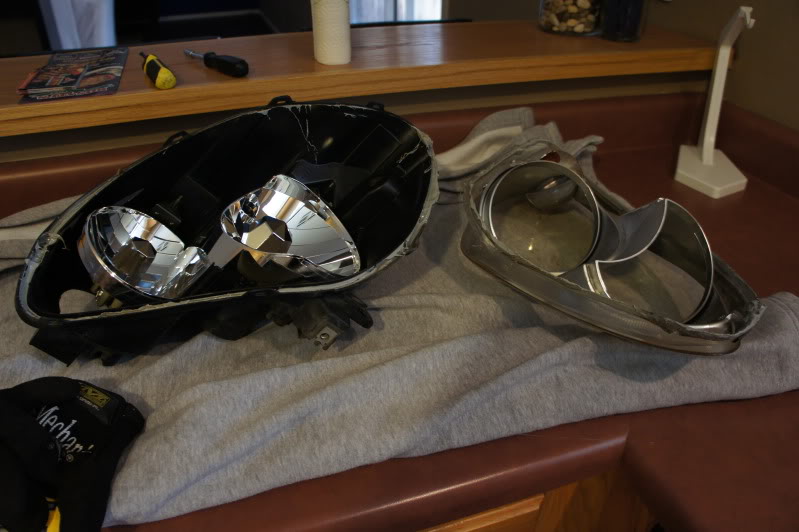
Caution when removing as content is extremely hot, I wore mechanic's glove and placed it on a blanket on the kitchen countertop. Using my hands, I was able to pry apart the lens from the housing. There are several tabs holding the lens in place, after lifting one up, the rest should follow as the lens is taken off:
After the lens is separated, the trimming inside the lens also needs to be removed, I believe 2-3 more screws held it in place:
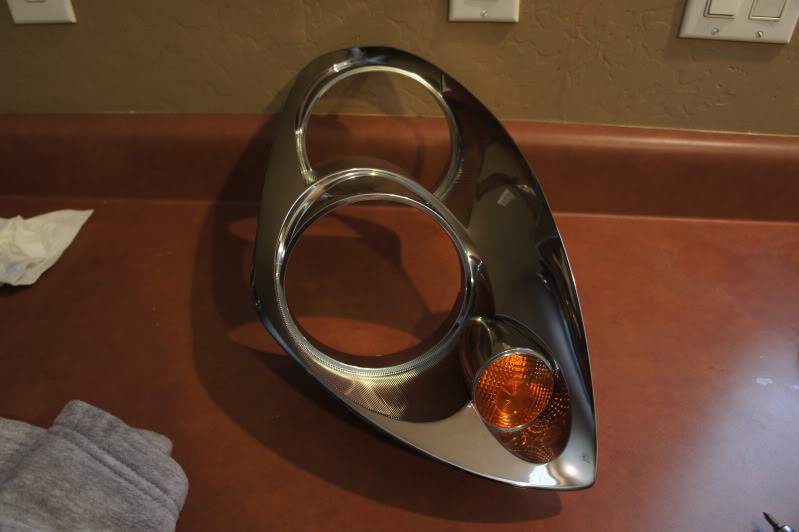
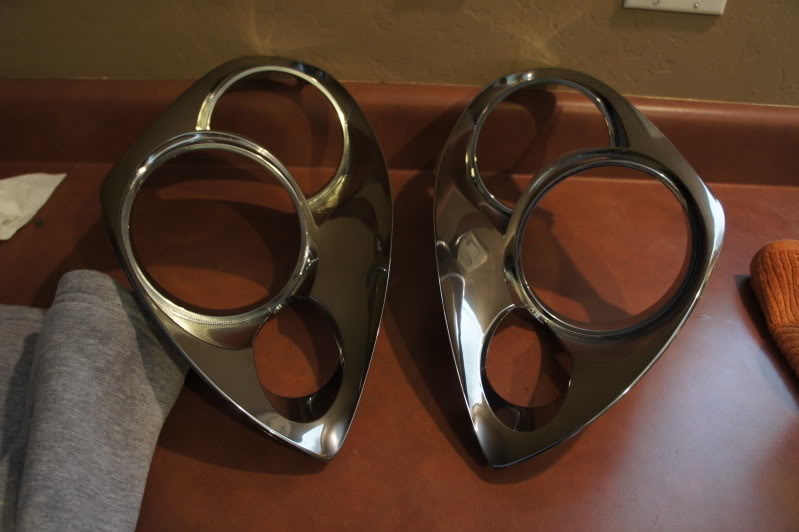
Both removed:
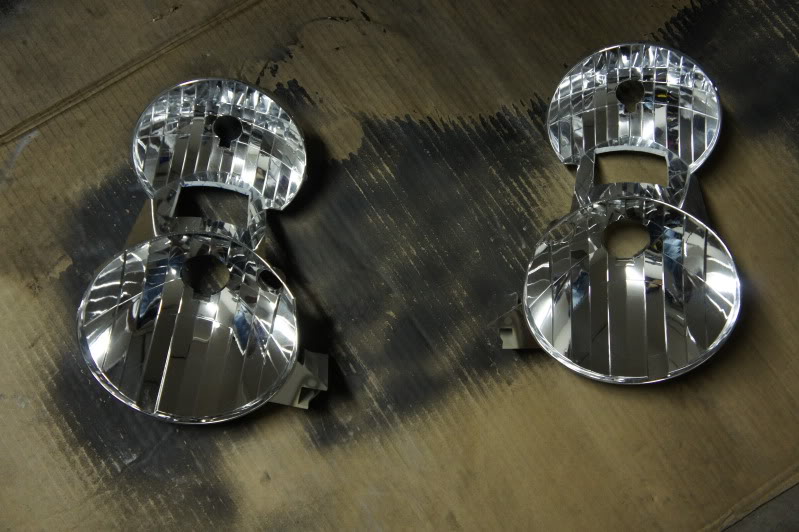
The reflector housing is also held in place by the two adjustment/aiming bolts, so remove those and pop out the bottom bracket and those will come out of the actual housing:
I also removed the turn signal housing too which is held in by a screw.
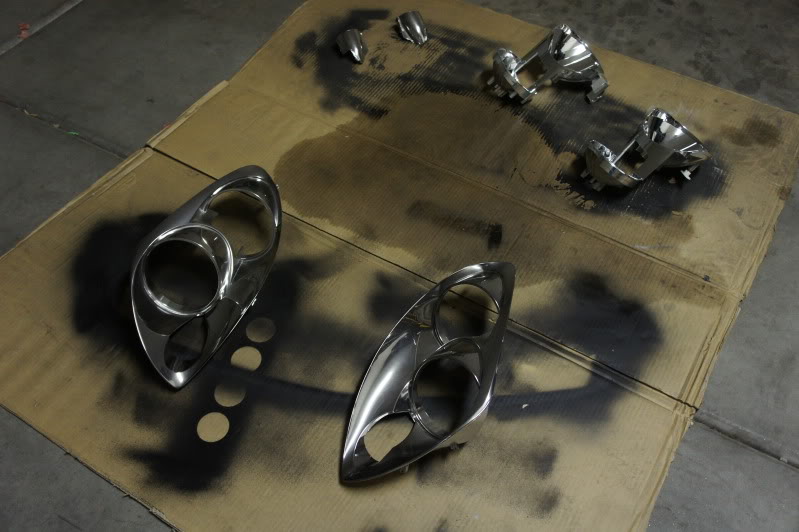
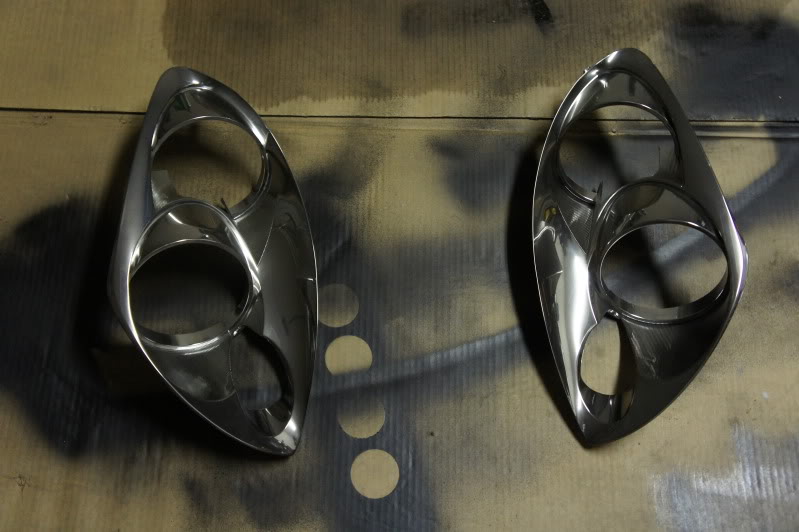
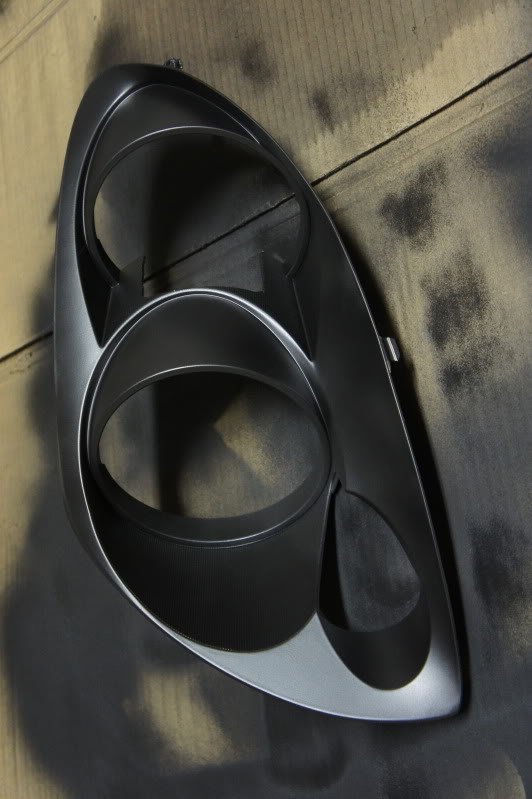
Now this is where the fun happens, I know I said the kit is mostly plug and play which it is, but IT NEEDS TO FIT! Time to dremel the trimming and reflector housing to make sure the projector fits. The reason why trimming is involved is to fit the projector in the top housing. Bottom projector does not require trimming because there is ample space in the 03-04 headlights. If you decide to run the low beam in the high/fog location, no trimming is required. But for the quad retro, it is a must:
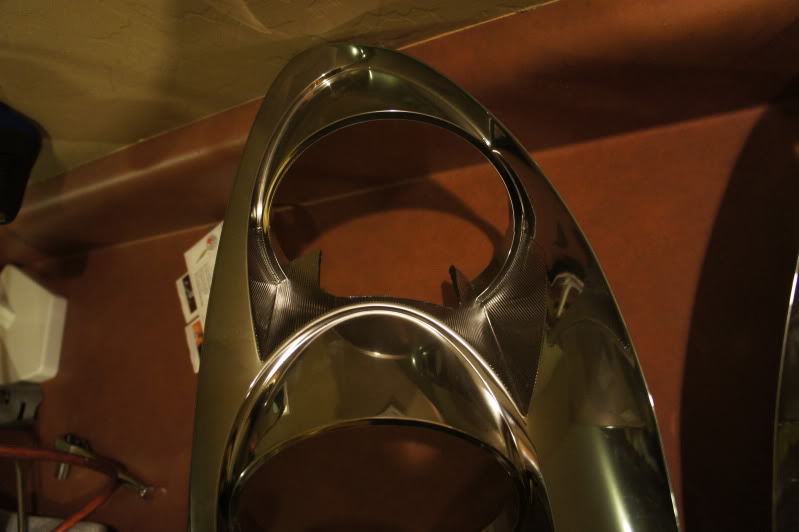
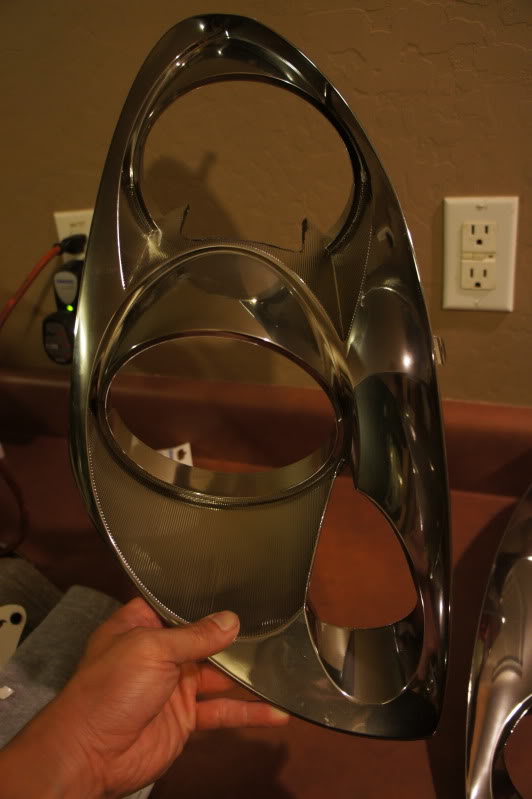
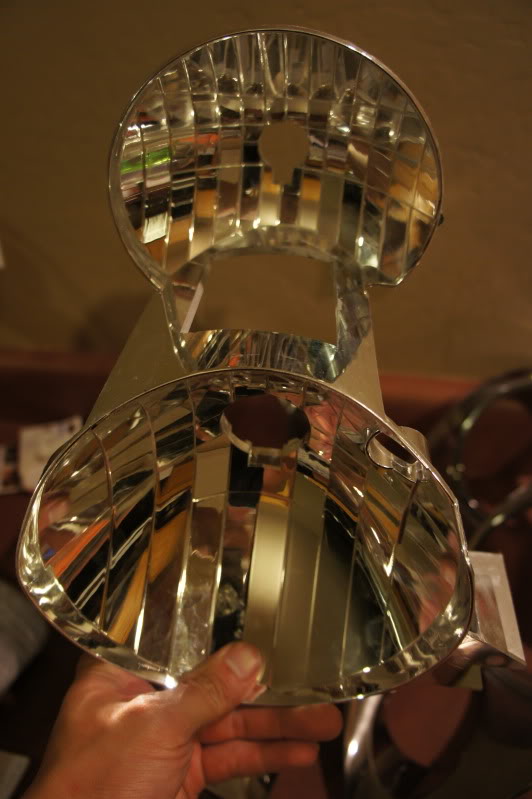
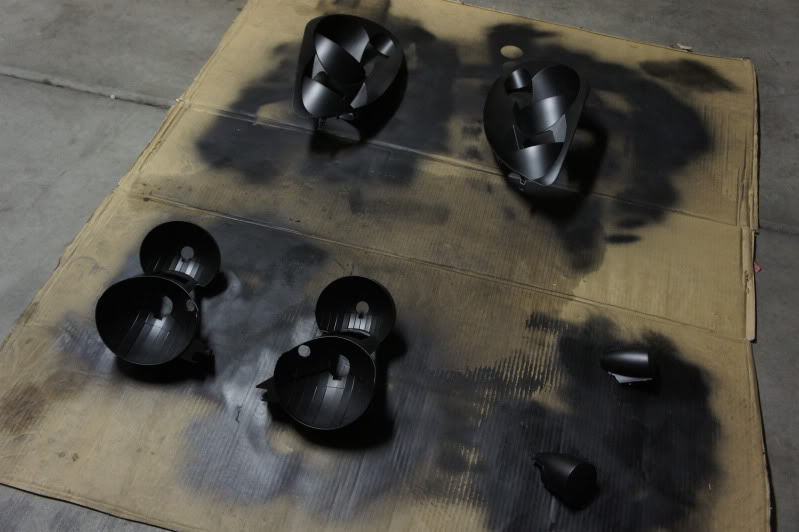
I do not recall how much I trimmed away unfortunately as I tossed the piece from the cutout. When you go to mount the casing with the projectors in, it will give you a great idea. From the pictures, that is the cutout that you want to aim for. Once I got those cut out, I prepped all the parts for paint. I used an all purpose cleaner, rinsed and air dryed before the paint:
As you can tell in the pictures, I have plastidipped before and that was also the paint I decided to use for the inside of the headlight, plus it matched my grill that I plastidipped:
I also at the time couldn't decide on clear or retaining amber turn signal so I taped off the signal to prevent paint from adhering:
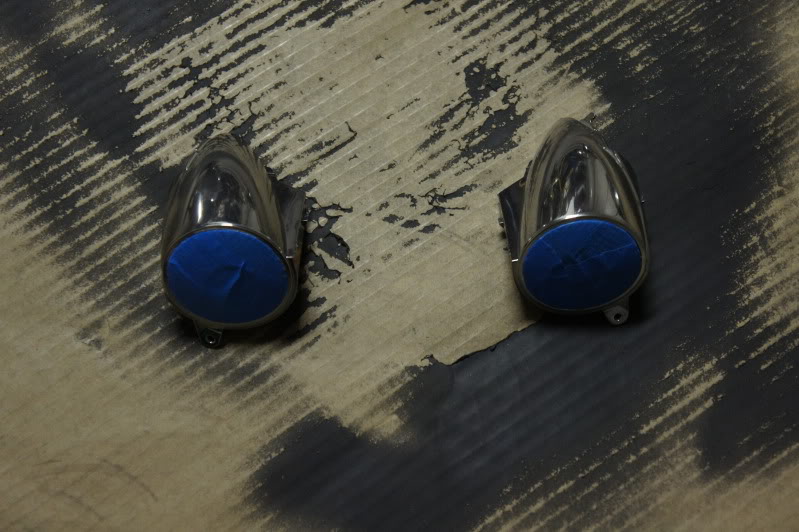
I applied three total coats to get a good uniform look. Smooth, overlapping and consistent speed will provide a good finish. Two cans was all it took:
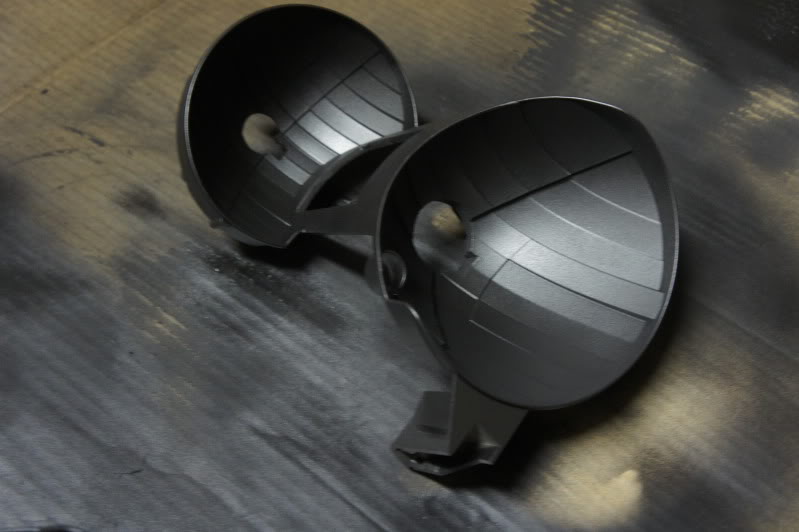
After the paint cures, for me, about 12 hours, I brought everything back inside and prepared to assemble the headlight back together:
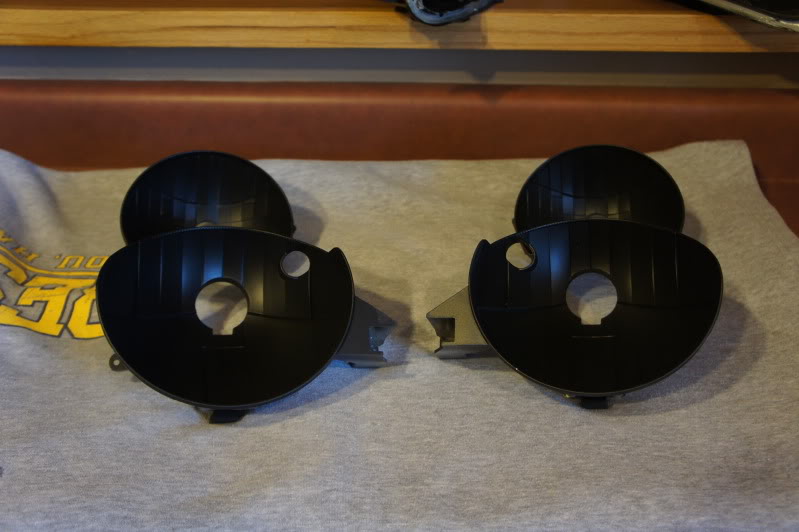
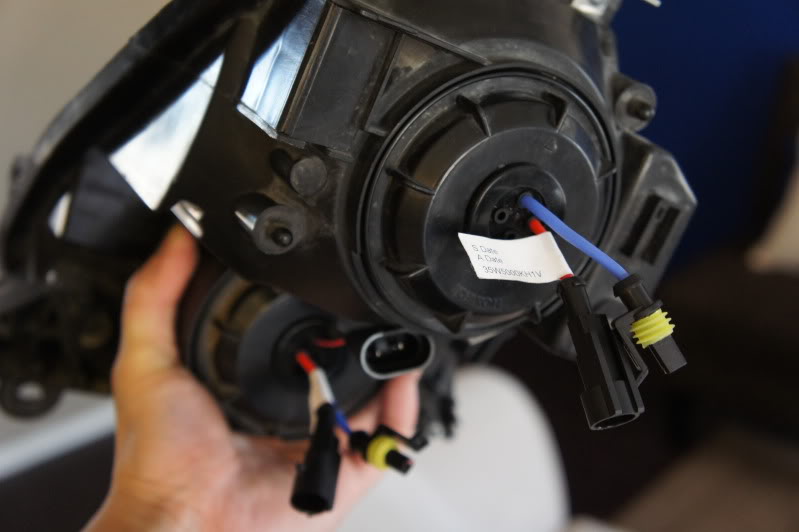
Mounted the projectors to the reflector housing to test securing the projector. The morimoto kits are secured by the threading on the back of the projector along with an adapter plate and nut:
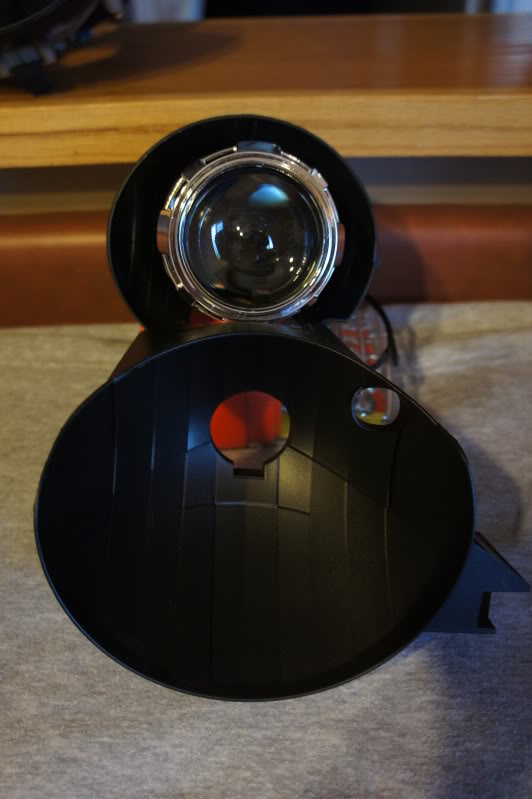
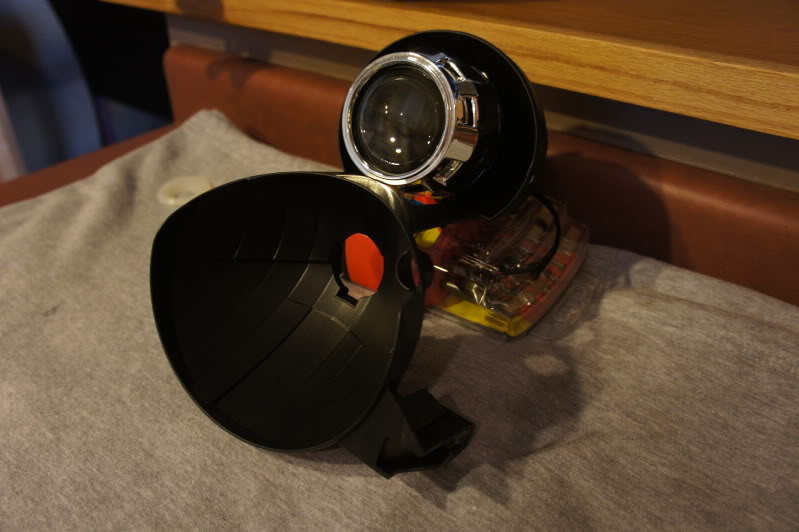
Remounted reflector housing back into headlight housing:
Installed turn signal back into lens trim:
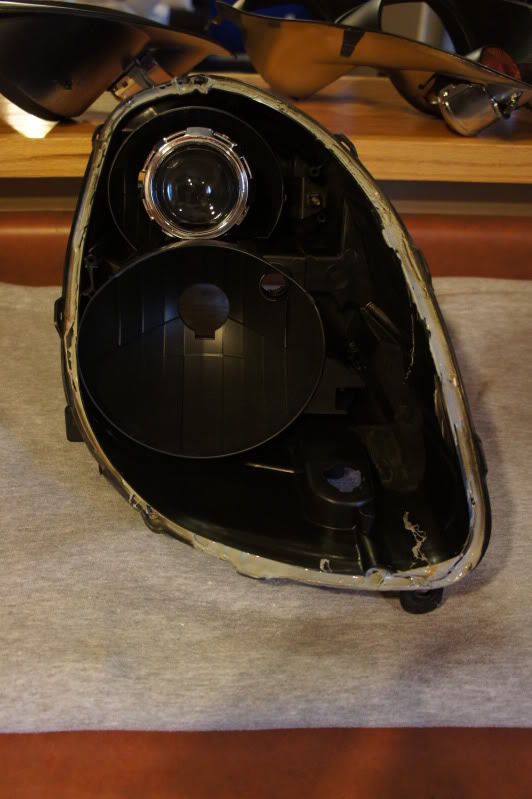
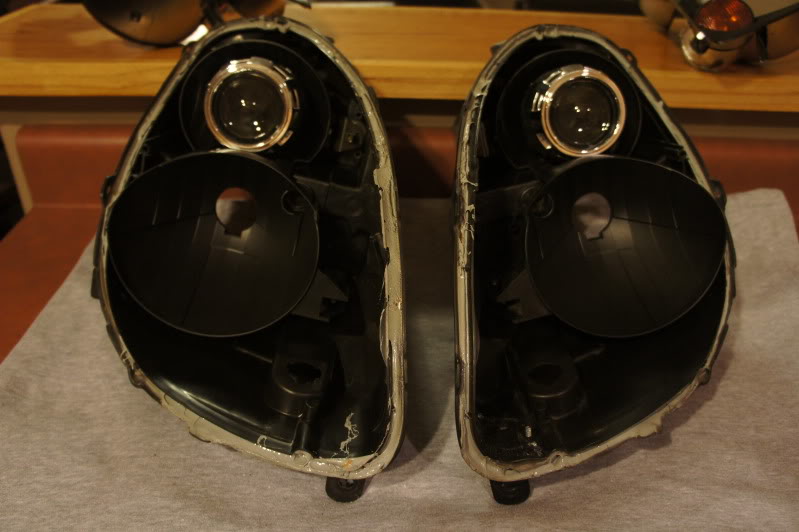
Mounted trim back onto housing to see how everything lines up:
Mounted bottom projector and placed lens back over to ensure fitment yet again:
Almost done right, WRONG. Since everything was good to go in terms of the headlight, mounting of projector, etc, we now get to go run some wires in the engine bay!
We now get to take all of this:
and this:
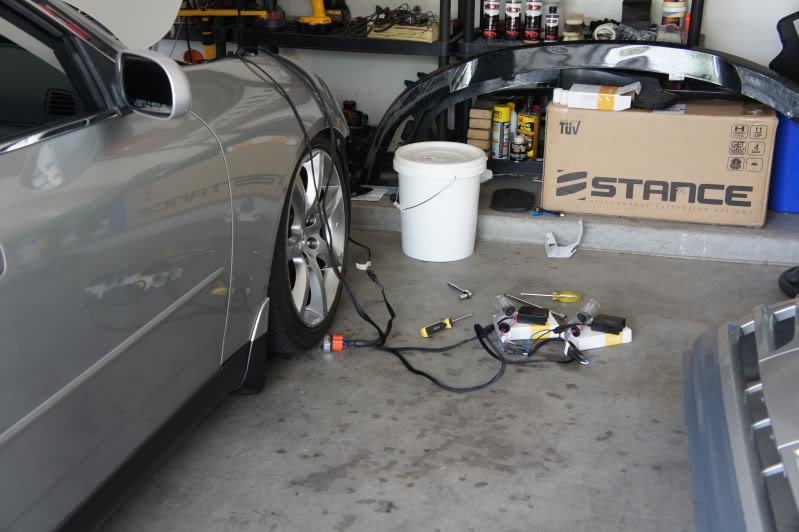
and this:
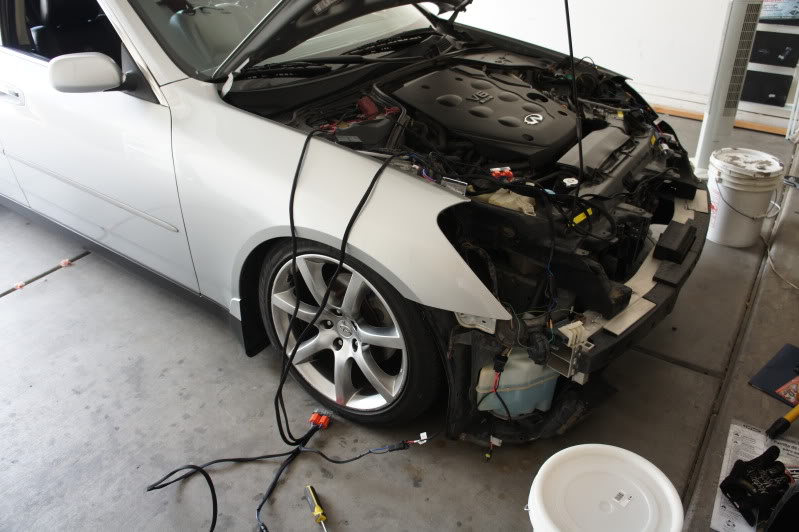
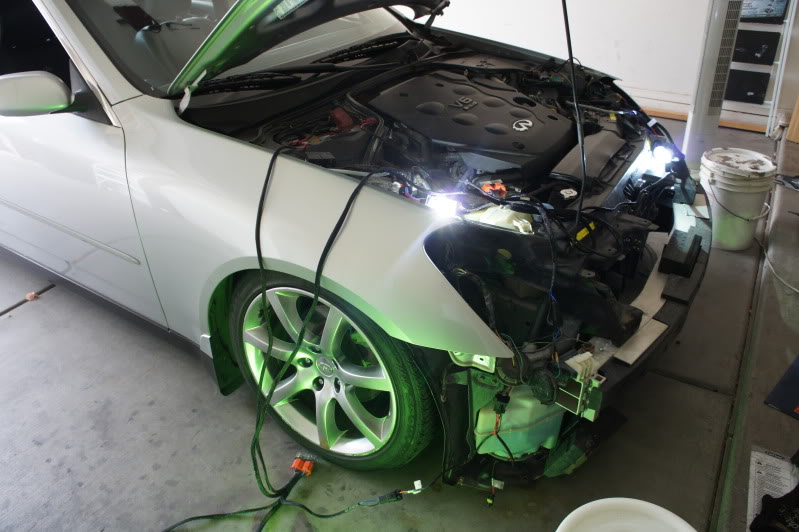
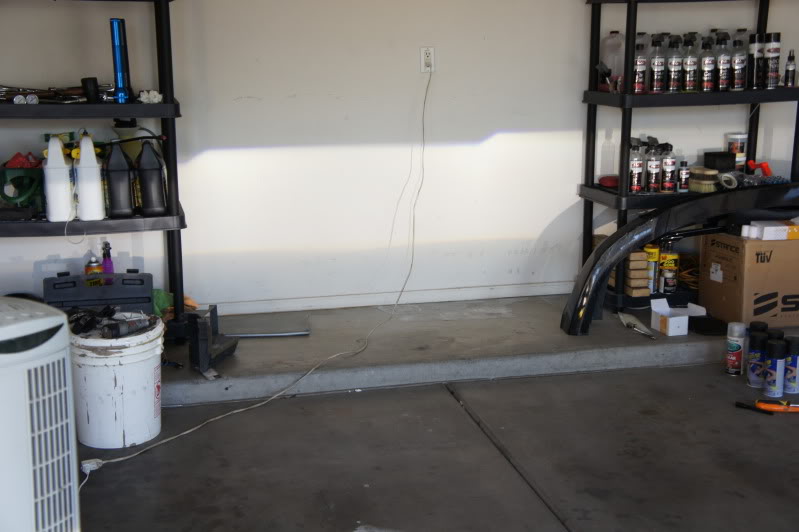
and hide it in the engine bay neatly! I did not get a chance to document how I ran all the wires but essentially positive cables I ran through the fender liner to the battery via the wire tuck method, mounted fuse underneath or close to the windshield fluid housing and ran the other run of wires to the driver side headlight underneath the reenforcement bar. I used zipties to hold everything in place. Once you run the wires, I would recommend doing a quick test to make sure the lights actually work with the wiring provided and your skills at figuring how the wiring worked. If done correctly, all lights should come on as such, my case, low beam and fog:
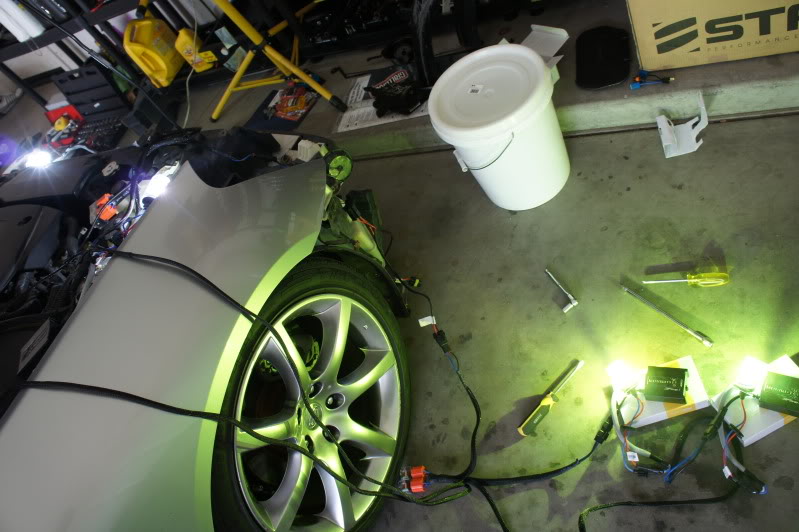
Once that step is out of the way, time to aim the projectors, this I would say would be where you want to spend most of your time to ensure that you get the best cutoff possible:
Once happy with the desired cutoff, time to uninstall the headlights and prepare to reseal the headlights, almost there!
This is the Morimoto Bi-Xenon Mini Stage III H1 kit that I purchased. It is a simple, close to plug and play as it gets out there on the market. Comes with the projector, ballasts, bulbs, EVERYTHING needed for the retrofit. I originally was going to do just the low beam in the high/low location but decided against it and finished up the look now while I had the headlights open.
So up first would be getting the headlights removed from the vehicle. I did not document that portion since I assumed most will already know how to do that. Headlights removed and ready to start the project:
Funny part was after the removal of the headlight, whoever the original owner was of this car decided to break all three mounting brackets on the driver side headlight, maybe they didn't have a clue how to remove the headlight
I fixed that too but that is for another time. Before putting the headlights in the oven to remove the lens, there are I believe 3 screws holding the lens to the housing that needs to be removed with a screwdriver:
After removing those, preheat oven to 220 and put headlight in for about 15 min to bake. Process is to heat up the adhesive holding the lens to the housing so that it can be easily pried apart:
Caution when removing as content is extremely hot, I wore mechanic's glove and placed it on a blanket on the kitchen countertop. Using my hands, I was able to pry apart the lens from the housing. There are several tabs holding the lens in place, after lifting one up, the rest should follow as the lens is taken off:
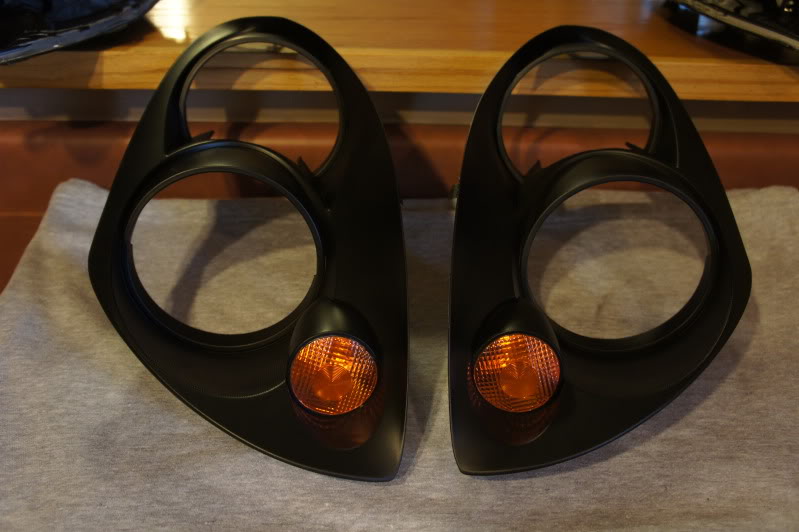
After the lens is separated, the trimming inside the lens also needs to be removed, I believe 2-3 more screws held it in place:
Both removed:
The reflector housing is also held in place by the two adjustment/aiming bolts, so remove those and pop out the bottom bracket and those will come out of the actual housing:
I also removed the turn signal housing too which is held in by a screw.
Now this is where the fun happens, I know I said the kit is mostly plug and play which it is, but IT NEEDS TO FIT! Time to dremel the trimming and reflector housing to make sure the projector fits. The reason why trimming is involved is to fit the projector in the top housing. Bottom projector does not require trimming because there is ample space in the 03-04 headlights. If you decide to run the low beam in the high/fog location, no trimming is required. But for the quad retro, it is a must:
I do not recall how much I trimmed away unfortunately as I tossed the piece from the cutout. When you go to mount the casing with the projectors in, it will give you a great idea. From the pictures, that is the cutout that you want to aim for. Once I got those cut out, I prepped all the parts for paint. I used an all purpose cleaner, rinsed and air dryed before the paint:
As you can tell in the pictures, I have plastidipped before and that was also the paint I decided to use for the inside of the headlight, plus it matched my grill that I plastidipped:
I also at the time couldn't decide on clear or retaining amber turn signal so I taped off the signal to prevent paint from adhering:
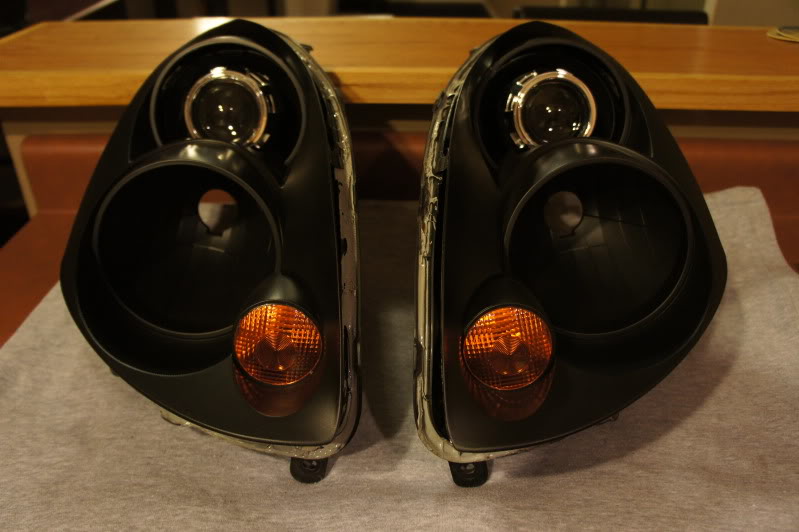
I applied three total coats to get a good uniform look. Smooth, overlapping and consistent speed will provide a good finish. Two cans was all it took:
After the paint cures, for me, about 12 hours, I brought everything back inside and prepared to assemble the headlight back together:
Mounted the projectors to the reflector housing to test securing the projector. The morimoto kits are secured by the threading on the back of the projector along with an adapter plate and nut:
Remounted reflector housing back into headlight housing:
Installed turn signal back into lens trim:
Mounted trim back onto housing to see how everything lines up:
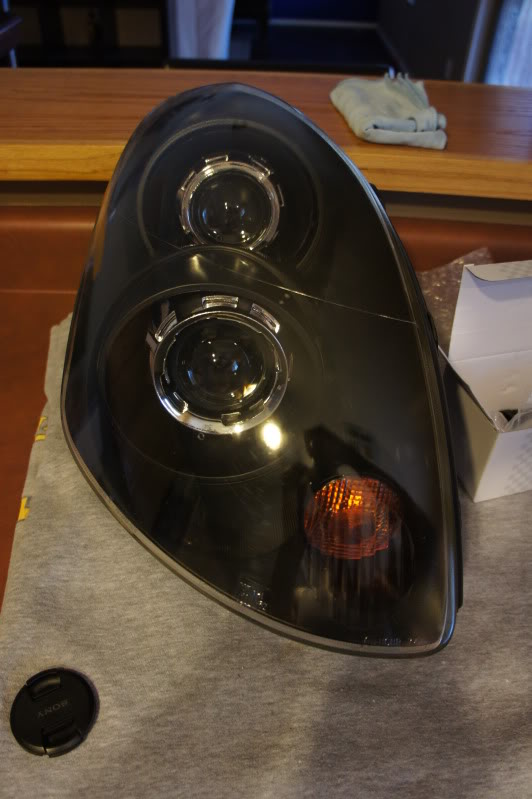
Mounted bottom projector and placed lens back over to ensure fitment yet again:
Almost done right, WRONG. Since everything was good to go in terms of the headlight, mounting of projector, etc, we now get to go run some wires in the engine bay!
We now get to take all of this:
and this:
and this:
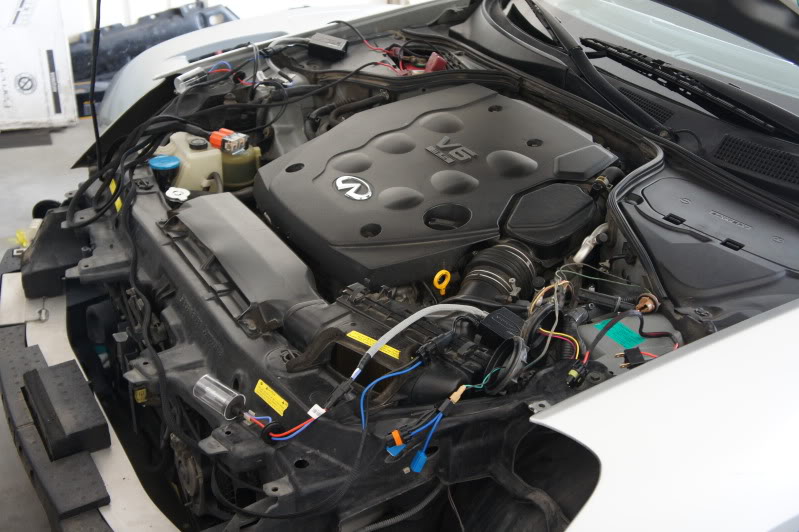
and hide it in the engine bay neatly! I did not get a chance to document how I ran all the wires but essentially positive cables I ran through the fender liner to the battery via the wire tuck method, mounted fuse underneath or close to the windshield fluid housing and ran the other run of wires to the driver side headlight underneath the reenforcement bar. I used zipties to hold everything in place. Once you run the wires, I would recommend doing a quick test to make sure the lights actually work with the wiring provided and your skills at figuring how the wiring worked. If done correctly, all lights should come on as such, my case, low beam and fog:
Once that step is out of the way, time to aim the projectors, this I would say would be where you want to spend most of your time to ensure that you get the best cutoff possible:
Once happy with the desired cutoff, time to uninstall the headlights and prepare to reseal the headlights, almost there!
Last edited by DTRUONG_112; Aug 14, 2012 at 10:33 PM.
Joined: Jun 2012
Posts: 267
Likes: 55
From: El Mirage, AZ
I forgot what size bit I used but you want to cut an opening on the back of the rubber hat so that it seals the housing but allows easy connect and disconnect of lights. This is how it should look. Then follow the same process earlier to seal the headlights back up. Preheat oven to 220, put back in oven with lens on, remove and apply pressure to close the headlight. After it cools, the adhesive will cure and seal the lens. People can also put a bead of silicone to ensure zero chance of moisture from getting in. I chose not to because I was undecided on the turn signal for the future. All sealed up and ready for installtion:
And finished results:
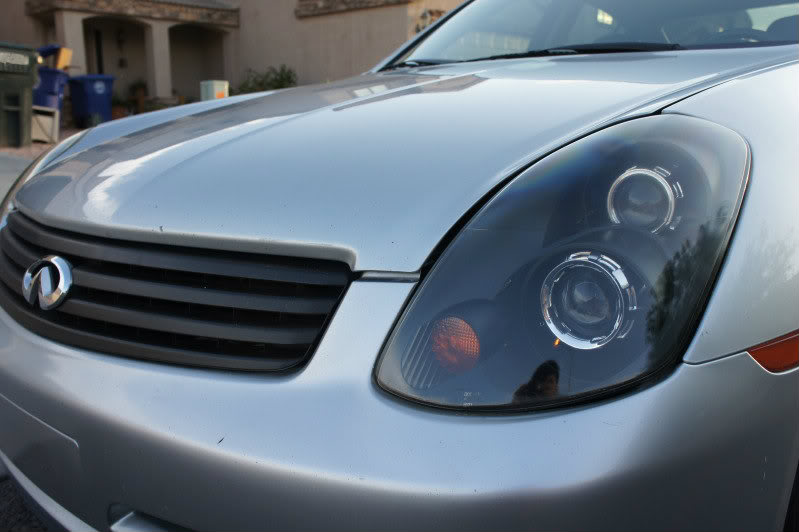
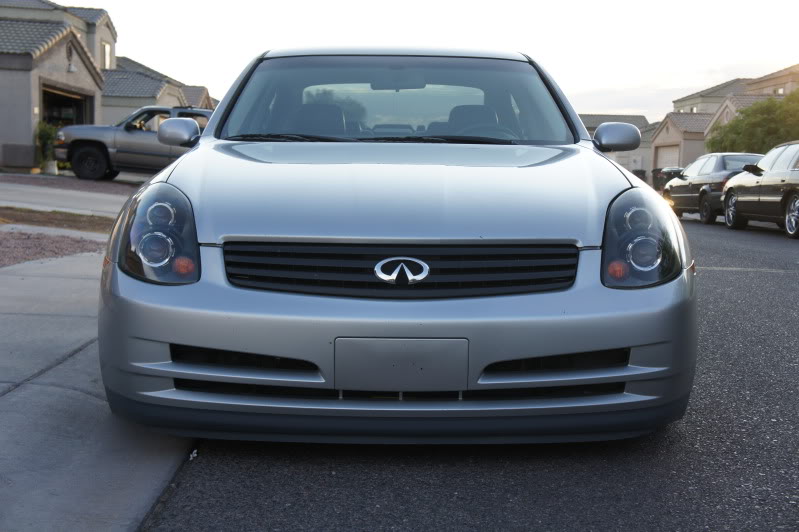
In summary, this was the best project that I have ever done since tuning cars. First retrofit ever and probably won't be my last. Parts ran total with both kits for $540 and some parts here and there, still below $600. I spent a couple days on the project, hours I lost count unfortunately but doable within a fulls day work depending how much perfection you are going for
I will most likely update with the clear turn signal modification as that is next on the headlight to-do list. This was a pretty extensive thread too, so if I forgot a step or two, let me know so that I can elaborate further
And finished results:
In summary, this was the best project that I have ever done since tuning cars. First retrofit ever and probably won't be my last. Parts ran total with both kits for $540 and some parts here and there, still below $600. I spent a couple days on the project, hours I lost count unfortunately but doable within a fulls day work depending how much perfection you are going for
I will most likely update with the clear turn signal modification as that is next on the headlight to-do list. This was a pretty extensive thread too, so if I forgot a step or two, let me know so that I can elaborate further


Joined: Jun 2012
Posts: 267
Likes: 55
From: El Mirage, AZ
Not that bad at all actually. Just time consuming to get the ideal cutoff line. More tedious than anything.
Trending Topics


I actually did what you first had in mind, putting the low beam in the high/fog location. I had two problems with the kit. The first was that i was unable to get the lock nut to screw onto the projector because the silicon gourmet was too thick so i trimmed it a little and the nut was finally able to screw down. The last problem i had was that the shroud kept falling out even with the hub centric ring. I think the shroud fell off like 3-4 times total. I also had the hub centric ring burn a small hole (I have no clue how that happen, but TRS sent me a replacement quick). Other than a few flaws I think it was all worth it!
Great job with yours!
Great job with yours!
Joined: Jun 2012
Posts: 267
Likes: 55
From: El Mirage, AZ
 I went back in and used jbweld to hold the shroud onto the ring. Great so far!
start services headlights on the side, you can make a grip do this for ppl. awesome job! id never have the ***** to do that myself I'm not electronically inclined what so ever. PROPS!
Joined: Jun 2012
Posts: 267
Likes: 55
From: El Mirage, AZ
