ip w/blackhousing ( real thing )
#18
thanx guys for the compliment.
as for the grille i dont plan on painting it black, i like the way it looks now. imo too much might over doing it. maybe on a black car it might work.
i use the heatgun method, i was gonna use the oven but i dont want to ruin anything and i went with what works best for me.
as for a diy i can summarize it but its really not that hard. hardest part is takin off the lense itself. sorry no pictures, im an idiot i should have brought my camera to my friends house. i think i got too excited i totally forgot about it. sorry
heres a quite write-up i made, i know its not the best and without pictures its not gonna help much.
1- remove bumper from car, pull off the fender wall and you'll see 2 screw 10mm holding the bumper up on the fender.
2- remove all clip-ons on the top of the bumper, require to open hood. theres also 4 screws , 2 on each side. both 10mm screw.
3- on the bottom of the bumper there is about 8-10 screws(10mm) u can either take it off or not. i didn't, if you have 2 person you can pull the bumper downward so u can access the headlight screws, make sure you place some masking tape on the fender so nothing gets scratch.
4-now the headlight screw is visable, theres about 5 total. 1 up top, 1 on the bottom, (1) this one is tricky, this require u to pull the plastic rubber piece off located side of the engine bay ,then u'll be able to see it. its a rubber piece prevented any water goin in the hood. once is pull off look inside and you'll see it. 4 and 5 screw is located on the lower part of the fender, its right next to each other so u cant miss.
5- after all the screws are off theres 3 plugs needs to be unplug, u can use a screw driver to make it easier. after the plugs are off, u need a little screwdriver + to remove a screw. that screw is holding onto the hood wire. remove the screw and headlight should come off easy. u might need to pull the bumper a lil lower for it.
6- once the headlight is off make sure every screw on it is remove, those screw is very important. it helps holding down the headlight lense. also remove the sidemarker light bulb, hid bulb and fog bulb is not neccessary.
7- now its time to heatup the headlight, very slowly go around it . about a good 4-5 mins of heating it up now use a flathead and start prying one part off from the lense. dont worry if the plastic is kinda warp, u can alway use the heatgun n warp it back. once u got one part open u start from there n keep heating around it and use both of your hands n start prying it open. slowly of course cause u dont want to break anything. and having a friend helps alot!
8- now the lense is off and ready to paint, if you want the side marker stay chrome you can remove that. behind it theres 4 clip-ons, remove it, if you want it black dont remove it. also for the orange piece you can do the same as the sidemarker. make sure to remove 3 screws so u can take the actual chrome piece off from the lense.
9- i use 1 layer of primer and 5 layer of gloss black. i painted 5 thin layers of gloss black, remember let it dry after 1 layer about 15 mins after each layer. after the 5th layer it should be pretty glossy. wait about 30- 1hr so the paint can dry completely.
10- now its time to put everything back. after the painted piece is attach to the lense its time to heat up the silicone and place it all back together.
i highly suggest you get some kind of clamp, 3 of em if not more and make sure u have all sizes too( c-clam )
after the lense is on use the clamp to make a tight fit onto the housing. that insures no leak to the headlight. make sure you use some kind of towel, i prefer using microfiber so the lense dont get scratch.
11- put everything back together and your set,
do this at your own RISK , im not responsible for anything happen to your headlights.
heres a few more pictures i took today
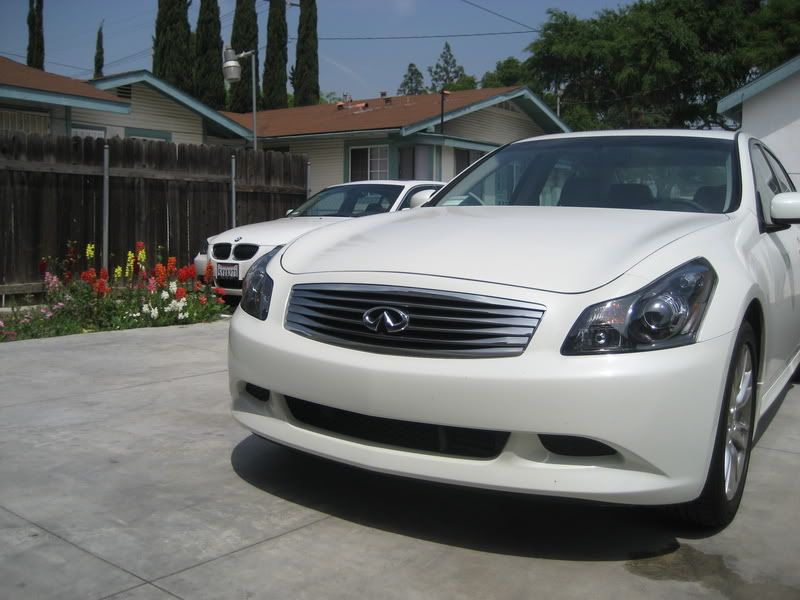
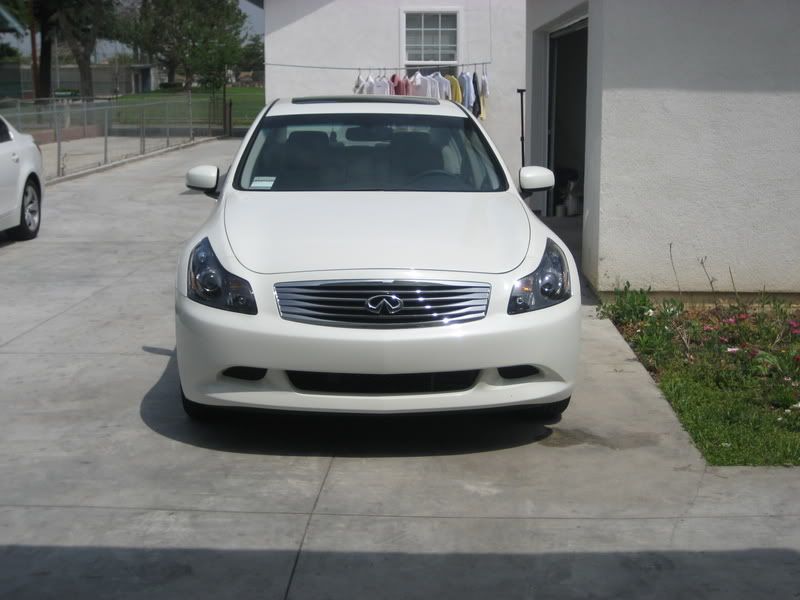
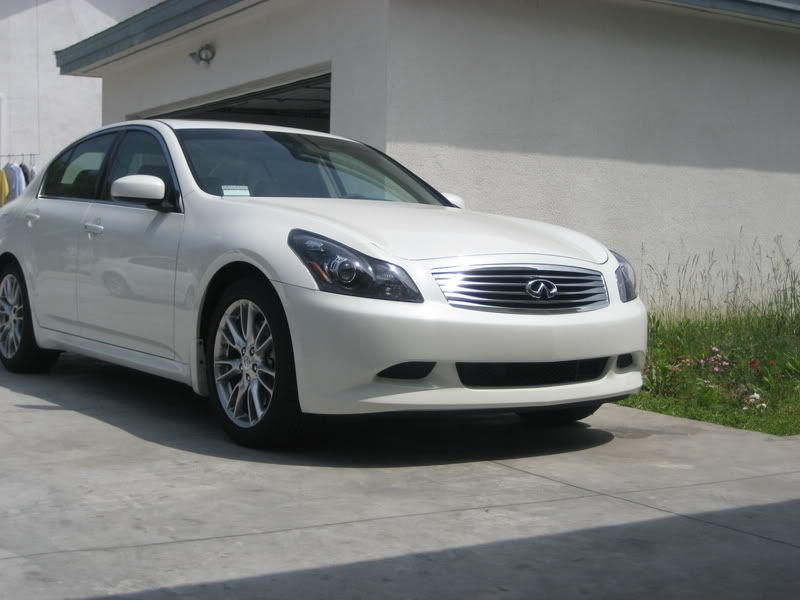
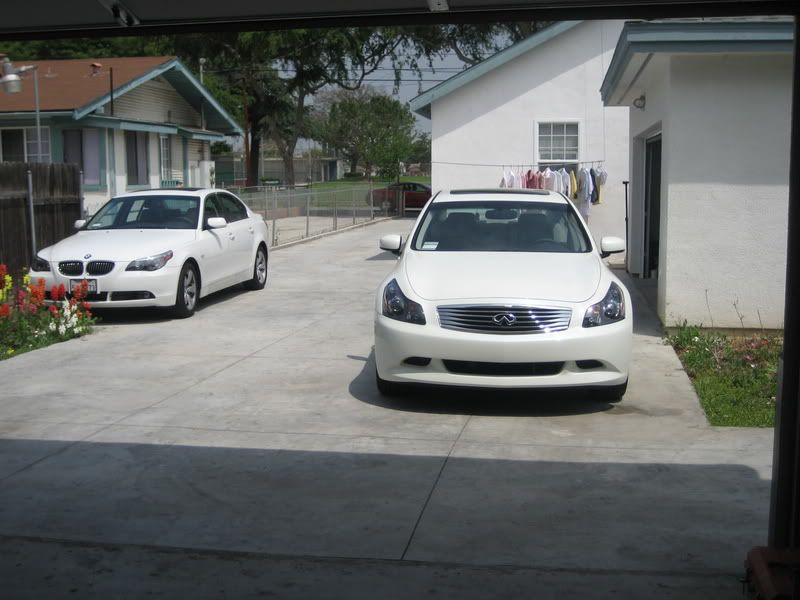
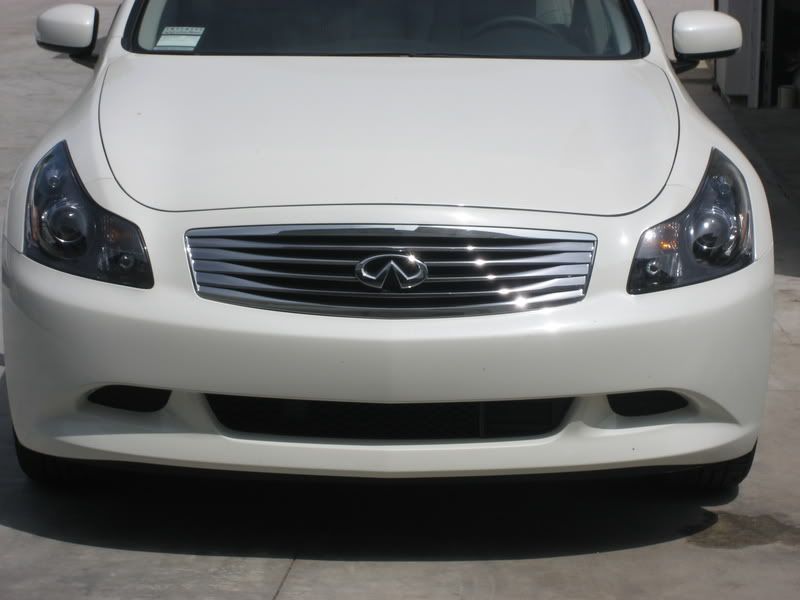
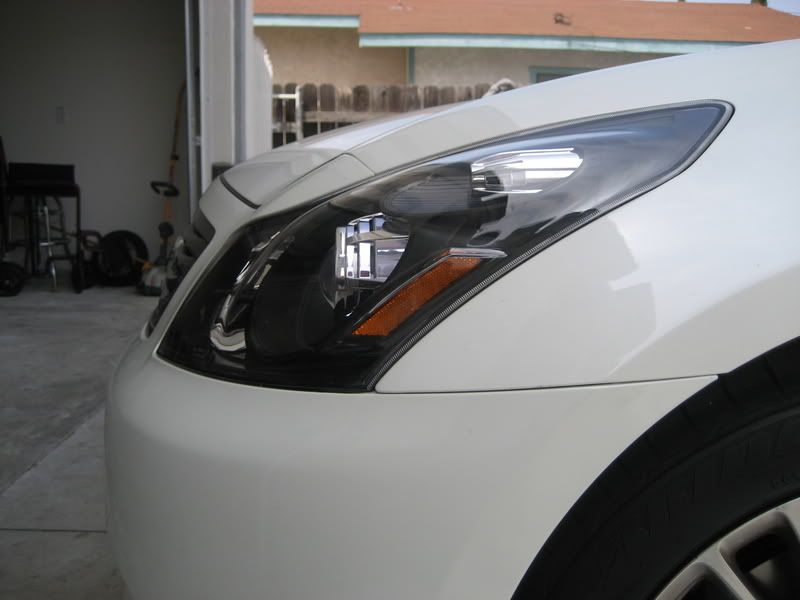
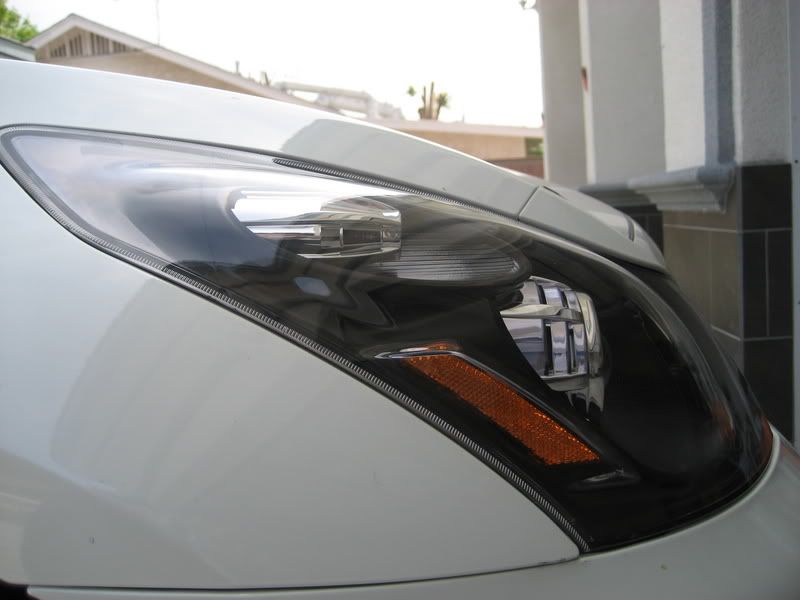
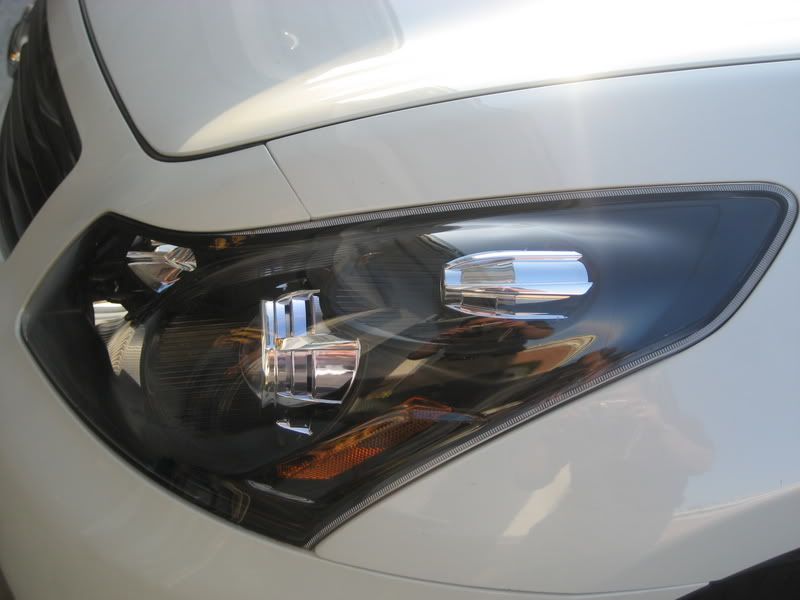


Last edited by prelude555; 04-30-2007 at 07:55 PM.
#22
sorry i didnt bring my camera with me. dumb me totally forgot about it. it looks just like any other headlight except i have the tech package with the adaptive lights, therefore u can see the motor attach on the projector.
is there anything specific you want to know about the headlight redlude?
i can get some night shots if im free tonite.
is there anything specific you want to know about the headlight redlude?
i can get some night shots if im free tonite.
#23
Originally Posted by prelude555
sorry i didnt bring my camera with me. dumb me totally forgot about it. it looks just like any other headlight except i have the tech package with the adaptive lights, therefore u can see the motor attach on the projector.
is there anything specific you want to know about the headlight redlude?
i can get some night shots if im free tonite.
is there anything specific you want to know about the headlight redlude?
i can get some night shots if im free tonite.
#28
thanx everybody
seriously its not that hard man, very time consuming thats for sure.
if you would have been there and watch me take it off you'll be amaze how easy it is ( not as easy as replacing a bulb but its not as hard as what people think )
Originally Posted by SPEEED
I wish I had the ***** to do it but I just don't trust myself. 

if you would have been there and watch me take it off you'll be amaze how easy it is ( not as easy as replacing a bulb but its not as hard as what people think )


