
Engine Bay Pics*Post here*


Here is my engine bay. I'm still waiting for my plenum to come in. I took my grounding kit off yesterday. Just looking for some help to make it better. I would like to get rid of all the gold coloured bolts and replace them with chrome or polished ones, just dont know where to get them. I'm open for some suggestions to make the bay look better.


do some wire tuck, and polish the plenum, tb, and timing cover but paint the caps of the cover red, get some pi-thon caps for the fluid reservoirs, get some red washers for the plenum and then get your engine bay detailed
that will look sick!
that will look sick!
Registered User
Joined: Nov 2008
Posts: 2,588
Likes: 24
From: SoCal

Registered User
Joined: Nov 2008
Posts: 2,588
Likes: 24
From: SoCal
Since we've got some other HR motors representing... Here's a few of mine.
Should have a CF upper radiator plate to add to it by the end of the week. Will post some new pics once I get it installed.
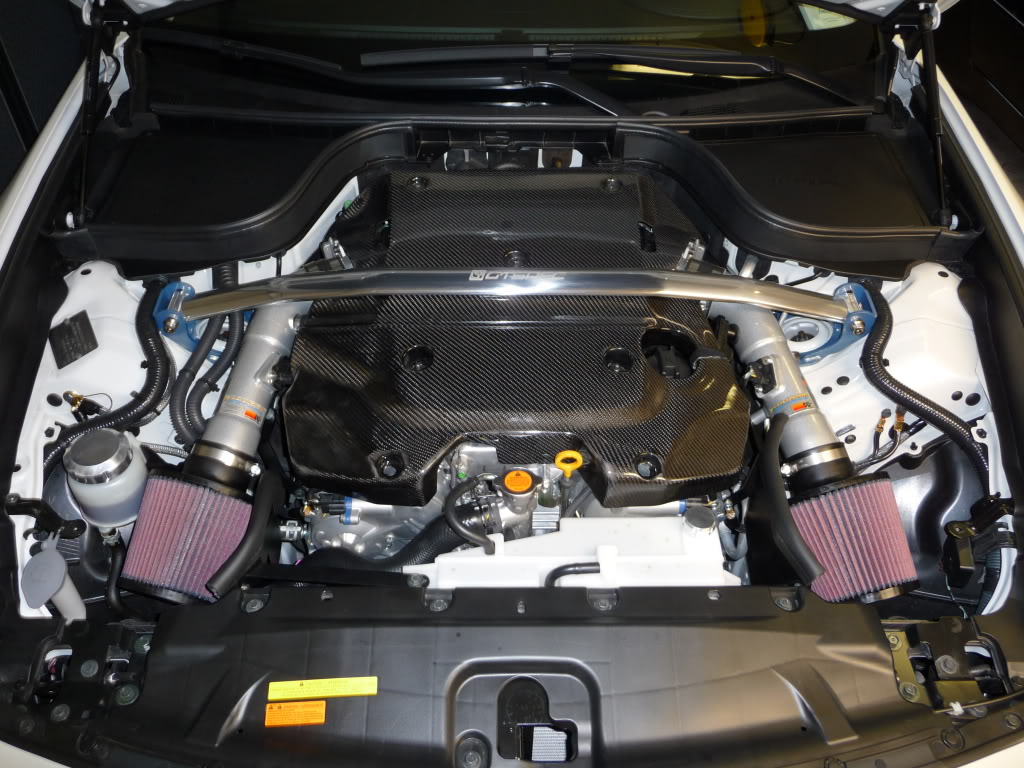
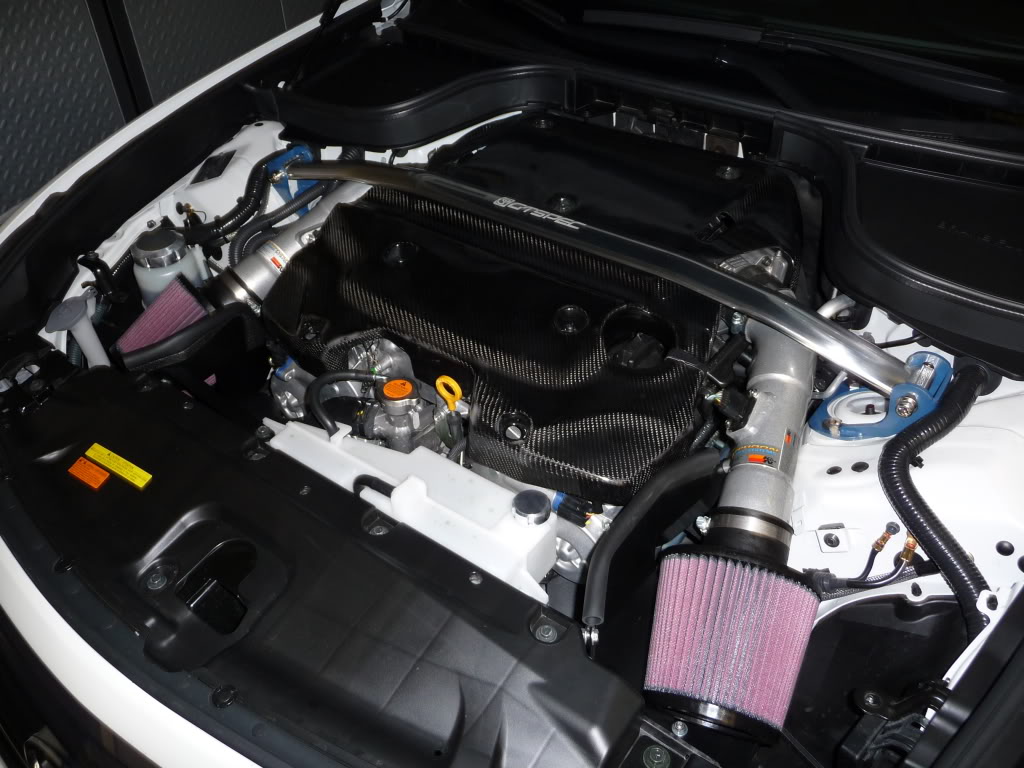
Should have a CF upper radiator plate to add to it by the end of the week. Will post some new pics once I get it installed.

Registered User
Joined: Nov 2008
Posts: 2,588
Likes: 24
From: SoCal
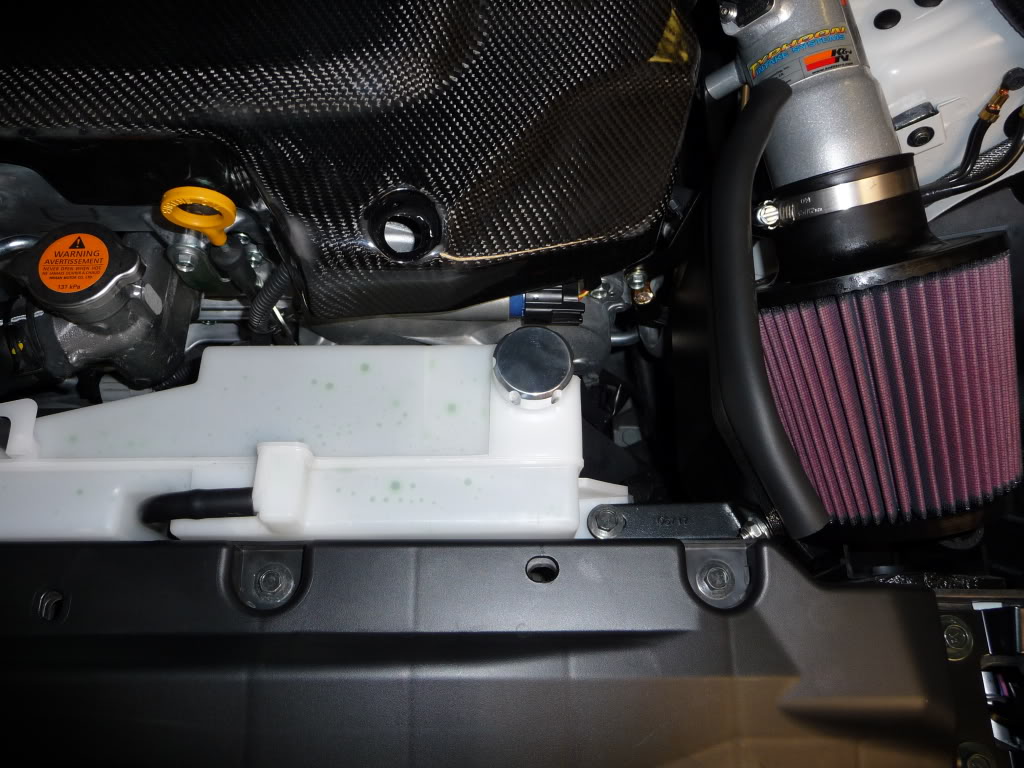
Yo Mondard.... thanks for the props. I may just have to paint the coolant tank like you said.
I actually posted on the reservoir group buy thread how to install the polished power steering cap. Let me see if I can find the post and I'll send you the link. If not, I can just show you on the 21st when we all get together... you gonna be there?
I actually posted on the reservoir group buy thread how to install the polished power steering cap. Let me see if I can find the post and I'll send you the link. If not, I can just show you on the 21st when we all get together... you gonna be there?

Registered User
Joined: Nov 2008
Posts: 2,588
Likes: 24
From: SoCal
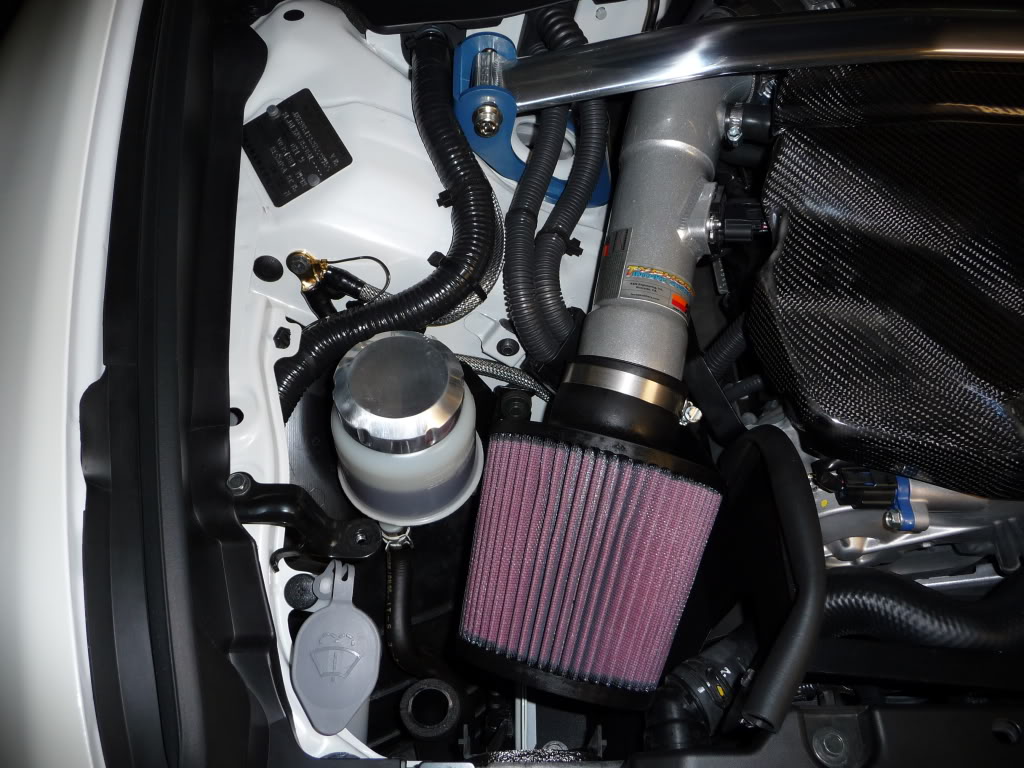
Ok... Thought this might be applicable to others on here. Here's how I got my Pi-Thon power steering reservoir cap to work. I used a dremel and a hand file to shave down the two "ears" on the factory cap until they just fit inside of the new chrome cap. I then used the hand file to sharpen the ears so that the edge of both ears was this enough to fit into the thread grooves in the new aluminum cap. I then test fitted the factory cap by actually threading it into the new cap using the modified ears following the threads in the new cap. Once I knew that I could "thread" the modified factory cap into the new cap, then I applied a decent amount of JB Weld to the surface of the factory cap (This stuff will hold up to the high temps in the engine bay much better than any other glue or epoxy... I've actually used this to repair cracked radiators and exhaust leaks in the past with great success... if you haven't used this stuff before it is absolutely amazing stuff). DOn't be stingy with the JB Weld... I coated about 90% of the caps surface with a fairly thick coat (staying away from the edges, so it didn't get into the thread of the new cap when I put them together again). I then threaded the factory cap into the new cap again, just as I did when I test fitted it. Once it was fully threaded in, I pressed it into place, just to make sure the JB Weld was properly seated, and then I clamped the entire unit together using some small rubber coated wood clamps I have and let the new assembly dry over night. The next day the JB Weld was hardened and the two pieces are now perminently attached.
Here's a few pics of the finished result... my slightly modified factory power steering cap with the new cap on it.
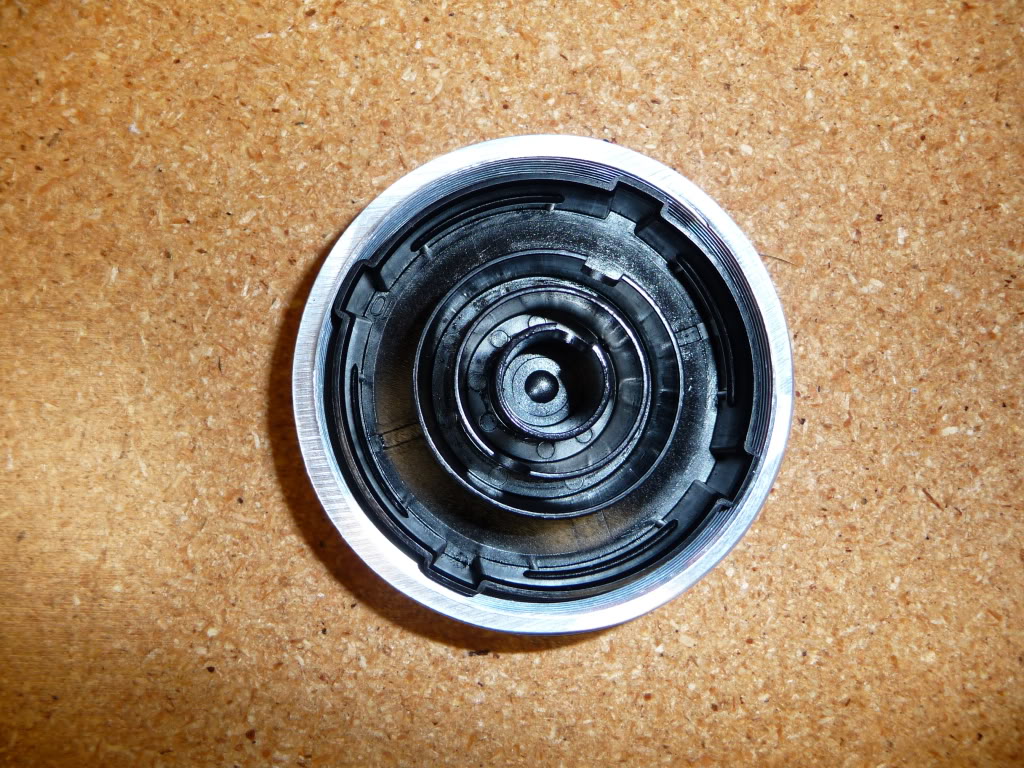

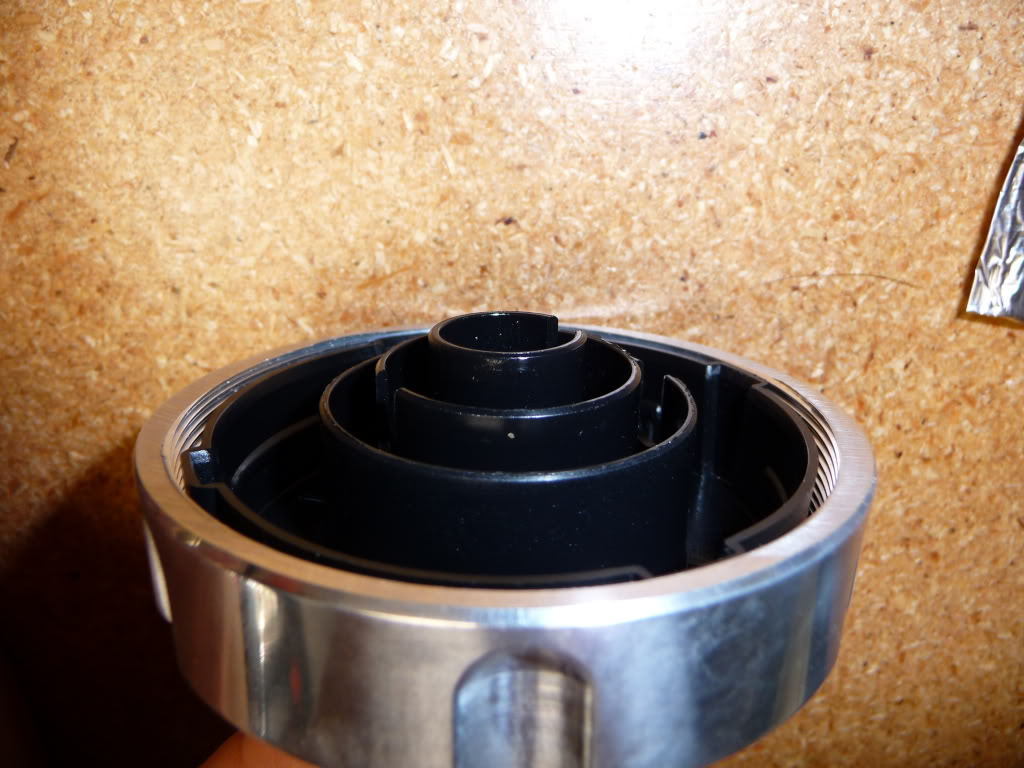
Here's a few pics of the finished result... my slightly modified factory power steering cap with the new cap on it.
Registered User
Joined: Nov 2008
Posts: 2,588
Likes: 24
From: SoCal
Good luck, G U Later... Pi-Thon is a pain in the a$$ to deal with... There are still a bunch of guys who paid for their caps back in November and still haven't gotten them. Love your username, btw!!! 
Yup, any autoparts store, or even home depot. It is a two part epoxy resin that when it hardens can handle extremely high temperatures... you can even fix exhaust leaks with it... I actually repaired a crack in the radiator of an Acura Legend with JB Weld 5 or 6 years ago, and it is still holding up!
Yup, any autoparts store, or even home depot. It is a two part epoxy resin that when it hardens can handle extremely high temperatures... you can even fix exhaust leaks with it... I actually repaired a crack in the radiator of an Acura Legend with JB Weld 5 or 6 years ago, and it is still holding up!