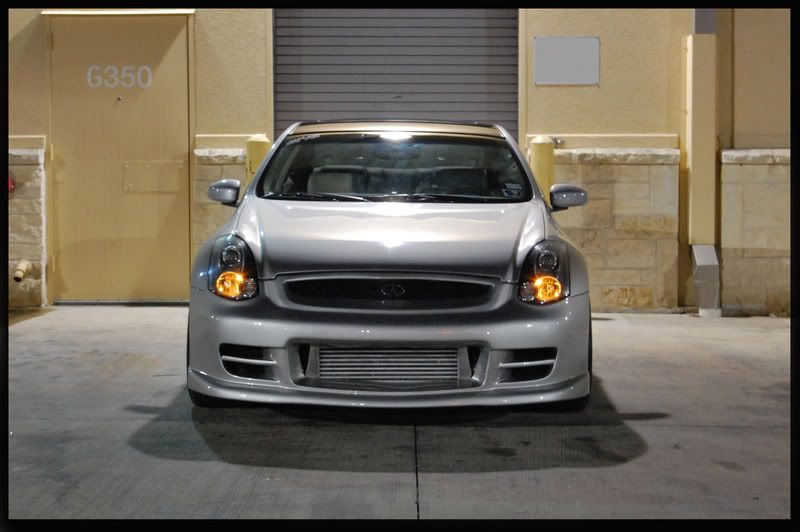
first attempt at a night photoshoot.


#18
 11-21-2007, 12:20 AM

Great job on the pics!! Looks sweet!....
Hey, one bit of advice on the poly TS bumper to get rid of the "waivyness" on the bottom... What I did was get a long firm block of styrafoam and cut it to the dimension of the space in there, then I got 3M auto tape and taped it both on top and bottom and put it in that space.... It really worked to straighten that area out nicely... It went the length of that opening and I taped it all the way to keep that spacing even.
Give it a shot.


#25
11-21-2007, 09:34 AM
Originally Posted by Triji
Great job on the pics!! Looks sweet!....
Hey, one bit of advice on the poly TS bumper to get rid of the "waivyness" on the bottom... What I did was get a long firm block of styrafoam and cut it to the dimension of the space in there, then I got 3M auto tape and taped it both on top and bottom and put it in that space.... It really worked to straighten that area out nicely... It went the length of that opening and I taped it all the way to keep that spacing even.
Give it a shot.
Hey, one bit of advice on the poly TS bumper to get rid of the "waivyness" on the bottom... What I did was get a long firm block of styrafoam and cut it to the dimension of the space in there, then I got 3M auto tape and taped it both on top and bottom and put it in that space.... It really worked to straighten that area out nicely... It went the length of that opening and I taped it all the way to keep that spacing even.
Give it a shot.

#29
11-21-2007, 09:41 PM
Originally Posted by G Thizzle
Triji... i will definitly try that... what did you do for the top portion though?
For the top I used a hair dryer being very careful not to over heat the area and bubble the paint... then I held it into the position I wanted it in until cooled... I repeat this until it was re-shaped... takes some time but it is worth the effort!