
HKS Camp 2 Install


HKS Camp 2 Install
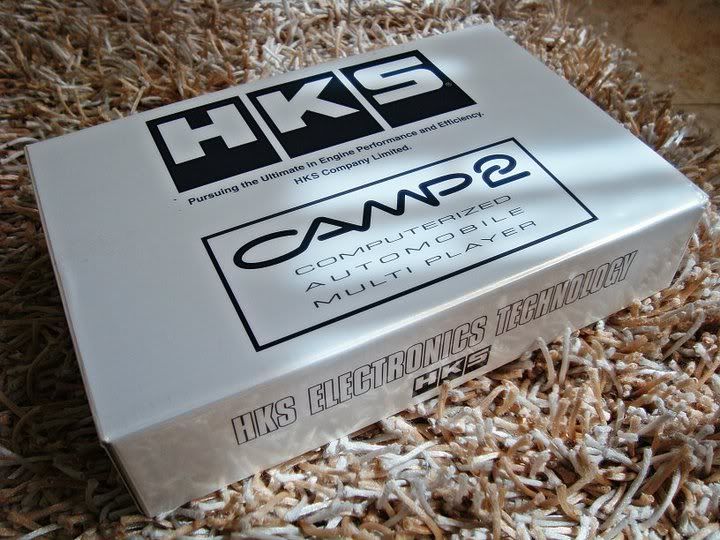
I've had the Camp 2 for a few months now but haven't had the time to install everything until today. Right now, I'm only using the main unit with no extra sensors. Once i get my GTM SC kit I'll purchase all the extra sensors for oil temp, oil pressure, boost and fuel pressure.
Anyhow, I'm simply gonna be posting pics and some writing, basically on where I mounted the unit and how everything is routed on my setup. It is far from ideal so I might tinker with the layout later on, but for now I'm pretty happy with it.
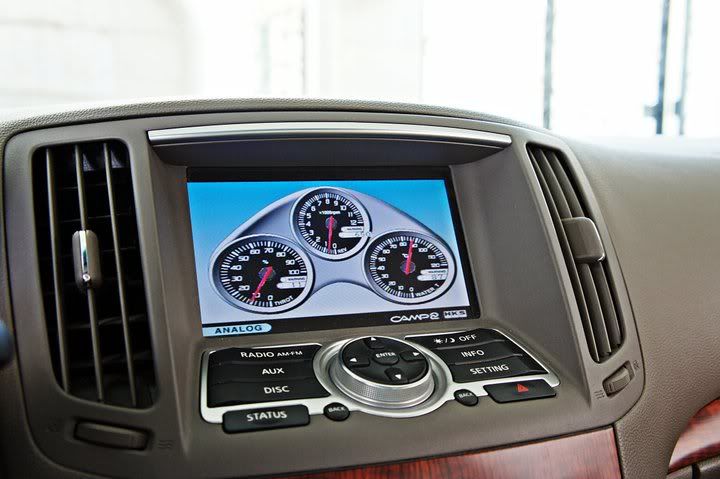
First things first, I mounted the unit under the glove box using 3M double sided tape and connected the A/V input wires, receiver wire and the OBDII wires.

Then I removed the shift ****

And proceeded to remove the center console

I routed the receiver and OBDII wires across the inside of the console from the passenger foot rest and out the other side to the driver's foot rest area.

All the wires were hidden inside, between the trim and carpet

The OBDII wire was secured with strips of double sided tape and mounted on the inside of the dash under the steering wheel.

The receiver was also secured with double sided tape between the steering wheel and console


The A/V input wires were hidden between the trim and carpet on the passenger side and plug into the factory A/V inputs.


Anyhow, I'm simply gonna be posting pics and some writing, basically on where I mounted the unit and how everything is routed on my setup. It is far from ideal so I might tinker with the layout later on, but for now I'm pretty happy with it.
First things first, I mounted the unit under the glove box using 3M double sided tape and connected the A/V input wires, receiver wire and the OBDII wires.
Then I removed the shift ****
And proceeded to remove the center console
I routed the receiver and OBDII wires across the inside of the console from the passenger foot rest and out the other side to the driver's foot rest area.
All the wires were hidden inside, between the trim and carpet
The OBDII wire was secured with strips of double sided tape and mounted on the inside of the dash under the steering wheel.
The receiver was also secured with double sided tape between the steering wheel and console
The A/V input wires were hidden between the trim and carpet on the passenger side and plug into the factory A/V inputs.

thats pretty sweet, do you have the nav hack done to prevent that screen from going blank when your moving?
Is your G a eurospec? those center console buttons are funky, looks to be a parking sensor button where the snow/ice button and a bluetooth/handsfree where the seat heaters are.
Is your G a eurospec? those center console buttons are funky, looks to be a parking sensor button where the snow/ice button and a bluetooth/handsfree where the seat heaters are.

You're Despicable
Joined: May 2008
Posts: 6,167
Likes: 33
From: on a sand dune

Austin his car is a GCC Spec (Middle East)
Looking good dude,
I'm going to be ripping out my interior sometime within the next few weeks. This might be the right time to do a similar install.
I'm trying so hard not to spend more monies
Looking good dude,
I'm going to be ripping out my interior sometime within the next few weeks. This might be the right time to do a similar install.
I'm trying so hard not to spend more monies
Austin, no not yet. I'll be working on that later on.
Ketchup, the OBDII connector can be plugged and unplugged at any time. It's not permanent or anything. I also have the Uprev Osiris cable which I use for data logging and tuning.
Ketchup, the OBDII connector can be plugged and unplugged at any time. It's not permanent or anything. I also have the Uprev Osiris cable which I use for data logging and tuning.
I've actually seen "Y" connectors on the internet somewhere too.
Trending Topics

")

Thread
Thread Starter
Forum
Replies
Last Post
Machine Head
G35 Sedan V35 2003-06
19
Sep 4, 2015 07:22 PM

