
Marc08EX Car Detailing Thread (Phoenix)


Thread Starter
|
Registered User
Joined: Jun 2010
Posts: 20
Likes: 0
Wheels/Tires:
Meguiar's Multi-piece Wheel Cleaner and Cleaner Wax on wheels
Meguiar's APC on tires
Meguiar's Hyper Dressing on tires
Swissvax Wheel Brush
Wash:
Gilmour Foam Gun
Chemical Guys Citrus Wash and Gloss via Foam Gun and 2BM
Meguiar's Microfiber Wash Mitt
Meguiar's Interior Brush for the convertible top
Clay:
Meguiar's OTC Clay
Meguiar's Last Touch
Paint Correction:
Flex 3401 VRG
Meguiar's G100 / 3.5" and 5" LC Backing Plates
Meguiar's M105 / LC Orange Pads / Meg's Polishing Pads
Meguiar's M205 / LC White Pads
Craftsman 500W Halogen Lights
LSP:
Menzerna Powerlock / LC Blue Pad (left 12 hours to cure)
Autoglym HD Wax
Interior:
Meguiar's Quik Interior Detailer
Meguiar's APC+
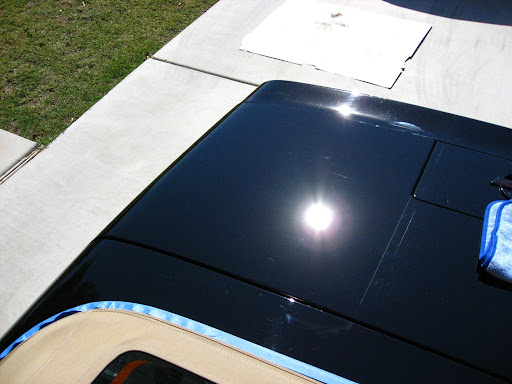
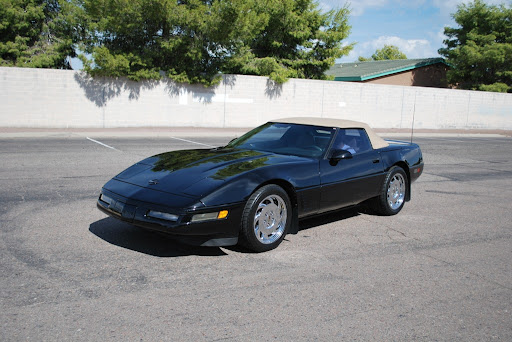
This car was brought in to have the multi-step detail process. The owner basically wanted the paint to look its best. I was excited to get my hands on this car because it's a CORVETTE!!! In addition, the paint color's black so the difference will be noticable.
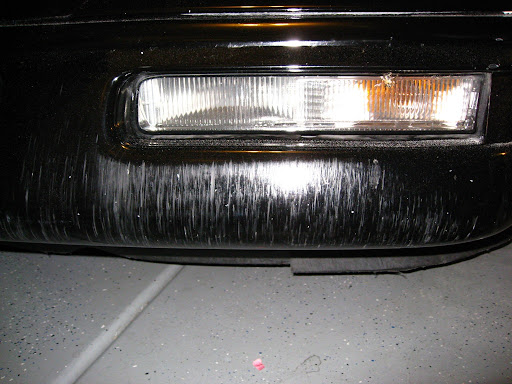
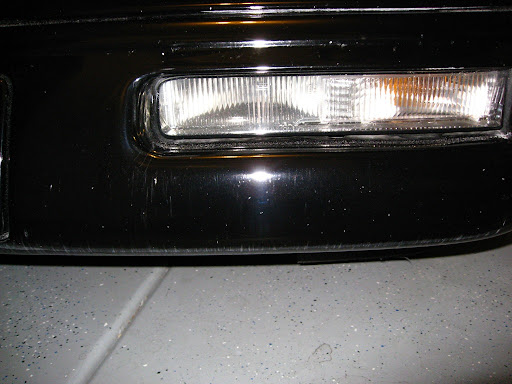
The car came in worse shape than originally anticipated. It's ok since it's a chance for me to showcase my detailing skills. This car presented 2 challenges. First, the car had different paint jobs throughout the car therefore different techniques were used to attack each section. Second, the car originally had a leather bra in the front bumper and as a result of this, it scuffed up the bumper pretty bad. I will let the pictures do the talking.
Before:
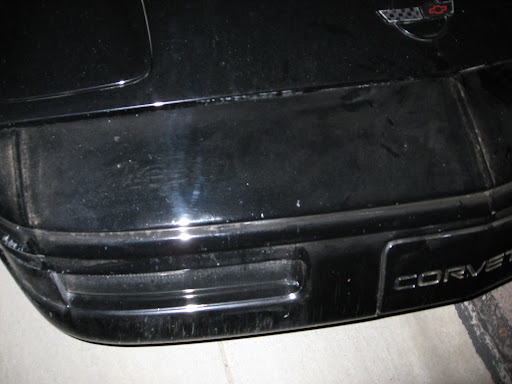
As you can see, the leather bra left the paint looking bad. You can see the scuff marks underneath the turn/park lights. Also, the brand of the leather bra indented itself to the paint through the accumulated dirt in between the bra and bumper.

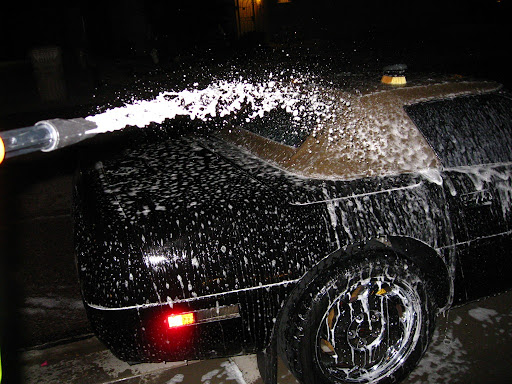
Wash:
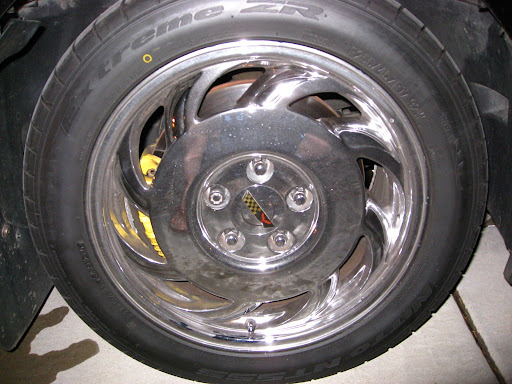
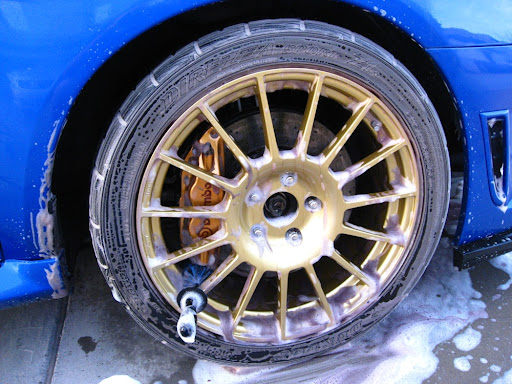
Dirty Wheels
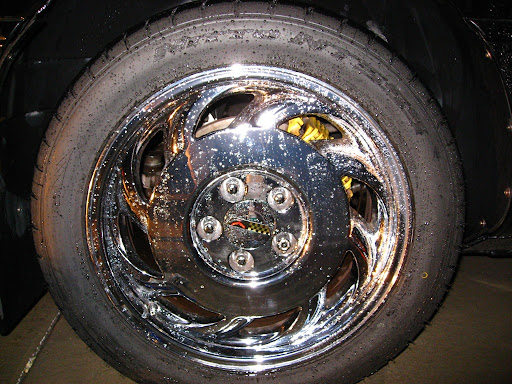
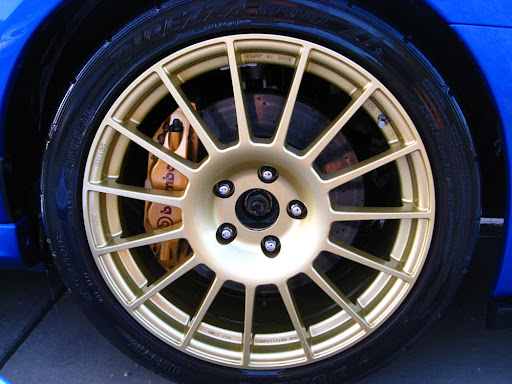
Clean Wheels
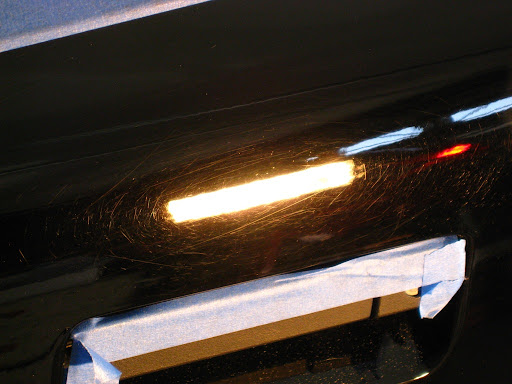
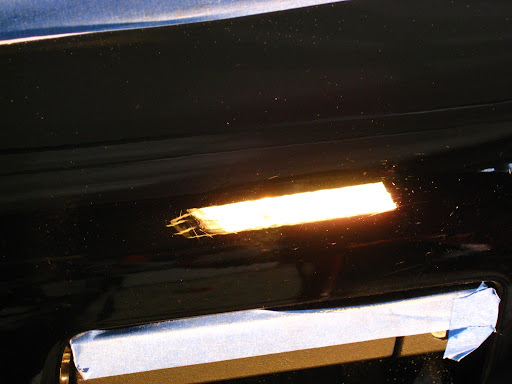
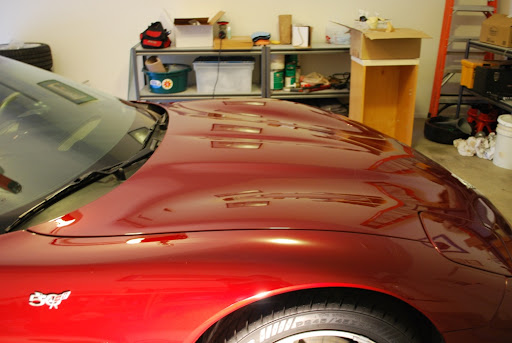
This is from claying 1/4 of the hood. The paint wasn't as contaminated. The rear section was the worst part.
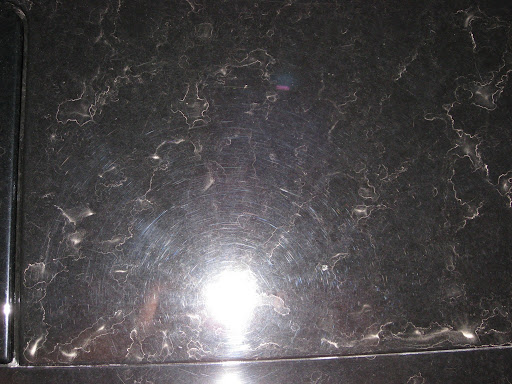
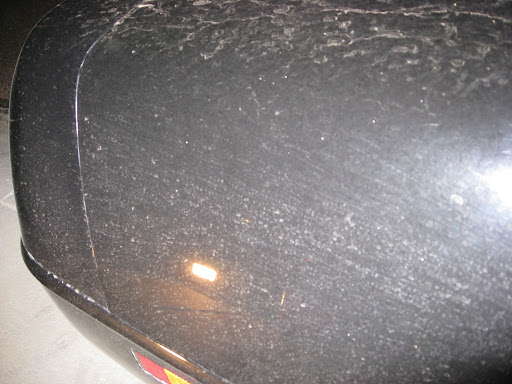
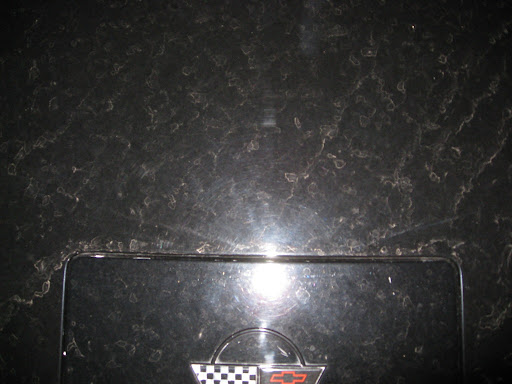
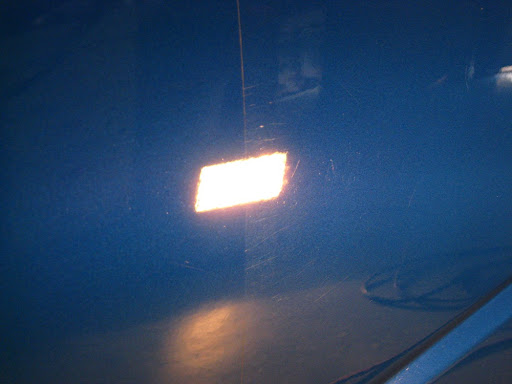
After claying the car, I performed an IPA wipe down to see the true condition of the paint. The paint had a ton of swirls...
Before:
Passenger Side Door
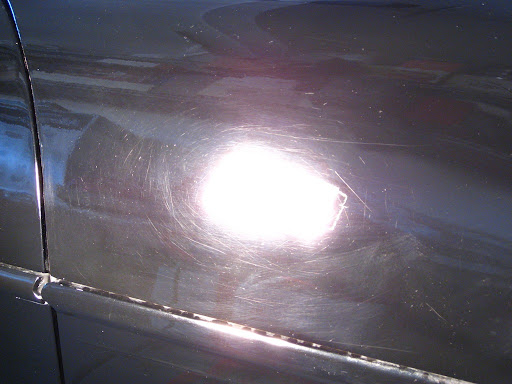
Passenger Side Front Fender
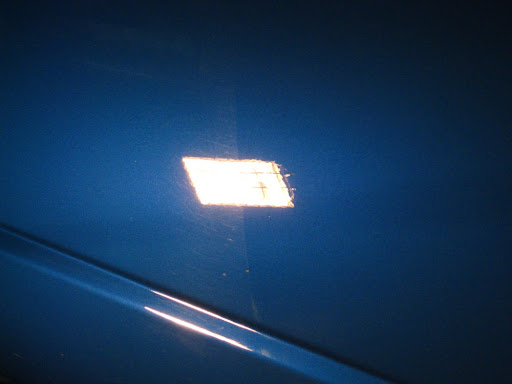
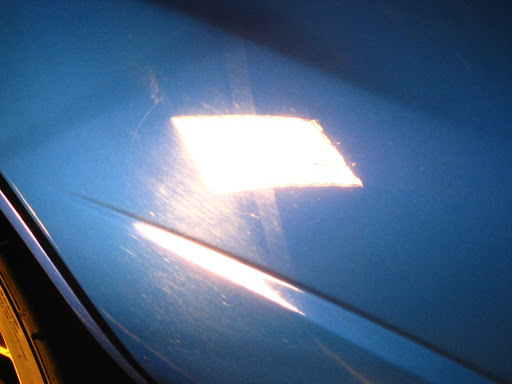
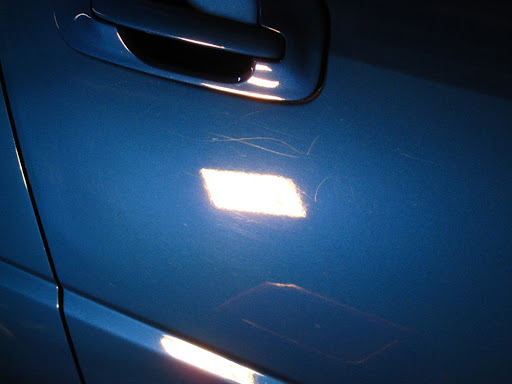
I always start with the least aggressive method to get the job done. The car being more than 10 years old, I wanted to be as fragile as possible. This was the result after hitting a panel with M205.
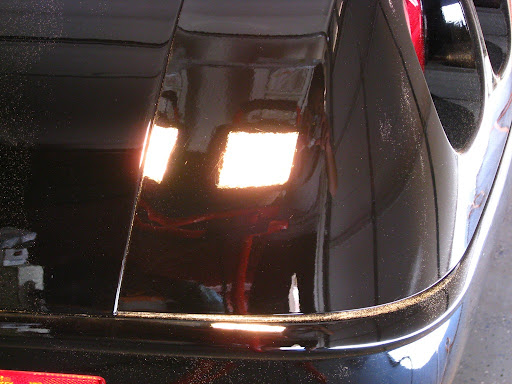
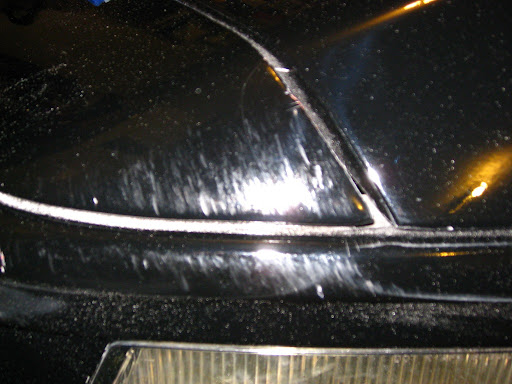
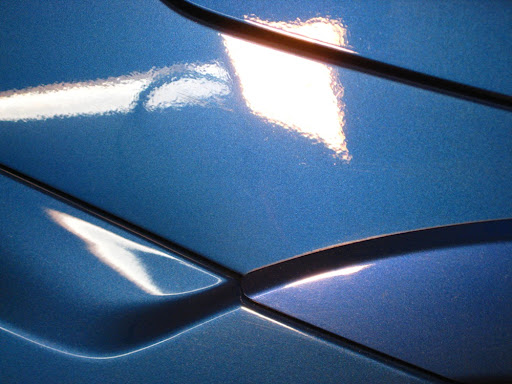
This method was still leaving some swirl marks behind. I wasn't happy with the results because I promised the customer a "swirl-free show car finish". I stepped it up to the M105 and finishing it up with M205 after. Here are some 50/50s.
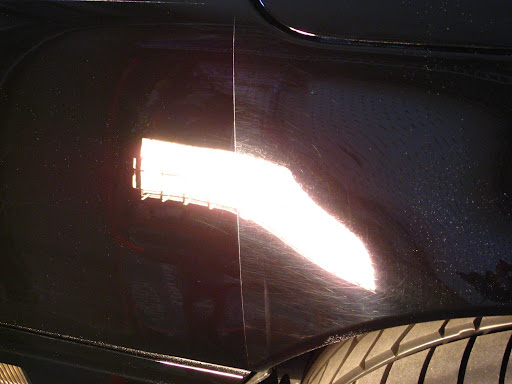
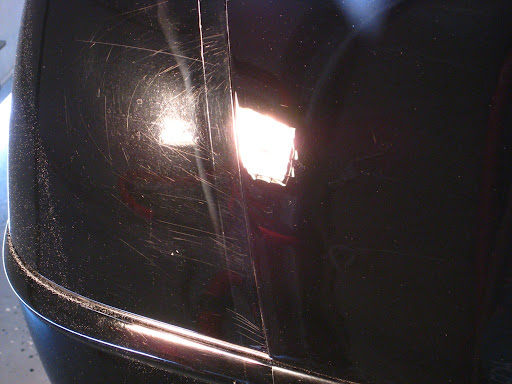
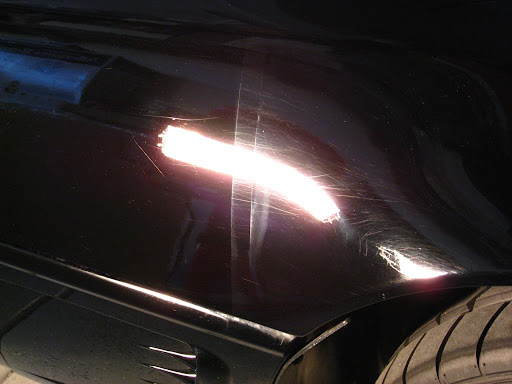
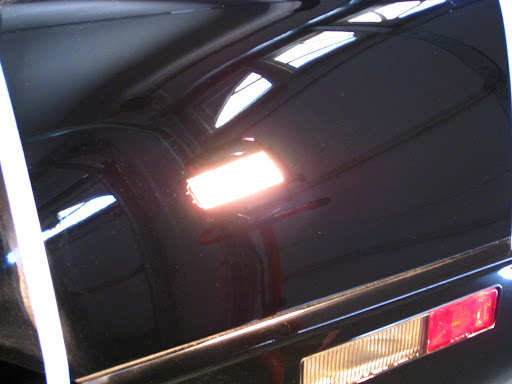
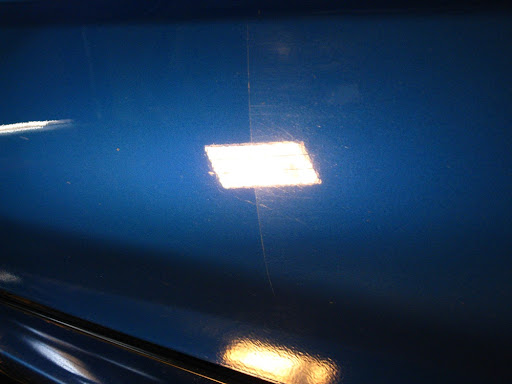
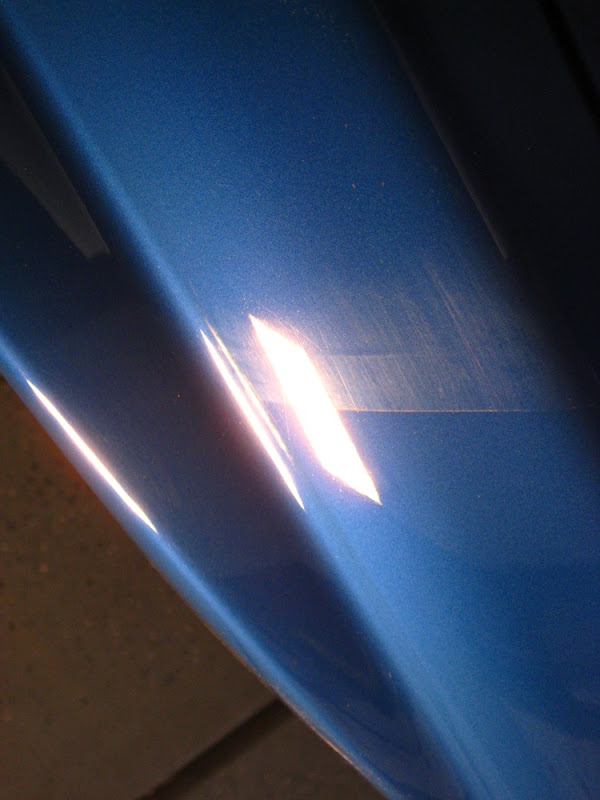
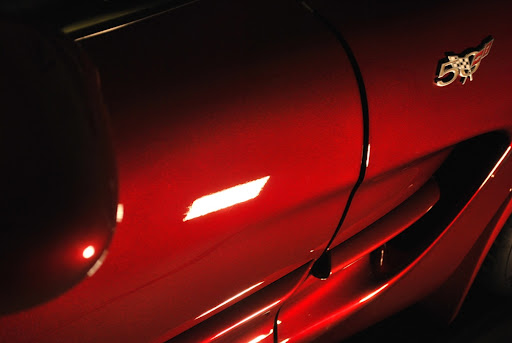
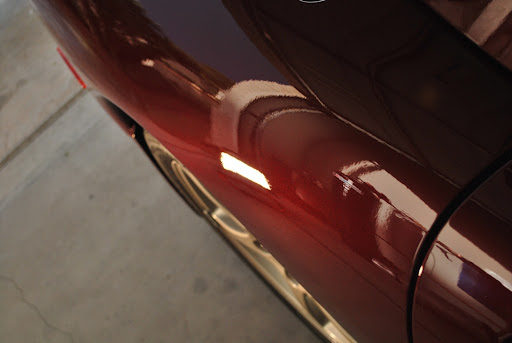
Above is the passenger side rear quarter panel after finishing it with the M105/M205 combo. The paint's reflection and depth were amazing. Not to mention it being swirl free. There were still a ton of RIDS that are too deep for me to remove.
Driver Side Rear Quarter Panel:
Before
After
Before
After
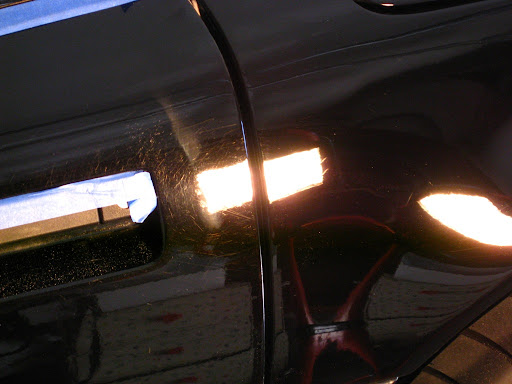
Driver Side Door:
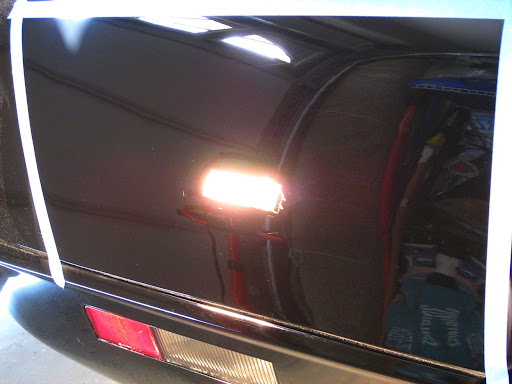
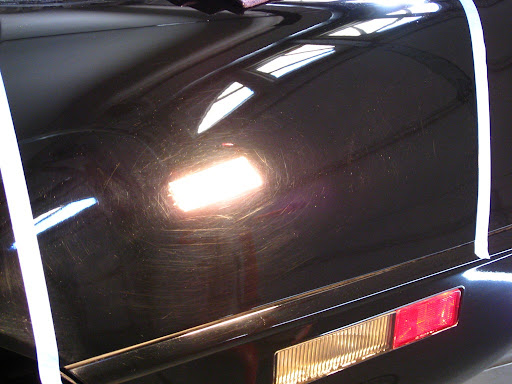
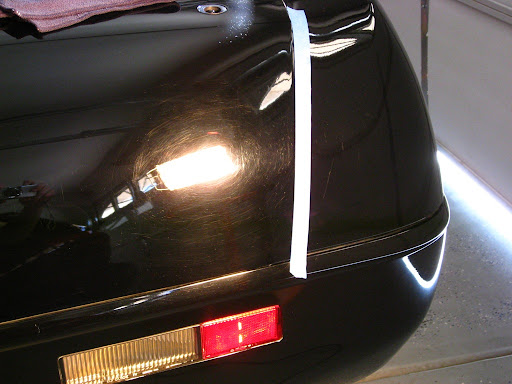
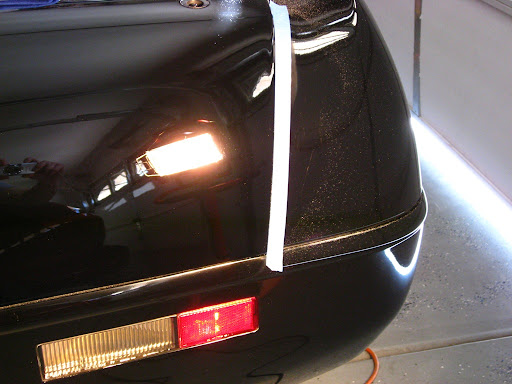
Trunk:
Those 2 RIDS were pissing me off...
Rear Bumper:
Front Bumper:
Meguiar's Multi-piece Wheel Cleaner and Cleaner Wax on wheels
Meguiar's APC on tires
Meguiar's Hyper Dressing on tires
Swissvax Wheel Brush
Wash:
Gilmour Foam Gun
Chemical Guys Citrus Wash and Gloss via Foam Gun and 2BM
Meguiar's Microfiber Wash Mitt
Meguiar's Interior Brush for the convertible top
Clay:
Meguiar's OTC Clay
Meguiar's Last Touch
Paint Correction:
Flex 3401 VRG
Meguiar's G100 / 3.5" and 5" LC Backing Plates
Meguiar's M105 / LC Orange Pads / Meg's Polishing Pads
Meguiar's M205 / LC White Pads
Craftsman 500W Halogen Lights
LSP:
Menzerna Powerlock / LC Blue Pad (left 12 hours to cure)
Autoglym HD Wax
Interior:
Meguiar's Quik Interior Detailer
Meguiar's APC+
This car was brought in to have the multi-step detail process. The owner basically wanted the paint to look its best. I was excited to get my hands on this car because it's a CORVETTE!!! In addition, the paint color's black so the difference will be noticable.
The car came in worse shape than originally anticipated. It's ok since it's a chance for me to showcase my detailing skills. This car presented 2 challenges. First, the car had different paint jobs throughout the car therefore different techniques were used to attack each section. Second, the car originally had a leather bra in the front bumper and as a result of this, it scuffed up the bumper pretty bad. I will let the pictures do the talking.
Before:
As you can see, the leather bra left the paint looking bad. You can see the scuff marks underneath the turn/park lights. Also, the brand of the leather bra indented itself to the paint through the accumulated dirt in between the bra and bumper.
Wash:
Dirty Wheels
Clean Wheels
This is from claying 1/4 of the hood. The paint wasn't as contaminated. The rear section was the worst part.
After claying the car, I performed an IPA wipe down to see the true condition of the paint. The paint had a ton of swirls...
Before:
Passenger Side Door
Passenger Side Front Fender
I always start with the least aggressive method to get the job done. The car being more than 10 years old, I wanted to be as fragile as possible. This was the result after hitting a panel with M205.
This method was still leaving some swirl marks behind. I wasn't happy with the results because I promised the customer a "swirl-free show car finish". I stepped it up to the M105 and finishing it up with M205 after. Here are some 50/50s.
Above is the passenger side rear quarter panel after finishing it with the M105/M205 combo. The paint's reflection and depth were amazing. Not to mention it being swirl free. There were still a ton of RIDS that are too deep for me to remove.
Driver Side Rear Quarter Panel:
Before
After
Before
After
Driver Side Door:
Trunk:
Those 2 RIDS were pissing me off...
Rear Bumper:
Front Bumper:
Thread Starter
|
Registered User
Joined: Jun 2010
Posts: 20
Likes: 0
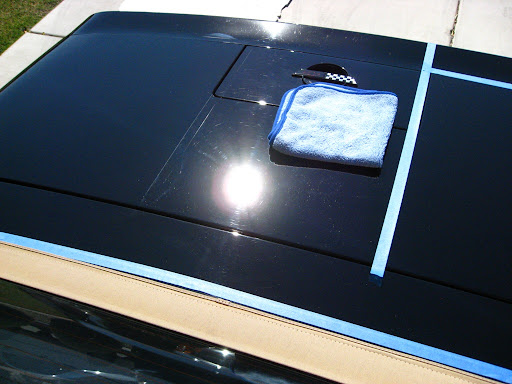
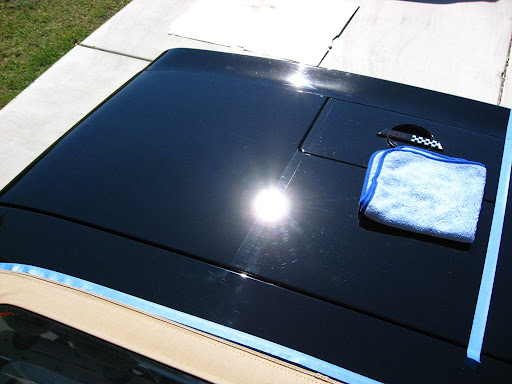
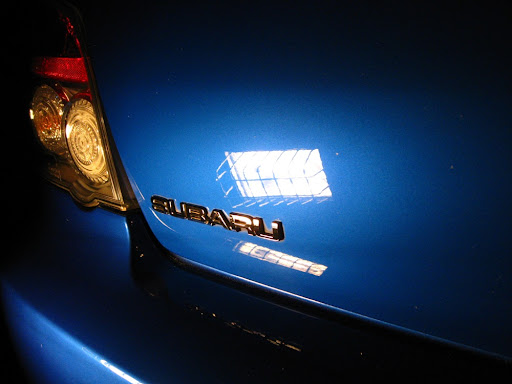
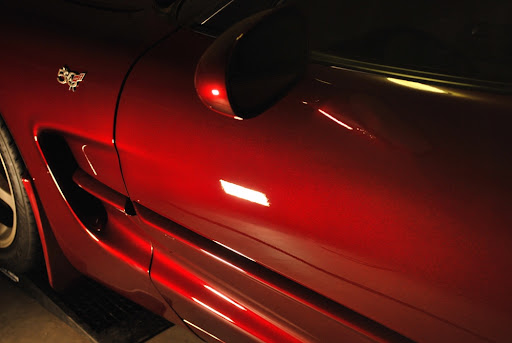
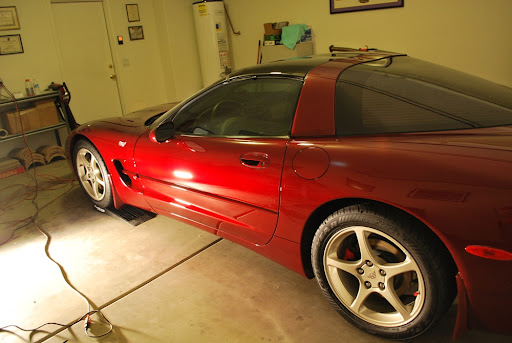
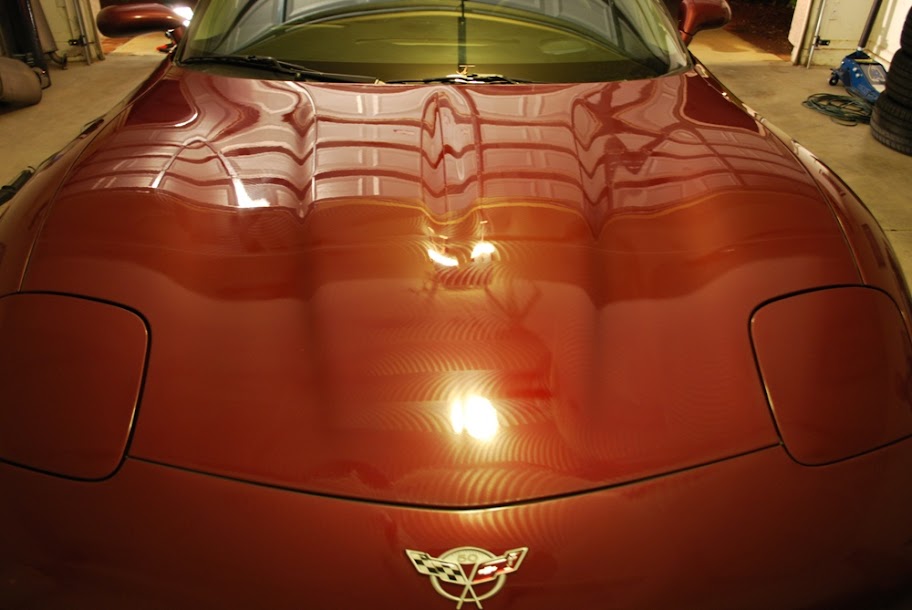
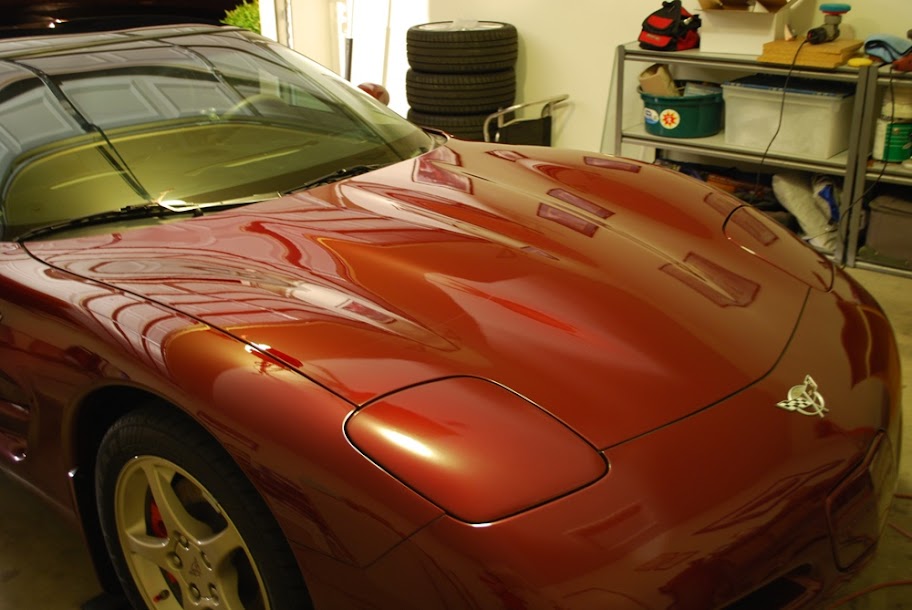
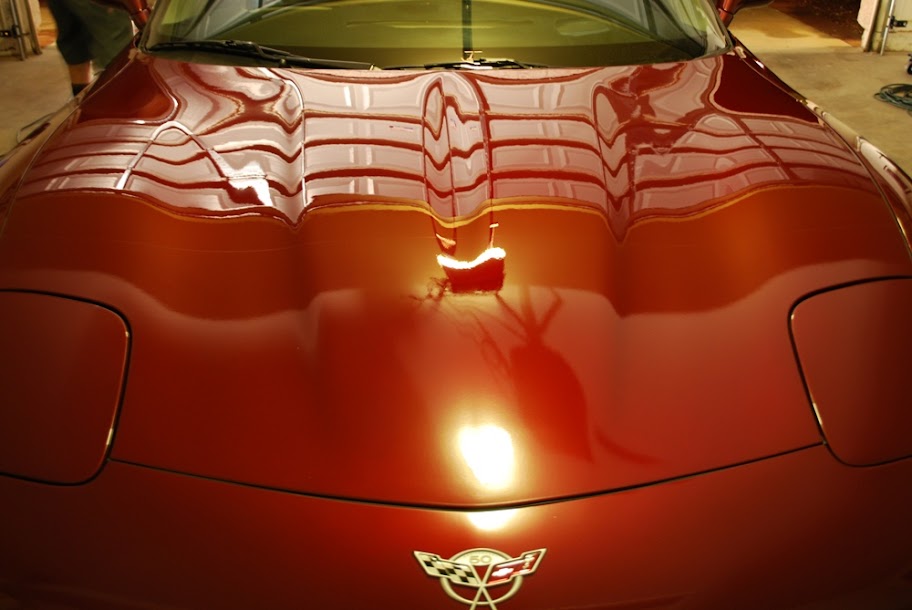
After applying Menzerna Powerlock left to cure overnight and applying a coat of Autoglym Hi-Def Carnauba Wax the next morning. I couldn't believe how wet and slick the paint looked after. You be the judge...
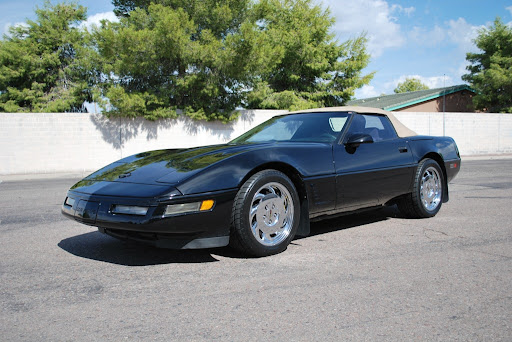
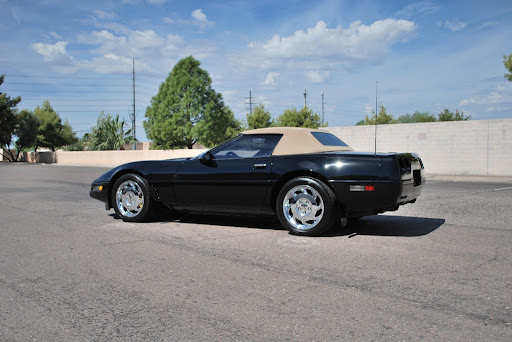
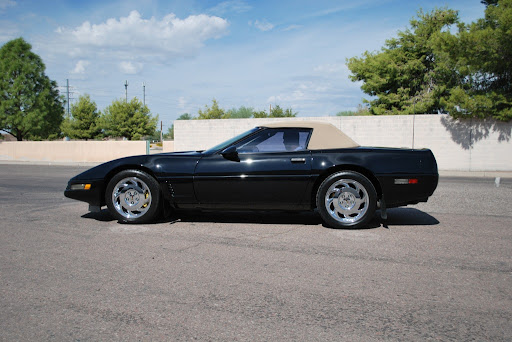
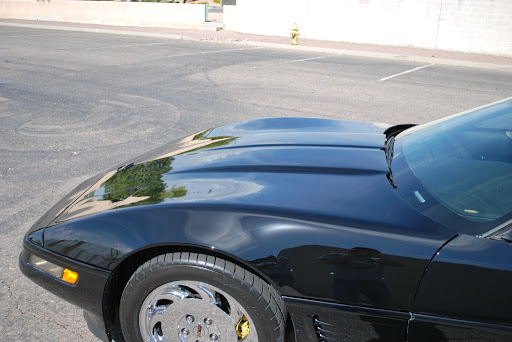
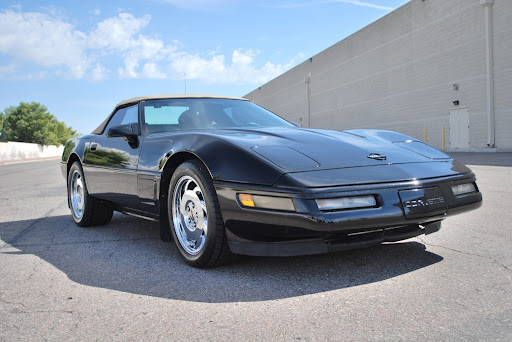
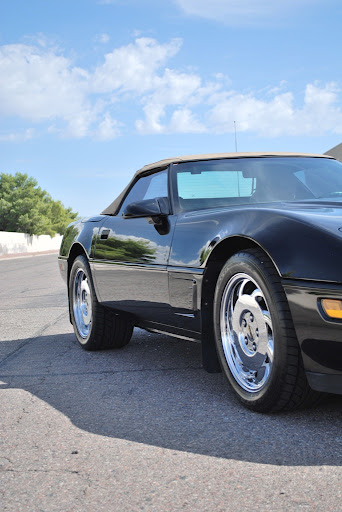
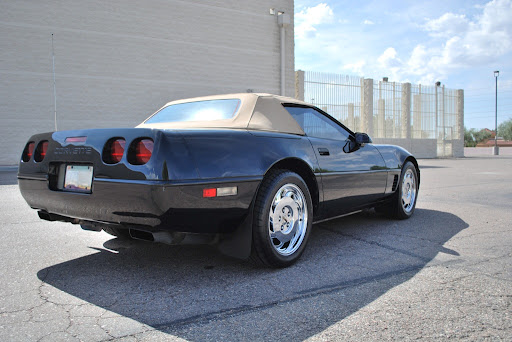
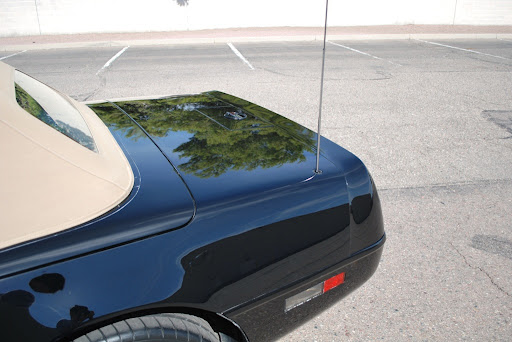
Sorry I didn't have the garage pictures to show how wet the paint looked.
Approximate time: 18 Hours. I need to learn how to become more efficient.
What do you guys think? Opinions, comments and criticisms are welcome!
Sorry I didn't have the garage pictures to show how wet the paint looked.
Approximate time: 18 Hours. I need to learn how to become more efficient.
What do you guys think? Opinions, comments and criticisms are welcome!
Thread Starter
|
Registered User
Joined: Jun 2010
Posts: 20
Likes: 0
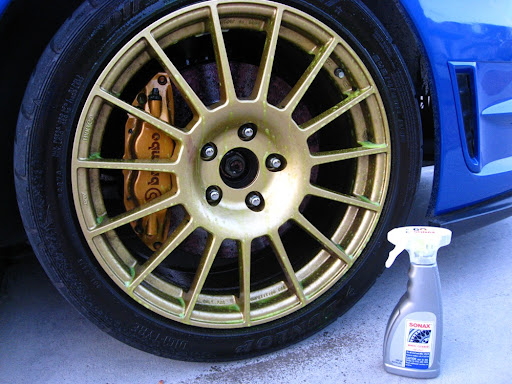
u]Wheels/Tires:[/u]
Sonax Full Effect Wheel Cleaner and Meguiar's Deep Crystal on wheels
Meguiar's APC on tires
Meguiar's Hyper Dressing on tires
Swissvax Wheel Brush for the wheels
EZ Detail brush for the barrels
Wash:
Gilmour Foam Gun
Chemical Guys Citrus Wash and Gloss via Foam Gun and 2BM
Meguiar's Microfiber Wash Mitt
Swissvax Brush for Plastic Surfaces / Gas Tank
Clay:
Meguiar's OTC Clay
Meguiar's Last Touch
Paint Correction:
Flex 3401 VRG
Meguiar's G100 / 3.5" and 5" LC Backing Plates
Meguiar's M105 / LC Orange Pads
Meguiar's M205 / LC Black Pads
Craftsman 500W Halogen Lights
LSP:
Menzerna Powerlock / LC Blue Pad
Interior:
Meguiar's Quik Interior Detailer
Misc:
Poorboy's Trim Restorer
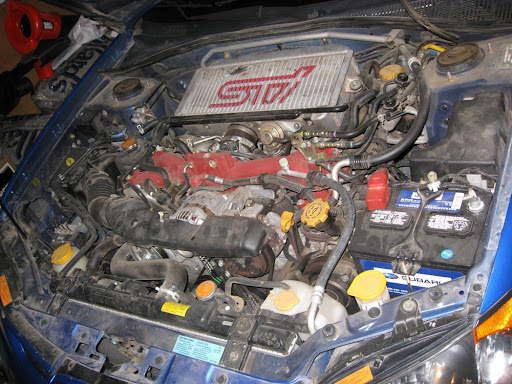
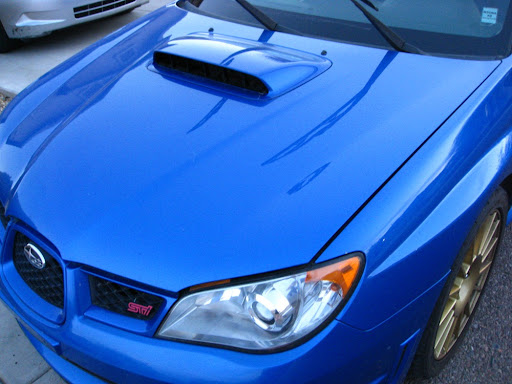
This car was brought in to have the multi-step detail process. The owner basically wanted the paint to look its best. I was preparing for the worst because I've heard that subaru paint is very soft and sticky. Some people inflict marring by wiping off polish residue and some experience the product gumming up way too quickly. Despite the feedback, I still tackled on the job because the car is just plain COOL! I will let the pictures do the talking.
Before:


Wash:


This is the reason why you should always wax your car. No sheeting at all:


This is from claying 1/4 of the hood. The paint wasn't as contaminated. The rear section was the worst part.
After claying the car, I performed an IPA wipe down to see the true condition of the paint. The paint had a ton of swirls... I first tried using M205 to see how the paint would react but sure enough, it didn't remove all the swirls. I had to step it up to the M105/M205 combo. Here are some 50/50 shots:
Passenger side front door:
Passenger side rear door:
Passenger side rear door lower part:
Driver side front fender:
Driver side front door:
Nasty scratches underneath the gas tank:

Viola! GONE!
All the pictures above are taken after hitting the paint with M105. The before/after picture below is taken after doing the M105/M205 combo. The M205 made the reflections more crisp, clear and deeper but it was hard to capture through the camera.
Nasty scratches under the passenger front door handle:
Crystal clear paint:

Oxidation on the rear wing: It was hard to capture it in camera but I was able to improve it a lot.
I was trying to be artistic here while capturing the swirl free finish of the trunk:
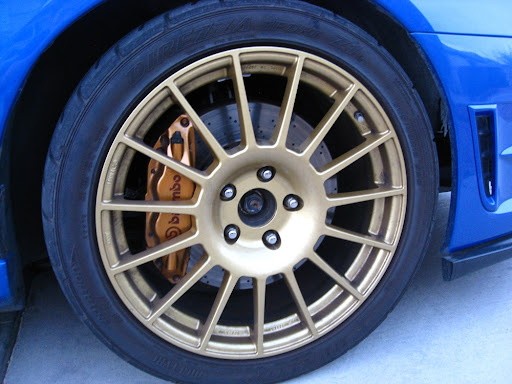
Sonax Full Effect Wheel Cleaner and Meguiar's Deep Crystal on wheels
Meguiar's APC on tires
Meguiar's Hyper Dressing on tires
Swissvax Wheel Brush for the wheels
EZ Detail brush for the barrels
Wash:
Gilmour Foam Gun
Chemical Guys Citrus Wash and Gloss via Foam Gun and 2BM
Meguiar's Microfiber Wash Mitt
Swissvax Brush for Plastic Surfaces / Gas Tank
Clay:
Meguiar's OTC Clay
Meguiar's Last Touch
Paint Correction:
Flex 3401 VRG
Meguiar's G100 / 3.5" and 5" LC Backing Plates
Meguiar's M105 / LC Orange Pads
Meguiar's M205 / LC Black Pads
Craftsman 500W Halogen Lights
LSP:
Menzerna Powerlock / LC Blue Pad
Interior:
Meguiar's Quik Interior Detailer
Misc:
Poorboy's Trim Restorer
This car was brought in to have the multi-step detail process. The owner basically wanted the paint to look its best. I was preparing for the worst because I've heard that subaru paint is very soft and sticky. Some people inflict marring by wiping off polish residue and some experience the product gumming up way too quickly. Despite the feedback, I still tackled on the job because the car is just plain COOL! I will let the pictures do the talking.
Before:
Wash:
This is the reason why you should always wax your car. No sheeting at all:
This is from claying 1/4 of the hood. The paint wasn't as contaminated. The rear section was the worst part.
After claying the car, I performed an IPA wipe down to see the true condition of the paint. The paint had a ton of swirls... I first tried using M205 to see how the paint would react but sure enough, it didn't remove all the swirls. I had to step it up to the M105/M205 combo. Here are some 50/50 shots:
Passenger side front door:
Passenger side rear door:
Passenger side rear door lower part:
Driver side front fender:
Driver side front door:
Nasty scratches underneath the gas tank:
Viola! GONE!
All the pictures above are taken after hitting the paint with M105. The before/after picture below is taken after doing the M105/M205 combo. The M205 made the reflections more crisp, clear and deeper but it was hard to capture through the camera.
Nasty scratches under the passenger front door handle:
Crystal clear paint:
Oxidation on the rear wing: It was hard to capture it in camera but I was able to improve it a lot.
I was trying to be artistic here while capturing the swirl free finish of the trunk:
Thread Starter
|
Registered User
Joined: Jun 2010
Posts: 20
Likes: 0
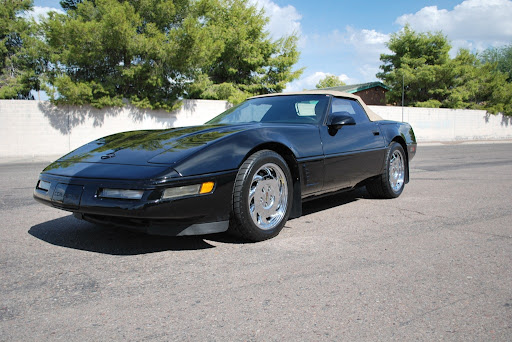
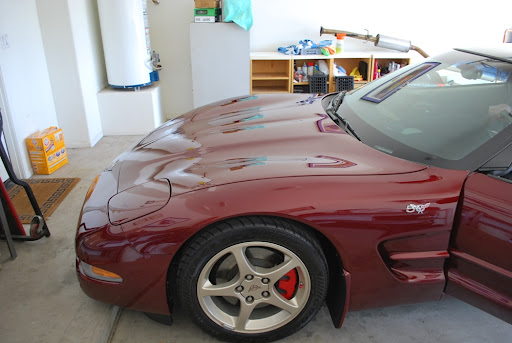
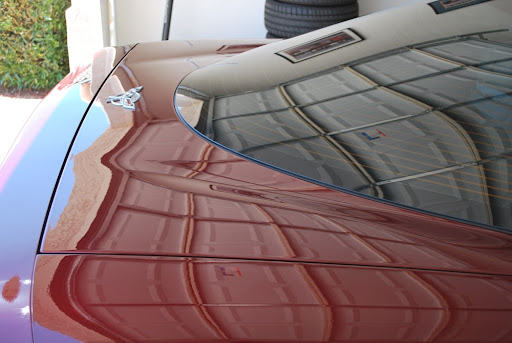
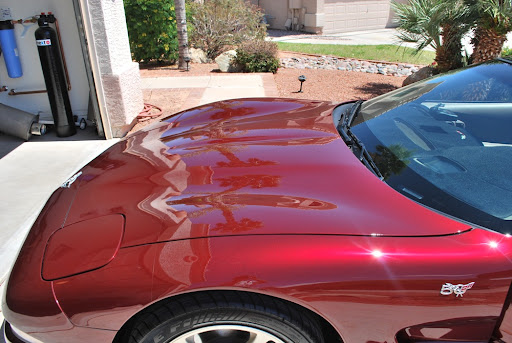
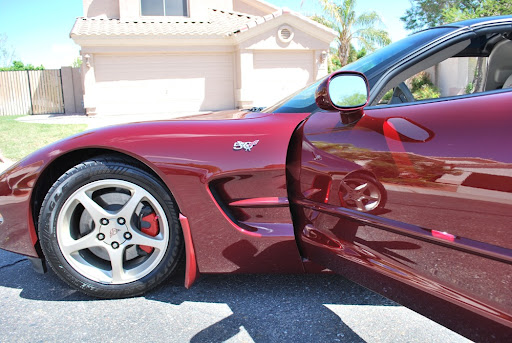
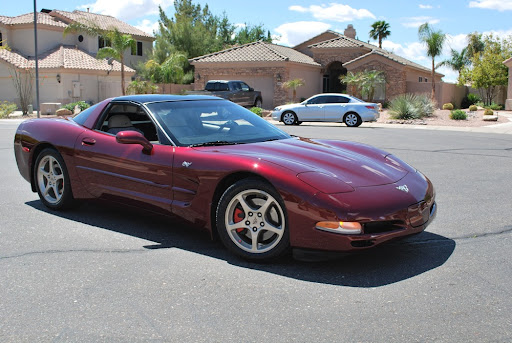
Afters:
I was pissed my SLR camera didn't have any battery left. I was using my point and shoot to capture some after shots so please excuse the quality.
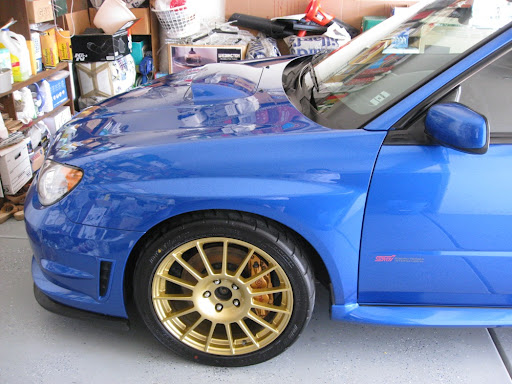
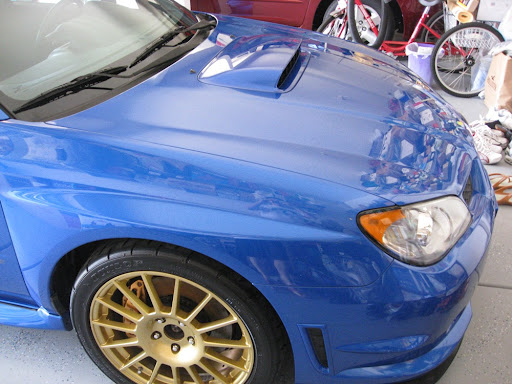

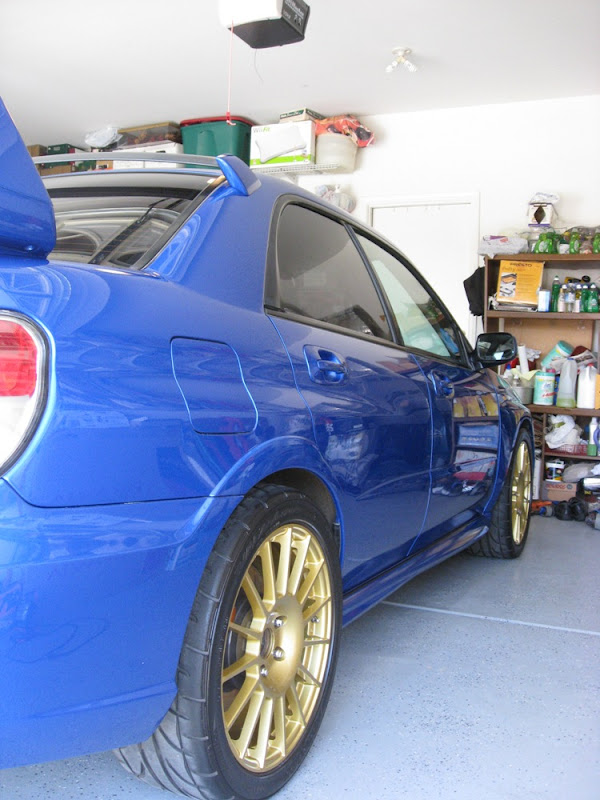
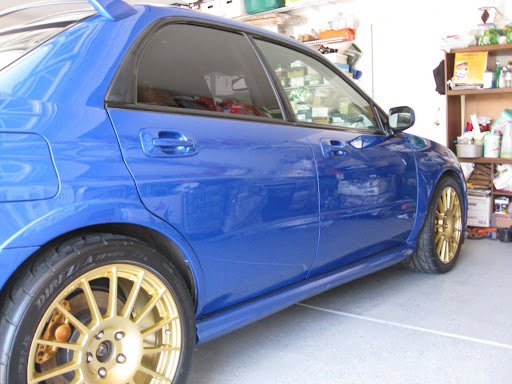

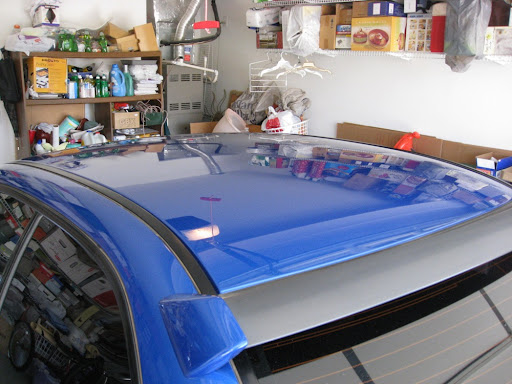

I also couldn't get a lot of sun shots because I was pressed for time and the owner had to go somewhere at a specific time.
Approximate time: 18 Hours.
What do you guys think? Opinions, comments and criticisms are welcome!
I was pissed my SLR camera didn't have any battery left. I was using my point and shoot to capture some after shots so please excuse the quality.
I also couldn't get a lot of sun shots because I was pressed for time and the owner had to go somewhere at a specific time.
Approximate time: 18 Hours.
What do you guys think? Opinions, comments and criticisms are welcome!
Thread Starter
|
Registered User
Joined: Jun 2010
Posts: 20
Likes: 0
Wheels/Tires:
Sonax Full Effect Wheel Cleaner and Meguiar's Deep Crystal on wheels
Meguiar's APC on tires
Meguiar's Hyper Dressing on tires
EZ Detail brush for the barrels
Wash:
Gilmour Foam Gun
Meguiar's Wash and Wax
Meguiar's Microfiber Wash Mitt
Clay:
Meguiar's OTC Clay
Meguiar's Last Touch
Paint Correction:
Flex 3401 VRG
Meguiar's G100 / 3.5" and 5" LC Backing Plates
Meguiar's M105 / LC Orange Pads
Meguiar's M205 / LC Black Pads
Craftsman 500W Halogen Lights
LSP:
Menzerna Powerlock / LC Blue Pad
Interior:
Meguiar's Quik Interior Detailer
Exhaust:
Meguiar's NXT Metal Polish
This car was immaculate. Upon arrival, the car already looked clean and shiny. I inspected the paint and the swirl marks were very minimal. The clay barely picked up any contaminants in the paint. Imagine, the car only had 7500 miles. The interior pretty much looked brand new. I was happy knowing that this car won't require as much work. Boy I was wrong LOL!
This was a mobile job so I wasn't able to take as much pictures. I don't know why but the camera wasn't picking up the swirl marks and my 50/50 shots to show the difference. Also, I wanted to try not to waste time and just get on with detailing.
Wash:


I completely forgot to take pictures while foaming the car!!!
After claying the car, I performed an IPA wipe down to see the true condition of the paint. More swirls showed up but it wasn't as bad. There were a couple of bad spots. It looked like someone dragged an object over the paint on some areas. Overall, the paint was in great shape and I was excited. Here are some pictures of the swirls I was dealing with.

I knew that corvette's clear coats are HARD. I went ahead and used M105 right off the bat. One some areas, I even had to hit the paint 2-3 times!!! There were a lot of deep RIDS that required wetsanding but I wasn't going to do that without a paint thickness guage. Those RIDS were annoying the heck out of me! Anyway, here are some 50/50 shots that were worth posting. Most of the pictures I took didn't really show the difference because the paint was flushing the light out...
After hitting the car with M105, I used M205 to further refine the paint and bring it up to its full potential. The difference was minimal but with a keen eye, you can tell that the paint was more vibrant. The pearl effect was literally jumping out at you. Here are some pictures after doing a 2 step polish. Keep in mind this doesn't have a coat of wax yet.


Sealant being applied and drying:
Here are some photos of the car after removing the sealant. I was amazed at how it turned out. The reflections were crisp and clear. The shine was amazing. Too bad I finished the detail at night so there are no sun shots yet.
Sonax Full Effect Wheel Cleaner and Meguiar's Deep Crystal on wheels
Meguiar's APC on tires
Meguiar's Hyper Dressing on tires
EZ Detail brush for the barrels
Wash:
Gilmour Foam Gun
Meguiar's Wash and Wax
Meguiar's Microfiber Wash Mitt
Clay:
Meguiar's OTC Clay
Meguiar's Last Touch
Paint Correction:
Flex 3401 VRG
Meguiar's G100 / 3.5" and 5" LC Backing Plates
Meguiar's M105 / LC Orange Pads
Meguiar's M205 / LC Black Pads
Craftsman 500W Halogen Lights
LSP:
Menzerna Powerlock / LC Blue Pad
Interior:
Meguiar's Quik Interior Detailer
Exhaust:
Meguiar's NXT Metal Polish
This car was immaculate. Upon arrival, the car already looked clean and shiny. I inspected the paint and the swirl marks were very minimal. The clay barely picked up any contaminants in the paint. Imagine, the car only had 7500 miles. The interior pretty much looked brand new. I was happy knowing that this car won't require as much work. Boy I was wrong LOL!
This was a mobile job so I wasn't able to take as much pictures. I don't know why but the camera wasn't picking up the swirl marks and my 50/50 shots to show the difference. Also, I wanted to try not to waste time and just get on with detailing.
Wash:
I completely forgot to take pictures while foaming the car!!!
After claying the car, I performed an IPA wipe down to see the true condition of the paint. More swirls showed up but it wasn't as bad. There were a couple of bad spots. It looked like someone dragged an object over the paint on some areas. Overall, the paint was in great shape and I was excited. Here are some pictures of the swirls I was dealing with.
I knew that corvette's clear coats are HARD. I went ahead and used M105 right off the bat. One some areas, I even had to hit the paint 2-3 times!!! There were a lot of deep RIDS that required wetsanding but I wasn't going to do that without a paint thickness guage. Those RIDS were annoying the heck out of me! Anyway, here are some 50/50 shots that were worth posting. Most of the pictures I took didn't really show the difference because the paint was flushing the light out...
After hitting the car with M105, I used M205 to further refine the paint and bring it up to its full potential. The difference was minimal but with a keen eye, you can tell that the paint was more vibrant. The pearl effect was literally jumping out at you. Here are some pictures after doing a 2 step polish. Keep in mind this doesn't have a coat of wax yet.
Sealant being applied and drying:
Here are some photos of the car after removing the sealant. I was amazed at how it turned out. The reflections were crisp and clear. The shine was amazing. Too bad I finished the detail at night so there are no sun shots yet.
Thread Starter
|
Registered User
Joined: Jun 2010
Posts: 20
Likes: 0
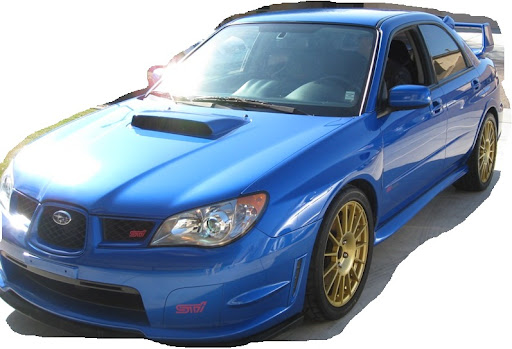
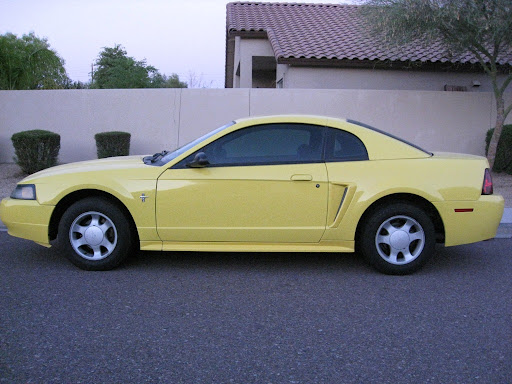
Photoshoot:


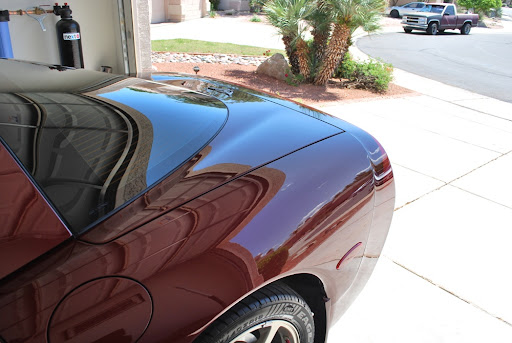


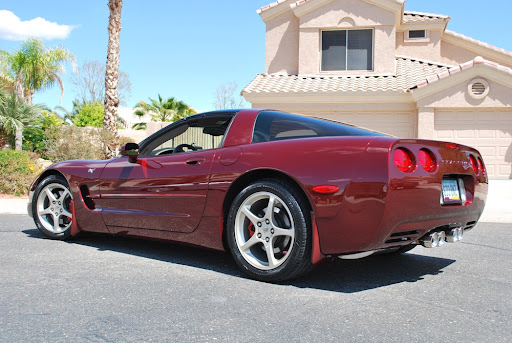


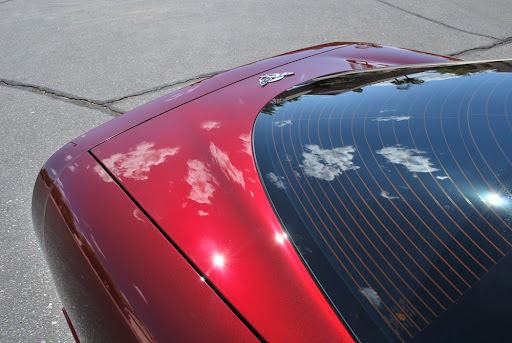
Approximate time: 14-15 Hours. Not so bad for a Vette.
What do you guys think? Opinions, comments and criticisms are welcome! The owner was very thrilled when he first saw his car.
Approximate time: 14-15 Hours. Not so bad for a Vette.
What do you guys think? Opinions, comments and criticisms are welcome! The owner was very thrilled when he first saw his car.


Thread Starter
|
Registered User
Joined: Jun 2010
Posts: 20
Likes: 0
Wheels/Tires:
Sonax Full Effect Wheel Cleaner and Meguiar's Deep Crystal on wheels
Meguiar's APC on tires
Meguiar's Hyper Dressing on tires
Wash:
CG Citrus Wash and Gloss via 2BM
Meguiar's Microfiber Wash Mitt
Clay:
Meguiar's OTC Clay
Meguiar's Last Touch
Paint Correction:
Meguiar's G100 / 3.5" and 5" LC Backing Plates
Meguiar's M105 / LC HT Tangerine Pads
Optimum Poli-seal / LC White Pads
Craftsman 500W Halogen Lights
LSP:
DP Poli-coat / LC Black Pad
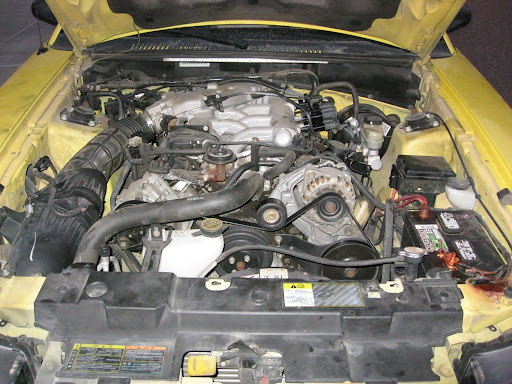
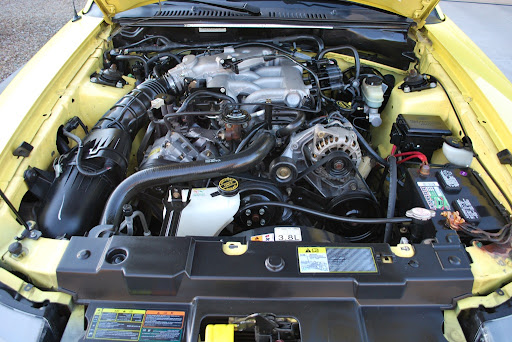
Engine:
Meguiar's Super Degreaser
Meguiar's APC
Meguiar's Hyper Dressing
Various Brushes
Trim:
Meguiar's Ultimate Protectant
Interior:
Meguiar's Quik Interior Detailer
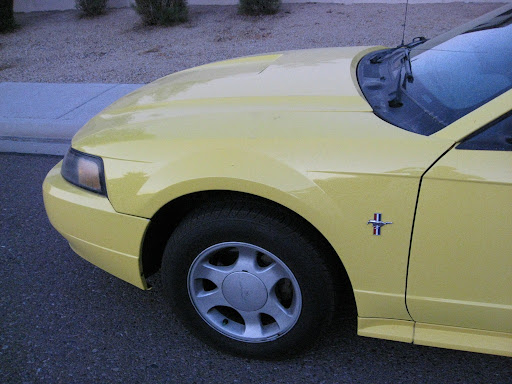
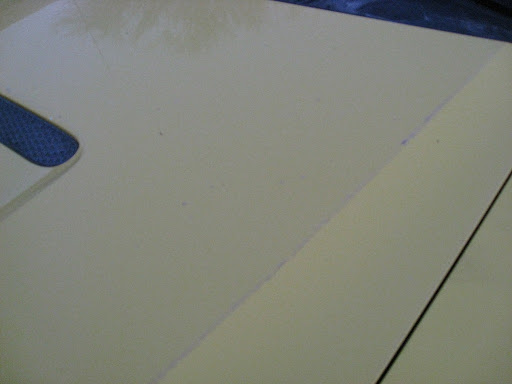
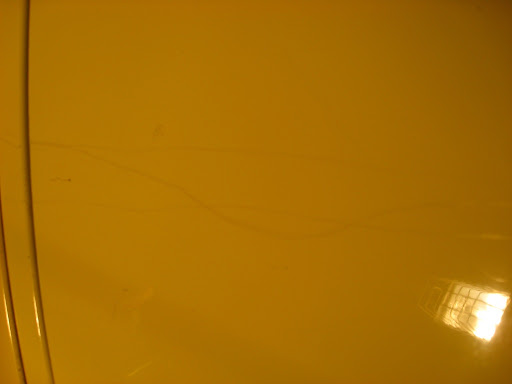
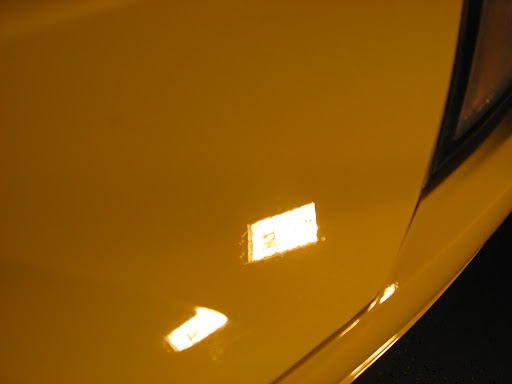
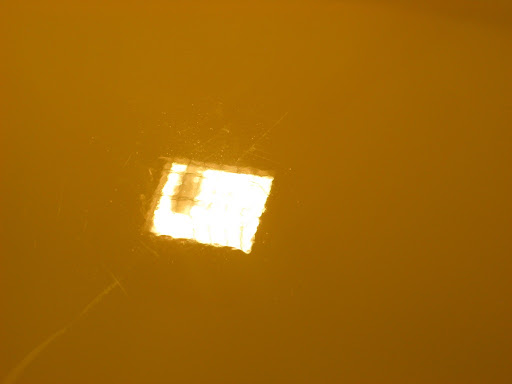
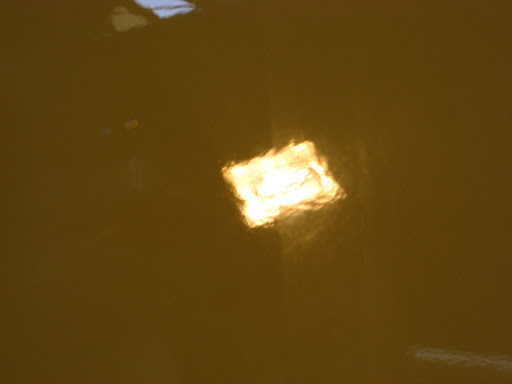
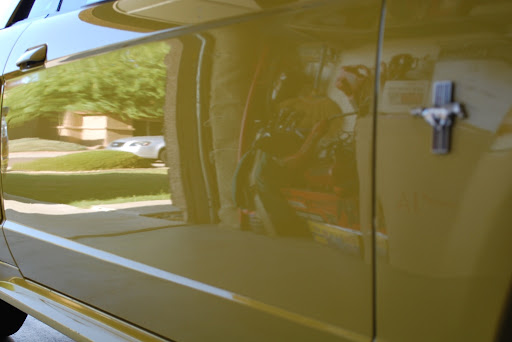
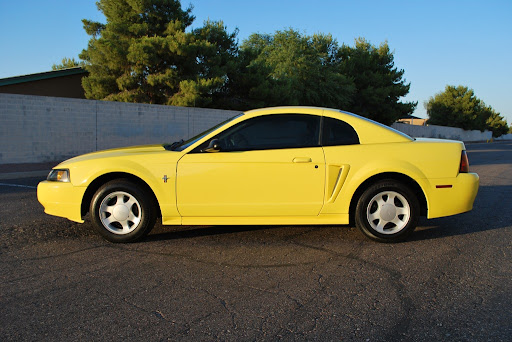
The owner of this car wanted to to have the car detailed in preparation of selling it. The owner said that the car had been sitting outside for who knows how long and it definitely shows. The paint has been severely oxidized and stained from sitting outside the hot Arizona sun. It had a lot of water spots and scuff marks as well. The paint was like faded yellow and the reflections were dull and lifeless. Needless to say, the car has seen better days.
Here are some before shots of the car:


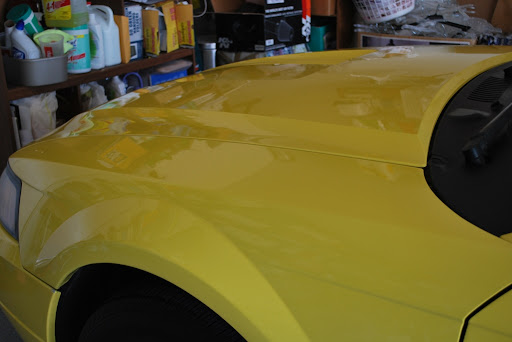
I'm sorry as I don't have any pictures during the wash process. I washed the car at night to get away from the Arizona heat. However, here are some pictures of the claying process:
After 1/4 of the hood
After 1/4 of the roof
The paint was indeed very contaminated especially with the horizontal surfaces. I threw away my clay bar after using it with this car. It pretty much trashed my clay.
The owner of this car opted for the 1 step AIO polish package. This has been the first customer who picked this package and I was planning to use Optimum Poli-seal with some LC White Polishing pads. I tried using it but boy it barely made a dent... The oxidation, water spots and scuff marks were etched in the paint pretty deep. I can do some improvement but it required multiple passes. Being the OCD me, I stepped it up even if the owner will be paying for the 1 step AIO package. I just wanted to make a difference where the owner will leave impressed. I chose to do a hybrid where in I'll be using M105 with some LC HT tangerine pads followed by Optimum Poli-seal with some LC white polishing pads on the top 3/4 of the car. I pretty much used the Optimum Poli-seal with the LC white polishing pads on the rocker panels and the lower parts of the bumpers. That's right, M105 to the rescue!!! :woot2
Here are some polishing process pictures:
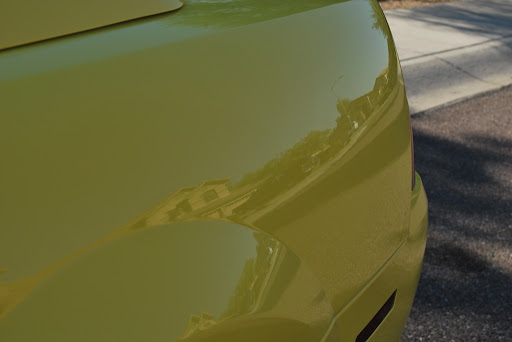
50/50 shot of the trunk
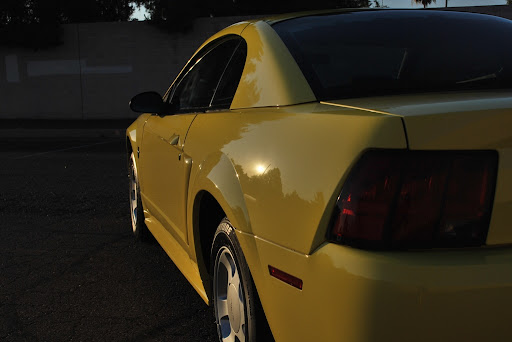
Rear Passenger Quarter Before: Scratches and Water Spots

Rear Passenger Quarter After: GONE!
Another Rear Passenger Quarter 50/50 Shot

Rear Passenger Quarter 2 Before: Scratches

Rear Passenger Quarter 2 After: GONE!
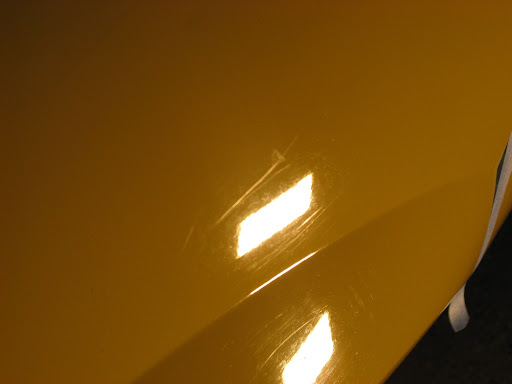
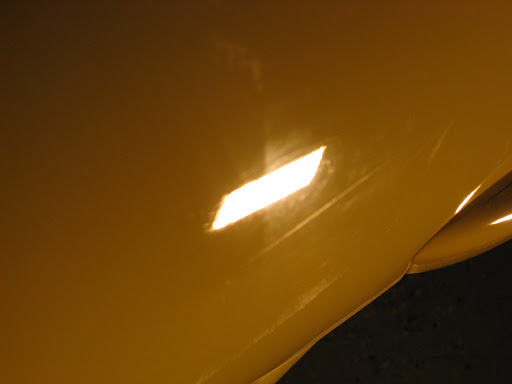
Rear Passenger Quarter 3 Before: Nasty Scuff Marks
Rear Passenger Quarter 3 After: GONE!
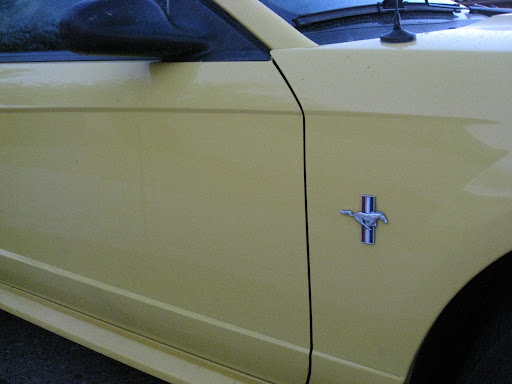
Passenger Side Door Before: Nasty Scuff Marks

Passenger Side Door After: GONE!
Passenger Side Door 50/50
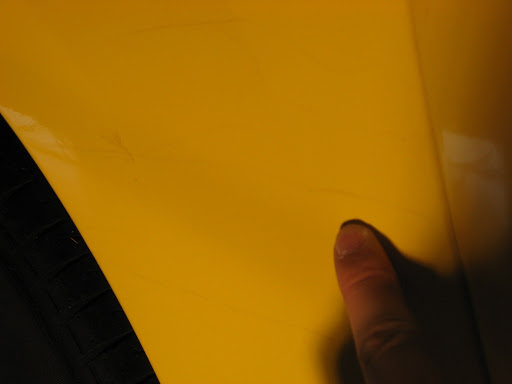
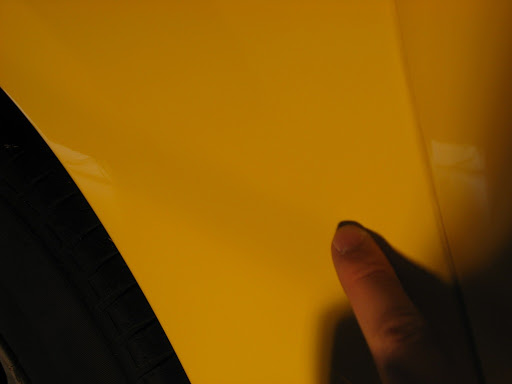
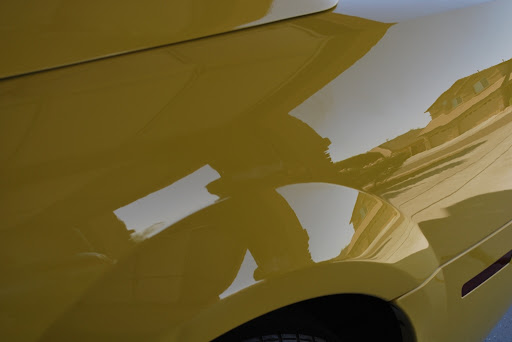
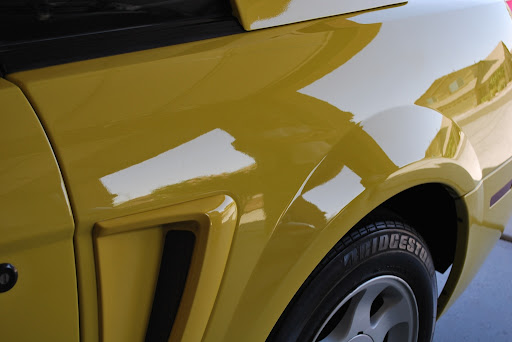
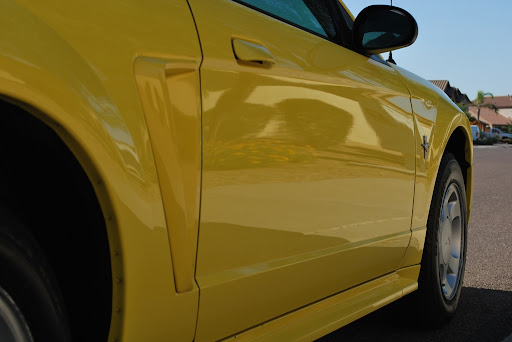
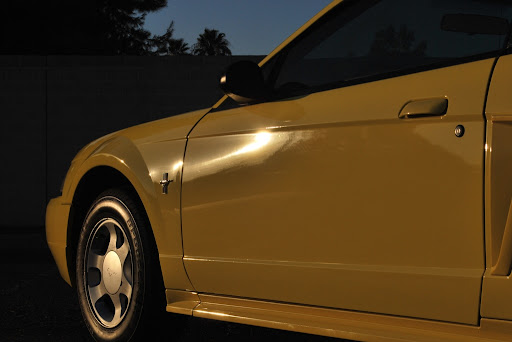
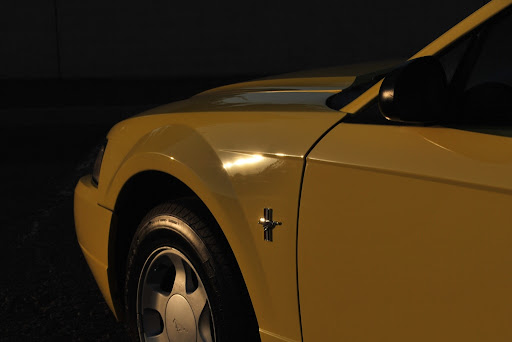
Passenger Side Front Fender Before: Swirls and Scratches
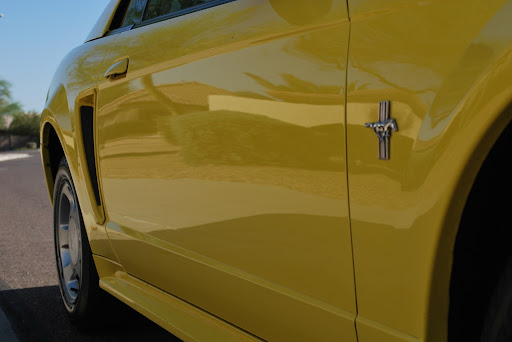
Passenger Side Front Fender After: Clarity Restored

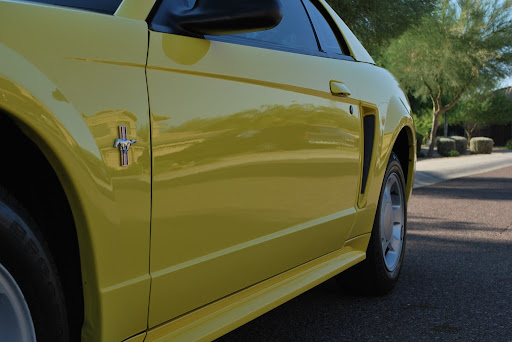
Passenger Side Front Fender 2 Before: Some weird stains and water spots
Passenger Side Front Fender 2 After: Clarity Restored
50/50 Shot on the hood

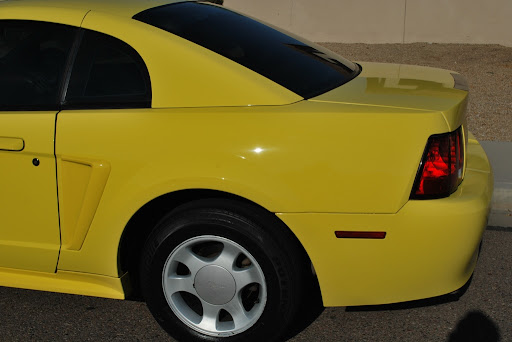
50/50 Shot on the Driver Side Rear Quarter Panel. You can see the water spots on the right half of the picture which distorts and dulls out the reflection. Polishing the paint restored the clarity and gloss of the paint.
Another 50/50 shot of the same spot using halogen lights.

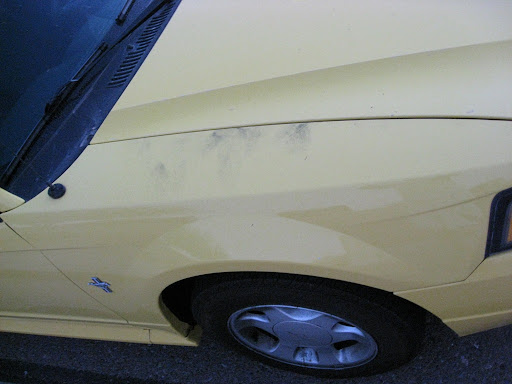
Front Bumper Before: Nasty Scuff Mark

Front Bumper After: New bumper???
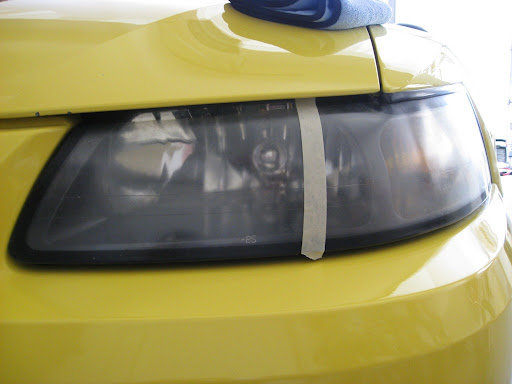
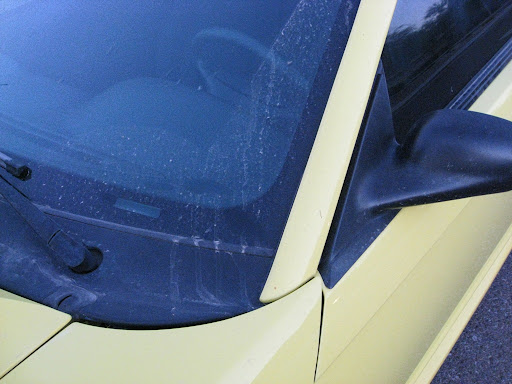
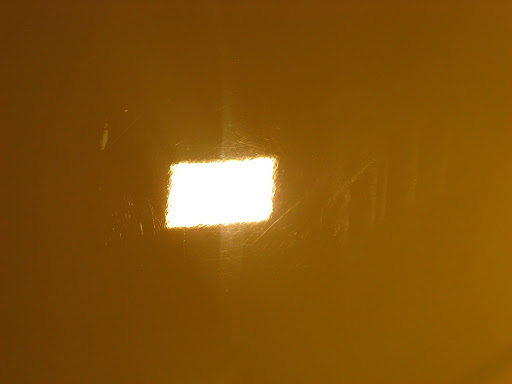
Driver Side Headlight Before
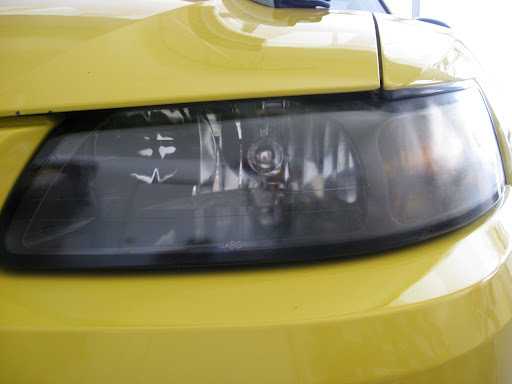
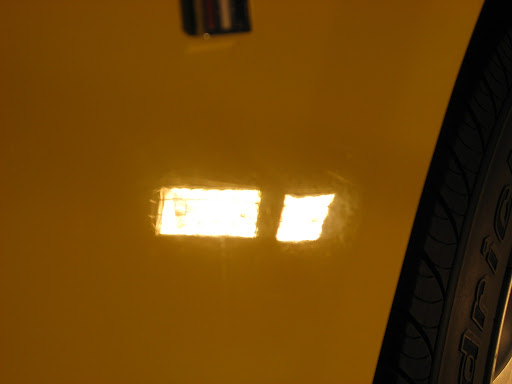
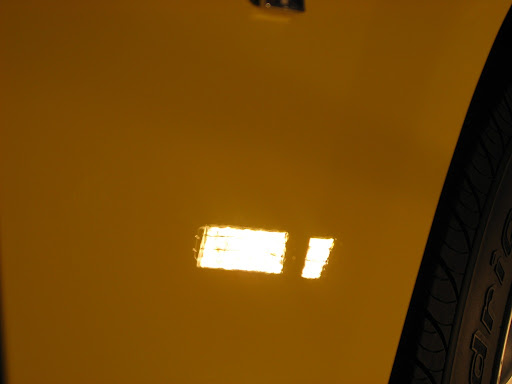
Driver Side Headlight 50/50

Passenger Side Headlight Before
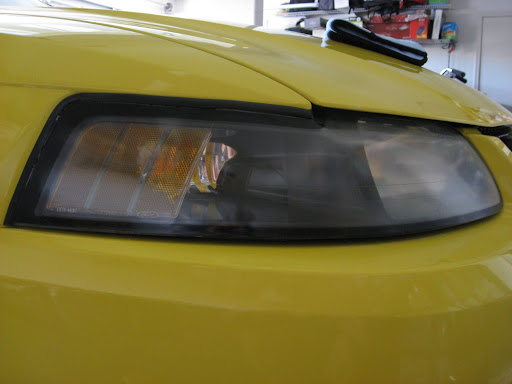
Passenger Side Headlight After

Applying Ultimate Protectant On The Front Honey Comb Grille
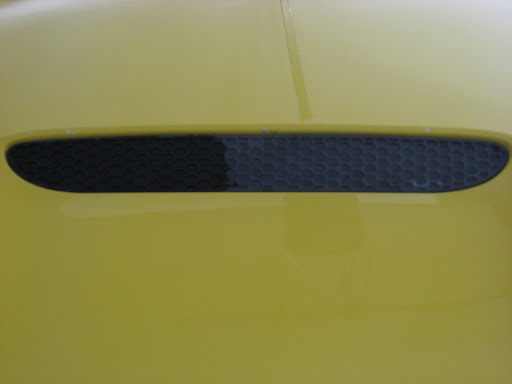
50/50 Shot of the Trim with Ultimate Protectant
Sonax Full Effect Wheel Cleaner and Meguiar's Deep Crystal on wheels
Meguiar's APC on tires
Meguiar's Hyper Dressing on tires
Wash:
CG Citrus Wash and Gloss via 2BM
Meguiar's Microfiber Wash Mitt
Clay:
Meguiar's OTC Clay
Meguiar's Last Touch
Paint Correction:
Meguiar's G100 / 3.5" and 5" LC Backing Plates
Meguiar's M105 / LC HT Tangerine Pads
Optimum Poli-seal / LC White Pads
Craftsman 500W Halogen Lights
LSP:
DP Poli-coat / LC Black Pad
Engine:
Meguiar's Super Degreaser
Meguiar's APC
Meguiar's Hyper Dressing
Various Brushes
Trim:
Meguiar's Ultimate Protectant
Interior:
Meguiar's Quik Interior Detailer
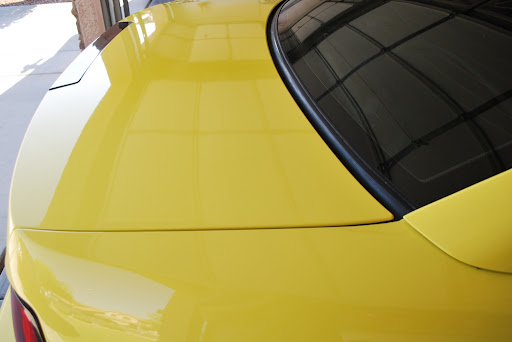
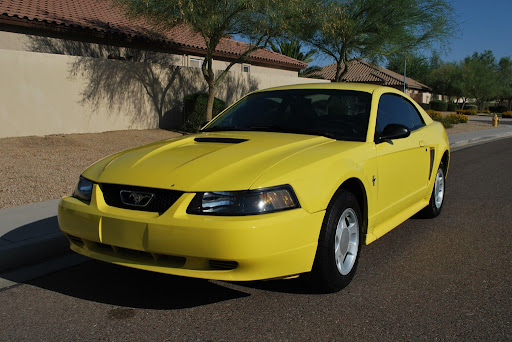
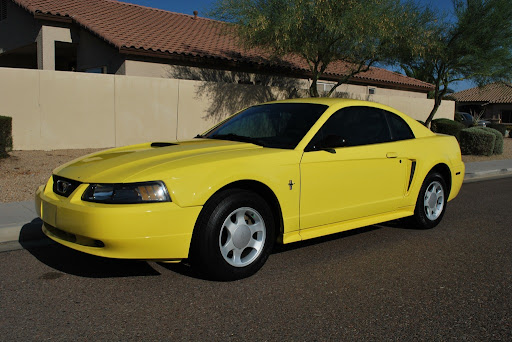
The owner of this car wanted to to have the car detailed in preparation of selling it. The owner said that the car had been sitting outside for who knows how long and it definitely shows. The paint has been severely oxidized and stained from sitting outside the hot Arizona sun. It had a lot of water spots and scuff marks as well. The paint was like faded yellow and the reflections were dull and lifeless. Needless to say, the car has seen better days.
Here are some before shots of the car:
I'm sorry as I don't have any pictures during the wash process. I washed the car at night to get away from the Arizona heat. However, here are some pictures of the claying process:
After 1/4 of the hood
After 1/4 of the roof
The paint was indeed very contaminated especially with the horizontal surfaces. I threw away my clay bar after using it with this car. It pretty much trashed my clay.
The owner of this car opted for the 1 step AIO polish package. This has been the first customer who picked this package and I was planning to use Optimum Poli-seal with some LC White Polishing pads. I tried using it but boy it barely made a dent... The oxidation, water spots and scuff marks were etched in the paint pretty deep. I can do some improvement but it required multiple passes. Being the OCD me, I stepped it up even if the owner will be paying for the 1 step AIO package. I just wanted to make a difference where the owner will leave impressed. I chose to do a hybrid where in I'll be using M105 with some LC HT tangerine pads followed by Optimum Poli-seal with some LC white polishing pads on the top 3/4 of the car. I pretty much used the Optimum Poli-seal with the LC white polishing pads on the rocker panels and the lower parts of the bumpers. That's right, M105 to the rescue!!! :woot2
Here are some polishing process pictures:
50/50 shot of the trunk
Rear Passenger Quarter Before: Scratches and Water Spots
Rear Passenger Quarter After: GONE!
Another Rear Passenger Quarter 50/50 Shot
Rear Passenger Quarter 2 Before: Scratches
Rear Passenger Quarter 2 After: GONE!
Rear Passenger Quarter 3 Before: Nasty Scuff Marks
Rear Passenger Quarter 3 After: GONE!
Passenger Side Door Before: Nasty Scuff Marks
Passenger Side Door After: GONE!
Passenger Side Door 50/50
Passenger Side Front Fender Before: Swirls and Scratches
Passenger Side Front Fender After: Clarity Restored
Passenger Side Front Fender 2 Before: Some weird stains and water spots
Passenger Side Front Fender 2 After: Clarity Restored
50/50 Shot on the hood
50/50 Shot on the Driver Side Rear Quarter Panel. You can see the water spots on the right half of the picture which distorts and dulls out the reflection. Polishing the paint restored the clarity and gloss of the paint.
Another 50/50 shot of the same spot using halogen lights.
Front Bumper Before: Nasty Scuff Mark
Front Bumper After: New bumper???
Driver Side Headlight Before
Driver Side Headlight 50/50
Passenger Side Headlight Before
Passenger Side Headlight After
Applying Ultimate Protectant On The Front Honey Comb Grille
50/50 Shot of the Trim with Ultimate Protectant


Thread
Thread Starter
Forum
Replies
Last Post
vstypicals
Buying, Selling & Leasing Discussion
6
Jul 20, 2015 10:55 PM