
Marc08EX Car Detailing Thread (Phoenix)


Thread Starter
|
Registered User
Joined: Jun 2010
Posts: 20
Likes: 0
Marc08EX Car Detailing Thread (Phoenix)
I guys, just wanted to create a thread on the local forum and post my work here. I do this detailing on the side because I really enjoying doing it. If anyone wants to have their cars done, I would love to have the opportunity. Please PM me and we can talk further.
Thread Starter
|
Registered User
Joined: Jun 2010
Posts: 20
Likes: 0
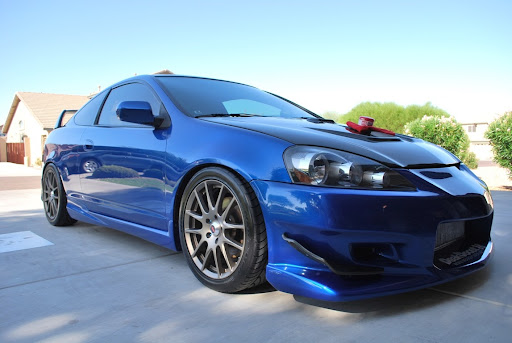
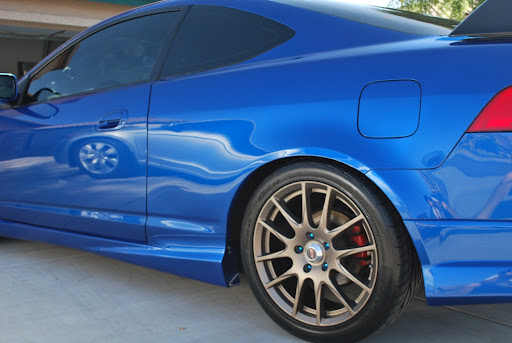
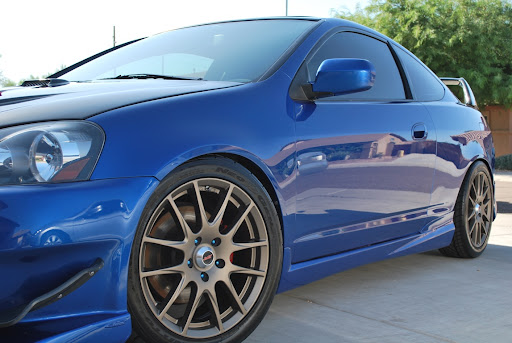
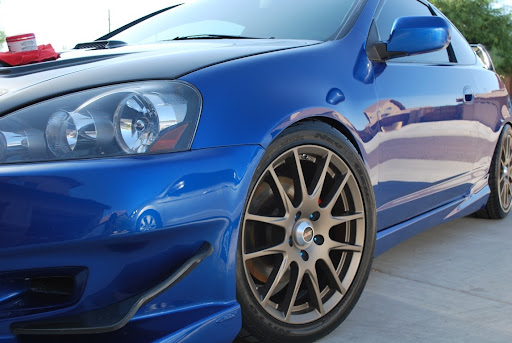
2006 Acura RSX - Vivid Blue Pearl
Wheels/Tires:
Meguiar's Deep Crystal / Mother's All Wheel Cleaner on wheels
Meguiar's APC on tires
Meguiar's Hyper Dressing on tires
EZ Detail brush for the barrels
Wash:
Gilmour Foam Gun
Chemical Guys Citrus Wash and Gloss via Foam Gun and 2BM
Meguiar's Microfiber Wash Mitt
Clay:
Meguiar's OTC Clay
Meguiar's Last Touch
Paint Correction:
Flex 3401 VRG
Meguiar's G100
Meguiar's M105 / Meguiar's W8006 Pads
Menzerna Super Intensive Polish / LC Orange Pads / LC White Pads
Menzerna Nano Polish (106FF) / LC Grey Pad
Craftsman 500W Halogen Lights
LSP:
Menzerna Powerlock / Meguiar's Foam Applicator Pad (left 12 hours to cure)
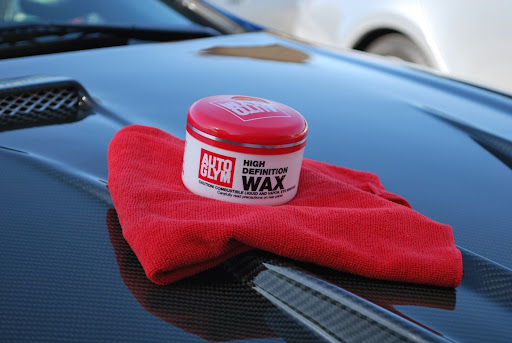
Autoglym HD Wax
Interior:
Meguiar's Quik Interior Detailer
I was excited to detail this car because it is a show car and also unique!!! The car had very tasteful mods & it had horsepower to back it up. The car arrived clean. It only had very light swirl marks underneath a layer of Arizona dust. Here are some before pictures... Sorry I only have a few pictures because I couldn't really capture the swirl marks with the intense arizona sun.

Here are some wash pictures:

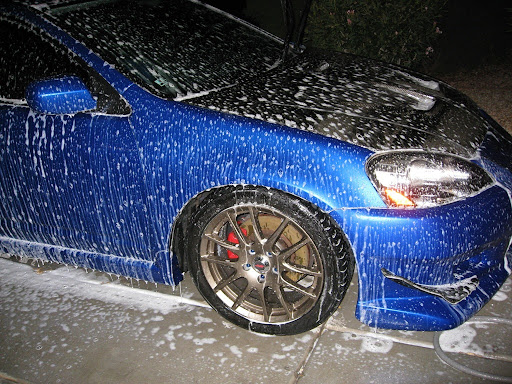
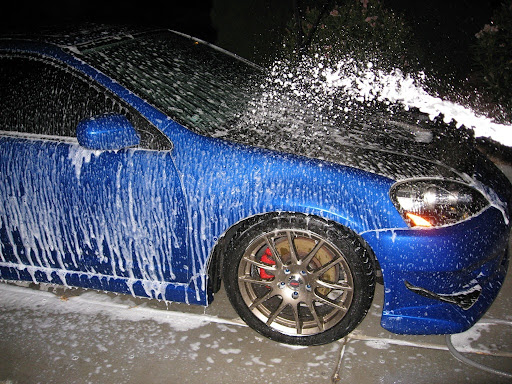
I tried getting some clay pictures but the embedded dirt was very light.
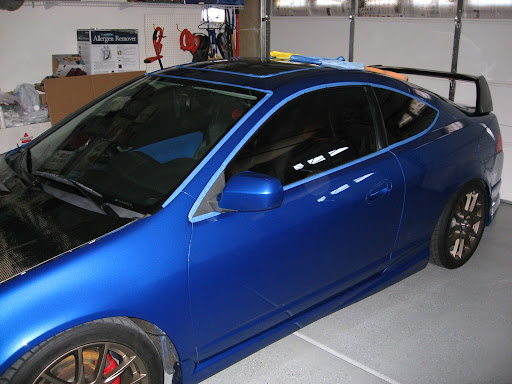
All taped up and ready to go:
After claying the car, I performed an IPA wipe down to see the true condition of the paint. I was shocked to see the amount of swirls the paint had!!! It didn't have that much swirls when we first inspected the car before delivering it to me. I guess the previous layer of wax hid all some of the swirls.
Since this car is a show car, I wanted the paint to look as perfect as possible. I decided to go ahead and use a 2 step detail right off the bat. I also recently received my Meguiar's M105 so I wanted to try that out as well. I used both Meg's M105 and Menz SIP throughout my paint correction phase. Here are some 50/50 shots:
Passenger Side Door:

Driver Side Door:

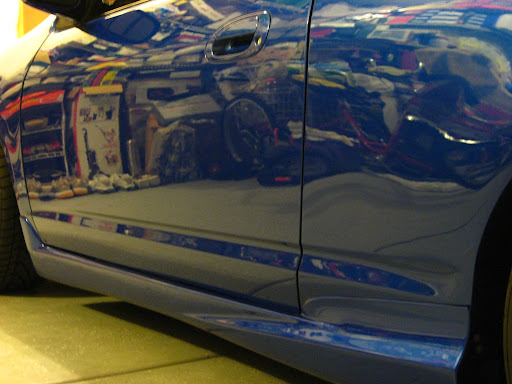
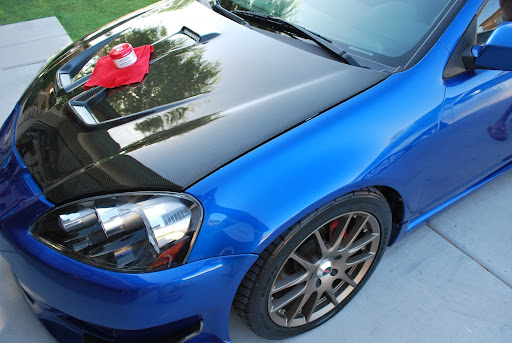
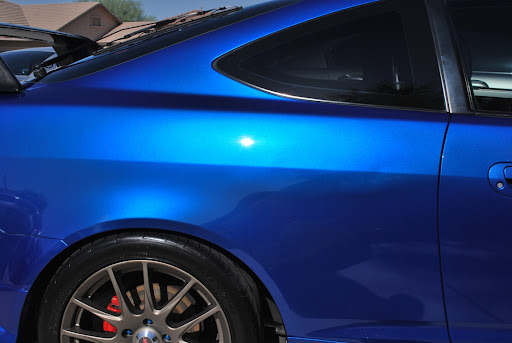
You can literally see the pearl popping in the after shots... The pearl flakes were more noticeable and the color of the paint changed from a light hazy blue to a deep and rich blue. Here's a 50/50 shot I took just trying to show the difference in the reflection. You can really notice the clarity improvement achieved.
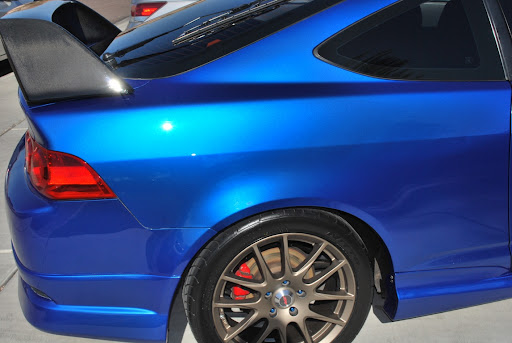
Driver side rear quarter panel:
Passenger side rear quarter panel:


Approximate time: 12-13 Hours. I don't know why it took this long...
Meguiar's Deep Crystal / Mother's All Wheel Cleaner on wheels
Meguiar's APC on tires
Meguiar's Hyper Dressing on tires
EZ Detail brush for the barrels
Wash:
Gilmour Foam Gun
Chemical Guys Citrus Wash and Gloss via Foam Gun and 2BM
Meguiar's Microfiber Wash Mitt
Clay:
Meguiar's OTC Clay
Meguiar's Last Touch
Paint Correction:
Flex 3401 VRG
Meguiar's G100
Meguiar's M105 / Meguiar's W8006 Pads
Menzerna Super Intensive Polish / LC Orange Pads / LC White Pads
Menzerna Nano Polish (106FF) / LC Grey Pad
Craftsman 500W Halogen Lights
LSP:
Menzerna Powerlock / Meguiar's Foam Applicator Pad (left 12 hours to cure)
Autoglym HD Wax
Interior:
Meguiar's Quik Interior Detailer
I was excited to detail this car because it is a show car and also unique!!! The car had very tasteful mods & it had horsepower to back it up. The car arrived clean. It only had very light swirl marks underneath a layer of Arizona dust. Here are some before pictures... Sorry I only have a few pictures because I couldn't really capture the swirl marks with the intense arizona sun.
Here are some wash pictures:
I tried getting some clay pictures but the embedded dirt was very light.
All taped up and ready to go:
After claying the car, I performed an IPA wipe down to see the true condition of the paint. I was shocked to see the amount of swirls the paint had!!! It didn't have that much swirls when we first inspected the car before delivering it to me. I guess the previous layer of wax hid all some of the swirls.
Since this car is a show car, I wanted the paint to look as perfect as possible. I decided to go ahead and use a 2 step detail right off the bat. I also recently received my Meguiar's M105 so I wanted to try that out as well. I used both Meg's M105 and Menz SIP throughout my paint correction phase. Here are some 50/50 shots:
Passenger Side Door:
Driver Side Door:
You can literally see the pearl popping in the after shots... The pearl flakes were more noticeable and the color of the paint changed from a light hazy blue to a deep and rich blue. Here's a 50/50 shot I took just trying to show the difference in the reflection. You can really notice the clarity improvement achieved.
Driver side rear quarter panel:
Passenger side rear quarter panel:
Approximate time: 12-13 Hours. I don't know why it took this long...
Thread Starter
|
Registered User
Joined: Jun 2010
Posts: 20
Likes: 0
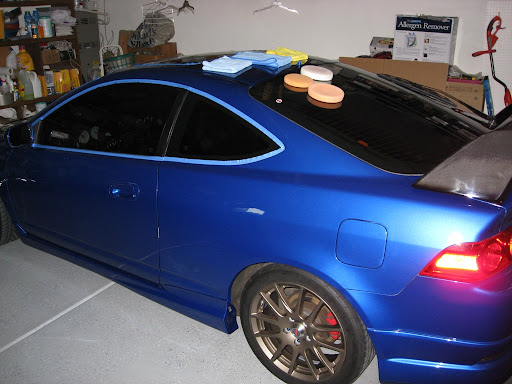
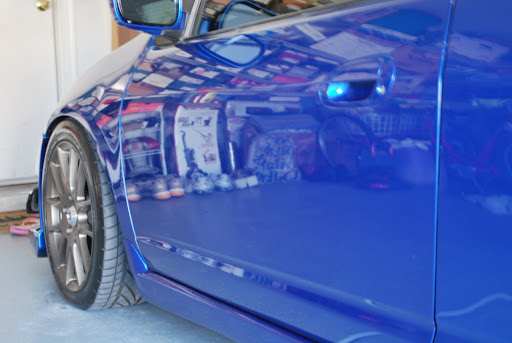
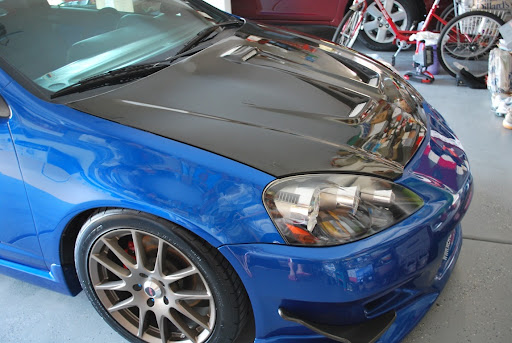
Here are some after shots inside the garage after Menz Powerlock has been applied:
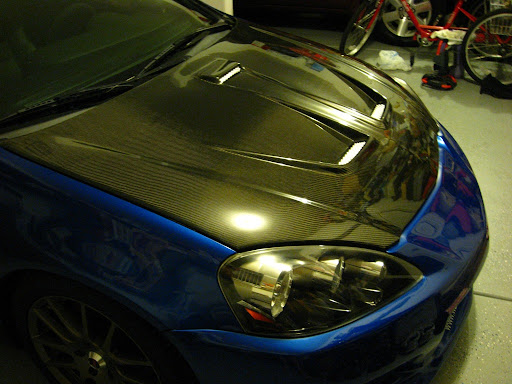
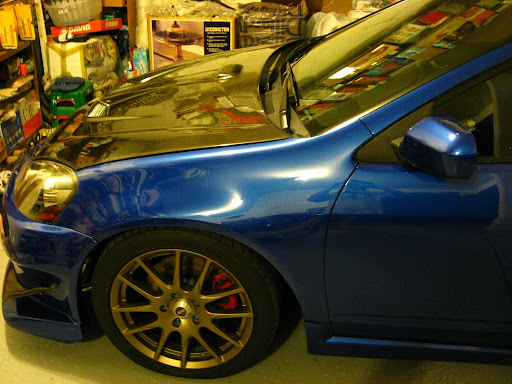
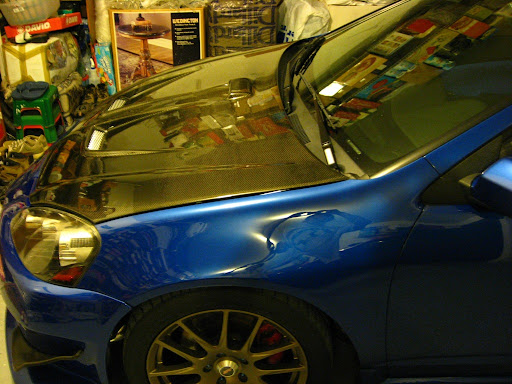
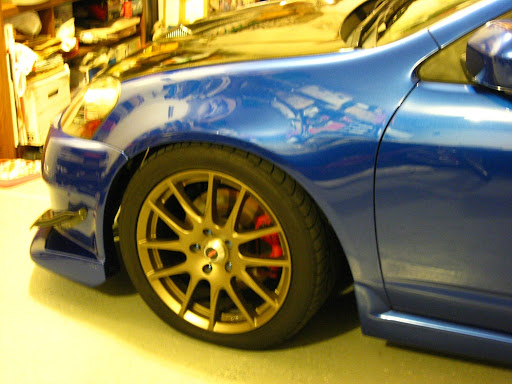
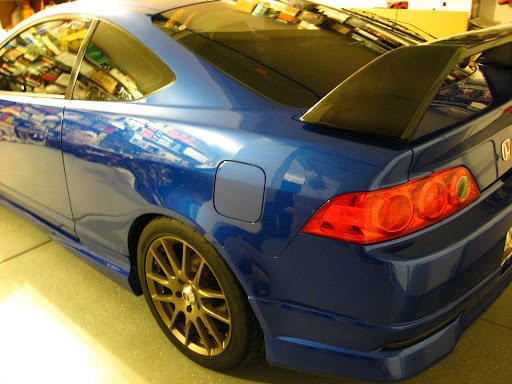
Menz powerlock was left to cure overnight. The next day, I applied a coat of Autoglym HD wax. Here are some pictures after this step: (My jaw literally dropped when I saw the shine after removing AGHD)

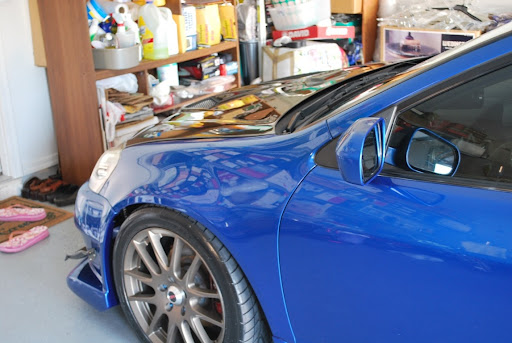
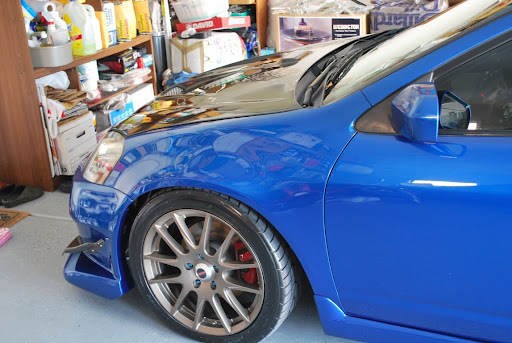

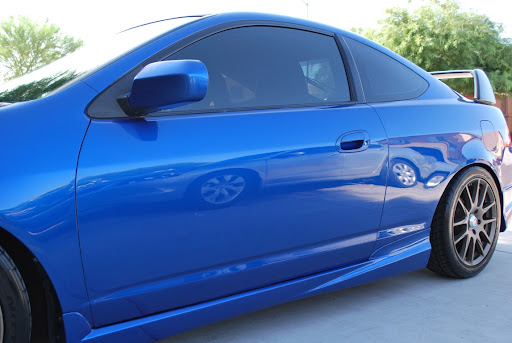
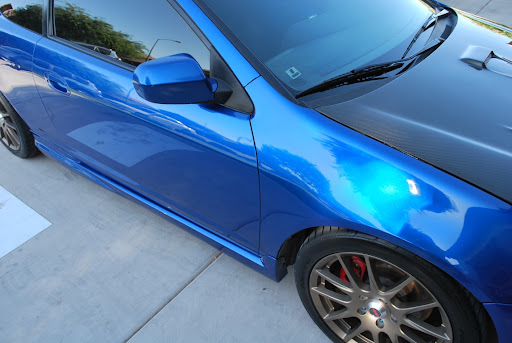

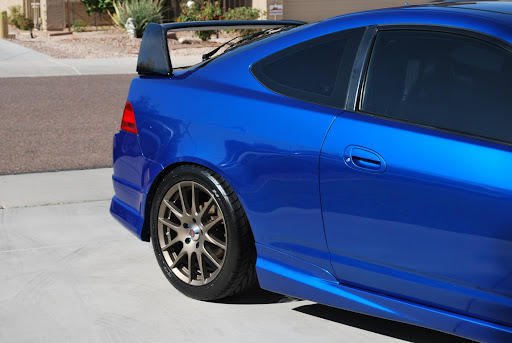
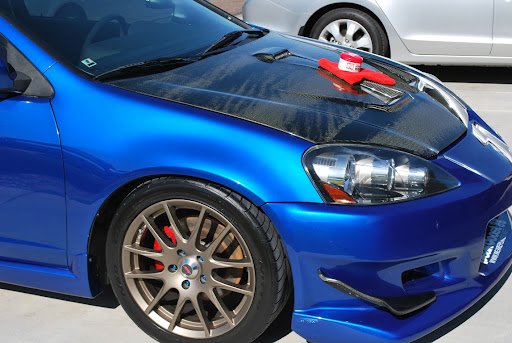

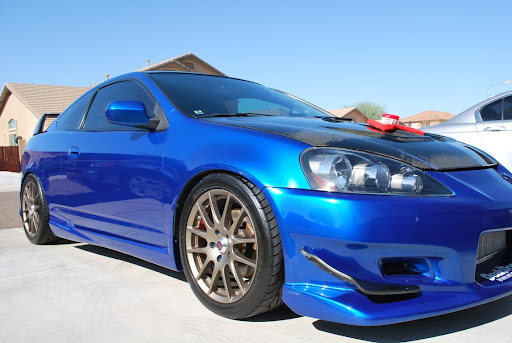
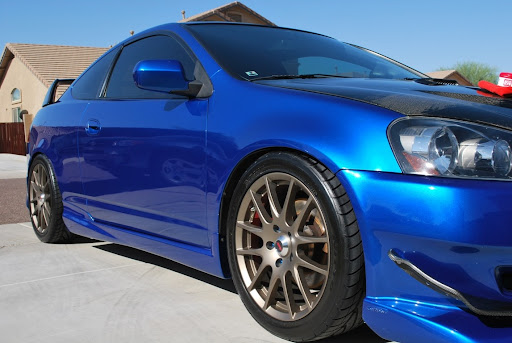
What do you guys think??
Menz powerlock was left to cure overnight. The next day, I applied a coat of Autoglym HD wax. Here are some pictures after this step: (My jaw literally dropped when I saw the shine after removing AGHD)
What do you guys think??
Thread Starter
|
Registered User
Joined: Jun 2010
Posts: 20
Likes: 0
1998 Mercedes Benz E430 - BLACK!!! (swirl city revival)
Wheels/Tires:
Meguiar's Deep Crystal on wheels
Meguiar's APC on tires/wheel wells
Meguiar's Cleaner Wax on wheels
Meguiar's Hyper Dressing on tires
Wash:
Gilmour Foam Gun with Meguiar's Gold Class/APC
Chemical Guys Citrus Wash and Gloss via 2BM
Meguiar's Microfiber Wash Mitt
Clay:
Meguiar's OTC Clay
Meguiar's Last Touch
Paint Correction:
Flex 3401 VRG
Meguiar's G100
Menzerna Super Intensive Polish / LC Orange Pad
Menzerna Nano Polish (106FF) / LC Grey Pad
Craftsman 500W Halogen Lights
LSP:
Menzerna Powerlock / Meguiar's Foam Applicator Pad
Misc:
Meguiar's NXT Metal Polish on the emblems
I have always detailed light colored cars. The darkest color I've detailed is our red minivan but I wasn't enthusiastic about polishing its paint because of the fact that it's a van. So when I got a chance to detail this BLACK E430, I was really excited. In addition, it's a Mercedes Benz so that got me more excited. The paint was just a mess. The rear bumper had some paintwork done to it but guess what they did??? They tried "buffing" the whole car only to leave buffer trails all over the place. Here are the before pictures:


You guys can see how bad the paint looks right?? The reflection is pretty much blurred and it wasn't as clear as it should be.
Here are some wash pictures:


Clay after 1/2 of the trunk:

All taped up and ready to go:

I always try to use the least aggressive product first to get the job done. With this in mind, I tried using the Menz 106FF first with a LC white pad. Here are some pictures of my test panel:


As you can see, it still left behind some minor swirl marks. After seeing this, I was unsatisfied with the outcome so I decided to step it up to Menz SIP via LC orange pad. Here are some pictures throughout this step:

Driver side rear quarter panel:


Driver side rear door:


Driver side front door:


Driver side front fender:

After the whole car has been polished with Menz SIP, I then polished and jeweled the paint with Menz 106FF via LC grey pads. Here are some pictures after doing so:


Rear trunk 50/50 shots after SIP/106FF:


Meguiar's Deep Crystal on wheels
Meguiar's APC on tires/wheel wells
Meguiar's Cleaner Wax on wheels
Meguiar's Hyper Dressing on tires
Wash:
Gilmour Foam Gun with Meguiar's Gold Class/APC
Chemical Guys Citrus Wash and Gloss via 2BM
Meguiar's Microfiber Wash Mitt
Clay:
Meguiar's OTC Clay
Meguiar's Last Touch
Paint Correction:
Flex 3401 VRG
Meguiar's G100
Menzerna Super Intensive Polish / LC Orange Pad
Menzerna Nano Polish (106FF) / LC Grey Pad
Craftsman 500W Halogen Lights
LSP:
Menzerna Powerlock / Meguiar's Foam Applicator Pad
Misc:
Meguiar's NXT Metal Polish on the emblems
I have always detailed light colored cars. The darkest color I've detailed is our red minivan but I wasn't enthusiastic about polishing its paint because of the fact that it's a van. So when I got a chance to detail this BLACK E430, I was really excited. In addition, it's a Mercedes Benz so that got me more excited. The paint was just a mess. The rear bumper had some paintwork done to it but guess what they did??? They tried "buffing" the whole car only to leave buffer trails all over the place. Here are the before pictures:
You guys can see how bad the paint looks right?? The reflection is pretty much blurred and it wasn't as clear as it should be.
Here are some wash pictures:
Clay after 1/2 of the trunk:
All taped up and ready to go:
I always try to use the least aggressive product first to get the job done. With this in mind, I tried using the Menz 106FF first with a LC white pad. Here are some pictures of my test panel:
As you can see, it still left behind some minor swirl marks. After seeing this, I was unsatisfied with the outcome so I decided to step it up to Menz SIP via LC orange pad. Here are some pictures throughout this step:
Driver side rear quarter panel:
Driver side rear door:
Driver side front door:
Driver side front fender:
After the whole car has been polished with Menz SIP, I then polished and jeweled the paint with Menz 106FF via LC grey pads. Here are some pictures after doing so:
Rear trunk 50/50 shots after SIP/106FF:


Thread Starter
|
Registered User
Joined: Jun 2010
Posts: 20
Likes: 0
2004 Toyota Sienna - Salsa Red
Wheels/Tires:
Meguiar's Deep Crystal on wheels
Meguiar's APC+ on tires
Meguiar's Cleaner Wax on wheels
Meguiar's Hyper Dressing on tires
Wash:
Gilmour Foam Gun with Meguiar's Gold Class
Chemical Guys Citrus Wash and Gloss
Meguiar's Microfiber Wash Mitt
Clay:
Meguiar's OTC Clay
Meguiar's Last Touch
Paint Correction:
Flex 3401 VRG
Menzerna Super Intensive Polish / LC Orange Pad
Menzerna Nano Polish (106FF) / LC White Pad
Craftsman 500W Halogen Lights
LSP:
Autoglym HD Wax
I'm sorry I don't have any before pictures because the car wasn't dirty at all when I started.
Before Paint Correction Pics:


The swirl marks weren't so bad at all. This car has been well maintained and washed using the 2 bucket method most of the time. I started the paint correction process by using the least aggressive method so I started with the Menz 106FF paired with the LC white polishing pad. This barely did anything at all. So I stepped it up to the Menz SIP with the LC orange light cutting pad. This removed all the swirl marks except some RIDS. Each panel was corrected using the Menz SIP / LC orange followed by Menz 106FF / LC white.
After Paint Correction Pics:


LSP to be used:

Meguiar's Deep Crystal on wheels
Meguiar's APC+ on tires
Meguiar's Cleaner Wax on wheels
Meguiar's Hyper Dressing on tires
Wash:
Gilmour Foam Gun with Meguiar's Gold Class
Chemical Guys Citrus Wash and Gloss
Meguiar's Microfiber Wash Mitt
Clay:
Meguiar's OTC Clay
Meguiar's Last Touch
Paint Correction:
Flex 3401 VRG
Menzerna Super Intensive Polish / LC Orange Pad
Menzerna Nano Polish (106FF) / LC White Pad
Craftsman 500W Halogen Lights
LSP:
Autoglym HD Wax
I'm sorry I don't have any before pictures because the car wasn't dirty at all when I started.
Before Paint Correction Pics:
The swirl marks weren't so bad at all. This car has been well maintained and washed using the 2 bucket method most of the time. I started the paint correction process by using the least aggressive method so I started with the Menz 106FF paired with the LC white polishing pad. This barely did anything at all. So I stepped it up to the Menz SIP with the LC orange light cutting pad. This removed all the swirl marks except some RIDS. Each panel was corrected using the Menz SIP / LC orange followed by Menz 106FF / LC white.
After Paint Correction Pics:
LSP to be used:
Thread Starter
|
Registered User
Joined: Jun 2010
Posts: 20
Likes: 0


Trending Topics
Thread Starter
|
Registered User
Joined: Jun 2010
Posts: 20
Likes: 0
Thanks a lot sir!! Willing to travel to Ohio? I have someone I can recommend you to. Please PM me if you're interested.

Thread Starter
|
Registered User
Joined: Jun 2010
Posts: 20
Likes: 0
You got PM sir!
Anybody in Phoenix interested in a detail, please PM me!
ttank the supa mod, did you get my PM?
Anybody in Phoenix interested in a detail, please PM me!
ttank the supa mod, did you get my PM?


Thread Starter
|
Registered User
Joined: Jun 2010
Posts: 20
Likes: 0
I guess people are getting turned off by my prices... Tim, thanks for letting me create my thread though!
Thread Starter
|
Registered User
Joined: Jun 2010
Posts: 20
Likes: 0
Wheels/Tires:
Meguiar's Deep Crystal on wheels
Meguiar's APC on tires
Meguiar's Hyper Dressing on tires
EZ Detail brush for the barrels
Meguiar's Ultimate Quik Wax for Brake Calipers
Wash:
Gilmour Foam Gun
Chemical Guys Citrus Wash and Gloss via Foam Gun and 2BM
Meguiar's Microfiber Wash Mitt
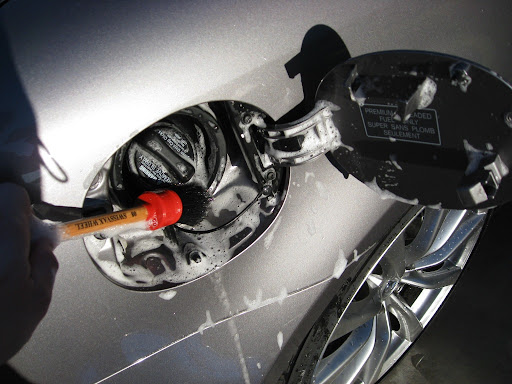
Swissvax Brush for Plastic Surfaces / Gas Tank
Clay:
Meguiar's OTC Clay
Meguiar's Last Touch
Paint Correction:
Flex 3401 VRG
Meguiar's G100 / 3.5" and 5" LC Backing Plates
Meguiar's M105 / LC Orange Pads
Meguiar's M205 / LC White Pads
Craftsman 500W Halogen Lights
LSP:
Menzerna Powerlock / LC Blue Pad (left 12 hours to cure)
Autoglym HD Wax
Interior:
Meguiar's Quik Interior Detailer
Meguiar's APC+
Exhaust:
Meguiar's NXT Metal Polish
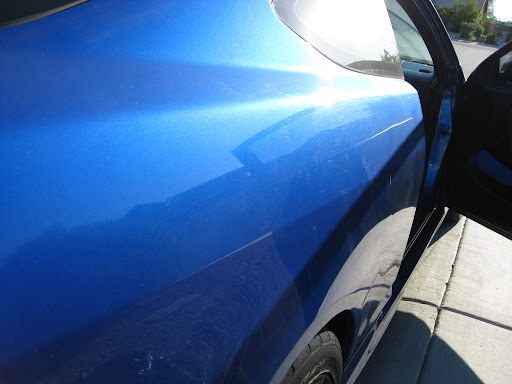
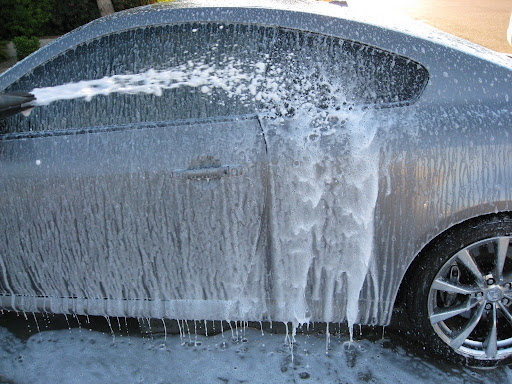
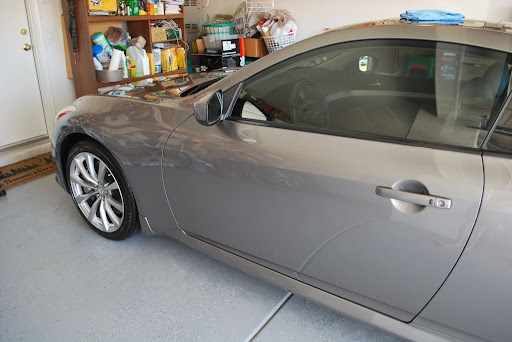
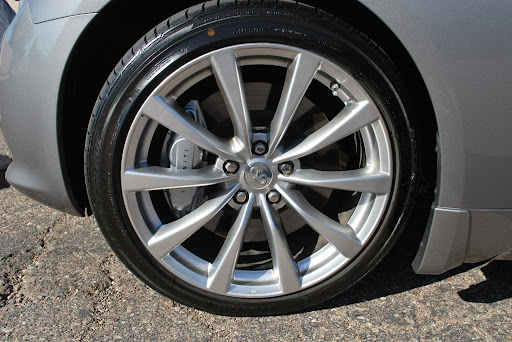
This car was brought to me for swirl removal. Upon inspection, there weren't a lot of swirl marks so I thought I would have an easy task at hand. I was really excited to do this detail because the Infiniti G coupes are sexy as hell. The drive and sound amazing especially when the transmission is a 6MT. This car is a beast and it sounds amazing! Now onto the pictures...
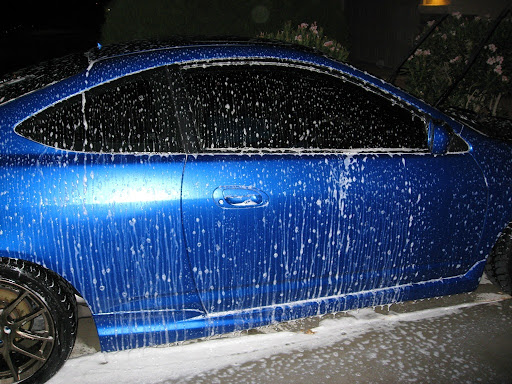
Wash:
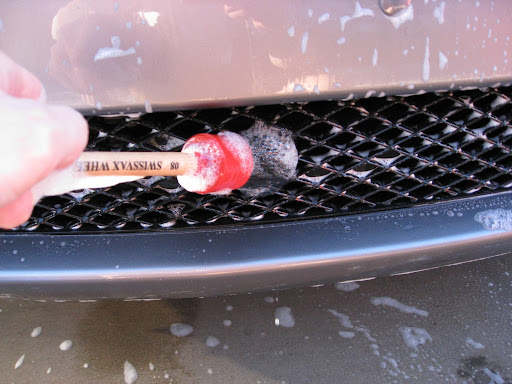
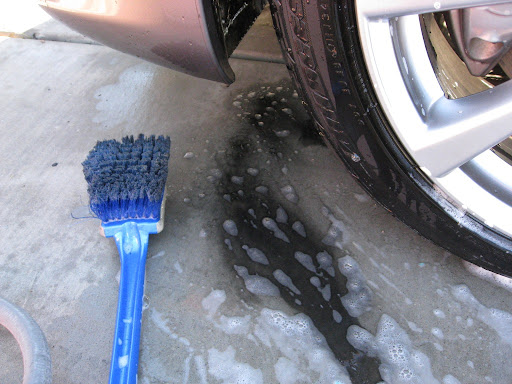
All of the gunk came from brushing the wheel well.
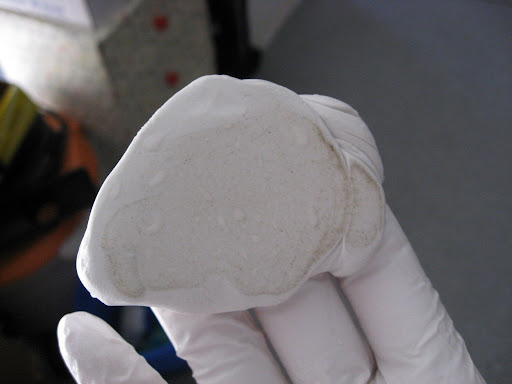
This is from claying 1/2 of the trunk. The paint was pretty contaminated with embedded dirt.
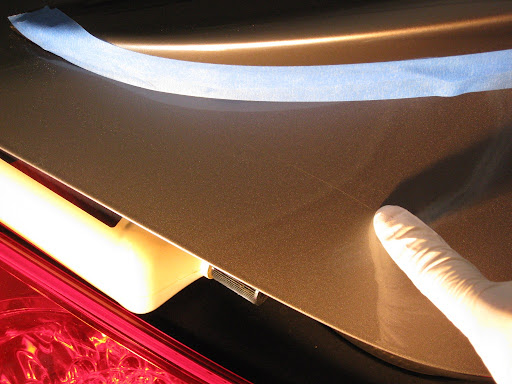
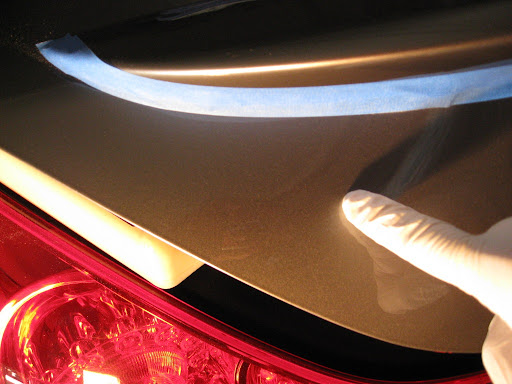
All taped up and ready to go:
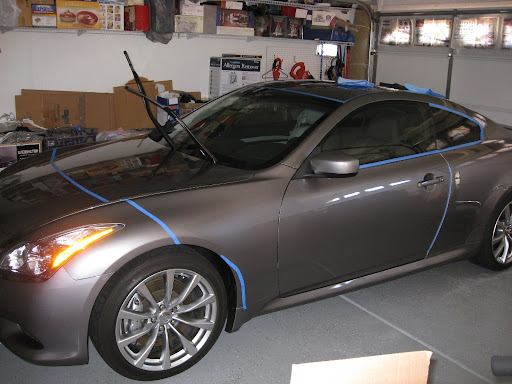
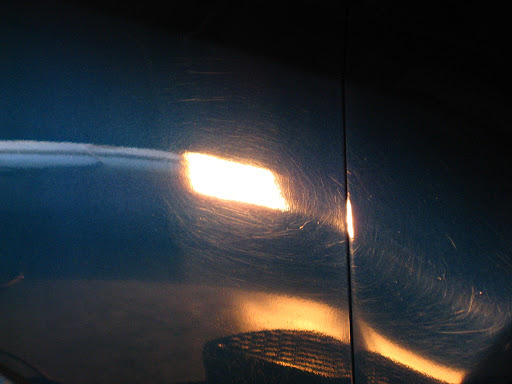
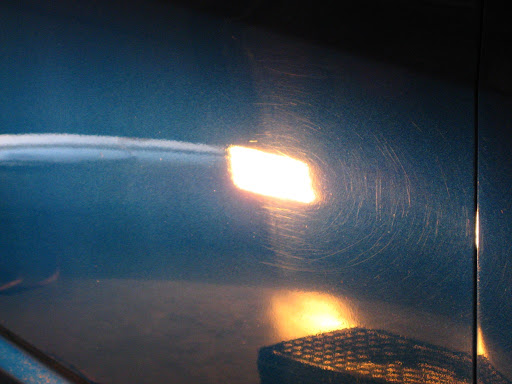
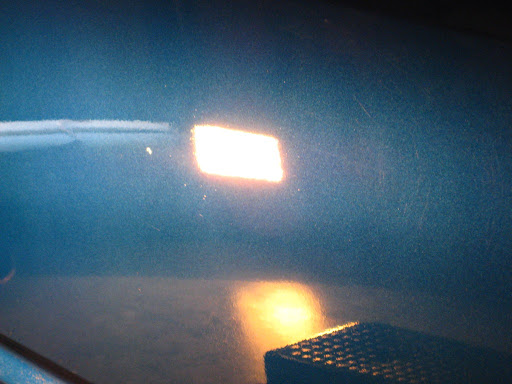
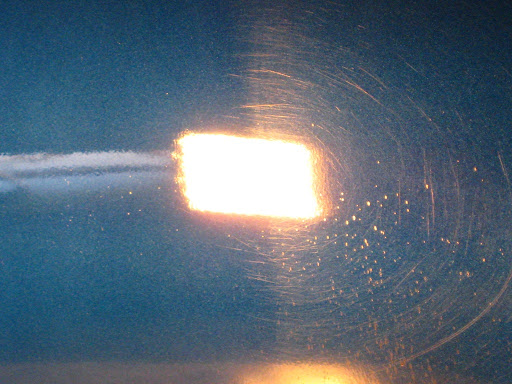
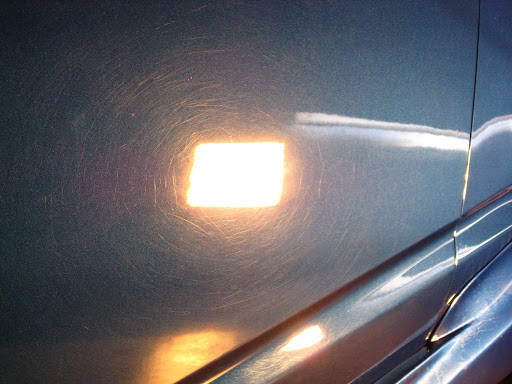
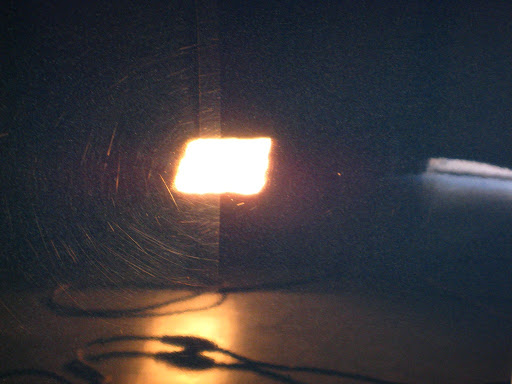
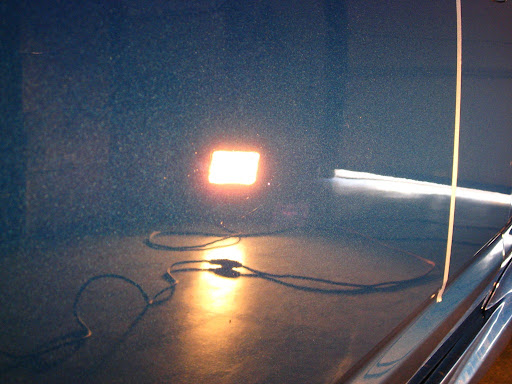
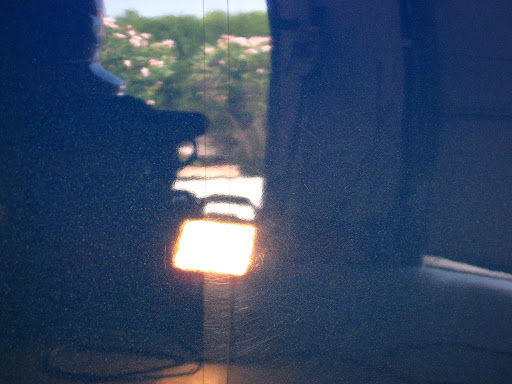
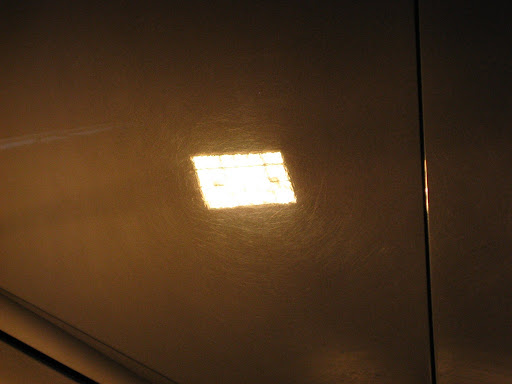
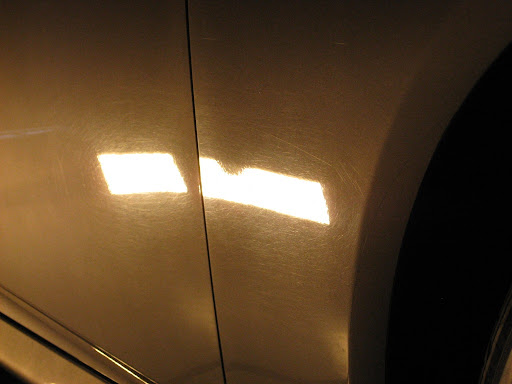
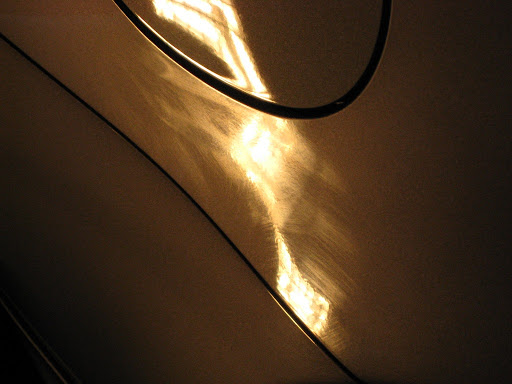
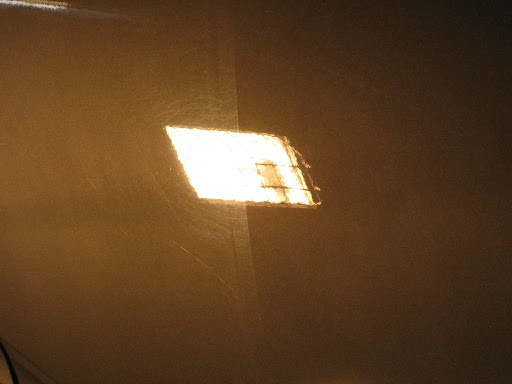
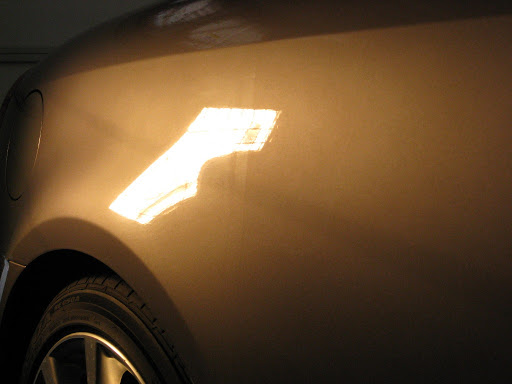
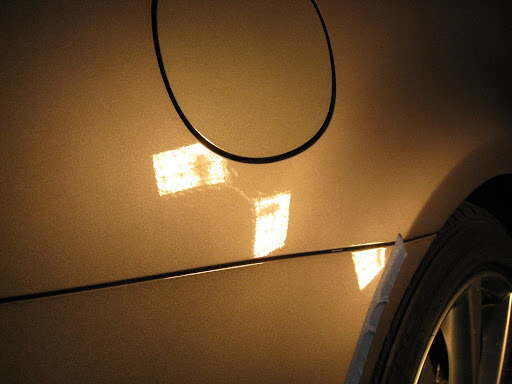
After claying the car, I performed an IPA wipe down to see the true condition of the paint. I was shocked to see the amount of swirls the paint had!!! It didn't have that much swirls when I first inspected the car. The dealer did a really good job on hiding the swirls the car had.
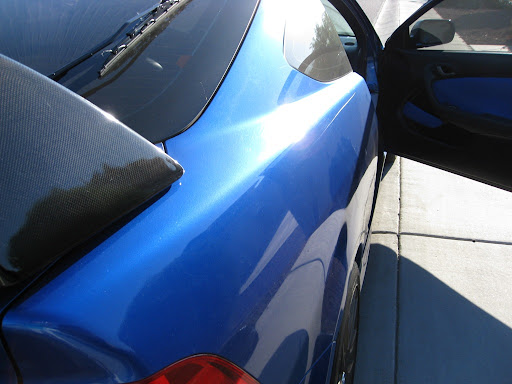
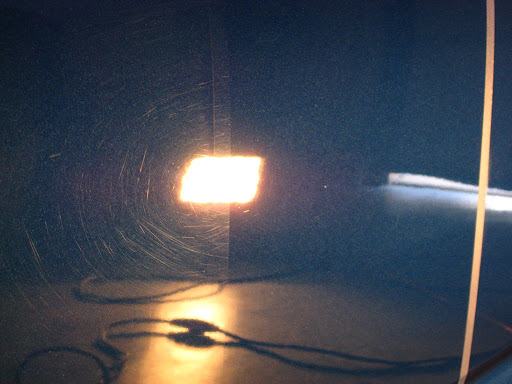
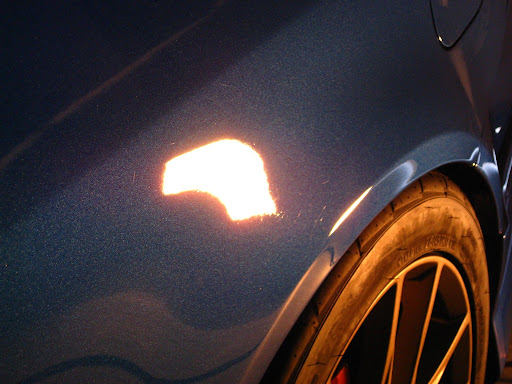
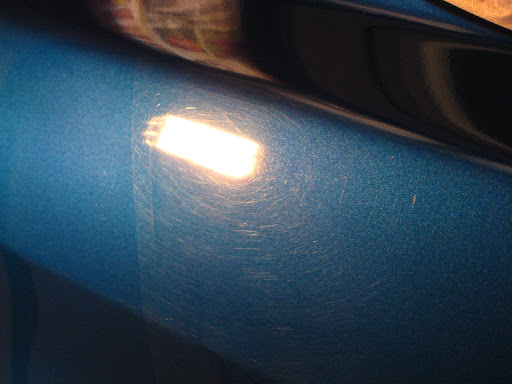
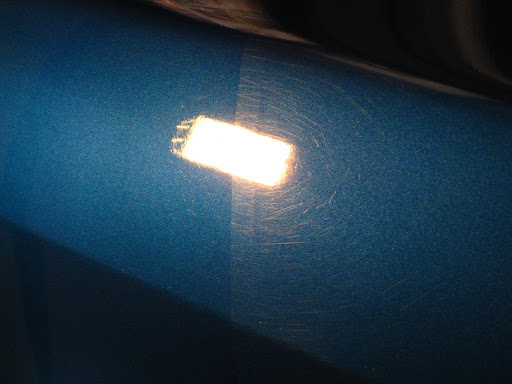
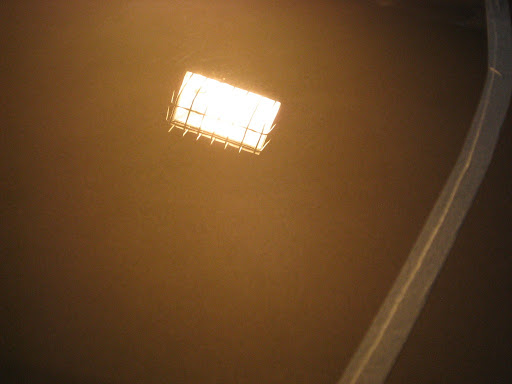
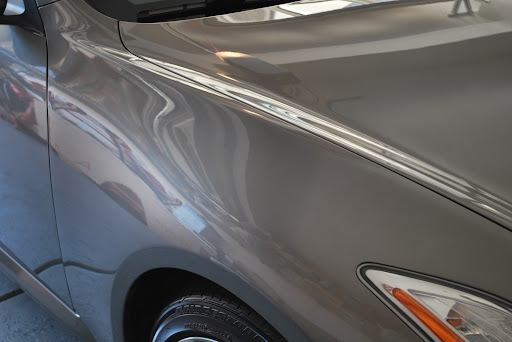
Before:
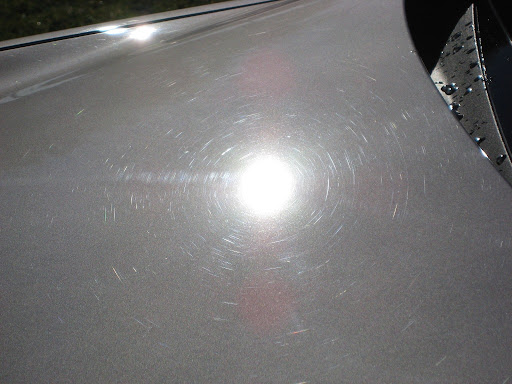
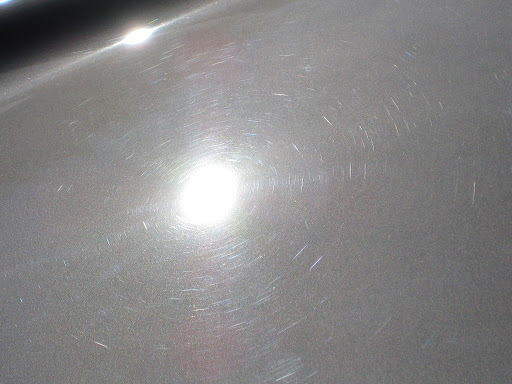
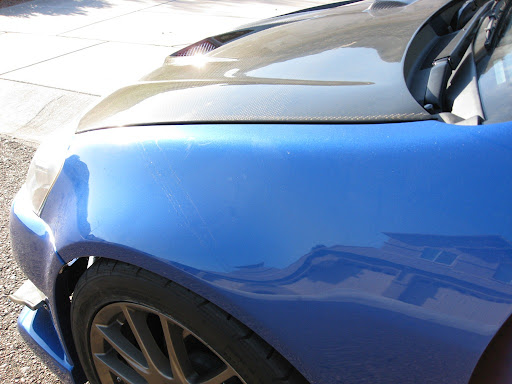
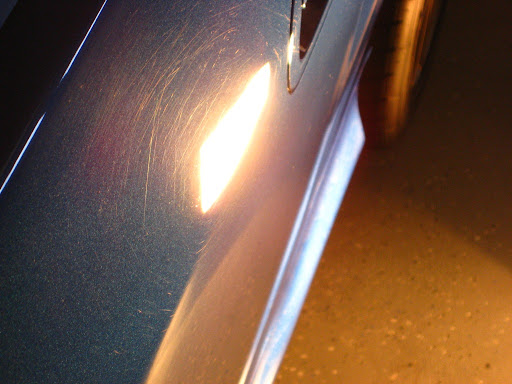
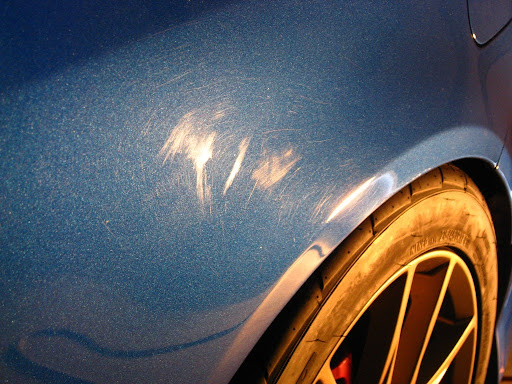
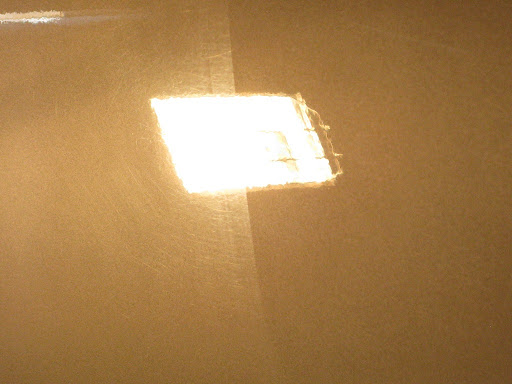
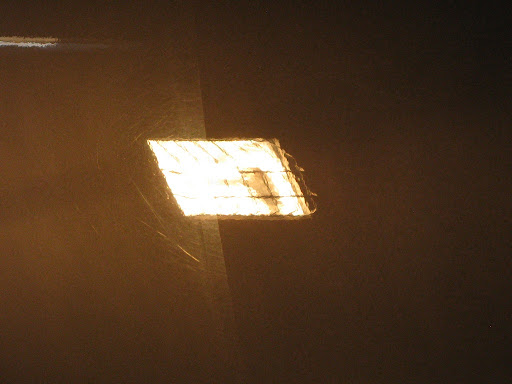
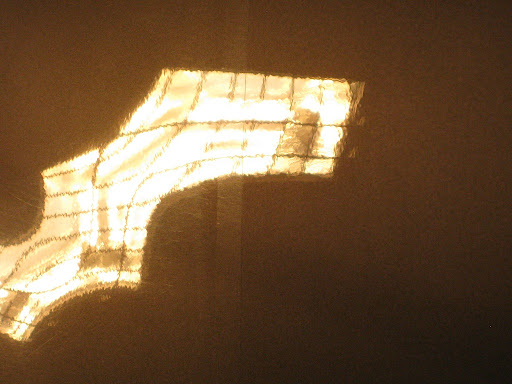
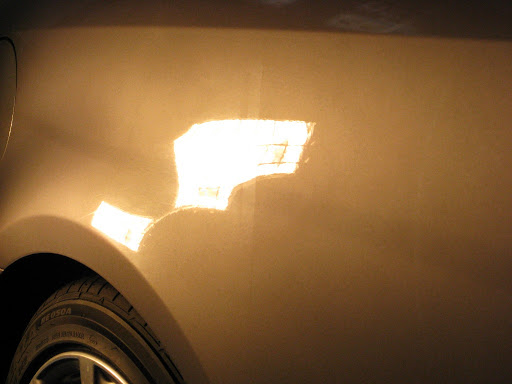
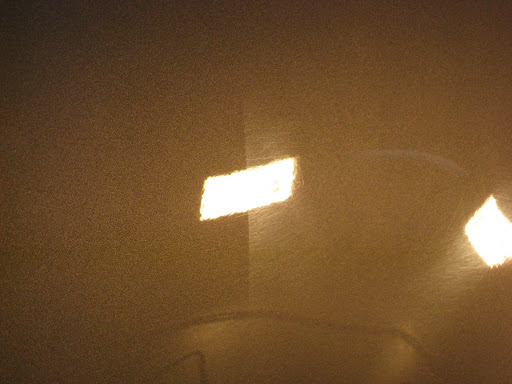
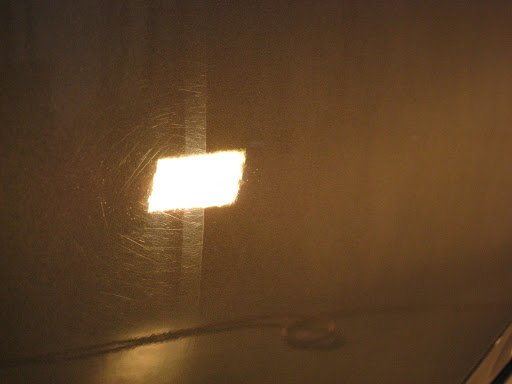
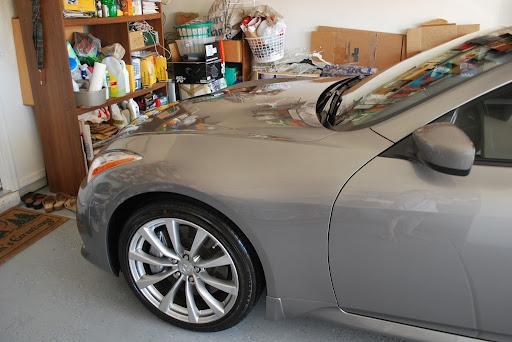
The above 2 pictures are the swirls in the hood. The hood was in much better shape than the rest of the car as seen below: Sorry the swirl pictures didn't come out as I hoped. It was very hard to capture the swirls given the car's color.
I think the picture above was ridiculous! It looked like the car originally had fuel stains below the gas filler door and someone tried to sand it down without even polishing it! I was shocked to say the least.
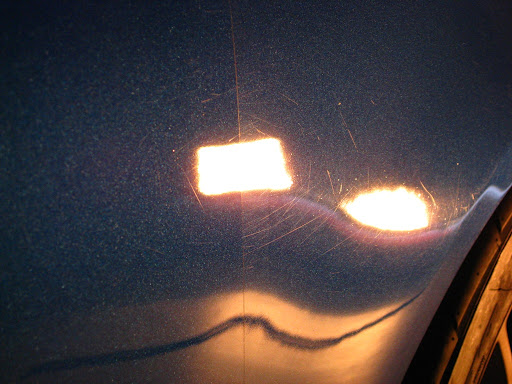
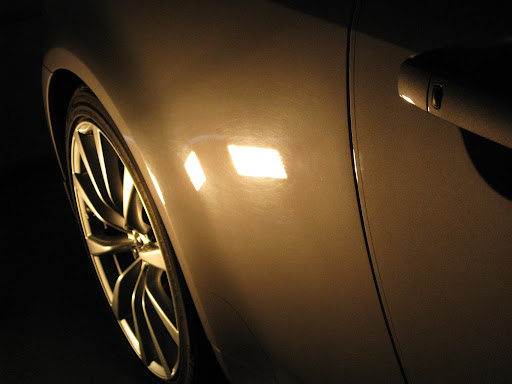
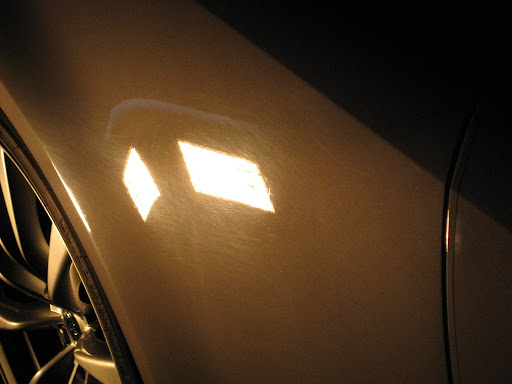
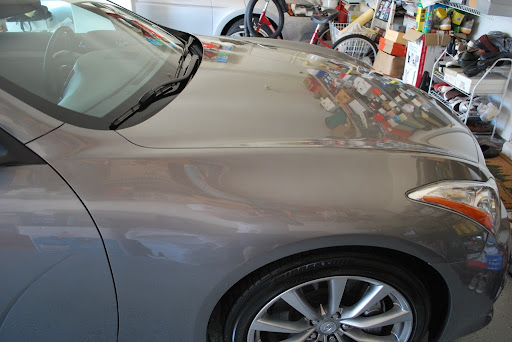
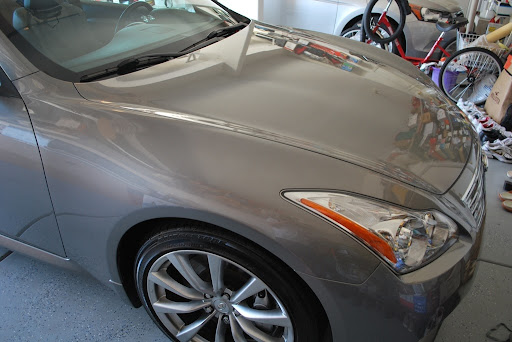
Because of the paint's condition, I decided to go ahead and use a 2 step detail right off the bat. I used both Meg's M105 and M205 throughout my paint correction phase. Here are some 50/50 shots:
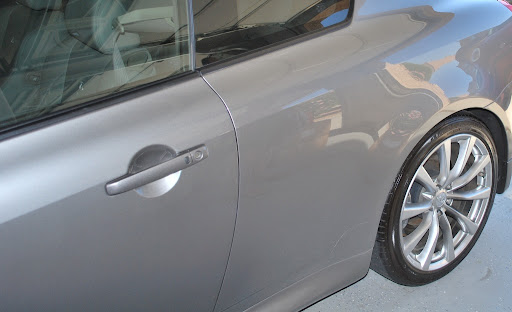
Passenger Side Door:
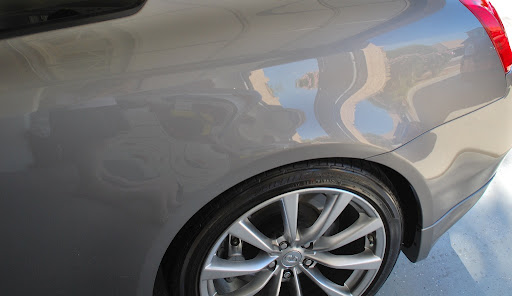
Passenger Rear Fender:
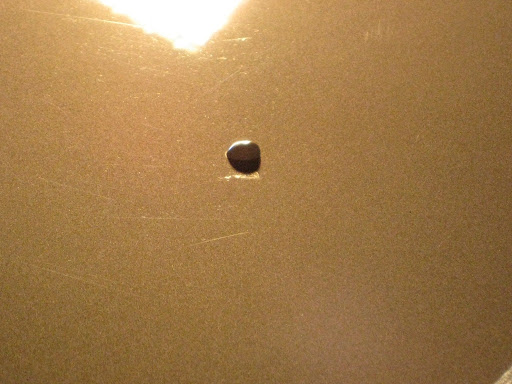
Fuel Filler Door:
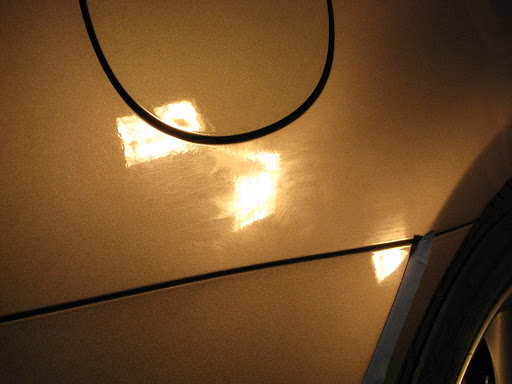
Before
After
Driver Rear Fender
Driver Side Door:
Trunk:

Hood (Bird Poop Etching)
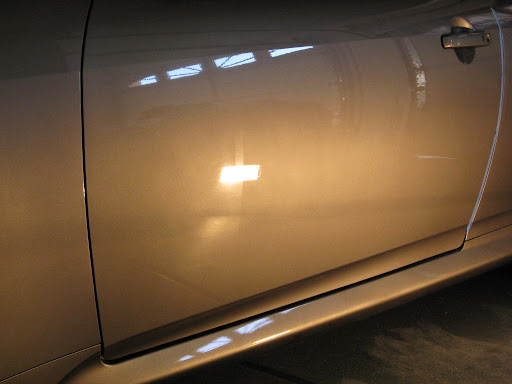
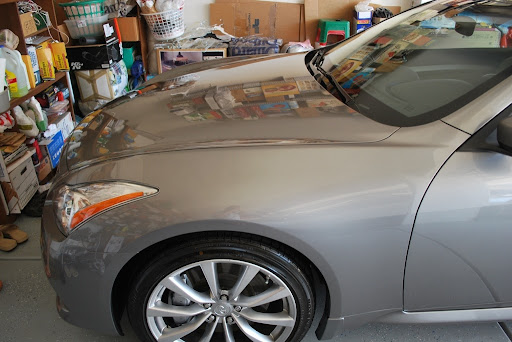
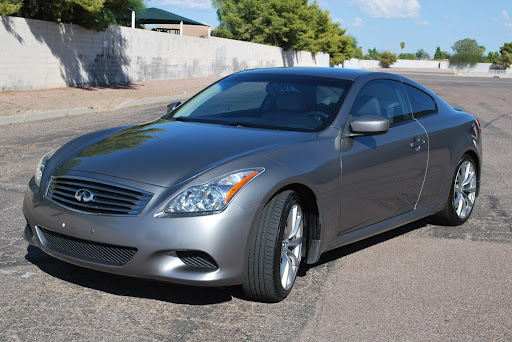
The paint's reflectivity and depth dramatically changed after the polishing stage. The paint already looked amazing at this stage.
Exhaust Tips
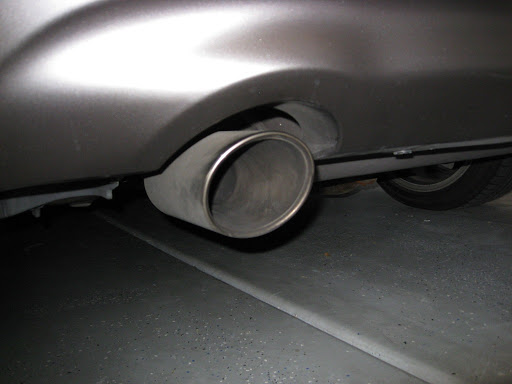
Before
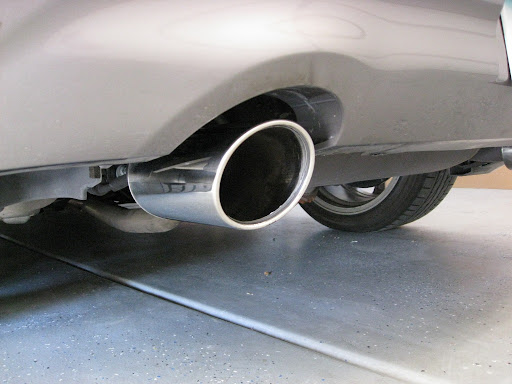
After
Meguiar's Deep Crystal on wheels
Meguiar's APC on tires
Meguiar's Hyper Dressing on tires
EZ Detail brush for the barrels
Meguiar's Ultimate Quik Wax for Brake Calipers
Wash:
Gilmour Foam Gun
Chemical Guys Citrus Wash and Gloss via Foam Gun and 2BM
Meguiar's Microfiber Wash Mitt
Swissvax Brush for Plastic Surfaces / Gas Tank
Clay:
Meguiar's OTC Clay
Meguiar's Last Touch
Paint Correction:
Flex 3401 VRG
Meguiar's G100 / 3.5" and 5" LC Backing Plates
Meguiar's M105 / LC Orange Pads
Meguiar's M205 / LC White Pads
Craftsman 500W Halogen Lights
LSP:
Menzerna Powerlock / LC Blue Pad (left 12 hours to cure)
Autoglym HD Wax
Interior:
Meguiar's Quik Interior Detailer
Meguiar's APC+
Exhaust:
Meguiar's NXT Metal Polish
This car was brought to me for swirl removal. Upon inspection, there weren't a lot of swirl marks so I thought I would have an easy task at hand. I was really excited to do this detail because the Infiniti G coupes are sexy as hell. The drive and sound amazing especially when the transmission is a 6MT. This car is a beast and it sounds amazing! Now onto the pictures...
Wash:
All of the gunk came from brushing the wheel well.
This is from claying 1/2 of the trunk. The paint was pretty contaminated with embedded dirt.
All taped up and ready to go:
After claying the car, I performed an IPA wipe down to see the true condition of the paint. I was shocked to see the amount of swirls the paint had!!! It didn't have that much swirls when I first inspected the car. The dealer did a really good job on hiding the swirls the car had.
Before:
The above 2 pictures are the swirls in the hood. The hood was in much better shape than the rest of the car as seen below: Sorry the swirl pictures didn't come out as I hoped. It was very hard to capture the swirls given the car's color.
I think the picture above was ridiculous! It looked like the car originally had fuel stains below the gas filler door and someone tried to sand it down without even polishing it! I was shocked to say the least.
Because of the paint's condition, I decided to go ahead and use a 2 step detail right off the bat. I used both Meg's M105 and M205 throughout my paint correction phase. Here are some 50/50 shots:
Passenger Side Door:
Passenger Rear Fender:
Fuel Filler Door:
Before
After
Driver Rear Fender
Driver Side Door:
Trunk:
Hood (Bird Poop Etching)
The paint's reflectivity and depth dramatically changed after the polishing stage. The paint already looked amazing at this stage.
Exhaust Tips
Before
After
Thread Starter
|
Registered User
Joined: Jun 2010
Posts: 20
Likes: 0
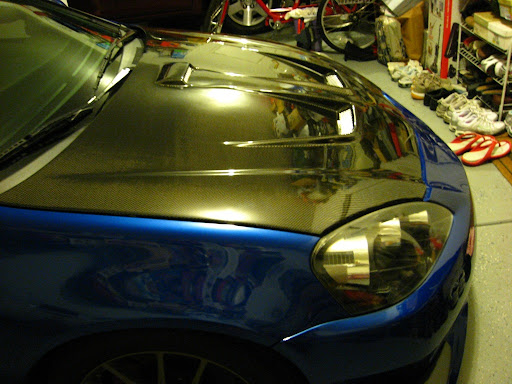
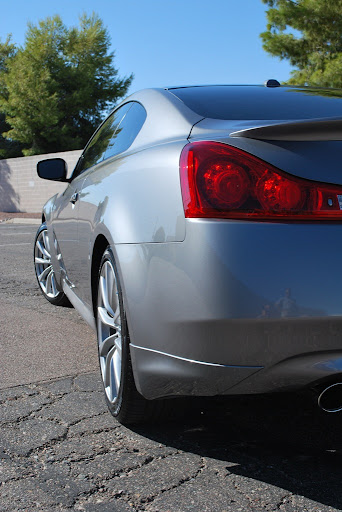
After applying Menzerna Powerlock left to cure overnight and applying a coat of Autoglym Hi-Def Carnauba Wax the next morning. I couldn't believe how wet and slick the paint looked after. You be the judge...
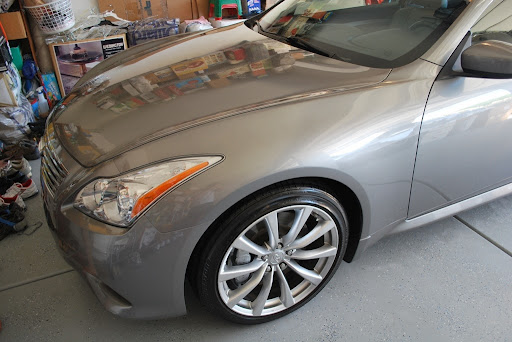
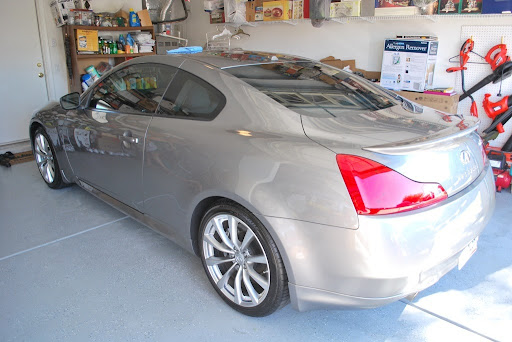
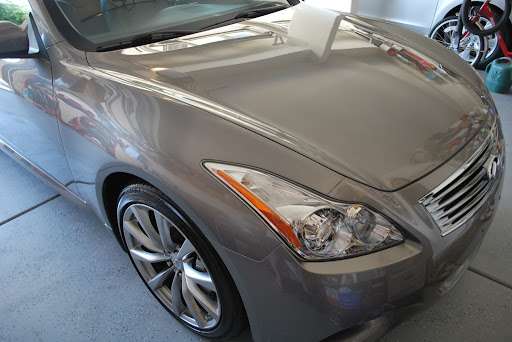
Photoshoot:
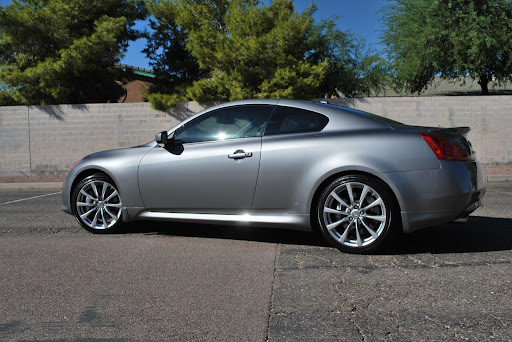
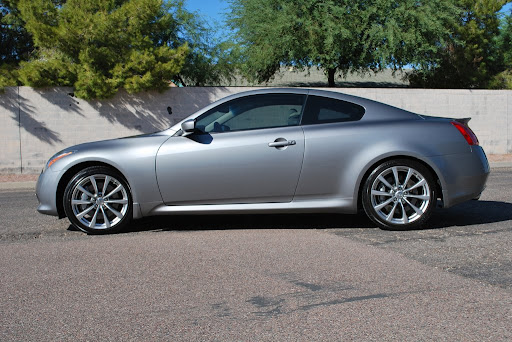
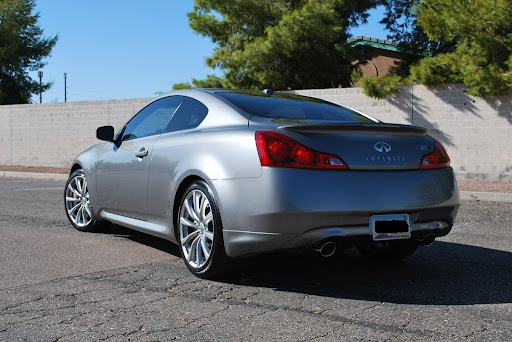
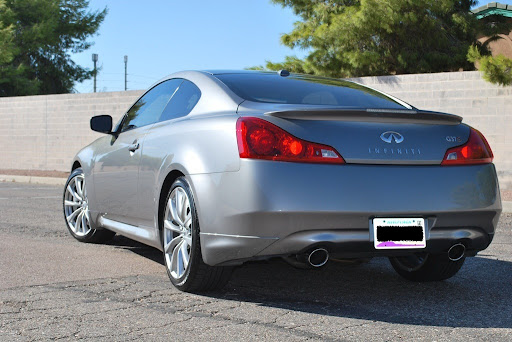
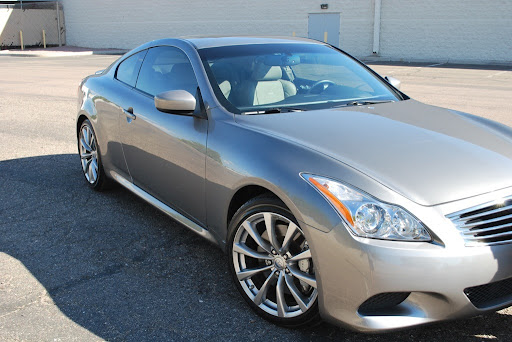
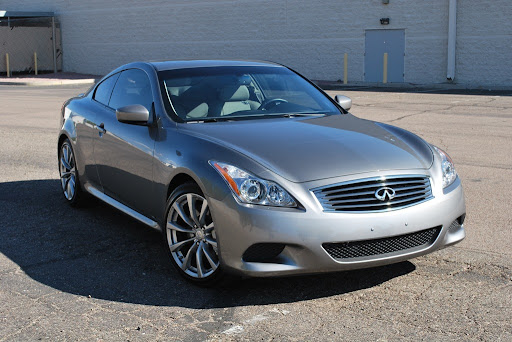
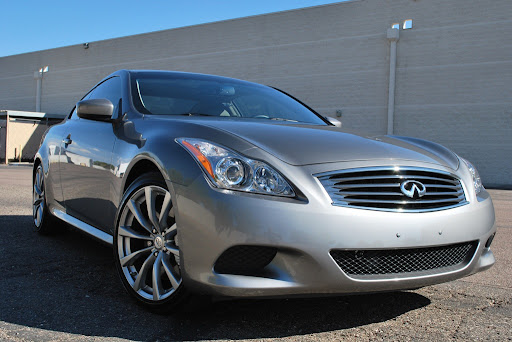
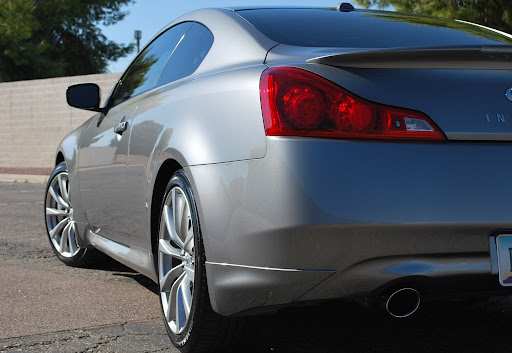
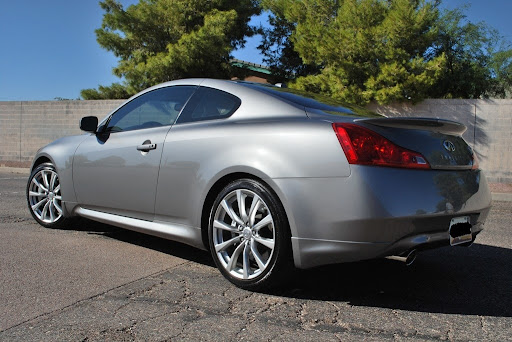
Approximate time: 15-16 Hours. I don't know why it took this long...
What do you guys think? Opinions, comments and criticisms are welcome!
Photoshoot:
Approximate time: 15-16 Hours. I don't know why it took this long...
What do you guys think? Opinions, comments and criticisms are welcome!