When you click on links to various merchants on this site and make a purchase, this can result in this site earning a commission. Affiliate programs and affiliations include, but are not limited to, the eBay Partner Network.
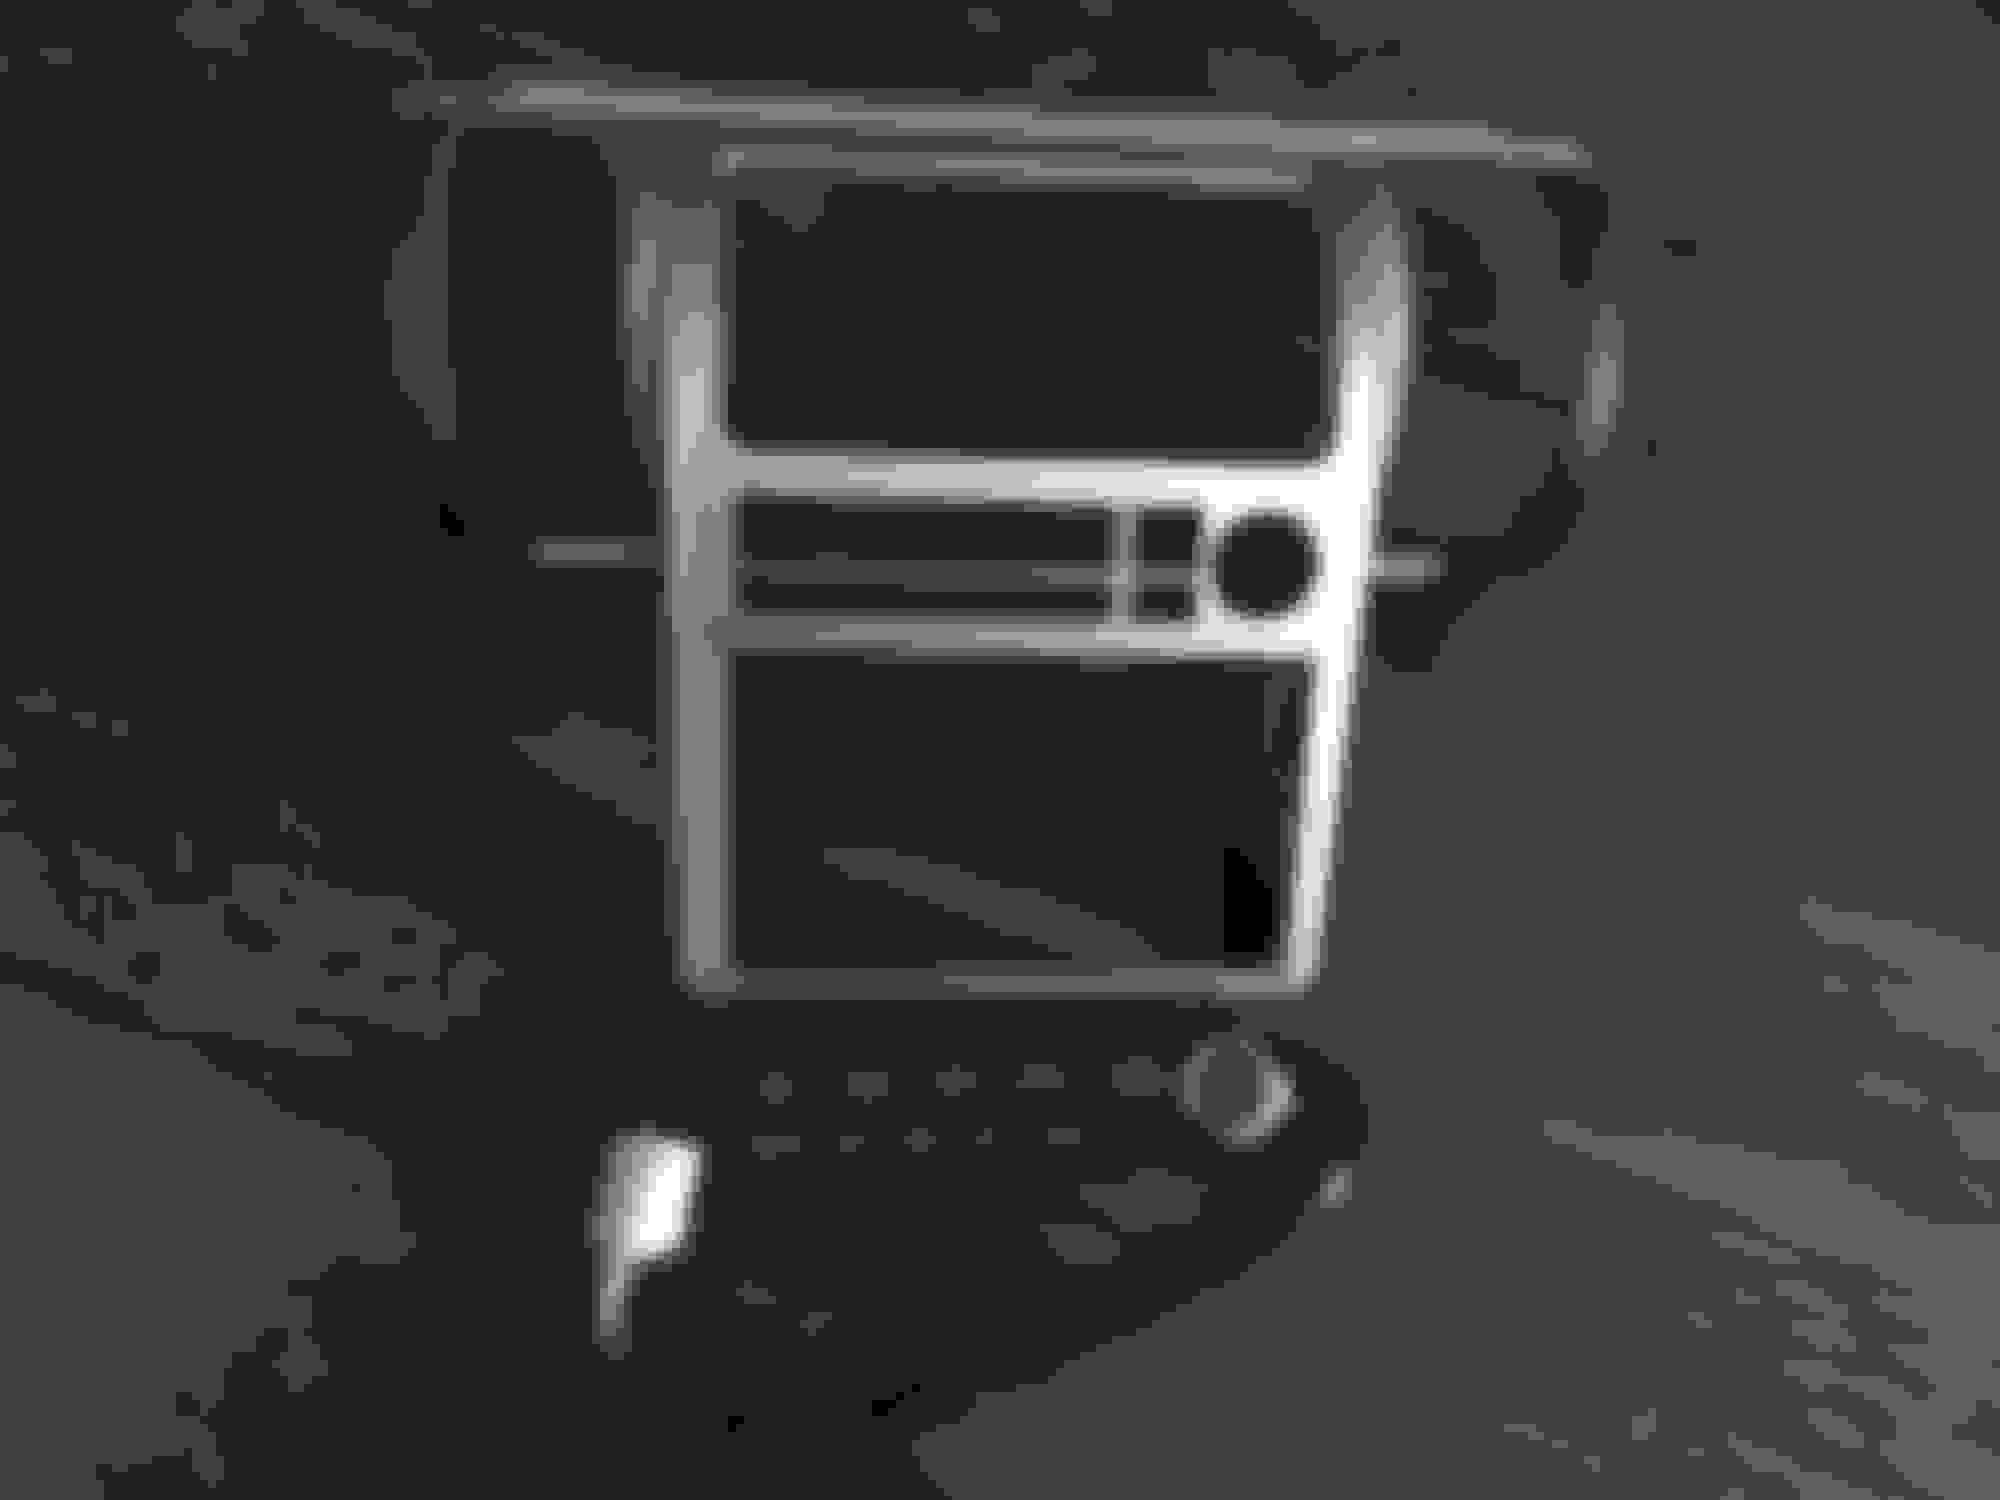
I recently did a double din install. I wish i would have taken some pics when the interior was blown up but I was in the zone apparently during install. I had my laptop running and in the car during install to help me out. I opted NOT to use the steering wheel controls (my arms are incredibly long haha). During interior disassembly i also only unplugged what was necessary as opposed to unplugging everything and moving it out of the way. Overall, on a 1 to 10 scale with 10 being the most difficult i would rate this a 6. Took me about 3 hours total including many beer breaks in between, i also changed the cabin filter as the interior was already blown up. I made a $90 mistake and broke the clock trim piece (damn you man hands) but other than that everything went smoothly.
you will need Metra Axxess ASWC-1 if you want to retain steering wheel contols
total cost was about $600
JDM GOODNESS LOOKS DIFFICULT BUT WAS VERY EASY WITH WRATHERNUTS WRITE UP DONE OOOOOOOPS!!!! USB CABLE + FLASH DRIVE NO MORE CRACKED CLOCK TRIM SUPER CLEAN!!!!
Last edited by SoCal04G35; Jun 4, 2020 at 12:36 PM.
Looks great! Working on mine at the moment. Had the same �oops� with the clock bezel, mine shattered in like 4 spots. Where�d you get your replacement?
Any tips you can share for the different required grounds and locations you used? The PAC/head unit harness one makes sense but I�m a bit puzzled on the ASWC wiring. This is my first aftermarket head unit install.
Hey man I chose not to use the steering wheel interface, but there are some screws that are directly attached to the chassis towards the bottom of the opening once youve removed everything out of the middle section, i just backed one out a little and used one of those screws (i only needed one ground). good luck. this may or may not help http://contentdocs.installernet.com/...icle/10985.pdf
o btw i just looked for the cleanest one i could find on EBAY, which happened to come from eastern Canada. it was almost in better shape than mine it hadnt seen California sun hah
o btw i just looked for the cleanest one i could find on EBAY, which happened to come from eastern Canada. it was almost in better shape than mine it hadnt seen California sun hah
Thanks my dude. I�ll probably do the same, I see one on their now.