
DIY: Bodywork 101


Joined: Oct 2006
Posts: 25,863
Likes: 187
From: In my garage

DIY: Bodywork 101
I did this tutorial for another site about 3 years ago. I thought it would be a nice addation to our site. This is on a bike but the same ideas apply.
Hey guys I am going to take you guys step by step through how to fix a dent. This will come in hand if you buy stuff of ebay (ex. a tank with a dent which I will be showing).
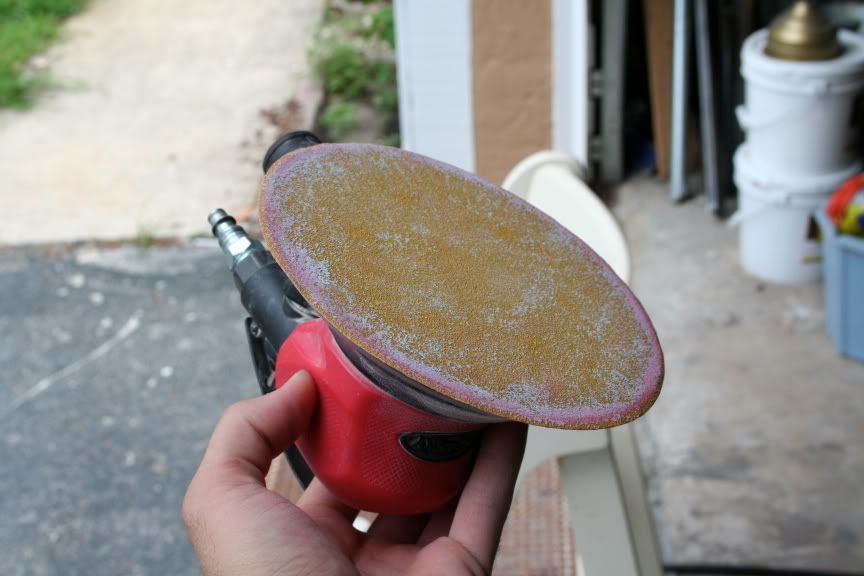
1.The first step is to grind in and Sand the tank around the dent. This is done with 180 grit it can be done by hand but faster with air tools. (note tape up the holes so you dont get dust in the tank)
2. You will also need to sand off the stripes Which are under the clear, by now it should look something like this.
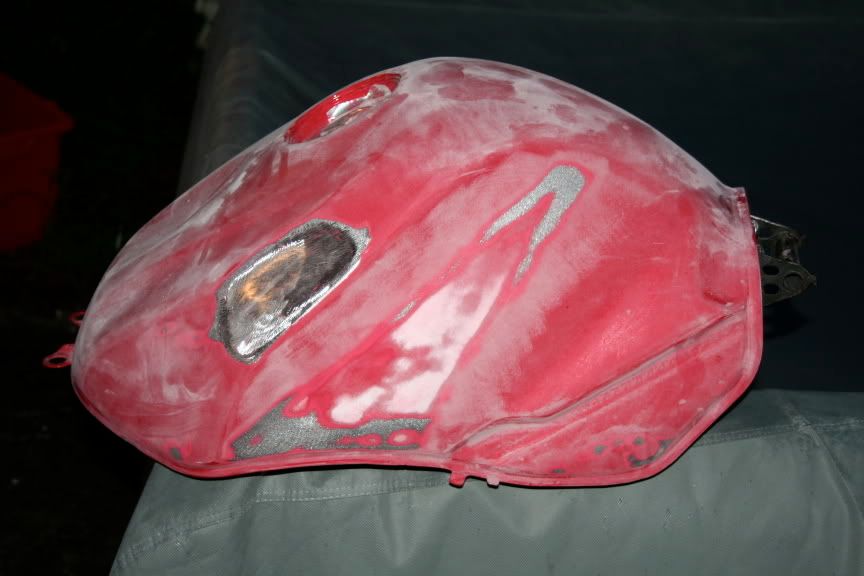
3. Once you have gotten here you need to get all the glue and residude off from the stickers, it will look lie this.
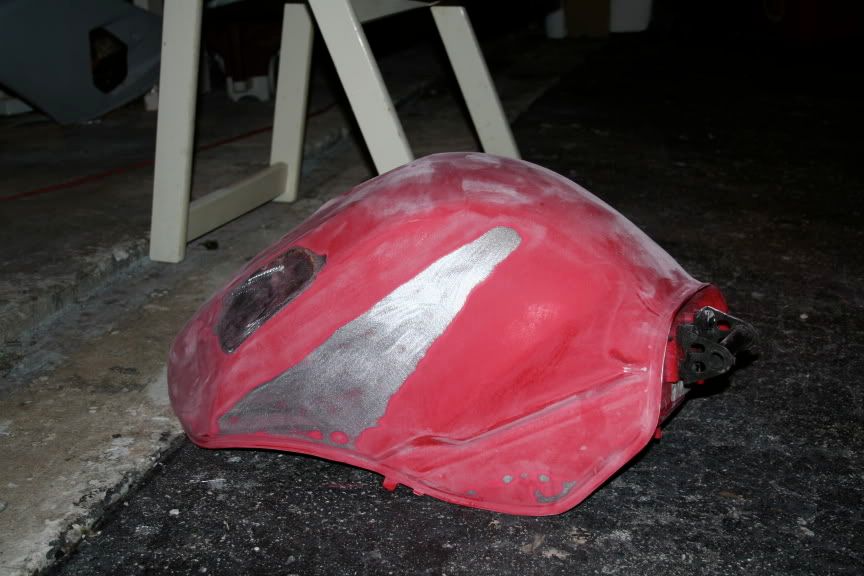
4. By now I have gone over the everything in 180 grit on the tank, if you have some trouble getting off the stripes you can drop the grit down to 120 but then go over that area with the 180.
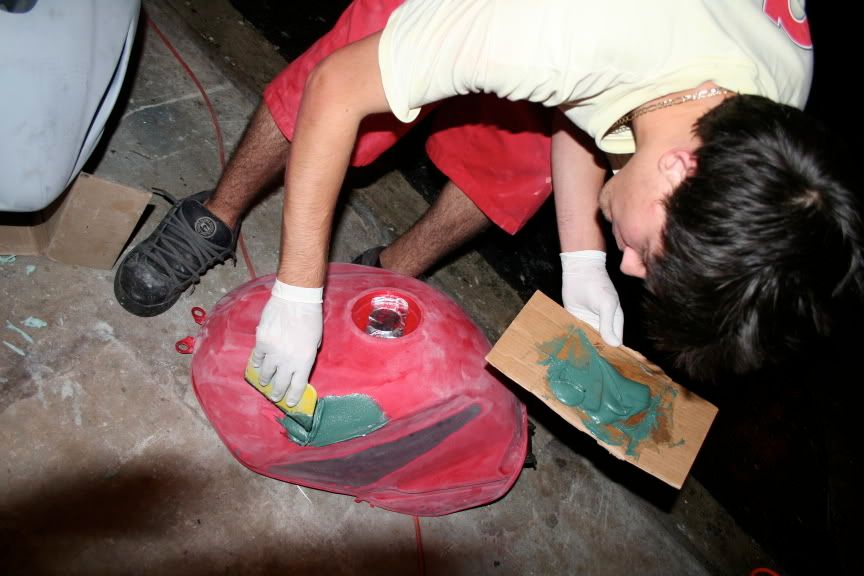
5. Now Lets fix the dent I am going to use Duraglass it is stronger and becomes harder than Bondo it is good to start with. Some people find this step as not needed, but thicker bondo can crack so I prefer this method.
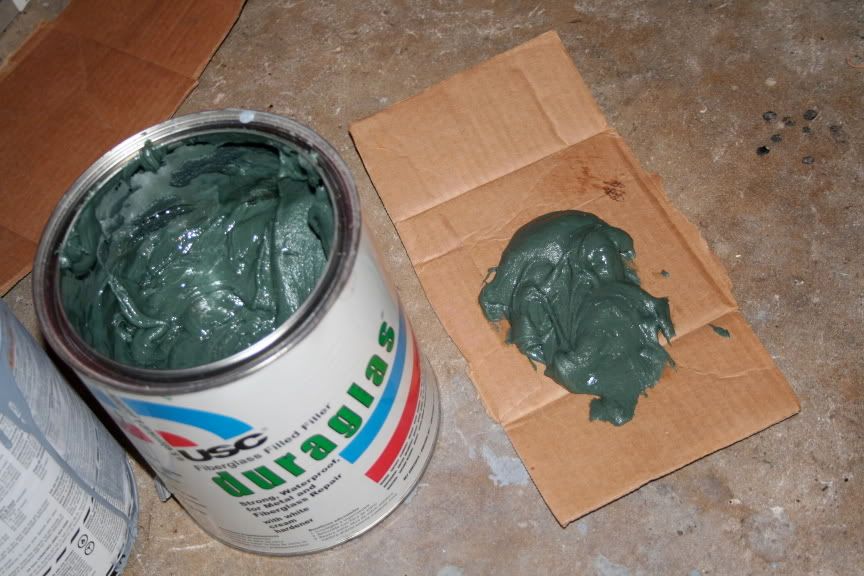
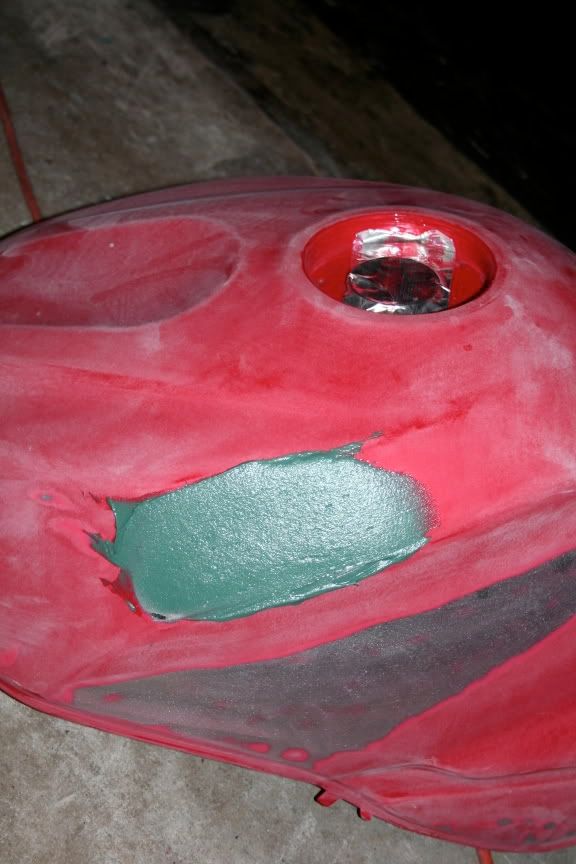
6. You want to mix the Duraglass throughly before applying. This is so you go not get bubbles underneath, remember the more time you take to prep the better the overall job will be. When spreading the Duraglass you want to fill the dent and feather it out a little further. Try to keep it as smooth as you can. It will save you time sanding later.
7. It should look like this when it is dry, and will be hard as a rock. You can check with you finger nail.
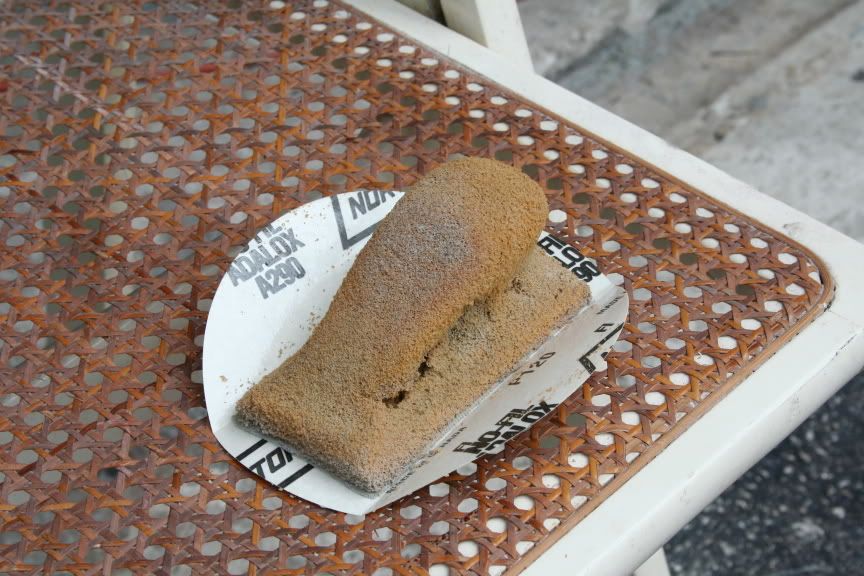
8. Once it has curred you can sand it down smooth using a hard block for the flat areas. This will insure that the area becomes straigh and a soft block for the curved areas. Takes shape to tank. ( Both can be purchased at local auto parts stores for under 20$)
Hard Block

Soft Block
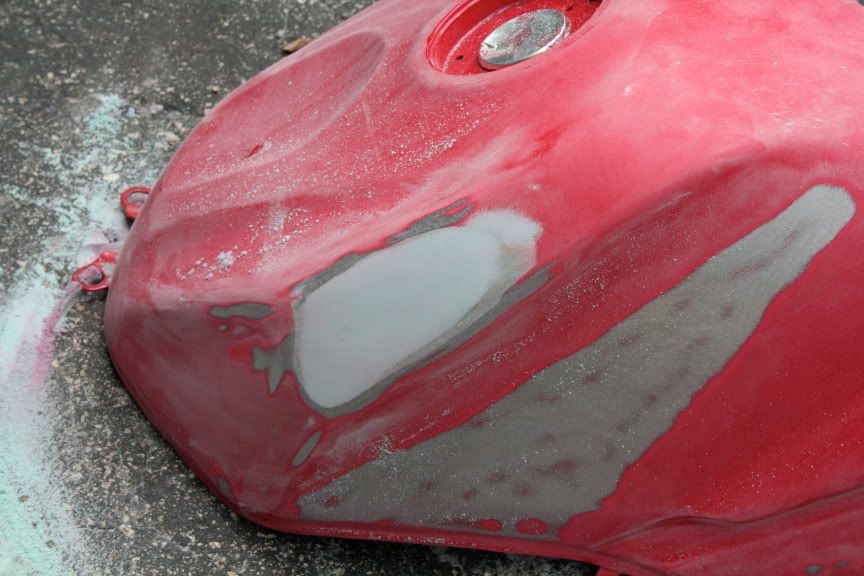
9. On the duraglass I use 40 to knock it down to the basic shape then come back and do a light coat of bondo which is easier to shape. This is the bondo when it has been shapped then gone over up to 180 grit.
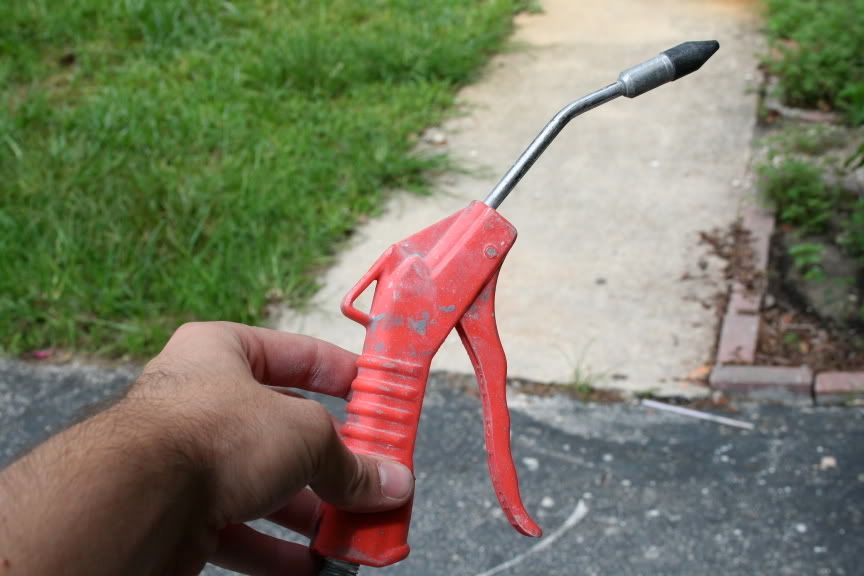
10. We are almost ready to prime go over the tank and look for any shinney places and sand them with 180 then blow off the tank really good you can use a clean cloth to help I use an air blower.
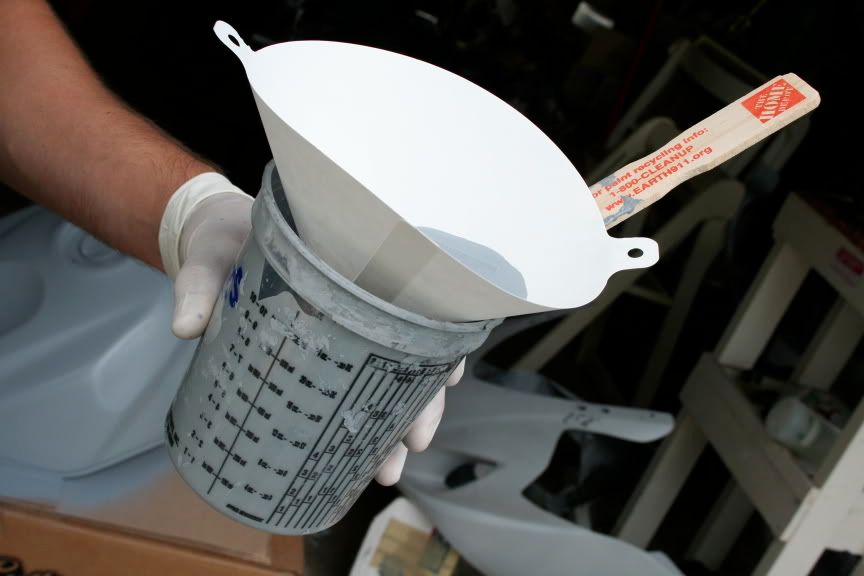
11. (Before Priming it is good to let the bondo fully cure for a day to help with shrinking) Now it is Prime time you need to use a 2k high build primer this will take care of some of the inperfections but dont rely on it. Be sure to mix we and strain in to primer gun.

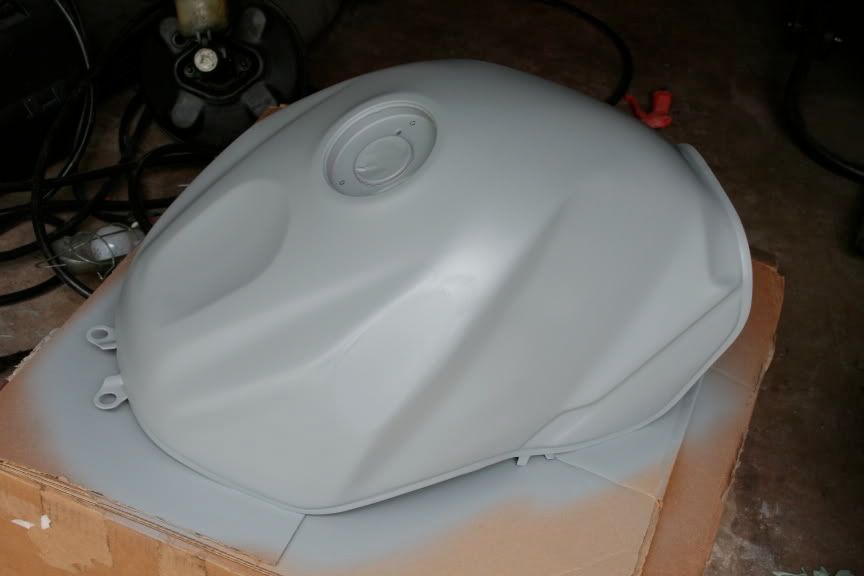
12. For the first coat kinda dust it on don't go heavy. You want to get coverage everywhere but controlled coverage. Wait about 5-10 min in between coats. The next coat go for coverage but done run the primer or you will have more sanding to do. It will look like this.
Second Coat.
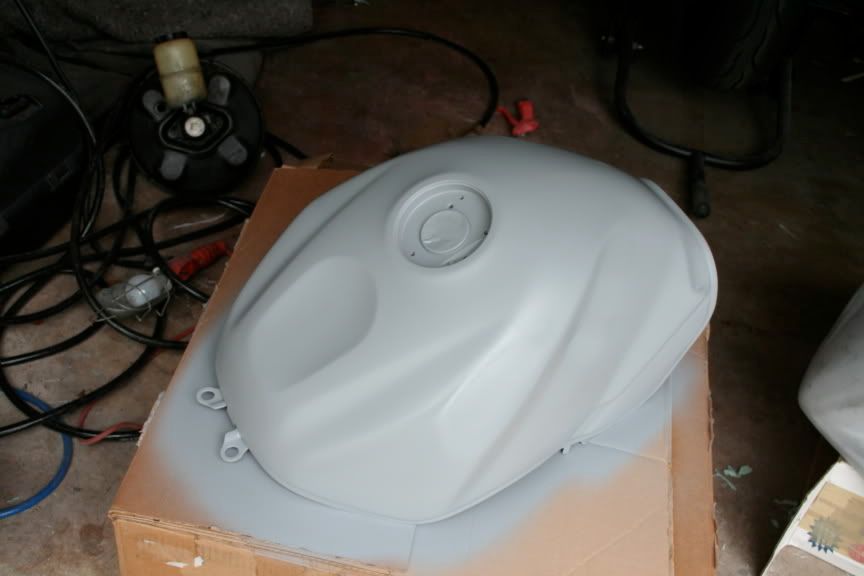
13. After you are done primeing you can spray a guide coat which is black enamal just dust it on. This will tell you if you did a good job in prep when you go to wet sand it for paint.
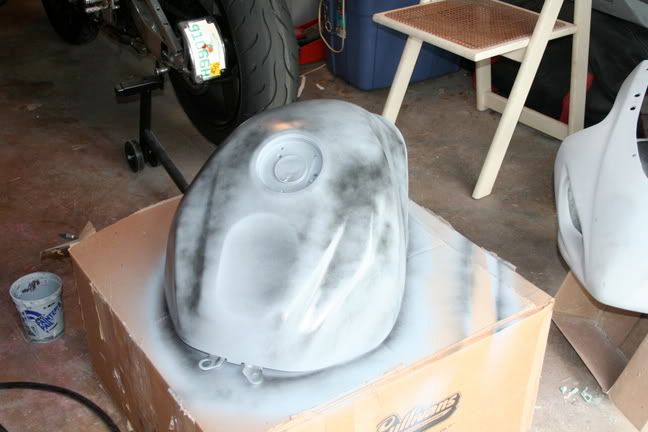
Now you have a fully primed tank ready to take to the paint process.
Hey guys I am going to take you guys step by step through how to fix a dent. This will come in hand if you buy stuff of ebay (ex. a tank with a dent which I will be showing).
1.The first step is to grind in and Sand the tank around the dent. This is done with 180 grit it can be done by hand but faster with air tools. (note tape up the holes so you dont get dust in the tank)
2. You will also need to sand off the stripes Which are under the clear, by now it should look something like this.
3. Once you have gotten here you need to get all the glue and residude off from the stickers, it will look lie this.
4. By now I have gone over the everything in 180 grit on the tank, if you have some trouble getting off the stripes you can drop the grit down to 120 but then go over that area with the 180.
5. Now Lets fix the dent I am going to use Duraglass it is stronger and becomes harder than Bondo it is good to start with. Some people find this step as not needed, but thicker bondo can crack so I prefer this method.
6. You want to mix the Duraglass throughly before applying. This is so you go not get bubbles underneath, remember the more time you take to prep the better the overall job will be. When spreading the Duraglass you want to fill the dent and feather it out a little further. Try to keep it as smooth as you can. It will save you time sanding later.
7. It should look like this when it is dry, and will be hard as a rock. You can check with you finger nail.
8. Once it has curred you can sand it down smooth using a hard block for the flat areas. This will insure that the area becomes straigh and a soft block for the curved areas. Takes shape to tank. ( Both can be purchased at local auto parts stores for under 20$)
Hard Block
Soft Block
9. On the duraglass I use 40 to knock it down to the basic shape then come back and do a light coat of bondo which is easier to shape. This is the bondo when it has been shapped then gone over up to 180 grit.
10. We are almost ready to prime go over the tank and look for any shinney places and sand them with 180 then blow off the tank really good you can use a clean cloth to help I use an air blower.
11. (Before Priming it is good to let the bondo fully cure for a day to help with shrinking) Now it is Prime time you need to use a 2k high build primer this will take care of some of the inperfections but dont rely on it. Be sure to mix we and strain in to primer gun.
12. For the first coat kinda dust it on don't go heavy. You want to get coverage everywhere but controlled coverage. Wait about 5-10 min in between coats. The next coat go for coverage but done run the primer or you will have more sanding to do. It will look like this.
Second Coat.
13. After you are done primeing you can spray a guide coat which is black enamal just dust it on. This will tell you if you did a good job in prep when you go to wet sand it for paint.
Now you have a fully primed tank ready to take to the paint process.
Last edited by GreenGoblin; Feb 6, 2009 at 11:02 AM.
Joined: Oct 2006
Posts: 25,863
Likes: 187
From: In my garage
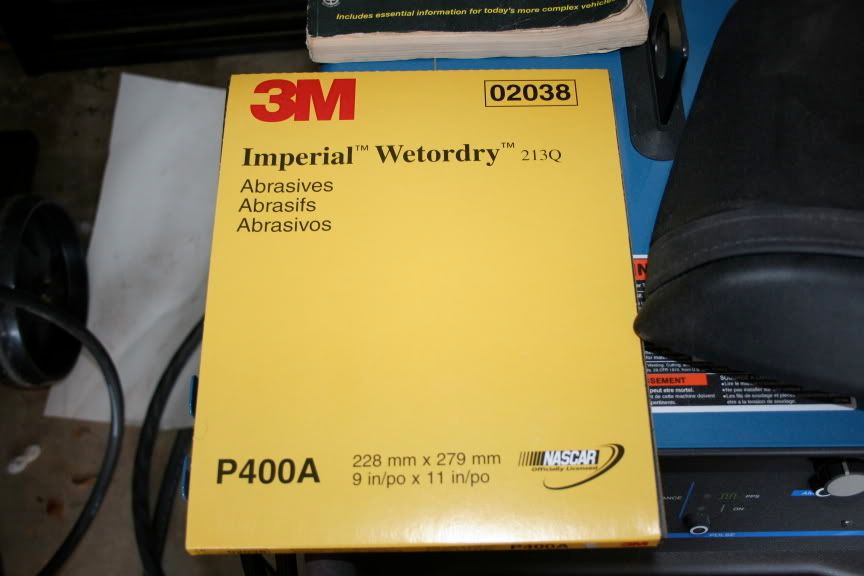
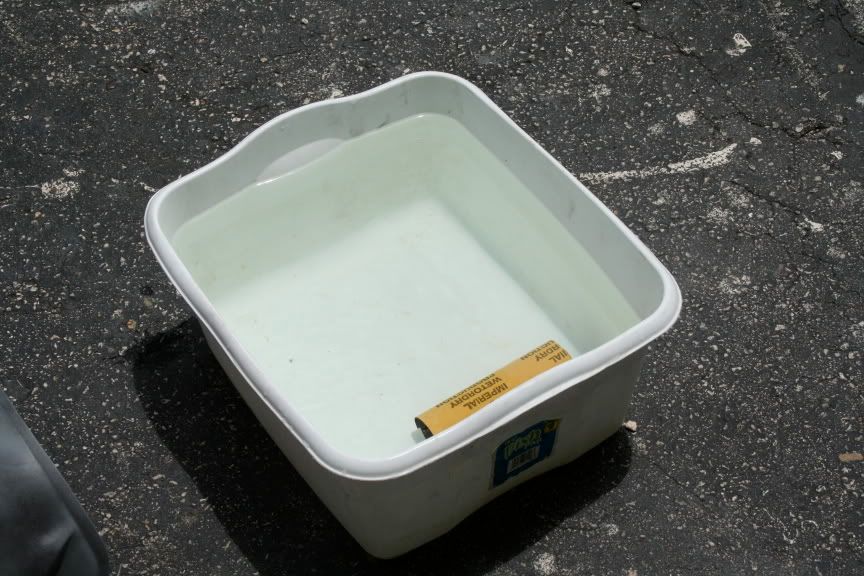
1. The next steps you will need a bucket of water and 400 grit wet sandpaper.
2. This is what the surface looks like prior to sanding.

3. Start sanding the piece with the 400 grit sandpaper. Apply light pressure, it should start to look like this-
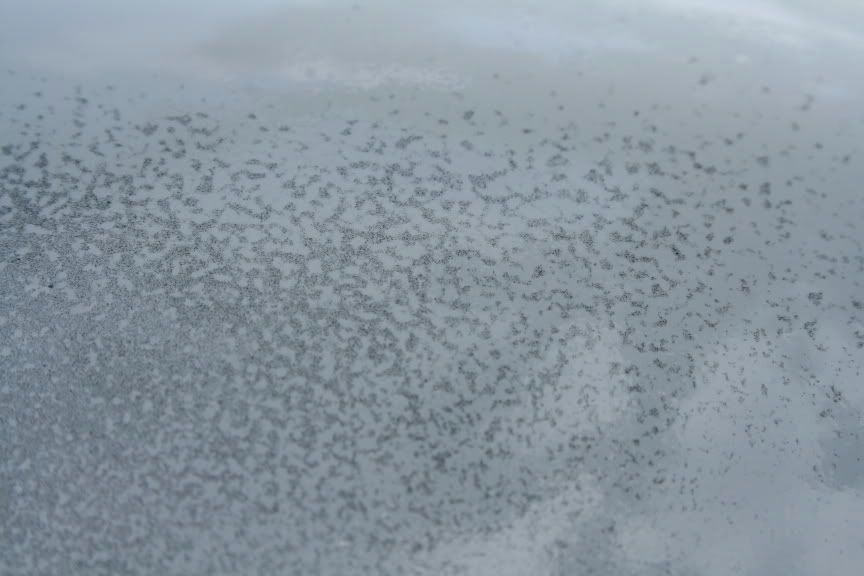
4. As you can see, the guide coat is providing you with a guide, what is still black needs to be sanded. (Try not to break through primer as much as possible)

5. At this point, you should be fully sanded, if there are black dots, such as rock chips or other imperfections, you can use 3M spot putty applied lightly and cured for 10 minutes, then sand lightly.
6. Fully clean your parts prior to paint with prep solvent. Tack cloth off dust.
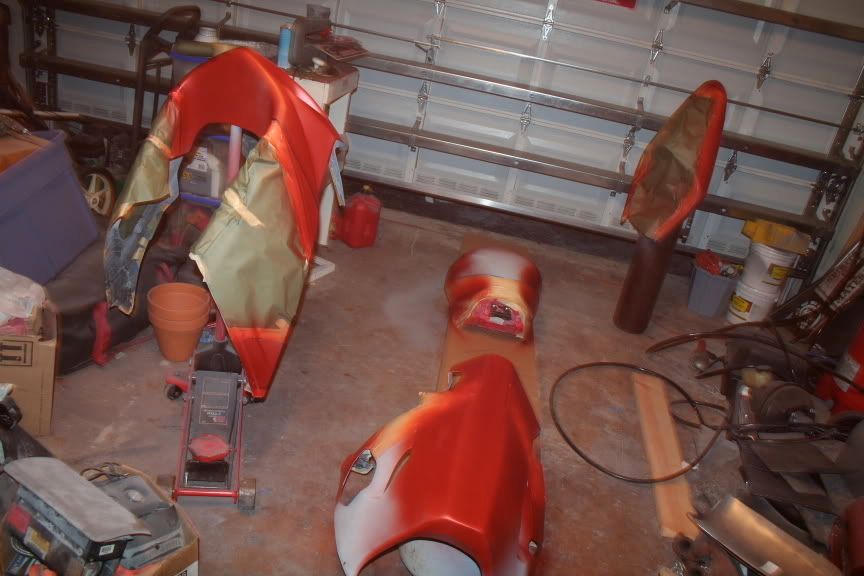
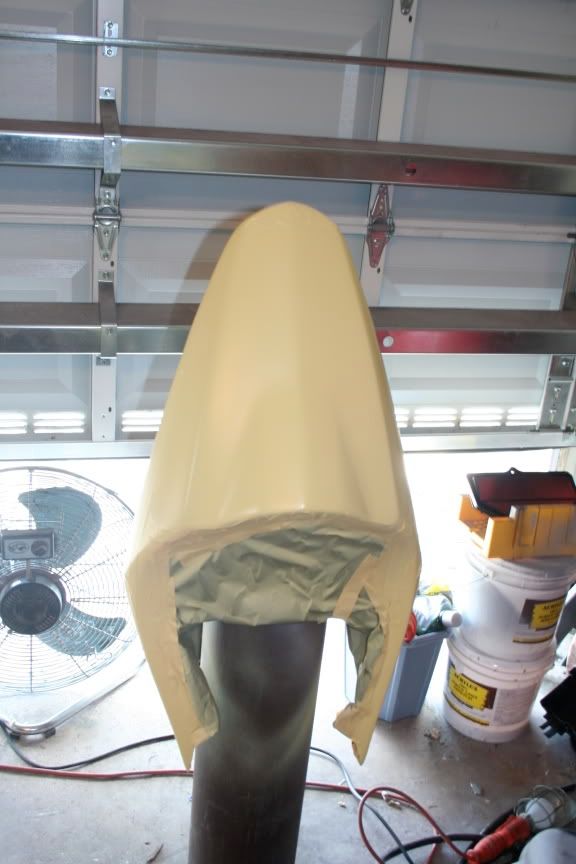
7. The next step is base coat. Apply light coats until thorough coverage is achieved.
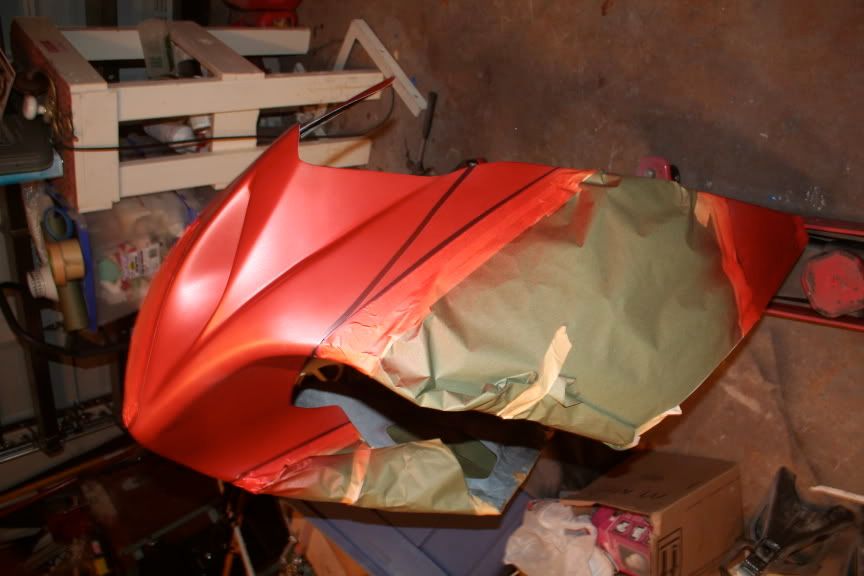
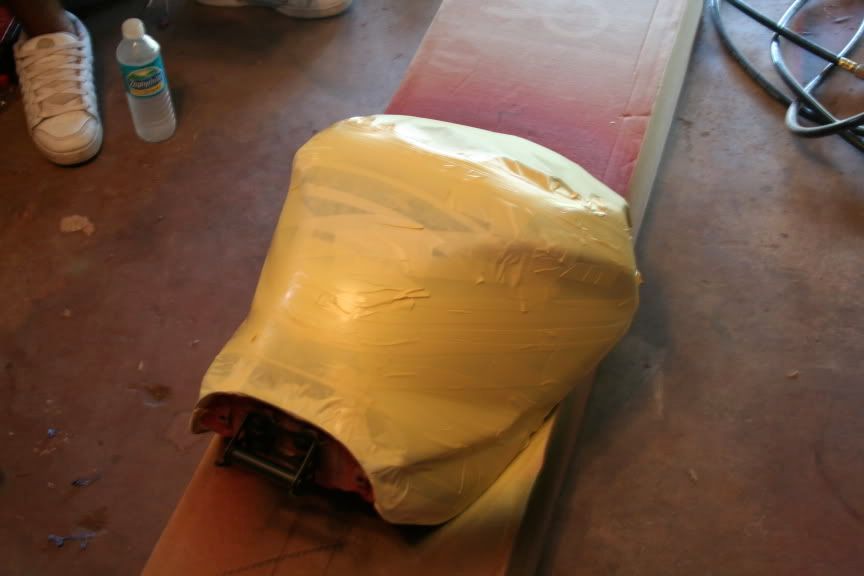
8. I proceeded to do graphics, but if you are doing a solid color, move on to clear coat. Follow correct mixing proportions and flash times and indicated by label.
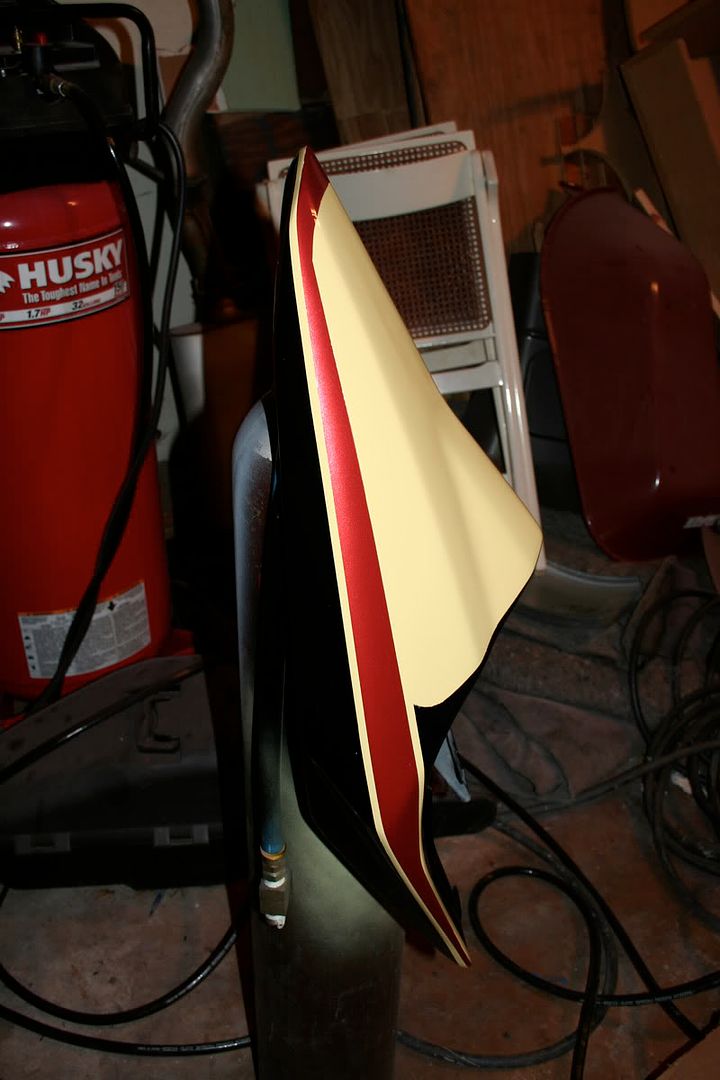
The next color was black.
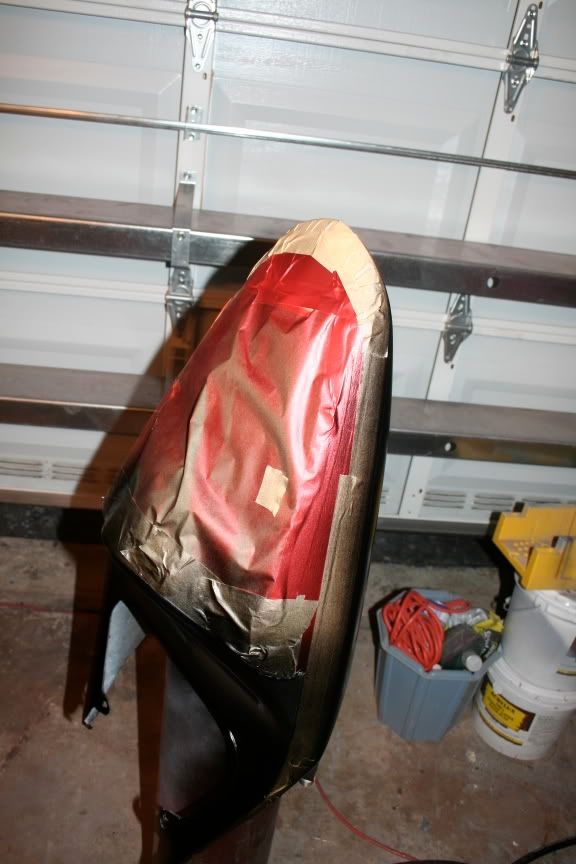
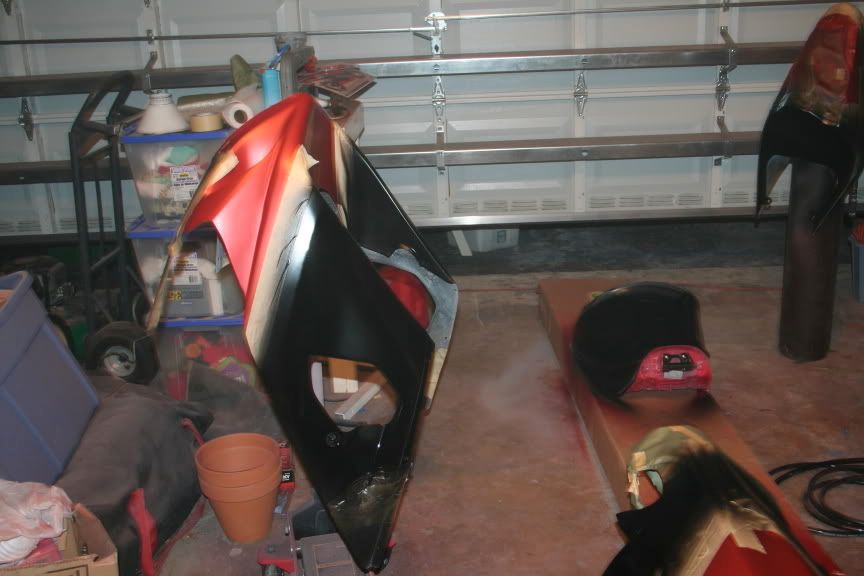
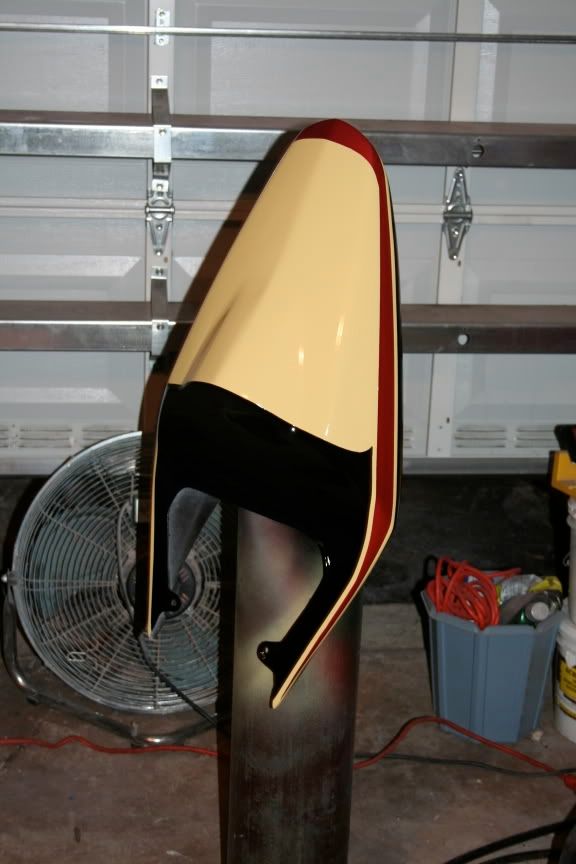
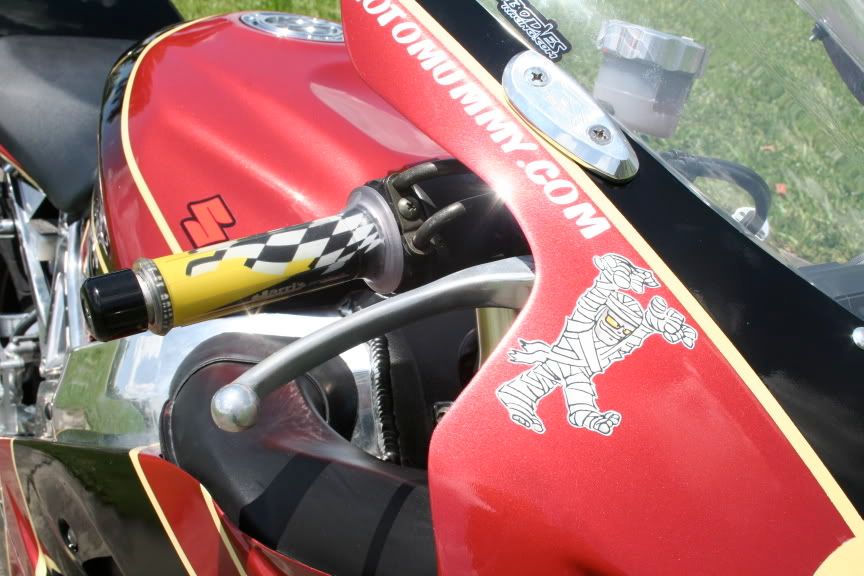
9.From there, I painted the number plates and pinstriping a light yellow
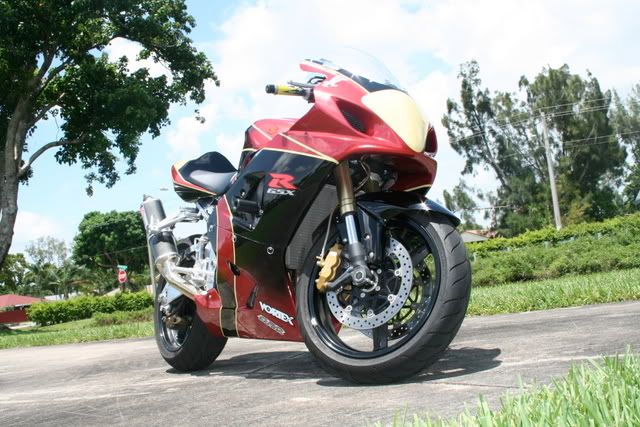
10. Now, for me, it was time for clear.
2. This is what the surface looks like prior to sanding.
3. Start sanding the piece with the 400 grit sandpaper. Apply light pressure, it should start to look like this-
4. As you can see, the guide coat is providing you with a guide, what is still black needs to be sanded. (Try not to break through primer as much as possible)
5. At this point, you should be fully sanded, if there are black dots, such as rock chips or other imperfections, you can use 3M spot putty applied lightly and cured for 10 minutes, then sand lightly.
6. Fully clean your parts prior to paint with prep solvent. Tack cloth off dust.
7. The next step is base coat. Apply light coats until thorough coverage is achieved.
8. I proceeded to do graphics, but if you are doing a solid color, move on to clear coat. Follow correct mixing proportions and flash times and indicated by label.
The next color was black.
9.From there, I painted the number plates and pinstriping a light yellow
10. Now, for me, it was time for clear.
Last edited by GreenGoblin; Feb 6, 2009 at 09:21 AM.

Trending Topics


Thread
Thread Starter
Forum
Replies
Last Post
Albanian122
G35 Coupe V35 2003 - 07
81
Dec 15, 2016 06:20 PM
FS[NorEast]: FOR SALE: 2007 G35X (82K miles, Asking $12,000)
heynow
2nd Gen (V36) Sedan
3
Oct 28, 2015 05:09 PM