
Clean Edge Detailed messed up 350z!!


Registered User
Joined: Jun 2009
Posts: 2
Likes: 0
From: Boston, MA
So a guy from our local car club has been asking me for a while now if I'd detail car. He didn't want to take it to anyone else which is obviously appreciated, but little did I know what I was in for. I've detailed some pretty swirled up cars but I believe this one takes the cake! He had it "detailed" a while ago by some hack shop who only cared about speed and NOT quality. As a result he had lots of buffer trails and just swirls on top of swirls. His passenger side door had also been side swiped so I had a LOT of scuffs and scratches to contend with.
Here's the condensed version of the process....
wash
clay
polish with Monzerna SIP/106FF
wash again
Danase Wet Glaze (One of the very few glazes you can put a sealant on since it's acrylic based)
Sealed with Ultima Paint Guard Plus
Waxed with P21S
Wiped down with Zaino Z-8
Tires cleaned with Eagle One A-Z tire cleaner
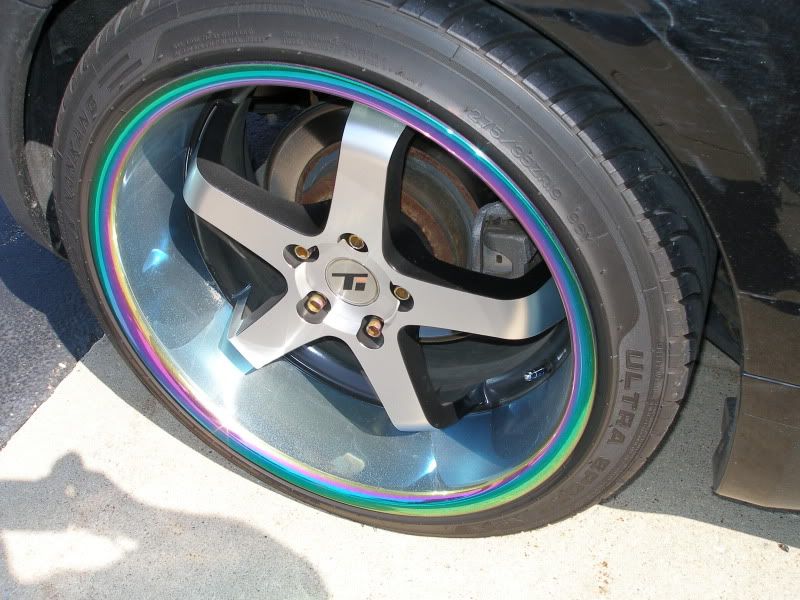
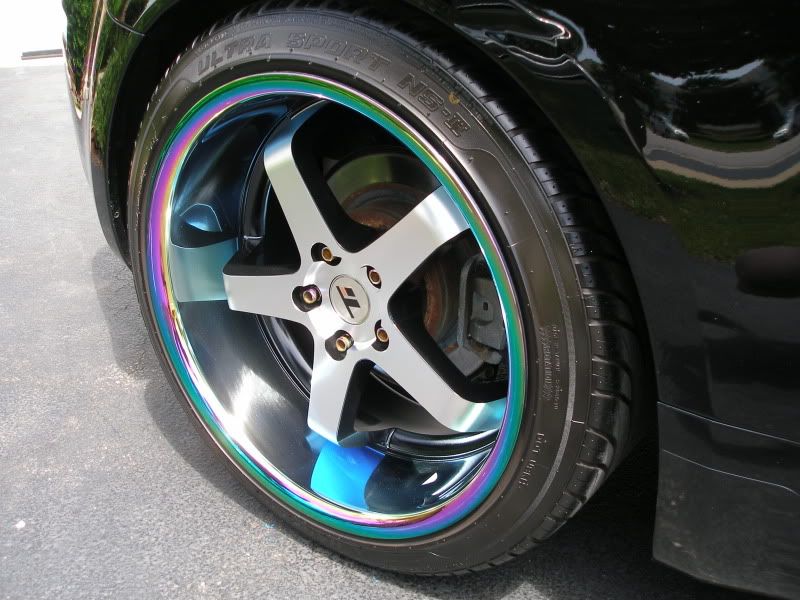
Wheel Wax on Rims
Zaino Z-16 on tires
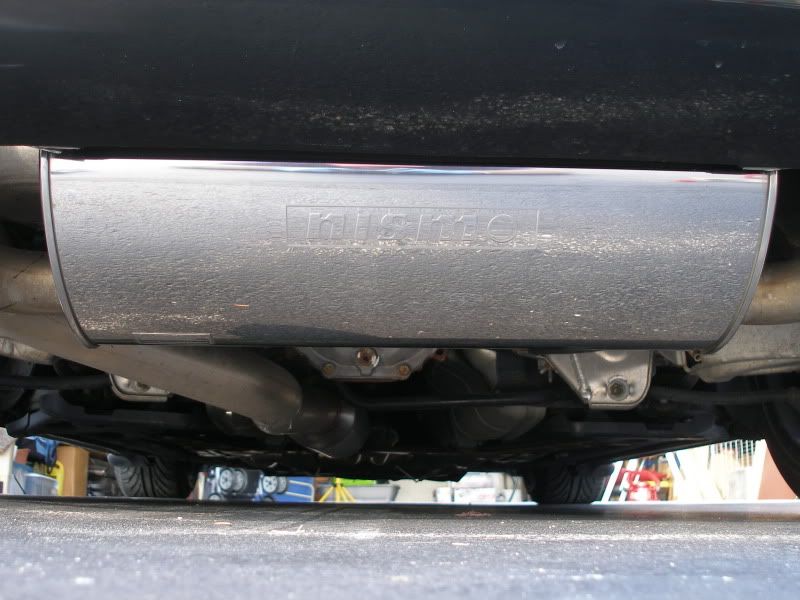
Mothers Alum Polish on Exhaust
Nano One Protectant on interior (I forgot interior shot).
CD2 Engine Detailer on engine but no engine shots.
There's going to be a ton of pics as I'm going to take you all around the car so here we go....
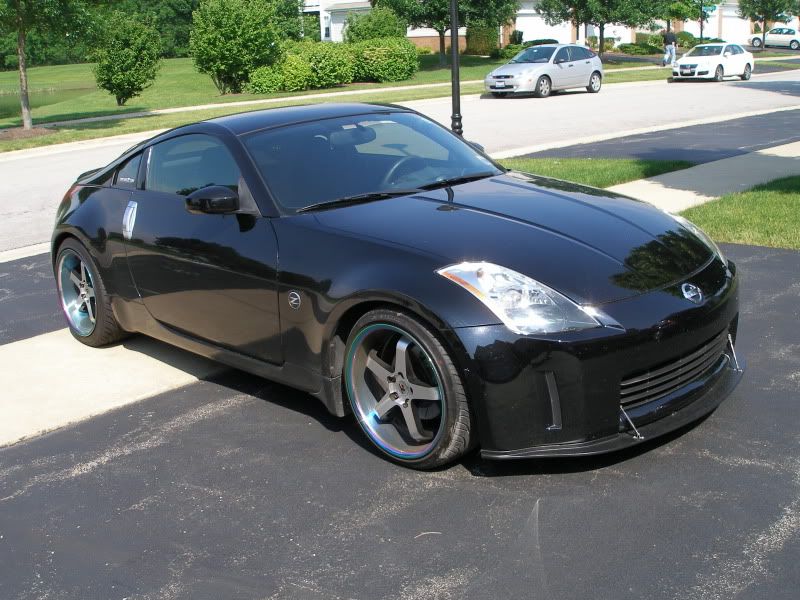
Here's the car before
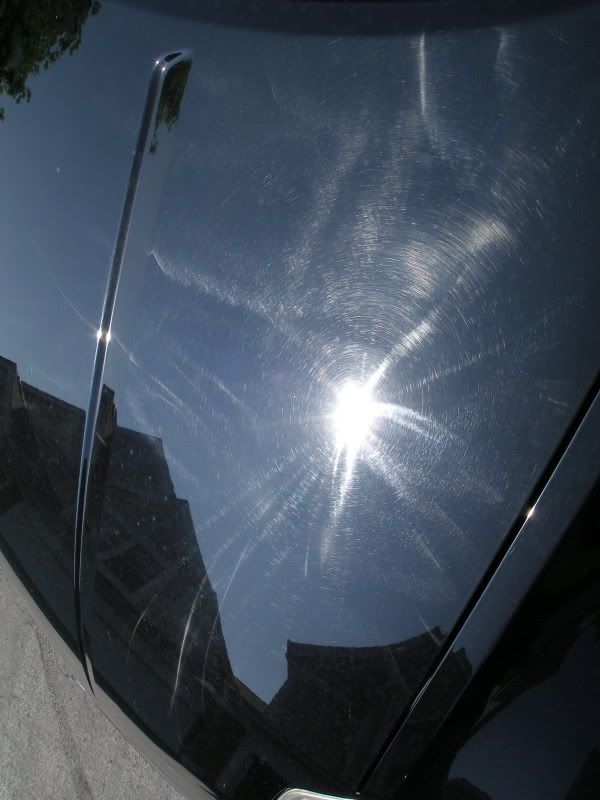
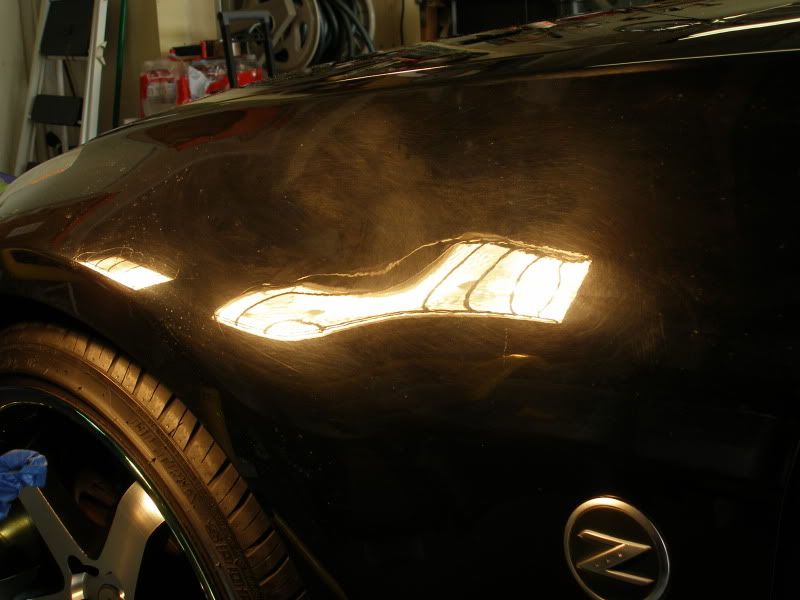
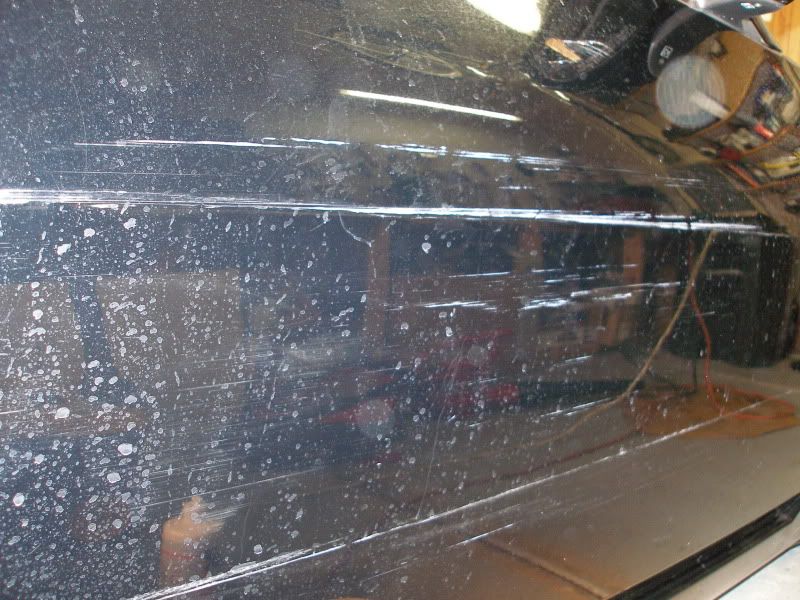
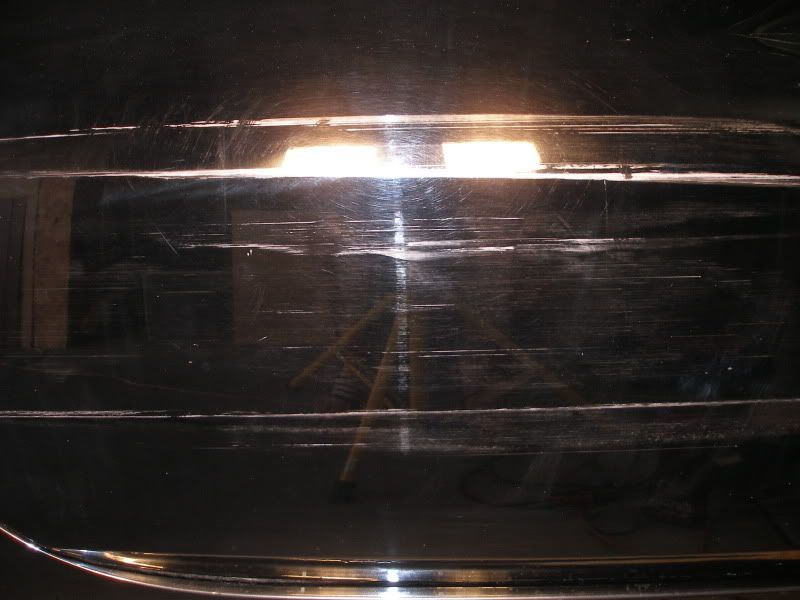
Here's some close up's of the carnage....
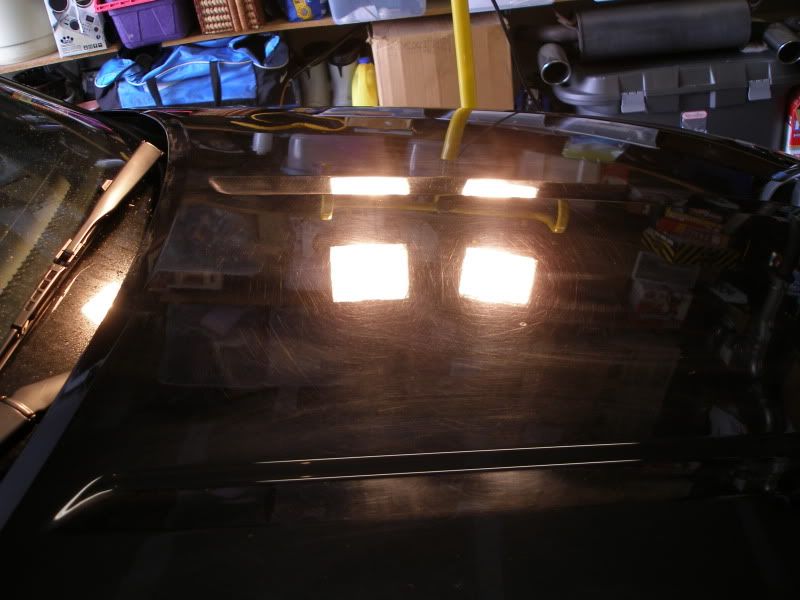
Hood
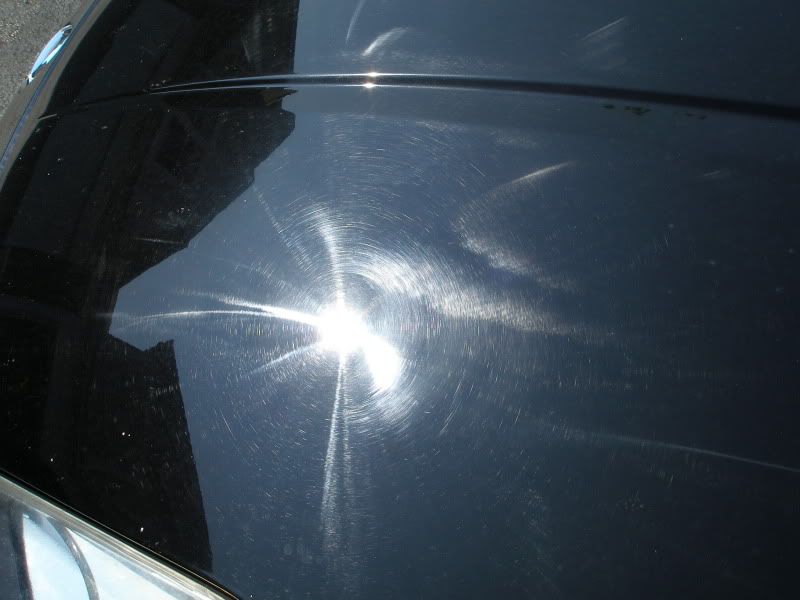
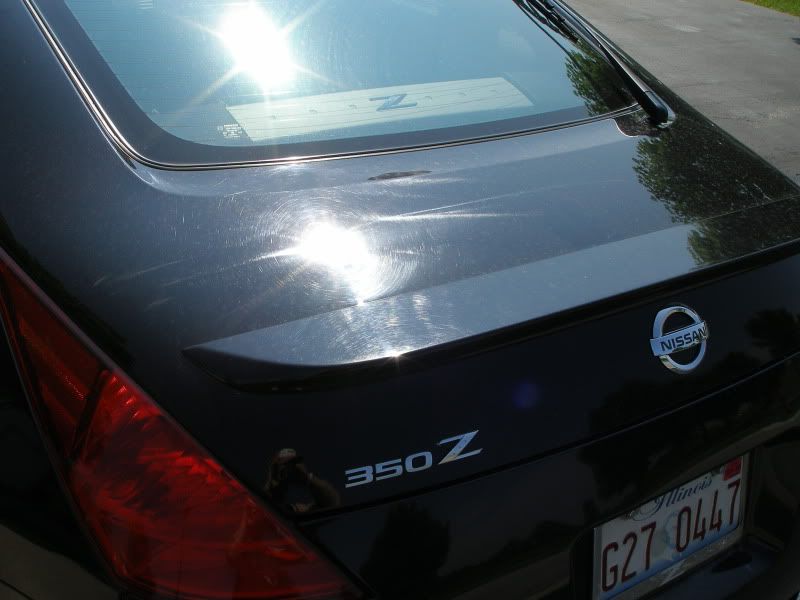
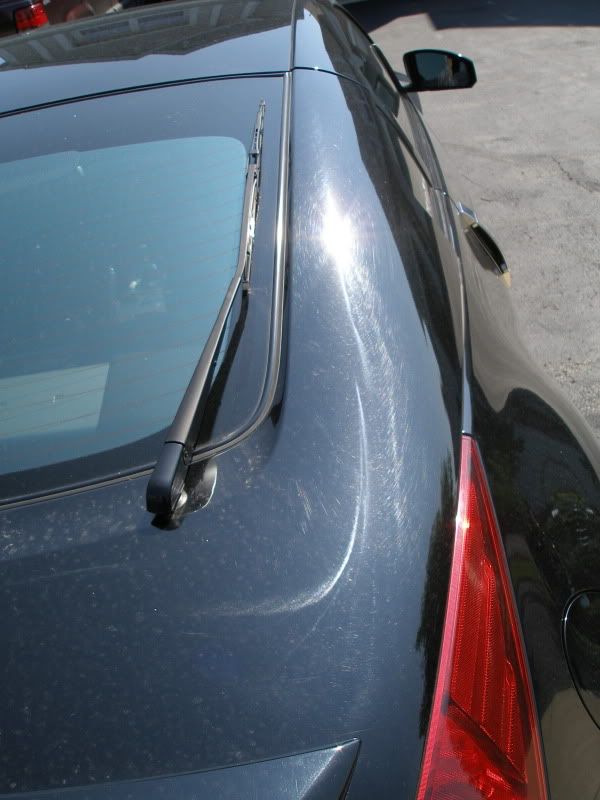
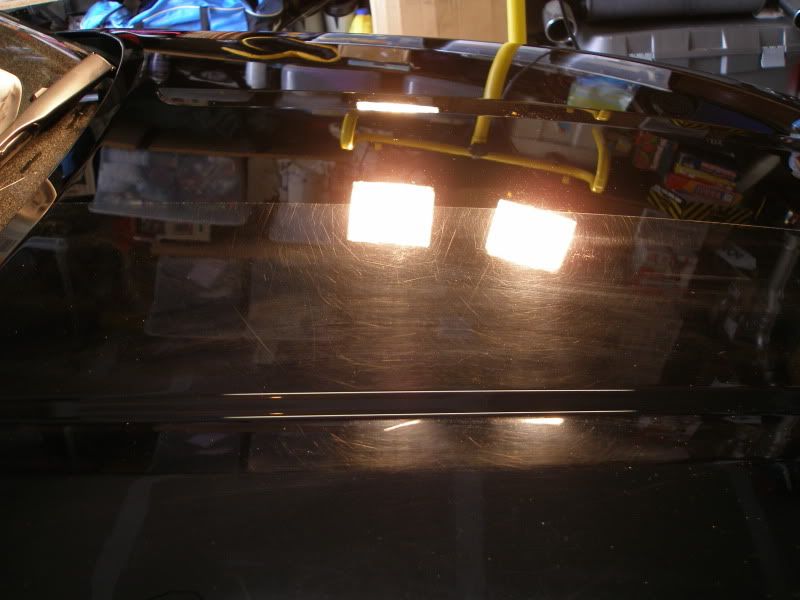
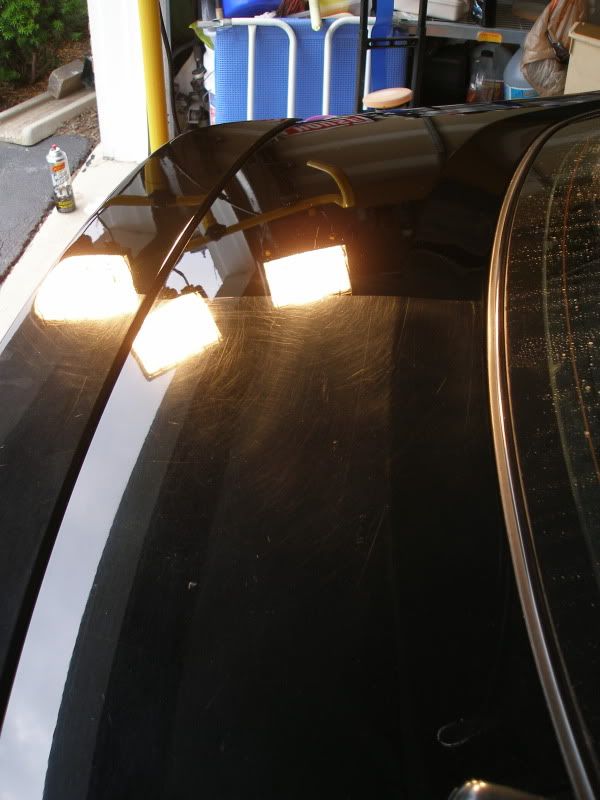
Rear hatch area
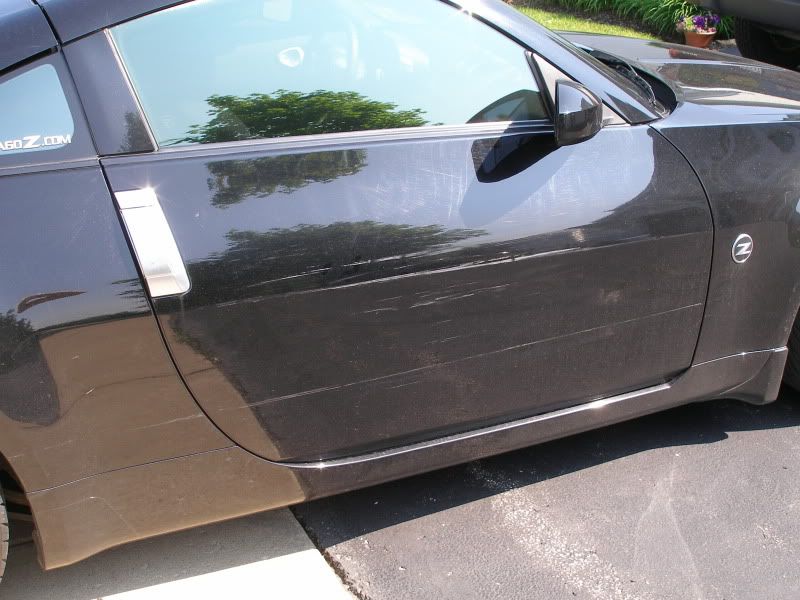
Here's the passenger door that was hit
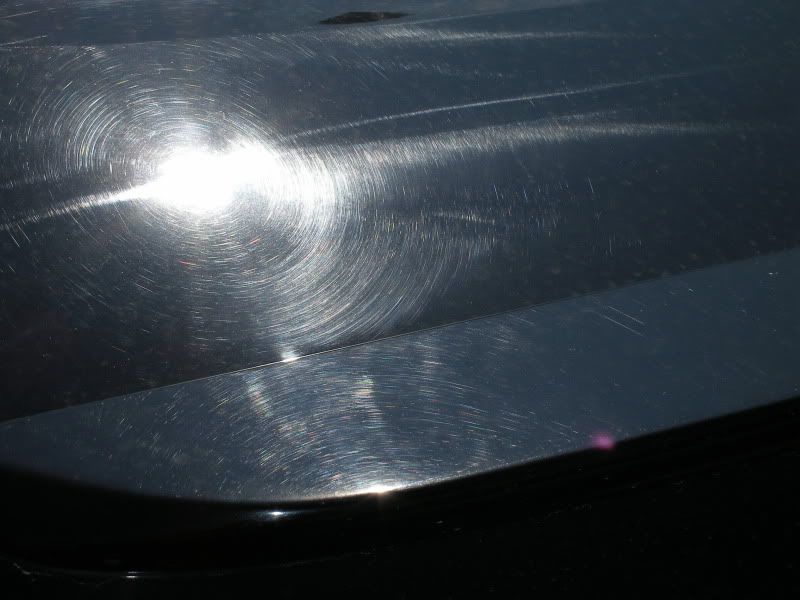
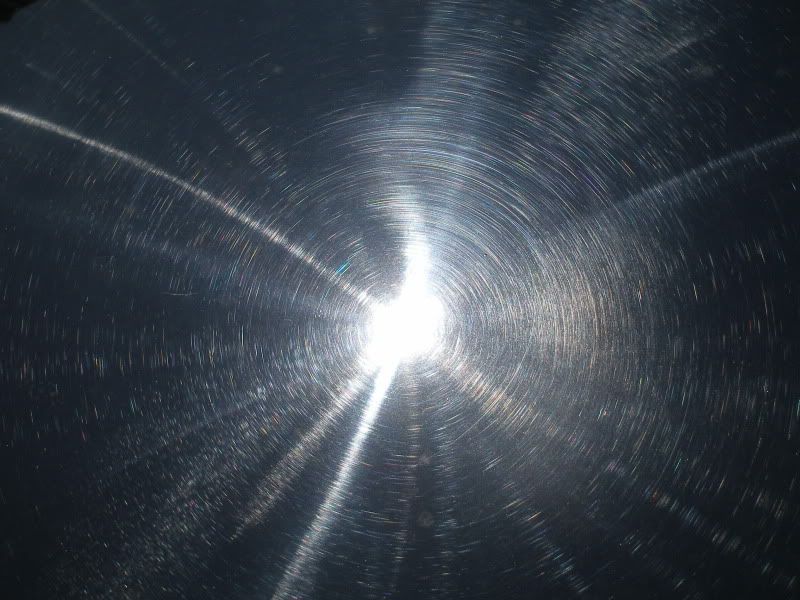
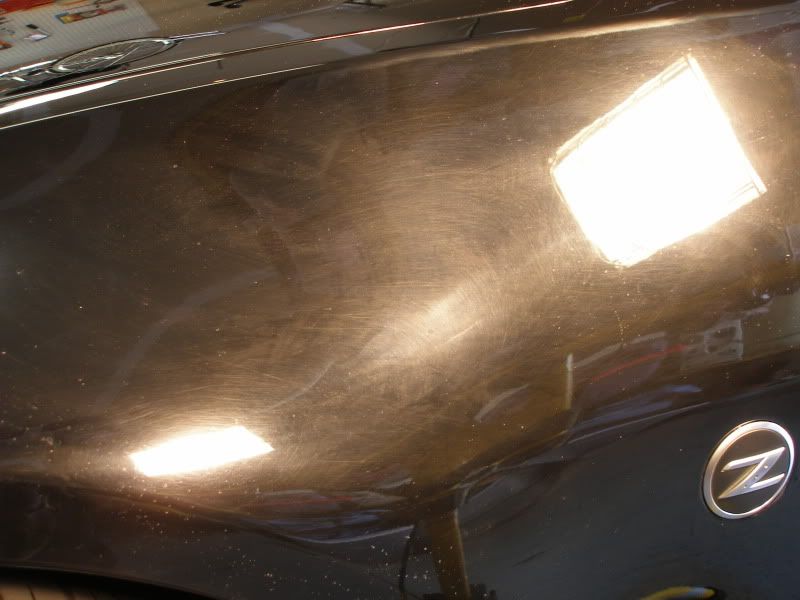
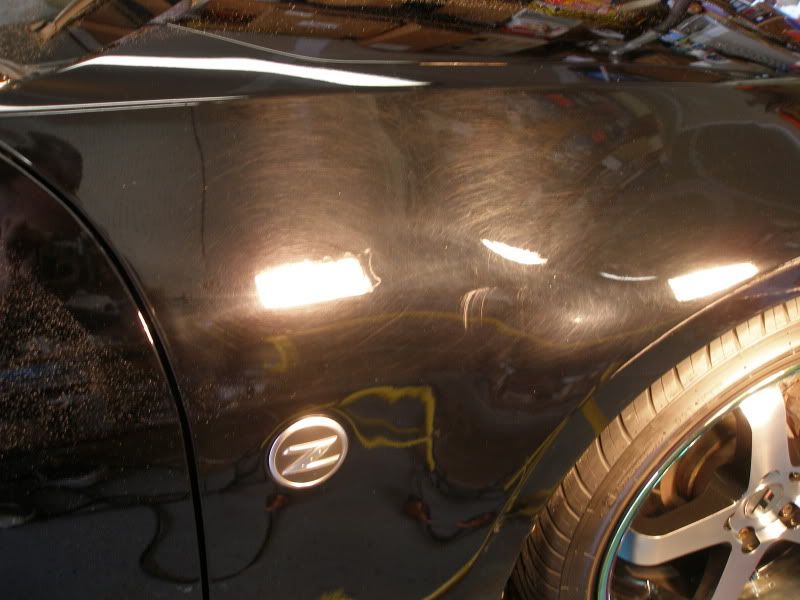
Close up of a spot on the hood (crazy swirls!!!!)
So even though these pics don't do justice as to just how bad the car was, you get the idea. Now into the garage for 16 hours of polishing. I'll now show you before and afters....this is gonna be good!
Hood before
Half hood polished
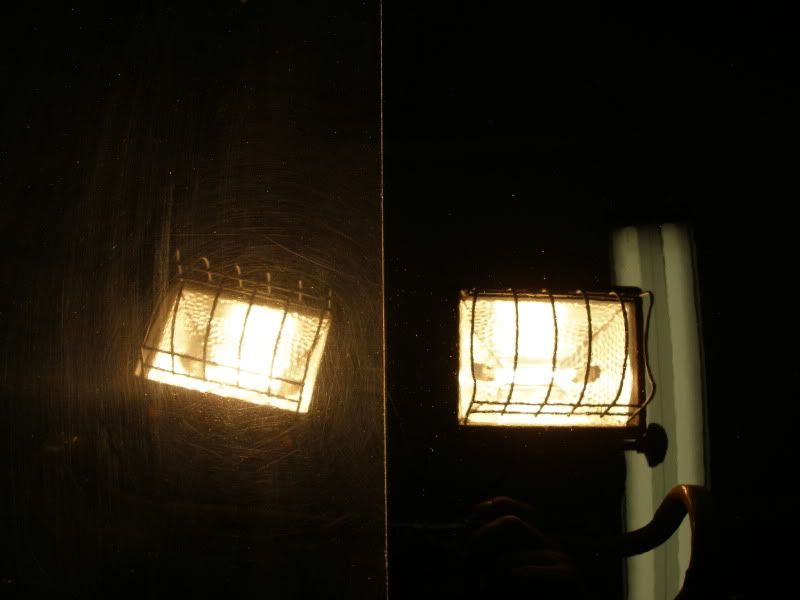
Polished!

Looking down at hood before
Looking down after
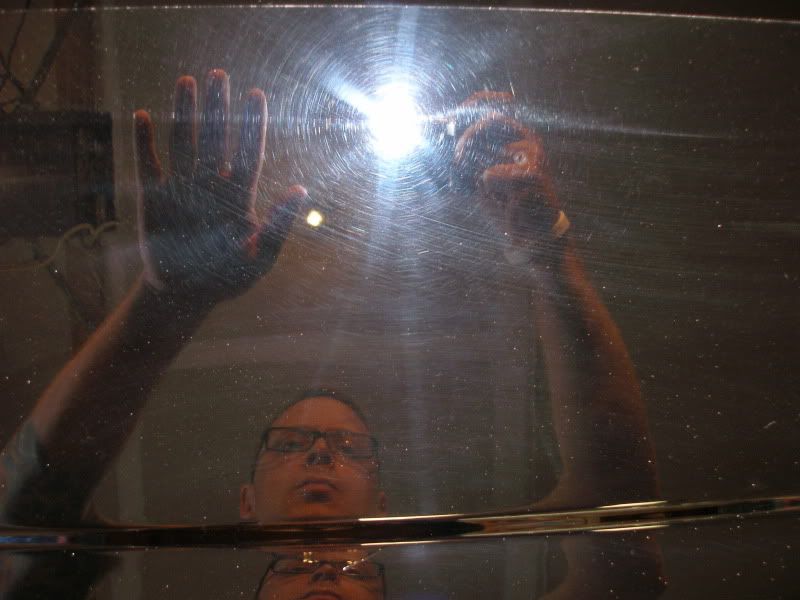
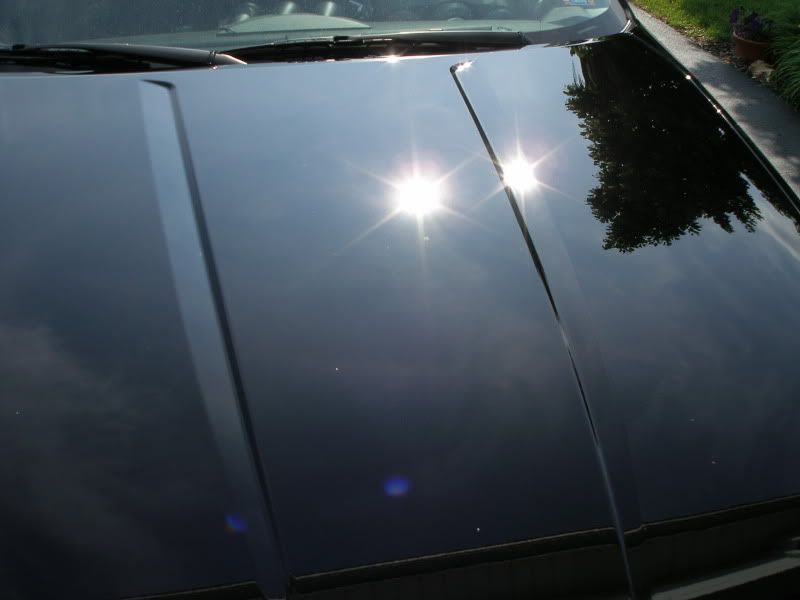
Cool pic looking into hood after polishing. Looks like a mirror.
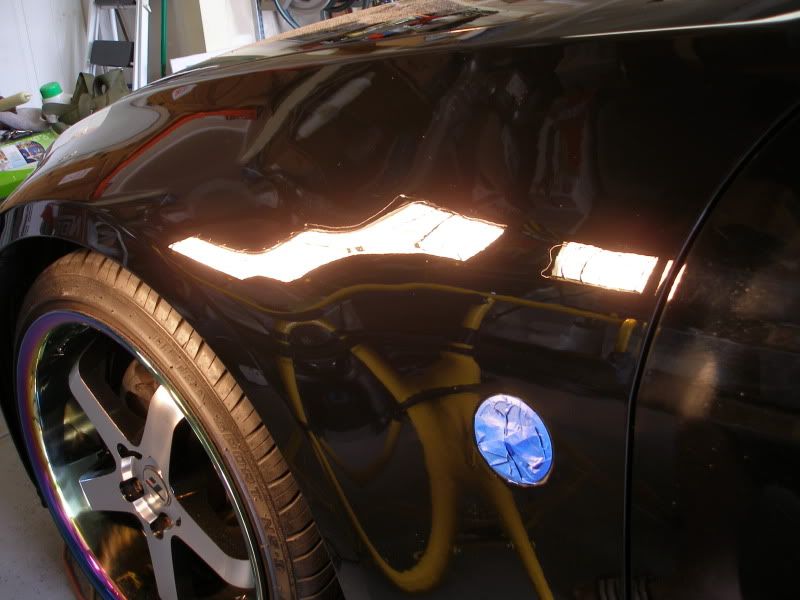
Front driver side fender before
Half polished
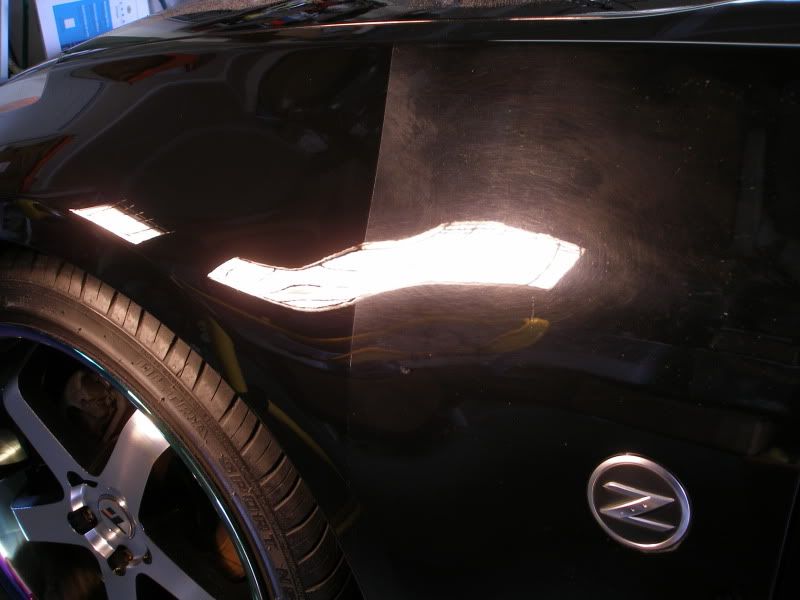
Polished
Half the driver door polished
Rear hatch with half polished
Here is the passenger door that had been hit.
Half polished
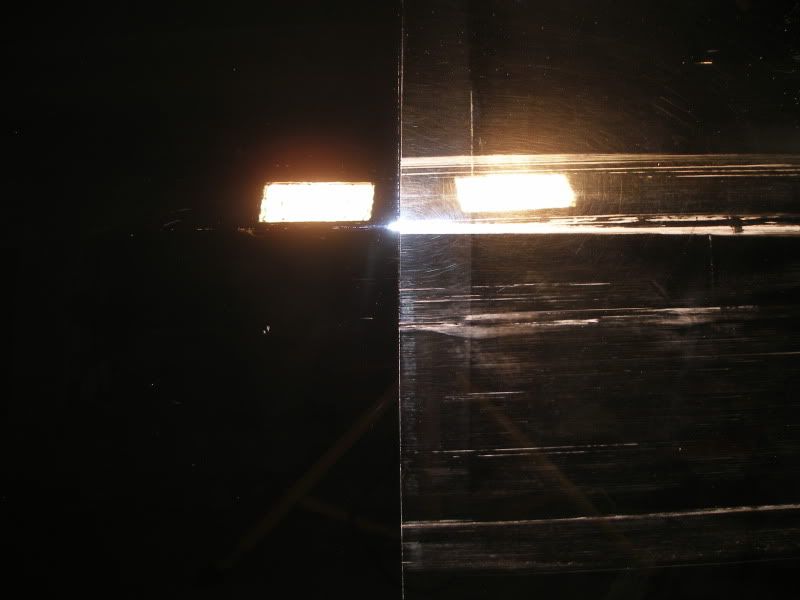
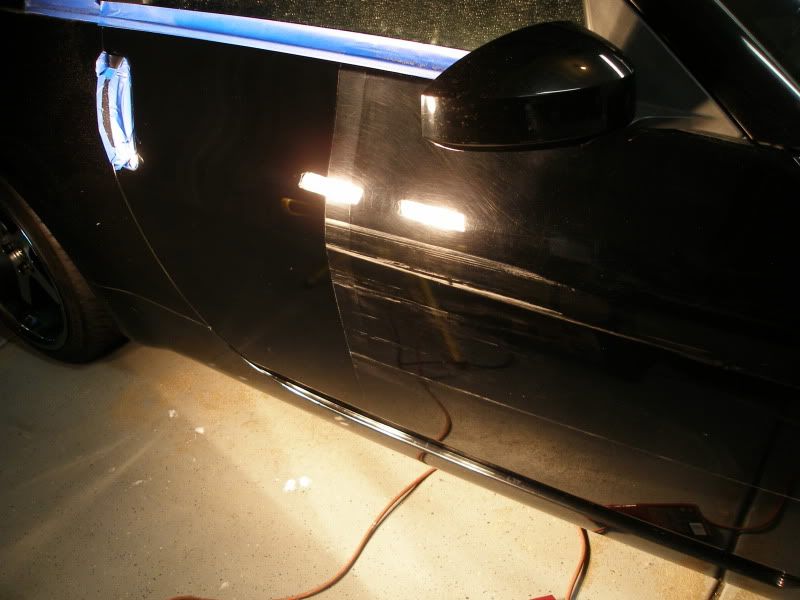
All polished! There were some small scratches that were too deep for me to correct but overall, it's about 98% corrected!
This is where the bulk of the scratches where when he was hit.
Passenger fender before
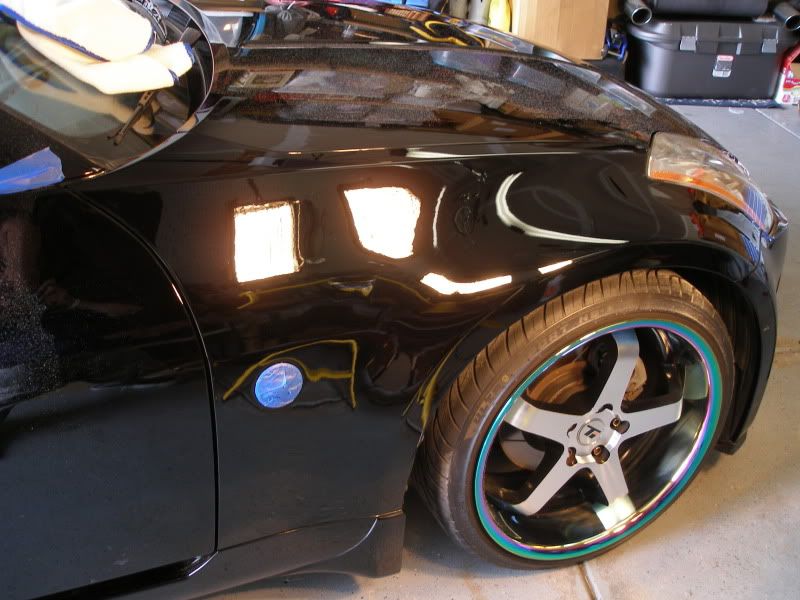
Passenger after
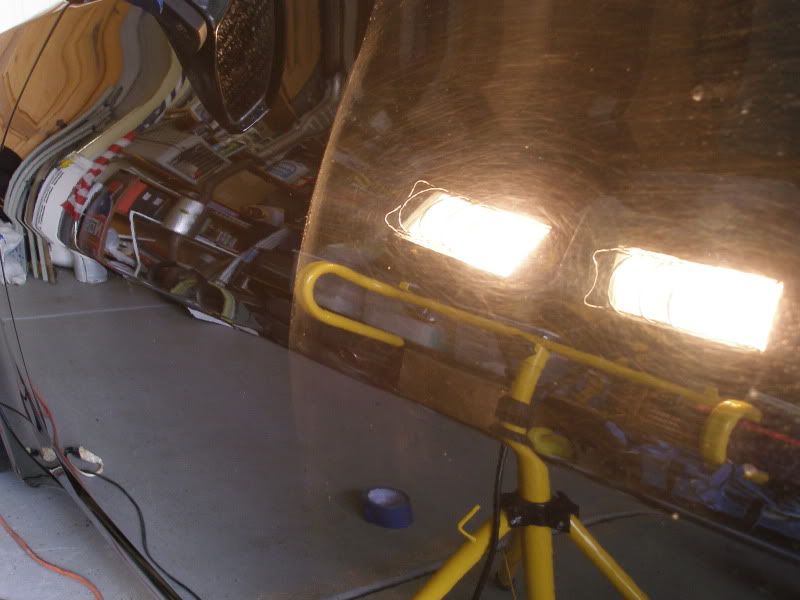
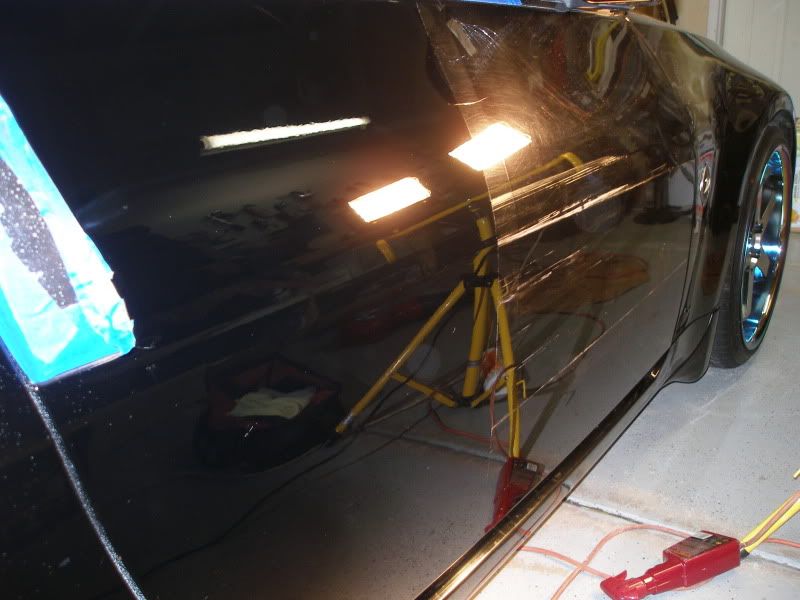
Hood outside before
Hood outside after polishing (this wasn't sealed or waxed yet!)
Crazy swirled spot before
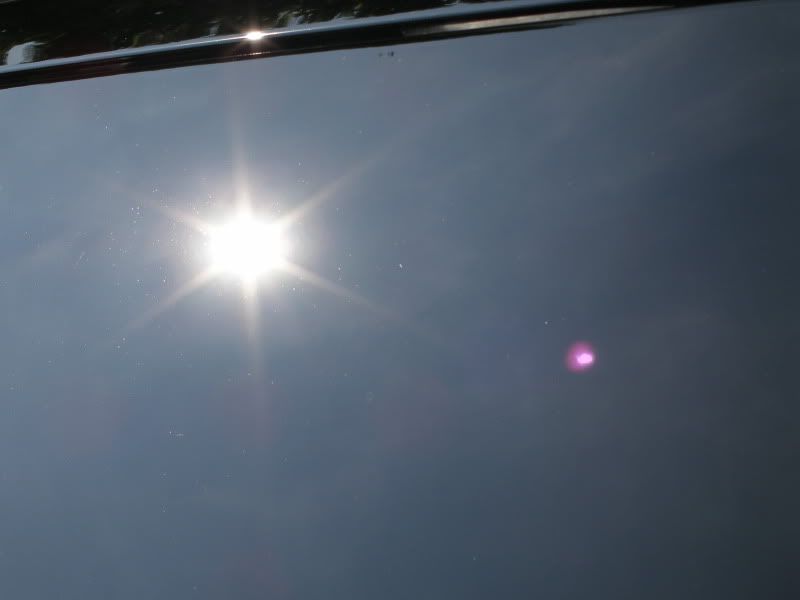
Crazy spot polished
Exhaust before
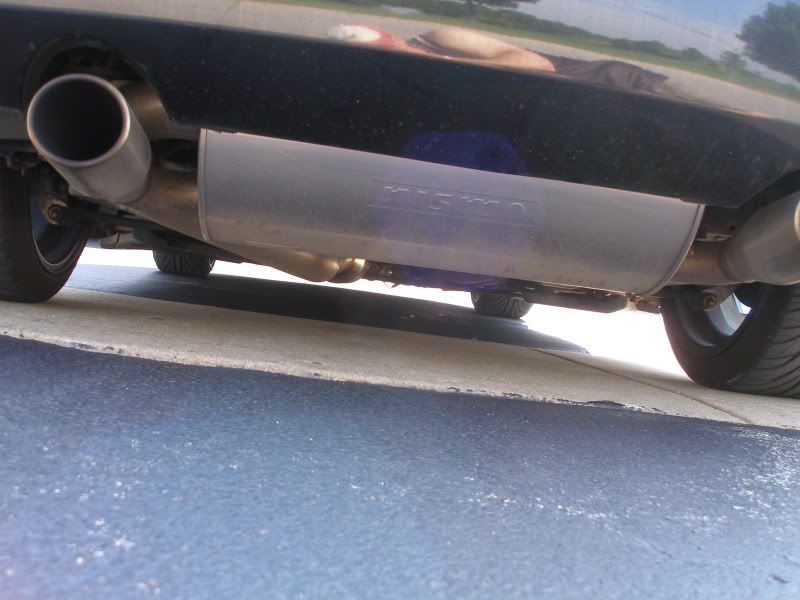
After
Rear wheel before
After
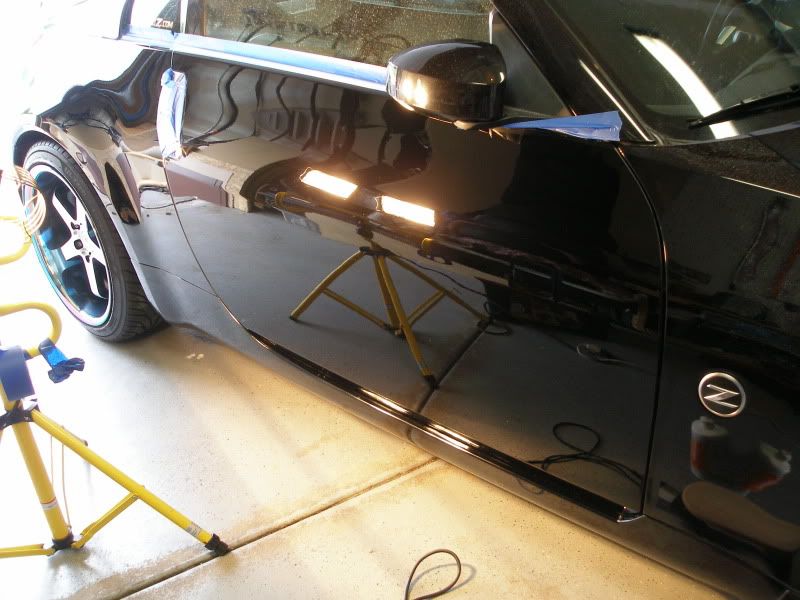
Ok, 16 hours later we have full car shots! I'm NO photographer but hopefully I was able to kind of capture just how slick, deep and wet the paint looked.
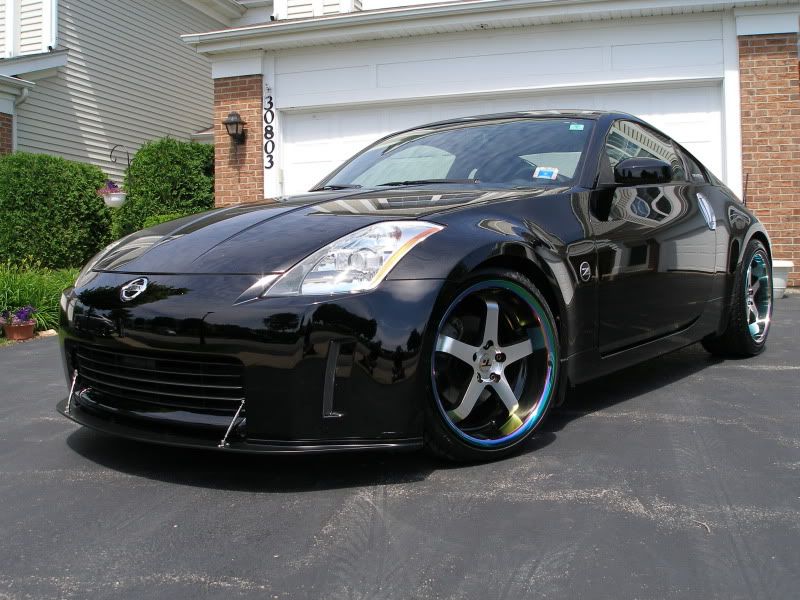
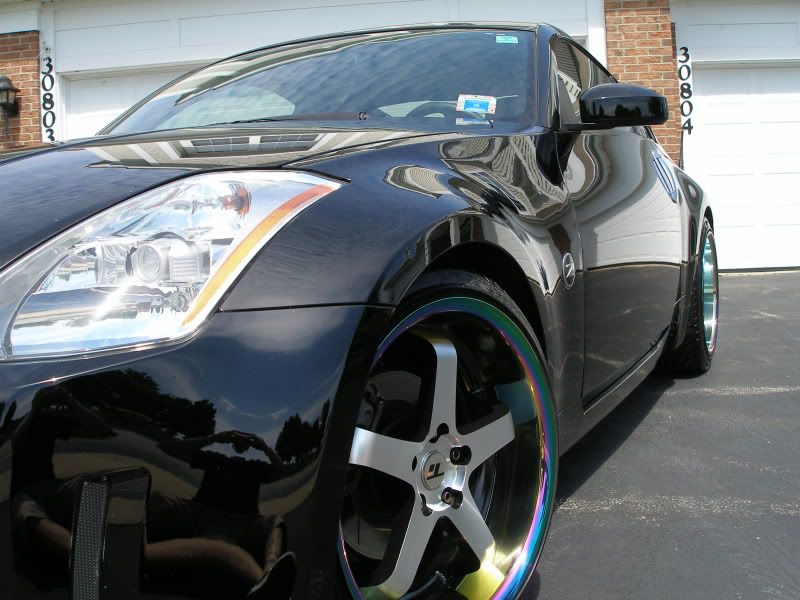
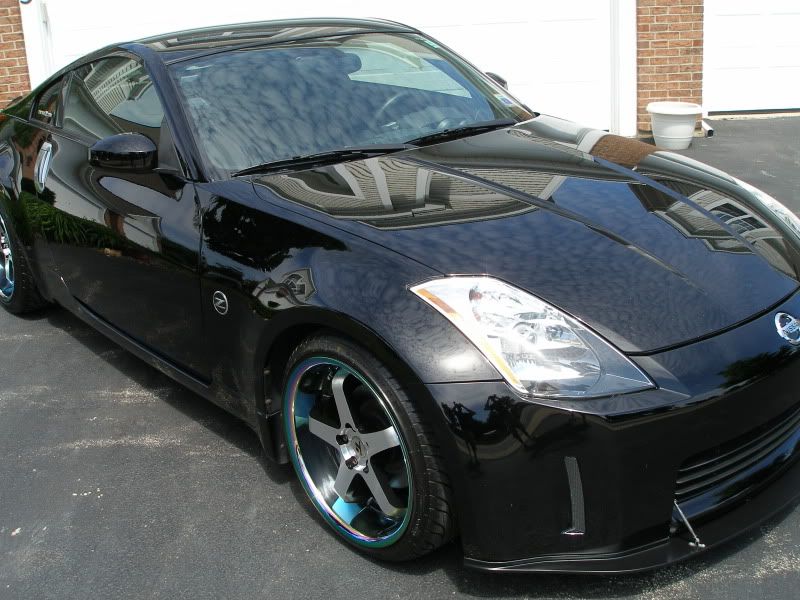
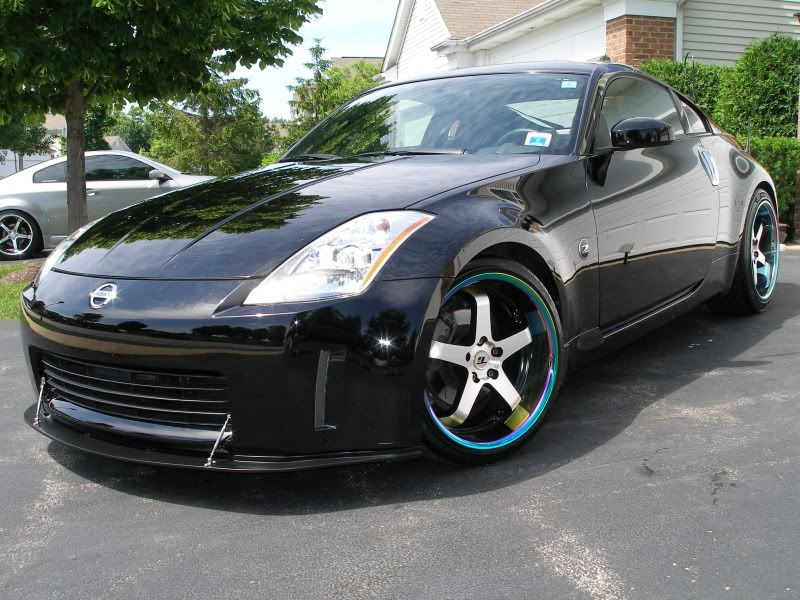
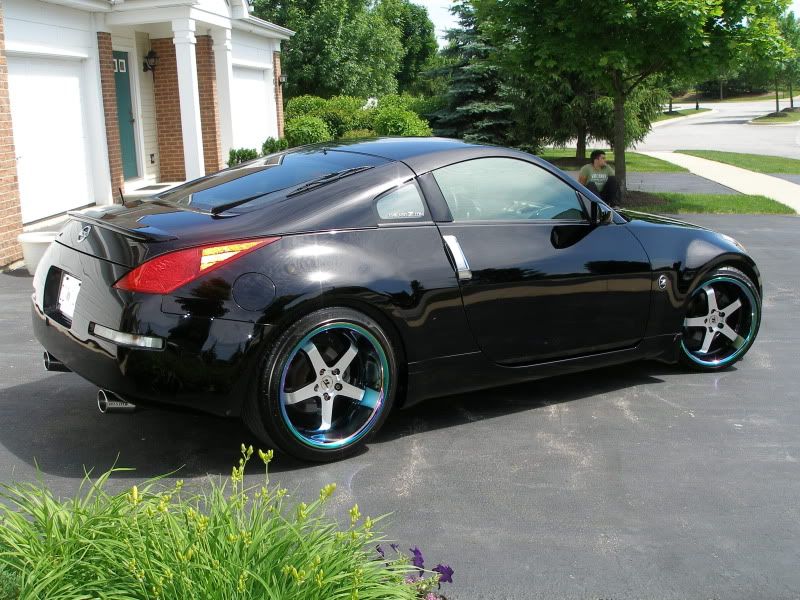

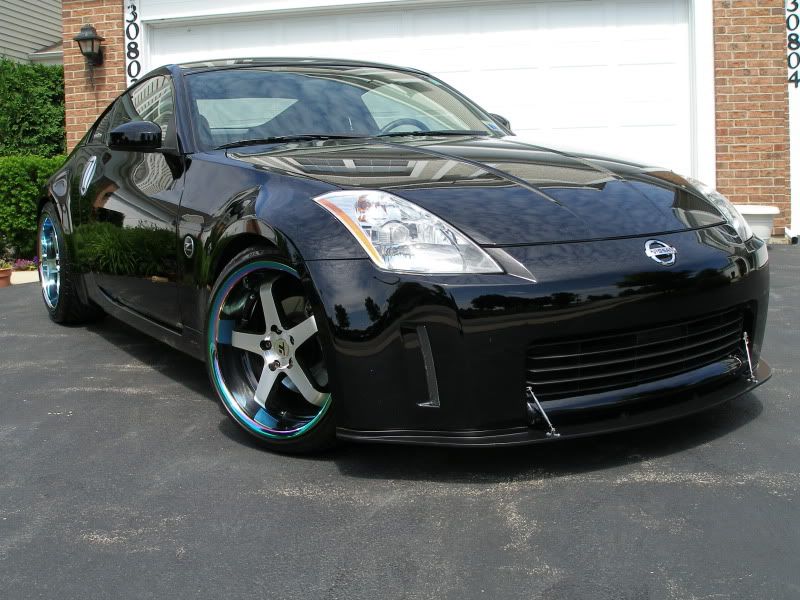
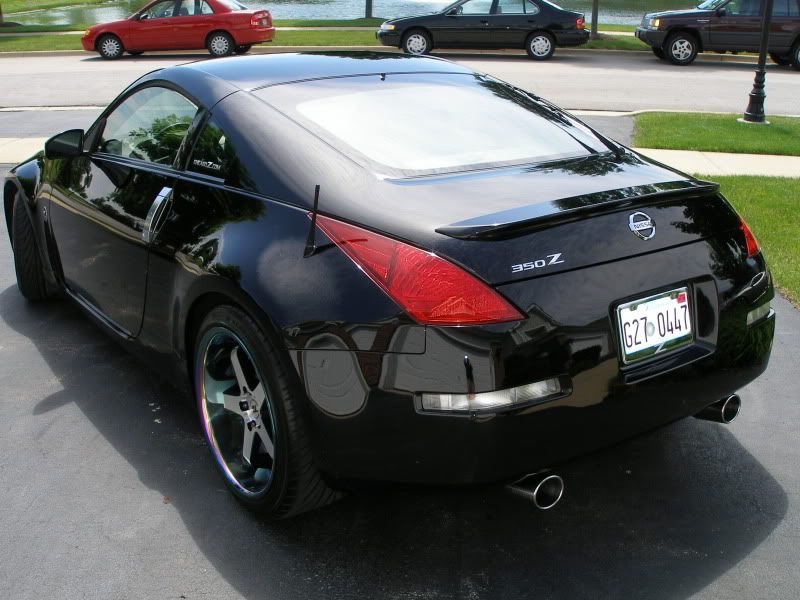
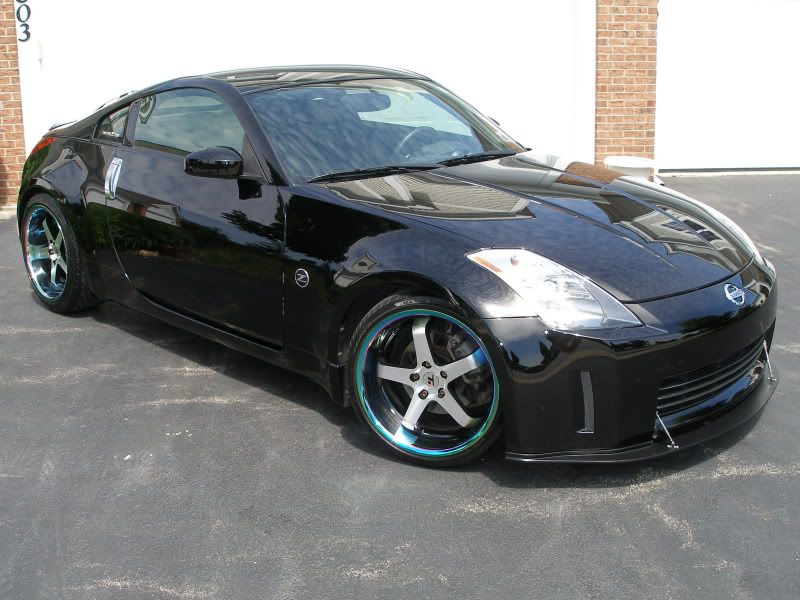
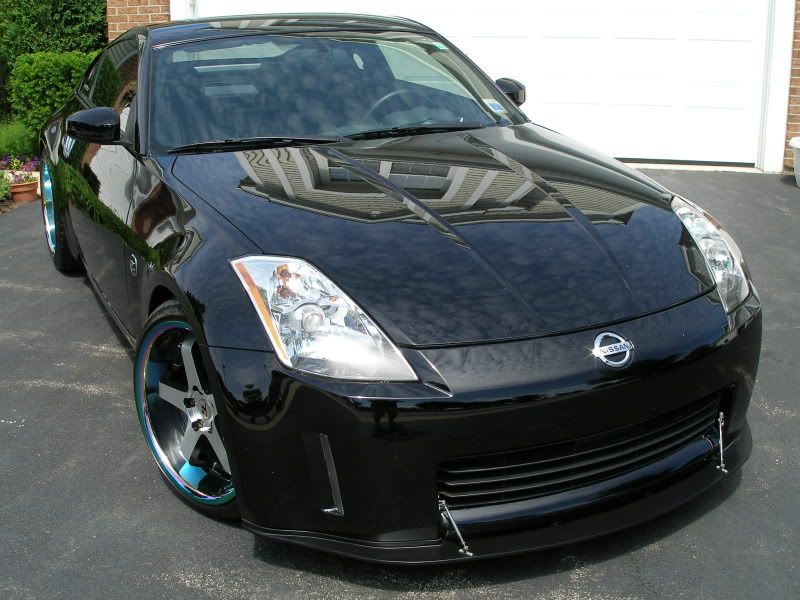
So there you have a it. A TON of pics but it was a HUGE job so hopefully you enjoyed see the progress as much as I did. I'm now going to ice my hands for the next 2 days.
Here's the condensed version of the process....
wash
clay
polish with Monzerna SIP/106FF
wash again
Danase Wet Glaze (One of the very few glazes you can put a sealant on since it's acrylic based)
Sealed with Ultima Paint Guard Plus
Waxed with P21S
Wiped down with Zaino Z-8
Tires cleaned with Eagle One A-Z tire cleaner
Wheel Wax on Rims
Zaino Z-16 on tires
Mothers Alum Polish on Exhaust
Nano One Protectant on interior (I forgot interior shot).
CD2 Engine Detailer on engine but no engine shots.
There's going to be a ton of pics as I'm going to take you all around the car so here we go....
Here's the car before
Here's some close up's of the carnage....
Hood
Rear hatch area
Here's the passenger door that was hit
Close up of a spot on the hood (crazy swirls!!!!)
So even though these pics don't do justice as to just how bad the car was, you get the idea. Now into the garage for 16 hours of polishing. I'll now show you before and afters....this is gonna be good!
Hood before
Half hood polished
Polished!
Looking down at hood before
Looking down after
Cool pic looking into hood after polishing. Looks like a mirror.
Front driver side fender before
Half polished
Polished
Half the driver door polished
Rear hatch with half polished
Here is the passenger door that had been hit.
Half polished
All polished! There were some small scratches that were too deep for me to correct but overall, it's about 98% corrected!
This is where the bulk of the scratches where when he was hit.
Passenger fender before
Passenger after
Hood outside before
Hood outside after polishing (this wasn't sealed or waxed yet!)
Crazy swirled spot before
Crazy spot polished
Exhaust before
After
Rear wheel before
After
Ok, 16 hours later we have full car shots! I'm NO photographer but hopefully I was able to kind of capture just how slick, deep and wet the paint looked.
So there you have a it. A TON of pics but it was a HUGE job so hopefully you enjoyed see the progress as much as I did. I'm now going to ice my hands for the next 2 days.
does it hide the scrathes and the swirls or does it completely get rid of them?
^ it gets rid of the scratches by polishing the paint around it, making it the same level as the scratches, thus smoothing it out.
A detail can last forever, it just depends on how good you care for it after a detail.
A detail can last forever, it just depends on how good you care for it after a detail.

Joined: Apr 2007
Posts: 929
Likes: 11
From: west burbs of Chi
This is a great question and davidxu is correct. I like this question because a LOT of detailers will use products that just hide the swirls so after a couple washes they are right back and the money you spent was for nothing. On a job like this one, expect to spend a minimum of $300 but it will be worth it, the car will look better than new and I mean that literally.


M105 with M205 sucks.. takes too long to get decent results. I used it with the porter cable and I vary the pads up from orange to green to white to black and etc. Probably going to switch over to that new microfiber pad method that just came out recently.
