DIY - Headlight Restoration
#31
 09-02-2011, 10:38 AM


Registered User
hey good job i am starting to see that on my headlights. I was looking at the turtle wax one too but then looked at your easter egg lol and said nah i can't not get that one going to try it this weekend hope it looks as good as yours but i think i will have to do something about the spider web on mine too...
oh and i loved the funny comments too i was like i know just what you mean "rub like your friend has drank too much grey goose lol"
oh and i loved the funny comments too i was like i know just what you mean "rub like your friend has drank too much grey goose lol"
#32
09-22-2011, 10:24 PM

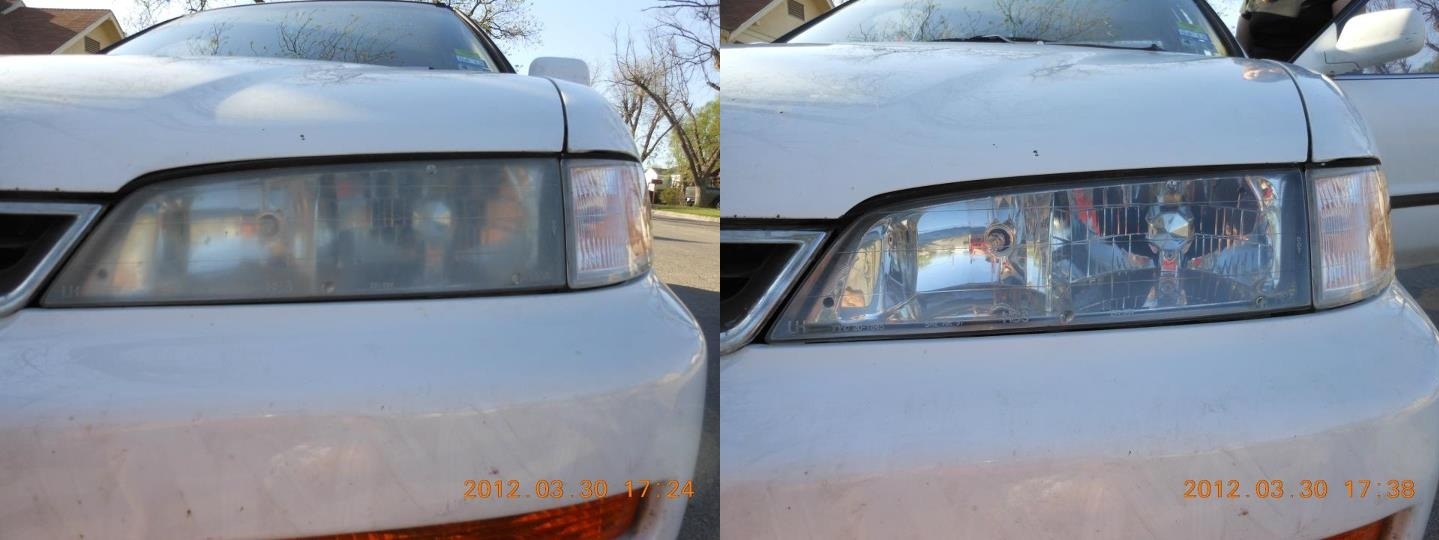
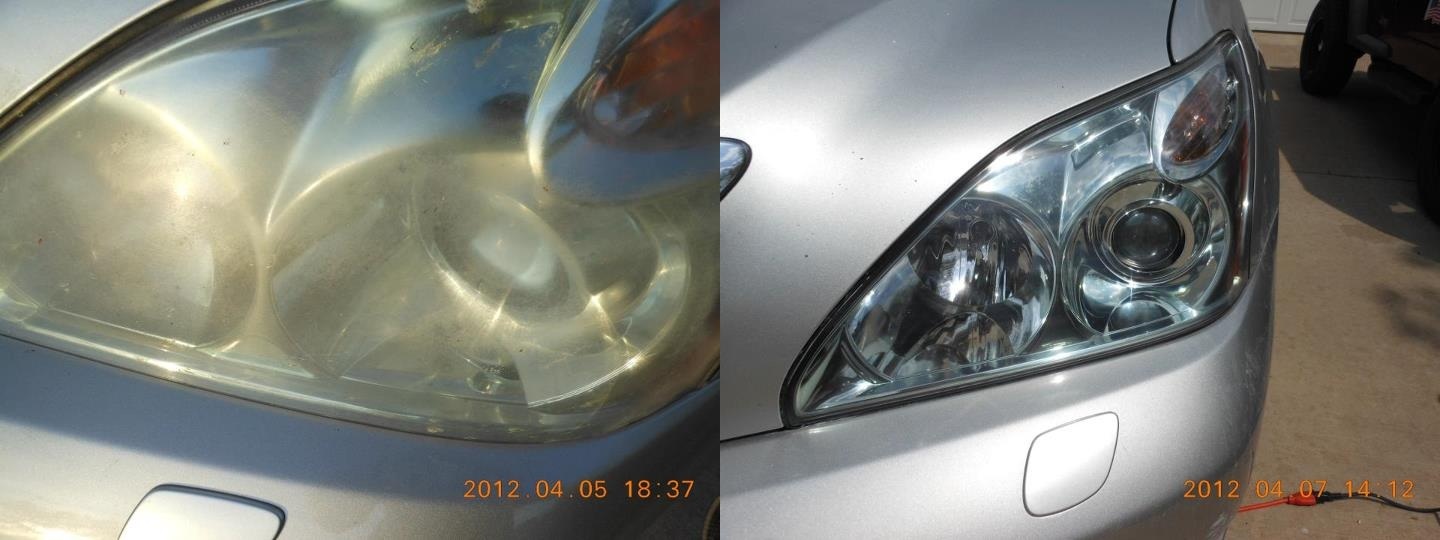
Getting ready for the GTG this Saturday and reviving this helpful thread for those who wants to restore their headlights.
Really easy to Follow just go to page 1 and read.
It took me an hour to do this.
now on to the pics.. i forgot to take pics of before and after...but its self explanatory
TOOLS NEEDED:
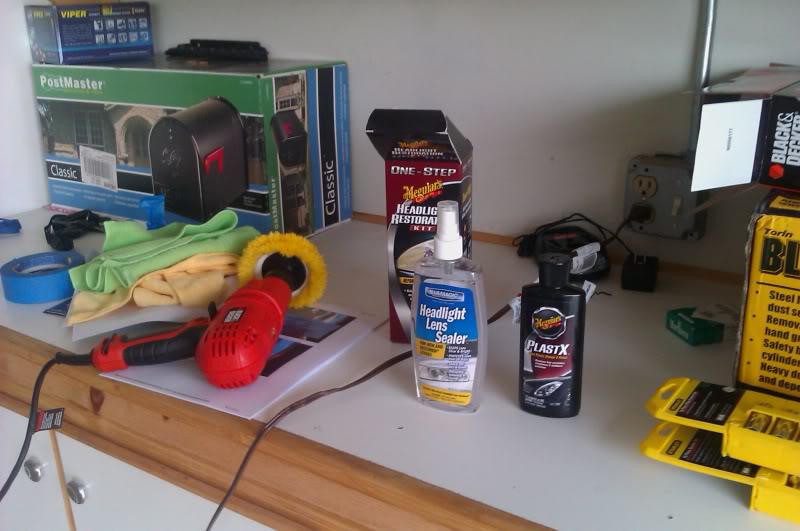
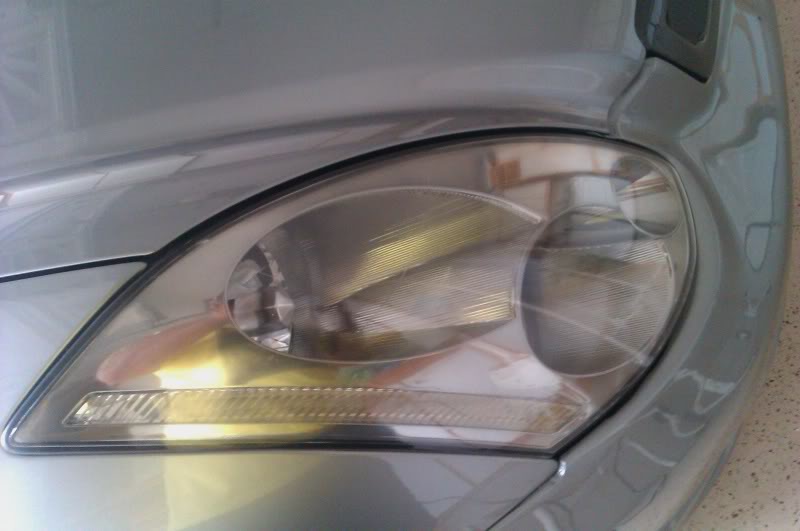
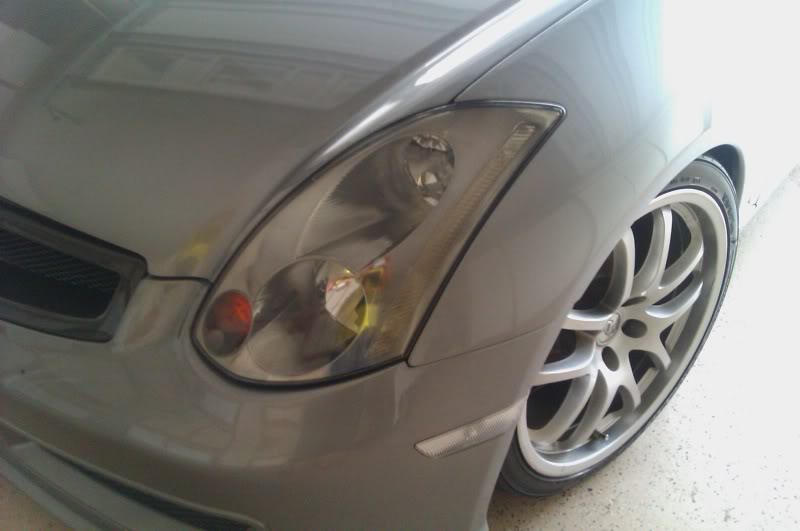
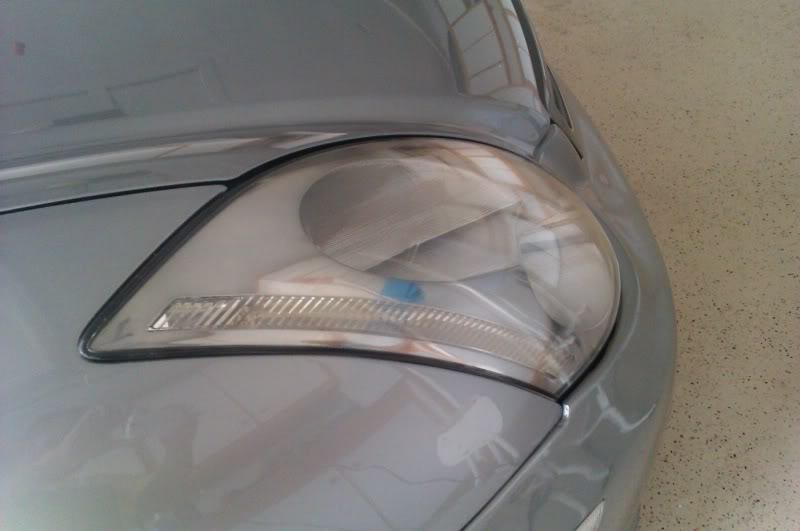
Results !!
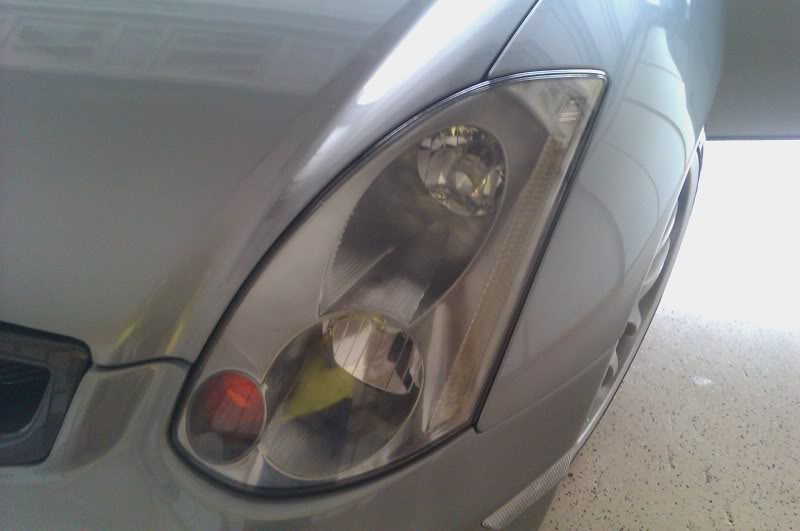
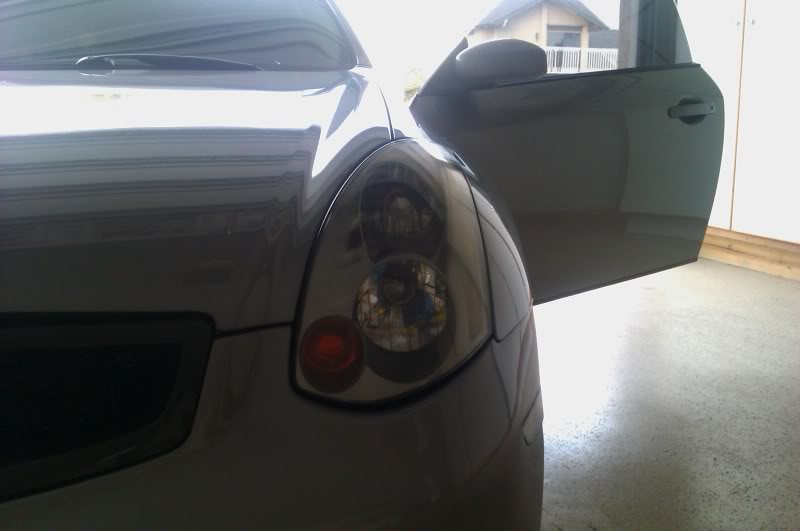
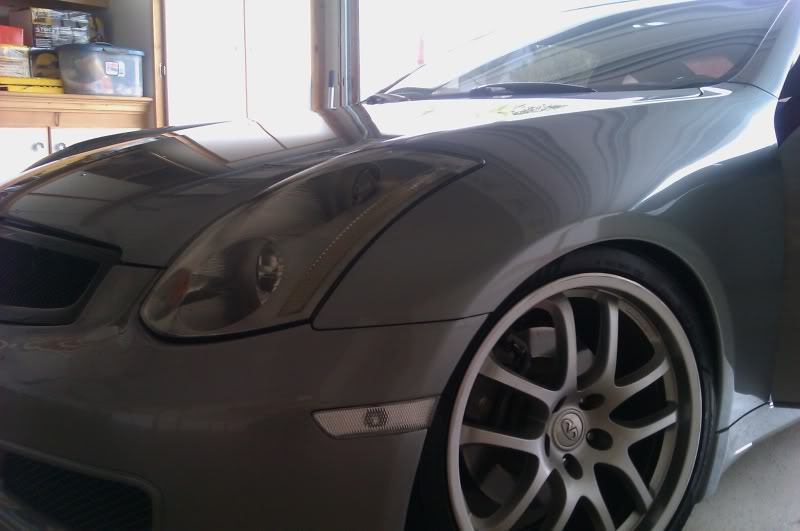
By the way I bought a spray on sealer...

Really easy to Follow just go to page 1 and read.
It took me an hour to do this.
now on to the pics.. i forgot to take pics of before and after...but its self explanatory
TOOLS NEEDED:
Results !!
By the way I bought a spray on sealer...
#33
09-23-2011, 11:16 AM

#34
12-22-2011, 11:09 PM

#35
01-15-2012, 08:40 PM

Wow guys, I haven't been on the thread since April last year but I googled my name and "headlight restoration" to show my girl how it's done. I'm really appreciative of all the thanks you all have given me  We'll be doing the headlight restoration again here in a few days (as some of you have mentioned needing to do it more than once). My headlights are still MOSTLY clear (~85% of how they looked when I restored them), but I still have the spiderwebbing effect from the headlights being beaten down by the Arizona sun. I'll be taking some of your follow-up advice and adding a sealant, and I'll post pics to show you the new result. Also, I'll be doing the whole shebang this time with the really gritty sand paper. If it goes well, I'll edit the original post with updated info Thanks all! - Mark & Lesley
We'll be doing the headlight restoration again here in a few days (as some of you have mentioned needing to do it more than once). My headlights are still MOSTLY clear (~85% of how they looked when I restored them), but I still have the spiderwebbing effect from the headlights being beaten down by the Arizona sun. I'll be taking some of your follow-up advice and adding a sealant, and I'll post pics to show you the new result. Also, I'll be doing the whole shebang this time with the really gritty sand paper. If it goes well, I'll edit the original post with updated info Thanks all! - Mark & Lesley
#36
01-20-2012, 09:17 AM

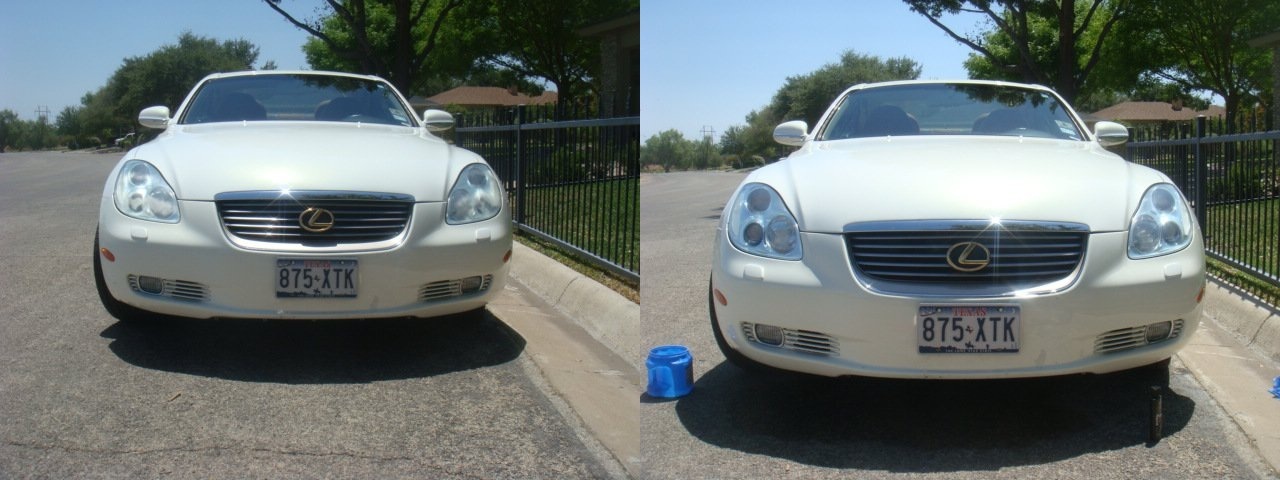
I recently used the Meguiers HD kit to sand it down and my drill to polish the included PlastX, then topped it off with Collinite #845 insulator wax. It looks brand new, amazing the difference in light output. I also removed my LED clearance bulbs, as the inside strip has also started to fog...looks as good as it ever could!! 
#38
08-16-2012, 11:44 AM

#39
11-24-2013, 10:57 AM

I have been doing headlight refinishing professionally for about eight years and have researched it for years before that. It's all about the methods and chemicals that gives you the "like new" results that will last. But, the most important thing is that UV top cote.
-James
www.seeclearheadlights. com
#40
12-03-2013, 08:22 PM


#42
02-01-2014, 01:42 AM

With all do respect, Mequiars headlight resto kit & spray sealer is garbage while I'm sure it does work . But is not the best product for headlights + the very under powered drill , would take a lot of time.
I've been detailing cars for 20 yrs.
My Steps
DA polisher - $60
Med-Cutting pad $7.00
3 - Cutting polishes - Depending on severity of lens
1 - Final polish.
1 - synthetic non carnuba based wax
Finally The last 2 steps
Factory paint sealer
Optical spray sealant
Good for 2 yrs + No maintenance required .
1/2 hr per lens on average .
I know it looks like a lot , but is pretty cheap for the products.
You did a great job. But you will have to maintain it.. The hazing will reappear .
Wasn't trying to step on anybody's toes , just trying to help.
#43
03-24-2014, 02:00 PM

If you use curable UV top cote you won't need to worry about the up keep so much. Most of the "off the shelf" kits don't give the results you'd expect and the longevity your looking for.
I have been doing headlight refinishing professionally for about eight years and have researched it for years before that. It's all about the methods and chemicals that gives you the "like new" results that will last. But, the most important thing is that UV top cote.
-James
www.seeclearheadlights. com
Is it best to use a different brand clear bra for headlights or a good sealer? Id prefer to not have to re-polish them constantly etc. The longer it last the better!

#45
06-06-2014, 09:37 AM

Came out nice; I did mine about a month ago using a 3M kit. I also just picked up some Blue Bat Overlays and need to put them on. I got the lightly tinted ones, so hopefully they'll help prevent some future oxidation.

Thread
Thread Starter
Forum
Replies
Last Post
RemmyZero
V36 DIY
10
04-23-2018 11:13 AM