

Replacing the spark plug well seals in the valve covers


Replacing the spark plug well seals in the valve covers
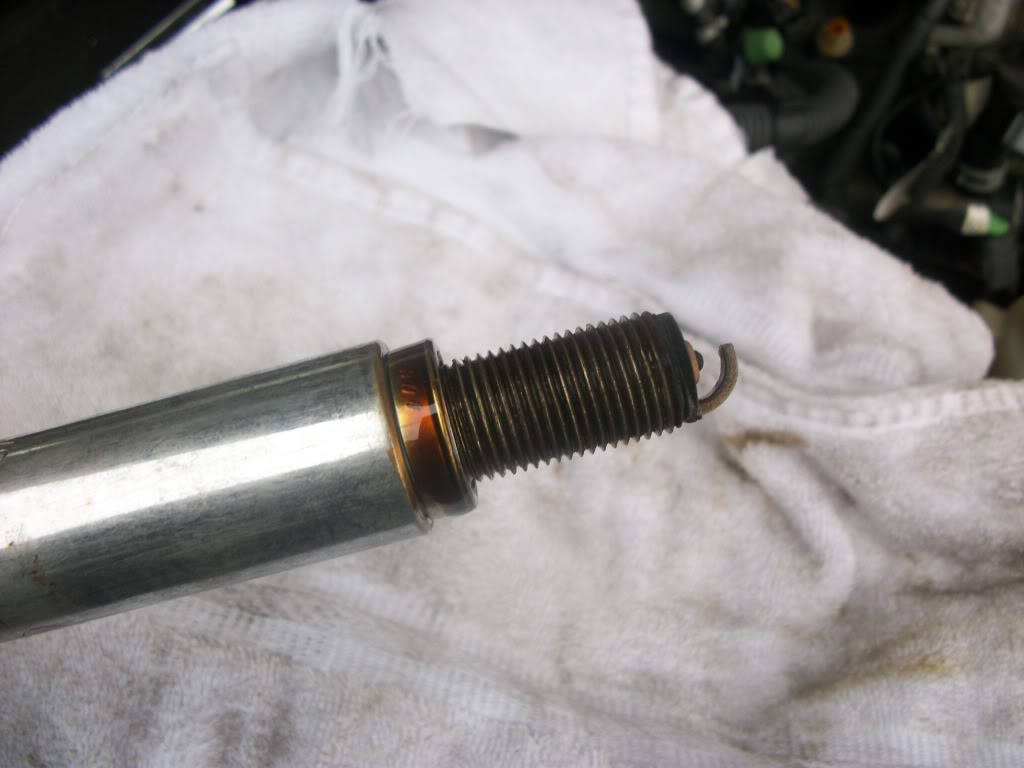
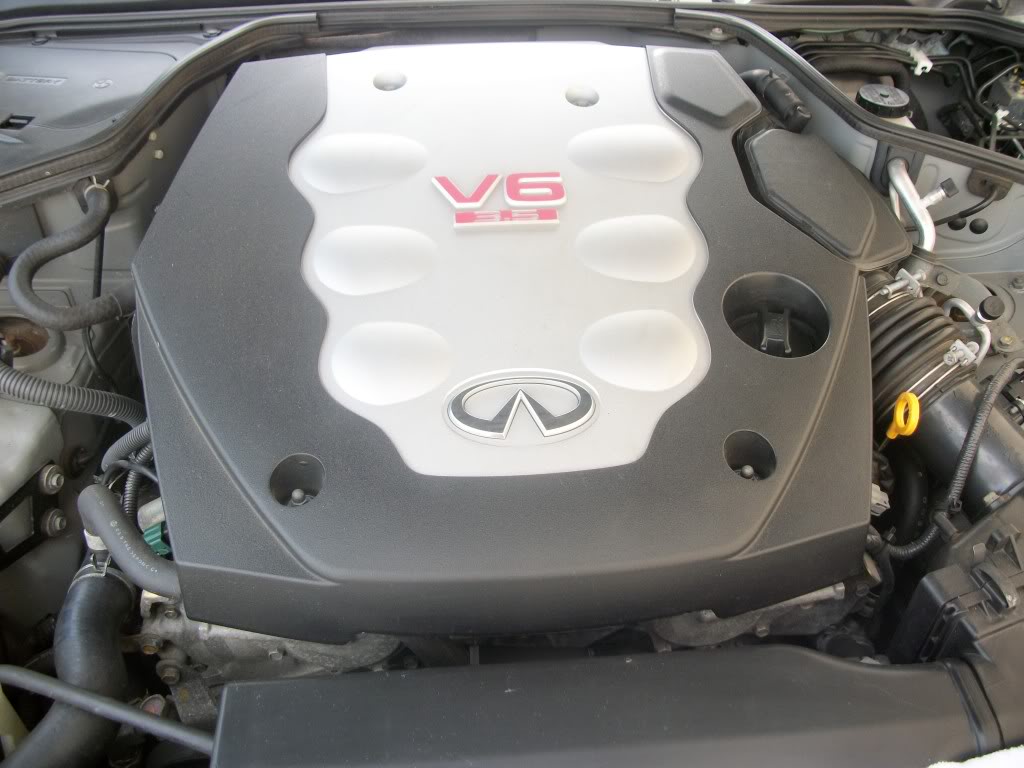
The above picture was my reasoning for tackling this job. As you can see in the post, my spark plug electrode is worn down and the plug is bathed in oil. I had this problem on my rear passenger side plug and on my front-most driver side plug. There are two ways to solve this problem. Replace the seals with the kit from R&D Factory or replace the valve covers with new ones. The new covers are about $180 each. I chose the R&D route. R&D kit offers the kit with the following pricing structure.
60 for 6 orings
90 including oem valve cover gaskets(both side)
100 including oem pcv valve and the gasket.
The Installation is extremely straightforward and I followed the DIY from R&D Factory.
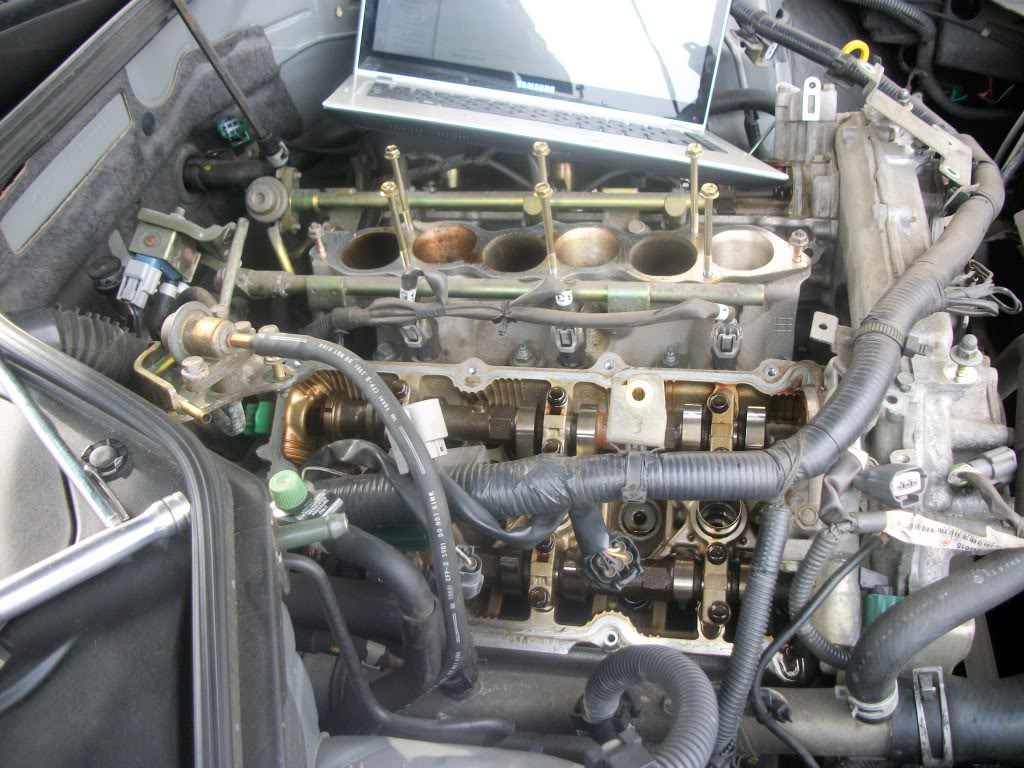
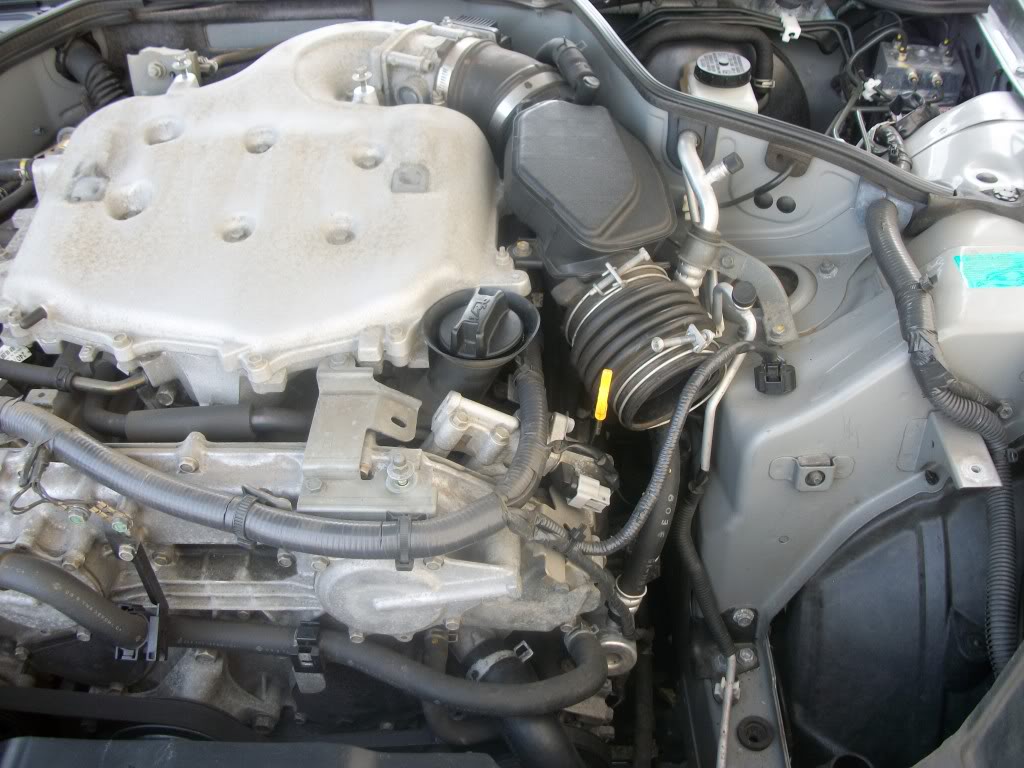
It's necessary to print the intake manifold collector and rocker cover section from the factory service manual in the Engine Mechanical section. These sections give you torque values and bolt removal and re installation order. I also used the instructions on this G35DRIVER thread to Reset my ECU, and reset my idle (I removed and cleaned my throttle body). Swivel sockets help, torque wrenches for inch-lbs and foot-lbs are absolutely necessary. Also needed is a hole saw size 1-7/8 which I got from my local ACE Hardware in Bridgeport, CT and black RTV silicone which you can get anywhere. Set aside 4 hours if this is your first time.
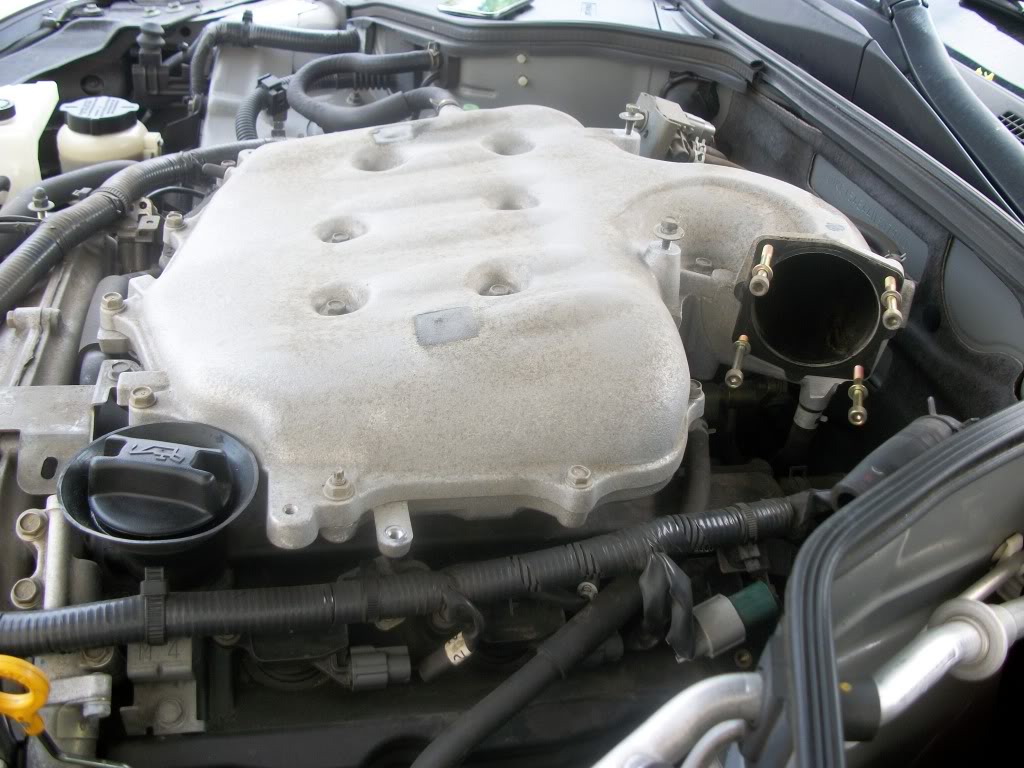
Remove the manifolds and covers.

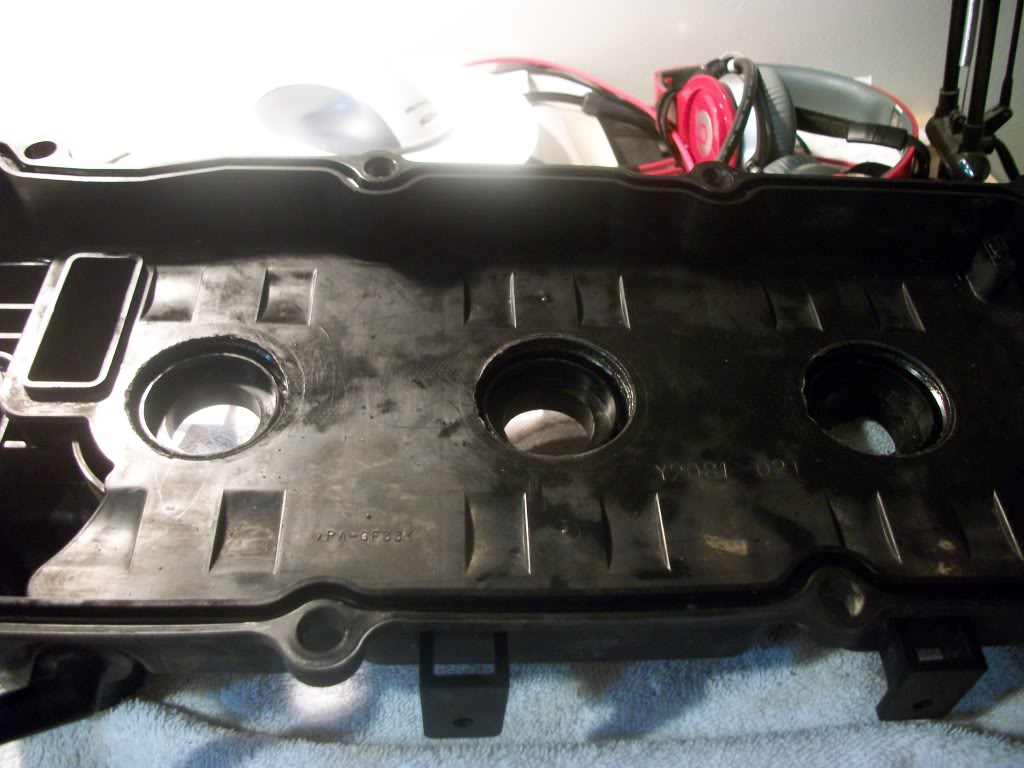
You must drill concentric holes are the plug tubes. Notice my middle one isn't. Don't do that!
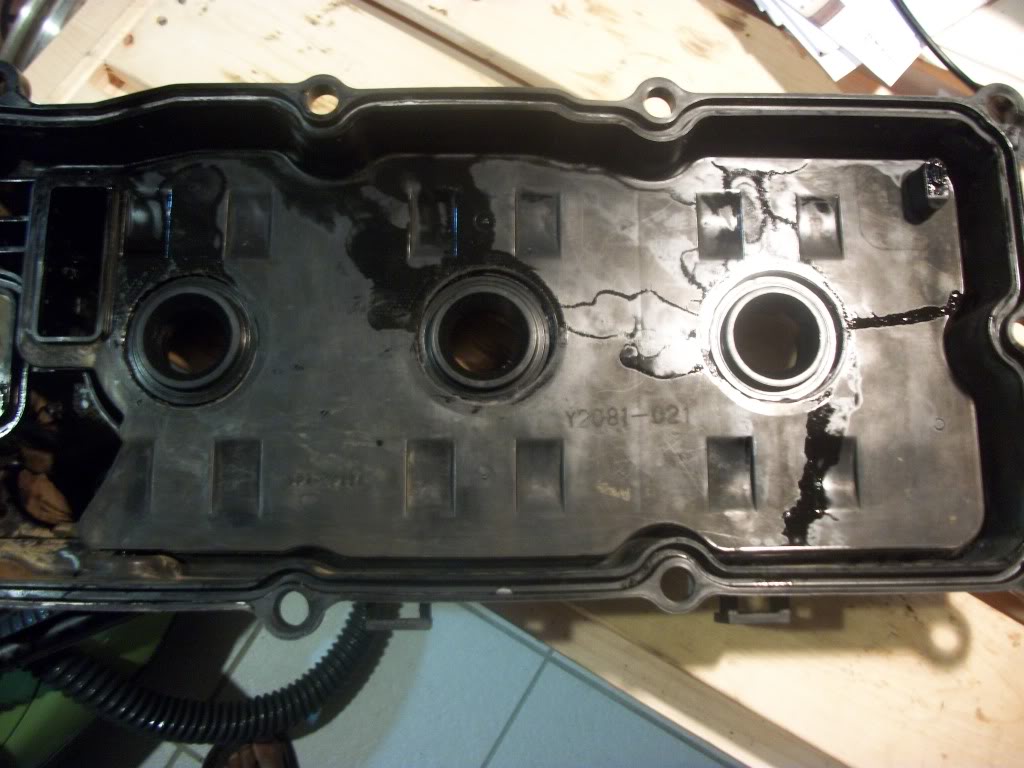
You can then put rtv on the underside of the new seals and the pop right into position.
If you remove your throttle body and unplug it to clean it, your ecu will hate you and your warm idle will sit @ 1150. I resolved the problem by letting the car cool down, then I did ECU reset, accelerator Pedal realease position procedure, then Throttle valve closed position and lastly I warmed up the car to do Idle Air volume learning. Some other pics from the job are below!
If you have never used a hole saw before, practice on something first!
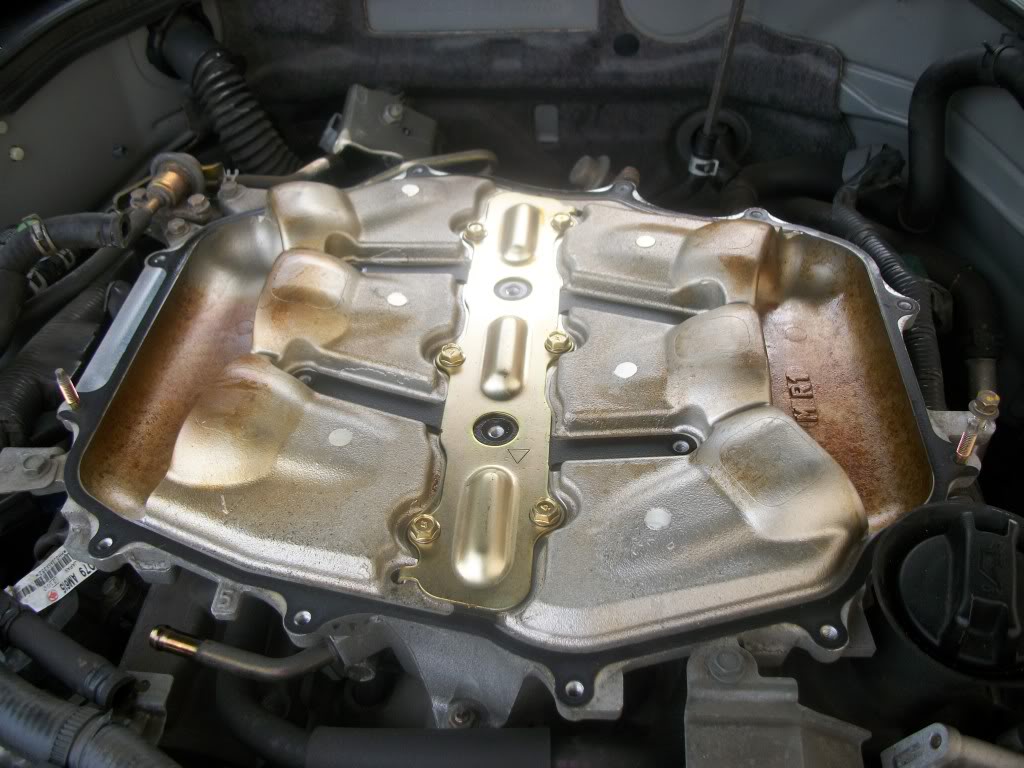
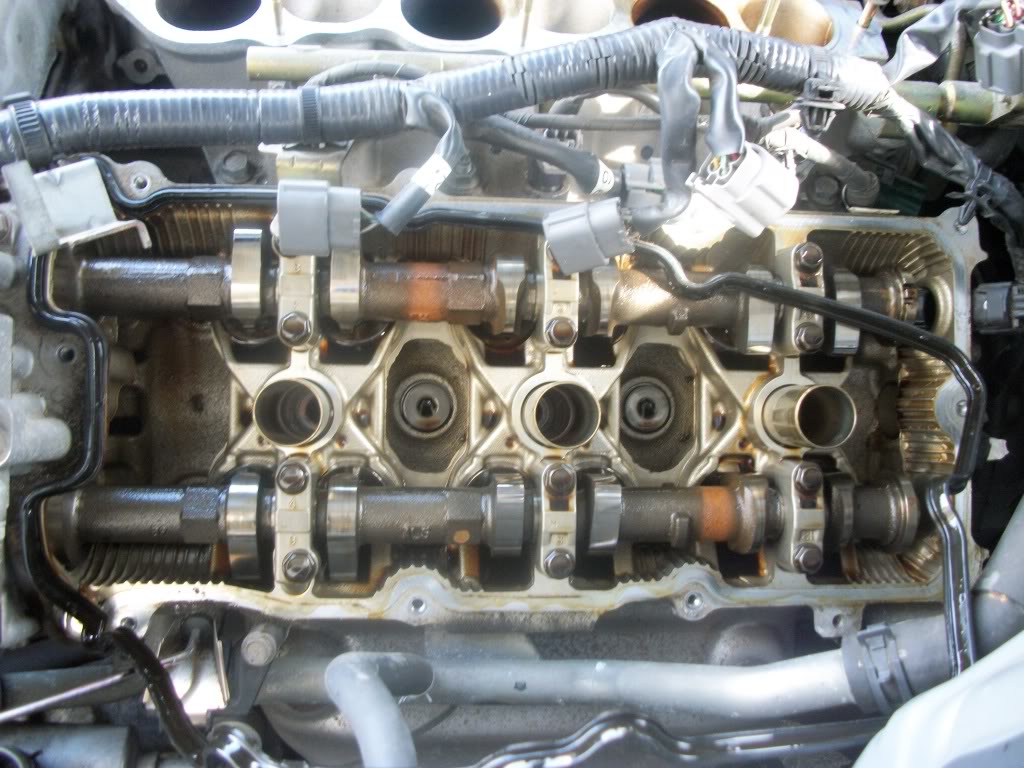
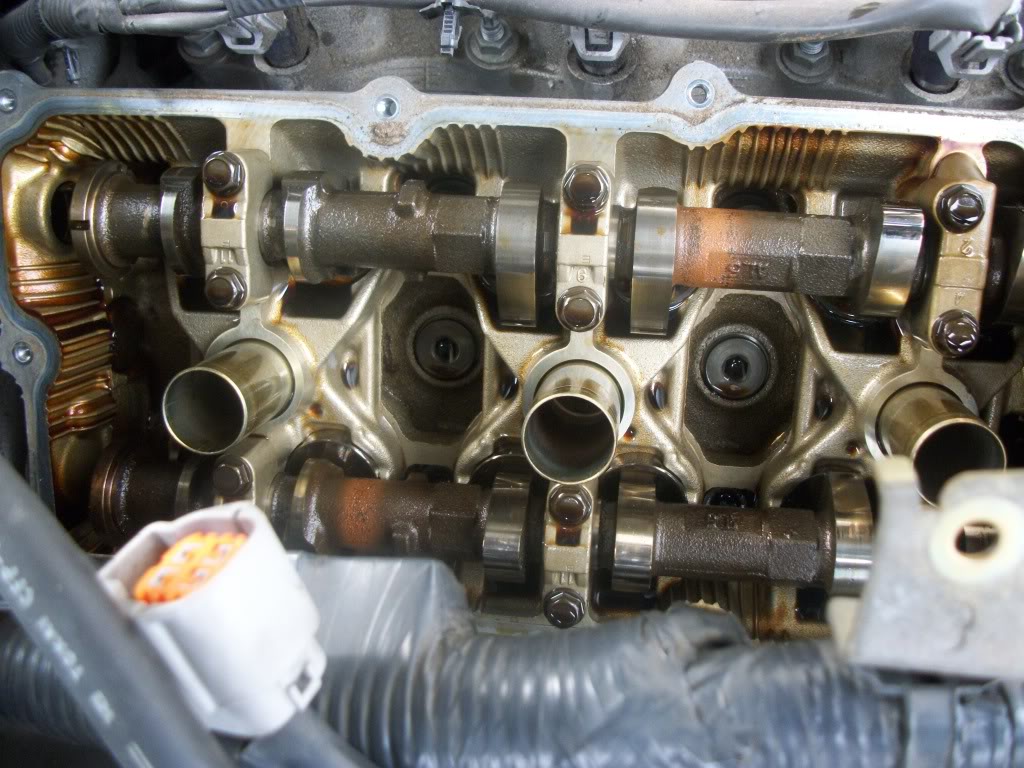
I needed a hole saw because the valve covers are plastic and the spark plug tube seals are inaccessible. You have to drill out the plastic around the seals to pull it out. With the kit from R&D Factory the o-rings are round and the "pop" into position just like traditional spark plug seals
I asked about the oring because of the prices you posted. $60 of SIX ORINGS? That's nutz. Even if they were Viton (tm) (up to 400 degF), the cost of the rings is only pennies each. If they are of a common size (even metric), not proprietary, you can buy them at most any "Seal and Gasket" shop for less than a dollar each. You would just need to size them. The only elastomer that would be more expencive would be Aflas (tm) or Kalrez (tm). Both of those will handle up to 500 degrees.
All those elastomers and many other were invented by DuPont.
All those elastomers and many other were invented by DuPont.
Last edited by Texasscout; May 14, 2011 at 08:37 PM.
Agreed that 60 bucks for o-rings is like paying $60 for shoe laces, however, I am not knowledgeable enough on the subject to find the product I needed. Kudos to r&d factory! At the end of the day, replacing o-rings in valve covers designed like ours is time consuming. A more traditional metal cover with shelf stock o-rings would be ideal.
Trending Topics

Registered User
Joined: Aug 2010
Posts: 64
Likes: 1
From: Tampa, FL
I just did my driver's side yesterday. still have to do the pass side. didn't want to put it back together half done but its my only drivable car, currently, and I had plans for the evening.
Anyway, anyone who is interested in tackling this, I made a bushing to center the hole saw over the plug holes...it worked great!! pm me if you happen to be interested in this.
Anyway, anyone who is interested in tackling this, I made a bushing to center the hole saw over the plug holes...it worked great!! pm me if you happen to be interested in this.
A bushing to center the hole....nice! Taking off the manifold to do this twice= you are a beast. Admittedly I had to take mine down twice, but rfor another reason.
Registered User
Joined: Aug 2010
Posts: 64
Likes: 1
From: Tampa, FL
lol. taking off the manifold is the easy part. looks like getting the pass side valve cover off is gonna be a pain! I had thought maybe I could do some port work to the manifold while I had it off but, it doesn't look like there's much to be done in there! It all looks pretty good (aside from needing a good cleaning).
Registered User
Joined: Aug 2010
Posts: 64
Likes: 1
From: Tampa, FL
its holding up good as far as I can tell, so far. If you want a bushing to center your hole saw, let me know. It made the job way easier than it would have been without it!! Also, the baffles didn't come out of my valve covers by keeping the hole saw so well centered. You just have to be more clean this way...keep the plastic shaving from getting under (over) the baffle.
-Alan
-Alan

Registered User
Joined: Feb 2009
Posts: 14
Likes: 1
From: Atlanta, GA
Not sure if I completely understand. Aren't the baffles molded to the valve covers anyways, preventing them from coming out?
How did you keep the shavings from getting behind the baffle? And is your way messier than without the bushing?
All in all, I would want a bushing to center the saw to make the job easier.
How did you keep the shavings from getting behind the baffle? And is your way messier than without the bushing?
All in all, I would want a bushing to center the saw to make the job easier.